Home>Construction & Tools>Building Materials>How To Attach Wood To Stucco Wall
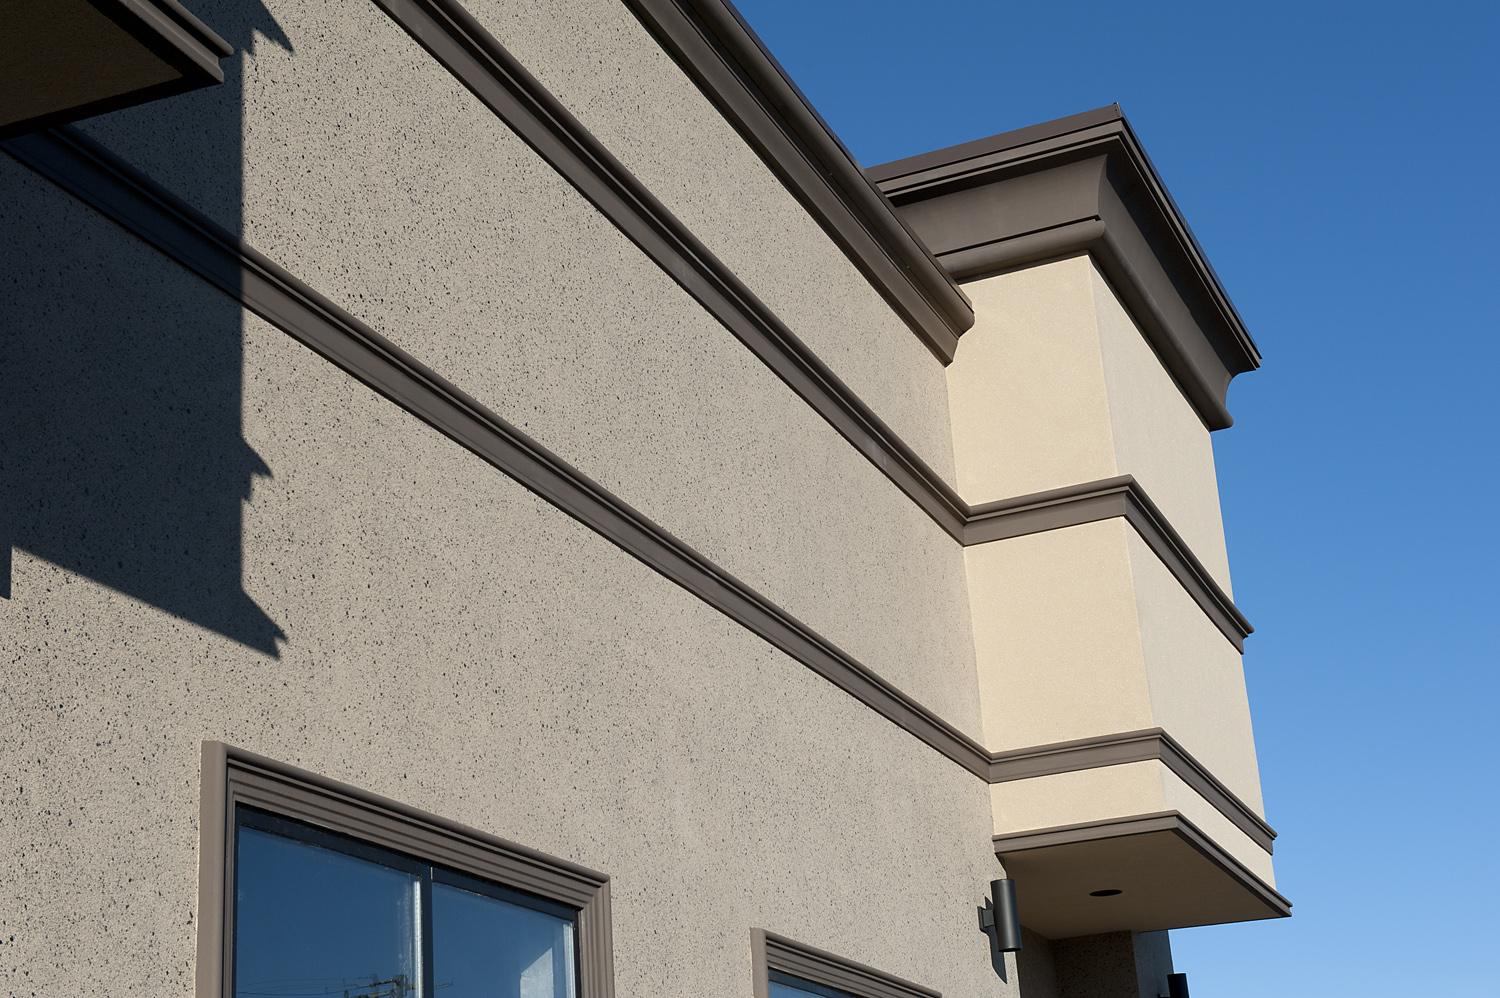

Building Materials
How To Attach Wood To Stucco Wall
Modified: March 24, 2024
Learn the best methods for attaching wood to a stucco wall using building materials. Find step-by-step instructions and tips for a successful installation.
(Many of the links in this article redirect to a specific reviewed product. Your purchase of these products through affiliate links helps to generate commission for Storables.com, at no extra cost. Learn more)
Introduction
So, you've decided to spruce up your outdoor space by adding some wooden accents to your stucco walls. Whether you're looking to install a trellis for climbing plants, hang a decorative shelf, or create a stunning wood-paneled accent wall, attaching wood to a stucco wall is a project that can enhance the aesthetic appeal of your home. However, it's essential to approach this task with the right techniques and tools to ensure a secure and long-lasting installation.
In this comprehensive guide, we'll walk you through the step-by-step process of attaching wood to a stucco wall. From gathering the necessary materials to preparing the stucco surface and executing the attachment, we've got you covered. By the end of this article, you'll feel confident in tackling this project and transforming your stucco walls into stunning showcases for your wooden creations. Let's dive in and explore the art of blending wood and stucco seamlessly!
Key Takeaways:
- Securely attach wood to stucco walls by gathering the right materials, preparing the surface, and using stucco anchors for a professional and enduring installation.
- Transform your living spaces by blending wood and stucco seamlessly, creating visually appealing and functional accents with attention to detail and creativity.
Read more: How To Build Stucco Wall With Wood Frame
Materials Needed
Before you embark on attaching wood to a stucco wall, it’s crucial to gather the essential materials for a successful and secure installation. Here’s a comprehensive list of items you’ll need:
- Wood: Select the type and size of wood that suits your project, whether it’s treated lumber for outdoor applications or decorative hardwood for interior accents.
- Stucco anchors: These specialized anchors are designed to provide a secure attachment point for screws or bolts in stucco surfaces.
- Masonry drill bit: Choose a high-quality masonry drill bit that matches the size of your stucco anchors to create precise holes in the stucco.
- Drill/driver: A reliable drill/driver will be essential for drilling holes and driving screws into the stucco and wood.
- Screws or bolts: Depending on your specific project, select the appropriate screws or bolts that are compatible with your stucco anchors and the thickness of the wood.
- Level: To ensure that your wood installation is straight and level, a trusty level will be indispensable for achieving a professional finish.
- Tape measure: Accurate measurements are key to a successful wood attachment, so have a tape measure on hand to ensure precision.
- Pencil: Marking the positions for drilling and attachment is made easy with a pencil, allowing you to plan and execute the installation effectively.
- Safety gear: Always prioritize safety by wearing protective eyewear, gloves, and a dust mask when working with power tools and construction materials.
- Caulk and paint (optional): Depending on your project, you may need caulk to seal gaps and paint to finish the wood for a polished look.
By gathering these materials, you’ll be well-equipped to proceed with confidence and precision as you prepare to attach wood to your stucco wall.
Preparing the Stucco Wall
Before attaching wood to a stucco wall, it’s essential to ensure that the surface is properly prepared to facilitate a secure and durable installation. Follow these steps to prepare the stucco wall:
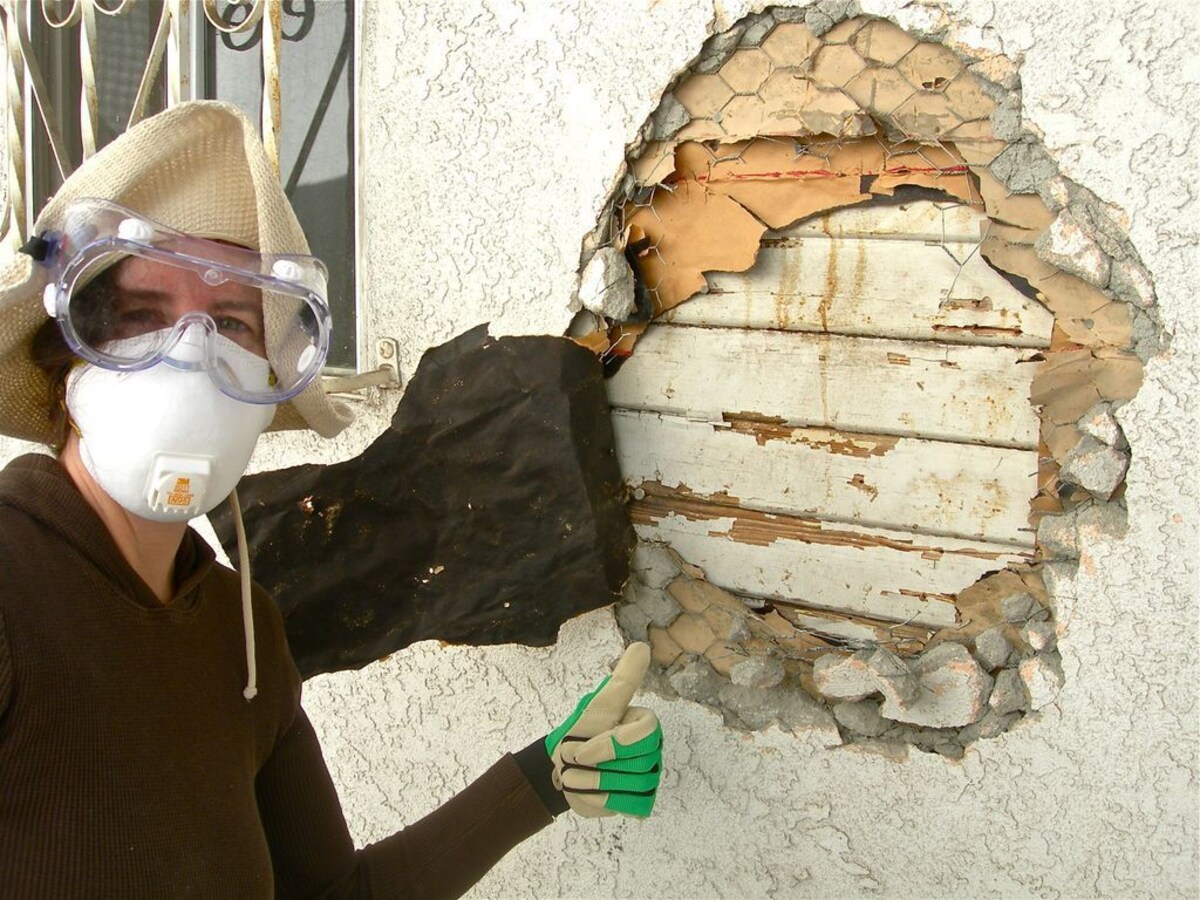
- Inspect the Stucco: Begin by carefully examining the stucco surface where you intend to attach the wood. Look for any signs of damage, such as cracks, flaking, or areas of instability. It’s crucial to address any stucco issues before proceeding with the wood attachment to ensure a stable base.
- Clean the Surface: Use a stiff-bristled brush or a pressure washer to remove any dirt, debris, or loose particles from the stucco. A clean surface will promote better adhesion and a more professional finish for your wood installation.
- Locate Studs or Framing: If you’re attaching heavier wooden elements, such as shelves or cabinets, it’s advantageous to locate the underlying studs or framing within the stucco wall. You can use a stud finder to identify these structural supports, allowing you to anchor the wood securely.
- Mark Attachment Points: With a pencil and a level, carefully mark the precise locations where you’ll be attaching the wood to the stucco. Ensure that your markings align with your design plan and accommodate the size and layout of the wood elements you’ll be installing.
- Pre-Drill Pilot Holes: Using a masonry drill bit, create pilot holes at the marked attachment points on the stucco wall. The pilot holes will guide the insertion of stucco anchors and facilitate the subsequent attachment of the wood.
By diligently preparing the stucco wall, you’ll establish a stable and well-prepared foundation for attaching the wood, setting the stage for a successful and visually appealing installation. With the surface primed and ready, you can confidently move on to the next phase of the project: attaching the wood to the stucco wall.
Pre-drill holes in the wood and use masonry anchors and screws to attach it to the stucco wall. Make sure to use a drill bit that is appropriate for the size of the anchors.
Attaching the Wood to the Stucco Wall
With the stucco wall meticulously prepared, it’s time to proceed with the crucial step of attaching the wood. Follow these detailed steps to ensure a secure and visually pleasing installation:
- Insert Stucco Anchors: Begin by inserting stucco anchors into the pilot holes you drilled in the stucco wall. Ensure that the anchors are snugly seated in the stucco, providing a robust foundation for securing the wood.
- Position the Wood: Carefully position the wood elements against the stucco wall, aligning them with the installed stucco anchors and ensuring that they are level and plumb according to your design plan.
- Secure the Wood: Using a drill/driver and the appropriate screws or bolts, fasten the wood to the stucco wall through the stucco anchors. Drive the fasteners through the wood and into the anchors, ensuring a tight and secure connection.
- Verify Stability: Once the wood is attached, verify its stability and structural integrity. Apply gentle pressure to ensure that the installation is secure, with no wobbling or movement. Making any necessary adjustments at this stage will contribute to a professional and reliable outcome.
- Finishing Touches (Optional): Depending on your project, you may choose to apply caulk to conceal gaps between the wood and the stucco, creating a seamless and polished appearance. Additionally, if the wood will be exposed to the elements, consider applying a protective coat of paint or sealant to enhance its longevity and visual appeal.
By following these steps with precision and care, you’ll achieve a successful attachment of wood to the stucco wall, creating a visually striking and enduring addition to your space. Whether you’re showcasing decorative elements, creating functional storage, or adding architectural interest, this method of attachment ensures a professional and secure outcome that will enhance the beauty and functionality of your stucco walls.
Conclusion
Embarking on the journey of attaching wood to a stucco wall opens up a world of creative possibilities for enhancing your living spaces. Whether you’re aiming to introduce natural warmth and texture to your outdoor environment or seeking to infuse interior walls with rustic charm, the fusion of wood and stucco can yield captivating results.
Throughout this guide, we’ve delved into the essential steps and considerations for achieving a successful wood attachment to a stucco wall. From gathering the necessary materials to meticulously preparing the stucco surface and executing the attachment with precision, each phase of the process contributes to a secure, visually appealing, and enduring installation.
By embracing the art of blending wood and stucco seamlessly, you have the opportunity to transform your living spaces into showcases of craftsmanship and creativity. Whether you’re creating functional elements such as shelves and trellises or incorporating wood as a design accent, the synergy of these materials can elevate the aesthetic appeal and functionality of your surroundings.
As you embark on your wood attachment journey, remember that attention to detail, proper preparation, and the use of quality materials are key to achieving a professional outcome. By following the steps outlined in this guide and infusing your unique vision and creativity, you’ll be well-equipped to embark on this enriching project with confidence.
So, go forth and unleash your creativity as you attach wood to stucco walls, bringing your design aspirations to life and infusing your living spaces with the timeless allure of wood and the enduring charm of stucco.
Frequently Asked Questions about How To Attach Wood To Stucco Wall
Was this page helpful?
At Storables.com, we guarantee accurate and reliable information. Our content, validated by Expert Board Contributors, is crafted following stringent Editorial Policies. We're committed to providing you with well-researched, expert-backed insights for all your informational needs.








0 thoughts on “How To Attach Wood To Stucco Wall”