Articles
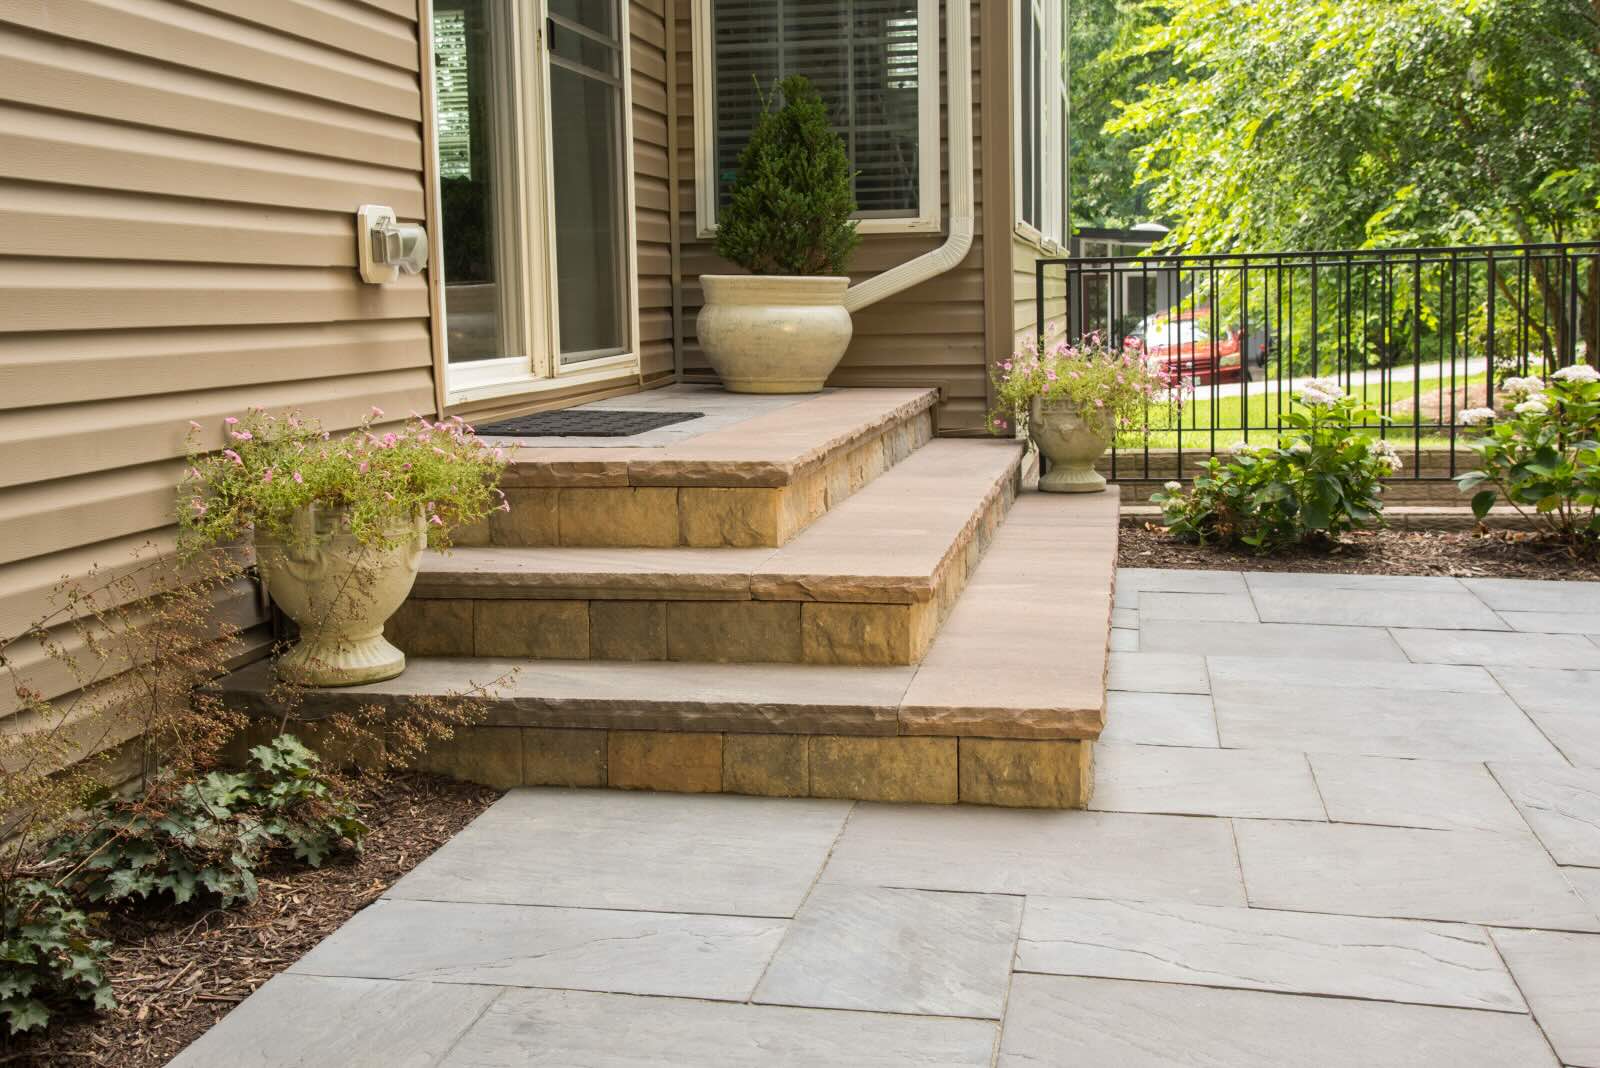
How To Lay Mortared Brick On Front Steps
Modified: October 20, 2024
Learn how to lay mortared brick on your front steps with our step-by-step guide. Find more helpful articles on various topics to improve your home's curb appeal.
(Many of the links in this article redirect to a specific reviewed product. Your purchase of these products through affiliate links helps to generate commission for Storables.com, at no extra cost. Learn more)
Introduction
Welcome to this comprehensive guide on how to lay mortared brick on front steps. If you’re looking to enhance the curb appeal and durability of your home’s entrance, brick steps can be a fantastic option. Not only do they provide a timeless and elegant look, but they also offer excellent strength and resilience.
While laying brick steps may seem like a daunting task, with the right preparation and methods, it can be a rewarding DIY project. In this guide, we will take you through each step of the process, from preparation to finishing touches, ensuring that you have all the necessary information to successfully complete the project.
Before we get into the nitty-gritty details, it’s essential to note that laying mortared brick requires some basic construction knowledge and skills. If you’re a beginner or unfamiliar with construction work, it’s advisable to seek professional assistance. However, if you’re up for the challenge and ready to learn, let’s dive into the step-by-step process of laying mortared brick on front steps.
In this guide, we’ll cover everything from preparation and mixing mortar to setting the first course, laying the bricks, cutting bricks (if necessary), mortaring the joints, and adding finishing touches. By following these steps carefully and paying attention to detail, you’ll be able to create a stunning and sturdy set of brick steps that will enhance the aesthetic appeal of your home.
Remember, patience and accuracy are key when working with bricks, so take your time and measure twice to ensure the best possible results. Now, let’s move on to the first step: Preparation.
Key Takeaways:
- Laying mortared brick on front steps requires meticulous preparation, precise brick laying, and attention to detail during the mortaring process. Patience, accuracy, and safety are crucial for a professional-grade result.
- The finishing touches, such as cleaning, applying a sealer, adding a slip-resistant surface, installing handrails, and landscaping, personalize and enhance the durability and aesthetic appeal of the newly laid mortared brick front steps.
Read more: How To Lay A Mortared Brick Patio
Step 1: Preparation
Proper preparation is crucial for any construction project, and laying mortared brick on front steps is no exception. Before you begin, make sure you have all the necessary tools and materials ready. Here’s a checklist to help you get started:
- – Bricks: Purchase enough bricks to cover the desired area of your front steps. It’s a good idea to buy a few extra bricks in case of breakage or mistakes.
- – Mortar mix: Choose a high-quality mortar mix that matches the look and strength requirements of your project. Follow the manufacturer’s instructions for mixing ratios.
- – Water: You’ll need water to mix the mortar. Make sure you have a sufficient supply nearby.
- – Masonry tools: Gather your masonry tools, including a trowel, brick hammer, jointer, and level. These tools are essential for laying bricks properly.
- – Safety equipment: Don’t forget safety gear such as gloves, safety glasses, and a dust mask to protect yourself during the construction process.
Once you have all the necessary materials, it’s time to prepare the site for laying the bricks. Here’s what you need to do:
- Clear the area: Remove any existing steps or debris from the site. Make sure the area is free of any obstructions that could interfere with the construction process.
- Measure and plan: Take accurate measurements of your front steps to determine the layout of the bricks. Plan the number of brick courses and the dimensions of each step. This will help you calculate the quantity of bricks and mortar required.
- Excavate the foundation: Dig a trench for the foundation of your brick steps. The depth of the trench will depend on the frost line in your area and the desired height of the steps. Make sure the foundation is solid and level.
- Add a base layer: Fill the trench with a base layer of compacted gravel or crushed stone. This will ensure stability and proper drainage for the steps.
- Install forms: Place wooden or metal forms along the edges of the steps to guide the brick installation. Ensure that the forms are level and securely in place.
With these preparation steps completed, you’re now ready to move on to the next stage: Mixing Mortar. It’s important to have the right consistency of mortar for successful brick installation. Stay tuned for the next step!
Step 2: Mixing Mortar
Mixing mortar is a critical step in the process of laying mortared brick on front steps. The quality and consistency of the mortar will determine the strength and longevity of your brickwork. Here’s a step-by-step guide on how to mix mortar:
- Gather your materials: Before you start mixing, make sure you have all the necessary materials at hand. This includes your mortar mix, water, a mixing container (such as a wheelbarrow or a large bucket), and a mixing tool (such as a hoe or a shovel).
- Read the instructions: Carefully follow the instructions provided by the manufacturer of your mortar mix. Different mixes may have different ratios of mix to water, so it’s crucial to adhere to these guidelines for the best results.
- Add the mix to the container: Measure out the required amount of mortar mix and add it to your mixing container. Use a trowel or a scoop to transfer the mix, ensuring accuracy in measurement.
- Gradually add water: Slowly pour water into the container while simultaneously mixing the mortar. It’s typically recommended to start with about 80% of the total required water. The exact amount may vary depending on the mix and your specific conditions.
- Mix thoroughly: Use your mixing tool to blend the mortar mix and water together. Make sure to scrape the sides and bottom of the container to incorporate all the dry mix. Continue mixing until the mortar is smooth, free of lumps, and the desired consistency is achieved.
- Check the consistency: The ideal consistency of mortar is similar to stiff peanut butter. It should be pliable and hold its shape, but not be too sticky or runny. If the mortar is too dry, gradually add small amounts of water and mix until the desired consistency is reached.
It’s important to note that mortar has a finite working time. Once mixed, it will start to harden and become less effective, so it’s crucial to mix only as much mortar as you can use within a reasonable timeframe.
With the mortar mixed to the correct consistency, you’re now ready to move on to the next step: Setting the First Course. Stay tuned for our detailed instructions on laying the bricks and creating a beautiful and durable set of front steps!
Step 3: Setting the First Course
Setting the first course of bricks is a crucial step in laying mortared brick on front steps. This initial row serves as the foundation for the rest of the brickwork. Here’s a step-by-step guide on how to set the first course:
- Apply a layer of mortar: Start by applying a layer of mortar along the edge of the foundation or base layer. Use a trowel to spread the mortar evenly, creating a bed for the bricks.
- Place the first brick: Carefully place the first brick onto the mortar bed. Press it down gently and wiggle it slightly to ensure good adhesion with the mortar.
- Check for level and alignment: Use a level to ensure that the brick is perfectly level horizontally and vertically. Adjust the position of the brick if needed, tapping it gently with a rubber mallet.
- Continue with the first course: Repeat the process of applying mortar and placing bricks along the length of the front steps. Make sure to leave a small gap between each brick for mortar joints.
- Check for even spacing: Use a jointer or a small piece of wood to ensure consistent spacing between all the bricks. This will create a clean and uniform look.
- Adjust as necessary: Throughout the process of setting the first course, regularly check for level and alignment of the bricks. Adjust as needed to maintain a straight and even row.
It’s important to take your time when setting the first course. Accuracy and attention to detail at this stage will significantly impact the overall quality of your brick steps. Remember, the stability and levelness of the first row will influence the rest of the brickwork, so it’s crucial to get it right.
Once the first course is set and aligned properly, allow the mortar to cure and set according to the manufacturer’s instructions. This usually involves a waiting period of 24 to 48 hours before proceeding to the next step.
Now that you have successfully set the first course, you’re ready to move on to the next step: Laying the Bricks. Stay tuned for detailed instructions on how to lay the remaining courses and create a sturdy and visually appealing set of front steps!
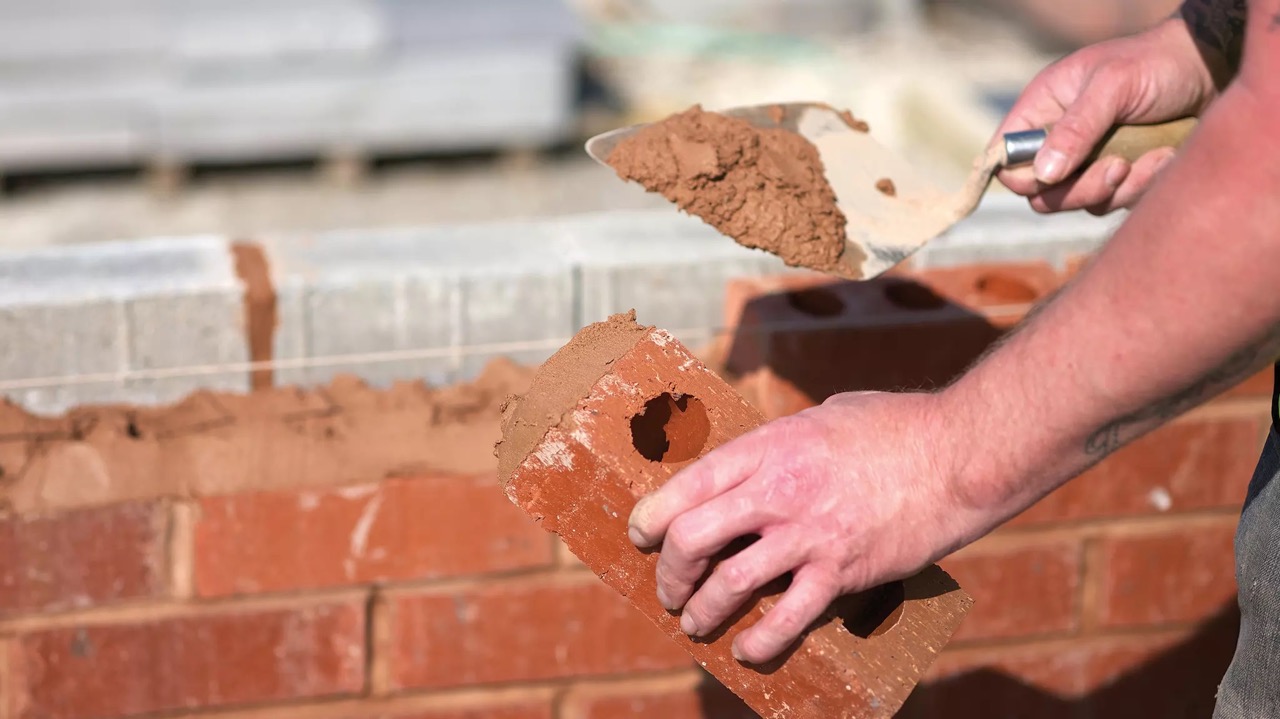
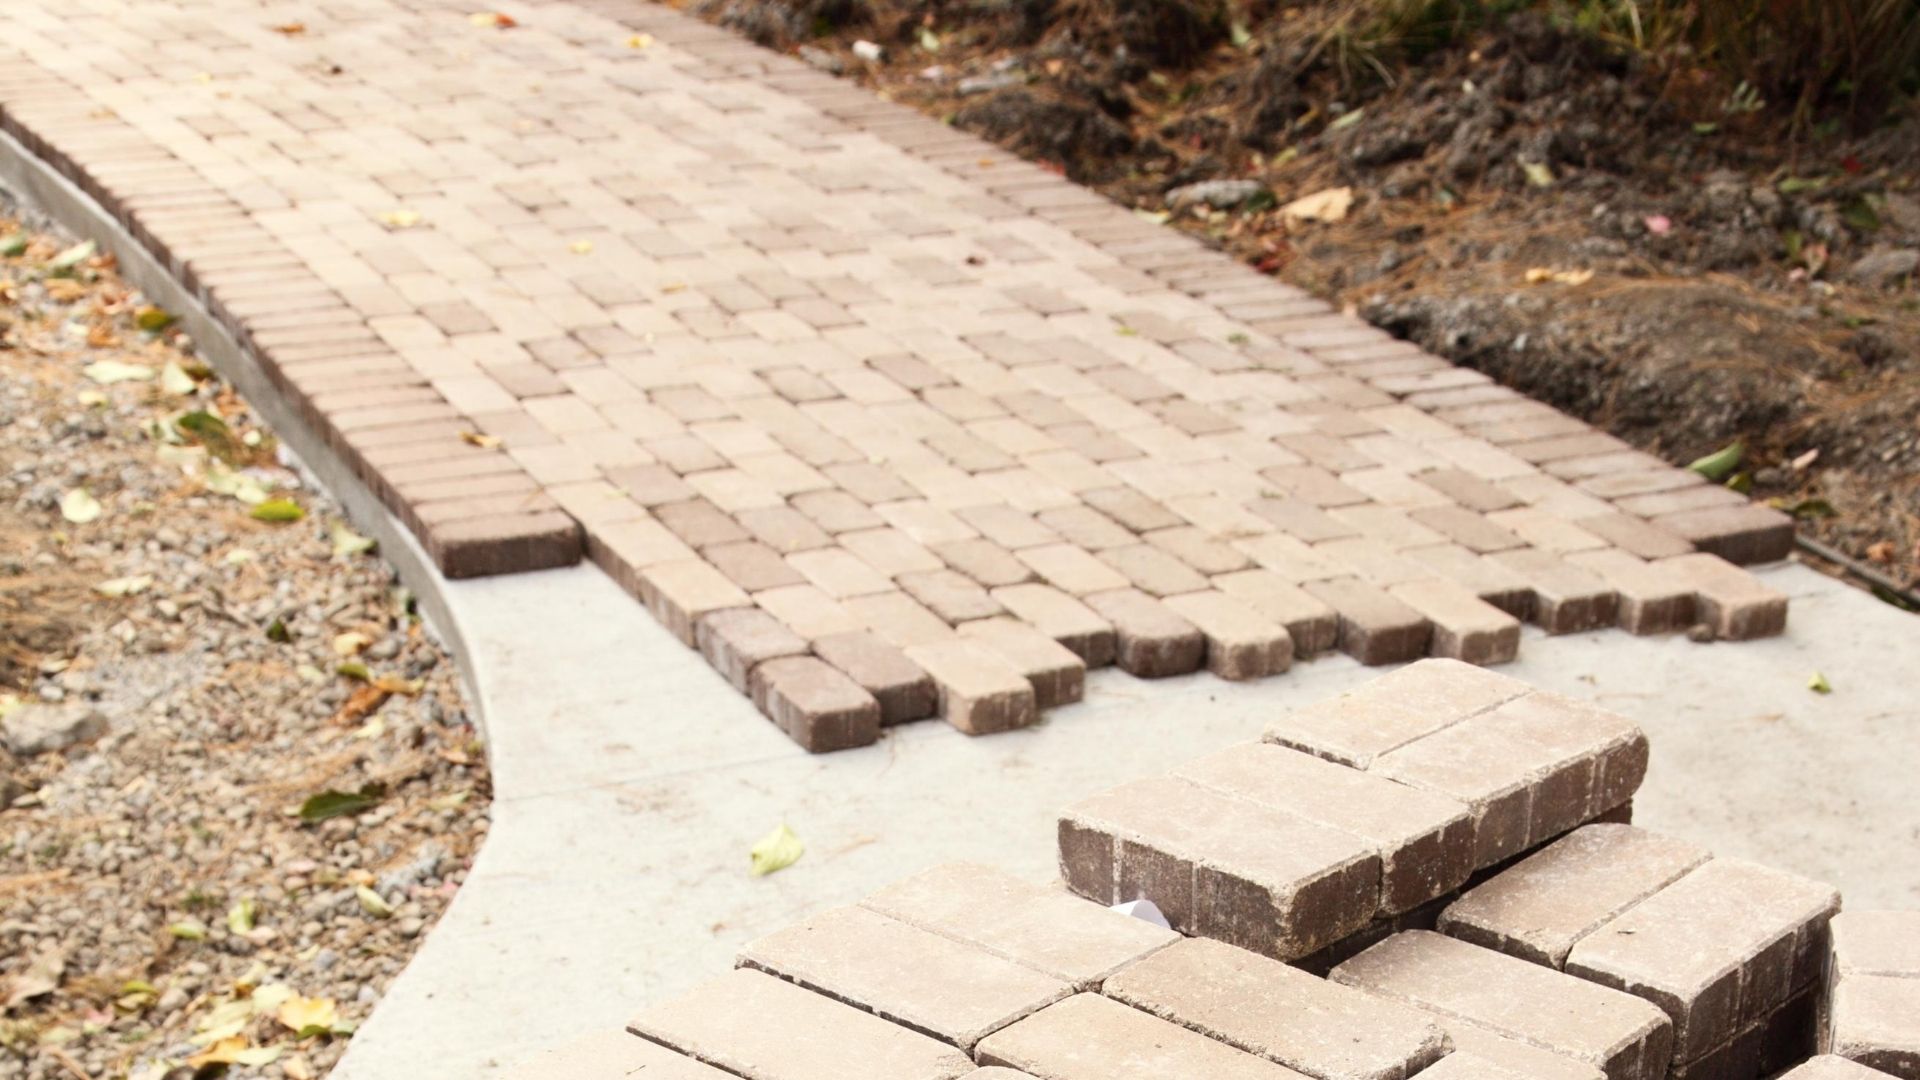
Step 4: Laying the Bricks
With the first course set and cured, it’s time to move on to laying the bricks for the remaining courses of your front steps. This step requires precision and attention to detail to ensure a sturdy and visually pleasing finished product. Here’s a step-by-step guide on how to lay the bricks:
- Apply mortar: Using your trowel, apply a layer of mortar to the top surface of the first course of bricks. Make sure to cover the entire area where the next row of bricks will be laid.
- Place the bricks: Carefully place the bricks onto the mortar bed, leaving a small gap between each brick for mortar joints. Press them down gently to ensure good adhesion with the mortar.
- Check for level and alignment: Use a level to ensure that each brick is perfectly level horizontally and vertically. Adjust the position of the bricks as needed, tapping them gently with a rubber mallet.
- Continue laying bricks: Repeat the process of applying mortar and placing bricks, row by row, until you reach the desired height of your front steps. Make sure to stagger the joints between each course for added strength and stability.
- Check for even spacing and alignment: Regularly check for consistent spacing between the bricks and alignment with the previous courses. Use a jointer or a small piece of wood to adjust the mortar joints and create a clean and uniform look.
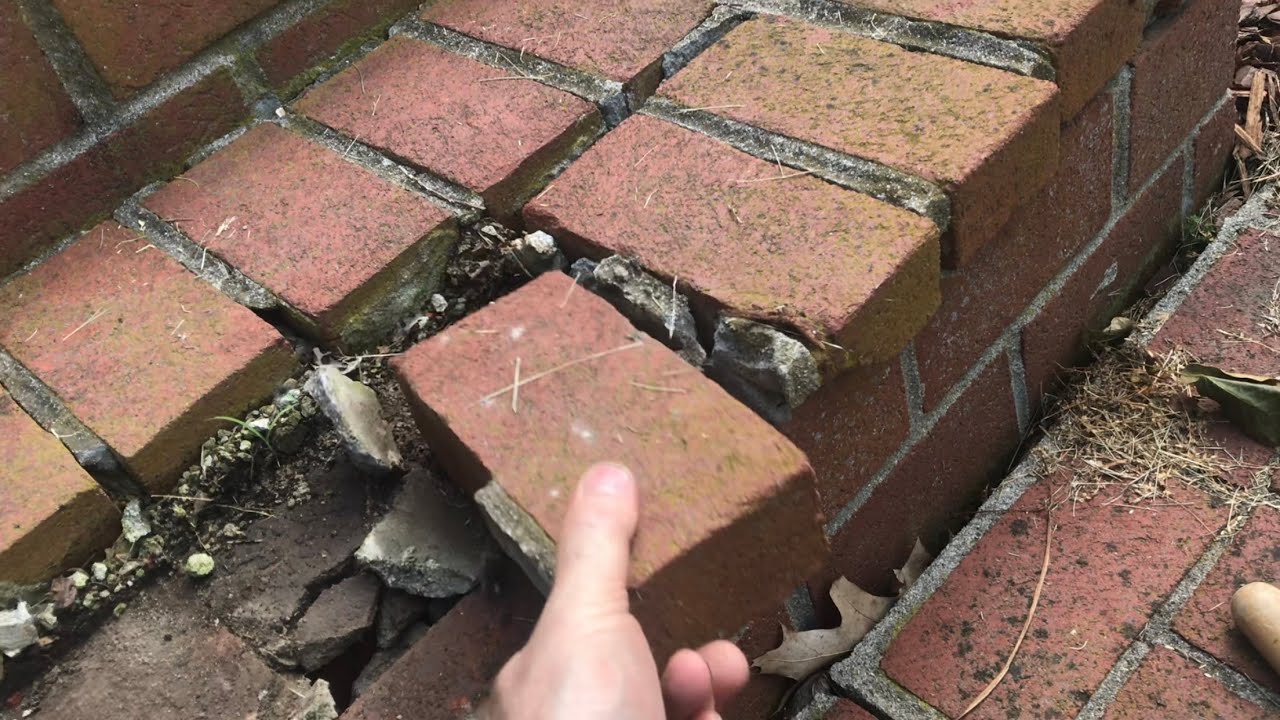
- Trim bricks if necessary: If you encounter areas where full-size bricks won’t fit, you may need to cut bricks to fit the dimensions of your steps. Use a brick saw or a hammer and chisel to carefully trim the bricks to the desired size.
As you lay each course, take your time and double-check for levelness, alignment, and spacing. Pay attention to details, as these small adjustments can make a big difference in the final appearance of your front steps.
Once all the bricks are laid, allow the mortar to cure and set according to the manufacturer’s instructions. This typically involves a waiting period of 24 to 48 hours before moving on to the next step.
Congratulations! You have successfully laid the bricks for your front steps. Now, let’s move on to Step 5: Cutting Bricks (if necessary), where we’ll provide guidance on how to trim bricks to fit your specific design. Stay tuned!
Make sure to use a level and string to ensure the bricks are laid evenly and in a straight line. This will create a professional and polished look for your front steps.
Read more: How To Lay Brick
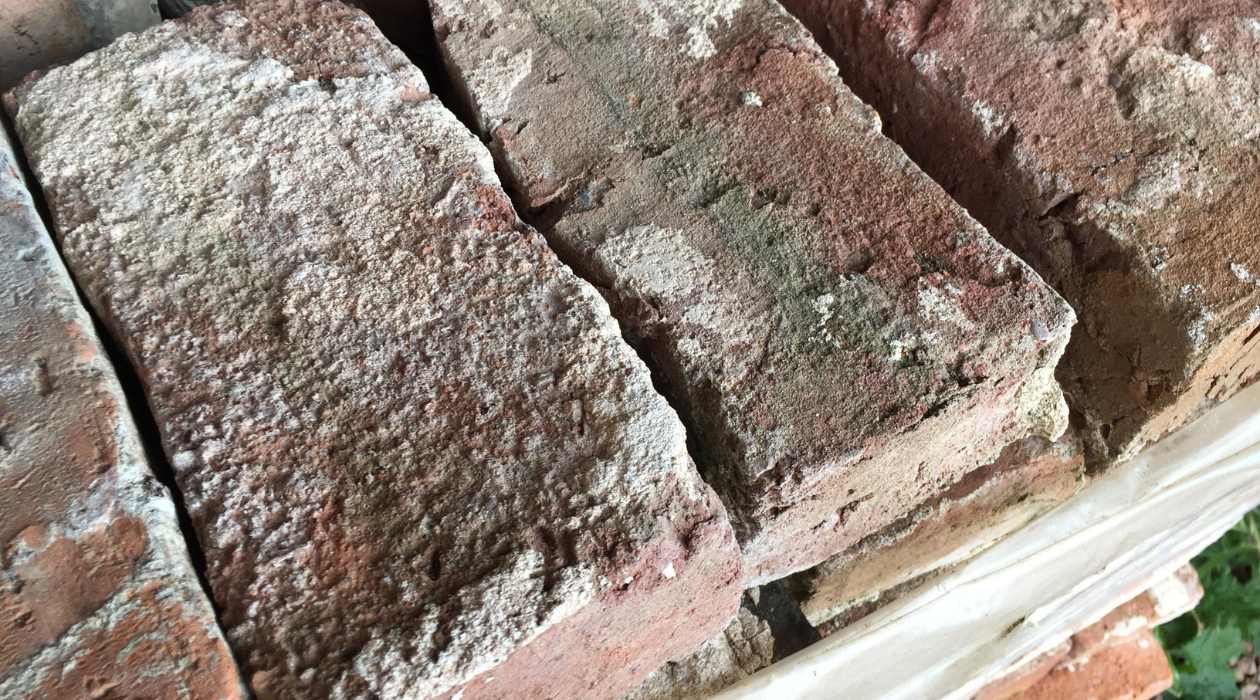
Step 5: Cutting Bricks (if necessary)
During the process of laying mortared brick on front steps, there may be instances where you need to trim or cut bricks to fit into specific areas or dimensions. Cutting bricks allows you to create a precise and neat finish for your steps. Here’s a step-by-step guide on how to cut bricks:
- Measure and mark: Use a tape measure and a pencil to measure and mark the dimensions on the brick that needs to be cut. Make sure to account for the mortar joint size as well.
- Set up your cutting area: Find a suitable cutting area, preferably outdoors or in a well-ventilated space. Place a sturdy surface, such as a workbench or a piece of plywood, to support the brick while cutting.
- Equip yourself: Put on safety gear, including safety glasses, gloves, and a dust mask, to protect yourself during the cutting process.
- Choose your cutting tool: There are a few options for cutting bricks. These include using a brick chisel and hammer, a grinder with a masonry blade, or a dedicated brick saw. Choose the method that suits your tools and expertise.
- Using a brick chisel and hammer: Place the brick on the cutting surface and align the chisel with the marked line. Use the hammer to tap the chisel gently but firmly along the line. Repeat the process until the brick breaks along the desired cut line.
- Using a grinder: With the appropriate safety precautions, place the brick on the cutting surface and adjust the grinder with a masonry blade. Slowly and carefully maneuver the grinder along the marked line until the brick is cut through. Remember to follow the manufacturer’s instructions for safe and proper use of the grinder.
- Using a brick saw: If you have access to a brick saw, follow the manufacturer’s instructions for safe operation. Place the brick on the cutting surface and feed it slowly and steadily through the saw while keeping the blade aligned with the marked line. This method provides the cleanest and most precise cuts.
- Check the fit: After cutting the brick, test the fit by placing it in its intended location. Make any necessary adjustments to ensure a snug fit and proper alignment with the surrounding bricks.
Remember, cutting bricks requires precision and caution. Take your time, follow safety guidelines, and use the appropriate tools for the best results. With the bricks cut to size, you can proceed to the next step: Mortaring the Joints. Stay tuned for detailed instructions on how to mortar the bricks and create a strong bond between them!
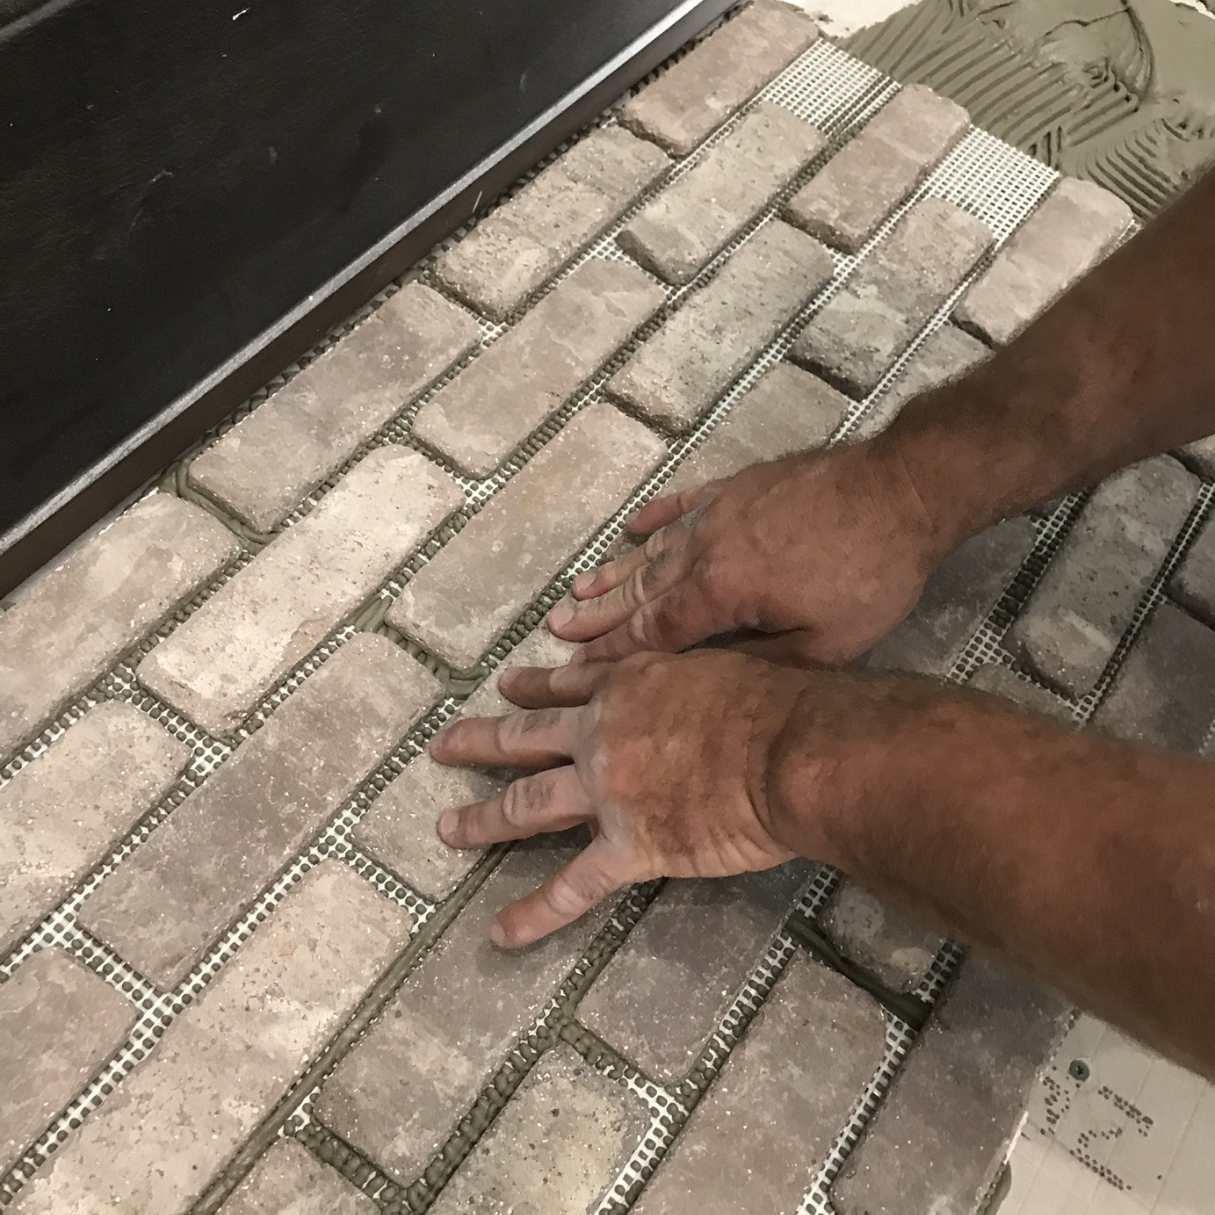
Step 6: Mortaring the Joints
Once all the bricks are laid and cut to size, the next step in laying mortared brick on front steps is to mortar the joints. Mortaring the joints not only provides structural stability but also enhances the overall appearance of your brickwork. Here’s a step-by-step guide on how to mortar the joints:
- Prepare the mortar: Mix a fresh batch of mortar following the manufacturer’s instructions. Ensure that the consistency is suitable for jointing.
- Fill a mortar bag: Transfer the mortar into a mortar bag or a pastry bag with a small nozzle. This will allow you to control the flow of mortar when applying it to the joints.
- Start with horizontal joints: Begin by filling the horizontal mortar joints between the bricks. Squeeze the mortar bag gently to distribute the mortar evenly along the joint, filling it to the desired depth.
- Use a jointer: Immediately after applying the mortar, use a pointed jointer or a special jointing tool to shape and smooth the mortar. Drag the jointer along the joint to create a concave shape and compress the mortar for better adhesion.
- Continue with vertical joints: Once the horizontal joints are done, move on to filling the vertical mortar joints. Apply the mortar using the same technique, making sure to fill the joints completely.
- Check for excess mortar: As you go along, regularly check for any excess mortar on the surface of the bricks. Use a trowel or a brush to remove any mortar before it dries.
- Clean and finish: After completing the mortaring process, gently brush the brick surface to remove any remaining debris or excess mortar. This will help create a clean and polished appearance.
It’s important to work in small sections at a time, as mortar has a limited working time. This ensures that the mortar remains pliable for jointing and provides a strong bond between the bricks.
Allow the mortar to cure and set according to the manufacturer’s instructions. This typically involves a waiting period of several days before subjecting the steps to heavy use or foot traffic.
Congratulations! You’re almost done with the process of laying mortared brick on your front steps. The last step is to add some finishing touches, which we’ll cover in Step 7. Stay tuned for the final instructions on how to complete your beautifully crafted front steps!
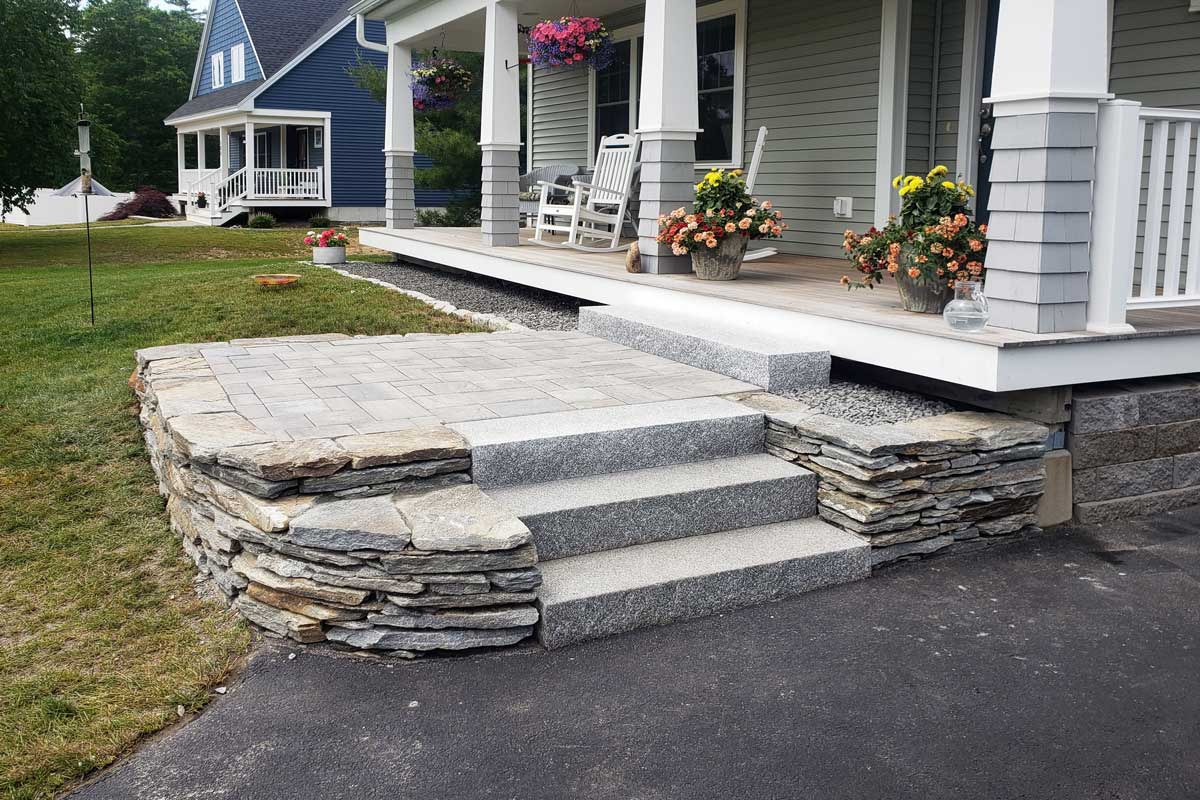
Step 7: Finishing Touches
You’re almost at the finish line! Step 7 involves the final touches that will add the perfect finishing details to your newly laid mortared brick front steps. These finishing touches will not only enhance the overall appearance of your steps but also improve their functionality and durability. Here’s what you need to do:
- Clean the steps: Take a moment to clean off any remaining dust, debris, or excess mortar from the steps. Use a brush, broom, or a wet cloth to gently remove any residue and reveal the true beauty of your brickwork.
- Apply a sealer: Consider applying a brick sealer to protect your front steps from water damage, staining, and general wear and tear. Follow the instructions provided with the sealer, and make sure to apply it evenly and thoroughly to all exposed brick surfaces.
- Add a slip-resistant surface: To improve safety and prevent slipping on the steps, you may want to consider adding a non-slip treatment to the brick surface. This can be in the form of a special paint, non-slip adhesive strips, or a textured overlay.
- Install handrails: Depending on your local building codes and personal preference, you may want to install handrails for added stability and convenience. Choose handrails that complement the design of your steps and securely attach them to the sides of the steps.
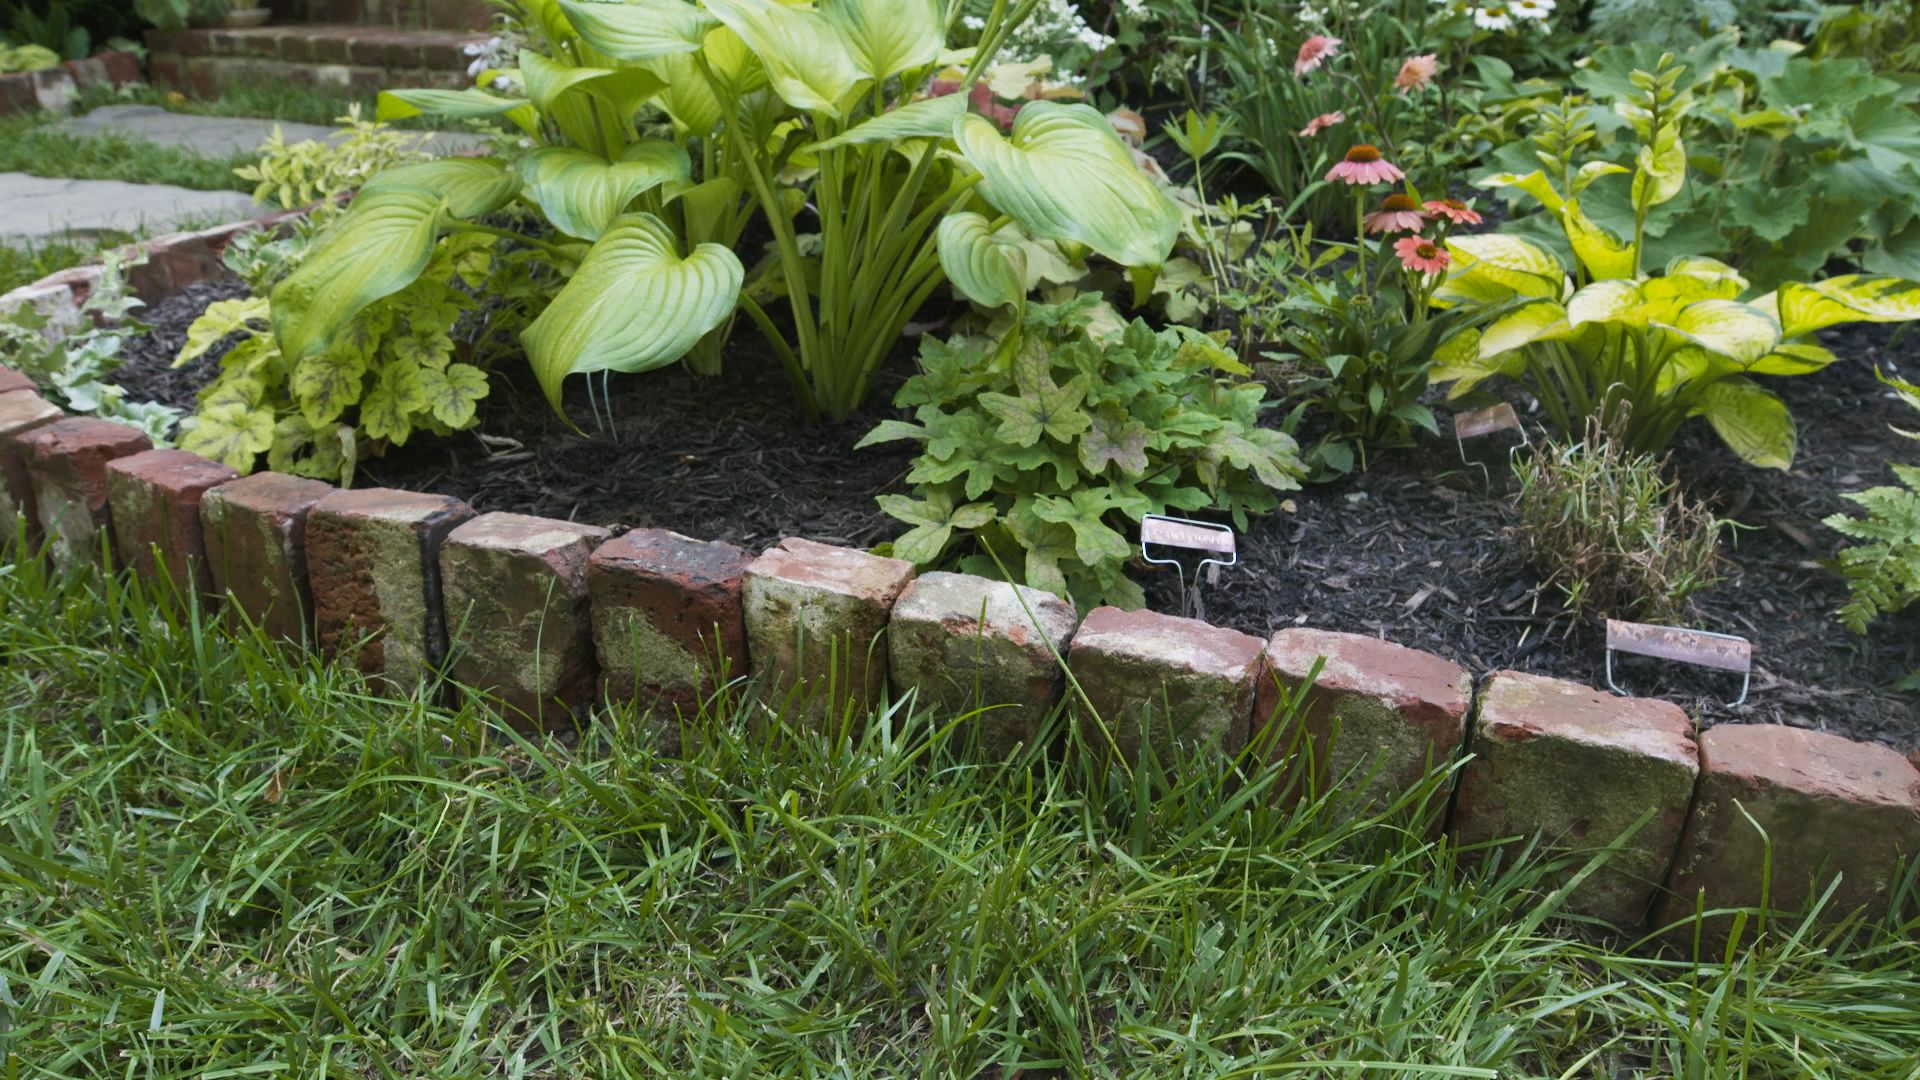
- Landscaping around the steps: Consider adding landscaping elements around your front steps to further enhance their aesthetic appeal. Plant flowers, shrubs, or other decorative plants to create a welcoming and visually pleasing entrance to your home.
- Regular maintenance: Lastly, keep in mind that maintaining your brick steps is crucial for their longevity. Regularly inspect and clean the steps, remove weeds or vegetation that may grow between the bricks, and address any repairs or damages promptly.
Remember, the finishing touches are an opportunity to customize and personalize your front steps. Consider your personal style, the architectural design of your home, and the surrounding landscape when making these final decisions.
With Step 7 completed, take a moment to admire your hard work and the beautiful transformation of your front steps. You’ve successfully laid mortared brick and added the finishing touches to create a stunning and durable entrance to your home.
Thank you for following this comprehensive guide on how to lay mortared brick on front steps. We hope it has been informative and helpful throughout your project. Enjoy your new, captivating front steps!
Conclusion
Congratulations on completing the process of laying mortared brick on your front steps! With careful preparation, precise brick laying, and attention to detail during the mortaring process, you have created a durable and visually appealing entrance that will enhance the curb appeal of your home for years to come.
Throughout this guide, we have covered each step of the process, from preparation and mixing mortar to setting the first course, laying the bricks, cutting bricks if necessary, mortaring the joints, and adding the finishing touches. By following these steps and taking your time to ensure accuracy, you have achieved a professional-grade result.
Remember, always prioritize safety during any construction project. Use the appropriate safety gear and tools, and if you feel unsure or uncomfortable with any aspect of the process, don’t hesitate to seek professional assistance.
Maintaining the beauty and integrity of your front steps is essential. Regularly inspect and clean the steps, address any repairs or damages, and consider applying a sealer or adding a non-slip treatment for added protection and safety.
Lastly, enjoy your newly transformed front steps and take pride in your craftsmanship. The elegance and durability of mortared brick will not only enhance the aesthetic appeal of your home but also leave a long-lasting impression on visitors.
Thank you for using this comprehensive guide. We hope it has provided the knowledge and confidence necessary to successfully lay mortared brick on your front steps. Happy building!
Frequently Asked Questions about How To Lay Mortared Brick On Front Steps
Was this page helpful?
At Storables.com, we guarantee accurate and reliable information. Our content, validated by Expert Board Contributors, is crafted following stringent Editorial Policies. We're committed to providing you with well-researched, expert-backed insights for all your informational needs.


0 thoughts on “How To Lay Mortared Brick On Front Steps”