Home>Furniture & Design>Bathroom Accessories>How To Strip A Painted Bathtub
Bathroom Accessories
How To Strip A Painted Bathtub
Modified: April 22, 2024
Learn how to safely strip paint from your bathtub with our step-by-step guide. Get your bathroom accessories ready for a fresh new look!
(Many of the links in this article redirect to a specific reviewed product. Your purchase of these products through affiliate links helps to generate commission for Storables.com, at no extra cost. Learn more)
Introduction
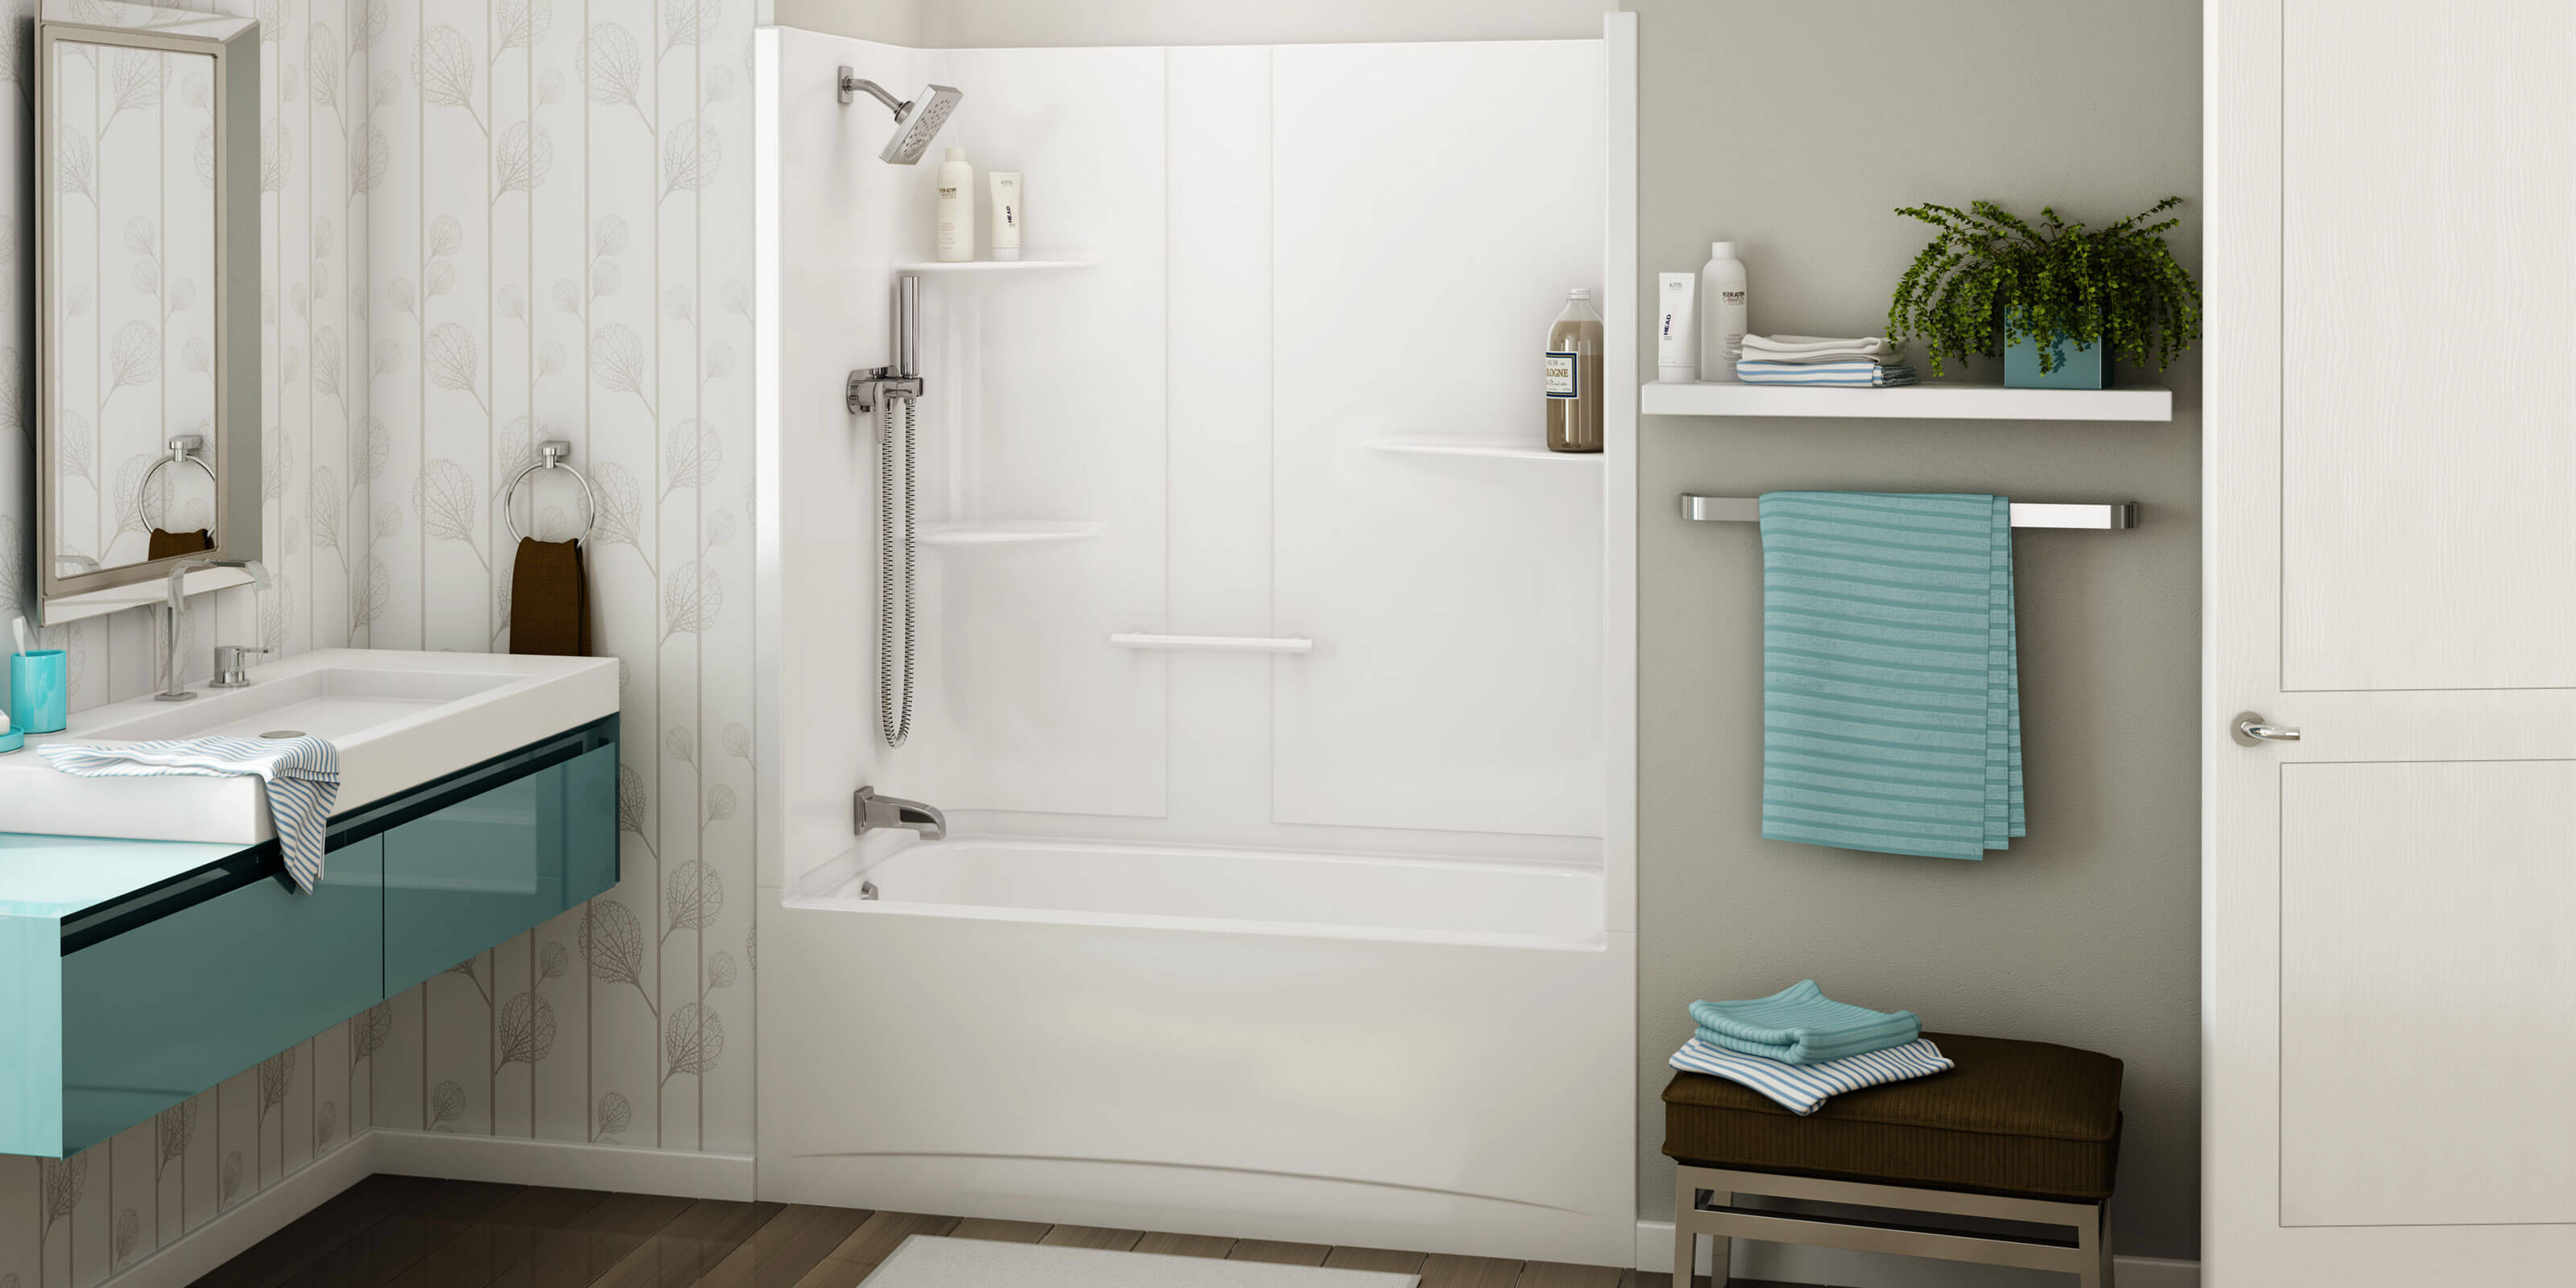
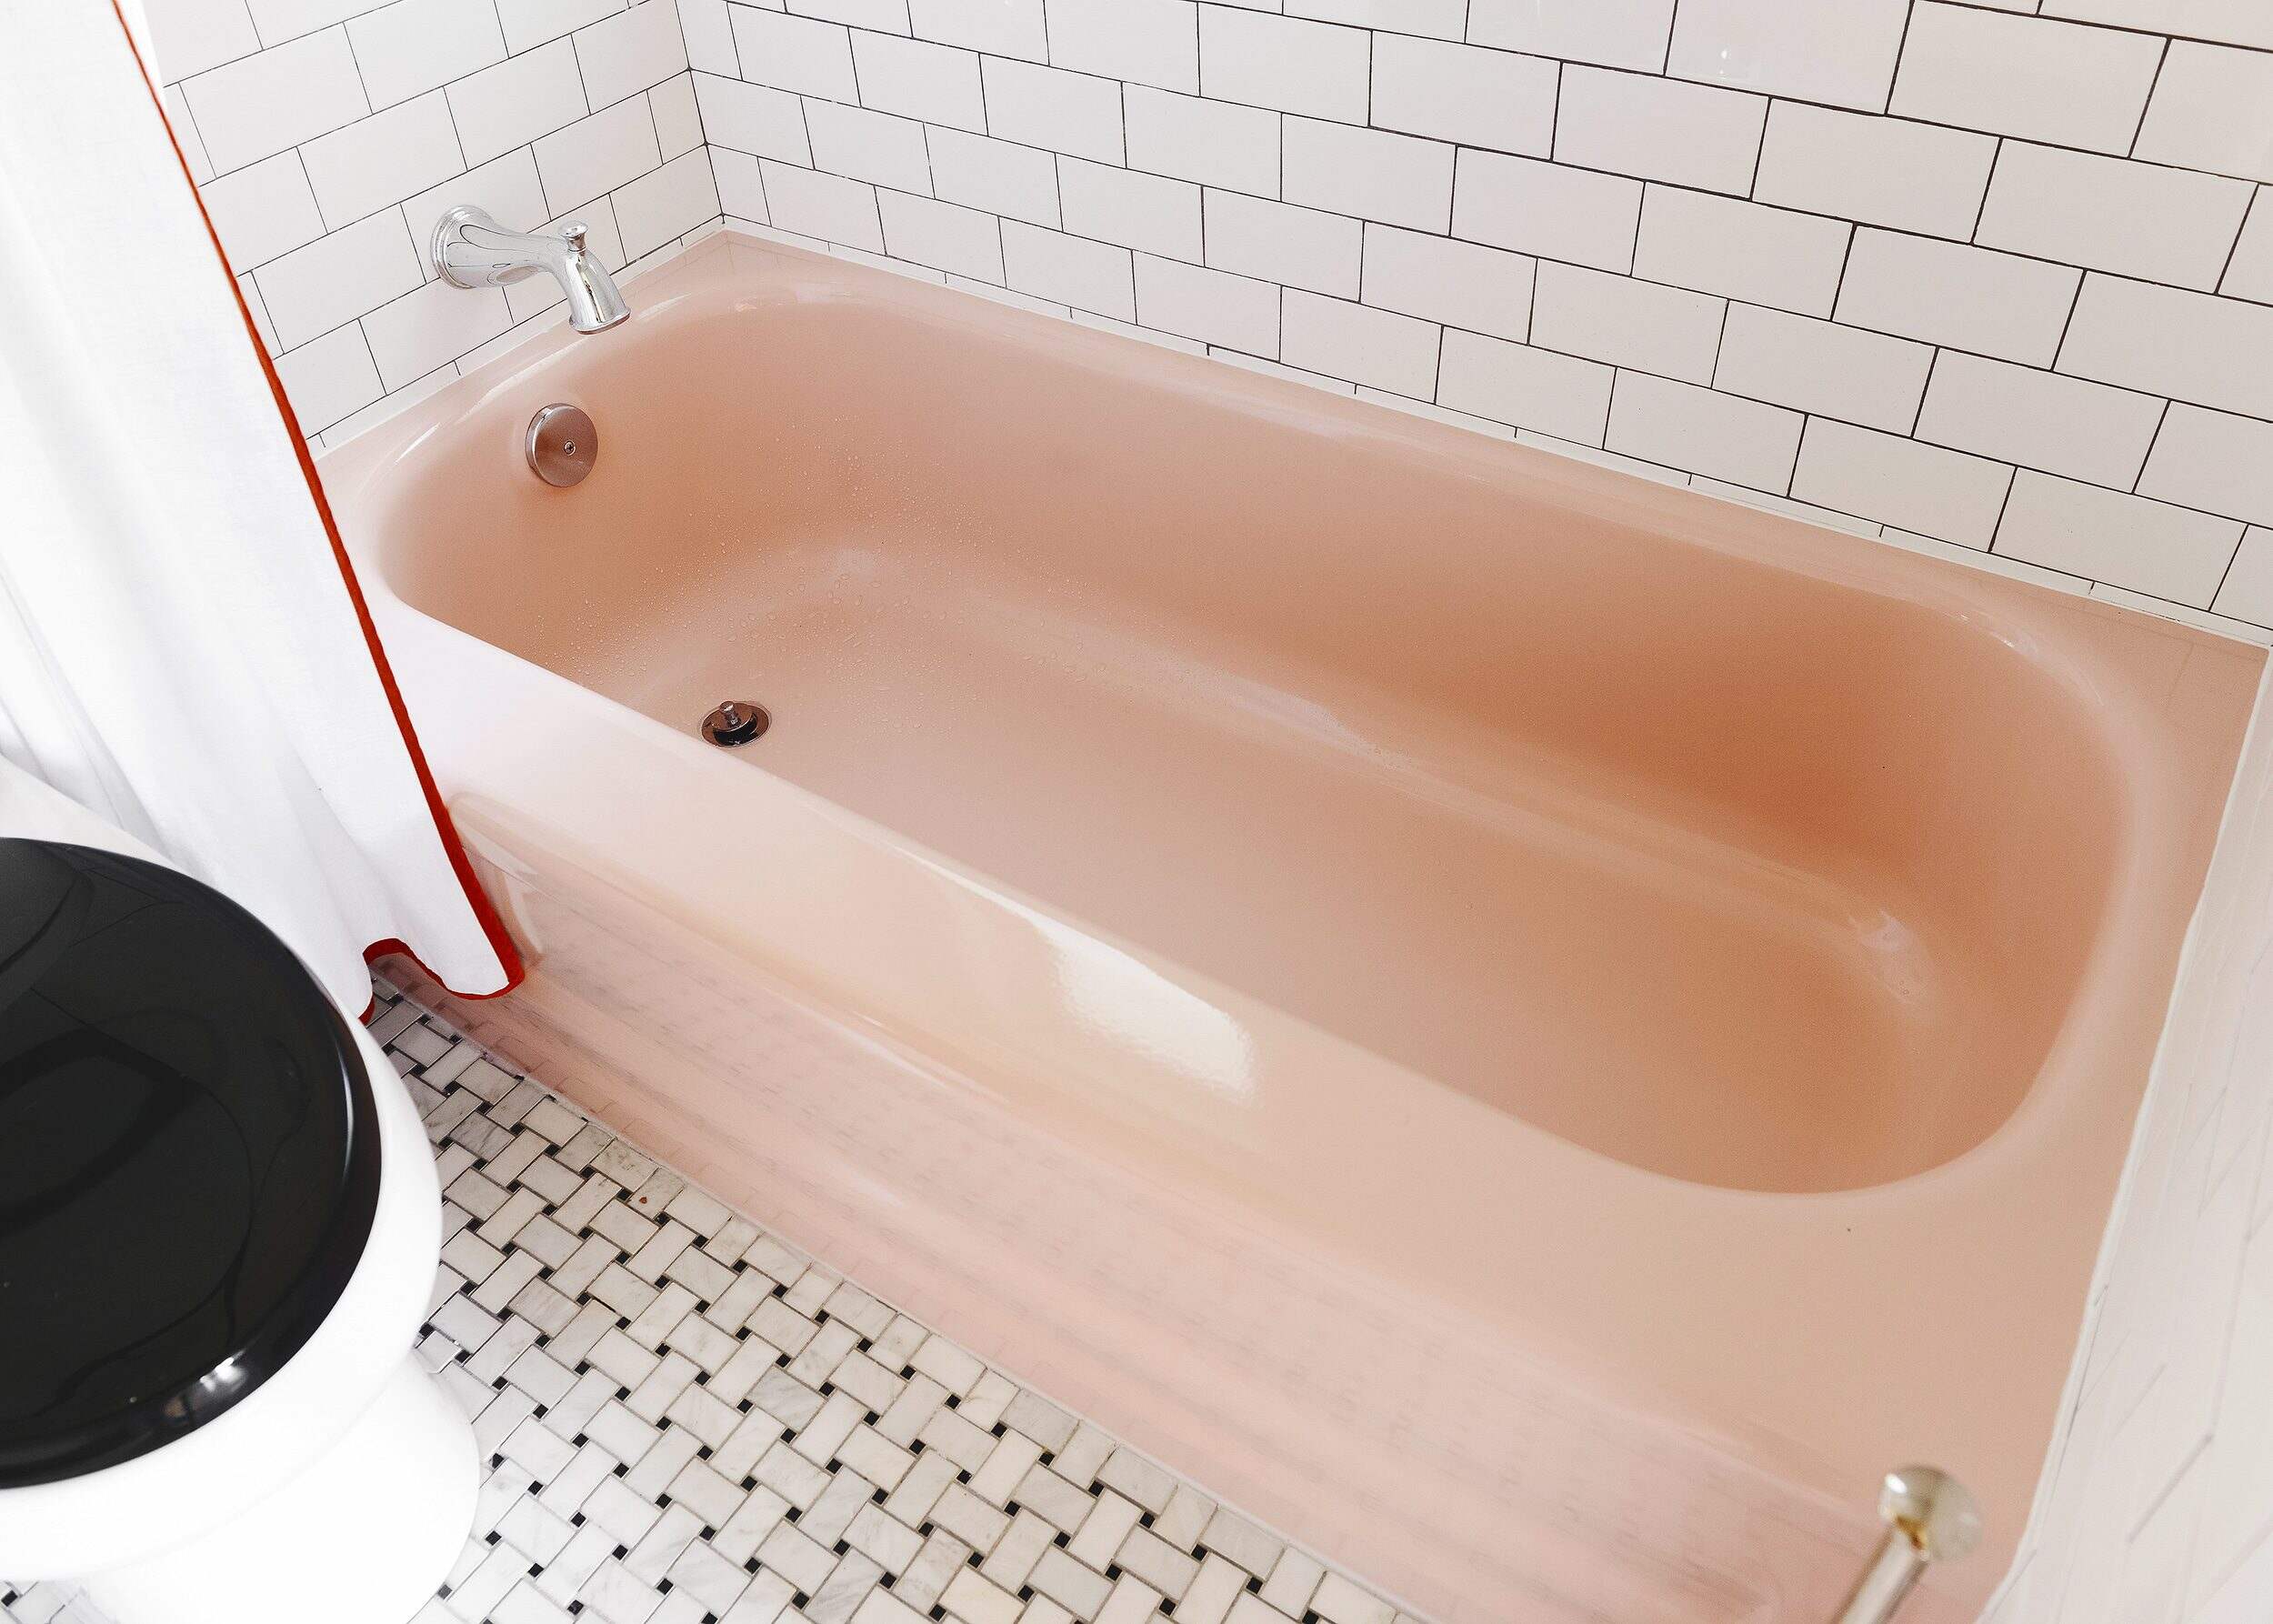
Stripping a painted bathtub can breathe new life into an old, worn-out fixture, transforming it into a stunning focal point of your bathroom. Over time, the paint on a bathtub can become chipped, discolored, or simply outdated, making the entire bathroom appear tired and lackluster. By removing the old paint and restoring the original surface, you can revitalize the bathtub and give your bathroom a fresh, updated look.
Whether you're planning to repaint the bathtub, refinish it, or simply restore it to its original state, the process of stripping the paint is a crucial first step. While it may seem like a daunting task, especially for those new to DIY projects, with the right tools, materials, and a bit of know-how, it can be a rewarding and achievable endeavor.
In this comprehensive guide, we will walk you through the step-by-step process of stripping a painted bathtub, providing detailed instructions and tips to help you tackle this project with confidence. From gathering the necessary materials to the final cleaning and drying steps, you'll gain a clear understanding of the entire process, empowering you to transform your bathtub and elevate the overall aesthetic of your bathroom.
So, roll up your sleeves, gather your supplies, and get ready to embark on a rewarding journey to restore your bathtub to its former glory. With patience and attention to detail, you'll soon be enjoying a beautifully refinished bathtub that adds charm and elegance to your bathroom space. Let's dive into the first step: gathering your materials.
Key Takeaways:
- Revitalize your old bathtub by stripping off the paint, following simple steps like gathering materials, applying paint stripper, and thorough cleaning. Transform your bathroom with a fresh, updated look!
- With patience and attention to detail, you can achieve a stunning, revitalized bathtub. Embrace DIY projects and take pride in transforming your home with creativity and resourcefulness.
Step 1: Gather Your Materials
Before embarking on the process of stripping a painted bathtub, it's essential to gather all the necessary materials to ensure a smooth and efficient undertaking. Here's a comprehensive list of items you'll need:
Materials:
- Paint Stripper: Select a high-quality paint stripper specifically formulated for use on bathtubs. Look for a product that is effective on multiple layers of paint and suitable for the material of your bathtub.
- Protective Gear: Prioritize safety by acquiring protective gear, including chemical-resistant gloves, safety goggles, and a respirator mask. These items will shield you from potential exposure to harmful chemicals during the paint stripping process.
- Scraper or Putty Knife: A sturdy scraper or putty knife is essential for effectively removing the softened paint from the bathtub surface. Opt for a tool with a comfortable grip and a sharp, durable blade.
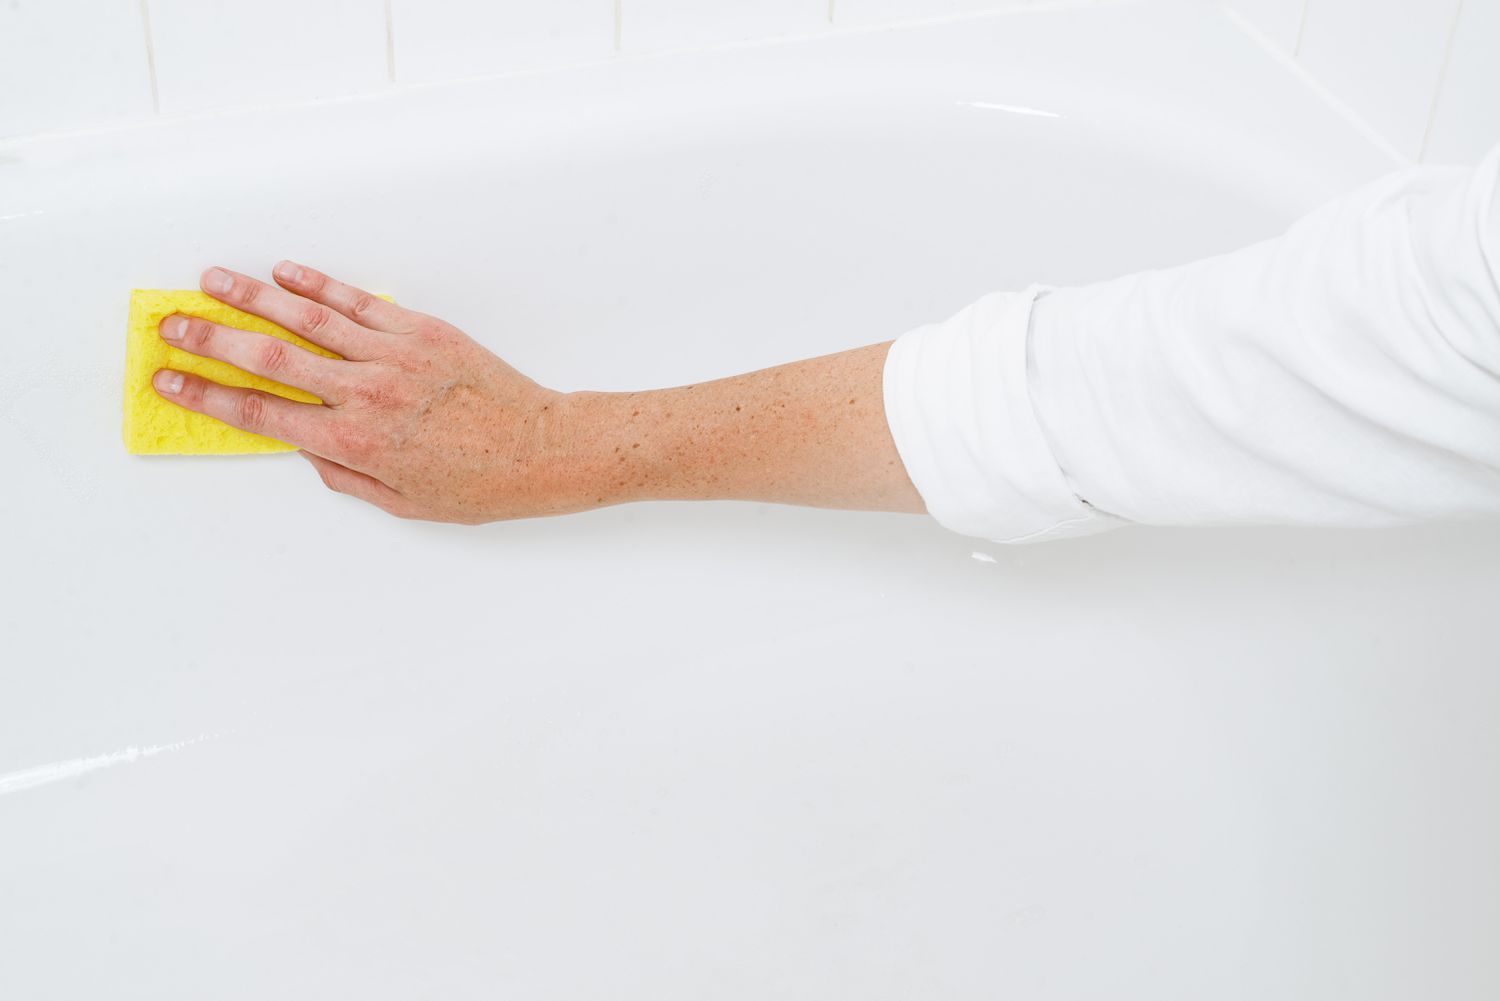
- Abrasive Sponge or Pad: To aid in the paint removal process, have an abrasive sponge or pad on hand. This will help to gently scrub away any remaining paint residue and ensure a smooth, clean surface.
- Cleaning Solution: Prepare a cleaning solution by mixing warm water with a mild detergent or a specially formulated bathtub cleaner. This solution will be used to thoroughly clean the bathtub after the paint has been stripped.
- Rags or Towels: Keep a supply of clean, lint-free rags or towels nearby for wiping and drying the bathtub during various stages of the process.
- Bucket or Spray Bottle: A bucket or spray bottle will be useful for holding the cleaning solution and facilitating the cleaning and rinsing steps.
- Ventilation: Ensure proper ventilation in the bathroom by opening windows and using a fan to expel fumes generated by the paint stripping process.
By assembling these materials before you begin, you'll be well-prepared to tackle the task of stripping the painted bathtub. With the right tools and protective gear at your disposal, you can proceed confidently to the next step: preparing the area for the paint stripping process.
Step 2: Prepare the Area
Before diving into the paint stripping process, it's crucial to prepare the surrounding area to ensure a safe and efficient undertaking. Proper preparation will help minimize potential mess and protect adjacent surfaces from accidental damage. Here's a detailed guide on how to prepare the area for stripping the painted bathtub:
-
Clear the Surrounding Space: Begin by removing any items near the bathtub, such as toiletries, bath mats, and decorative objects. Clearing the area will provide ample space to maneuver and work comfortably during the paint stripping process.
-
Protect Adjacent Surfaces: Cover the floor surrounding the bathtub with a thick layer of drop cloths or plastic sheeting to safeguard it from accidental spills or drips of paint stripper. Additionally, use painter's tape to secure the protective covering in place and prevent it from shifting during the project.
-
Ventilate the Area: Proper ventilation is essential when working with paint strippers, as they release fumes that can be harmful if inhaled. Open windows and doors to promote air circulation, and consider using a fan to help dissipate any lingering fumes. If possible, use a box fan to direct fumes out of the window.
-
Protect Fixtures and Hardware: If the bathtub is surrounded by fixtures such as faucets, showerheads, or handles, take the time to protect them from accidental contact with the paint stripper. Cover these fixtures with plastic bags and secure them in place with painter's tape to prevent any damage or corrosion.
-
Ensure Adequate Lighting: Proper lighting is essential for a precise and thorough paint stripping process. Ensure that the area is well-lit to accurately assess the coverage and effectiveness of the paint stripper as you work.
-
Read and Follow Safety Instructions: Before proceeding, carefully review the safety instructions provided with the chosen paint stripper. Familiarize yourself with the recommended safety precautions, such as wearing protective gear and working in a well-ventilated area, to minimize potential risks.
By meticulously preparing the area before initiating the paint stripping process, you'll create a safe and organized environment for the task at hand. With the area properly prepped, you can confidently move on to the next step: applying the paint stripper to the bathtub surface.
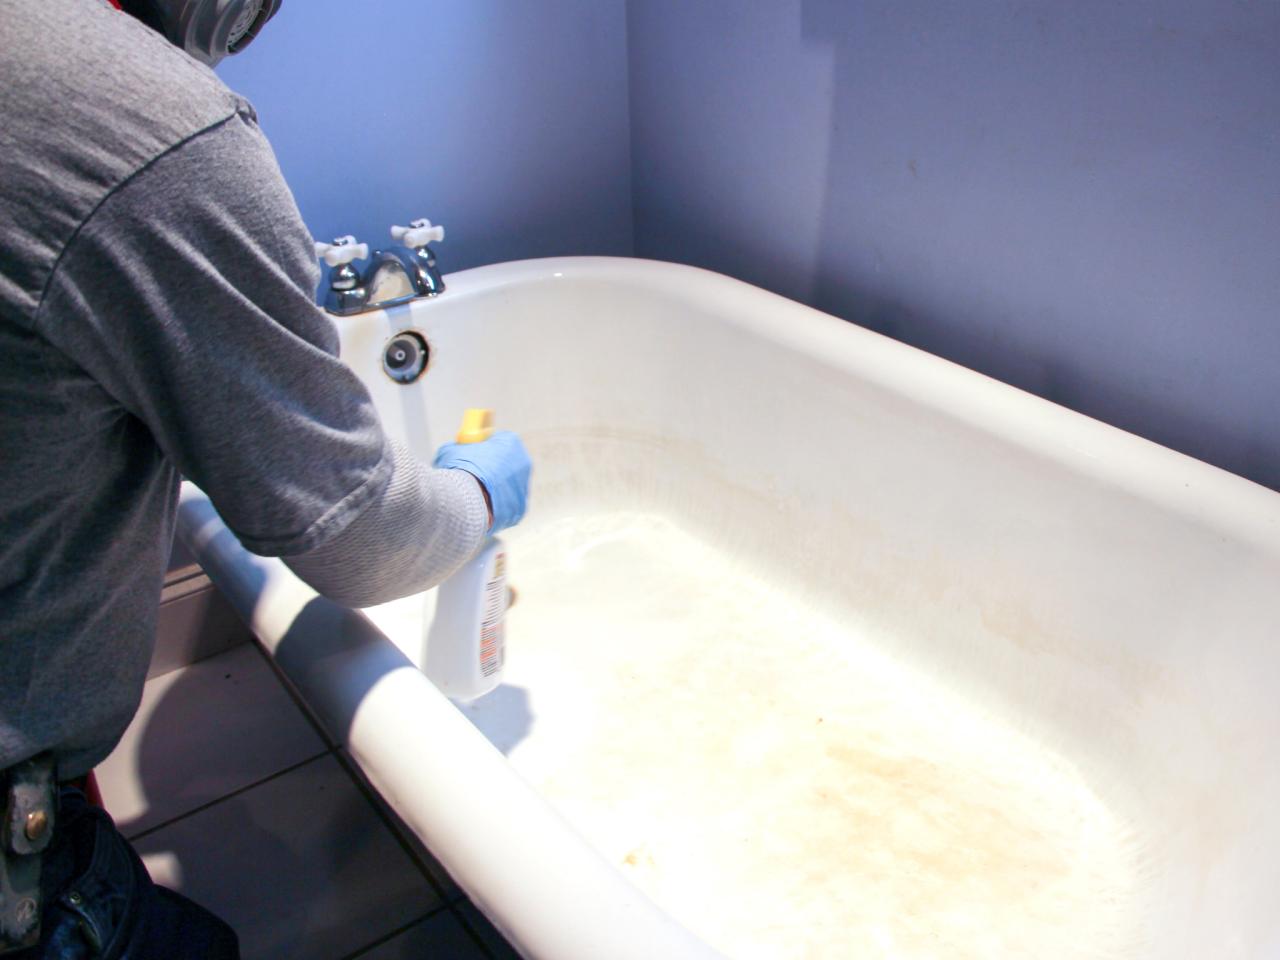
Step 3: Apply the Paint Stripper
With the area prepared and the necessary materials at hand, it's time to apply the paint stripper to the bathtub surface. This critical step sets the stage for effectively softening and loosening the layers of paint, making it easier to remove them. Follow these detailed instructions to ensure a successful application of the paint stripper:
-
Read the Instructions: Before applying the paint stripper, carefully read the manufacturer's instructions provided on the product label. Familiarize yourself with the recommended application methods, safety precautions, and the duration for which the stripper should remain on the surface.
-
Protective Gear: Prioritize safety by donning the appropriate protective gear, including chemical-resistant gloves, safety goggles, and a respirator mask. These items will shield you from potential exposure to the strong chemicals present in the paint stripper.
-
Ventilation: Ensure that the area remains well-ventilated during the application process. Open windows and use a fan to expel fumes, minimizing inhalation of potentially harmful vapors.
-
Apply the Stripper: Using a brush or a roller, apply a generous, even coat of the paint stripper to the entire surface of the bathtub. Ensure that the stripper is applied in a consistent layer, covering all areas where paint removal is desired.
-
Allow Dwell Time: Once the paint stripper has been applied, allow it to sit for the duration specified in the manufacturer's instructions. This dwell time is crucial for the stripper to effectively penetrate and soften the layers of paint.
-
Monitor Progress: During the dwell time, periodically check the bathtub surface to assess the progress of the paint softening. Depending on the type and thickness of the paint, you may notice it beginning to bubble or lift from the surface as the stripper takes effect.
-
Avoid Agitation: Refrain from agitating or disturbing the paint stripper while it is in the process of softening the paint. Allow the chemical action to work undisturbed to achieve optimal results.
By meticulously following these steps, you'll effectively apply the paint stripper to the bathtub surface, setting the stage for the subsequent paint removal process. With the paint stripper in place, you're ready to move on to the next step: letting the stripper sit and work its magic on the painted surface.
Read more: How To Remove Paint From Weather Stripping
Step 4: Let the Stripper Sit
After applying the paint stripper to the bathtub surface, allowing it to sit and work its magic is a crucial step in the paint removal process. The dwell time specified by the manufacturer is essential for the stripper to effectively penetrate and soften the layers of paint, preparing them for easy removal. During this period, the chemical action of the paint stripper begins to break down the bonds between the paint and the bathtub surface, facilitating the subsequent scraping and removal process.
As the paint stripper sits on the bathtub surface, it's important to monitor its progress periodically. Depending on the type and thickness of the paint, you may observe visual cues indicating that the paint is softening and lifting from the surface. Bubbling or wrinkling of the paint is a common indication that the stripper is effectively loosening the paint's grip on the bathtub.
It's crucial to exercise patience during this phase and refrain from agitating or disturbing the paint stripper. Allowing the chemical action to work undisturbed is key to achieving optimal results. While it may be tempting to expedite the process, interfering with the stripper's action can compromise the effectiveness of the paint removal and lead to additional effort during the scraping stage.
Proper ventilation should be maintained throughout the dwell time to ensure the dispersion of any fumes generated by the paint stripper. Open windows and use a fan to promote air circulation, minimizing the inhalation of potentially harmful vapors. Additionally, adherence to the safety precautions outlined by the manufacturer is essential to safeguard against any potential risks associated with the use of the paint stripper.
By allowing the paint stripper to sit for the specified duration and closely monitoring its progress, you set the stage for a successful paint removal process. The next step, scraping off the softened paint, will be greatly facilitated by the effective action of the paint stripper during this dwell time.
With the paint stripper having ample time to work its magic, you're now prepared to proceed to the next step: scraping off the softened paint to reveal the revitalized surface of your bathtub.
Step 5: Scrape Off the Paint
With the paint stripper having effectively softened the layers of paint on the bathtub surface, it's time to proceed with the crucial step of scraping off the loosened paint. This stage requires precision and patience to ensure thorough paint removal while safeguarding the underlying bathtub material. Follow these detailed instructions to effectively scrape off the softened paint and reveal the revitalized surface of your bathtub:
-
Select the Right Tool: Choose a sturdy scraper or putty knife with a sharp, durable blade to facilitate the paint removal process. Ensure that the tool is suitable for use on the bathtub surface and provides a comfortable grip for controlled scraping.
-
Begin at an Edge: Start the paint removal process by gently inserting the scraper or putty knife at an edge of the softened paint. Apply steady, even pressure to initiate the lifting of the paint from the bathtub surface. Avoid using excessive force to prevent damage to the underlying material.
-
Work in Sections: Divide the bathtub surface into manageable sections and focus on scraping off one area at a time. By working systematically, you can ensure thorough paint removal while maintaining control over the process.
-
Angle of the Scraper: Hold the scraper at a shallow angle to the bathtub surface, allowing the blade to glide smoothly under the softened paint. Avoid using a steep angle, as this may result in gouging or scratching the underlying material.
-
Remove the Paint: As the softened paint lifts from the surface, use the scraper to gently guide it off the bathtub. Exercise caution to avoid creating deep scratches or indentations while removing the paint. If necessary, make multiple passes with the scraper to ensure complete paint removal.
-
Address Stubborn Areas: In areas where the paint adheres more stubbornly, apply additional paint stripper as needed to further soften the paint before resuming the scraping process. Exercise patience and persistence to achieve thorough paint removal across the entire bathtub surface.
-
Inspect and Refine: Periodically inspect the scraped areas to assess the effectiveness of the paint removal. Use an abrasive sponge or pad to gently refine the surface and eliminate any remaining paint residue. This step helps achieve a smooth, clean surface in preparation for the subsequent cleaning and rinsing process.
By meticulously following these steps, you'll effectively scrape off the softened paint, revealing the revitalized surface of your bathtub. With patience and attention to detail, you'll achieve a thorough paint removal process, setting the stage for the final cleaning and drying steps to complete the transformation of your bathtub.
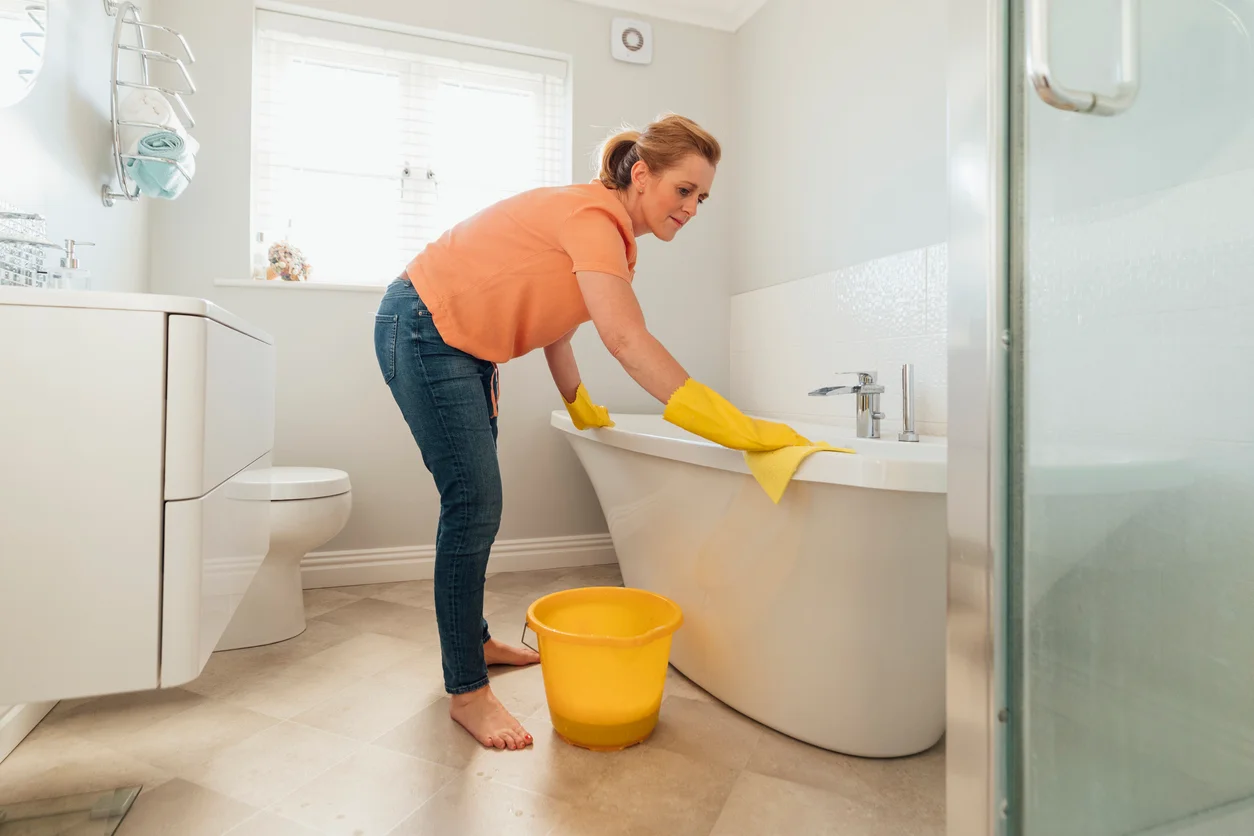
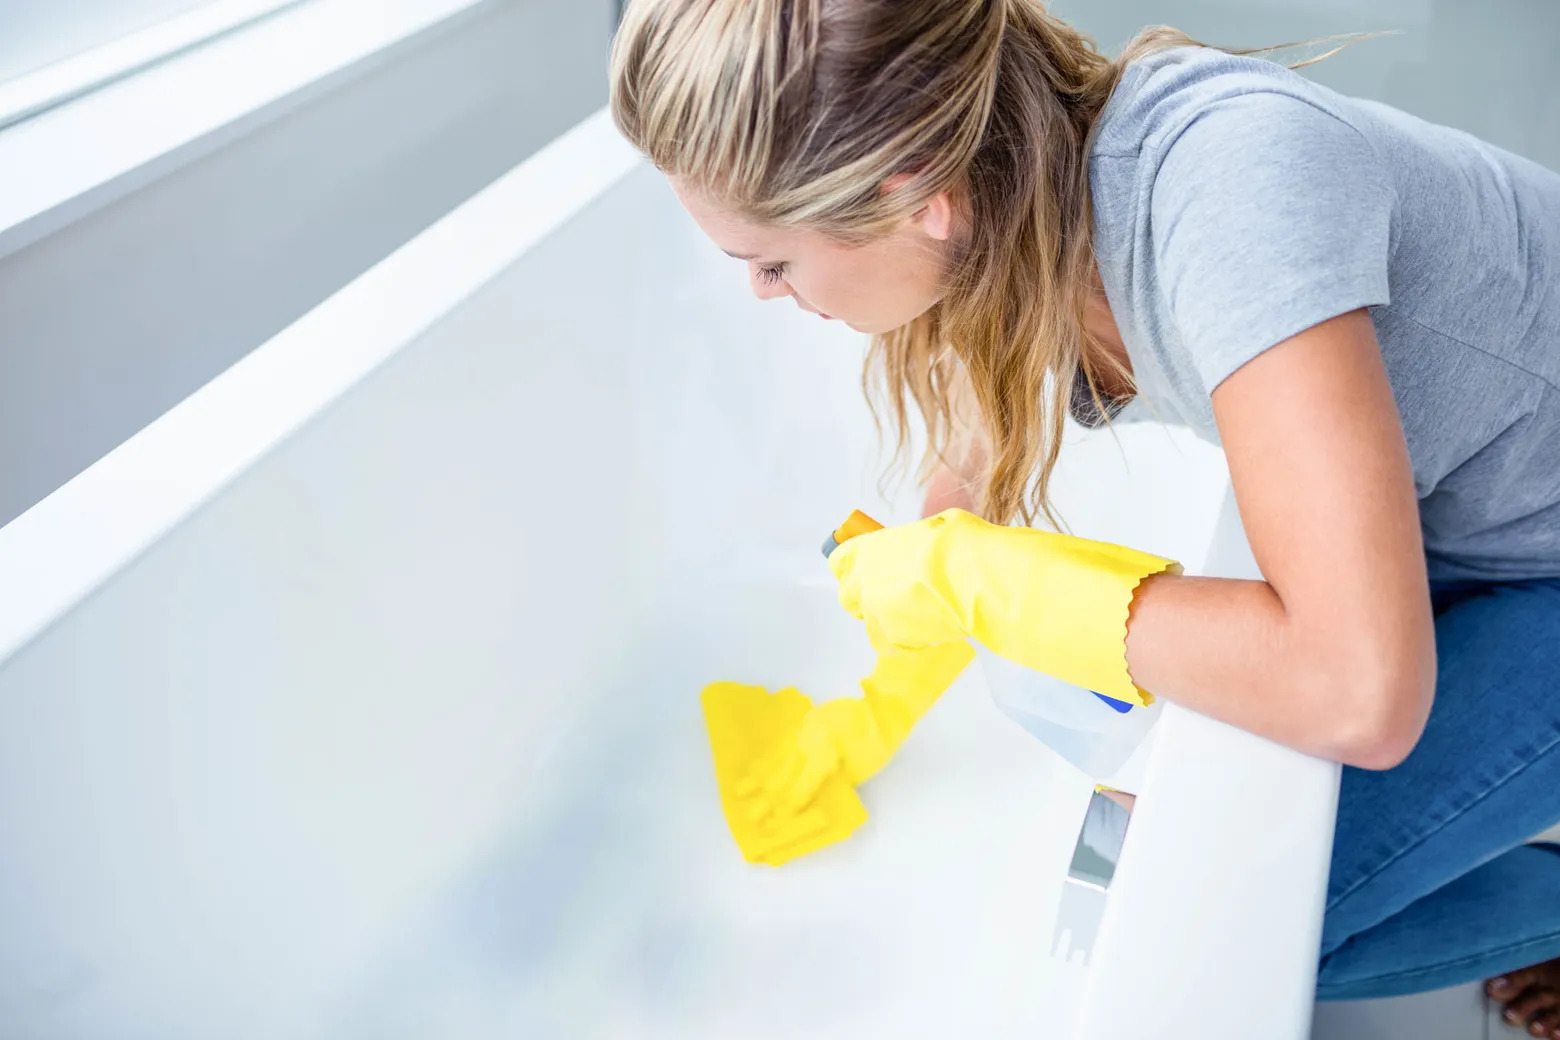
Step 6: Clean the Bathtub
After successfully removing the softened paint from the bathtub surface, the next crucial step is to thoroughly clean the exposed area to eliminate any residual paint stripper, paint particles, and debris. This meticulous cleaning process is essential to prepare the bathtub for the final stages of the restoration, ensuring a pristine and smooth surface for subsequent treatments such as refinishing or repainting.
Cleaning Process:
-
Remove Residual Paint and Debris: Begin by using a clean, lint-free rag or towel to wipe away any remaining paint particles and debris from the bathtub surface. Carefully inspect the area to ensure that all loose paint and foreign matter are effectively removed.
-
Prepare the Cleaning Solution: In a bucket or spray bottle, prepare a cleaning solution by mixing warm water with a mild detergent or a specially formulated bathtub cleaner. Ensure that the cleaning solution is well-diluted and suitable for use on the bathtub surface.
-
Apply the Cleaning Solution: Liberally apply the cleaning solution to the bathtub surface, ensuring comprehensive coverage of the exposed area. Use a sponge or soft-bristled brush to gently scrub the surface, targeting any stubborn paint residue or residual traces of the paint stripper.
-
Thoroughly Rinse the Surface: After scrubbing the bathtub surface, thoroughly rinse it with clean water to remove the cleaning solution, paint particles, and any remaining debris. Use a separate rag or towel to wipe the surface and ensure that it is completely free of cleaning residue.
-
Inspect for Residual Debris: Carefully inspect the cleaned bathtub surface to identify any residual debris or paint particles that may have been overlooked. Address any remaining traces by gently scrubbing the area with the cleaning solution and rinsing it thoroughly.
-
Dry the Bathtub: Once the cleaning process is complete, use a dry, clean towel to carefully dry the bathtub surface. Ensure that the entire area is free of moisture, as this will prepare the surface for the subsequent treatment, whether it involves refinishing, repainting, or simply restoring the original appearance.
By meticulously following these steps, you'll effectively clean the bathtub, preparing it for the final stages of the restoration process. The thorough cleaning ensures that the bathtub surface is free of paint residue, debris, and cleaning solution, setting the stage for the subsequent treatment to enhance its appearance and functionality.
Use a chemical paint stripper specifically designed for use on bathtubs. Apply the stripper according to the manufacturer’s instructions, then use a scraper to remove the old paint. Be sure to wear protective gloves and work in a well-ventilated area.
Read also: 13 Amazing Soundproofing Paint for 2024
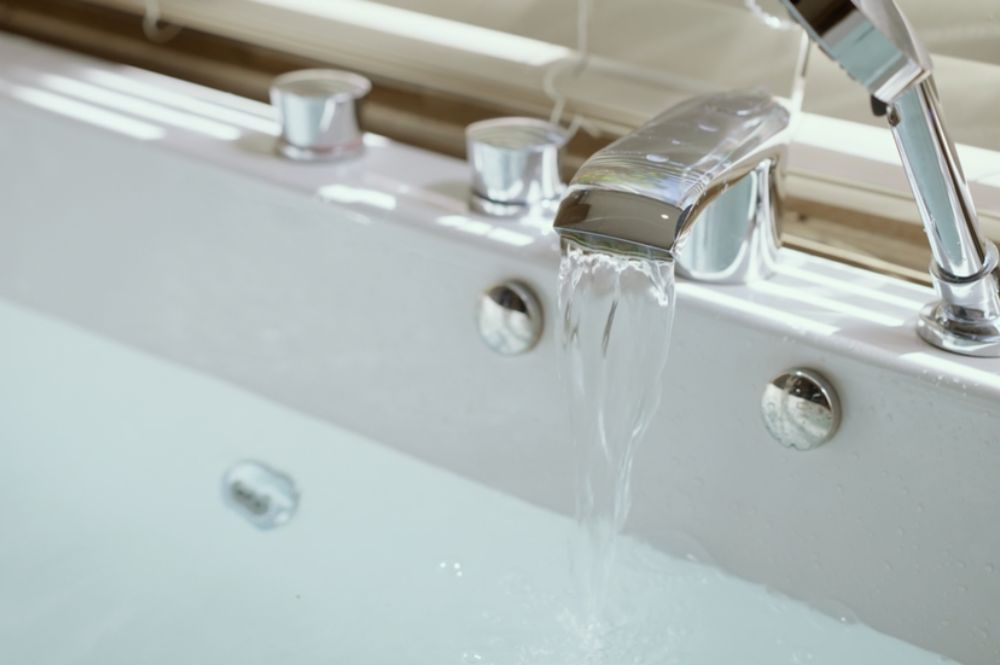
Step 7: Rinse and Dry
After completing the meticulous process of cleaning the bathtub surface, the final steps of rinsing and drying are essential to ensure that the revitalized surface is thoroughly prepared for subsequent treatments or immediate use. This critical phase involves the removal of any remaining cleaning solution residue and the complete drying of the bathtub, setting the stage for the culmination of the restoration process.
Rinsing Process:
-
Thorough Water Rinse: Begin by thoroughly rinsing the bathtub surface with clean water, ensuring comprehensive coverage of the entire area. Use a handheld showerhead or a bucket to gently pour water over the surface, effectively removing any residual cleaning solution and ensuring a pristine, residue-free result.
-
Inspect for Residual Residue: Carefully inspect the rinsed surface to identify any lingering traces of cleaning solution or debris. Address any remaining residue by repeating the rinsing process, focusing on areas that may require additional attention to achieve a completely clean and refreshed surface.
Drying Procedure:
-
Use Clean Towels: After the rinsing process, use clean, dry towels to carefully pat and wipe the bathtub surface, removing excess water and ensuring thorough drying. Pay close attention to corners, edges, and any intricate details to eliminate moisture and prevent water spots.
-
Promote Air Circulation: Facilitate the drying process by promoting air circulation in the bathroom. Open windows and doors to allow fresh air to flow through the space, expediting the evaporation of any remaining moisture on the bathtub surface.
-
Ensure Complete Dryness: Prior to proceeding with any subsequent treatments or using the bathtub, ensure that the surface is completely dry. A dry surface is essential for the successful application of refinishing products, paints, or sealants, as it promotes optimal adhesion and a flawless finish.
By meticulously following the rinsing and drying procedures, you'll ensure that the revitalized bathtub surface is impeccably clean and thoroughly dried, ready for the final stages of the restoration process. Whether you're planning to refinish the bathtub, apply a fresh coat of paint, or simply admire its restored appearance, the rinsing and drying steps play a pivotal role in achieving a pristine and inviting bathtub that enhances the overall aesthetic of your bathroom.
Conclusion
In conclusion, the process of stripping a painted bathtub is a transformative endeavor that can breathe new life into a worn-out fixture, revitalizing the entire bathroom space. By following the step-by-step guide outlined in this comprehensive resource, you've gained valuable insights into the meticulous process of removing old paint from a bathtub and preparing it for subsequent treatments or immediate use.
From the initial gathering of materials to the final rinsing and drying steps, each stage of the paint stripping process plays a crucial role in achieving a successful restoration. By prioritizing safety, meticulous preparation, and attention to detail, you've equipped yourself with the knowledge and confidence to tackle this rewarding DIY project.
As you embark on the journey of stripping a painted bathtub, it's essential to approach the task with patience and a meticulous mindset. The careful application of paint stripper, the precise scraping off of softened paint, and the thorough cleaning and drying of the bathtub surface are all integral to achieving a pristine and revitalized result.
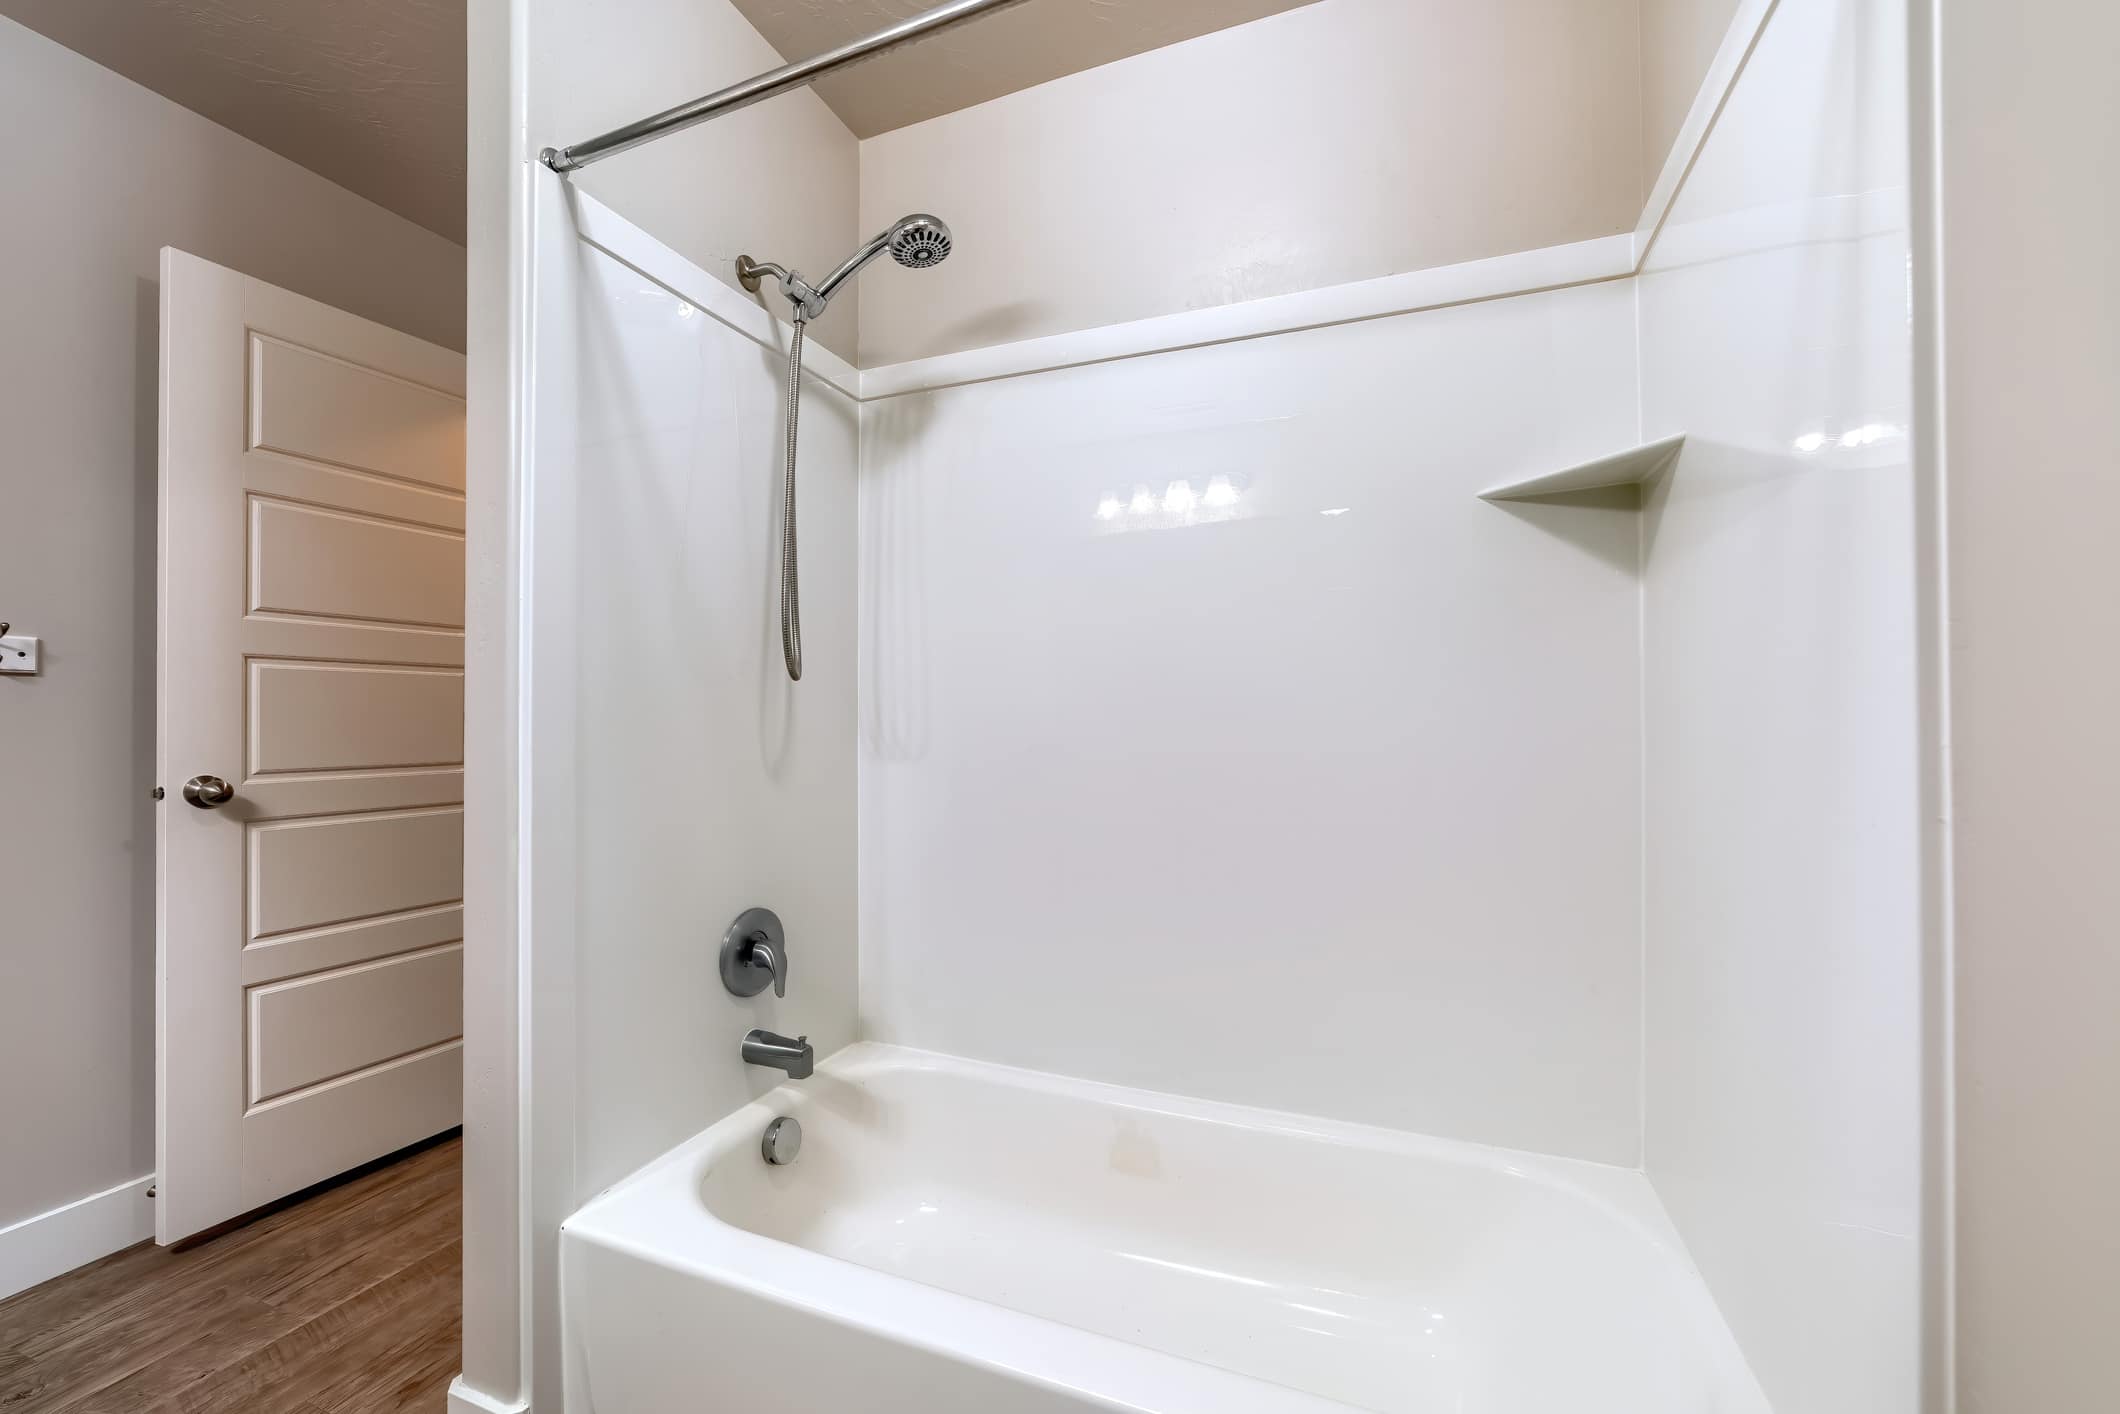
Whether you're planning to refinish the bathtub, apply a fresh coat of paint, or simply restore its original appearance, the completion of the paint stripping process marks a significant milestone in the transformation of your bathroom. The revitalized bathtub will serve as a stunning focal point, adding charm and elegance to the overall aesthetic of the space.
As you admire the beautifully restored bathtub, take pride in the dedication and effort you've invested in this project. Your attention to detail and commitment to achieving a flawless result have contributed to the enhancement of your bathroom's ambiance and functionality.
In the end, the process of stripping a painted bathtub is not merely a restoration project; it's a testament to your creativity, resourcefulness, and ability to breathe new life into existing fixtures. Embrace the sense of accomplishment that comes with revitalizing your bathtub, knowing that your efforts have contributed to the rejuvenation of your home environment.
With the knowledge and skills acquired from this guide, you're well-equipped to embark on future DIY projects and continue enhancing your living space with confidence and creativity. The revitalized bathtub stands as a testament to your dedication to creating a welcoming and aesthetically pleasing home.
As you reflect on the journey of stripping a painted bathtub, take pride in the transformation you've achieved and the newfound allure it brings to your bathroom. Your commitment to excellence and the pursuit of a revitalized living space have yielded a remarkable outcome that enriches the overall ambiance of your home.
Frequently Asked Questions about How To Strip A Painted Bathtub
Was this page helpful?
At Storables.com, we guarantee accurate and reliable information. Our content, validated by Expert Board Contributors, is crafted following stringent Editorial Policies. We're committed to providing you with well-researched, expert-backed insights for all your informational needs.
0 thoughts on “How To Strip A Painted Bathtub”