Home>Furniture & Design>Interior Design Trends>How To Fix A Chip In Glass
Interior Design Trends
How To Fix A Chip In Glass
Published: February 8, 2024
Learn how to fix a chip in glass and enhance your interior design with the latest trends. Discover expert tips and techniques for a flawless finish.
(Many of the links in this article redirect to a specific reviewed product. Your purchase of these products through affiliate links helps to generate commission for Storables.com, at no extra cost. Learn more)
Introduction
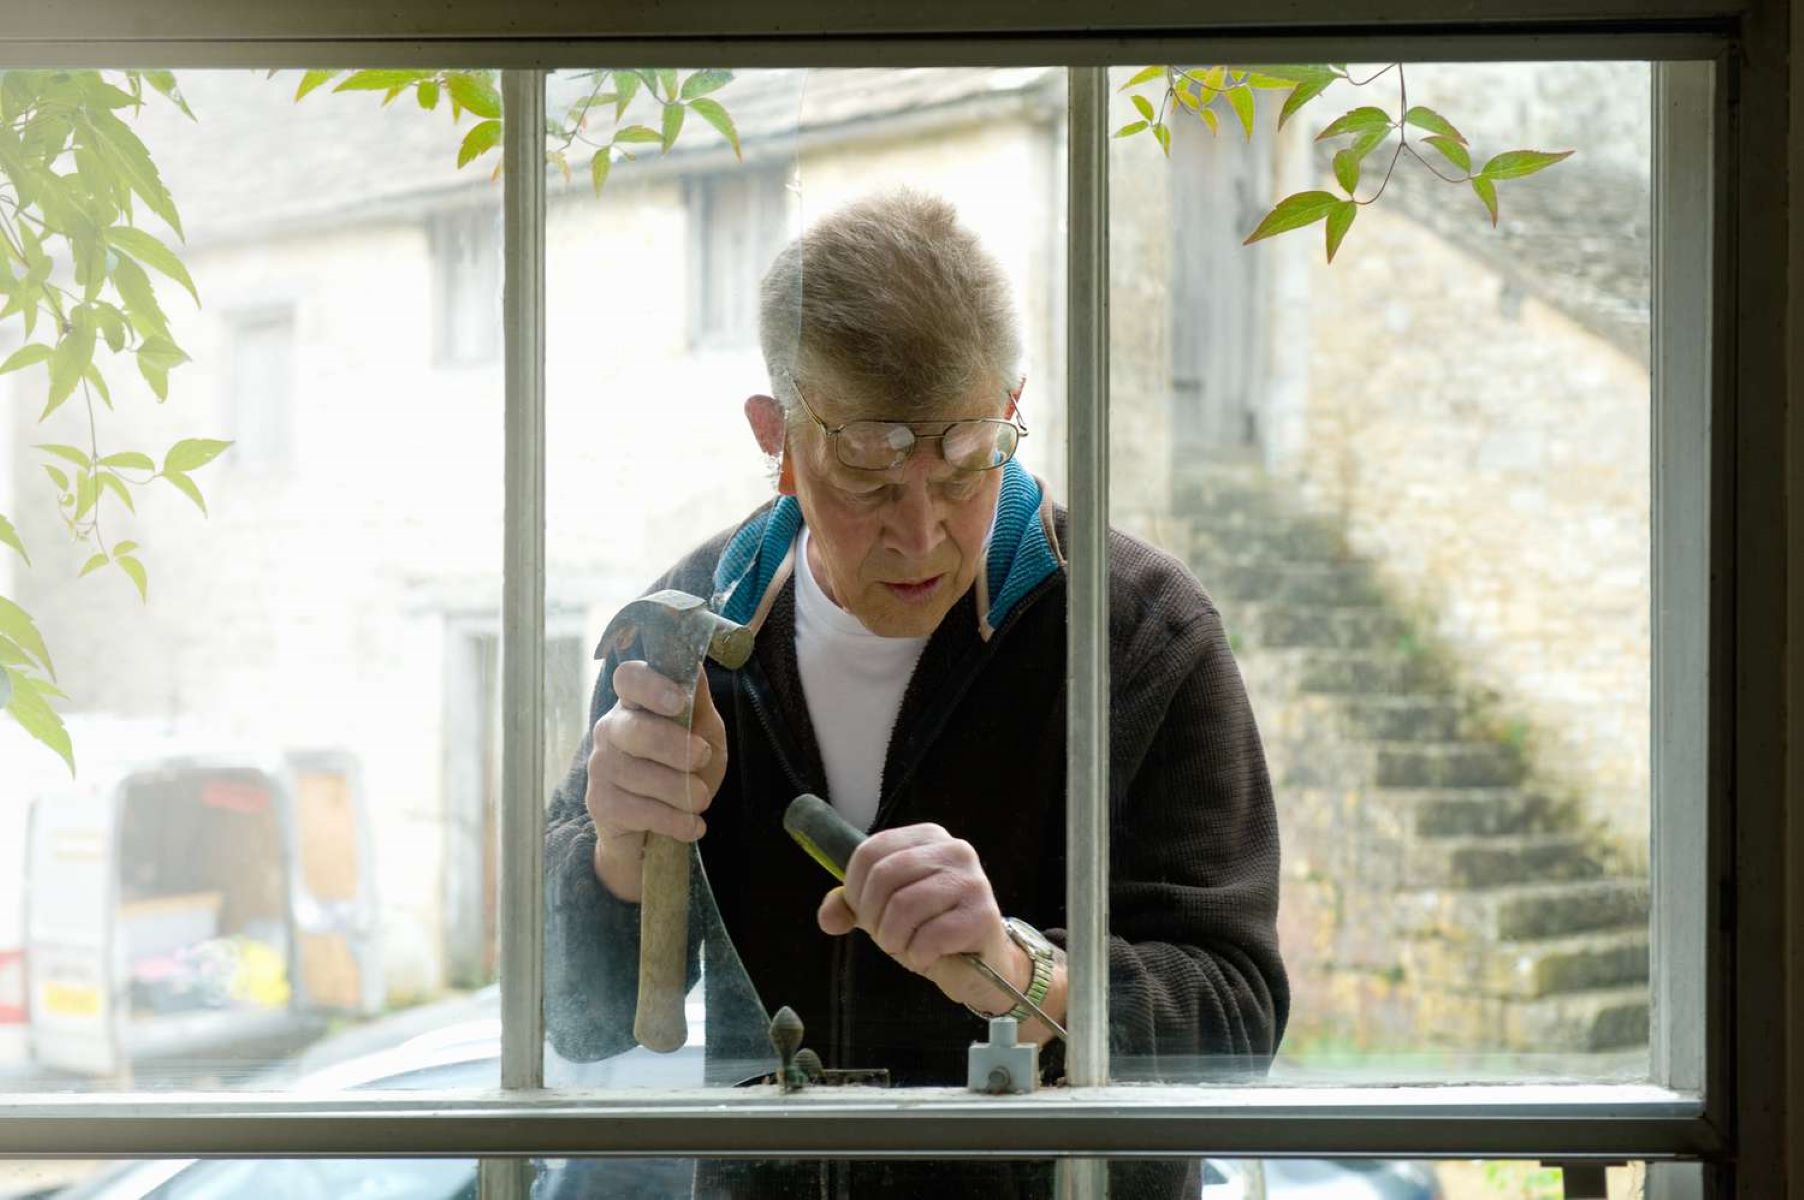
A chip in glass can be a frustrating blemish, marring the beauty of a cherished glass object or surface. Whether it's a delicate vase, a decorative mirror, or a glass tabletop, a chip can detract from the overall aesthetic appeal. However, the good news is that with the right tools and techniques, it's possible to repair the chip and restore the glass to its former glory.
In this comprehensive guide, we will delve into the art of fixing a chip in glass, providing step-by-step instructions and valuable insights to help you tackle this common issue with confidence. By following these instructions, you can save money on professional repairs and breathe new life into your beloved glass items.
Understanding the nature of the chip and the properties of glass is crucial before embarking on the repair process. Glass, known for its transparency, hardness, and fragility, requires a delicate touch and specialized materials for successful restoration. By gaining a deeper understanding of the characteristics of glass and the intricacies of the repair process, you'll be better equipped to address the chip effectively.
With the right tools and materials at your disposal, you'll be ready to embark on the journey of repairing the chip in your glass item. From cleaning the affected area to applying the filler and polishing the surface, each step plays a vital role in achieving a seamless and professional-looking repair. By carefully following these steps, you can elevate your DIY skills and gain a sense of accomplishment from revitalizing your glass possessions.
So, let's roll up our sleeves and dive into the world of glass repair. With patience, precision, and a touch of creativity, you'll soon be on your way to restoring the flawless allure of your cherished glass items. Let's begin the transformative journey of fixing that chip in your glass!
Key Takeaways:
- Don’t let a chip in your glass items bring you down! With the right tools and techniques, you can restore the flawless beauty of your cherished glass possessions and save money on professional repairs.
- By mastering the art of glass repair, you not only revive the elegance of your glass items but also gain a sense of accomplishment and pride in mastering a valuable DIY skill.
Read more: How To Fix Chipped Glass
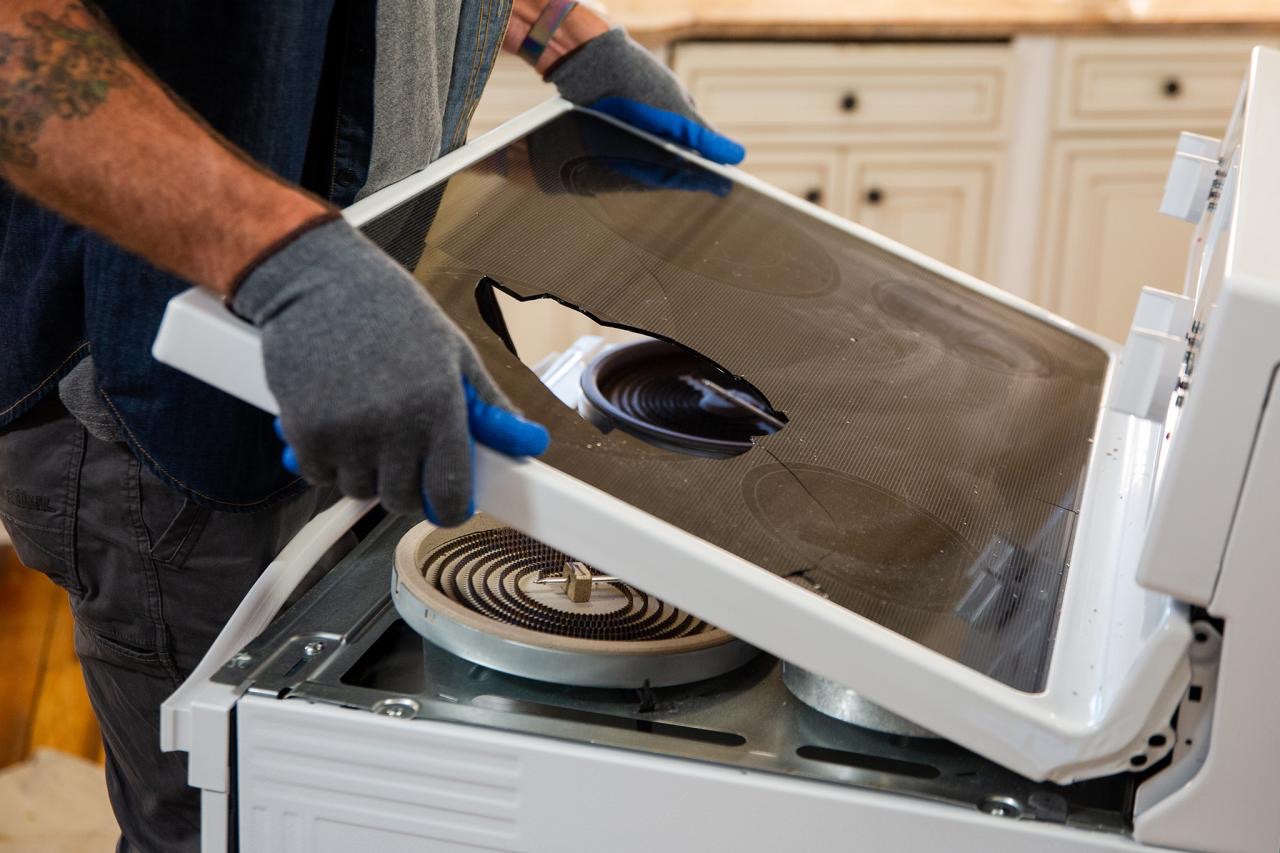
Understanding the Chip in Glass
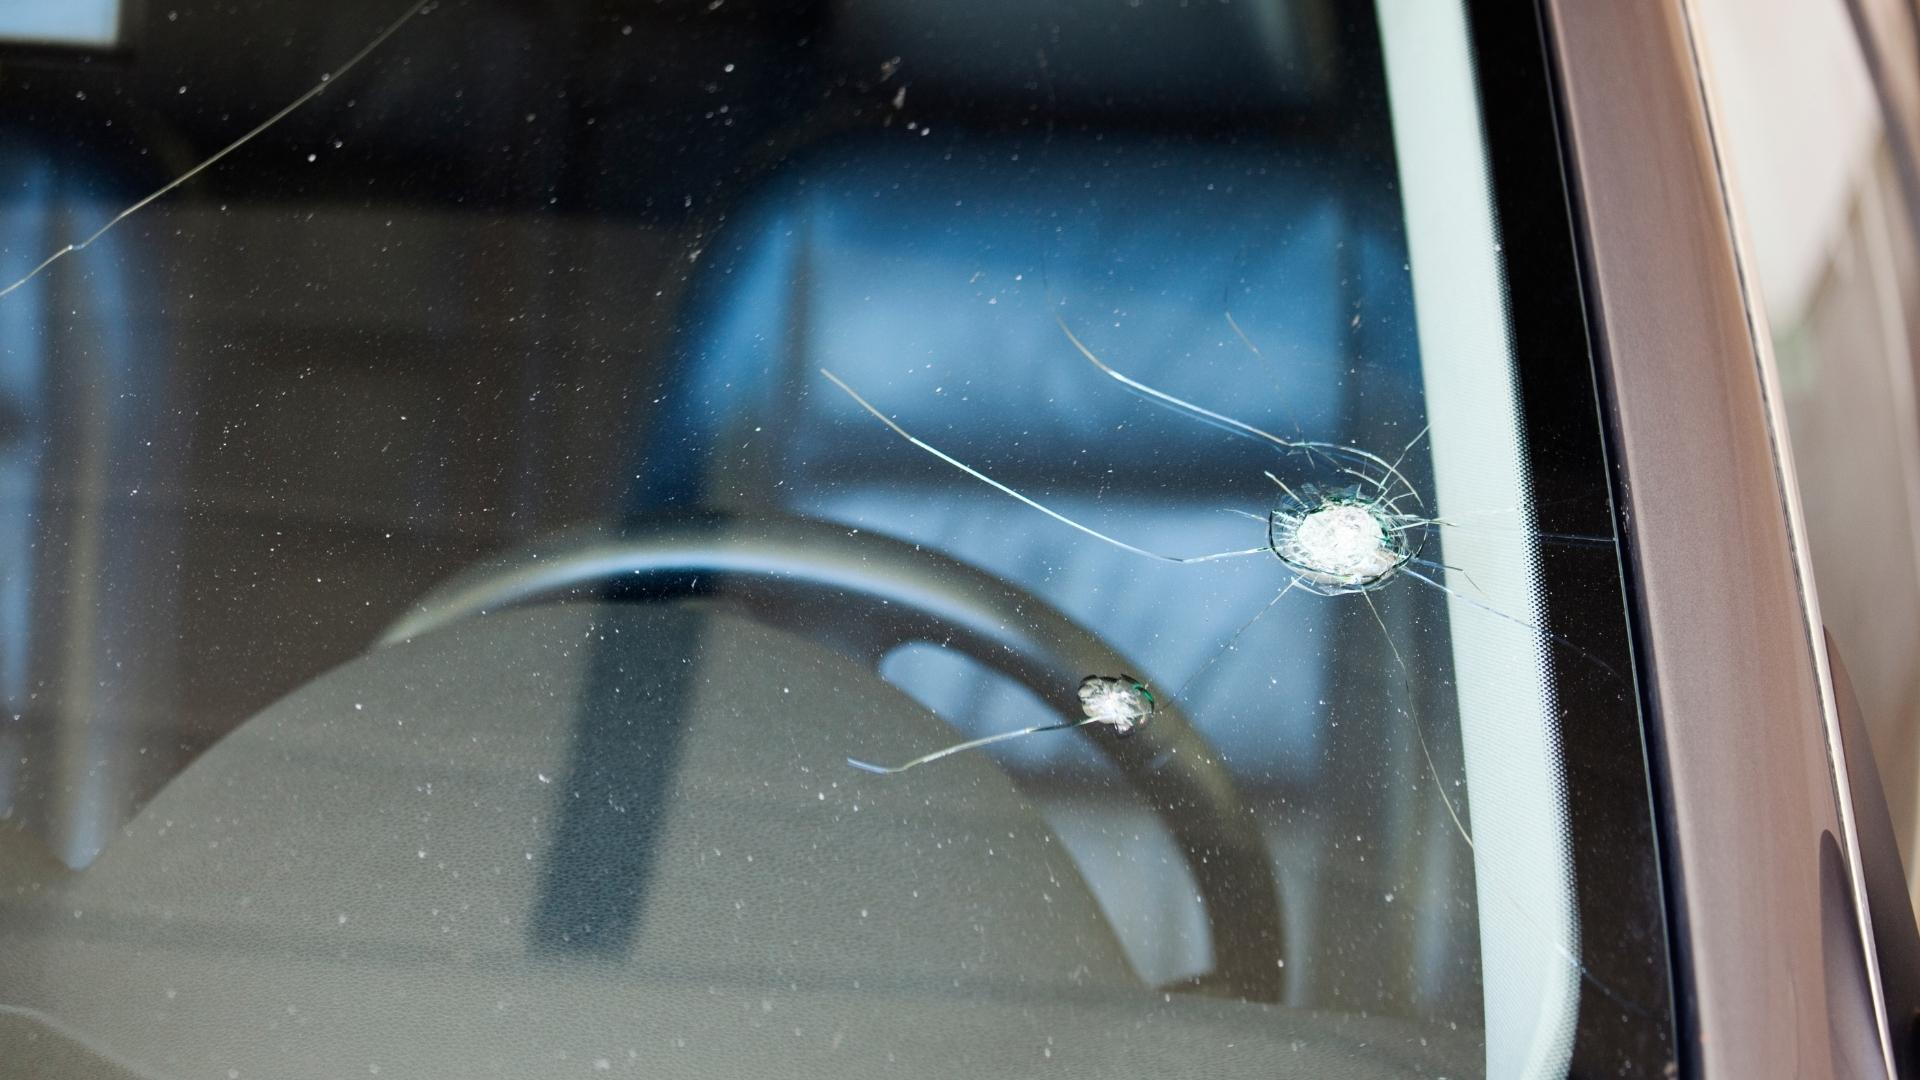
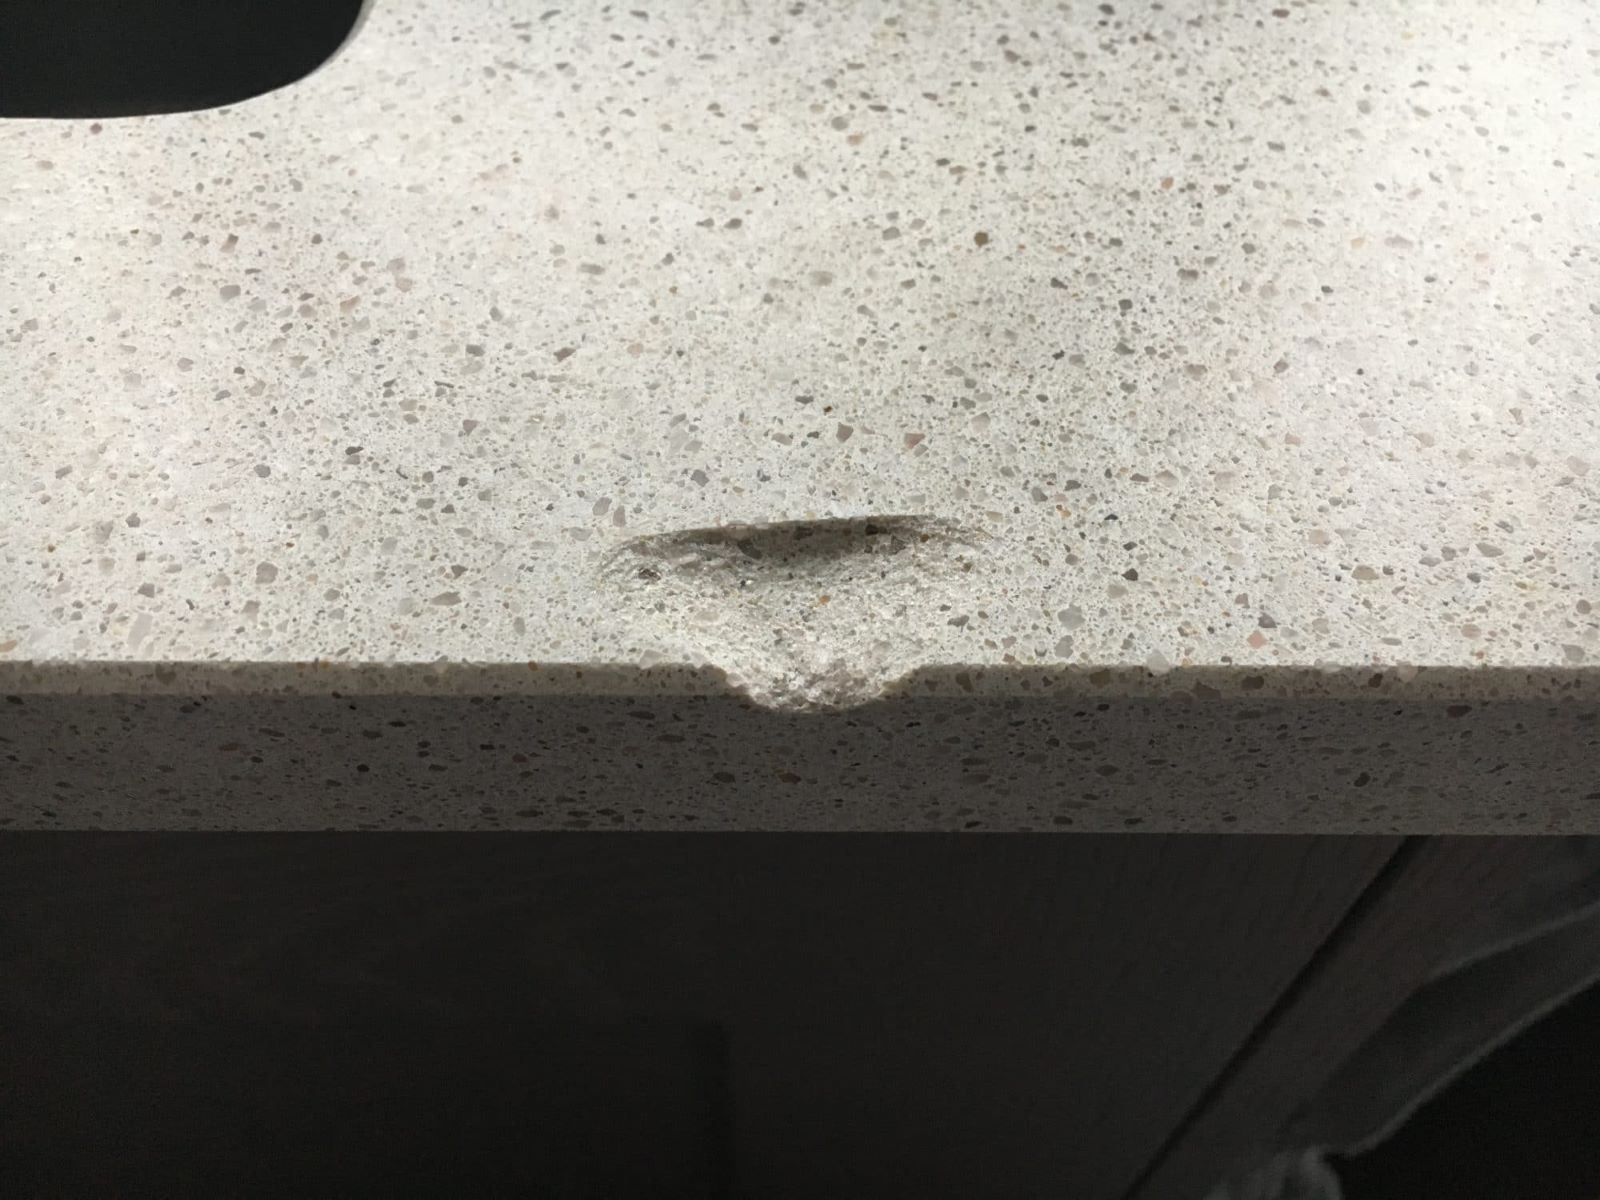
A chip in glass is a common occurrence that can detract from the visual appeal and structural integrity of glass items. Understanding the nature of the chip and its impact on the glass is essential before embarking on the repair process.
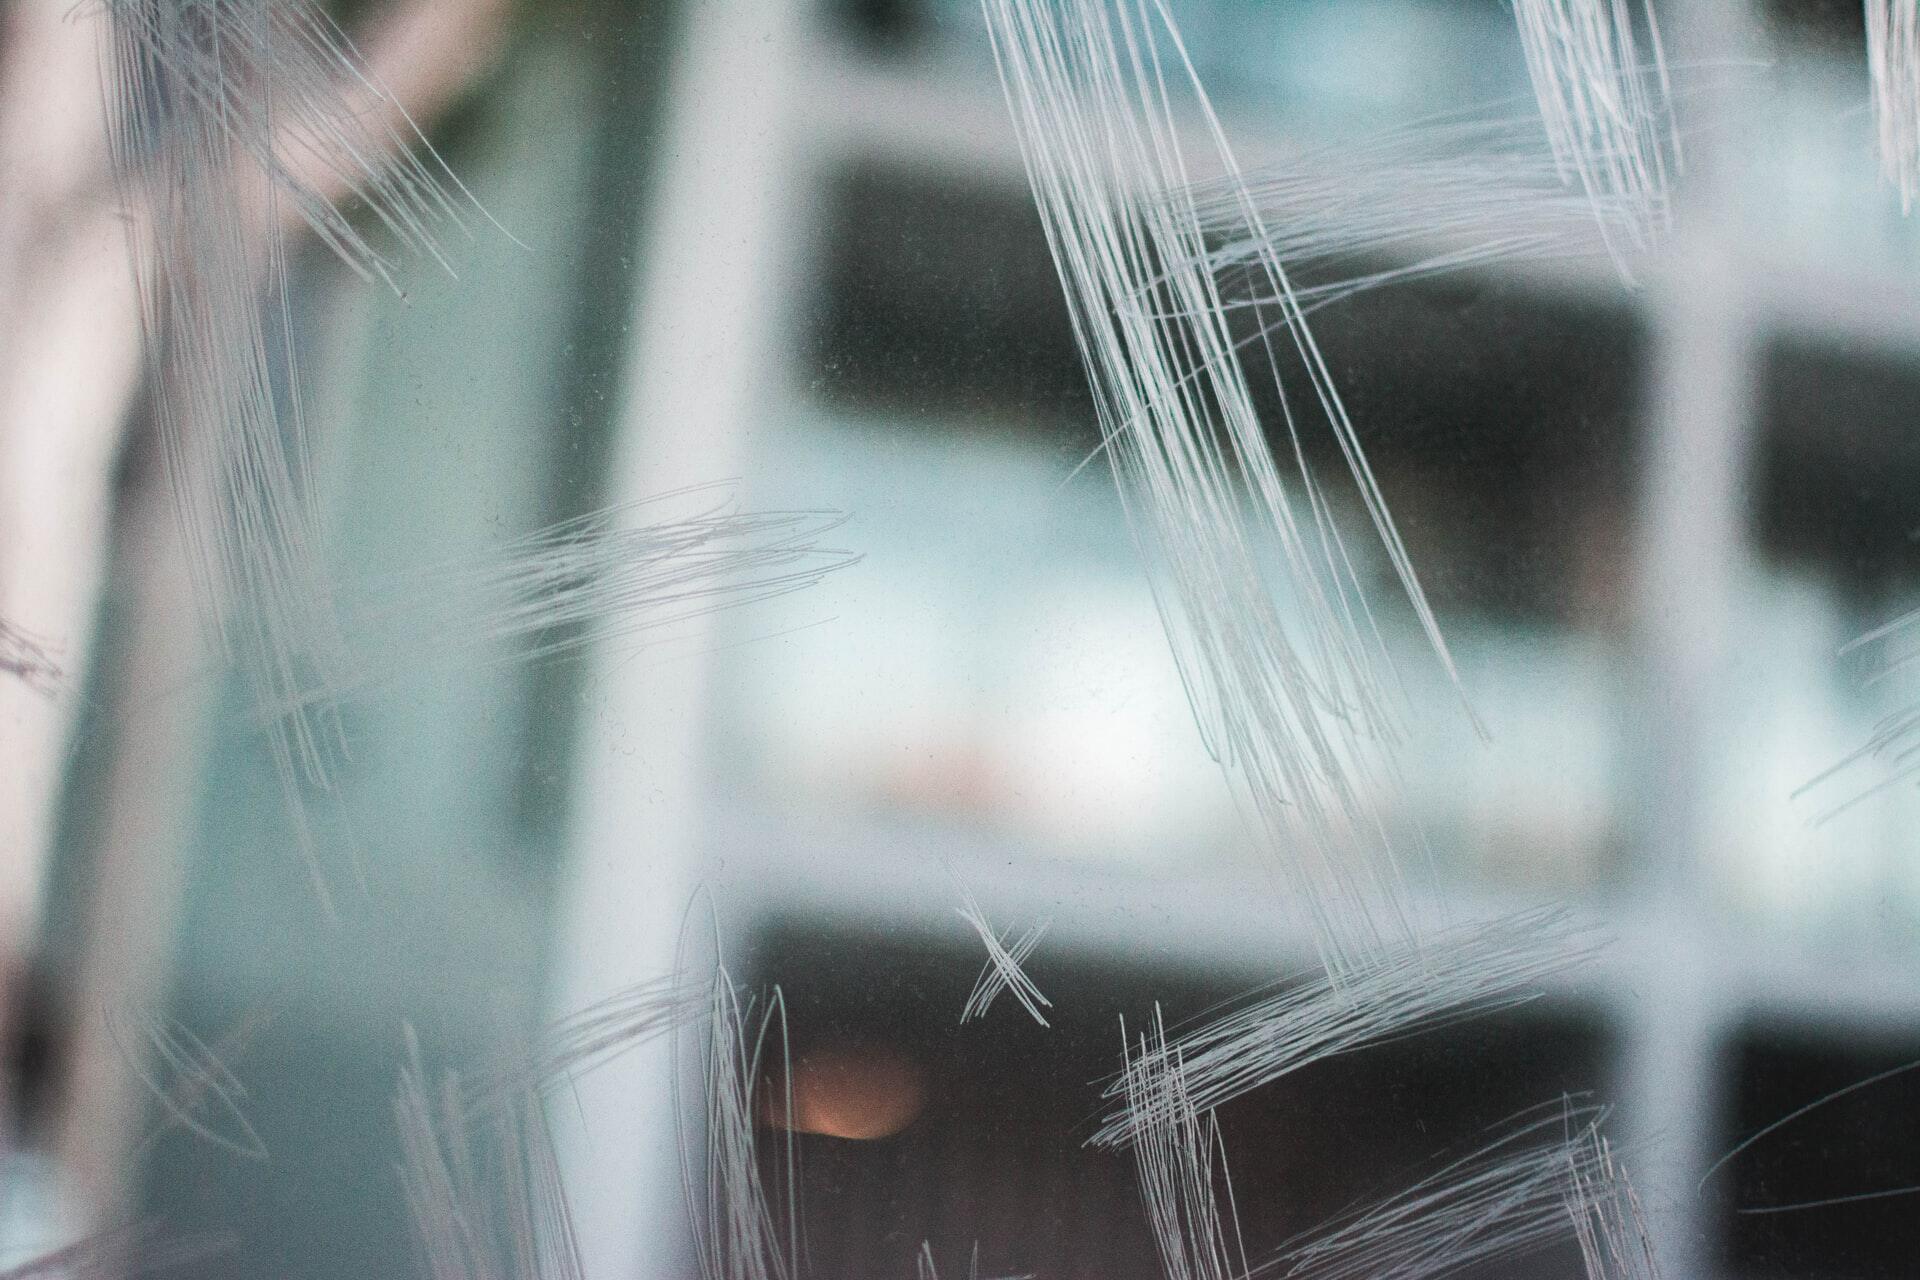
When a chip occurs in glass, it creates a small, often jagged indentation on the surface. This can be caused by various factors, such as accidental impact, contact with hard surfaces, or even natural wear and tear over time. The chip may result in a visible irregularity, compromising the smoothness and clarity of the glass.
Glass, known for its transparency and hardness, is a unique material that requires careful handling and specialized repair techniques. Unlike other materials, such as wood or metal, glass does not easily yield to traditional repair methods. Its brittle nature means that a chip can quickly develop into a crack if left unaddressed, potentially leading to further damage.
Furthermore, the aesthetic impact of a chip in glass should not be underestimated. Whether it's a decorative glass ornament, a cherished heirloom, or a functional glass surface, the presence of a chip can diminish the overall beauty and elegance of the item. This is particularly true for glass items that are prominently displayed or frequently used, as the chip becomes a constant reminder of imperfection.
In addition to the visual aspect, the structural integrity of the glass may also be compromised by a chip. Depending on the size and location of the chip, there is a risk of it spreading and weakening the surrounding glass. This can pose safety concerns, especially for glass items that are handled regularly or serve a practical purpose, such as glassware or tabletops.
By gaining a deeper understanding of the chip in glass, including its causes and implications, you can approach the repair process with clarity and purpose. Recognizing the significance of addressing the chip promptly and effectively underscores the importance of mastering the art of glass repair. With this knowledge in mind, you are better equipped to proceed to the next steps of repairing the chip in your glass item.
Tools and Materials Needed
Repairing a chip in glass requires a precise selection of tools and materials to ensure a successful and professional-looking outcome. By assembling the right resources, you can approach the repair process with confidence and efficiency. Here's a comprehensive list of the essential tools and materials needed to address the chip in your glass item:
Tools:
- Safety Gloves and Eye Protection: Prioritize safety by wearing protective gloves and eye gear to shield yourself from glass shards and potential splinters during the repair process.
- Glass Cleaner and Lint-Free Cloth: Prepare the affected area by thoroughly cleaning the glass surface using a high-quality glass cleaner and a lint-free cloth. This ensures that the repair materials adhere effectively and the surrounding area is free from debris.
- Masking Tape: Use masking tape to create a boundary around the chip, defining the area for precise application of the filler and preventing any spillage onto the surrounding glass.
- Razor Blade or Sharp Utility Knife: A razor blade or sharp utility knife is essential for leveling the filler material and removing any excess once the repair is complete.
- Fine-Grit Sandpaper: Select fine-grit sandpaper to smooth the surface of the filled chip, ensuring a seamless transition between the repaired area and the rest of the glass.
- Polishing Compound and Cloth: After the filler has cured, a polishing compound and a soft cloth are necessary to restore the luster and clarity of the glass surface.
Materials:
- Glass Chip Filler: Choose a high-quality glass chip filler specifically designed for repairing glass surfaces. Opt for a filler that dries transparent and is compatible with the type of glass you are repairing.
- Curing Agent: Depending on the filler selected, a curing agent or UV light may be required to facilitate the drying and hardening of the filler material.
- Polishing Compound: Select a polishing compound suitable for glass surfaces to achieve a smooth and glossy finish after the repair is complete.
- Protective Coating (Optional): Consider applying a protective coating to the repaired area to enhance durability and resistance to future damage.
By ensuring that you have the necessary tools and materials at your disposal, you can proceed with confidence and precision in repairing the chip in your glass item. Each item on this list plays a crucial role in the repair process, contributing to the overall quality and longevity of the restoration. With these resources in hand, you are ready to embark on the transformative journey of revitalizing your glass possessions.
Read more: How To Fix A Chip In Wood Floor
Step 1: Cleaning the Area
The first step in repairing a chip in glass is to meticulously clean the affected area, ensuring that the surface is free from dirt, debris, and any contaminants that could compromise the repair process. This critical preparation sets the stage for the successful application of the filler and contributes to the overall seamless restoration of the glass.
To initiate the cleaning process, begin by donning safety gloves and eye protection to safeguard yourself from potential glass shards and ensure a secure grip on the glass item. Next, use a high-quality glass cleaner and a lint-free cloth to thoroughly clean the area surrounding the chip. It is essential to remove any dust, fingerprints, or residue that may have accumulated on the glass surface, as these can hinder the adhesion of the filler and affect the clarity of the repair.
Once the surface has been cleaned, carefully inspect the chip and its immediate surroundings to ensure that no foreign particles or loose glass fragments remain. Any lingering debris could interfere with the application of the filler and compromise the structural integrity of the repair. In the absence of a pristine surface, the filler may not adhere properly, leading to an uneven or flawed restoration.
To further delineate the area for repair and prevent any inadvertent spillage of the filler onto the surrounding glass, use masking tape to create a boundary around the chip. This simple yet effective measure provides a clear demarcation for the application of the filler, allowing for precise and controlled coverage of the damaged area.
By meticulously cleaning the area and establishing a defined boundary for the repair, you are laying the groundwork for a successful restoration of the glass. This meticulous attention to detail in the cleaning process sets the stage for the subsequent steps, ensuring that the filler adheres seamlessly and the repaired area blends harmoniously with the rest of the glass surface.
With the area meticulously cleaned and prepared, you are now ready to proceed to the next step of applying the filler, bringing you one step closer to revitalizing your glass item and reclaiming its pristine allure.
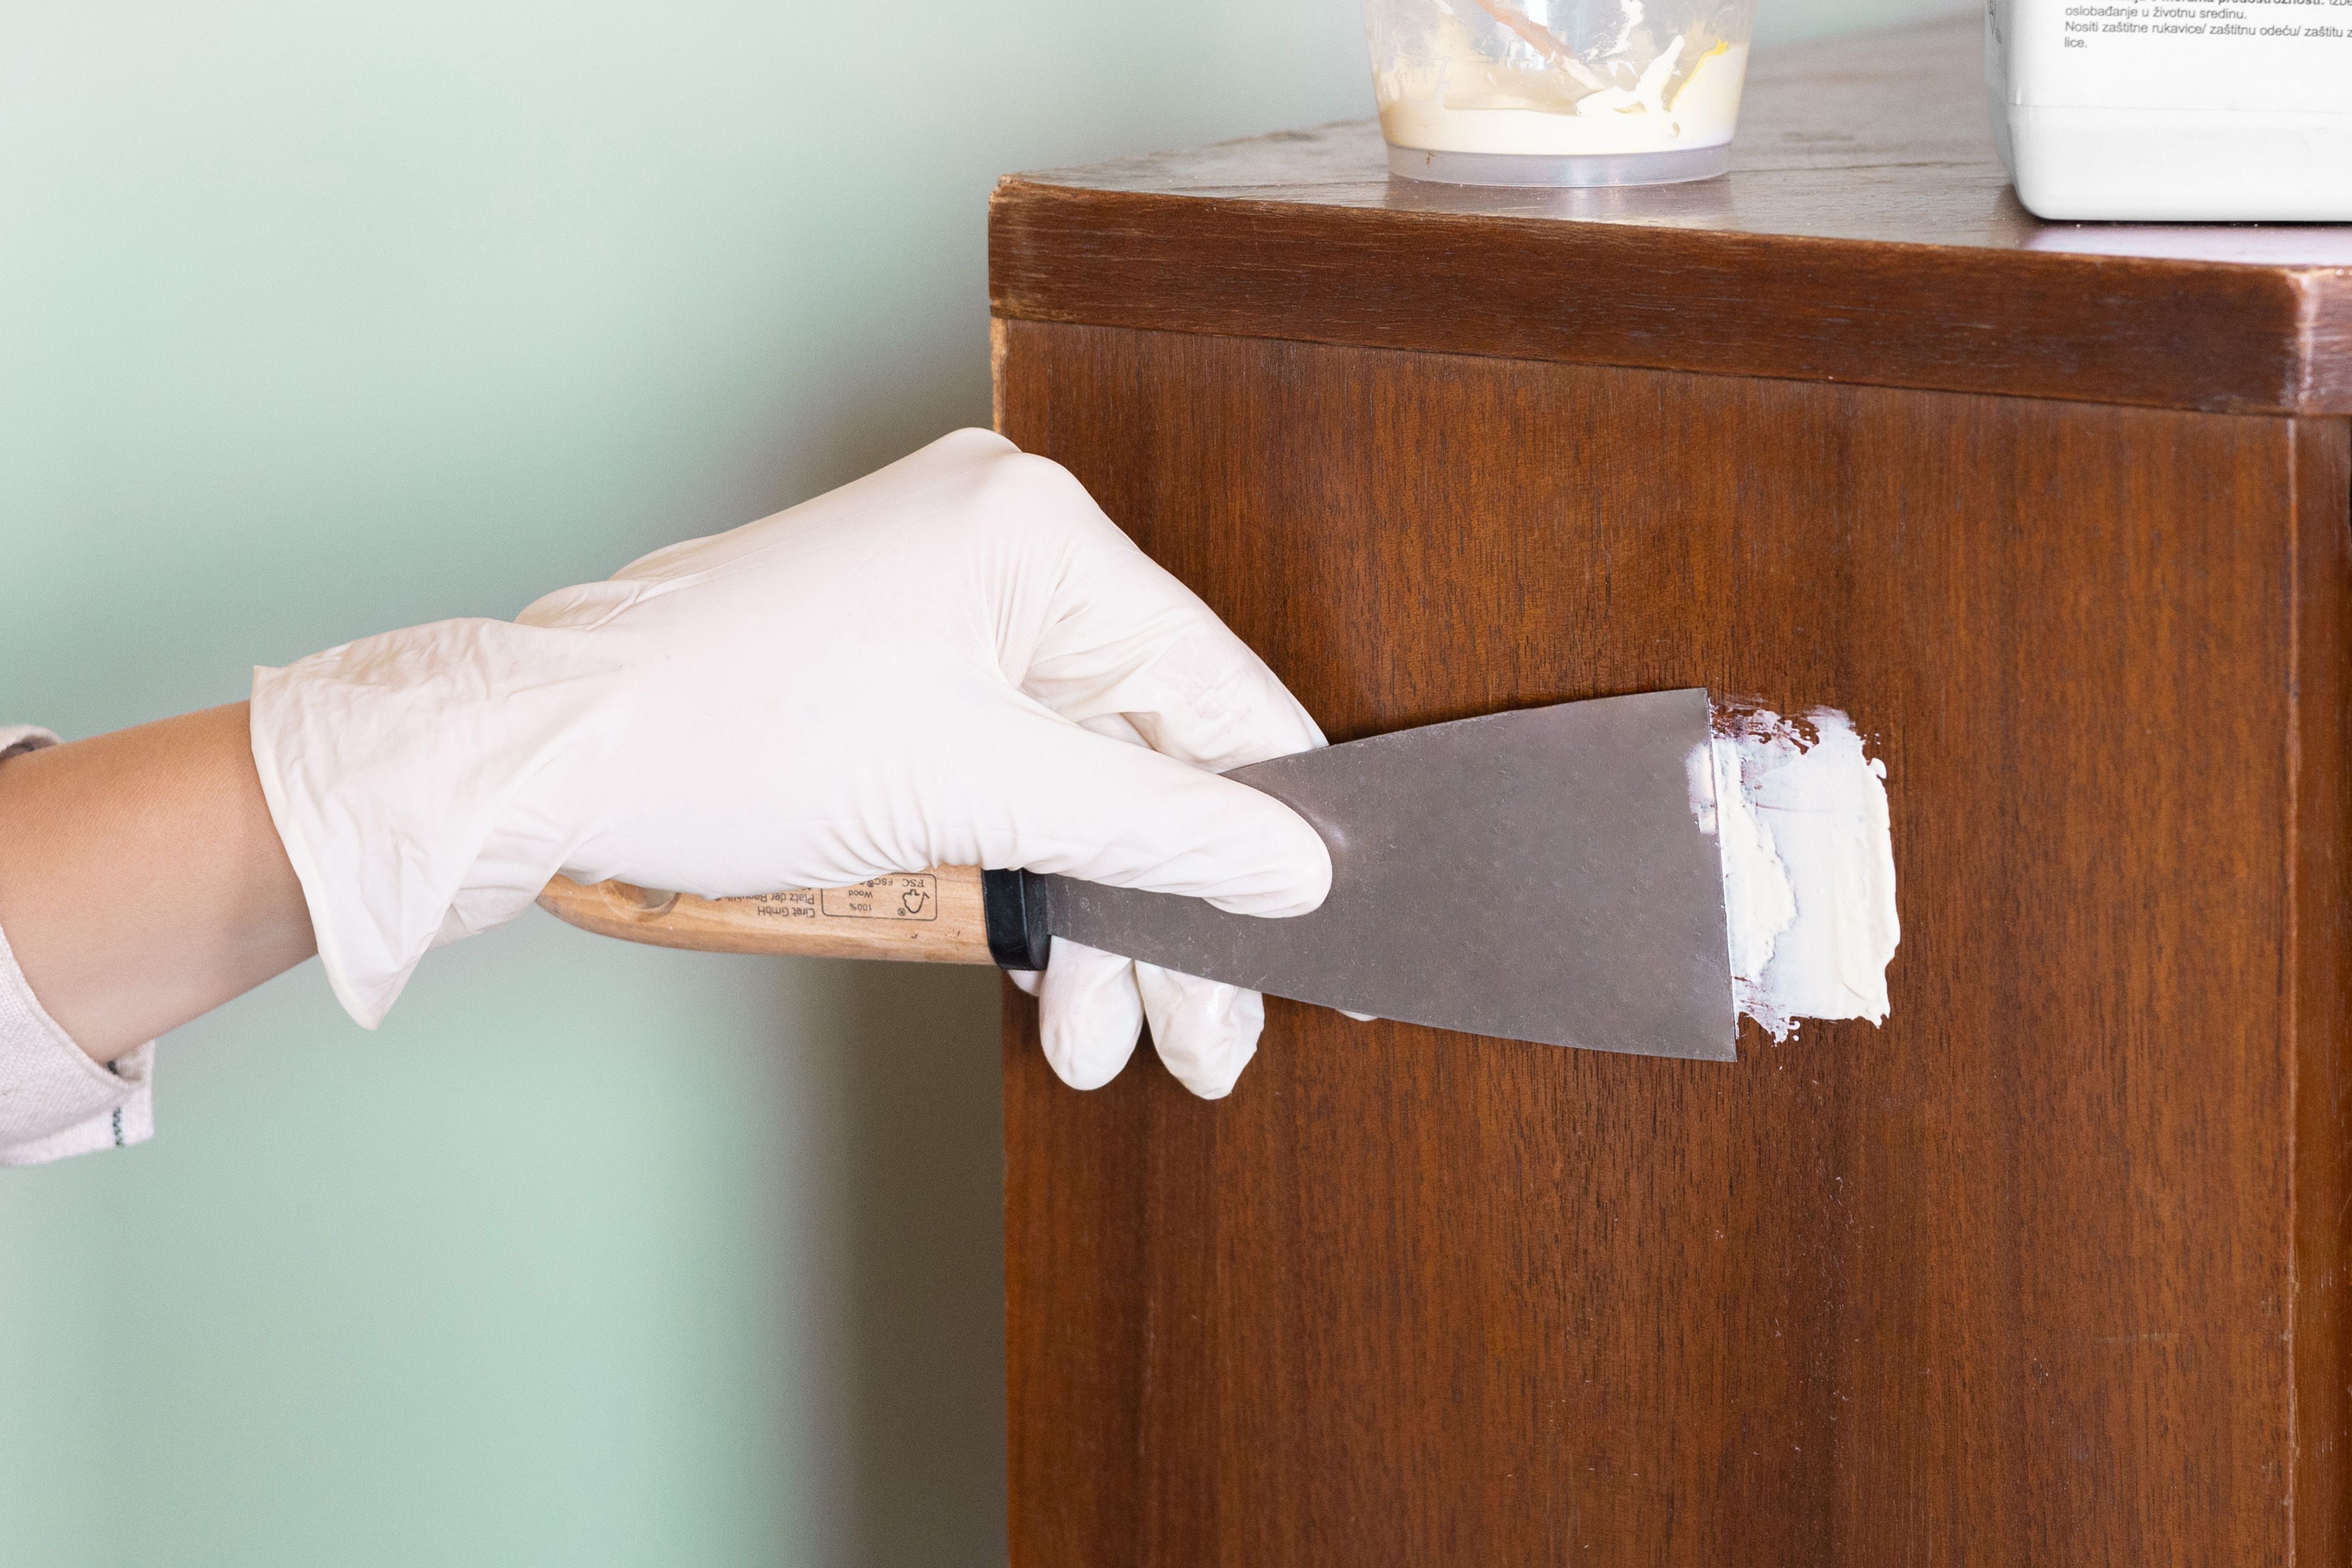
Step 2: Applying the Filler
With the glass surface meticulously cleaned and the area surrounding the chip prepared, the next crucial step in the repair process is the precise application of the glass chip filler. This step demands a steady hand, attention to detail, and a methodical approach to ensure a seamless and professional-looking restoration.
Begin by carefully dispensing a small amount of the glass chip filler onto the chip, using a steady and controlled motion to fill the indentation. It is essential to apply the filler gradually, allowing it to settle and conform to the shape of the chip without overfilling. By exercising patience and precision during this stage, you can achieve a level surface that seamlessly integrates with the surrounding glass.
As you apply the filler, ensure that it extends slightly above the surface of the chip, compensating for any shrinkage that may occur during the curing process. This slight overfilling creates a margin for subsequent leveling and ensures that the chip is adequately filled, minimizing the need for additional applications.
Once the filler has been carefully applied, use a razor blade or sharp utility knife to level the excess material, gently scraping it flush with the surrounding glass. Exercise caution and finesse during this step to avoid inadvertently removing the filler from the chip or causing damage to the glass surface. The goal is to achieve a smooth and uniform transition between the filled chip and the rest of the glass, laying the foundation for a flawless repair.
After leveling the filler, allow it to cure according to the manufacturer's instructions, ensuring that it hardens and adheres securely to the glass surface. Depending on the type of filler used, a curing agent or UV light may be required to facilitate the drying process, promoting a durable and resilient bond between the filler and the glass.
By meticulously applying the filler and attending to every detail of the repair process, you are one step closer to restoring the flawless allure of your glass item. The precise application of the filler sets the stage for the subsequent steps, culminating in a revitalized glass surface that exudes elegance and craftsmanship.
With the filler expertly applied and the curing process underway, you are poised to advance to the next step of smoothing the surface, refining the repair to perfection and bringing your glass item one step closer to its former glory.
Step 3: Smoothing the Surface
After the glass chip filler has cured and adhered securely to the glass surface, the next pivotal step in the repair process is to meticulously smooth the filled area, ensuring a seamless transition between the repaired chip and the surrounding glass. This critical stage demands precision, finesse, and a keen eye for detail to achieve a flawlessly restored surface.
To commence the smoothing process, carefully inspect the filled chip to identify any irregularities or protrusions resulting from the application and curing of the filler. Using fine-grit sandpaper, gently and methodically sand the filled area, gradually blending it with the surrounding glass. The goal is to achieve a uniform and level surface, erasing any remnants of the chip and creating a harmonious integration with the rest of the glass.
Exercise patience and restraint during the sanding process, periodically assessing the smoothness and contour of the filled area. By employing a gentle and controlled technique, you can refine the surface without compromising the integrity of the repair. The gradual refinement of the filled chip through sanding contributes to the overall aesthetic appeal and structural coherence of the glass item.
As the smoothing process progresses, periodically wipe the sanded area with a clean, lint-free cloth to remove any residual dust or particles. This ensures that the surface remains pristine and facilitates a clear view of the progress made in refining the filled chip. The intermittent cleaning also allows for a comprehensive assessment of the smoothness and uniformity of the repaired area, guiding the subsequent stages of the restoration.
Continuously evaluate the smoothness and visual continuity of the filled chip with the surrounding glass, making subtle adjustments as needed to achieve a seamless and imperceptible repair. The meticulous attention to detail during the smoothing process is instrumental in elevating the overall quality of the restoration, culminating in a glass surface that exudes elegance and craftsmanship.
By meticulously smoothing the filled chip, you are advancing towards the final stage of the repair process, bringing your glass item one step closer to its former glory. The dedication and precision invested in this pivotal step underscore your commitment to achieving a flawless and professional-looking restoration, breathing new life into your cherished glass possession.
Use clear nail polish to fill in the chip in the glass. Apply a thin layer and let it dry completely. This will help prevent the chip from spreading and make the glass look better.
Step 4: Curing the Filler
Once the glass chip filler has been meticulously applied and the surface smoothed to perfection, the crucial stage of curing the filler commences. This pivotal step is essential for solidifying the bond between the filler and the glass surface, ensuring durability, resilience, and a seamless integration of the repaired area with the rest of the glass.
Depending on the specific type of filler used, the curing process may vary. Some fillers require a curing agent to facilitate the drying and hardening of the material, while others may necessitate exposure to UV light for optimal curing. It is imperative to adhere to the manufacturer's instructions regarding the curing method and duration, as this directly impacts the strength and longevity of the repair.
If a curing agent is required, carefully apply it to the filled chip, ensuring even coverage and adherence to the filler. The curing agent acts as a catalyst, expediting the drying process and promoting a robust bond between the filler and the glass. Exercise precision and thoroughness during this stage, as the effective application of the curing agent is instrumental in achieving a resilient and enduring repair.
In the case of fillers that rely on UV light for curing, position the repaired glass item in a well-lit area or utilize a UV lamp to expose the filled chip to the necessary light wavelength. This exposure initiates the curing process, causing the filler to harden and form a secure attachment to the glass surface. Patience and adherence to the recommended duration of UV exposure are paramount to ensuring a thorough and effective curing of the filler.
As the filler undergoes the curing process, monitor the progress closely, ensuring that the material dries transparent and seamlessly integrates with the surrounding glass. The successful curing of the filler is indicative of a robust and enduring repair, laying the foundation for a revitalized glass item that exudes elegance and craftsmanship.
By meticulously adhering to the prescribed curing method and duration, you are fortifying the bond between the filler and the glass, elevating the overall quality and longevity of the repair. The successful completion of this pivotal stage brings you one step closer to reveling in the flawless restoration of your cherished glass possession, a testament to your dedication and skill in the art of glass repair.
Read more: How To Repair Chipped Glass Edge
Step 5: Polishing the Glass
After the glass chip filler has been meticulously applied, leveled, and cured, the final transformative step in the repair process is the meticulous polishing of the glass surface. This pivotal stage is instrumental in refining the repaired area, restoring the luster and clarity of the glass, and culminating in a flawless and professional-looking restoration.
To initiate the polishing process, begin by applying a high-quality glass polishing compound to the filled chip, using a soft, lint-free cloth to gently buff the surface. The polishing compound serves to refine the texture of the filled area, diminishing any residual imperfections and enhancing the overall smoothness of the glass. Exercise patience and precision during this stage, ensuring even coverage and meticulous attention to detail as you work the polishing compound into the filled chip.
As the polishing compound is meticulously applied and buffed, periodically assess the clarity and uniformity of the repaired area, making subtle adjustments as needed to achieve a seamless integration with the surrounding glass. The gradual refinement of the filled chip through polishing contributes to the overall aesthetic appeal and visual continuity of the glass item, elevating its allure and elegance.
Continuously evaluate the polished chip, ensuring that it seamlessly blends with the rest of the glass surface, exuding a pristine and flawless appearance. The dedication and precision invested in this pivotal step underscore your commitment to achieving a professional-looking restoration, breathing new life into your cherished glass possession.
Upon completing the polishing process, carefully inspect the entire glass surface to ensure a uniform and lustrous finish. Any residual traces of the chip should be imperceptible, with the repaired area seamlessly integrated into the pristine expanse of the glass. The successful completion of the polishing stage signifies the culmination of a meticulous and transformative repair, resulting in a glass item that radiates elegance and craftsmanship.
By meticulously polishing the glass surface, you have brought your cherished glass possession to a state of pristine allure and flawless beauty. The dedication and precision invested in this pivotal step underscore your commitment to achieving a professional-looking restoration, breathing new life into your glass item and preserving its timeless elegance for years to come.
Conclusion
In conclusion, the art of fixing a chip in glass is a transformative journey that demands patience, precision, and a meticulous approach to achieve a flawless and professional-looking restoration. By understanding the nature of the chip in glass and the properties of this unique material, individuals can approach the repair process with clarity and purpose, setting the stage for a successful outcome.
The meticulous cleaning of the affected area, precise application of the glass chip filler, and the subsequent smoothing and curing of the filler are pivotal stages that contribute to the overall quality and longevity of the repair. Each step demands attention to detail and a commitment to excellence, ensuring that the repaired area seamlessly integrates with the rest of the glass surface, exuding elegance and craftsmanship.
The final stage of polishing the glass surface serves as the crowning touch, refining the repaired area, restoring its luster and clarity, and culminating in a flawless and professional-looking restoration. The dedication and precision invested in this pivotal step underscore the commitment to achieving a glass item that radiates timeless elegance and beauty.
By mastering the art of glass repair, individuals can breathe new life into their cherished glass possessions, preserving their allure and functionality for years to come. The transformative journey of fixing a chip in glass not only yields a revitalized and flawless surface but also instills a sense of accomplishment and pride in the mastery of a valuable skill.
As individuals embark on the art of glass repair, they not only restore the beauty of their glass items but also cultivate a deeper appreciation for the craftsmanship and resilience of this remarkable material. With the right tools, materials, and a touch of creativity, the repair of a chip in glass becomes a testament to the enduring allure and elegance of glass, perpetuating its timeless charm for generations to come.
Frequently Asked Questions about How To Fix A Chip In Glass
Was this page helpful?
At Storables.com, we guarantee accurate and reliable information. Our content, validated by Expert Board Contributors, is crafted following stringent Editorial Policies. We're committed to providing you with well-researched, expert-backed insights for all your informational needs.

0 thoughts on “How To Fix A Chip In Glass”