Home>Furniture & Design>Interior Design Trends>How To Repair Chipped Glass Edge
Interior Design Trends
How To Repair Chipped Glass Edge
Modified: October 18, 2024
Learn how to repair chipped glass edges with our expert interior design tips. Discover the latest interior design trends for a stylish and modern home.
(Many of the links in this article redirect to a specific reviewed product. Your purchase of these products through affiliate links helps to generate commission for Storables.com, at no extra cost. Learn more)
Introduction
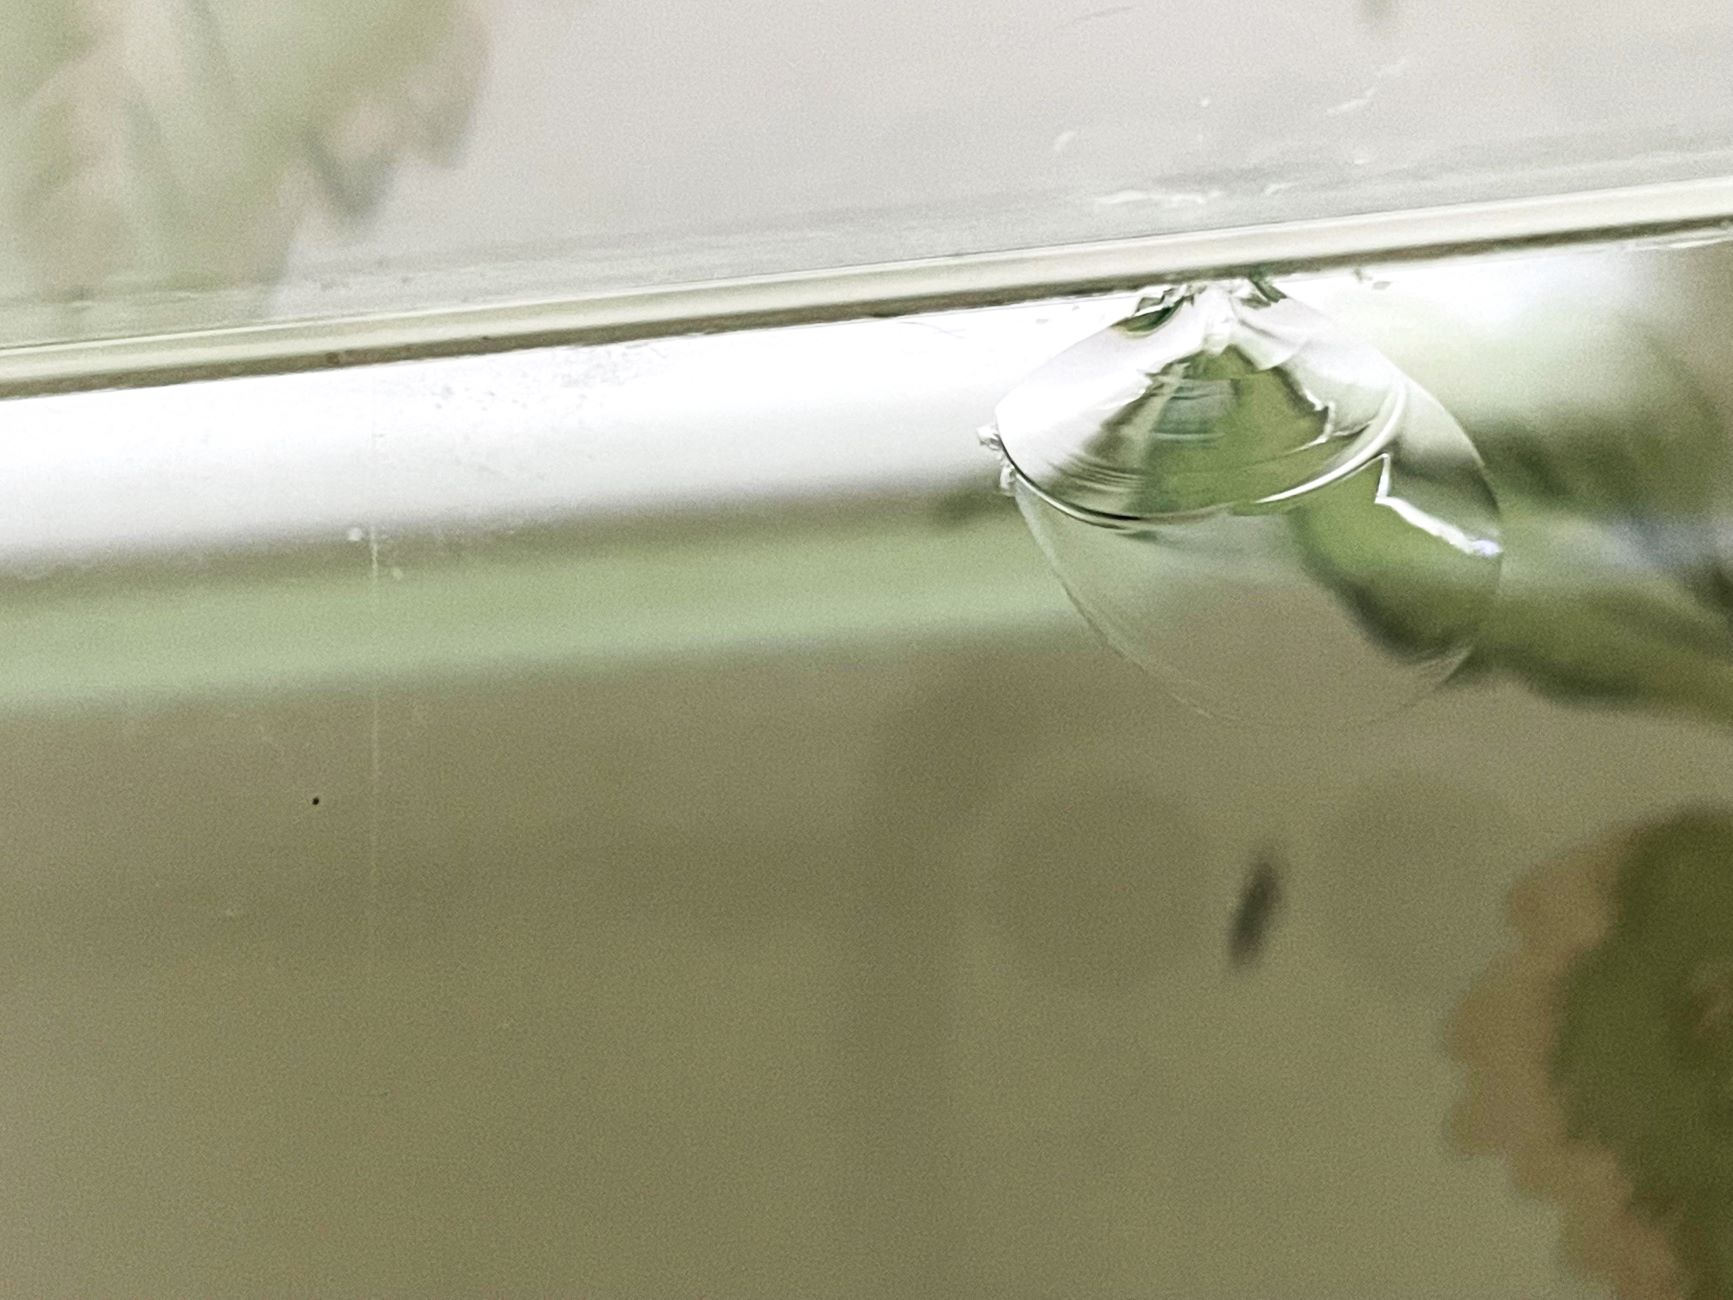
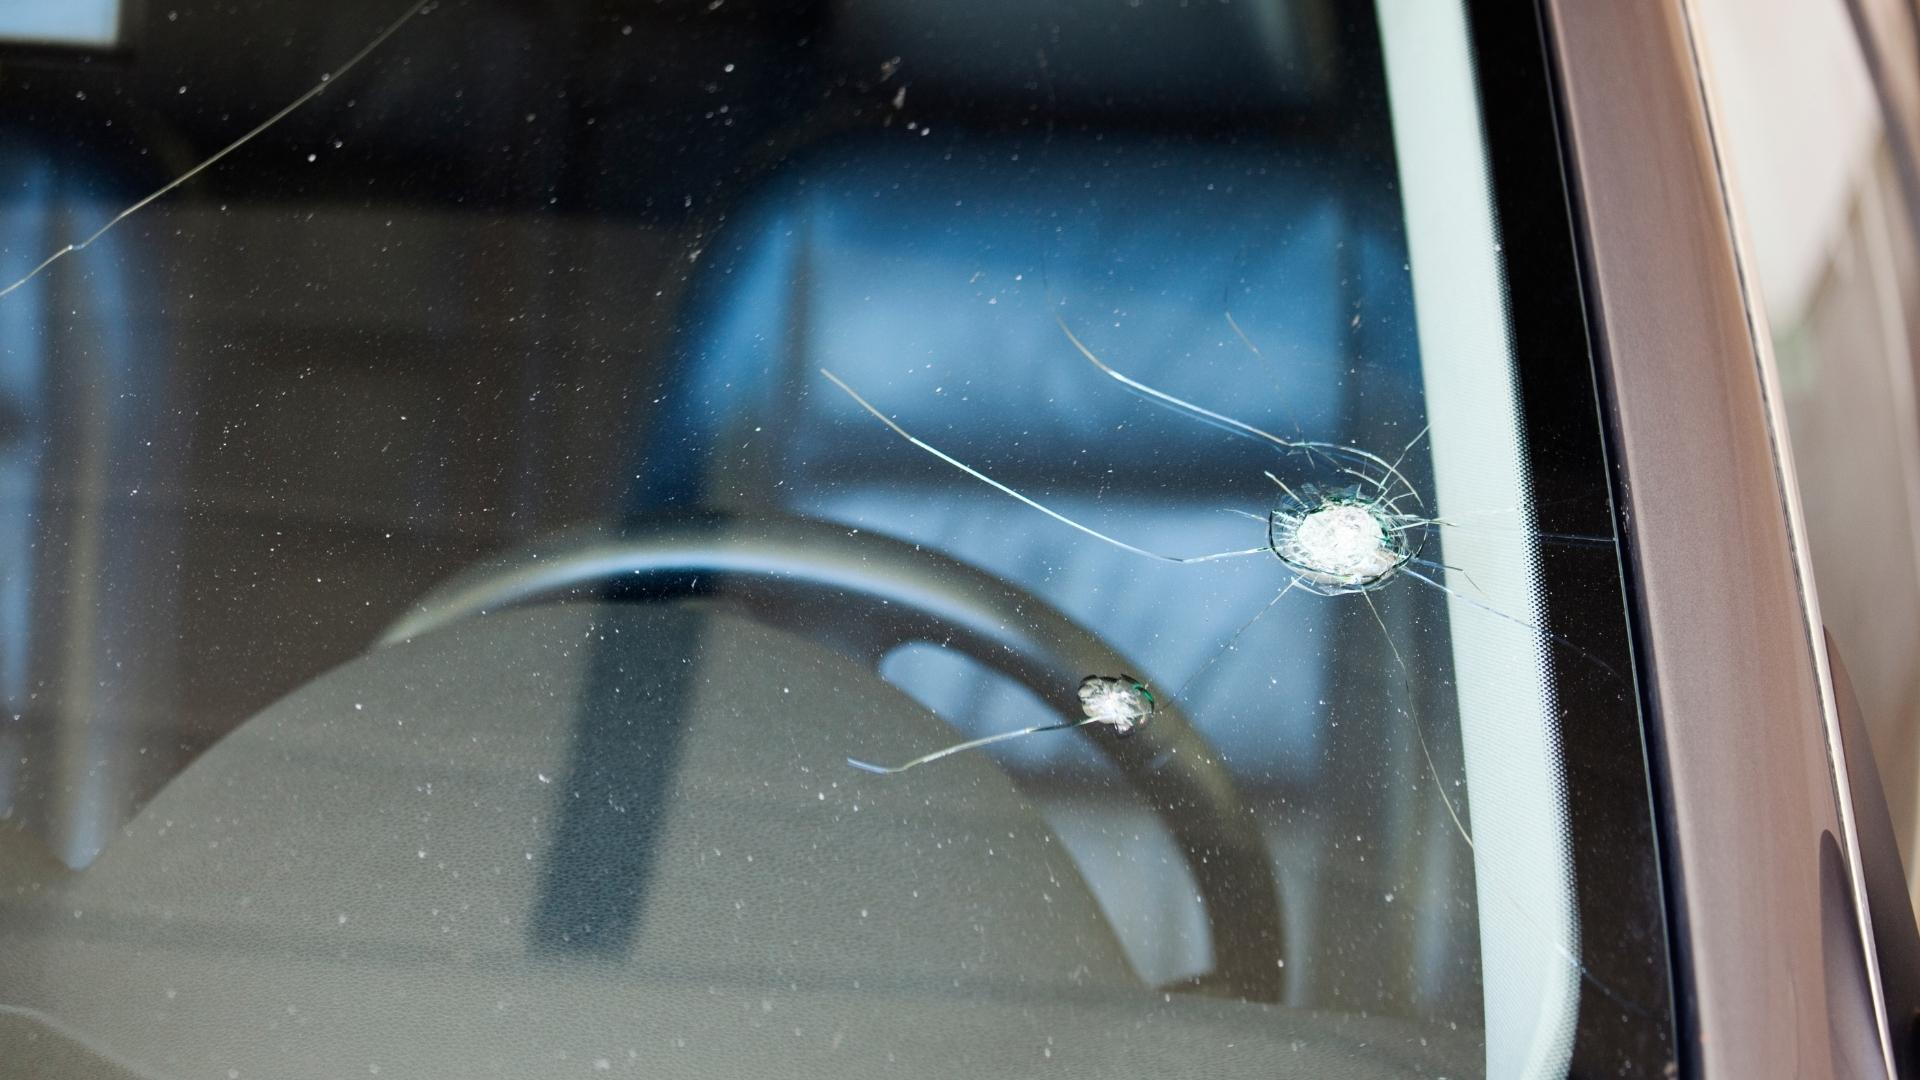
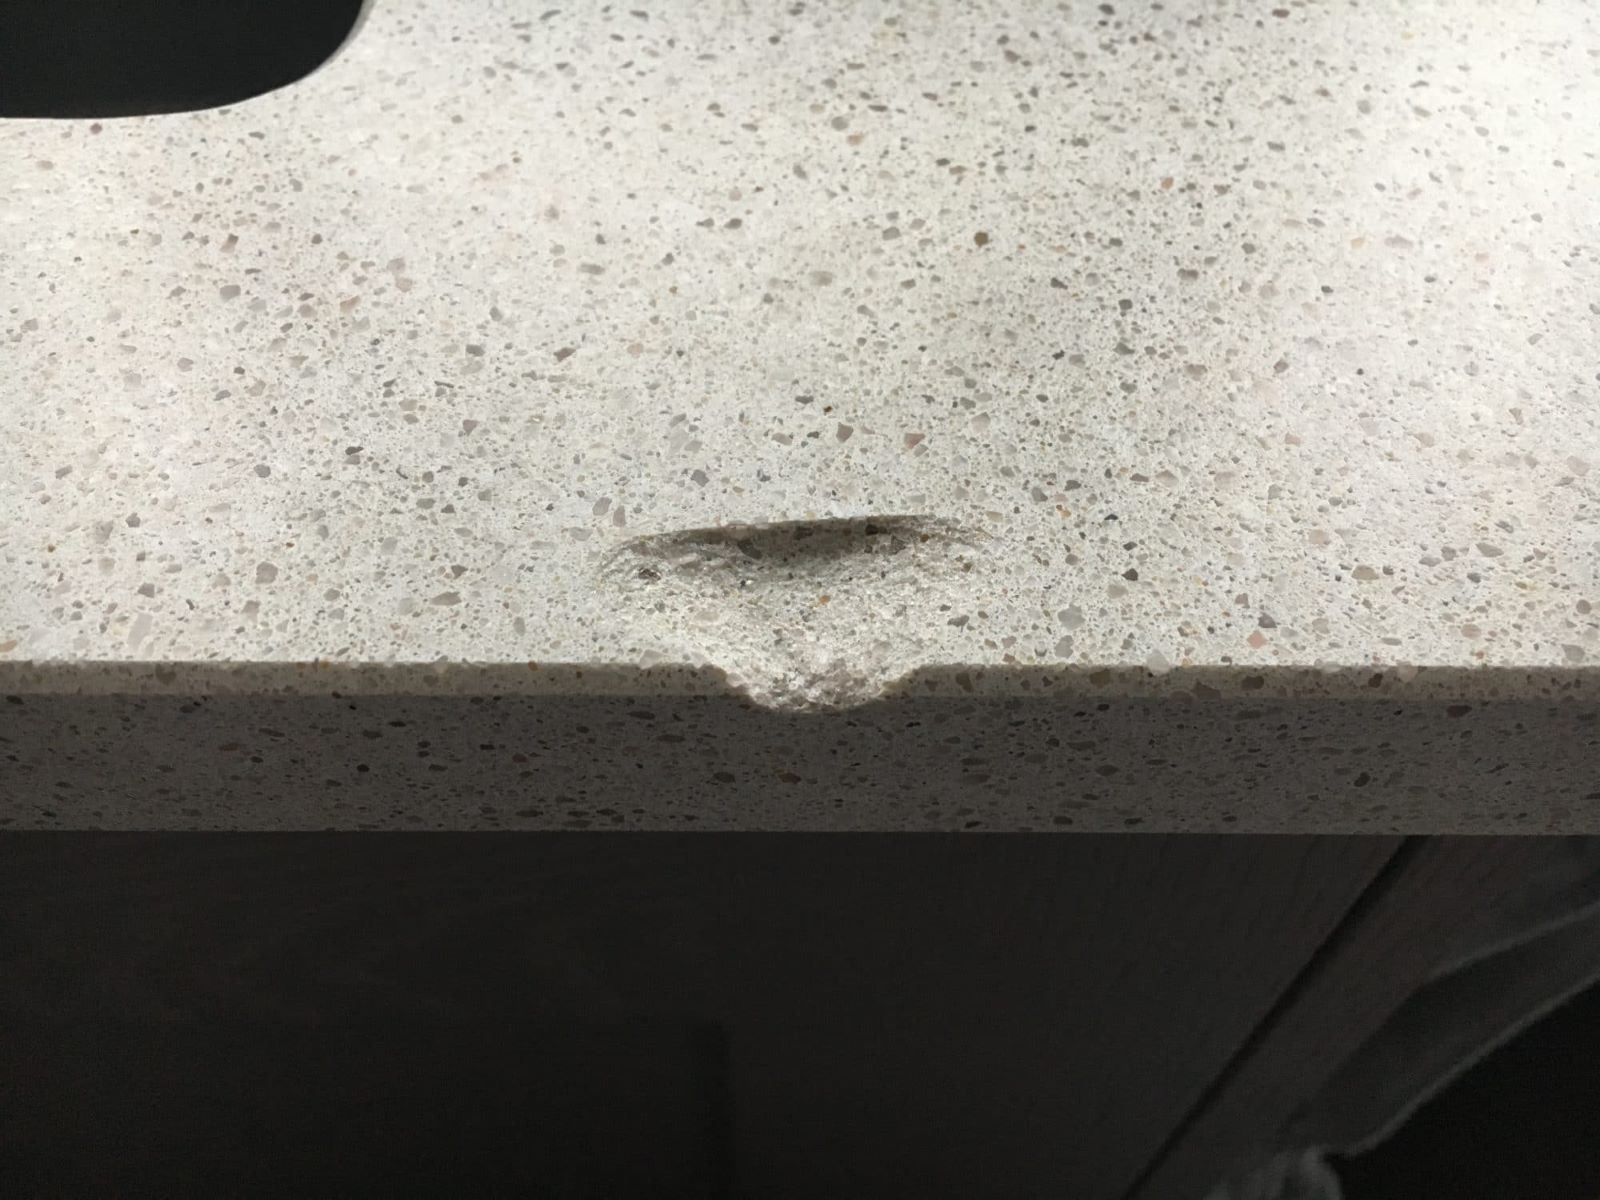
Glass is a versatile and elegant material that adds a touch of sophistication to any space. Whether it's a stunning glass tabletop, a delicate vase, or a beautiful mirror, glass items are cherished for their beauty and functionality. However, despite its allure, glass is susceptible to chipping, which can detract from its aesthetic appeal and pose safety hazards.
When a glass edge becomes chipped, it not only compromises the visual appeal of the item but also creates sharp edges that can cause injury. Fortunately, repairing chipped glass edges is a feasible task that can be accomplished with the right tools, materials, and techniques. By addressing chipped glass edges promptly, you can restore the item's integrity and ensure its continued beauty and safety.
In this comprehensive guide, we will delve into the causes of chipped glass edges, the essential tools and materials needed for repair, and a step-by-step process to effectively restore the glass to its original state. Additionally, we will provide valuable tips for preventing future chipping of glass edges, empowering you to maintain the pristine condition of your glass items.
Whether you're a seasoned DIY enthusiast or a novice in the realm of glass repair, this guide will equip you with the knowledge and skills to tackle chipped glass edges with confidence. By understanding the underlying causes of chipping and mastering the art of repair, you can prolong the lifespan of your cherished glass items and preserve their allure for years to come. Let's embark on this journey to discover the art of repairing chipped glass edges and safeguarding the beauty of your glass possessions.
Key Takeaways:
- Repairing chipped glass edges requires safety gear, specialized tools like diamond-coated files, UV curing resin, and clear epoxy resin. Following a step-by-step process with precision can restore the glass’s integrity and beauty.
- Prevent future chipping by handling glass items with care, avoiding extreme temperature changes, using edge protectors, and investing in high-quality glass. Educating household members and regular maintenance are also crucial for preserving the pristine condition of glass items.
Read more: How To Smooth Glass Edges
Understanding the Causes of Chipped Glass Edges
Chipped glass edges can result from various factors, and understanding the root causes is crucial for preventing future damage and effectively addressing existing issues. One common cause of chipped glass edges is impact or physical trauma. Accidental knocks, bumps, or drops can lead to small chips or cracks along the edges of glass items. Additionally, improper handling during transportation or installation can also contribute to chipping, especially in larger glass pieces such as tabletops or mirrors.
Furthermore, environmental factors play a significant role in the deterioration of glass edges. Exposure to extreme temperature changes, such as sudden heat or cold, can create stress within the glass, making it more susceptible to chipping. This is particularly relevant for glass items placed near heating sources or in areas with fluctuating climate conditions. Moreover, prolonged exposure to moisture or humidity can weaken the structural integrity of glass, making it prone to chipping over time.
In some cases, manufacturing defects or inconsistencies in the glass composition can also lead to chipped edges. Flaws in the tempering or annealing process, which are essential for strengthening glass, can result in weak points that are vulnerable to chipping. Additionally, poor edge finishing during production can leave glass more susceptible to chipping, especially along the edges.
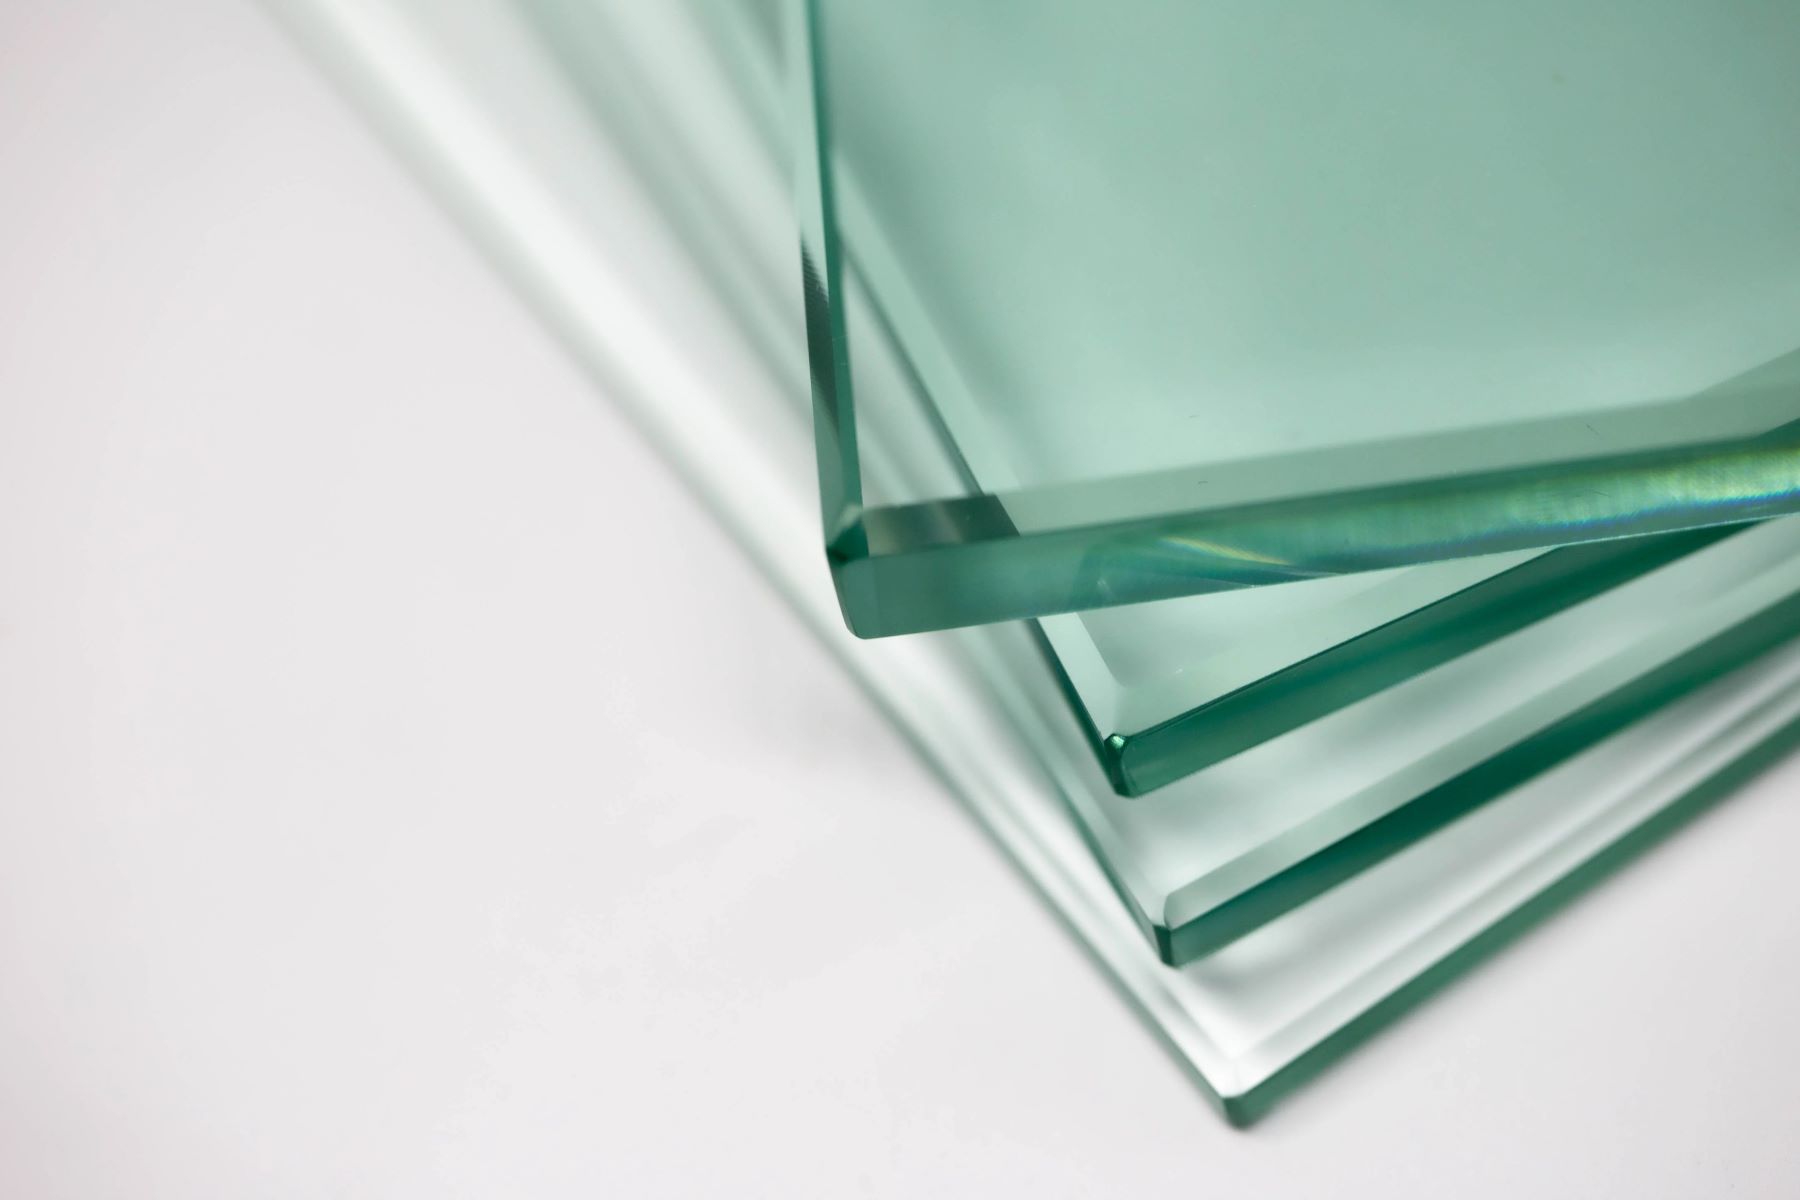
It's important to note that the quality of the glass itself can impact its resistance to chipping. Lower-grade or thinner glass is inherently more fragile and prone to chipping compared to thicker, high-quality glass. Understanding these factors can help individuals make informed decisions when selecting and caring for glass items, ultimately reducing the risk of chipping.
By recognizing the diverse causes of chipped glass edges, individuals can take proactive measures to mitigate these risks. Whether it involves implementing protective measures during handling and installation, controlling environmental conditions, or investing in high-quality glass products, understanding the underlying causes empowers individuals to preserve the pristine condition of their glass items and minimize the likelihood of chipping.
Tools and Materials Needed for Repairing Chipped Glass Edges
Repairing chipped glass edges requires a specific set of tools and materials to effectively restore the integrity and aesthetics of the glass item. Before embarking on the repair process, it's essential to gather the following items:
Tools:
- Safety Gloves and Eye Protection: Prioritize safety by wearing durable gloves and protective eyewear to shield yourself from potential glass shards during the repair process.
- Glass Cleaner and Lint-Free Cloth: Begin by thoroughly cleaning the chipped area and its surroundings to ensure a clear and debris-free surface for the repair.
- Diamond-Coated Files or Sandpaper: These specialized tools are designed to smooth and reshape the chipped edges of the glass, facilitating a seamless repair.
- UV Curing Resin and Applicator: UV curing resin is a crucial component for filling in the chipped area and restoring the structural integrity of the glass. An applicator allows precise application of the resin, ensuring a professional finish.
- UV Light Source: To cure the resin effectively, a UV light source is required. This specialized light initiates the hardening process of the resin, creating a durable and transparent bond.
Materials:
- Clear Epoxy Resin: Opt for a high-quality, clear epoxy resin specifically formulated for glass repair. This resin will seamlessly blend with the glass, providing a durable and transparent finish.
- Protective Tape: Use high-quality, transparent tape to mask off the surrounding area of the chipped glass, preventing any accidental resin application on unaffected areas.
- Plastic Razor Blade or Scraper: A plastic razor blade or scraper is useful for removing excess resin and achieving a smooth, flush surface after the repair.
- Rubbing Alcohol: This is essential for cleaning and degreasing the chipped area before applying the resin, ensuring optimal adhesion and a flawless finish.
- Disposable Mixing Cups and Stirring Sticks: These disposable items are necessary for accurately measuring and mixing the resin, maintaining precision and minimizing waste during the repair process.
By assembling these tools and materials, you will be well-equipped to embark on the journey of repairing chipped glass edges with confidence and precision. Each item plays a crucial role in the restoration process, ensuring that the repaired glass maintains its structural integrity, visual appeal, and safety. With the right tools and materials at your disposal, you can effectively address chipped glass edges and preserve the beauty of your cherished glass items for years to come.
Read more: How To Fix Chipped Glass
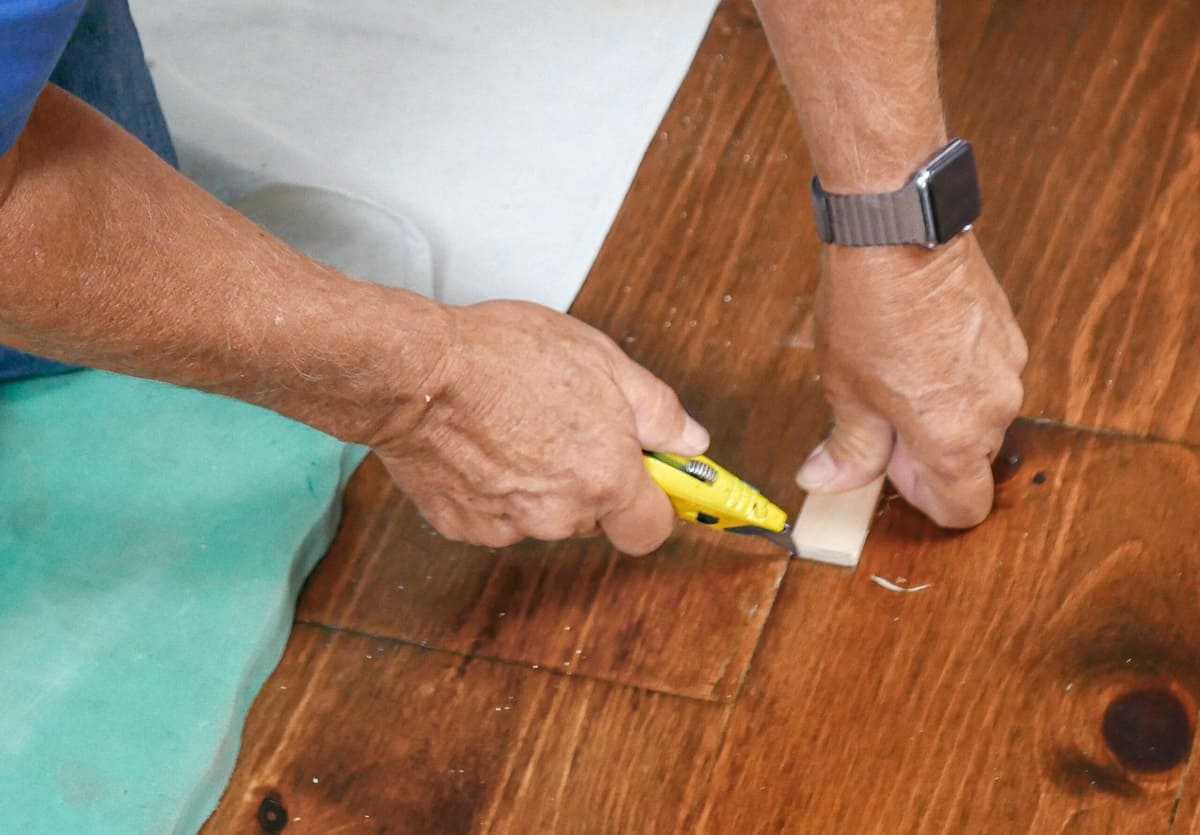
Step-by-Step Guide to Repairing Chipped Glass Edges
Repairing chipped glass edges demands precision and attention to detail to achieve a seamless restoration. Follow these step-by-step instructions to effectively repair chipped glass edges and restore the integrity of your glass items:
-
Prepare the Work Area: Begin by ensuring a clean and well-lit work area. Lay down a protective covering to prevent any accidental spills or damage to surrounding surfaces. Put on safety gloves and eye protection to safeguard yourself during the repair process.
-
Clean the Chipped Area: Thoroughly clean the chipped area and its immediate surroundings using a glass cleaner and a lint-free cloth. Removing any dirt, debris, or residue from the chipped edges is essential to facilitate a successful repair.
-
Shape the Chipped Edges: Use diamond-coated files or sandpaper to carefully reshape and smooth the chipped edges of the glass. Gently work on the edges, gradually restoring their original contour and ensuring a seamless transition between the chipped and intact areas.
-
Apply Protective Tape: Use high-quality, transparent tape to mask off the surrounding area of the chipped glass. This step prevents any accidental resin application on unaffected areas, ensuring a precise and controlled repair process.
-
Prepare the UV Curing Resin: Mix the UV curing resin according to the manufacturer's instructions in a disposable mixing cup. Thoroughly stir the resin to achieve a consistent blend, ensuring optimal performance during the repair.
-
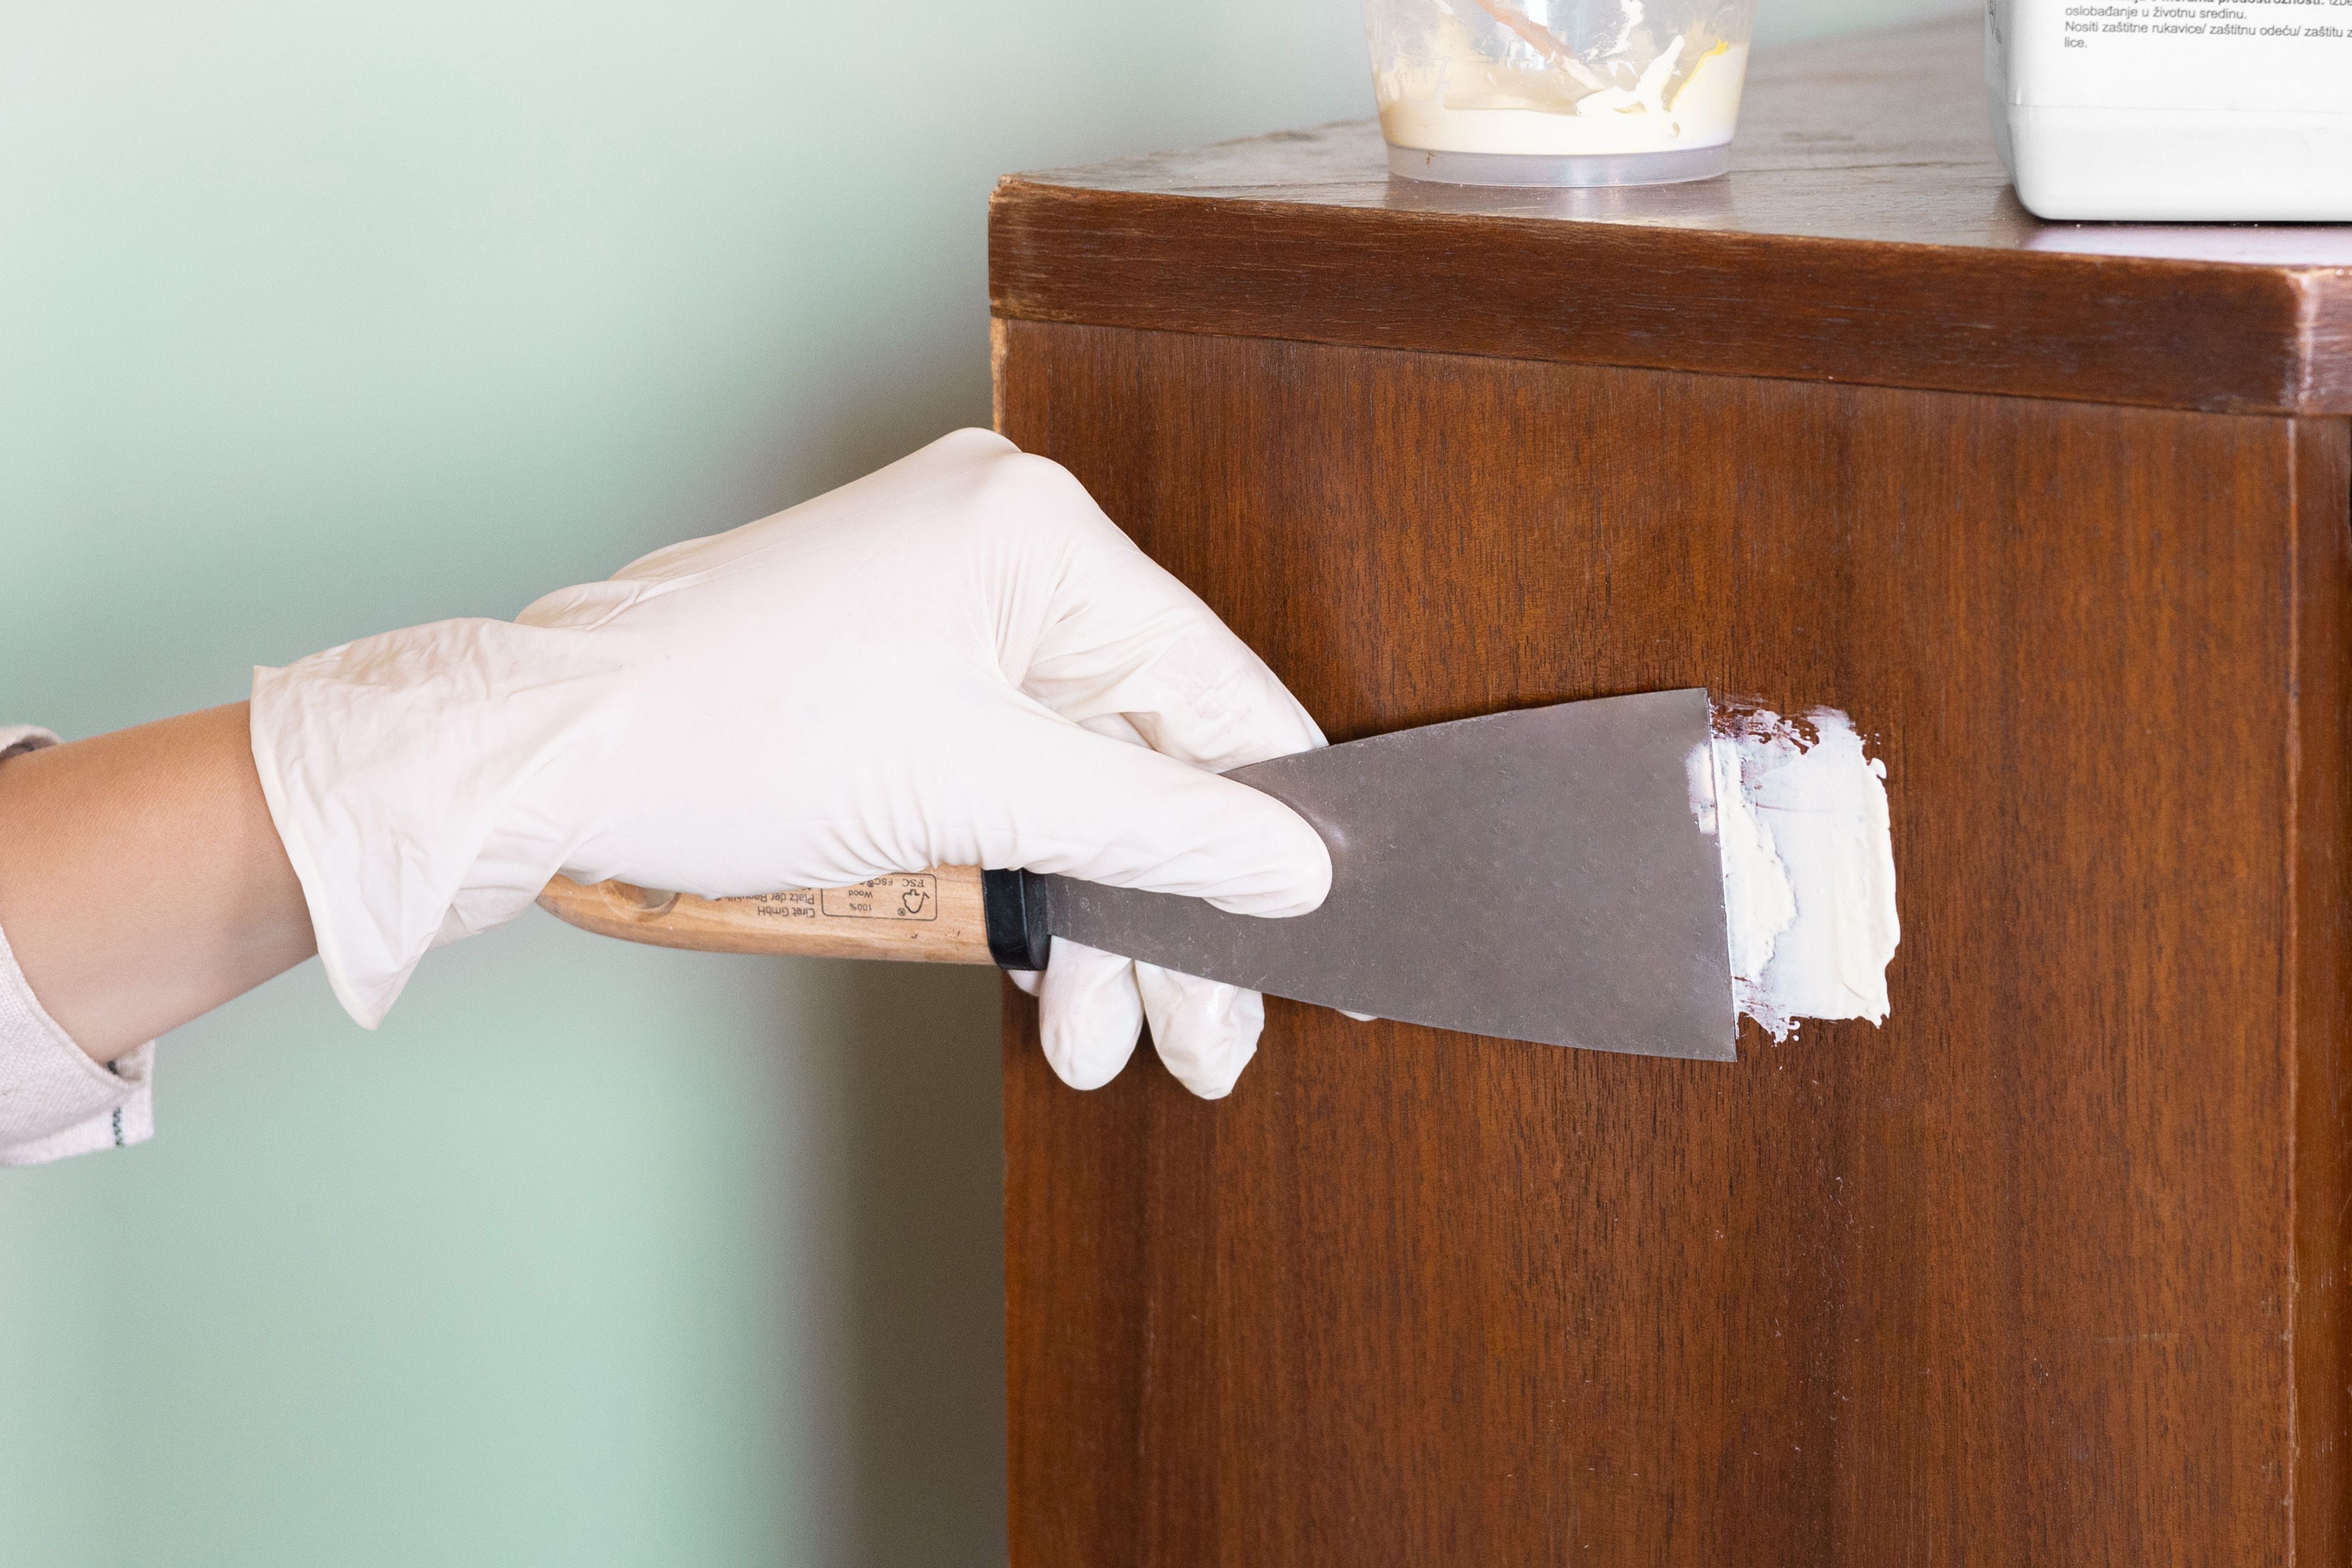
Apply the Resin: Using an applicator, carefully apply the UV curing resin to the chipped area, ensuring complete coverage and a level surface. Take care to avoid excess resin, as this can complicate the finishing process.
-
Cure the Resin: Position the UV light source over the applied resin and activate it according to the manufacturer's guidelines. Allow the resin to cure fully, creating a durable and transparent bond that seamlessly integrates with the glass.
-
Remove Excess Resin: Once the resin is fully cured, carefully remove the protective tape. Use a plastic razor blade or scraper to eliminate any excess resin and achieve a smooth, flush surface that blends seamlessly with the surrounding glass.
-
Clean and Inspect the Repair: Clean the repaired area with rubbing alcohol and a lint-free cloth to remove any residual marks or smudges. Inspect the repair closely to ensure a flawless finish and optimal adhesion of the resin.
By following these meticulous steps, you can effectively repair chipped glass edges and restore the visual appeal and structural integrity of your glass items. With patience and precision, you can achieve a professional-quality repair that seamlessly blends with the original glass, ensuring the continued beauty and safety of your cherished possessions.
Use a fine grit sandpaper to smooth the chipped edge of the glass. Then, apply a clear epoxy resin to fill in the chipped area and let it dry completely. Sand the area again for a smooth finish.
Tips for Preventing Future Chipping of Glass Edges
Preventing future chipping of glass edges is essential for maintaining the longevity and pristine condition of glass items. By implementing proactive measures and best practices, individuals can minimize the risk of chipping and preserve the beauty and safety of their cherished glass possessions.
-
Handle with Care: When moving or installing glass items, handle them with utmost care to avoid accidental impacts or collisions. Use protective padding or blankets during transportation to cushion the glass and prevent potential chipping from bumps or jolts.
-
Avoid Extreme Temperature Changes: Rapid temperature fluctuations can stress the glass, making it more susceptible to chipping. Position glass items away from direct heat sources, such as radiators or fireplaces, and minimize exposure to extreme cold or heat to maintain the structural integrity of the glass.
-
Regular Maintenance: Routinely inspect glass items for any signs of wear, damage, or stress along the edges. Address any minor chips or imperfections promptly to prevent them from escalating into larger issues that compromise the integrity of the glass.
-
Proper Edge Protection: Utilize edge protectors or guards, especially for larger glass surfaces such as tabletops or countertops. These protective measures help shield the vulnerable edges from accidental impacts and minimize the risk of chipping during everyday use.
-
Quality Installation: When installing glass items, enlist the expertise of professionals who are well-versed in handling and securing glass. Proper installation techniques, including precise fitting and secure anchoring, can significantly reduce the likelihood of chipping due to structural stress or movement.
-
Use Appropriate Cleaning Techniques: When cleaning glass surfaces, opt for non-abrasive, glass-friendly cleaners and soft, lint-free cloths to prevent scratches or abrasions that can weaken the edges over time. Avoid using harsh chemicals or abrasive materials that can compromise the integrity of the glass.
-
Invest in High-Quality Glass: Prioritize high-quality, tempered glass for items that are prone to frequent use or potential impacts. Tempered glass undergoes a specialized strengthening process, enhancing its resistance to chipping and ensuring greater durability in everyday scenarios.
-
Educate Household Members: Educate family members or household occupants about the fragility of glass items and the importance of handling them with care. By fostering awareness and mindfulness, individuals can collectively contribute to the prevention of accidental damage and chipping.
By incorporating these preventive measures into your glass care routine, you can safeguard your glass items against chipping and prolong their beauty and functionality. With a proactive approach to maintenance and handling, you can enjoy the elegance and allure of glass items while minimizing the risk of chipping and preserving their pristine condition for years to come.
Conclusion
In conclusion, the art of repairing chipped glass edges is a valuable skill that empowers individuals to preserve the beauty, functionality, and safety of their glass items. By understanding the diverse causes of chipping, assembling the essential tools and materials, and mastering the step-by-step repair process, individuals can effectively address chipped glass edges with confidence and precision.
The journey of repairing chipped glass edges begins with a comprehensive understanding of the factors that contribute to chipping. Whether it's accidental impacts, environmental stress, manufacturing flaws, or the quality of the glass itself, recognizing these underlying causes enables individuals to make informed decisions when selecting, handling, and caring for glass items. This knowledge serves as a foundation for proactive measures aimed at preventing future chipping and preserving the pristine condition of glass possessions.
Equipped with the essential tools and materials, individuals can embark on the meticulous process of repairing chipped glass edges. From shaping and smoothing the chipped edges to applying UV curing resin and achieving a seamless finish, each step demands patience, precision, and a commitment to restoring the integrity of the glass. By following the detailed repair guide, individuals can effectively address chipped glass edges and ensure that the repaired areas seamlessly blend with the original glass, maintaining its visual appeal and safety.
Furthermore, the proactive tips for preventing future chipping of glass edges serve as a roadmap for maintaining the longevity and beauty of glass items. By handling glass with care, minimizing exposure to extreme temperature changes, implementing protective measures, and prioritizing quality installation and maintenance, individuals can significantly reduce the risk of chipping and prolong the lifespan of their cherished glass possessions.
Ultimately, the art of repairing chipped glass edges is a testament to the resilience and enduring beauty of glass items. By embracing the knowledge, skills, and preventive measures outlined in this guide, individuals can safeguard their glass items against chipping, ensuring that they continue to adorn living spaces with elegance and sophistication for years to come. Whether it's a beloved glass tabletop, a cherished mirror, or a delicate glass ornament, the ability to repair chipped glass edges empowers individuals to nurture and preserve the allure of their glass possessions, enriching their living environments with timeless beauty and functionality.
Frequently Asked Questions about How To Repair Chipped Glass Edge
Was this page helpful?
At Storables.com, we guarantee accurate and reliable information. Our content, validated by Expert Board Contributors, is crafted following stringent Editorial Policies. We're committed to providing you with well-researched, expert-backed insights for all your informational needs.


0 thoughts on “How To Repair Chipped Glass Edge”