Home>Furniture & Design>Interior Design Trends>How To Fix A Crack In Glass

Interior Design Trends
How To Fix A Crack In Glass
Published: February 4, 2024
Learn how to fix a crack in glass with our expert interior design trends. Discover the latest tips and techniques to restore your glass surfaces.
(Many of the links in this article redirect to a specific reviewed product. Your purchase of these products through affiliate links helps to generate commission for Storables.com, at no extra cost. Learn more)
Introduction
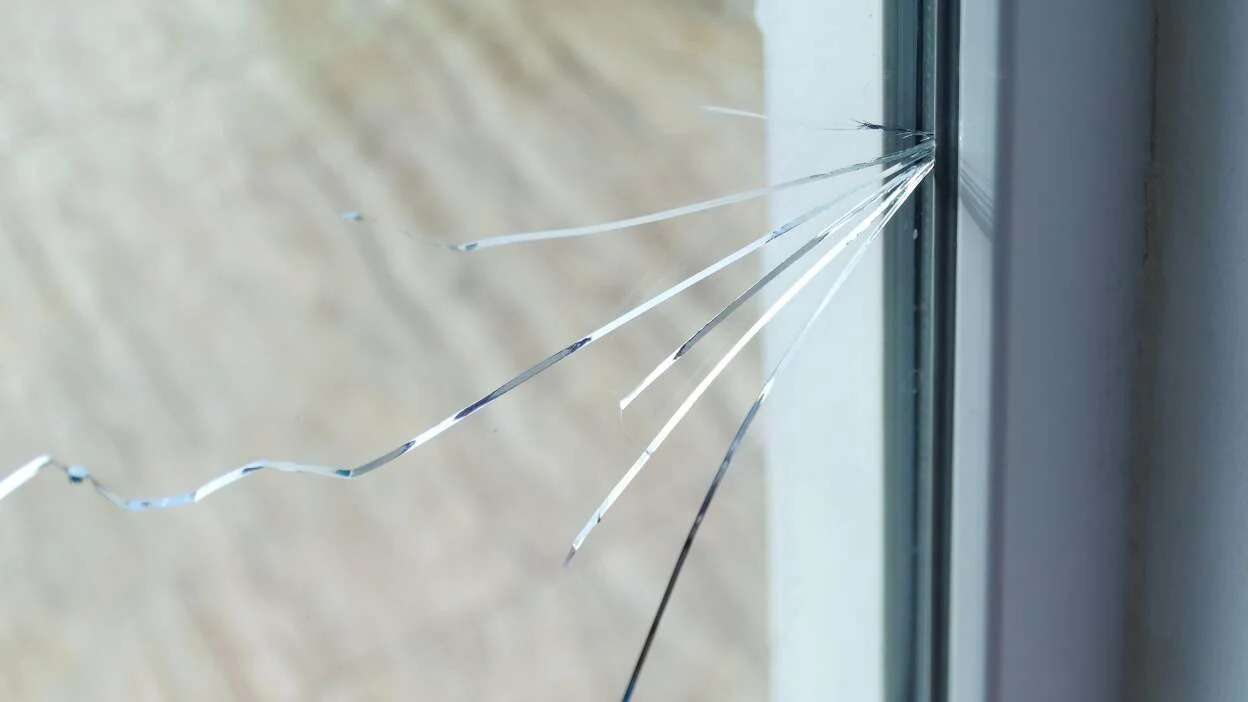
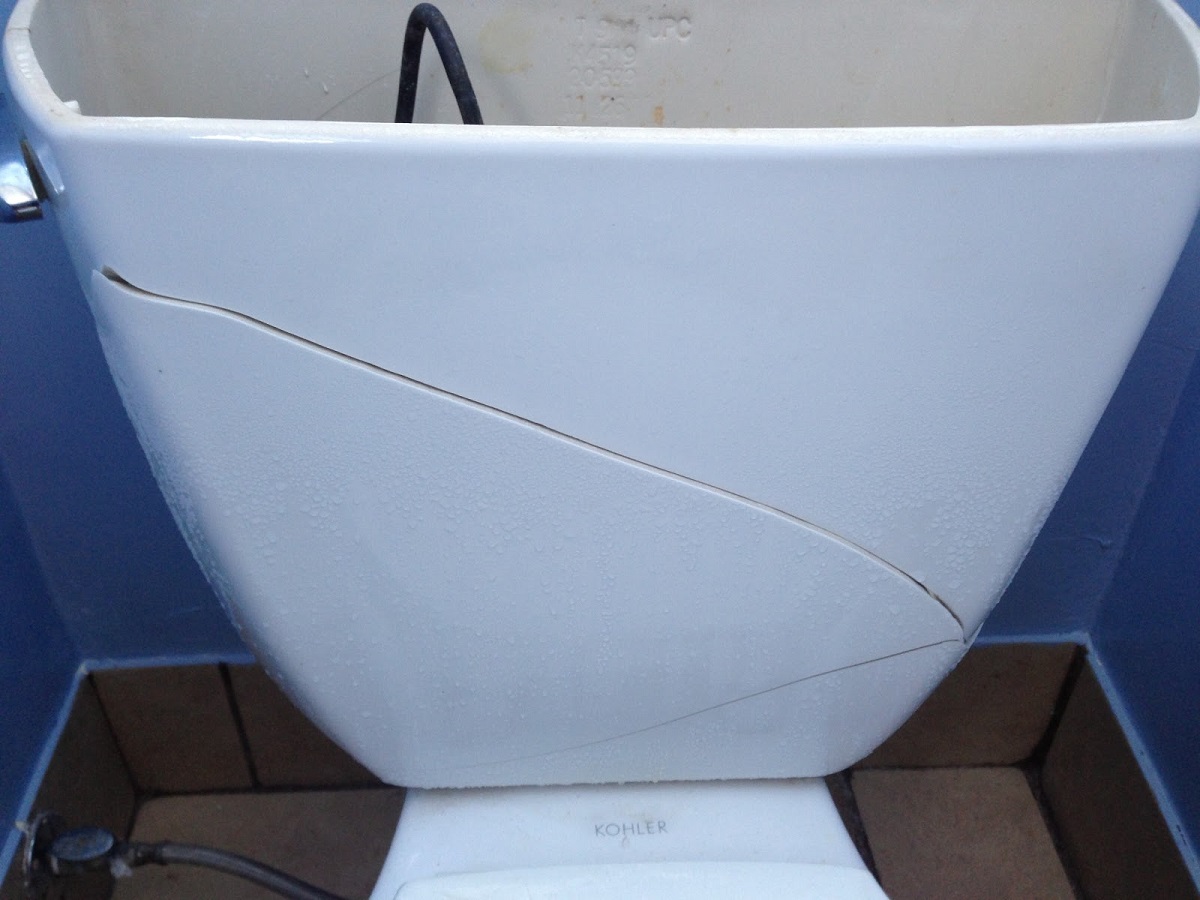
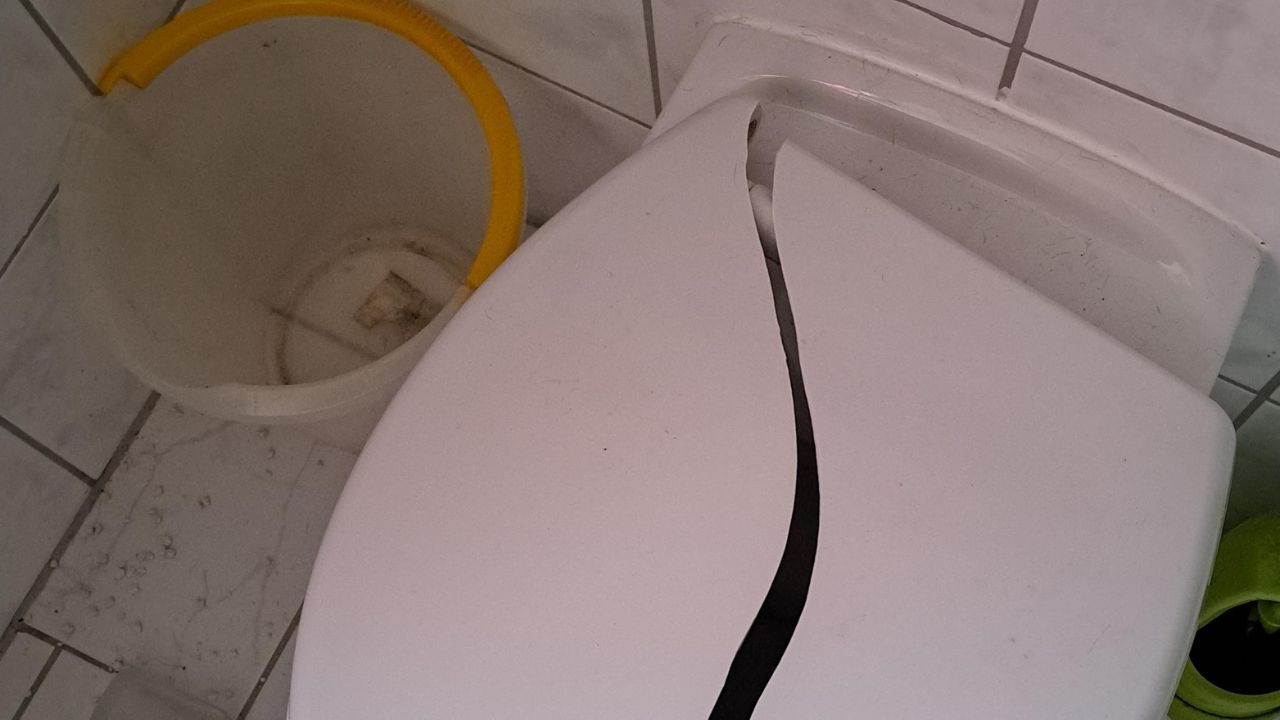
Dealing with a crack in glass can be a frustrating experience, especially when it affects the aesthetics and functionality of your favorite glassware or household items. Whether it's a small crack in a picture frame or a larger one in a window pane, knowing how to effectively repair it can save you time and money. In this comprehensive guide, we will walk you through the step-by-step process of fixing a crack in glass, empowering you to tackle this common issue with confidence and precision.
A crack in glass can occur due to various reasons, such as accidental impact, temperature changes, or structural stress. Regardless of the cause, addressing the crack promptly is crucial to prevent further damage and potential safety hazards. By understanding the techniques and materials involved in glass repair, you can restore the integrity of the glass and prolong its lifespan.
Throughout this guide, we will explore the essential steps required to fix a crack in glass, from assessing the extent of the damage to applying a reliable repair solution. By following these instructions, you can effectively mend the crack and restore the visual appeal and functionality of the glass surface. Whether you're a DIY enthusiast or simply looking to address a crack in your household glass items, this guide will equip you with the knowledge and skills needed to achieve a successful repair.
As we delve into the intricacies of glass crack repair, it's important to approach the process with patience and attention to detail. Each step plays a crucial role in ensuring a durable and seamless repair, ultimately enhancing the overall appearance and structural integrity of the glass. By familiarizing yourself with the following sections, you will gain valuable insights into the art of fixing a crack in glass, empowering you to undertake this task with confidence and precision.
Key Takeaways:
- Assess the crack’s size, type of glass, and environmental factors before repairing. Gather essential materials like a glass repair kit, safety gear, and UV light source for a successful glass crack repair.
- Prepare the glass surface by cleaning, removing debris, and applying clear tape before using the glass repair kit. Follow the steps to apply the kit and cure the repair for a seamless restoration.
Read more: How To Fix Cracked Sink
Assessing the Crack
Before embarking on the repair process, it is essential to thoroughly assess the crack in the glass to determine the extent of the damage and the most suitable approach for restoration. The assessment phase serves as a critical foundation for the subsequent steps, enabling you to make informed decisions and execute the repair with precision.
Begin by carefully examining the crack, noting its size, location, and any associated patterns or fractures. Assess whether the crack is confined to the surface or if it extends through the entire thickness of the glass. This evaluation will help you gauge the severity of the damage and identify any potential underlying causes, such as structural stress or impact-related trauma.
Next, consider the type of glass affected by the crack. Different types of glass, such as tempered, laminated, or annealed, exhibit varying properties and responses to damage. Understanding the specific characteristics of the glass will influence the choice of repair materials and techniques, ensuring compatibility and optimal results.
Furthermore, assess the environmental factors surrounding the cracked glass, including temperature, humidity, and exposure to external elements. These variables can impact the stability of the crack and influence the effectiveness of the repair process. By evaluating the environmental conditions, you can anticipate any potential challenges and implement suitable precautions during the repair.
In addition to visual inspection, gently run your fingertips along the crack to detect any subtle irregularities or sharp edges. This tactile assessment can provide valuable insights into the depth and texture of the crack, guiding your approach to preparing the glass surface for repair.
As you assess the crack, take note of any existing repairs or modifications that may have been previously attempted. Understanding the history of the crack and prior repair attempts can offer valuable context and inform your decision-making process, ensuring that the new repair addresses any underlying issues effectively.
By meticulously assessing the crack in the glass, you lay the groundwork for a successful repair, enabling you to tailor your approach to the specific characteristics and nuances of the damage. This thorough evaluation sets the stage for the subsequent steps, empowering you to proceed with confidence and precision as you embark on the journey to restore the integrity of the glass.
Gathering the Necessary Materials
Gathering the necessary materials is a crucial preparatory step that sets the stage for a successful glass crack repair. By ensuring that you have the essential tools and supplies at your disposal, you can streamline the repair process and achieve optimal results. Here's a comprehensive list of the materials you will need to effectively address the crack in the glass:
1. Glass Repair Kit:
- Acquiring a high-quality glass repair kit is paramount to the success of the repair. These kits typically include specialized resins, curing agents, applicator tools, and clear adhesive films designed specifically for repairing glass cracks. When selecting a glass repair kit, opt for a reputable brand known for its durability and compatibility with various types of glass.
2. Safety Gear:
- Prioritize safety by equipping yourself with protective gear, including gloves and safety glasses. These items are essential for safeguarding your hands and eyes during the repair process, especially when handling glass shards or working with repair chemicals.
Read more: How To Repair Glass Cracks
3. Cleaning Supplies:
- Prepare a set of cleaning supplies, such as glass cleaner, lint-free cloths, and rubbing alcohol. Thoroughly cleaning the cracked area is vital for removing any debris, oils, or contaminants that could compromise the adhesion and effectiveness of the repair materials.
4. Razor Blade or Glass Scraper:
- A razor blade or glass scraper is indispensable for delicately removing any loose glass fragments or residual materials from the crack. This step ensures that the repair surface is smooth and free of obstructions, allowing the repair materials to adhere seamlessly.
5. UV Light Source:
- Many glass repair kits utilize UV light to cure the applied resin and facilitate the bonding process. Ensure that you have a reliable UV light source, such as a UV flashlight or lamp, capable of emitting the necessary wavelength to activate the curing agents in the repair kit.
6. Clear Tape:
- Clear adhesive tape serves as a practical aid for stabilizing the cracked glass and preventing the spread of the crack during the repair process. Opt for a high-quality, transparent tape that adheres securely without leaving residue or causing damage to the glass surface.
Read more: How To Fix A Crack In Stucco
7. Magnifying Glass or Loupe:
- A magnifying glass or loupe can be beneficial for inspecting the crack in detail and assessing the effectiveness of the repair as it progresses. This tool allows for close examination of the repaired area, ensuring that the resin has filled the crack adequately and achieved the desired level of transparency.
By assembling these essential materials, you are poised to embark on the glass crack repair journey with confidence and preparedness. Each item plays a crucial role in facilitating a thorough and effective repair, ultimately contributing to the restoration of the glass's visual appeal and structural integrity. With the necessary materials at hand, you are ready to proceed to the next phase of preparing the glass surface for the repair process.
Preparing the Glass Surface
Preparing the glass surface is a critical step that sets the foundation for a successful repair. By meticulously cleaning and refining the damaged area, you create an optimal environment for the application of the repair materials, ensuring strong adhesion and a seamless finish. Follow these essential steps to prepare the glass surface for the repair process:
-
Cleaning the Area: Begin by thoroughly cleaning the cracked area using a high-quality glass cleaner and lint-free cloths. Ensure that the surface is free from dust, oils, and any other contaminants that could hinder the bonding of the repair materials. Additionally, use rubbing alcohol to eliminate any residual residues and promote a pristine repair surface.
-
Removing Debris: Carefully inspect the crack and delicately remove any loose glass fragments or residual materials using a razor blade or glass scraper. It is crucial to eliminate any obstructions that could impede the application and adhesion of the repair resin. Exercise caution to avoid widening the crack or causing further damage to the glass.
-
Drying the Surface: After cleaning and debris removal, allow the glass surface to dry completely before proceeding with the repair. Any moisture or residual cleaning agents can compromise the effectiveness of the repair materials, potentially leading to suboptimal results. Patience during this phase is essential to ensure a pristine and receptive repair surface.
-
Applying Clear Tape: To stabilize the cracked glass and prevent the spread of the crack during the repair process, carefully apply clear adhesive tape over the damaged area. The tape serves as a temporary reinforcement, minimizing the risk of the crack expanding and facilitating a more controlled application of the repair resin.
-
Enhanced Inspection: Utilize a magnifying glass or loupe to conduct a detailed inspection of the crack, verifying that the surface is free from debris and contaminants. This close examination allows you to identify any remaining imperfections and ensure that the glass surface is primed for the subsequent application of the repair materials.
By meticulously preparing the glass surface through thorough cleaning, debris removal, and stabilization, you establish an optimal foundation for the repair process. This meticulous approach sets the stage for the effective application and bonding of the repair materials, ultimately contributing to a durable and visually seamless restoration of the glass. With the glass surface primed and refined, you are now ready to proceed with the application of the glass repair kit, advancing towards the culmination of the repair journey.
Applying the Glass Repair Kit
Once the glass surface is meticulously prepared, the next pivotal step in the glass crack repair process involves the precise application of the glass repair kit. This phase demands attentiveness and precision to ensure the effective filling and sealing of the crack, ultimately restoring the glass's integrity and visual appeal. Follow these essential steps to seamlessly apply the glass repair kit and initiate the restoration process:
-
Mixing the Resin: Begin by preparing the repair resin as per the instructions provided in the glass repair kit. Some kits may involve the mixing of resin components to activate the adhesive properties. Follow the recommended proportions and blending techniques to achieve a homogeneous resin mixture, ensuring optimal performance during the repair.
-
Applying the Resin: Using the applicator tool included in the repair kit, carefully apply the mixed resin to the cracked area. Gently guide the resin into the crack, ensuring thorough coverage and penetration. Exercise precision to prevent excess resin from spreading beyond the crack, maintaining a focused application for optimal results.
-
Filling the Crack: As the resin is applied, observe its flow and distribution within the crack. The goal is to fill the entire length and depth of the crack with the resin, effectively bonding the fractured glass surfaces. Ensure that the resin adequately permeates the crack, addressing any voids or irregularities to achieve a uniform and robust repair.
-
Removing Excess Resin: After filling the crack, delicately remove any excess resin using a razor blade or similar tool. This step is crucial for refining the repair surface and achieving a smooth, flush finish. Exercise caution to avoid disrupting the filled crack while removing the surplus resin, maintaining the integrity of the repair.
-
Applying Clear Adhesive Film: Following the resin application, carefully place a clear adhesive film over the repaired area. The film serves as a protective layer, preventing external contaminants from compromising the curing process and enhancing the durability of the repair. Ensure that the film adheres securely to the glass surface, encapsulating the applied resin.
-
Curing Under UV Light: Utilize the UV light source included in the repair kit to initiate the curing process. Position the UV light over the clear adhesive film, exposing the repaired area to the specified duration of UV radiation. This step activates the curing agents within the resin, facilitating strong bonding and solidification of the repair.
By meticulously following these steps, you can effectively apply the glass repair kit and initiate the transformative process of restoring the cracked glass to its former glory. The precise application of the repair materials sets the stage for the subsequent curing and inspection phases, bringing you closer to the fulfillment of a successful glass crack repair.
Curing the Repair
Curing the repair is a pivotal phase that solidifies the application of the glass repair kit, ensuring the seamless integration of the repair materials and the restoration of the glass's structural integrity. This transformative process involves the activation of curing agents within the applied resin, culminating in a durable and visually seamless repair. As you embark on the journey of curing the repair, meticulous attention to detail and adherence to the recommended procedures are essential to achieve optimal results.
Upon completing the application of the repair materials, the next step involves exposing the repaired area to a UV light source, typically included in the glass repair kit. The UV light serves as a catalyst for the curing process, activating the photo-initiators within the resin and initiating the cross-linking of molecular chains. This molecular transformation leads to the hardening and bonding of the resin, effectively fusing the fractured glass surfaces and fortifying the repair.
Position the UV light over the clear adhesive film that encapsulates the applied resin, ensuring uniform exposure to the repaired area. The duration of UV exposure is typically specified in the instructions provided with the glass repair kit, and it is crucial to adhere to the recommended curing time to facilitate the complete solidification of the repair. The exposure duration may vary based on the type of resin and the specific curing requirements, necessitating precision and patience during this critical phase.
As the UV light permeates the clear adhesive film and reaches the resin, the curing agents undergo a photochemical reaction, initiating the polymerization process. This reaction leads to the formation of strong molecular bonds within the resin, creating a robust and resilient repair that seamlessly integrates with the surrounding glass. The curing process is a testament to the advanced capabilities of modern glass repair technology, enabling the transformation of a fractured surface into a cohesive and visually unblemished expanse.
Throughout the curing phase, maintain a vigilant focus on the exposed repair area, ensuring that the UV light source remains stable and consistently illuminates the entire repaired section. This meticulous oversight contributes to the uniform curing of the resin, minimizing the risk of uneven hardening and promoting a flawless finish. As the curing process unfolds, anticipate the gradual solidification of the resin and the emergence of a transparent, resilient bond that harmonizes with the glass surface.
By conscientiously overseeing the curing process and adhering to the prescribed guidelines, you pave the way for the realization of a durable and aesthetically pleasing repair. The culmination of the curing phase marks the attainment of a seamlessly restored glass surface, poised to reclaim its role as a functional and visually captivating element of your surroundings. With the repair materials solidified and the molecular bonds firmly established, the glass crack repair journey nears its fulfillment, heralding the triumph of precision and expertise in the art of glass restoration.
Read more: How To Fix Fireplace Cracks
Final Inspection and Testing
Upon completing the meticulous application and curing of the glass repair materials, the pivotal phase of final inspection and testing emerges as the definitive assessment of the repair's efficacy and durability. This critical stage serves as the ultimate validation of the restoration process, ensuring that the repaired glass surface attains the desired level of integrity and visual coherence.
The final inspection commences with a comprehensive visual assessment of the repaired area, scrutinizing the transparency, uniformity, and structural integration of the applied resin. Carefully examine the repaired section from various angles and lighting conditions, observing the absence of visible cracks, irregularities, or discolorations. This meticulous scrutiny aims to ascertain that the repair seamlessly blends with the surrounding glass, achieving a harmonious and unblemished appearance.
In addition to visual inspection, tactile evaluation plays a crucial role in gauging the resilience and smoothness of the repaired surface. Gently run your fingertips along the previously cracked area, discerning any discrepancies in texture or elevation. The absence of rough edges or protrusions signifies the successful integration of the repair materials, affirming the restoration of a seamless and tactilely consistent glass surface.
Furthermore, the final inspection encompasses a thorough assessment of the repaired glass's structural stability and resistance to stress. Apply gentle pressure to the repaired area, simulating real-world conditions and evaluating the resilience of the repair. This tactile testing serves as a practical validation of the repair's ability to withstand everyday usage and environmental factors, ensuring that the restored glass surface exhibits the requisite strength and durability.
As the final inspection culminates, the testing phase ensues, subjecting the repaired glass to controlled conditions and simulated scenarios. Expose the repaired area to variations in temperature and humidity, observing its response to environmental stimuli. This testing regimen aims to validate the repair's resilience against external factors and its capacity to maintain structural integrity under diverse conditions, affirming the reliability and longevity of the restoration.
By meticulously conducting the final inspection and testing, you ascertain the successful culmination of the glass crack repair journey, validating the restoration's effectiveness and durability. This comprehensive evaluation ensures that the repaired glass surface meets the highest standards of visual coherence, structural integrity, and functional resilience, affirming its readiness to resume its role as a dependable and aesthetically pleasing element of your surroundings.
Frequently Asked Questions about How To Fix A Crack In Glass
Was this page helpful?
At Storables.com, we guarantee accurate and reliable information. Our content, validated by Expert Board Contributors, is crafted following stringent Editorial Policies. We're committed to providing you with well-researched, expert-backed insights for all your informational needs.


0 thoughts on “How To Fix A Crack In Glass”