Articles
How To Remove A Stuck Ceiling Light Bulb
Modified: September 2, 2024
Learn how to remove a stubborn ceiling light bulb with ease using these helpful articles. Avoid frustration and potential injuries by following our step-by-step guide.
(Many of the links in this article redirect to a specific reviewed product. Your purchase of these products through affiliate links helps to generate commission for Storables.com, at no extra cost. Learn more)
Introduction
Having a stuck ceiling light bulb can be frustrating, especially when you need to replace it or fix any issues with the fixture. However, with the right knowledge and tools, you can easily tackle this task without any hassle. In this article, we will guide you through the step-by-step process of removing a stuck ceiling light bulb.
Before we dive into the details, it’s important to note that safety should always be a top priority when working with electrical fixtures. Make sure to turn off the power supply to the light fixture before attempting to remove a stuck bulb. Additionally, using the correct tools and taking necessary precautions will help you avoid any accidents.
Now, let’s gather the supplies you’ll need to successfully remove a stuck ceiling light bulb.
Key Takeaways:
- Safety first! Always turn off the power supply and gather the right tools, like gloves, pliers, and a voltage tester, before attempting to remove a stuck ceiling light bulb. Patience and caution are key.
- If the bulb is stubborn, try using duct tape or a rubber band for extra grip, and consider applying electrical lubricant. If all else fails, don’t hesitate to seek professional assistance from an electrician.
Read more: How To Remove Ceiling Light
Supplies Needed
Before you start the process of removing a stuck ceiling light bulb, it’s important to gather the necessary supplies. These items will make the process easier and safer. Here’s what you’ll need:
- Gloves: It’s a good idea to wear protective gloves to avoid any injuries from broken glass.
- Ladder or step stool: Depending on the height of your ceiling, you may need a ladder or step stool to reach the light fixture.
- Needle-nose pliers: These pliers will help you grip and twist the bulb base for removal.
- Duct tape or rubber band: This can be used to create a grip on the bulb if it’s too slippery to remove by hand.
- Safety goggles: Protect your eyes from glass fragments by wearing safety goggles.
- Replacement bulb: If you’re planning to replace the stuck bulb, make sure you have a new one ready.
- Voltage tester: A voltage tester will help you ensure that the power supply to the light fixture is turned off.
Having these supplies on hand will ensure that you’re prepared to safely and effectively remove a stuck ceiling light bulb. Once you’ve gathered everything you need, it’s time to go through the step-by-step process.
Step 1: Preparing the Area
Before you start working on removing the stuck ceiling light bulb, it’s essential to prepare the area to ensure safety and ease of access. Follow these steps to properly prepare the area:
- Turn Off the Power: Locate the circuit breaker or light switch that controls the power supply to the light fixture. Flip the switch or turn off the breaker to cut off the electricity. Use a voltage tester to double-check that the power is indeed off before proceeding.
- Clear the Surrounding Space: Remove any furniture or objects that may obstruct your access to the light fixture. Make sure there is enough room for you to work comfortably and safely.
- Protect the Floor: Lay down a drop cloth or old sheet beneath the light fixture to catch any debris or glass shards that may fall during the removal process. This will make cleanup easier afterward.
Once you have prepared the area, you are ready to move on to the next step of removing the stuck ceiling light bulb.
Step 2: Turning Off the Power
Before attempting to remove the stuck ceiling light bulb, it is crucial to ensure that the power supply to the fixture is turned off. Follow these steps to turn off the power safely:
- Locate the Circuit Breaker: Identify the circuit breaker that corresponds to the light fixture you’ll be working on. This may be labeled on the breaker panel, or you may need to test different breakers to find the correct one.
- Flip the Breaker: Once you have identified the correct breaker, flip it to the “Off” position. This will cut off the power supply to the light fixture.
- Double-Check the Power: Use a voltage tester on the light switch or fixture to ensure that there is no electrical current present. This is an important safety precaution to prevent accidental shocks.
By following these steps, you can be confident that the power supply to the light fixture is safely turned off. This will prevent any accidents or electrical shocks while removing the stuck ceiling light bulb.
Step 3: Gathering Tools
Before you begin the process of removing a stuck ceiling light bulb, it’s important to gather the necessary tools. Having the right tools on hand will make the task easier and more efficient. Here are the tools you’ll need:
- Ladder or Step Stool: Depending on the height of your ceiling, you may need a ladder or step stool to reach the light fixture safely.
- Gloves: It’s advisable to wear gloves to protect your hands from broken glass or any other sharp materials.
- Needle-Nose Pliers: These pliers have a long, slender nose that allows for a better grip on the bulb base. They are ideal for situations where the bulb is too slippery to remove by hand.
- Duct Tape or Rubber Band: If the bulb is stuck and difficult to turn, use duct tape or a rubber band to create extra grip. Wrap it around the bulb base and twist, providing more traction for removal.
- Safety Goggles: It’s essential to protect your eyes from any debris or glass fragments that may come loose during the removal process. Safety goggles will prevent any potential injuries.
- Voltage Tester: A voltage tester is crucial to ensure that the power supply to the light fixture has been properly cut off. It will help you avoid any accidental shocks.
- Replacement Bulb: If you’re planning to replace the stuck bulb, make sure to have a new one on hand before starting the removal process.
By gathering these tools beforehand, you’ll be well-equipped to handle the task of removing a stuck ceiling light bulb. With the right tools at your disposal, you can proceed confidently with the removal process.
Before attempting to remove a stuck ceiling light bulb, make sure the power is turned off. Use a rubber jar opener or duct tape to grip and twist the bulb out. If that doesn’t work, try using a potato to create traction and unscrew the bulb.
Read more: How To Change Light Bulb In The Ceiling
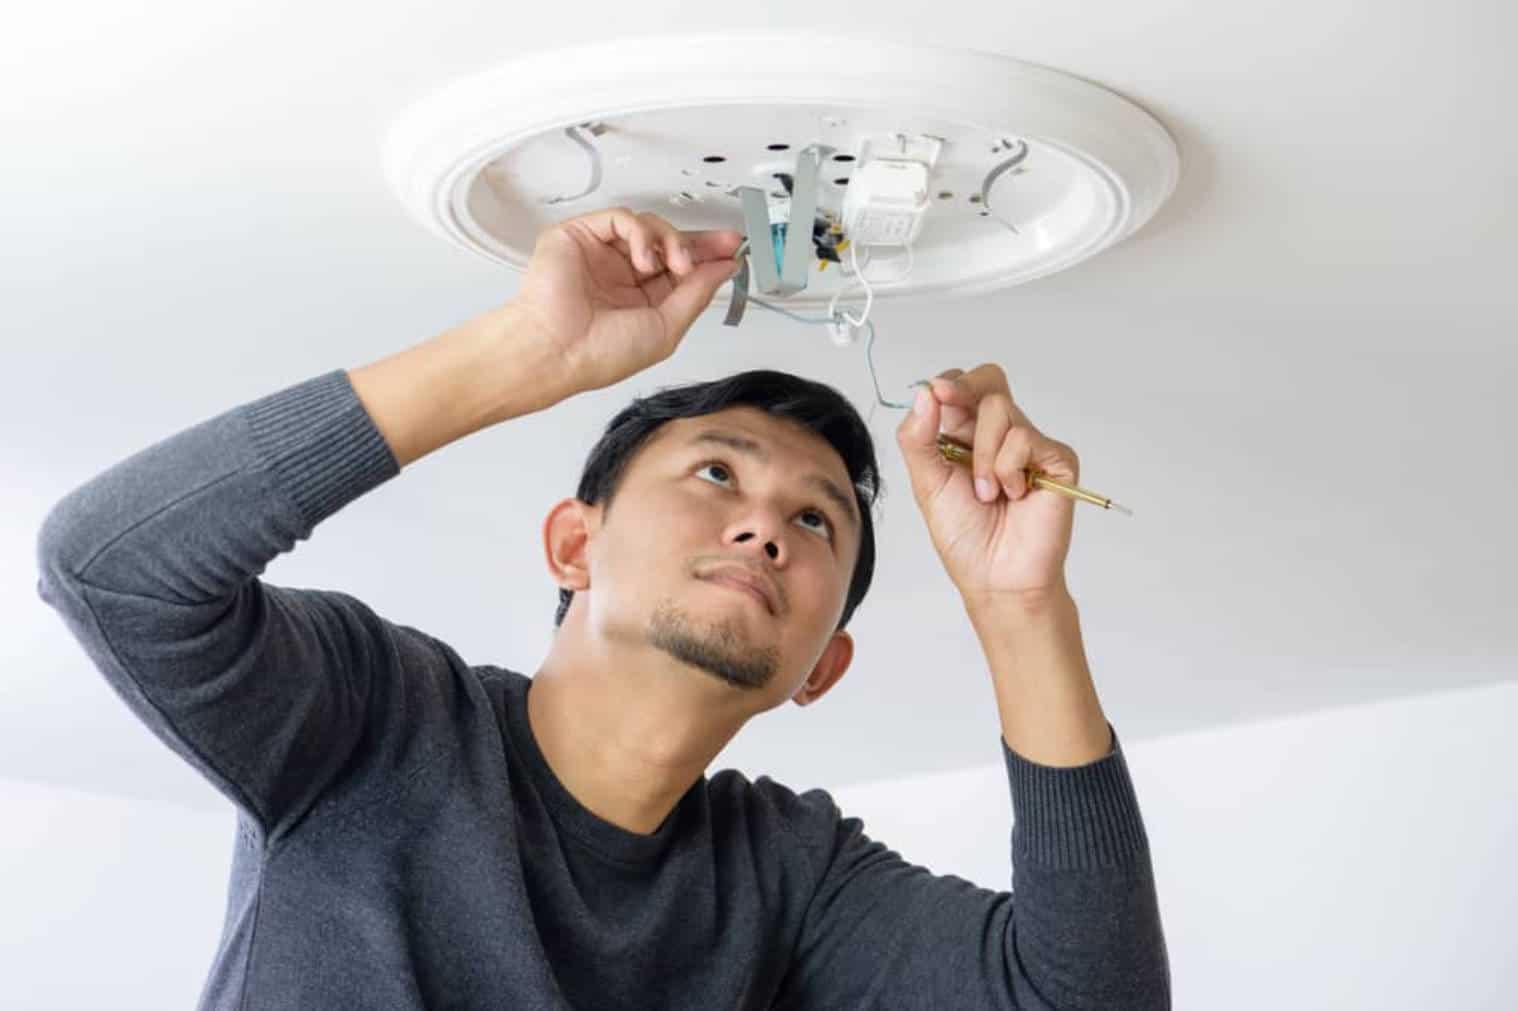
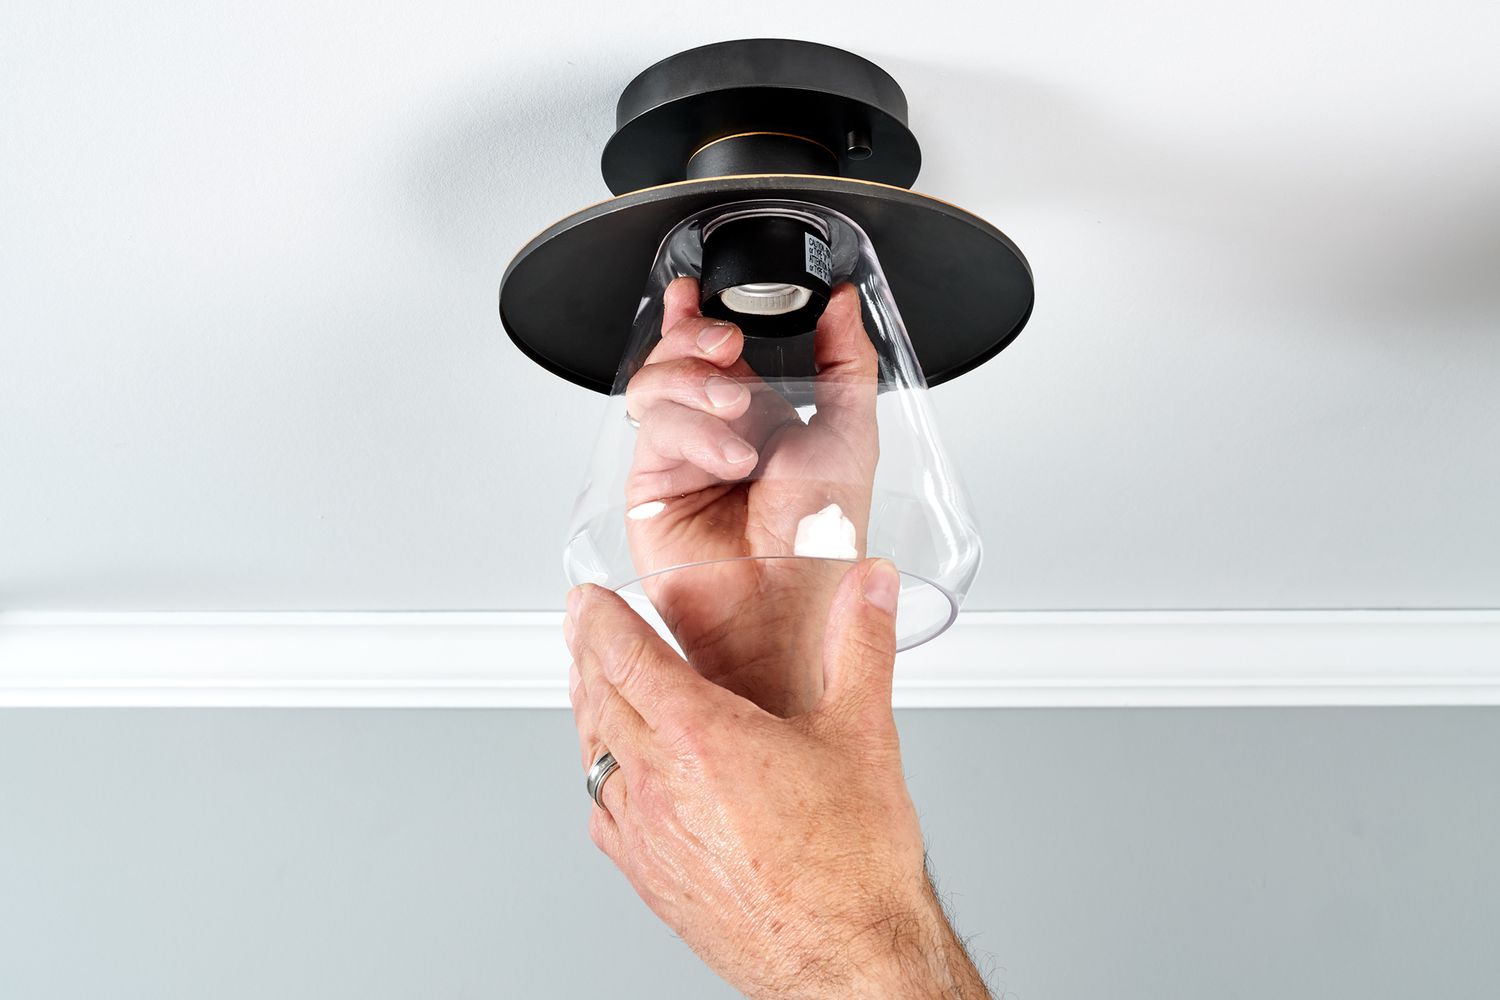
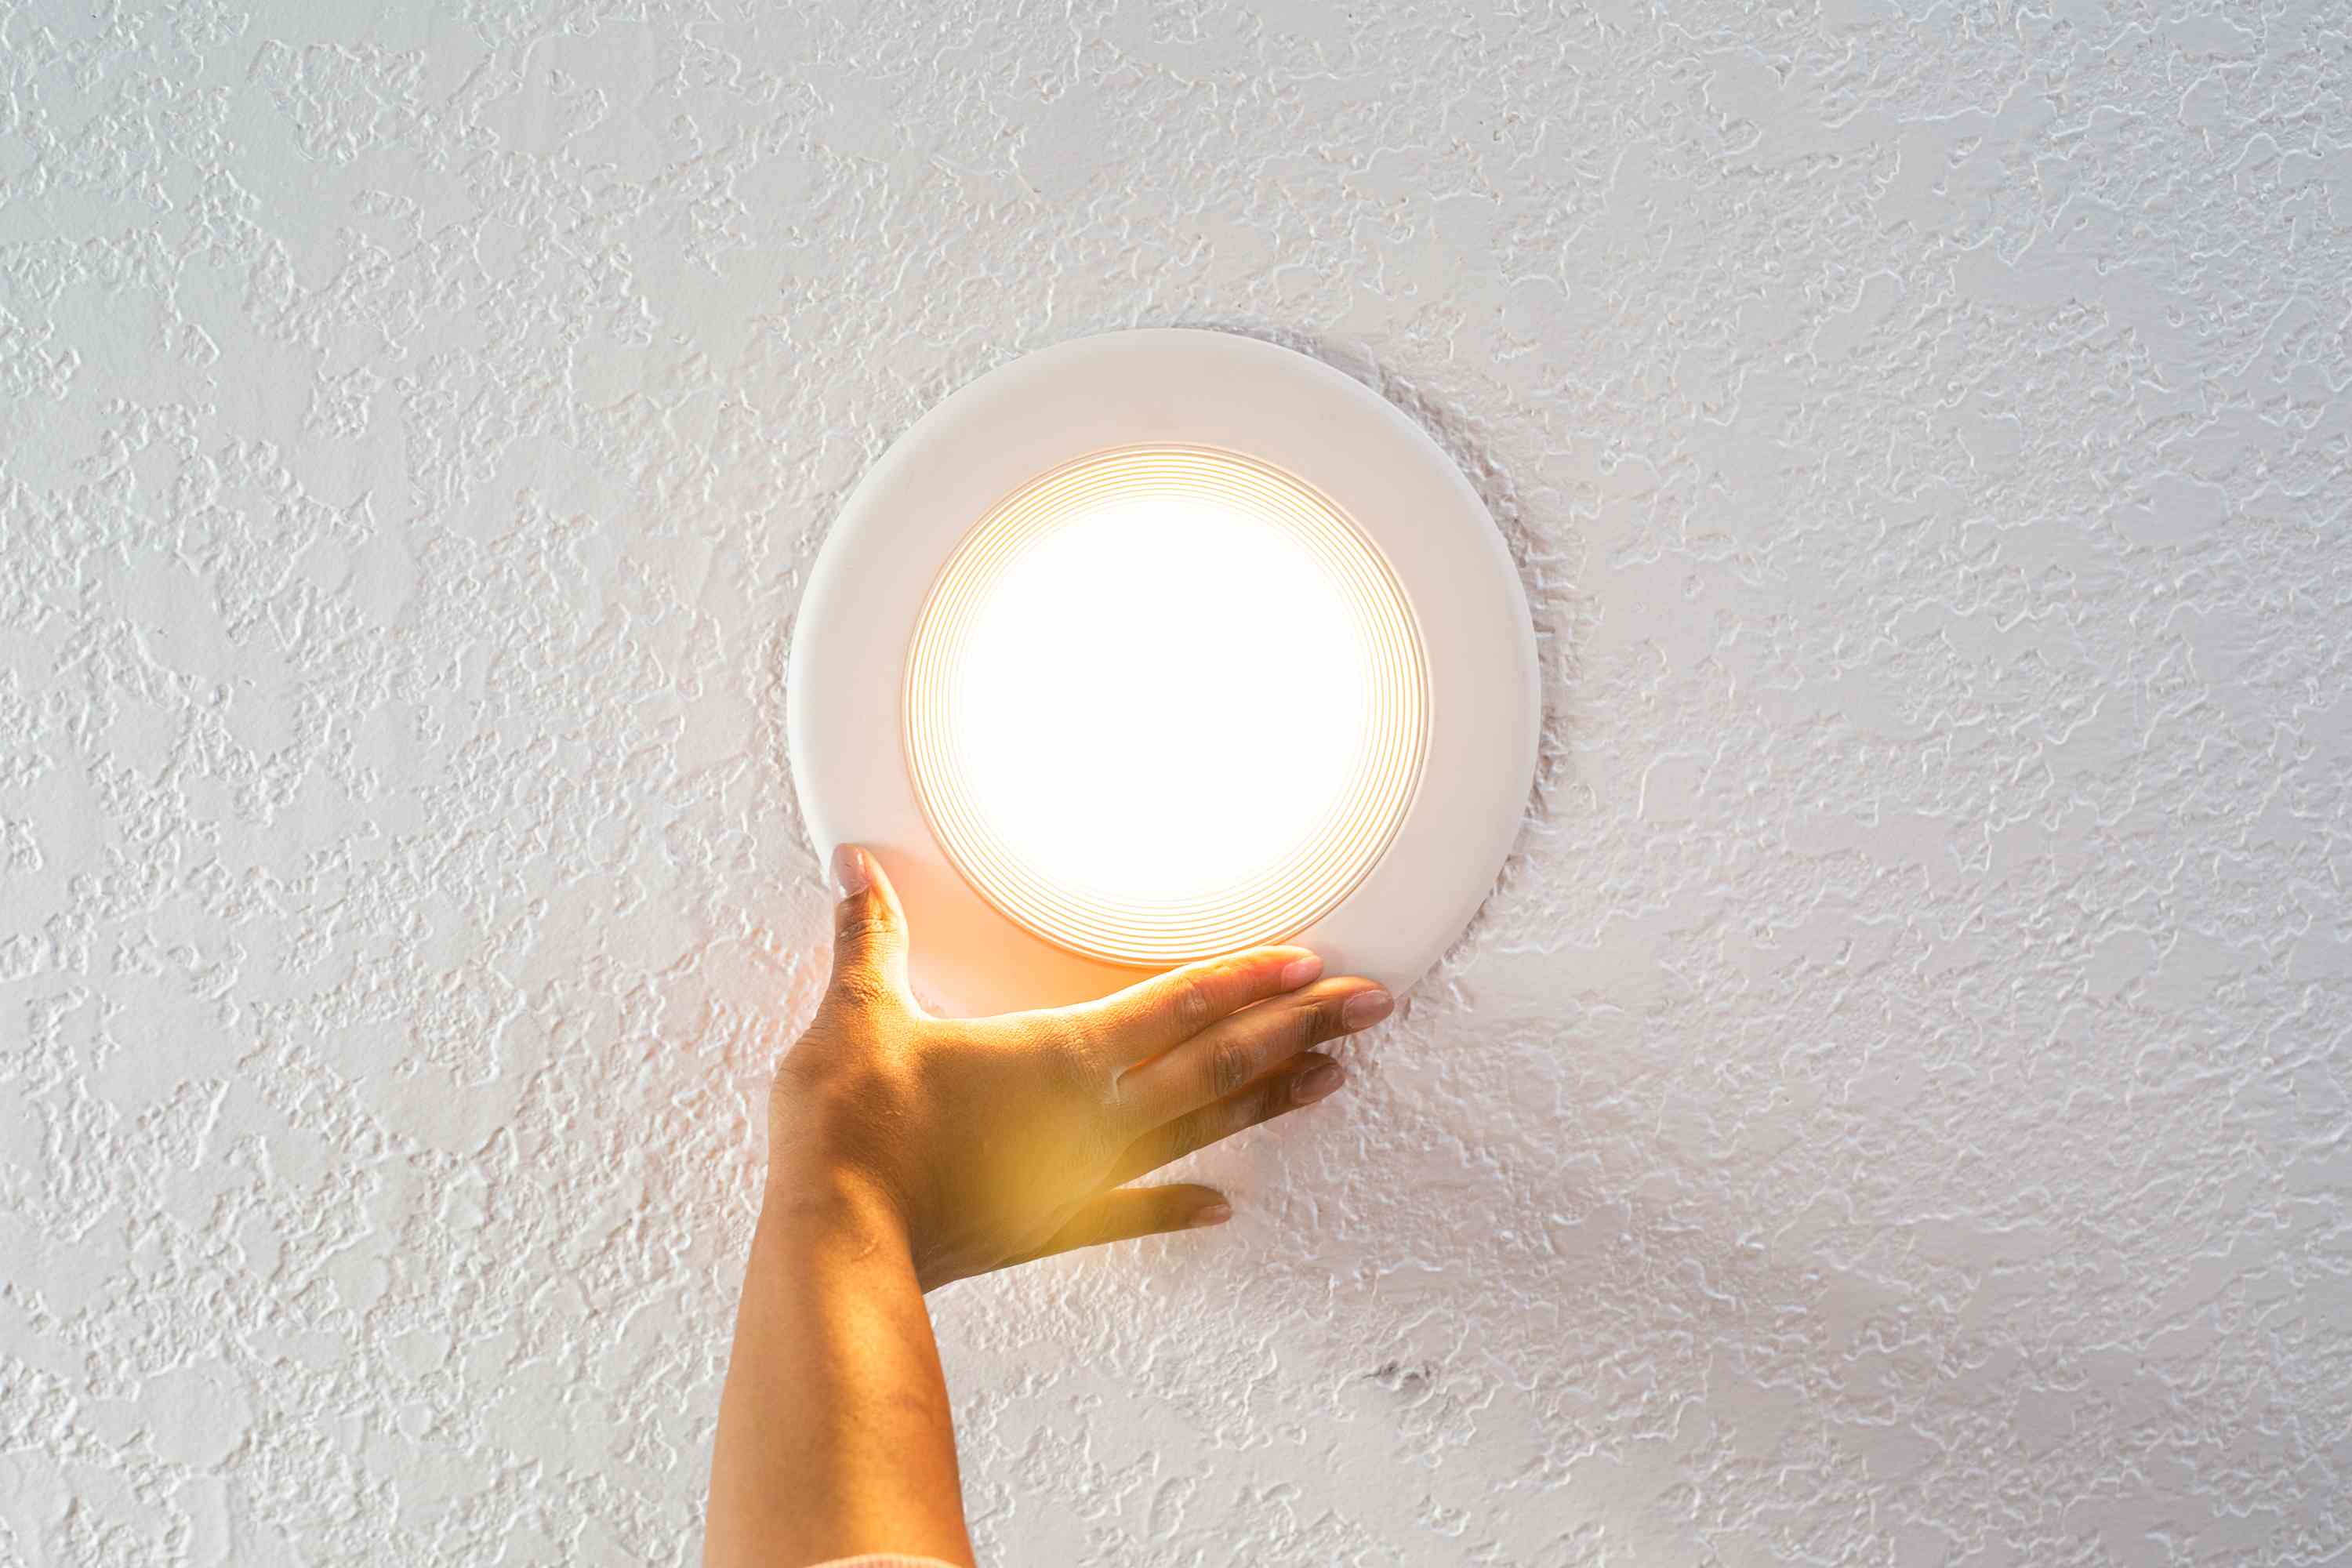
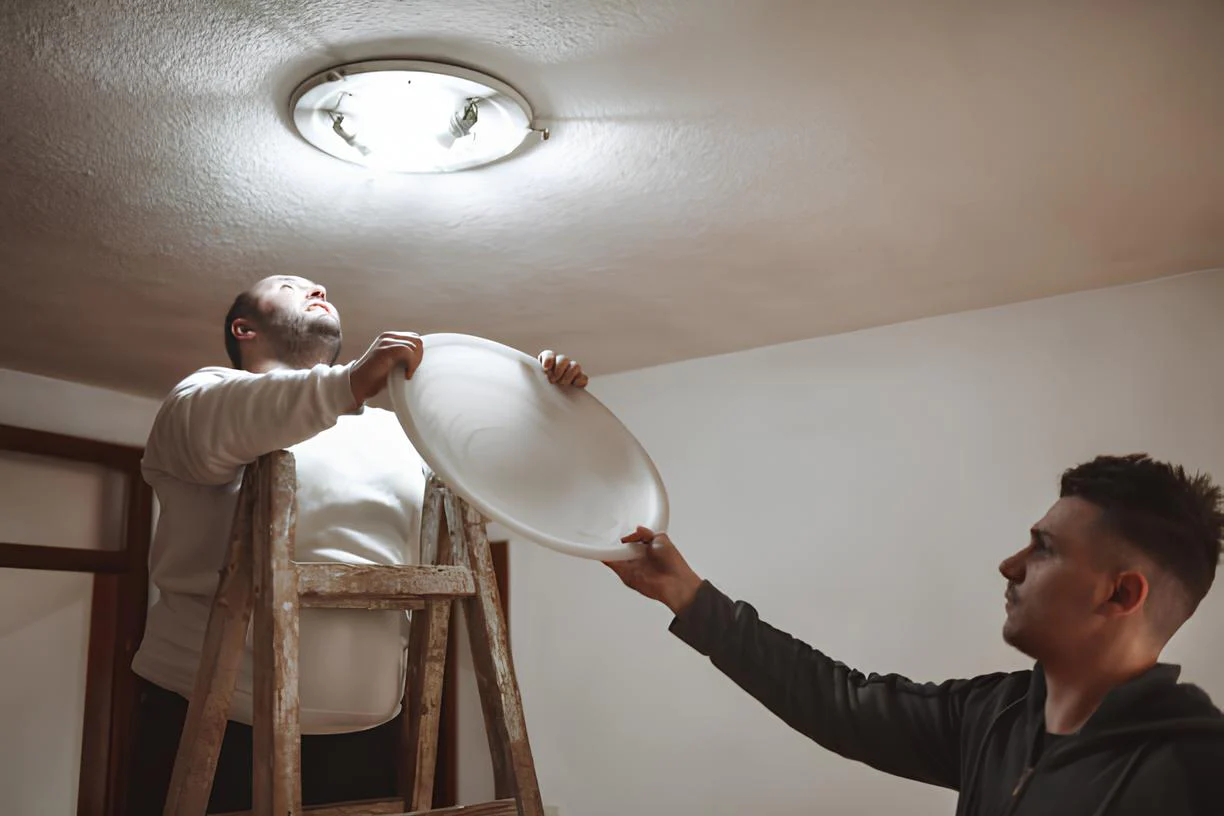
Step 4: Removing the Light Shade
Once you have prepared the area and gathered the necessary tools, it’s time to start the process of removing the stuck ceiling light bulb. The first step is to remove the light shade or covering. Follow these steps:
- Put on Your Gloves: Before handling the light shade, put on a pair of protective gloves to prevent any injuries from broken glass or sharp edges.
- Determine the Type of Light Shade: Different light fixtures may have different methods of attaching the light shade. It may be held in place by screws, clips, or a twist-lock mechanism. Take a close look at the fixture to understand how the light shade is attached.
- Unscrew or Unclip the Light Shade: Depending on the attachment method, use a screwdriver or your fingers to unscrew the screws or unclip the light shade. If it’s a twist-lock mechanism, twist the shade counterclockwise to remove it.
- Set Aside the Light Shade: Once the light shade is detached, carefully set it aside in a secure location. Take care not to drop or damage it.
Removing the light shade will give you better access to the stuck light bulb. Make sure to handle the light shade with care to avoid any accidents or damage. With the light shade out of the way, you can proceed to the next step of the removal process.
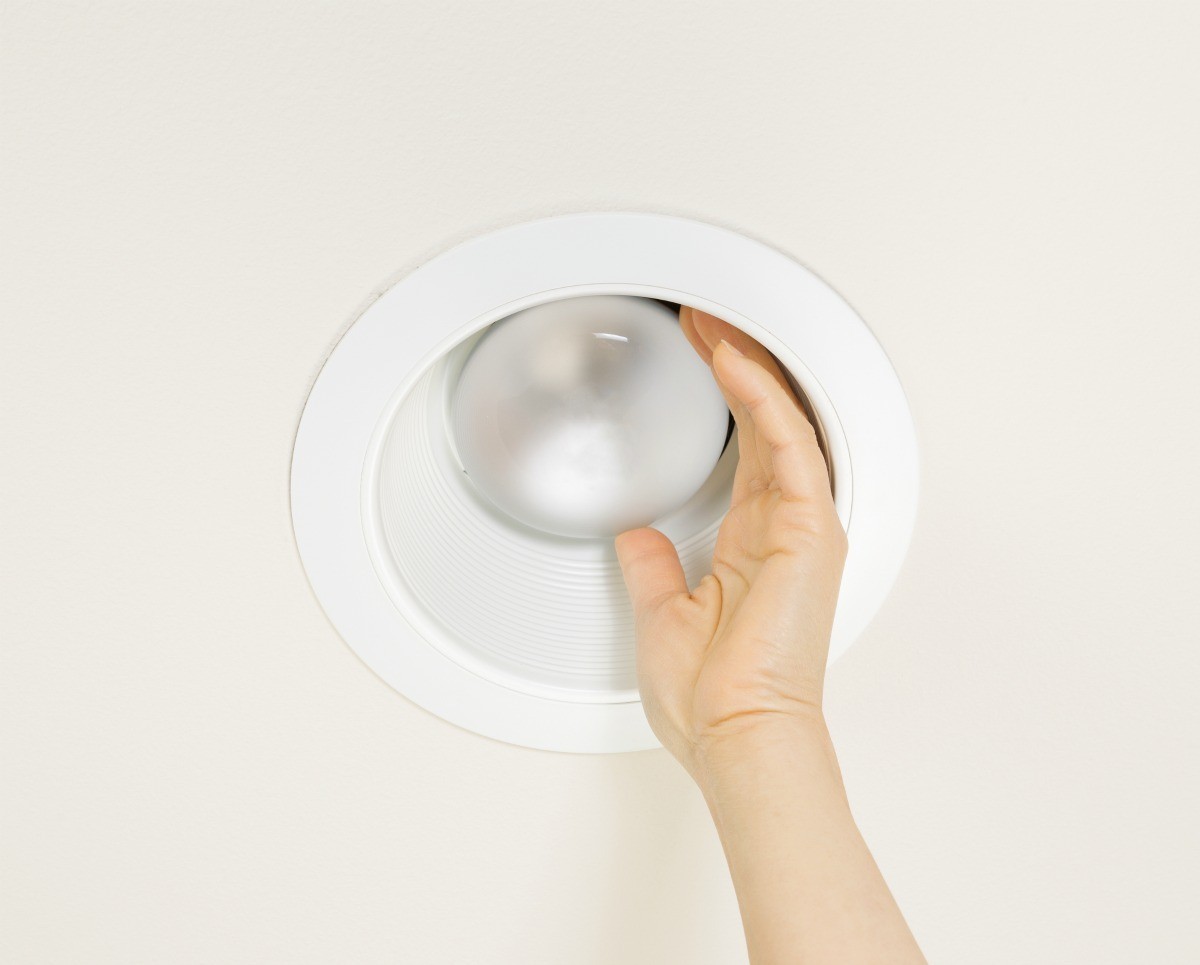
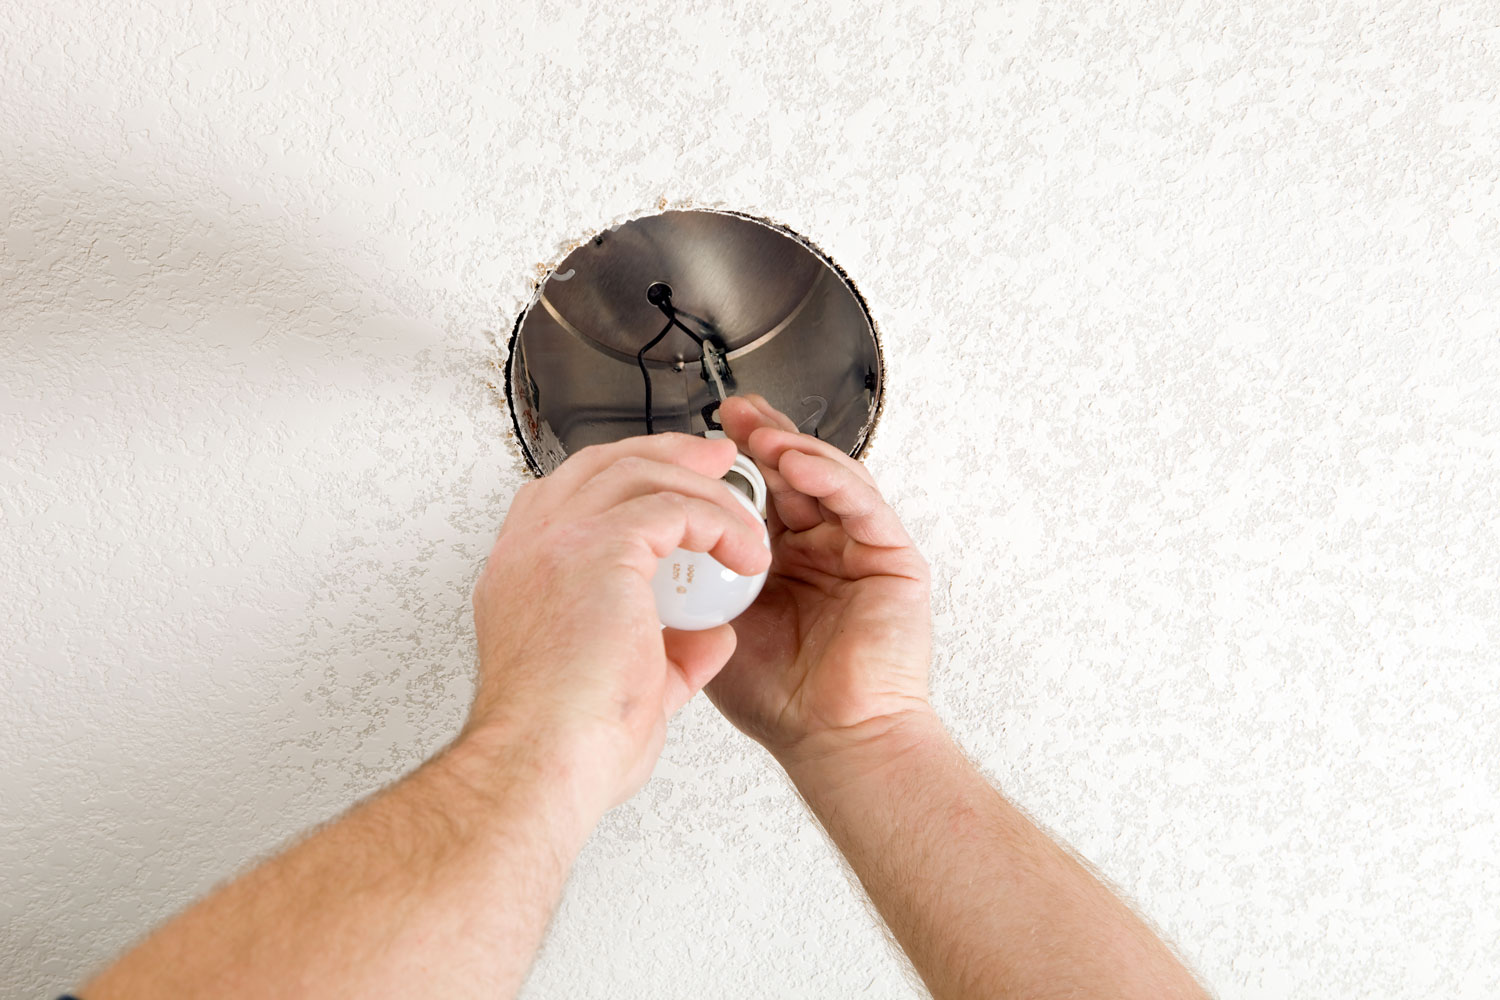
Step 5: Extracting the Bulb Base
Now that the light shade has been removed, it’s time to focus on extracting the stuck ceiling light bulb. Follow these steps to safely remove the bulb base:
- Inspect the Bulb Base: Take a close look at the bulb base and assess the situation. Check for any visible signs of damage or corrosion that may be causing the bulb to stick.
- Try Turning the Bulb: Using your gloved hand, attempt to turn the bulb gently in a counterclockwise direction. Apply steady and even pressure, but avoid applying excessive force, as this can cause the bulb to break.
- Use Needle-Nose Pliers: If the bulb is too slippery or stubborn to turn by hand, carefully grip the base of the bulb with a pair of needle-nose pliers. Turn the pliers counterclockwise to loosen and remove the bulb.
- Apply Duct Tape or Rubber Band: If the bulb is still stuck, wrap a piece of duct tape or a rubber band around the bulb base to create a better grip. Use the added traction to loosen and remove the bulb.
- Twist and Remove: While holding the pliers or using the tape/rubber band, gently twist and turn the bulb counterclockwise until it becomes loose. Continue twisting until you can safely remove the bulb from the socket.
Take your time and be patient during this step. Applying too much force or rushing the process can lead to accidents or damage. Once you have successfully extracted the bulb base, you can proceed to the final step of troubleshooting and additional tips.
Step 6: Troubleshooting and Extra Tips
After removing the stuck ceiling light bulb, it’s time to troubleshoot any potential issues and learn some extra tips to ensure a smooth process. Here are some troubleshooting steps and additional tips:
- Inspect the Socket: Take a close look at the socket to ensure there are no broken or damaged parts. Clean any dust, debris, or corrosion inside the socket using a soft cloth or a small brush.
- Replace with a New Bulb: If you removed the stuck bulb because it was faulty or burned out, now is the perfect time to replace it with a new one. Make sure to choose the correct type and wattage for your fixture.
- Apply Electrical Lubricant: If you’re still having difficulty removing the bulb or if it feels sticky, you can apply a small amount of electrical lubricant to the bulb base. This can help loosen the bulb and make removal easier.
- Consider a Professional: If you have tried all the steps and are still unable to remove the stuck bulb base, it may be time to call a professional electrician. They will have the expertise and tools necessary to handle the situation safely.
- Prevention for Future: To avoid future issues with stuck light bulbs, consider applying a thin layer of dielectric grease on the base of new bulbs before installing them. This can help prevent corrosion and make removal easier in the future.
Remember, safety should always be your top priority when working with electrical fixtures. If you’re unsure or uncomfortable with any part of the process, it’s best to seek professional assistance.
With these troubleshooting tips and extra recommendations, you should now be well-equipped to handle the task of removing a stuck ceiling light bulb. Remember to approach the process with patience and caution, and always prioritize your safety.
Once you have successfully removed the stuck bulb and addressed any issues, you can now enjoy a properly functioning light fixture in your space.
Conclusion
Removing a stuck ceiling light bulb may seem like a daunting task, but with the right knowledge and tools, it can be a manageable and safe process. By following the step-by-step guide outlined in this article, you’ll be able to tackle the task with confidence and efficiency.
Remember to always prioritize safety by turning off the power supply to the light fixture before starting any work. Gather the necessary supplies, such as gloves, pliers, and a voltage tester, to ensure a smooth removal process. Take your time and be patient as you carefully remove the light shade and extract the bulb base, using additional tools or techniques if necessary.
If you encounter any difficulties or are unsure about any aspect of the process, it’s recommended to seek the assistance of a professional electrician. They have the expertise and experience to handle the situation safely and efficiently.
By troubleshooting any issues, such as inspecting the socket or applying electrical lubricant, you can prevent future problems and make future bulb changes a breeze. And don’t forget to replace the stuck bulb with a new one if needed.
With the guidance provided in this article, you now have the knowledge and tools to confidently handle the removal of a stuck ceiling light bulb. Just remember to prioritize safety, be patient and cautious, and don’t hesitate to seek professional help if needed.
Now, go ahead and tackle that stuck ceiling light bulb with ease, and enjoy a well-lit and functional space!
Frequently Asked Questions about How To Remove A Stuck Ceiling Light Bulb
Was this page helpful?
At Storables.com, we guarantee accurate and reliable information. Our content, validated by Expert Board Contributors, is crafted following stringent Editorial Policies. We're committed to providing you with well-researched, expert-backed insights for all your informational needs.


0 thoughts on “How To Remove A Stuck Ceiling Light Bulb”