Home>Storage Ideas>Storage Baskets>How To Make Coiled Fabric Baskets
Storage Baskets
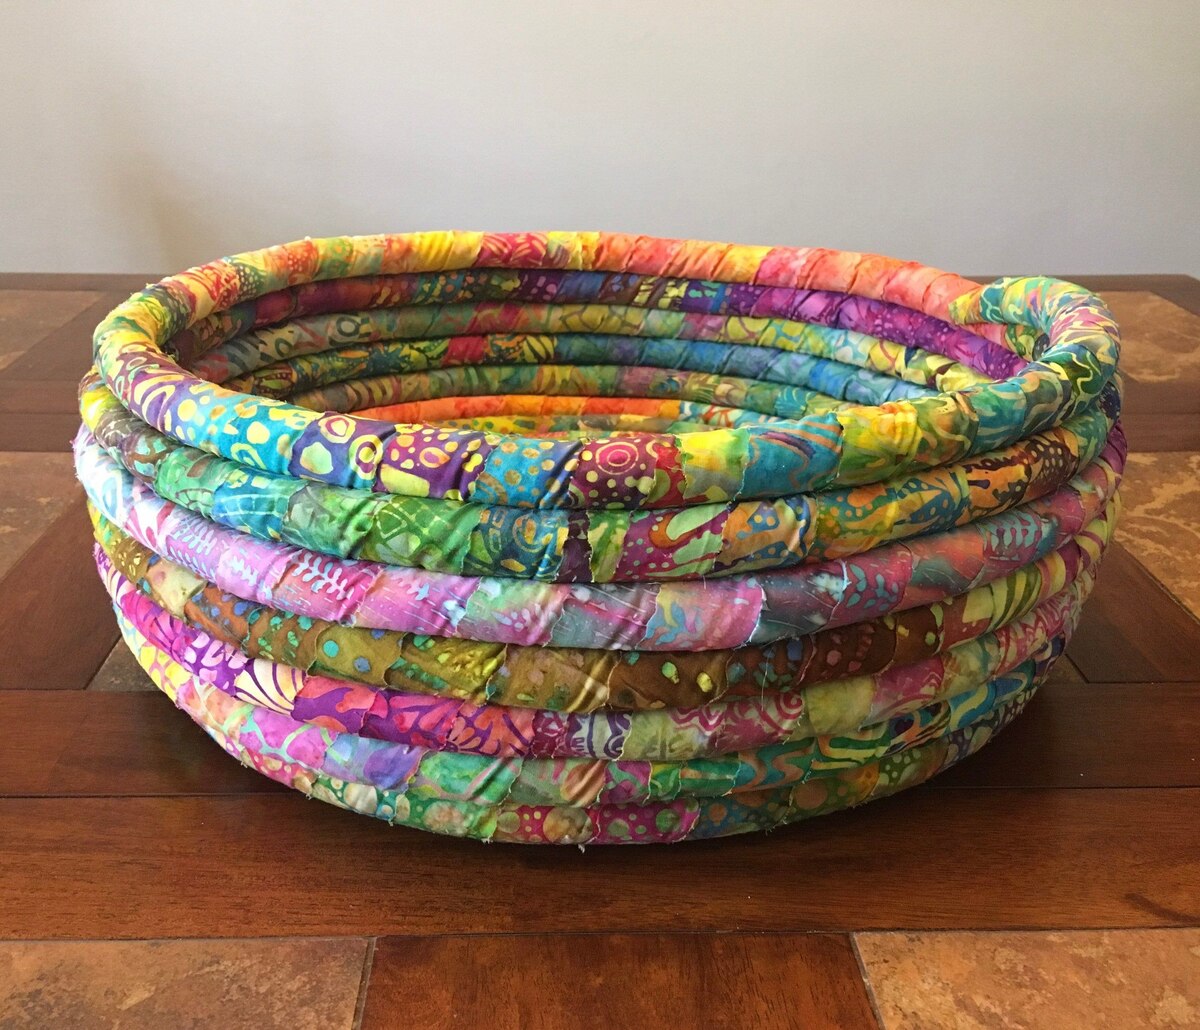
How To Make Coiled Fabric Baskets
Modified: May 6, 2024
Learn how to create beautiful coiled fabric storage baskets with our step-by-step guide. Perfect for organizing your home and adding a touch of style.
(Many of the links in this article redirect to a specific reviewed product. Your purchase of these products through affiliate links helps to generate commission for Storables.com, at no extra cost. Learn more)
Introduction
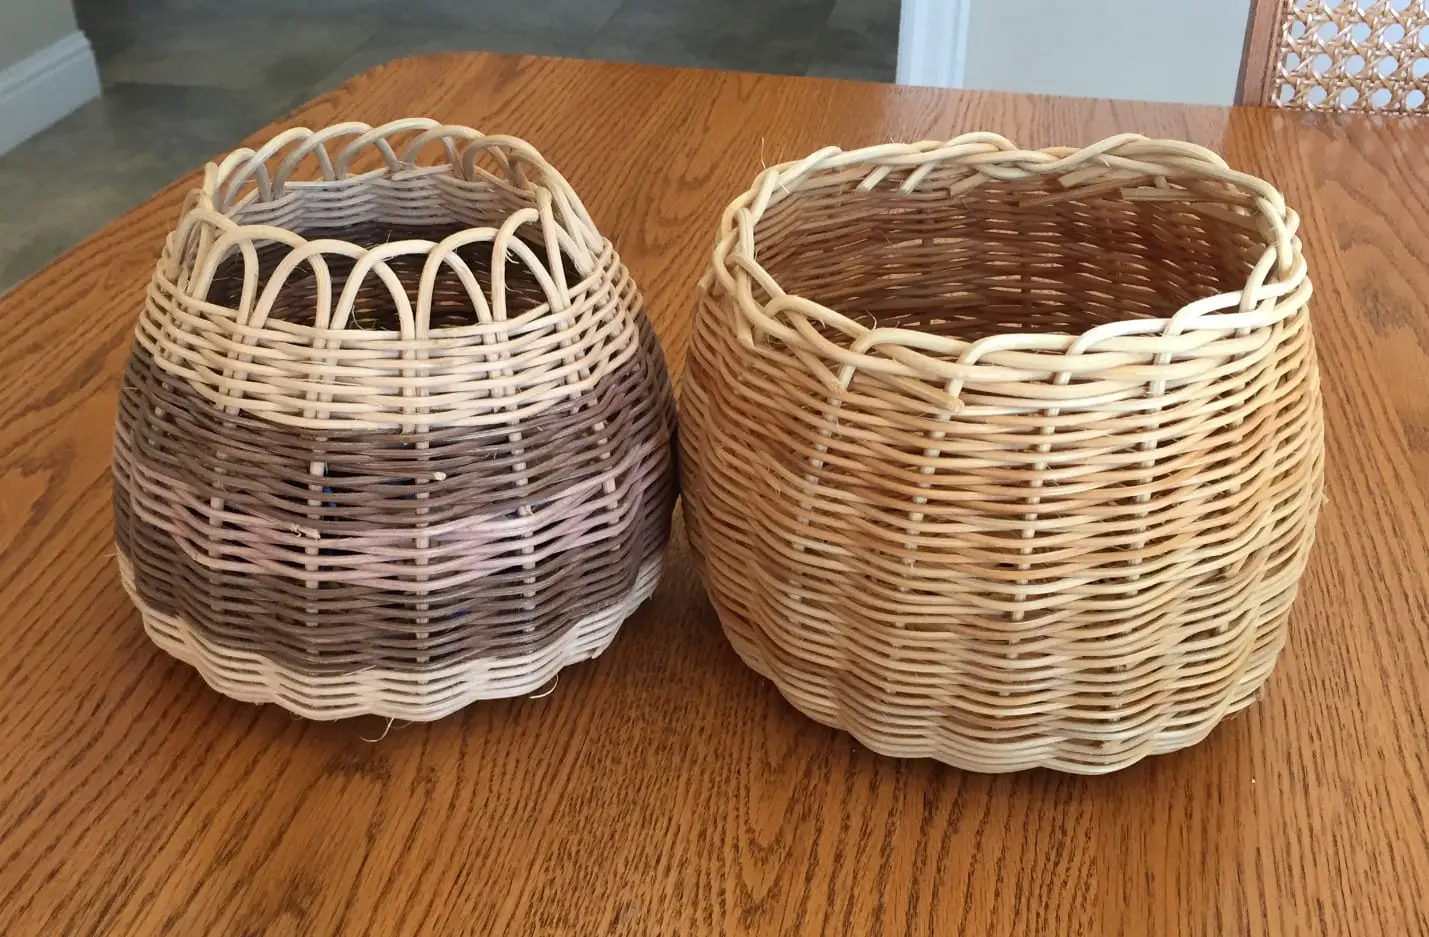
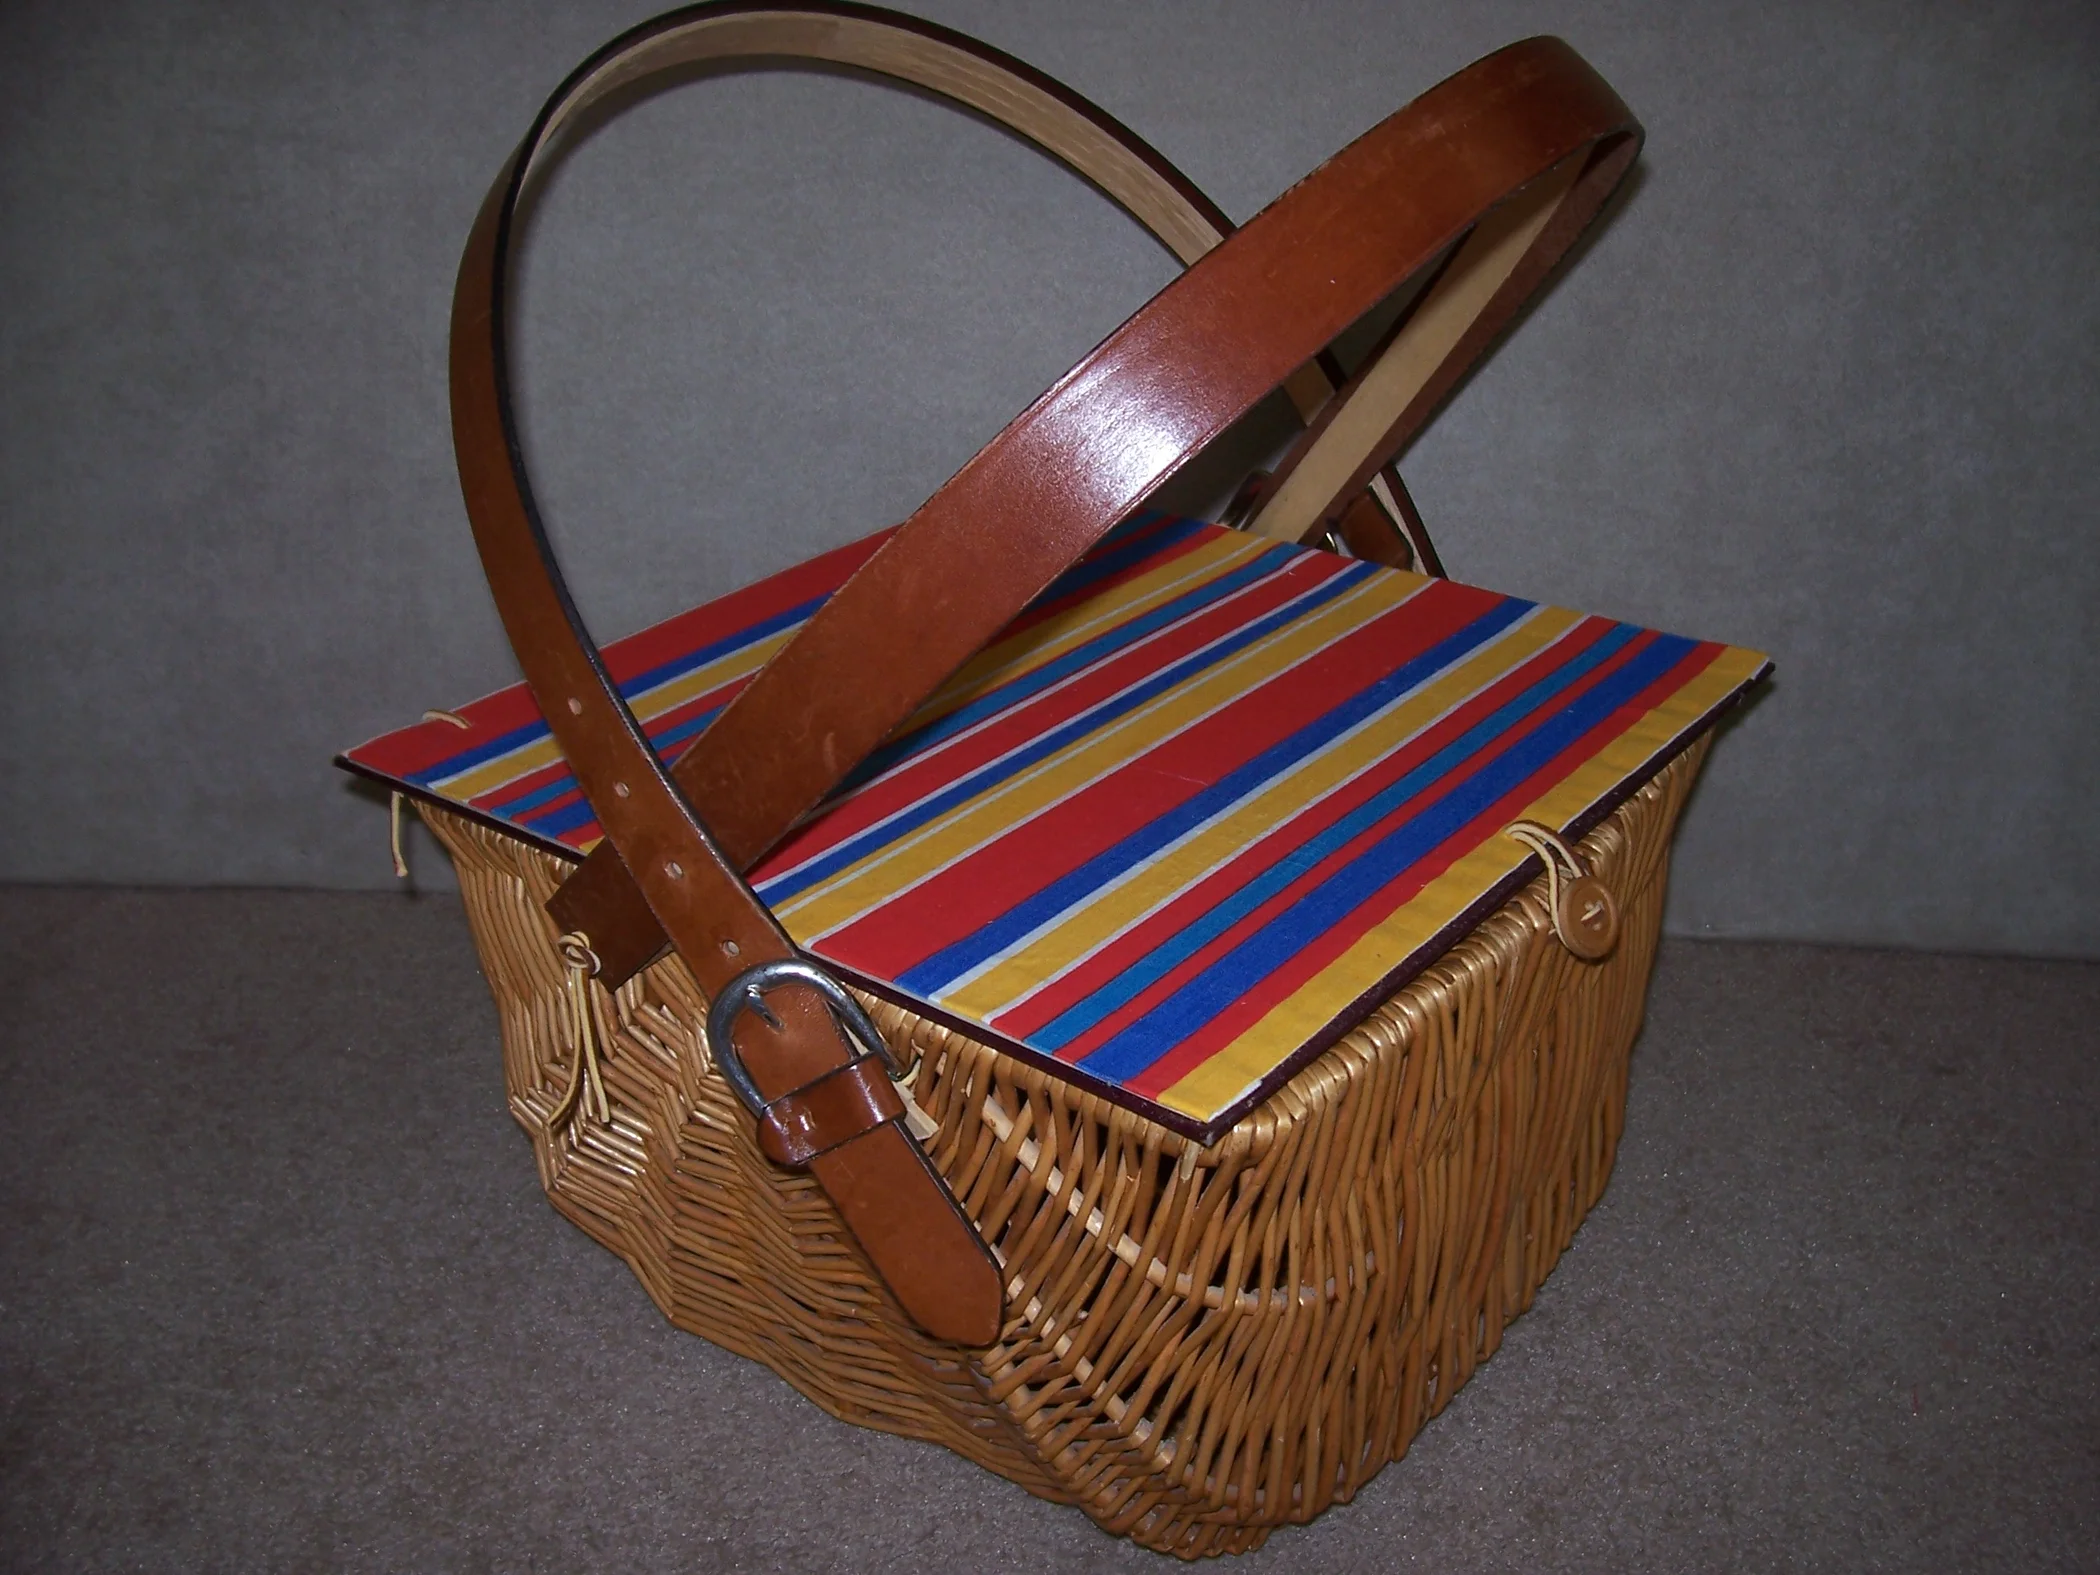
Welcome to the world of coiled fabric baskets! These charming and versatile storage solutions are not only practical, but also a great way to add a touch of creativity and personalization to your home decor. Whether you’re looking for a stylish way to store your craft supplies, organize your bathroom essentials, or showcase your indoor plants, coiled fabric baskets are the answer.
The process of making coiled fabric baskets involves using fabric strips to create a tightly coiled base, which is then stitched and shaped into a basket. The best part? You can customize your basket to perfectly match your style and preferences by choosing fabrics in different colors, patterns, and textures.
In this step-by-step tutorial, I will guide you through the process of making your own coiled fabric basket. From preparing the fabric strips to finishing the basket, you’ll learn all the essential techniques and tips to create a beautiful and functional storage basket that you can proudly display in your home.
Before we dive into the tutorial, let’s go over the materials you’ll need to get started.
Key Takeaways:
- Elevate your home decor and organization with charming coiled fabric baskets. Customize your own unique storage solutions using fabric strips and basic sewing skills. Unleash your creativity and enjoy the handmade beauty of your practical yet artistic creations.
- Transform fabric strips into functional and beautiful baskets. Embrace the coiling and stitching process as a testament to your creativity and craftsmanship. Infuse your home with personalized style and enjoy the satisfaction of handmade art.
Read more: How To Make Sweetgrass Baskets
Materials
Before you begin making your coiled fabric basket, gather the following materials:
- Fabric Strips: Choose fabric strips in colors and patterns of your choice. You can use cotton, linen, or even recycled fabric for an eco-friendly touch.
- Scissors: A good pair of fabric scissors will make it easier to cut the fabric strips neatly.
- Needle: Select a needle that is suitable for sewing through multiple layers of fabric.
- Thread: Use a thread that matches the color of your fabric or opt for a contrasting color to add visual interest.
- Thimble: A thimble will protect your fingers from the needle as you stitch the fabric together.
- Measuring Tape: This is helpful for measuring and cutting the fabric strips to the desired length.
- Sewing Pins: Pins will hold the fabric strips in place as you coil and stitch.
- Marking Pen or Pencil: Use a marking pen or pencil to mark the cutting lines on the fabric.
- Optional Embellishments: If desired, gather any embellishments such as ribbons, buttons, or beads to decorate your basket.
Once you have gathered these materials, you’ll be well-prepared to embark on your coiled fabric basket-making adventure. Now, let’s move on to the first step: preparing the fabric strips.
Step 1: Prepare the fabric strips
The first step in making your coiled fabric basket is to prepare the fabric strips. Here’s how to do it:
- Choose your fabric: Select the fabric you want to use for your basket. You can use one type of fabric or mix and match different patterns and colors for a unique look.
- Measure and cut the strips: Measure and cut the fabric into strips of approximately 1-1.5 inches in width. The length of the strips will depend on the desired size of your basket.
- Join the strips (optional): If your fabric strips are not long enough to create the desired length, you can join multiple strips together by sewing them end-to-end with a zigzag stitch.
- Press the strips: Using an iron, press the fabric strips to remove any wrinkles and ensure they lay flat. This will make it easier to handle the strips during the coiling process.
Once you have your fabric strips prepared, you’re ready to start coiling the fabric and turning it into a beautiful basket. This is where the true magic begins. Continue reading to learn how to coil and stitch the fabric together!
Step 2: Start coiling the fabric
Now that you have your fabric strips prepared, it’s time to start coiling them to create the base of your fabric basket. Follow these steps:
- Take one fabric strip and fold the end at a 90-degree angle. This will serve as the starting point for your coil.
- Secure the folded end by stitching it in place using a needle and thread. Make a few stitches to ensure it is firmly held together.
- Hold the folded end of the fabric strip with one hand and begin coiling the strip tightly around it. Use your other hand to guide the strip and maintain a neat and even coil.
- As you coil, continue to add stitches with each rotation to secure the coil together. Use small, tight stitches to ensure the coils stay in place.
- If desired, you can place a pin through the center of the coil to hold it in place as you work. This will prevent the coil from unraveling.
- Continue coiling the fabric strip in a spiral motion, adding stitches as needed, until you reach the desired size for the base of your basket.
- When you run out of fabric on one strip, simply overlap the next fabric strip with the end of the previous one, securing them together with stitches. This will create a seamless transition between the fabric strips.
Remember to keep the coils tight and close together as you work. This will ensure a sturdy base for your fabric basket. Once you are satisfied with the size of the base, proceed to the next step: securing the coil.
Step 3: Secure the coil
Now that you have coiled the fabric strips to create the base of your fabric basket, it’s time to secure the coil to ensure it stays in place. Follow these steps:
- Take your needle and thread and make a few stitches through the layers of the coil, close to the edge. This will anchor the coil and prevent it from unraveling.
- Continue stitching around the coil, working your way towards the center. Make sure to stitch through all layers of the fabric strip to hold them securely together.
- As you stitch, keep the tension of the thread firm but not overly tight. This will help maintain the shape of the coil and prevent any gaps between the fabric strips.
- Continue stitching until you reach the center of the coil, creating a tight, secure anchor point.
- Once the center is secured, make a few extra stitches to reinforce the coil and create a neat finish.
- Trim any excess thread, leaving a small tail of thread to weave into the basket later on.
By securing the coil, you ensure that the fabric strips are tightly held together, giving your basket the necessary structure and stability. With the coil secured, you’re ready to move on to the next step: coiling and stitching the fabric strips together to build the sides of the basket.
When coiling fabric for a basket, use a sturdy and thick thread to secure the coils together. This will ensure that the basket holds its shape and remains durable.
Read more: How To Make Candy Baskets
Step 4: Continue coiling and stitching
With the base of your fabric basket securely anchored, it’s time to continue coiling and stitching the fabric strips to build the sides of the basket. Follow these steps:
- Take another fabric strip and fold the end at a 90-degree angle, just like you did for the base. Place the folded end against the outer edge of the base coil.
- Using your needle and thread, stitch the folded end of the fabric strip to the base coil, making sure to sew through all layers of the fabric strip to hold them together.
- Begin coiling the fabric strip around the base coil, stitching it in place every few rotations. Make sure to keep the fabric strip tight against the base coil to maintain a consistent shape.
- As you continue coiling and stitching, periodically check the sides of your basket to ensure they are straight and even. Adjust the tension and placement of the fabric strip as necessary to maintain the desired shape.
- When you reach the end of a fabric strip, secure it to the coil by folding the end under and stitching it in place. Then, attach a new fabric strip by overlapping the end of the previous strip with the beginning of the new one, and stitching them together.
- Continue this process of coiling, stitching, and joining fabric strips until you have reached the desired height for your fabric basket.
Remember to maintain consistent tension throughout the coiling process to ensure a sturdy and well-defined shape for your basket. Take breaks as needed and step back to assess the progress and make any adjustments required. Once you’ve built the sides of the basket to your satisfaction, it’s time to move on to the next step: forming the sides of the basket.
Step 5: Form the sides of the basket
Now that you have coiled and stitched the fabric strips to build the height of your fabric basket, it’s time to form the sides. Follow these steps:
- Hold the sides of the basket and gently push them outward, creating a slight curve or angle. This will help give your basket a more pronounced shape.
- As you shape the sides, continue coiling and stitching the fabric strips in the same manner as before, keeping the tension firm but not overly tight.
- Gradually increase the angle or curve of the sides as you work your way up. This will give your basket a tapered or flared look, depending on your desired design.
- Pay attention to the alignment of the fabric strips to ensure they are evenly spaced and overlapping in a pleasing pattern.
- Periodically check the overall shape of the basket from different angles to ensure it is symmetrical and aesthetically pleasing.
- If desired, you can add embellishments such as ribbons, buttons, or beads to decorate the sides of your basket. Simply stitch or glue them in place as you continue coiling.
- Continue coiling and shaping the sides of your basket until you have reached the desired height and shape.
Remember to take your time and make small adjustments as you go to achieve the desired look for your fabric basket. The process of forming the sides is where you can truly let your creativity shine. Once you’re happy with the shape, it’s time to move on to the final step: finishing the basket.
Step 6: Finish the basket
Congratulations! You have reached the final step of creating your coiled fabric basket. Now it’s time to finish the basket and add those final touches. Here’s what to do:
- Trim any excess fabric strip that extends beyond the top edge of the basket. Make sure to leave a small tail to fold and hide within the coil.
- Fold the last fabric strip down over the top edge of the basket, hiding the raw edges and creating a clean finish.
- Secure the folded fabric strip in place with a few stitches, making sure to sew through all layers of the fabric strip and the basket to reinforce the edge.
- Weave the loose thread tails from the beginning and end of the fabric strips into the coil of the basket, hiding them from view.
- Give the entire basket a gentle press using an iron on a low heat setting to smooth out any wrinkles or creases in the fabric.
- Once the basket is completely dry, it’s ready to be used and displayed in your home!
Now that you’ve completed all the steps, take a moment to admire your handiwork. Your coiled fabric basket is not only a functional storage solution, but also a beautiful piece of handmade art. Feel free to experiment with different fabric colors, patterns, and textures to create unique baskets for different rooms and purposes in your home.
Remember, practice makes perfect. The more you create coiled fabric baskets, the more you’ll refine your technique and develop your own style. So, don’t hesitate to embark on new basket-making adventures and let your creativity flow.
Enjoy your new coiled fabric basket and the satisfaction of knowing you made it with your own hands!
Thank you for following this tutorial. Happy basket making!
Conclusion
Coiled fabric baskets offer a perfect blend of functionality and creativity, allowing you to create beautiful storage solutions that reflect your personal style. With just a few materials and some basic sewing skills, you can transform fabric strips into unique and versatile baskets that will elevate the organization and decor of any space.
Throughout this tutorial, we’ve covered the step-by-step process of making coiled fabric baskets, from preparing the fabric strips to finishing the basket. By following these instructions, you can confidently embark on your own basket-making journey and create stunning pieces that will impress both yourself and others.
Remember to choose fabrics that inspire you and experiment with different colors, patterns, and textures to create truly one-of-a-kind baskets. Whether you’re storing crafting supplies, organizing toiletries, or displaying small plants, a coiled fabric basket will add a touch of beauty and functionality to your space.
Coiling and stitching the fabric strips together requires patience, practice, and attention to detail. But the more you create, the more proficient and confident you’ll become. Each fabric basket you make will be a testament to your creativity and craftsmanship.
So, gather your materials, unleash your creativity, and start making your own coiled fabric baskets. With each stitch and coil, you’ll be adding a personal touch to your home decor and infusing it with your unique style.
Enjoy the process, embrace the imperfections, and take pride in the handmade beauty of your coiled fabric baskets. Let your creativity flourish and inspire others as they admire your practical yet artistic creations.
Happy basket making!
So, you've mastered the art of making coiled fabric baskets! Ready for more creative storage solutions? Dive into our guide on DIY Storage, where you'll discover 45 quick and easy ideas to declutter and stylize your space. Whether you're looking to spruce up your living room or organize your workshop, these innovative ideas are perfect for any home enthusiast. Don't miss out on these clever tweaks and transformations that can make a big difference in your daily life. Let's get crafting!
Frequently Asked Questions about How To Make Coiled Fabric Baskets
Was this page helpful?
At Storables.com, we guarantee accurate and reliable information. Our content, validated by Expert Board Contributors, is crafted following stringent Editorial Policies. We're committed to providing you with well-researched, expert-backed insights for all your informational needs.


0 thoughts on “How To Make Coiled Fabric Baskets”