Home>Furniture & Design>Outdoor Furniture>How To Mount Blink Outdoor Camera To Brick
Outdoor Furniture
How To Mount Blink Outdoor Camera To Brick
Modified: February 25, 2024
Learn how to securely mount your outdoor furniture and design with our step-by-step guide for mounting Blink outdoor cameras to brick. Ensure your outdoor space is protected with these expert tips.
(Many of the links in this article redirect to a specific reviewed product. Your purchase of these products through affiliate links helps to generate commission for Storables.com, at no extra cost. Learn more)
Introduction
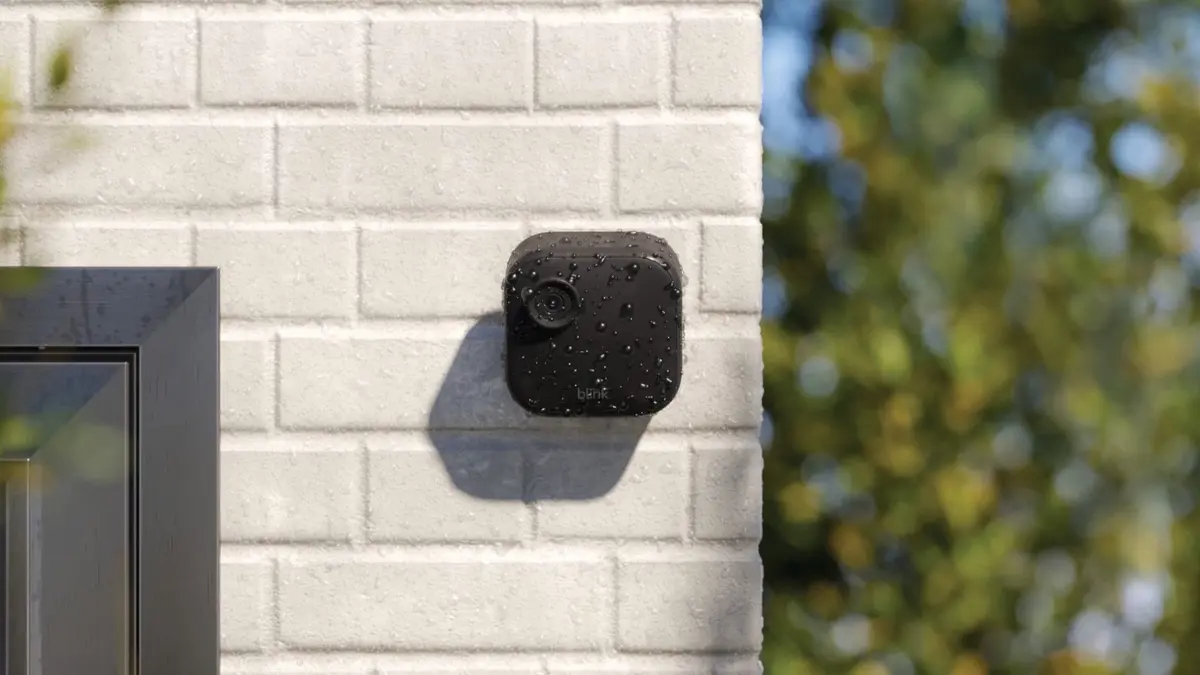
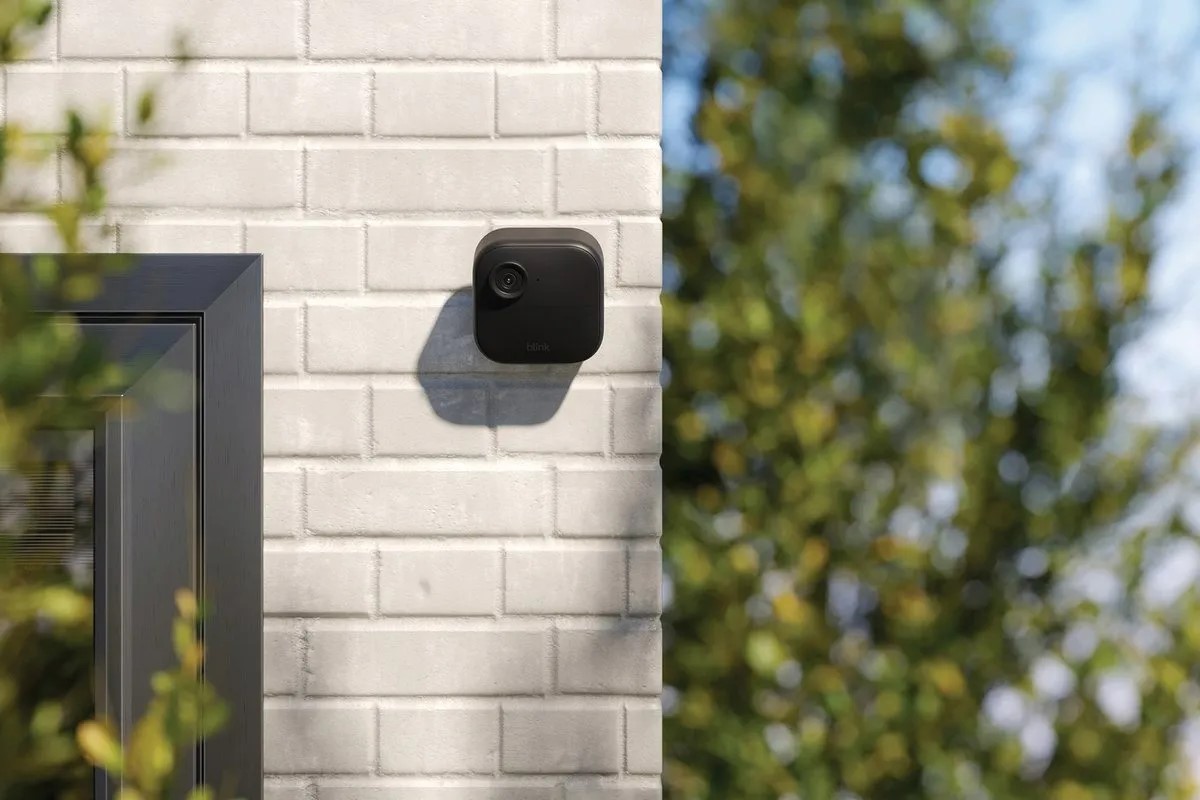
Mounting a Blink outdoor camera to a brick surface may seem like a daunting task at first, but with the right tools and a clear plan, it can be a straightforward and rewarding DIY project. Whether you're looking to enhance the security of your home or simply want to monitor outdoor activities, installing a Blink outdoor camera on a brick wall can provide valuable peace of mind.
In this guide, we'll walk you through the step-by-step process of mounting a Blink outdoor camera to a brick surface. From gathering the necessary tools and materials to securing the camera in place, we'll cover everything you need to know to complete this installation successfully. By following these instructions, you can ensure that your Blink outdoor camera is securely mounted and positioned to capture the desired outdoor areas effectively.
So, roll up your sleeves, grab your tools, and let's get started on mounting your Blink outdoor camera to a brick surface!
Key Takeaways:
- Mounting a Blink outdoor camera to a brick surface is a manageable DIY project that enhances home security. With the right tools and careful preparation, you can ensure a successful and effective installation.
- Careful positioning and adjustment of the camera are crucial for optimizing surveillance coverage and complying with privacy regulations. Regular inspection and maintenance will help maintain the camera’s effectiveness in monitoring outdoor spaces.
Read more: How To Mount Blink Outdoor Camera To Brick
Tools and Materials Needed
Before you begin the process of mounting your Blink outdoor camera to a brick surface, it’s essential to gather the necessary tools and materials. Here’s a list of items you’ll need for this installation:
Tools:
- Power drill
- Masonry drill bit
- Screwdriver
- Level
- Tape measure
- Pencil
- Hammer
- Wire cutter/stripper (if connecting to a power source)
Materials:
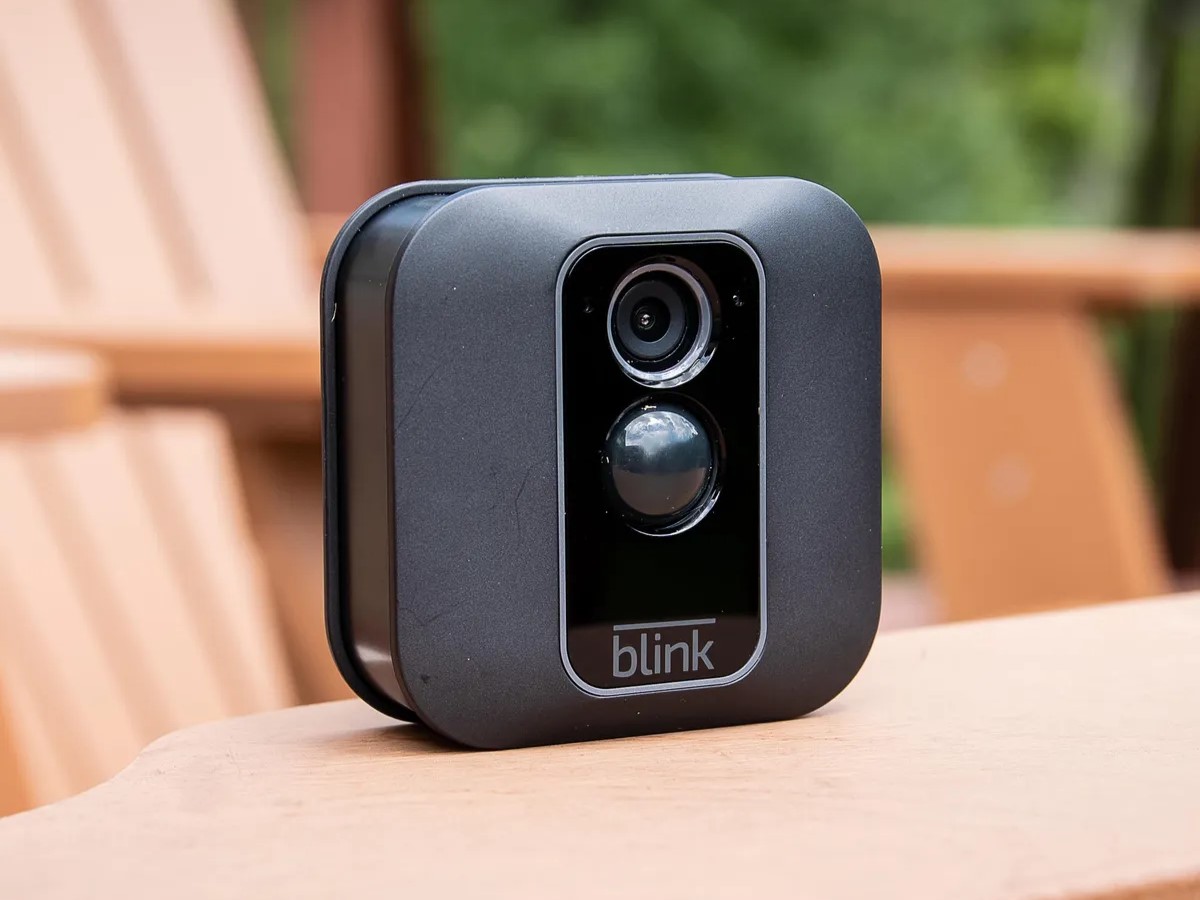
- Blink outdoor camera
- Mounting bracket (usually included with the camera)
- Screws suitable for masonry (check the camera's instructions for the recommended screw type and size)
- Wall anchors (if screws are not provided with the camera)
- Weatherproof cable (if connecting to a power source)
- Optional: Silicone sealant (for added weather protection)
Having these tools and materials on hand will streamline the installation process and ensure that you have everything you need to securely mount your Blink outdoor camera to a brick surface.
Preparing the Camera Mounting Location
Before you start drilling into the brick surface, it’s crucial to carefully select and prepare the mounting location for your Blink outdoor camera. Here are the steps to follow:
1. Choose an Optimal Location: Consider the areas around your property that require surveillance and select a location that provides a clear view of the target area while ensuring the camera is positioned out of reach from potential tampering.
2. Check for Obstructions: Ensure that there are no obstructions such as electrical wires, pipes, or other fixtures behind the chosen mounting spot. It’s essential to avoid drilling into any hidden utilities within the wall.
3. Mark the Mounting Holes: Hold the mounting bracket against the brick surface and use a pencil to mark the positions of the screw holes. Use a level to ensure that the bracket is straight and aligned correctly.
4. Consider the Power Source: If your Blink outdoor camera requires a power source, plan the routing of the weatherproof cable from the camera to the nearest power outlet. Ensure that the cable can be discreetly run and adequately protected from the elements.
5. Prepare the Mounting Surface: Use a masonry drill bit to create pilot holes at the marked positions on the brick surface. The pilot holes will guide the screws into place and prevent the brick from cracking during the screw insertion.
By carefully preparing the camera mounting location, you can ensure that the installation process progresses smoothly and that the camera is positioned optimally to fulfill its surveillance role effectively.
Read more: How To Mount The Blink Outdoor Camera
Attaching the Mounting Bracket to the Brick
Now that you’ve prepared the camera mounting location, it’s time to securely attach the mounting bracket to the brick surface. Follow these steps to ensure a stable and durable attachment:
1. Drill Pilot Holes: Using a power drill equipped with a masonry drill bit, carefully drill pilot holes at the marked positions on the brick surface. Take care to drill to the appropriate depth to accommodate the length of the screws.
2. Insert Wall Anchors (if necessary): If the screws provided with the mounting bracket are not suitable for direct installation into the brick, insert wall anchors into the pilot holes. These anchors will provide a secure grip for the screws.
3. Secure the Mounting Bracket: Position the mounting bracket over the pilot holes, aligning it with the markings. Use the appropriate screws to fasten the bracket to the brick surface. Ensure that the bracket is level and firmly attached.
4. Optional: Apply Silicone Sealant: For added weather protection, consider applying a thin bead of silicone sealant around the edges of the mounting bracket where it meets the brick surface. This can help prevent moisture from seeping behind the bracket.
5. Test the Stability: Once the mounting bracket is secured, gently test its stability by applying light pressure. Ensure that it is firmly anchored to the brick and can support the weight of the Blink outdoor camera without any wobbling or shifting.
By following these steps, you can effectively attach the mounting bracket to the brick surface, providing a stable and reliable base for mounting your Blink outdoor camera.
Mounting the Blink Outdoor Camera
With the mounting bracket securely in place, it’s time to mount the Blink outdoor camera onto the prepared surface. Follow these steps to ensure a successful and stable installation:
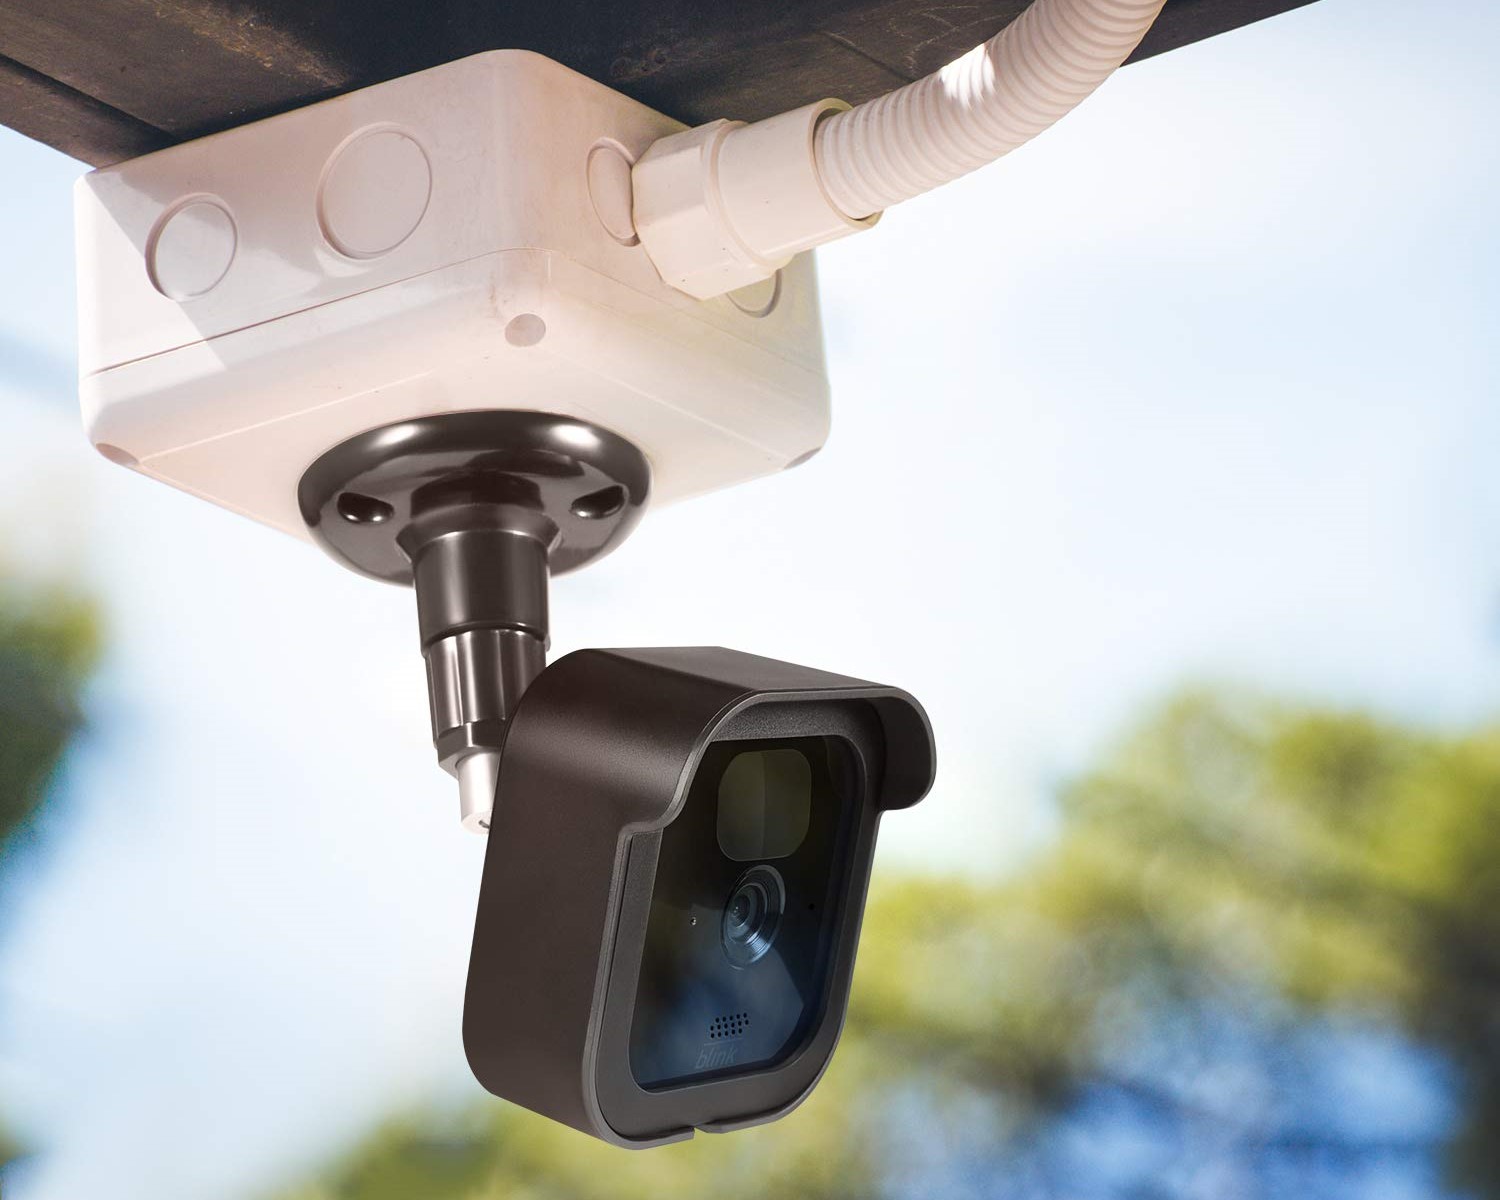
1. Position the Camera: Align the mounting screw holes on the back of the Blink outdoor camera with the corresponding slots or openings on the mounting bracket. Ensure that the camera is oriented in the desired direction to capture the intended surveillance area.
2. Secure the Camera: Using the provided screws or fastening mechanism, carefully attach the Blink outdoor camera to the mounting bracket. Ensure that the camera is snugly and securely fastened to the bracket to prevent any movement or misalignment.
3. Connect the Power Source (if applicable): If your Blink outdoor camera requires a power source, carefully connect the weatherproof cable to the camera and route it according to your pre-planned path. Ensure that the cable is adequately protected from the elements and any potential damage.
4. Test the Camera Position: Power on the Blink outdoor camera and use the associated mobile app or monitoring device to verify that the camera’s positioning provides the desired surveillance coverage. Make any necessary adjustments to the camera’s angle or orientation at this stage.
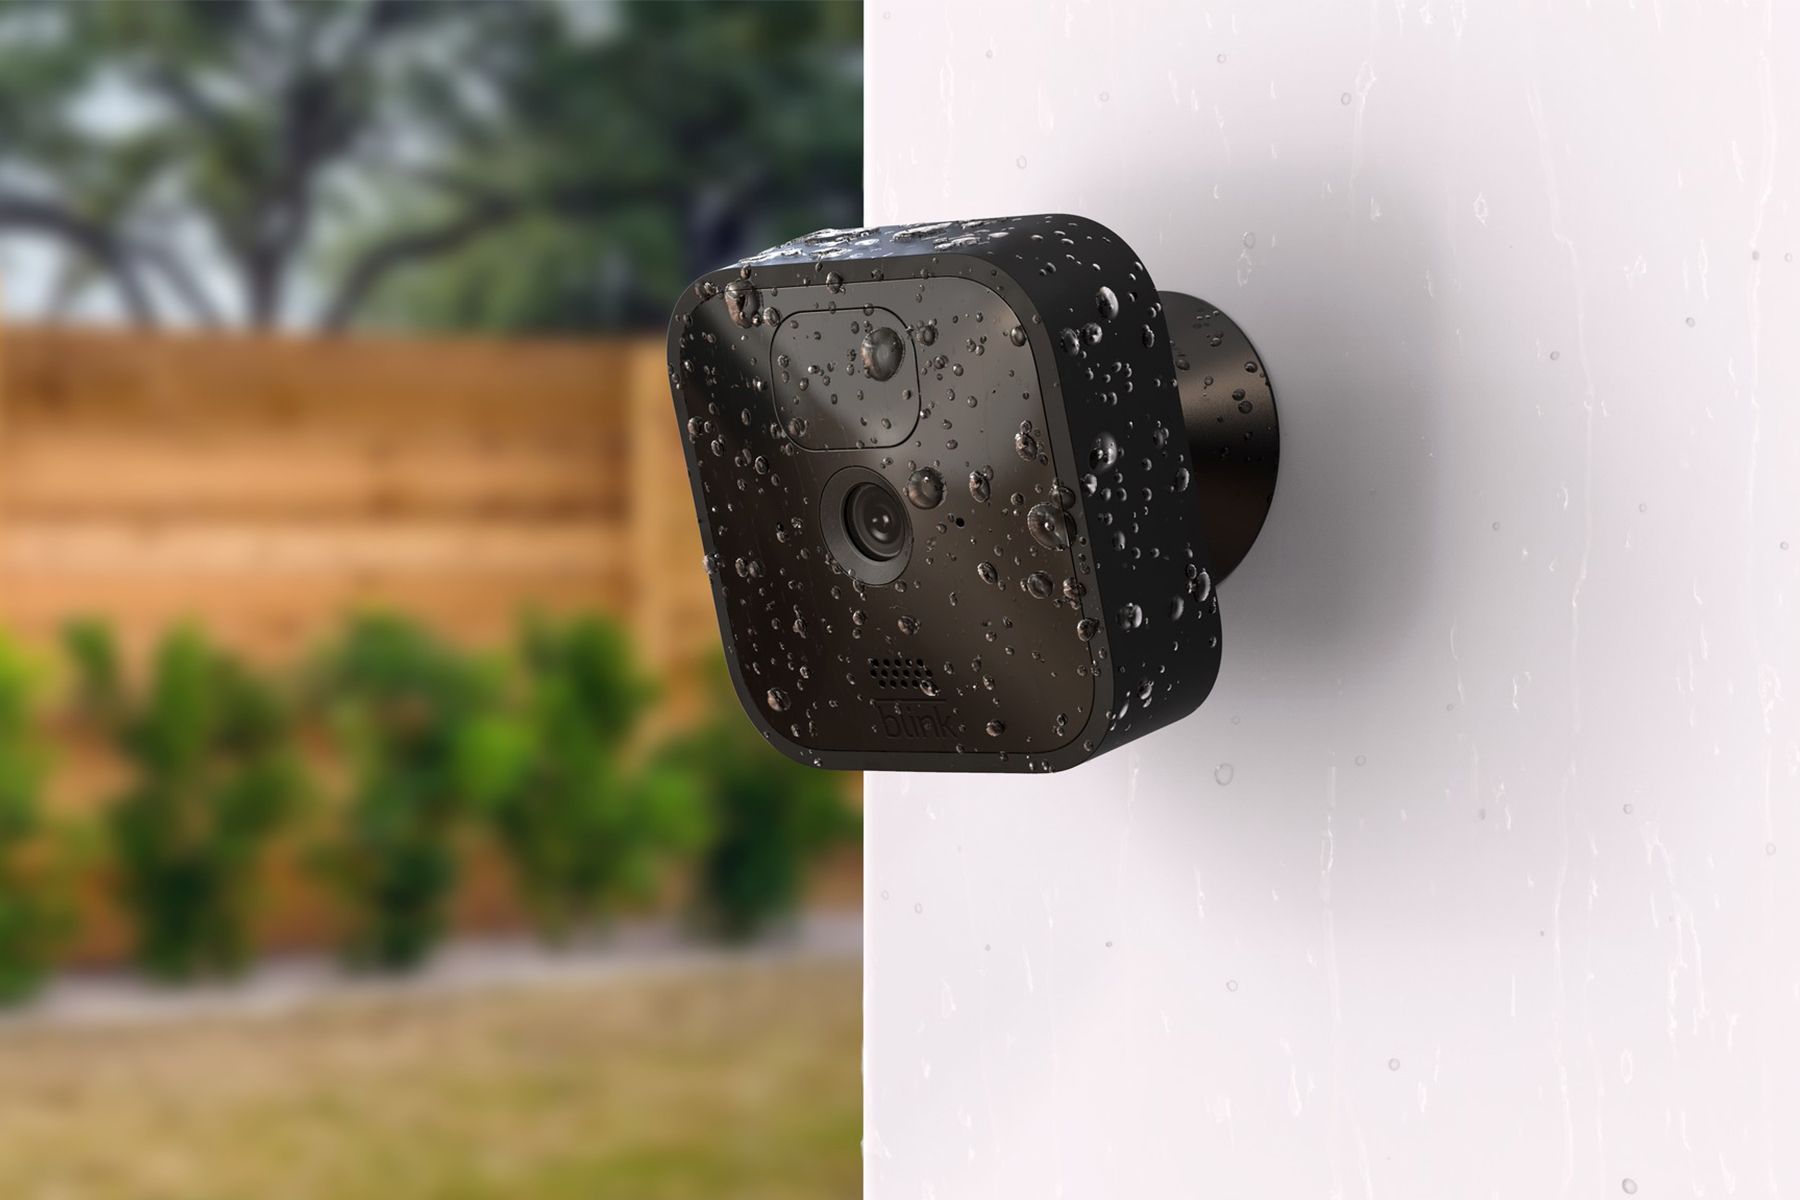
5. Ensure Weatherproofing: Confirm that all cable connections and entry points on the camera are effectively weatherproofed to protect the device from environmental elements such as rain, snow, and humidity.
By following these steps, you can successfully mount your Blink outdoor camera to the brick surface, ensuring that it is securely attached and positioned to fulfill its surveillance and monitoring functions effectively.
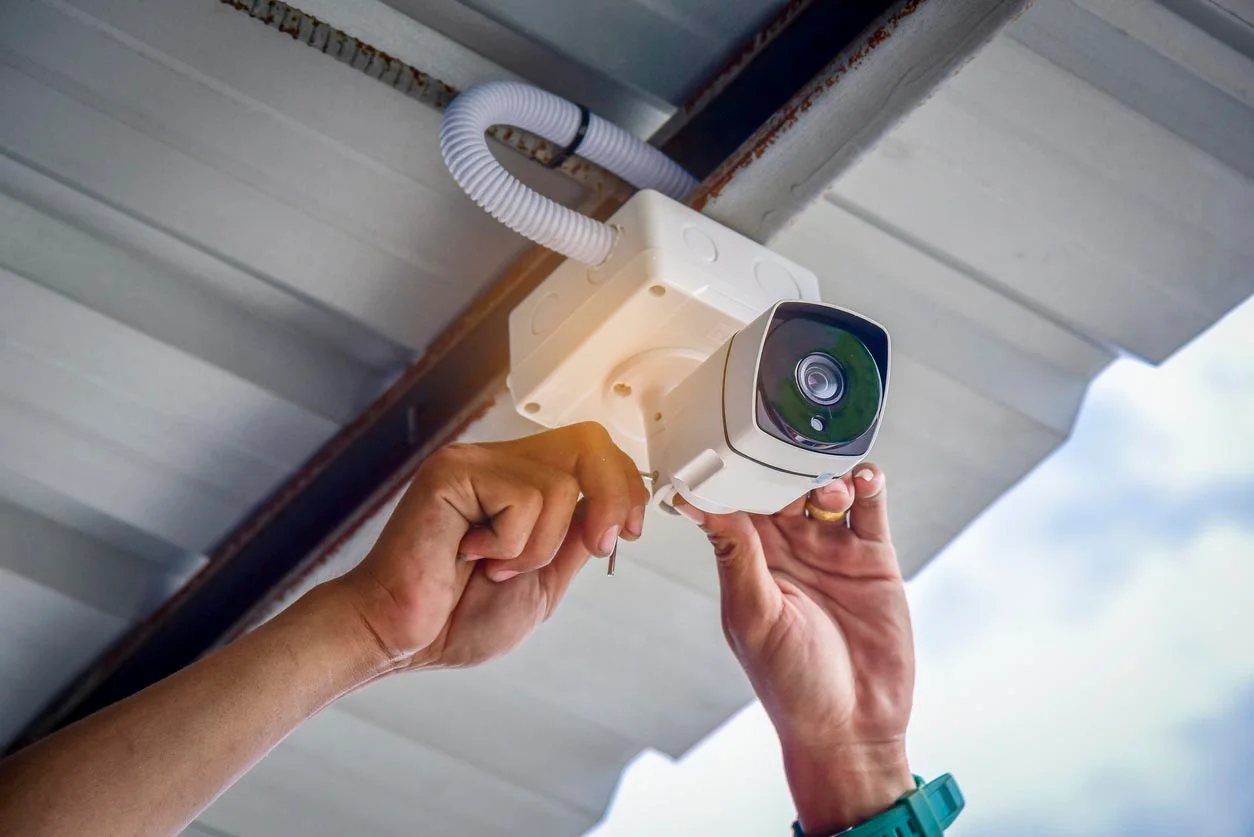
Use a masonry drill bit to create pilot holes in the brick for the mounting screws. Use plastic anchors to secure the screws in the holes for a sturdy mount.
Adjusting the Camera Position
After mounting the Blink outdoor camera, it’s crucial to fine-tune its position to optimize its surveillance coverage and ensure that it captures the desired outdoor areas effectively. Follow these steps to adjust the camera position:
1. Evaluate the Surveillance Area: Take a few moments to assess the camera’s field of view and ensure that it encompasses the intended surveillance area. Consider factors such as blind spots, obstructions, and the range of motion required for comprehensive monitoring.
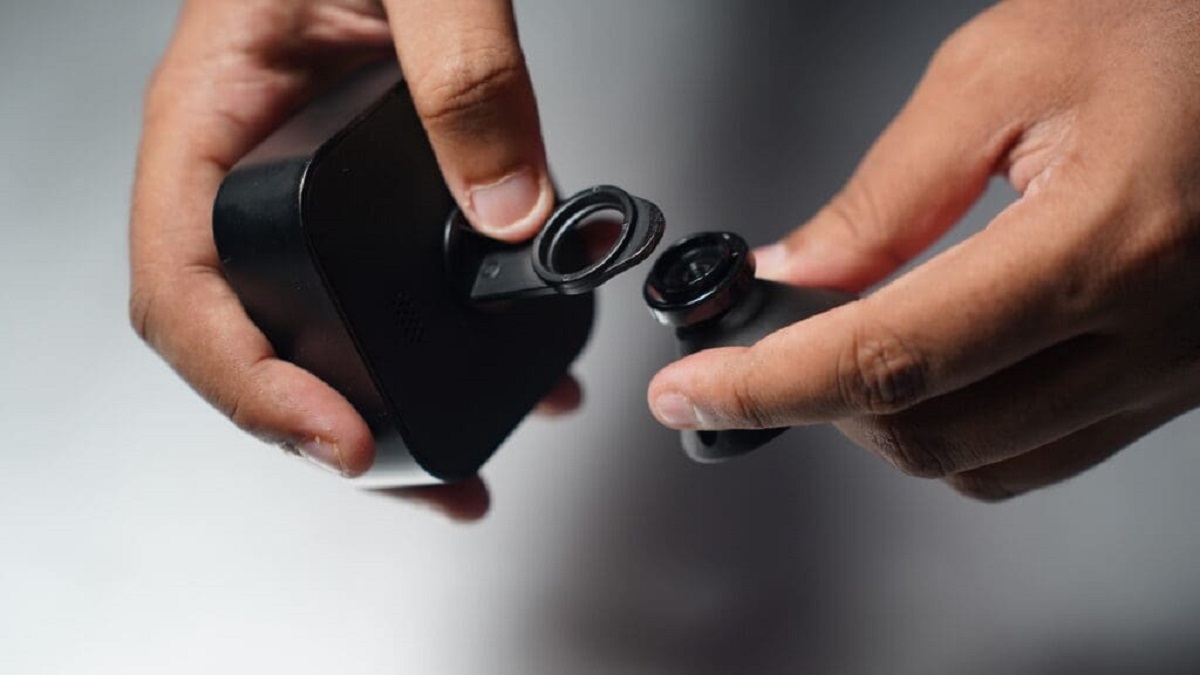
2. Angle Adjustment: If necessary, adjust the angle and orientation of the camera to optimize its positioning. This may involve loosening the mounting screws slightly to reposition the camera and then tightening them once the desired angle is achieved.
3. Test the Camera’s View: Activate the camera’s monitoring function and verify that the adjusted position provides a clear and unobstructed view of the outdoor areas. Pay attention to any potential glare or reflections that may affect the camera’s image quality.
4. Consider Privacy and Legal Considerations: Ensure that the camera’s field of view respects the privacy of neighboring properties and adheres to any local regulations regarding surveillance cameras and privacy laws.
5. Fine-Tune Motion Detection (if applicable): If your Blink outdoor camera features motion detection capabilities, adjust the sensitivity and range settings to align with the camera’s new position. This can help optimize the camera’s response to motion within its surveillance area.
By carefully adjusting the camera’s position, you can maximize its effectiveness in monitoring outdoor spaces while ensuring that it complies with privacy regulations and legal considerations.
Conclusion
Congratulations on successfully mounting your Blink outdoor camera to a brick surface! By following the steps outlined in this guide, you’ve taken a proactive step towards enhancing the security and monitoring capabilities of your outdoor space. Here’s a quick recap of the key points:
Preparation is Key: By gathering the necessary tools and materials and carefully selecting the camera mounting location, you’ve set the stage for a smooth installation process.
Precision in Installation: Attaching the mounting bracket to the brick surface with care and attention to detail ensures a stable foundation for mounting the Blink outdoor camera.
Optimizing Surveillance: Mounting the camera and adjusting its position to capture the desired outdoor areas effectively enhances its surveillance capabilities and provides valuable peace of mind.
Remember, the effectiveness of your Blink outdoor camera’s surveillance capabilities is closely linked to its positioning and stability. Regularly inspect the camera to ensure it remains securely mounted and continues to capture clear and unobstructed footage of the monitored areas.
Whether you’re using the camera to monitor your property for security purposes, keep an eye on outdoor activities, or simply enjoy the peace of mind that comes with enhanced surveillance, the successful installation of your Blink outdoor camera represents a proactive investment in your property’s safety and your peace of mind.
Keep in mind that as technology and your monitoring needs evolve, you may need to revisit the camera’s position and settings to ensure it continues to meet your surveillance requirements effectively.
With your Blink outdoor camera securely mounted to the brick surface, you can now enjoy enhanced security and monitoring capabilities, knowing that you’ve taken a proactive step to safeguard your outdoor space.
Happy monitoring!
Frequently Asked Questions about How To Mount Blink Outdoor Camera To Brick
Was this page helpful?
At Storables.com, we guarantee accurate and reliable information. Our content, validated by Expert Board Contributors, is crafted following stringent Editorial Policies. We're committed to providing you with well-researched, expert-backed insights for all your informational needs.


0 thoughts on “How To Mount Blink Outdoor Camera To Brick”