Home>Home Security and Surveillance>How To Mount A Dome Security Camera
Home Security and Surveillance
How To Mount A Dome Security Camera
Modified: August 20, 2024
Learn how to properly mount a dome security camera for your home security and surveillance needs. Step-by-step guide and tips to ensure optimal placement and functionality.
(Many of the links in this article redirect to a specific reviewed product. Your purchase of these products through affiliate links helps to generate commission for Storables.com, at no extra cost. Learn more)
Introduction
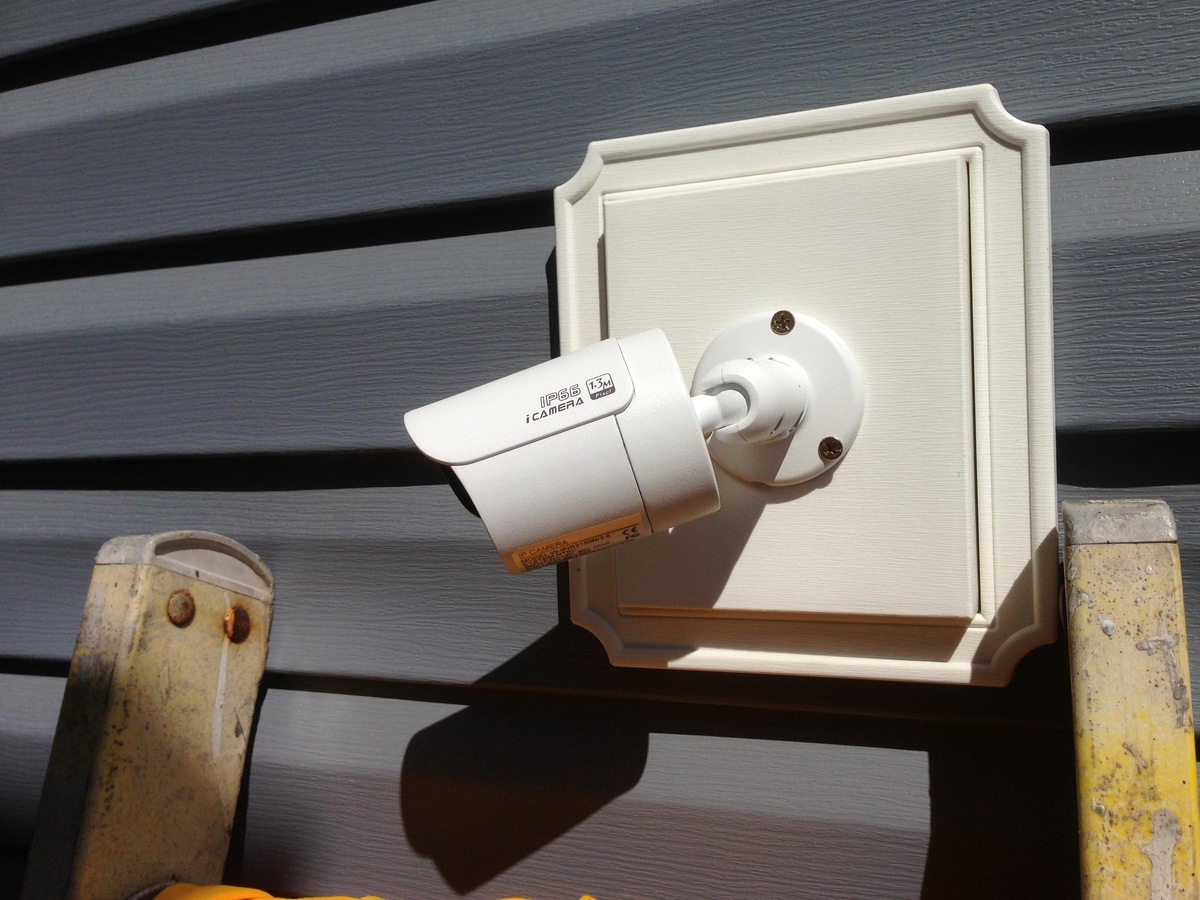
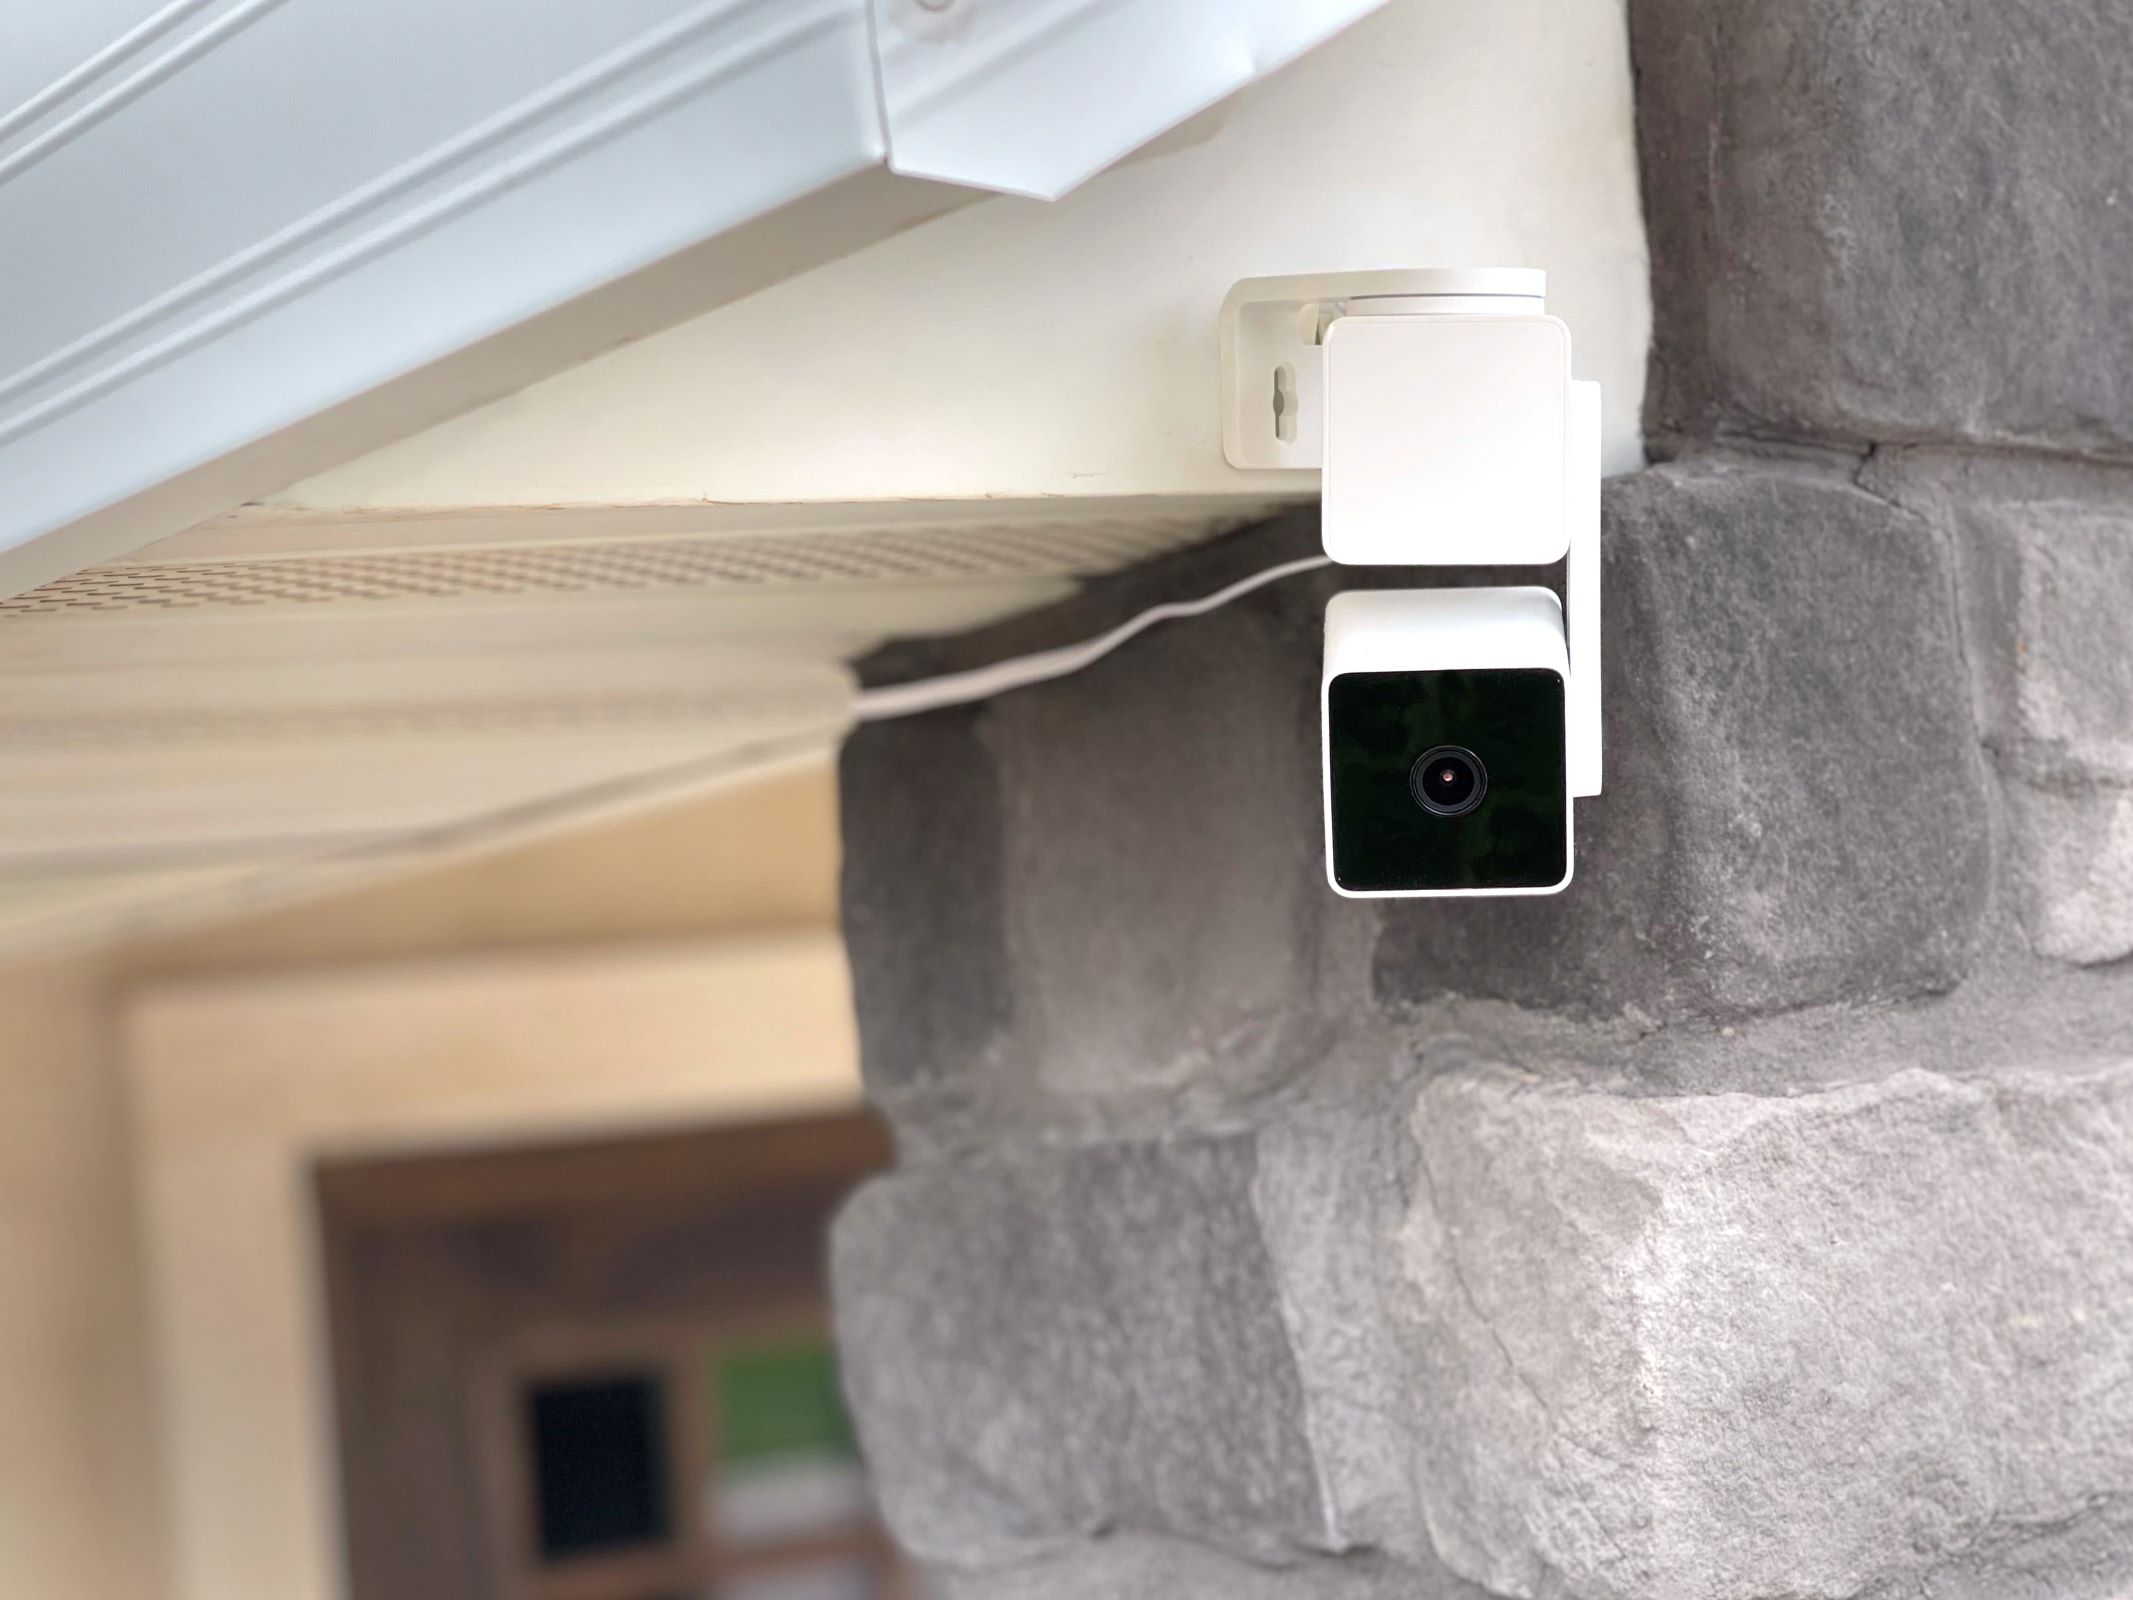
Home security is a top priority for homeowners, and one of the most effective ways to ensure the safety of your property is by installing a dome security camera. These cameras are designed to provide 360-degree monitoring, making them an excellent choice for both indoor and outdoor surveillance. The compact and sleek design of dome cameras makes them a popular choice among homeowners who want to maintain a modern and unobtrusive aesthetic while still maintaining a high level of security.
In this article, we will guide you through the step-by-step process of mounting a dome security camera. Whether you are a DIY enthusiast or a beginner, this guide will help you install your camera with ease and precision. By following these instructions, you will be able to optimize the positioning and angle of your camera for maximum coverage and effectiveness.
Before we dive into the installation process, let’s make sure you have all the necessary tools and equipment on hand.
Key Takeaways:
- Mounting a dome security camera involves gathering tools, determining the best location, drilling, and adjusting the camera angle. It’s crucial to connect the camera properly and test its functionality for optimal surveillance coverage.
- After installing a dome security camera, securing loose cables and tidying up the installation is essential. Regular maintenance, including cleaning the lens and updating the firmware, ensures the camera remains in top-notch condition for reliable home security.
Read also: 9 Best Dome Security Cameras For 2025
Step 1: Gather the necessary tools and equipment
Before you begin the installation process, it is important to gather all the tools and equipment you will need. Having everything prepared in advance will save you time and ensure a smooth installation. Here are the essential tools and equipment you will need:
- A dome security camera kit
- A mounting bracket
- A power drill
- A drill bit suitable for the mounting surface (typically concrete, wood, or metal)
- Anchors and screws for mounting the camera
- A ladder or step stool (if necessary)
- A level
- A screwdriver
- A power cable and video cable
- A video recorder or a network video recorder (NVR)
Make sure to check the included instructions and specifications of your camera kit to ensure that you have all the necessary components. Additionally, have someone to assist you during the installation process, especially if you are working at heights or handling heavy equipment.
Once you have gathered all the tools and equipment, you are ready to move on to the next step: determining the optimal location for mounting the dome security camera.
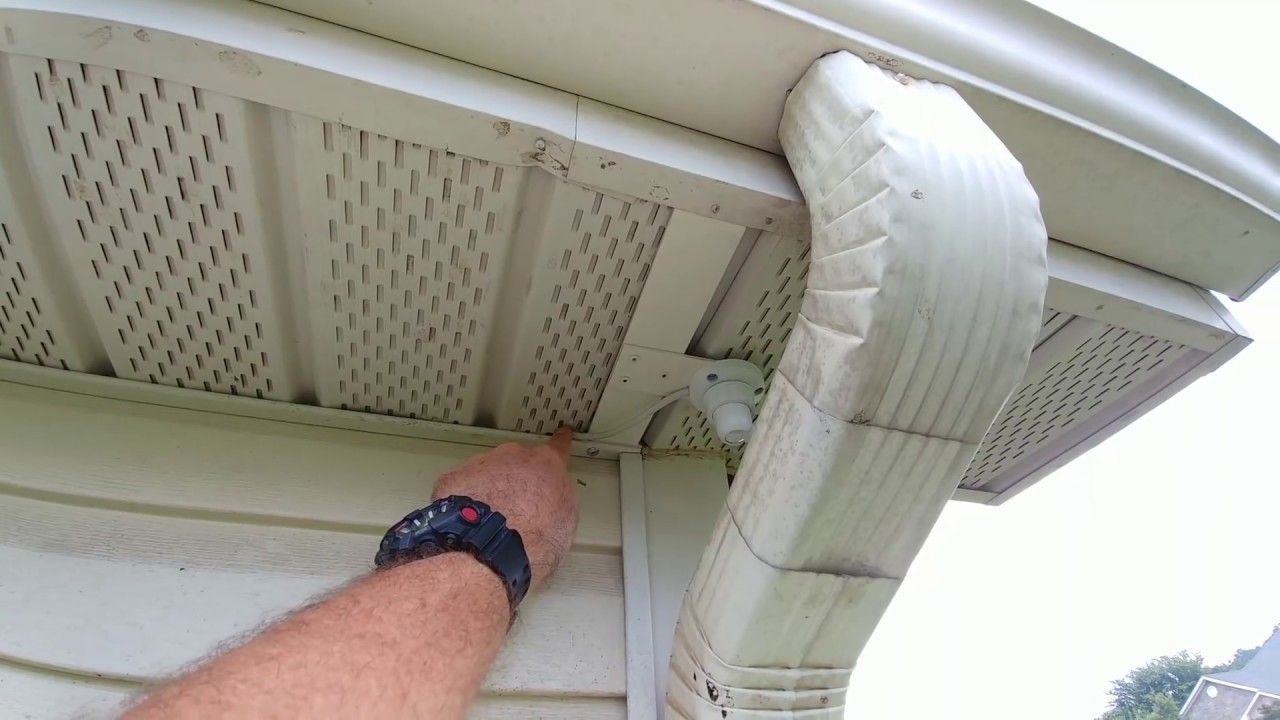
Step 2: Determine the optimal location for mounting the dome security camera
Choosing the right location for your dome security camera is crucial for maximizing its effectiveness. Here are some factors to consider when determining the optimal placement:
- Field of view: Assess the area you want to monitor and ensure that the camera will have a clear and unobstructed view. Consider the angle of coverage and any blind spots that may exist.
- Height: Mount the camera at a height that provides the best view of the surroundings while being out of reach from potential vandals or intruders.
- Weatherproofing: If you are installing an outdoor camera, make sure the location offers protection from harsh weather conditions such as rain, wind, and extreme temperatures.
- Illumination: Consider the lighting conditions in the area. Ensure that the camera’s view is not affected by bright lights or glare, as it can hinder the quality of the footage.
- Coverage area: Determine the specific areas you want the camera to monitor, such as entry points, driveways, or outdoor activity areas. This will help you position the camera for optimal coverage.
Once you have considered these factors, use a ladder or step stool to physically assess and test the camera’s field of view from the potential mounting locations. Ensure that there are no obstructions, and that the camera offers a clear view of the desired area.
When you have identified the ideal location, move on to the next step: marking the drilling points on the mounting surface.
Step 3: Mark the drilling points on the mounting surface
With the ideal location determined, it’s time to mark the drilling points on the mounting surface. Follow these steps:
- Hold the mounting bracket against the wall or ceiling where you want to install the camera. Make sure it is level and aligned with your desired angle of view.
- Using a pencil or marker, mark the positions of the screw holes on the mounting surface. These marks will serve as your guide for drilling.
- Double-check the alignment and levelness of the bracket to ensure accuracy.
It’s important to note that the drilling points should align with the holes on the mounting bracket provided with your dome security camera kit. Refer to the instructions or manual to ensure proper alignment and hole positioning.
Once you have marked the drilling points, you are ready to move on to the next step: drilling holes for mounting the camera bracket.
Step 4: Drill holes for mounting the camera bracket
Now that you have marked the drilling points on the mounting surface, it’s time to drill the holes for mounting the camera bracket. Follow these steps:
- Put on appropriate safety gear, such as safety glasses or goggles, to protect your eyes from any debris or dust.
- Select a drill bit that is suitable for the material of your mounting surface (concrete, wood, or metal). Refer to the instructions provided with your dome security camera kit for the recommended drill bit size.
- Insert the drill bit into the power drill, ensuring it is securely fastened.
- Position the drill bit over the first marked drilling point and exert steady pressure as you start drilling. Keep the drill straight and perpendicular to the mounting surface.
- Continue drilling until the hole is deep enough to accommodate the anchor for mounting. Be sure to follow the recommended depth provided in the instructions.
- Repeat the drilling process for each marked drilling point.
Once all the holes are drilled, remove any dust or debris from the mounting surface and holes. This will ensure a secure and stable installation.
With the holes drilled, you are ready to move on to the next step: attaching the camera bracket to the mounting surface.
Read more: How To Mount Outdoor Security Camera
Step 5: Attach the camera bracket to the mounting surface
With the holes drilled, it’s time to securely attach the camera bracket to the mounting surface. Follow these steps:
- Insert the appropriate anchors into the drilled holes. You may need to tap them gently with a hammer until they are flush with the mounting surface.
- Position the camera bracket over the anchors, aligning the screw holes on the bracket with the anchors.
- Insert the screws provided in the kit through the bracket and into the anchors.
- Using a screwdriver or a drill with a screwdriver bit, tighten the screws until the bracket is securely attached to the mounting surface. Be careful not to overtighten and damage the anchors or the mounting surface.
- Double-check the stability and levelness of the camera bracket. Adjust as necessary to ensure it is securely fastened and properly aligned.
Attaching the camera bracket is a crucial step in the installation process, as it provides the foundation for mounting and positioning the dome security camera. Take your time and ensure a secure attachment before proceeding to the next step.
Next, we will move on to step 6: adjusting the camera angle and position.
When mounting a dome security camera, make sure to choose a location with a clear view of the area you want to monitor. Also, ensure that the camera is securely attached to a stable surface to prevent it from being tampered with.
Step 6: Adjust the camera angle and position
Now that the camera bracket is securely attached to the mounting surface, it’s time to adjust the camera angle and position for optimal surveillance coverage. Follow these steps:
- Loosen any screws or knobs on the camera bracket that allow for adjustment.
- Position the dome security camera in the desired angle and direction. Ensure that it covers the areas you wish to monitor.
- Use a level to ensure that the camera is positioned horizontally and vertically straight. This will help maintain a clear and balanced view.
- Tighten the screws or knobs on the camera bracket to secure the camera in place. Be careful not to overtighten and damage the camera or bracket.
- Step back and double-check the camera’s positioning and angle. Make any necessary adjustments to ensure optimal coverage.
It’s important to take your time during this step to ensure that the camera is properly positioned. A well-adjusted camera will provide clear and accurate surveillance footage.
Now that the camera angle and position have been adjusted, we can move on to step 7: connecting the camera to the power source and video recorder.
Step 7: Connect the camera to the power source and video recorder
With the camera securely mounted and positioned, it’s time to connect it to the power source and video recorder. Follow these steps to ensure a proper connection:
- Locate the power cable and video cable that came with your dome security camera kit.
- Connect one end of the power cable to the power input port on the camera.
- Plug the other end of the power cable into a power outlet or a power supply unit.
- Connect one end of the video cable to the video output port on the camera.
- Connect the other end of the video cable to the video input port on your video recorder or network video recorder (NVR).
- Secure the cable connections by tightening any screws or knobs that hold them in place.
Once the camera is connected to the power source and video recorder, ensure that the cables are neatly organized and tucked away to avoid any potential tripping hazards or damage.
Before moving on to the next step, it’s important to test the camera and make any necessary adjustments to the settings.
Now that your camera is connected, we can move on to step 8: testing the camera and adjusting settings, if needed.
Step 8: Test the camera and adjust settings, if needed
With the camera connected and ready to go, it’s essential to test its functionality and make any necessary adjustments to the settings. Follow these steps to ensure proper operation:
- Power on the camera and video recorder.
- Access the camera’s interface or software through a computer, smartphone, or dedicated monitoring device.
- Check the live feed from the camera to ensure that it is capturing clear and sharp footage.
- Adjust the camera’s settings, including resolution, brightness, contrast, and any other available options, to achieve the desired video quality.
- Test the camera’s motion detection feature, if applicable, by moving within its field of view and monitoring the response.
- Make any necessary adjustments to the camera’s position or angle if the test results reveal any blind spots or areas that need better coverage.
It’s important to take the time to fine-tune the camera’s settings and ensure that it is capturing the desired footage. This will help optimize its performance and provide you with reliable and actionable surveillance information.
Once you are satisfied with the camera’s performance and settings, it’s time to move on to step 9: securing any loose cables and tidying up the installation.
Read more: How To Mount Security Camera On Stucco Wall
Step 9: Secure any loose cables and tidy up the installation
Now that your dome security camera is installed and tested, it’s important to ensure that all cables are securely fastened and the overall installation is neat and tidy. Follow these steps to complete the installation process:
- Check all the cable connections to ensure they are secure and properly plugged in.
- Use cable clips or ties to secure and organize the cables along the mounting surface or walls. This will prevent them from dangling or getting tangled.
- Consider using cable conduits or cord covers to further protect and conceal the cables, especially if they are exposed to the elements or located in high-traffic areas.
- Test the camera once again to ensure that it is still functioning properly after securing the cables.
- Step back and assess the overall installation. Make any necessary adjustments to ensure that the camera and its components blend seamlessly into the surroundings.
Tidying up the installation not only improves the aesthetics of your security system but also reduces the risk of accidental damage to the cables. By ensuring that everything is properly secured and organized, you can maintain the longevity and effectiveness of your dome security camera.
Congratulations! You have successfully completed the installation of your dome security camera. With proper positioning, secure connections, and regular maintenance, your camera will provide you with peace of mind and enhanced home security.
Remember to consult the user manual or contact the manufacturer if you have any specific questions or concerns about your camera model or installation process.
Thank you for following this step-by-step guide. Stay safe and secure!
Note: Always check and comply with local regulations and guidelines regarding camera installations and privacy laws.
Conclusion
Installing a dome security camera is a proactive step towards enhancing the safety and security of your home. By following the step-by-step process outlined in this guide, you can ensure a successful and effective installation. From gathering the necessary tools and equipment to securing loose cables and tidying up the installation, each step is essential in creating a robust and reliable surveillance system.
Positioning the camera in the optimal location, drilling the holes, and securely attaching the camera bracket are crucial for achieving the desired coverage and stability. Adjusting the camera’s angle and position, testing its functionality, and adjusting the settings ensure that the camera is capturing clear and useful footage.
Remember, the process doesn’t end with the installation. Regular maintenance, including cleaning the lens, checking the connections, and updating the firmware, is key to keeping your dome security camera in top-notch condition.
With your dome security camera in place, you can enjoy the peace of mind that comes from knowing you have an extra layer of protection for your home. Monitor your surroundings, deter potential intruders, and have a visual record of any incidents that may occur.
Always ensure that you comply with local laws and regulations regarding camera installations and privacy. Respect the privacy of others when positioning and monitoring with your security camera.
We hope this guide has been helpful in assisting you with the installation of your dome security camera. Stay safe, secure, and enjoy the added peace of mind that comes with having a reliable surveillance system in place.
Frequently Asked Questions about How To Mount A Dome Security Camera
Was this page helpful?
At Storables.com, we guarantee accurate and reliable information. Our content, validated by Expert Board Contributors, is crafted following stringent Editorial Policies. We're committed to providing you with well-researched, expert-backed insights for all your informational needs.