Home>Home Security and Surveillance>How To Mount A Security Camera On Vinyl Siding
Home Security and Surveillance
How To Mount A Security Camera On Vinyl Siding
Modified: April 26, 2024
Learn how to mount a security camera on vinyl siding for your home security and surveillance needs. Ensure your property is protected with this step-by-step guide.
(Many of the links in this article redirect to a specific reviewed product. Your purchase of these products through affiliate links helps to generate commission for Storables.com, at no extra cost. Learn more)
Introduction
Welcome to our comprehensive guide on how to mount a security camera on vinyl siding. Whether you are concerned about the safety of your home or want to keep an eye on your property, installing a security camera is a crucial step in safeguarding your premises. Vinyl siding is a popular choice for homeowners due to its durability and low-maintenance nature. However, many people are unsure about how to properly mount a security camera on vinyl siding without causing damage or compromising the integrity of the siding.
In this article, we will walk you through a step-by-step process on how to mount a security camera on vinyl siding effectively and securely. We will provide you with helpful tips and techniques to ensure that your camera is properly installed, providing you with peace of mind and enhanced home security.
Before we begin, it is important to note that different security cameras may have specific installation instructions provided by the manufacturer. We recommend consulting the user manual or online resources specific to your camera model for any additional guidance. Now, let’s dive into the steps to mount a security camera on vinyl siding.
Key Takeaways:
- Mounting a security camera on vinyl siding requires careful planning and preparation. Choosing the right location, securing the cables, and testing the camera’s angle are crucial steps for a successful installation.
- Properly installing a security camera on vinyl siding involves gathering the right tools, preparing the siding, and completing the installation process with attention to detail. Regular maintenance ensures long-term effectiveness.
Read more: How To Mount Security Camera On Vinyl Siding
Step 1: Gather the necessary tools and equipment
Before you begin the installation process, it is essential to gather all the necessary tools and equipment. Having everything on hand will ensure a smoother and more efficient installation process. Below is a list of the tools and equipment you will need:
- Security camera: Choose a camera that suits your needs and preferences, whether it’s a wired or wireless camera.
- Mounting bracket: Look for a sturdy mounting bracket that is compatible with your security camera model. It should be designed specifically for outdoor use and capable of handling the weight and size of your camera.
- Power drill: You will need a power drill to create holes for the mounting bracket and to secure it to the vinyl siding.
- Drill bits: Select the appropriate drill bits based on the size of the screws provided with the bracket. These bits will enable you to create pilot holes in the siding.
- Screws and anchors: Depending on the design of the mounting bracket, you may need screws and anchors to ensure a secure attachment to the siding.
- Level: A level will help you ensure that the camera is straight and properly aligned during installation.
- Tape measure: Measure the distance between the mounting location and any potential obstructions to ensure proper camera positioning.
- Pencil or marker: Use a pencil or marker to mark the spots where the mounting bracket and holes will be placed.
- Ladder: If your desired mounting location is higher up on the siding, you will need a ladder to reach it safely.
- Protective gear: It is always a good idea to wear safety glasses and gloves to protect yourself while handling tools and equipment.
Double-check that you have all the necessary tools and equipment before proceeding to the next step. This will save you time and prevent any interruptions during the installation process.
Step 2: Choose the ideal mounting location
Choosing the right mounting location for your security camera is crucial to ensure optimal surveillance coverage and effectiveness. Before you begin the installation, consider the following factors to determine the ideal location:
- Visibility: Select a location that provides a clear view of the area you want to monitor. Avoid placing the camera in areas obstructed by trees, bushes, or other objects that may interfere with the camera’s line of sight. Also, consider the camera’s field of view and adjust the angle accordingly.
- Accessibility to power source and internet connection: Ensure that the chosen location is within reach of a power outlet or has easy access to an electrical source for a wired camera. If using a wireless camera, check the signal strength to ensure a stable connection with your network.
- Protection from the elements: Opt for a location that offers some level of protection from rain, snow, and direct sunlight. You can choose to mount the camera under eaves, on a covered porch, or use a protective housing to shield it from the elements.
- Height: Mount the camera at a height that is both practical and effective. A good rule of thumb is to position it at least 10 feet above the ground to prevent vandalism or tampering while allowing for a wider surveillance range.
- Consider the reach of the camera: Take into account the camera’s range and zoom capabilities. If you need to monitor a larger area, choose a location that offers a wider field of view or invest in a camera with a greater zoom range.
Once you have considered these factors, carefully assess your property’s layout and select a location that meets your specific surveillance needs. Take measurements and use a tape measure to ensure the chosen mounting position is accurate and aligns with your desired coverage area.
It is also essential to comply with any legal regulations and guidelines regarding surveillance cameras in your area. Familiarize yourself with the local laws and regulations, including any restrictions on camera placement or privacy issues.
Now that you have chosen the ideal mounting location, it’s time to prepare the vinyl siding for installation. This will ensure a seamless and secure attachment without damaging the siding or compromising its integrity.
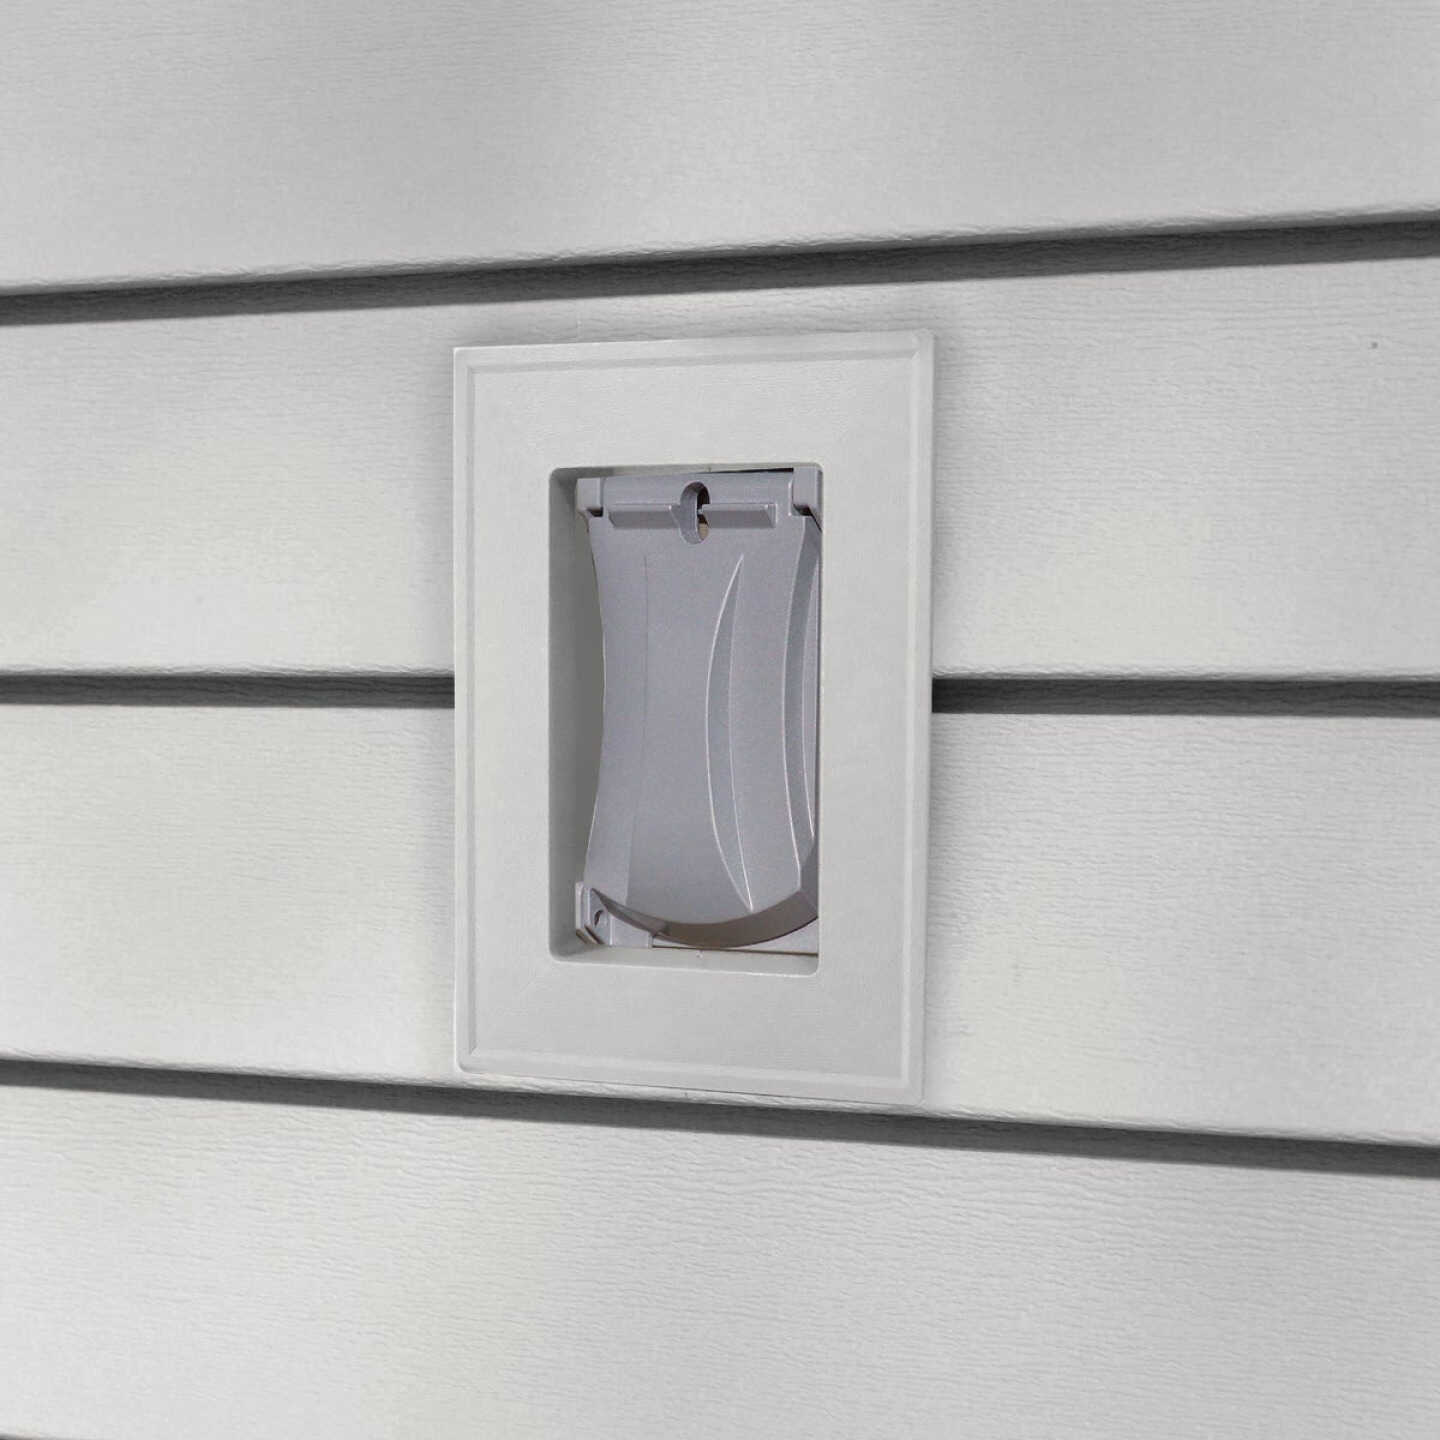
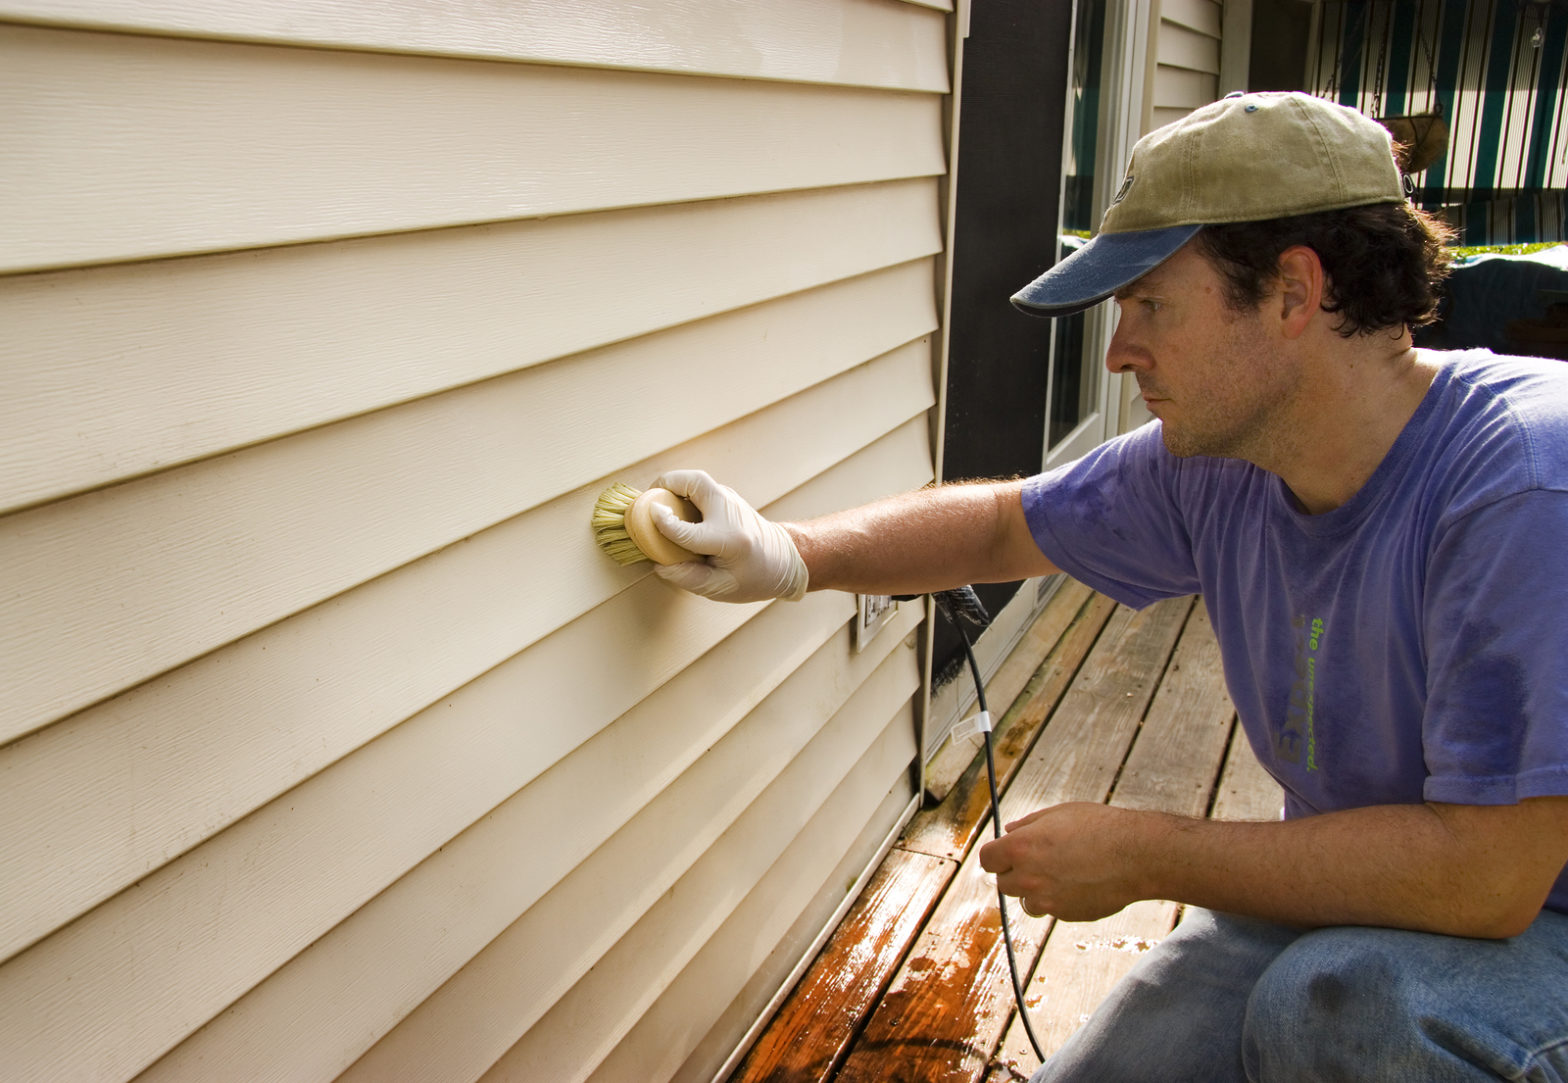
Step 3: Prepare the vinyl siding for installation
Before you begin installing the mounting bracket for your security camera on vinyl siding, it’s important to properly prepare the siding to ensure a secure and damage-free installation. Follow these steps to prepare the vinyl siding:
- Clean the siding: Use a mild detergent and water solution, along with a soft cloth or sponge, to clean the area where the camera will be installed. This will remove any dirt, debris, or grime that could interfere with the adhesion of the mounting bracket.
- Inspect the siding: Thoroughly examine the siding for any cracks, loose panels, or damage. If you notice any issues, it’s best to repair or replace the damaged sections before proceeding with the installation.
- Identify the studs: Locate the studs beneath the vinyl siding. You can use a stud finder or knock on the siding to detect the presence of a solid backing. Mark the positions of the studs with a pencil or marker, as this is where you will anchor the mounting bracket.
- Choose a suitable installation method: Depending on the design of your mounting bracket, you may have different options for installation. Common methods include using screws directly into the siding or utilizing specialized mounting blocks that fit behind the siding. Follow the manufacturer’s instructions for your specific bracket to determine the best method.
By cleaning the siding and ensuring its structural integrity, you create a suitable surface for attaching the mounting bracket. Identifying the studs is crucial to ensure a sturdy and secure installation. Choosing the appropriate installation method based on your bracket’s design will further enhance the longevity and stability of your security camera setup.
Now that you have prepared the vinyl siding, it’s time to proceed with installing the mounting bracket for your security camera. This will provide a secure base for attaching the camera and allow for proper positioning and angling.
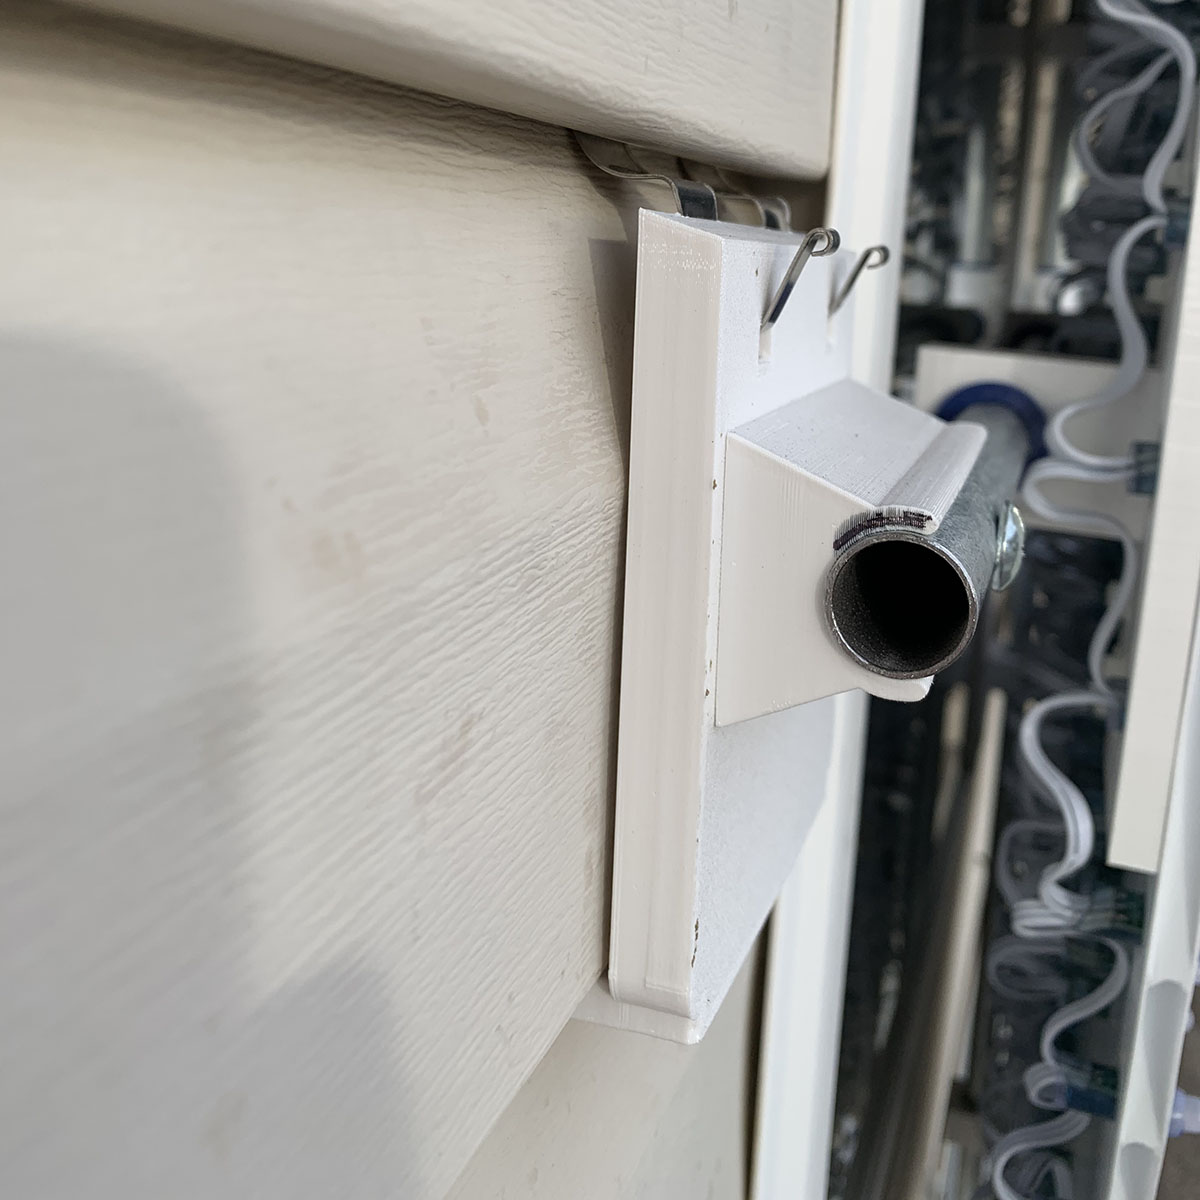
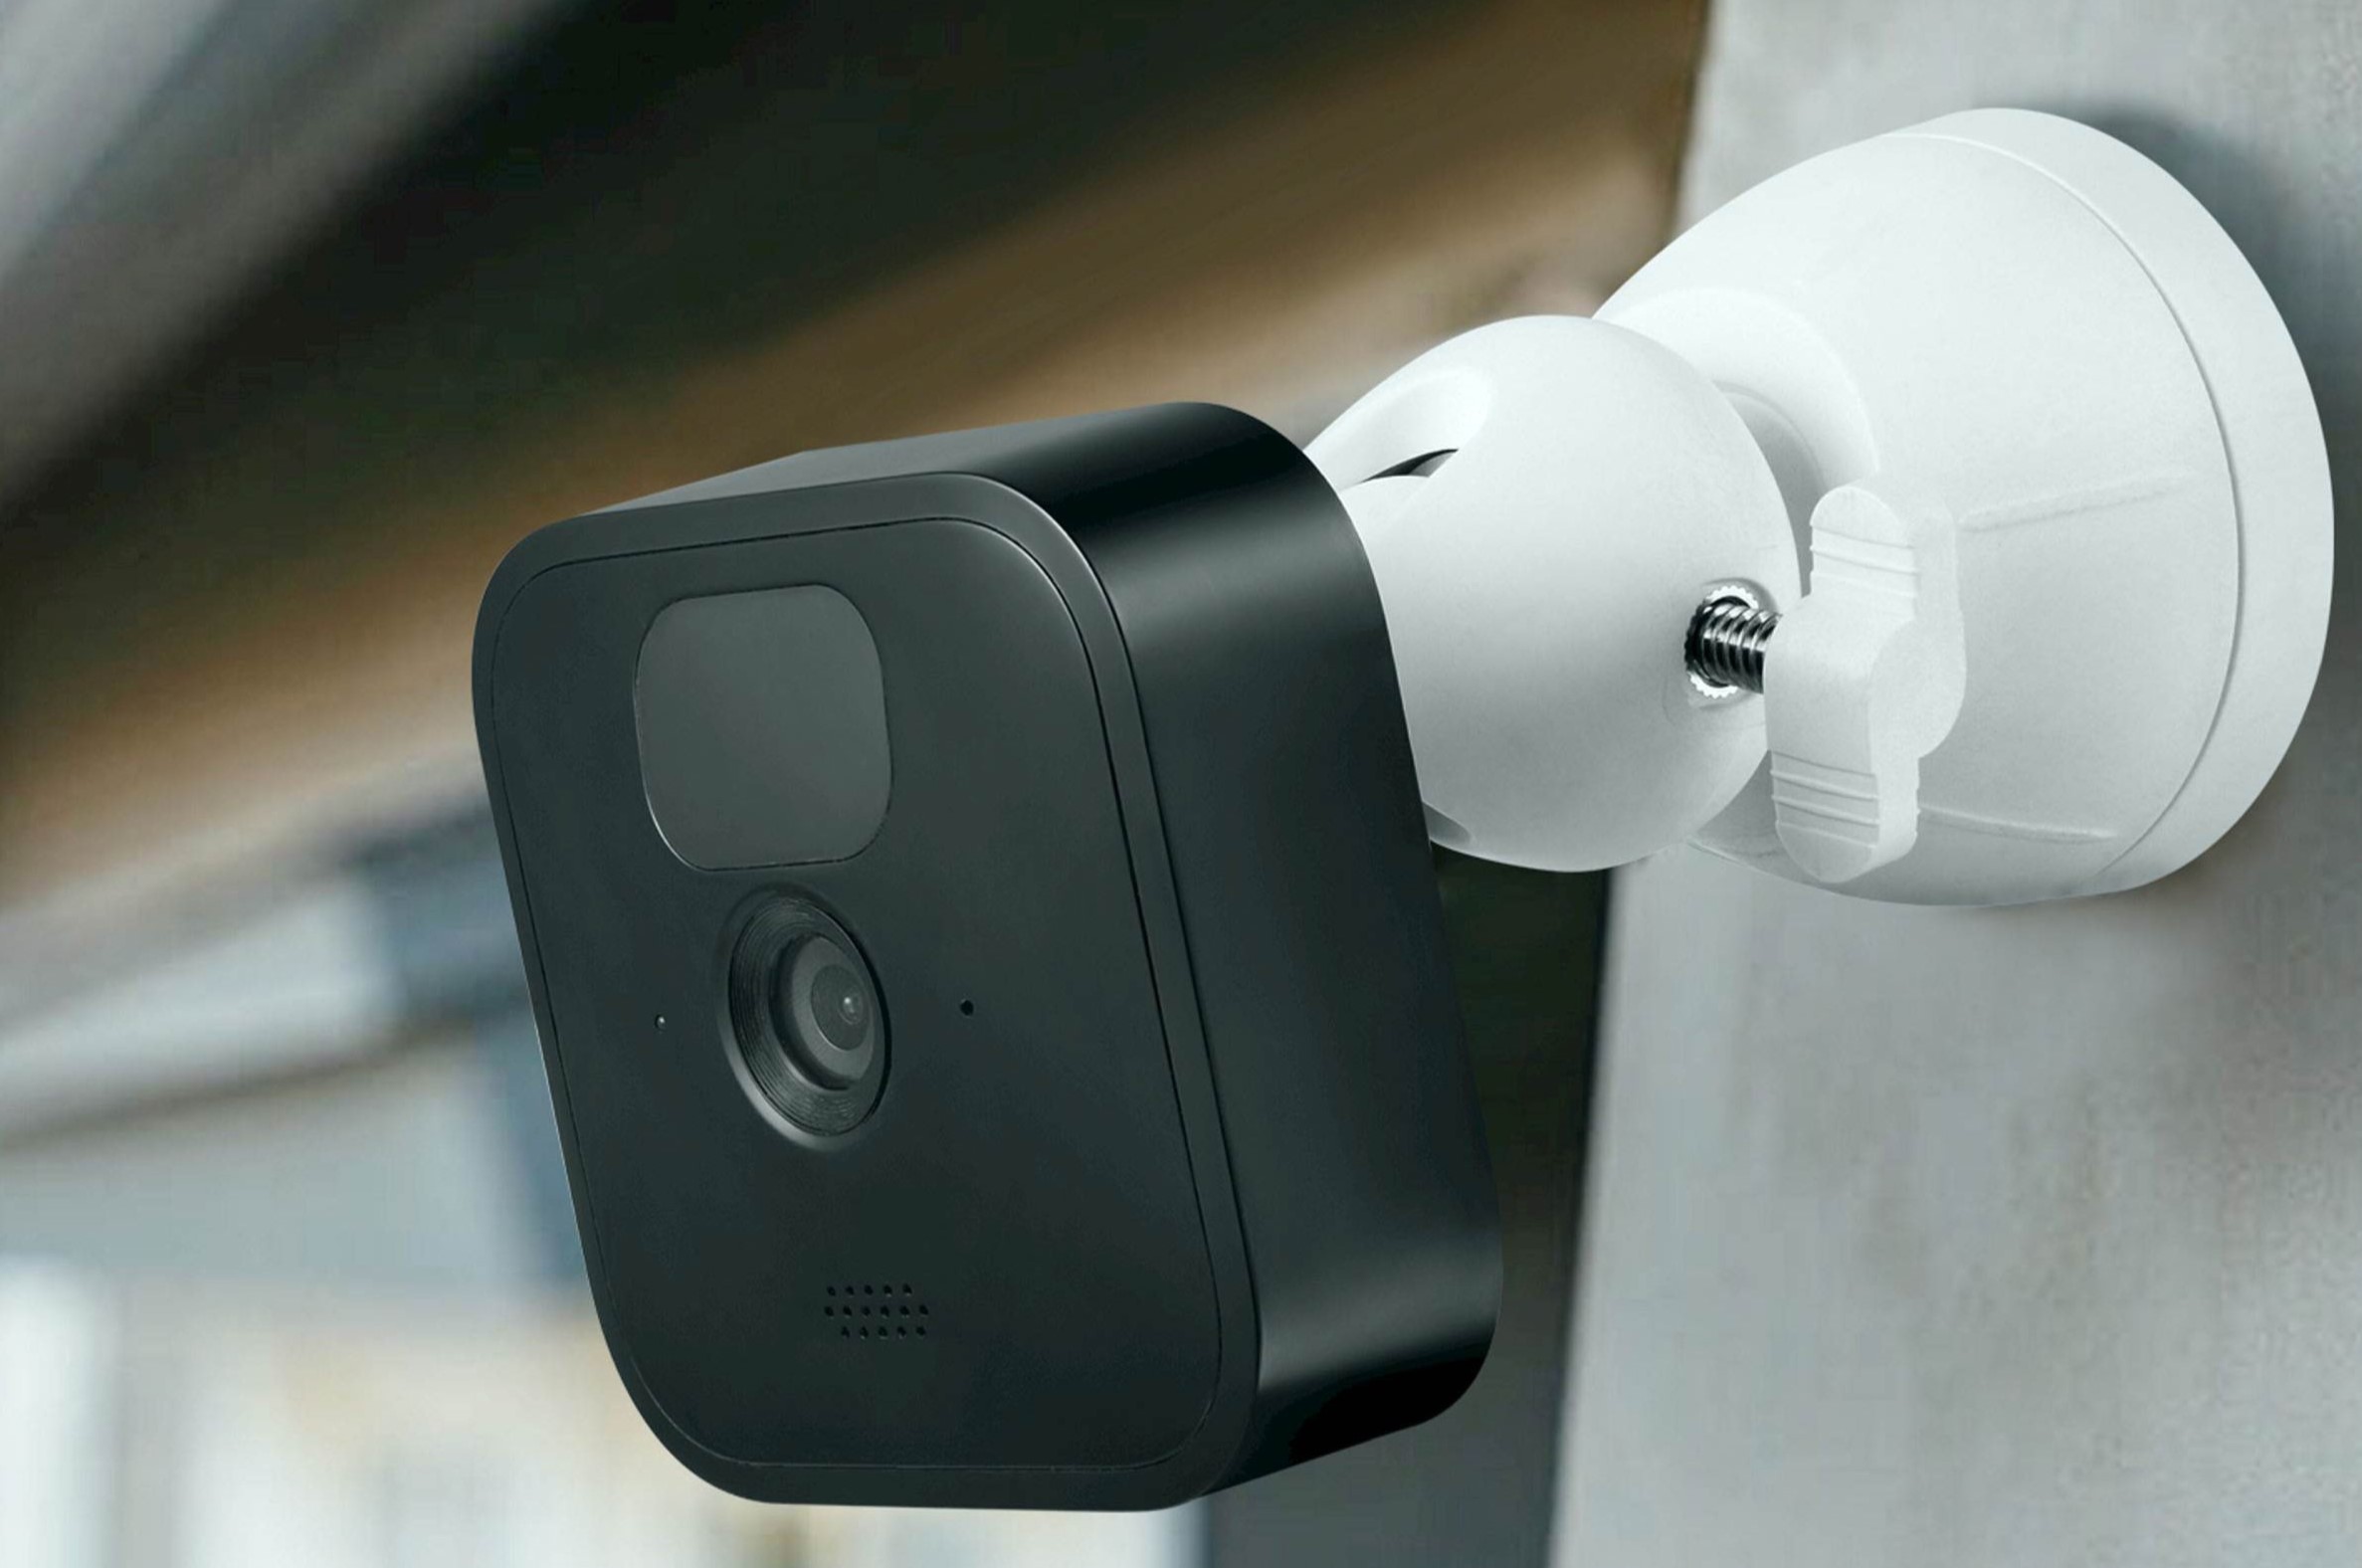
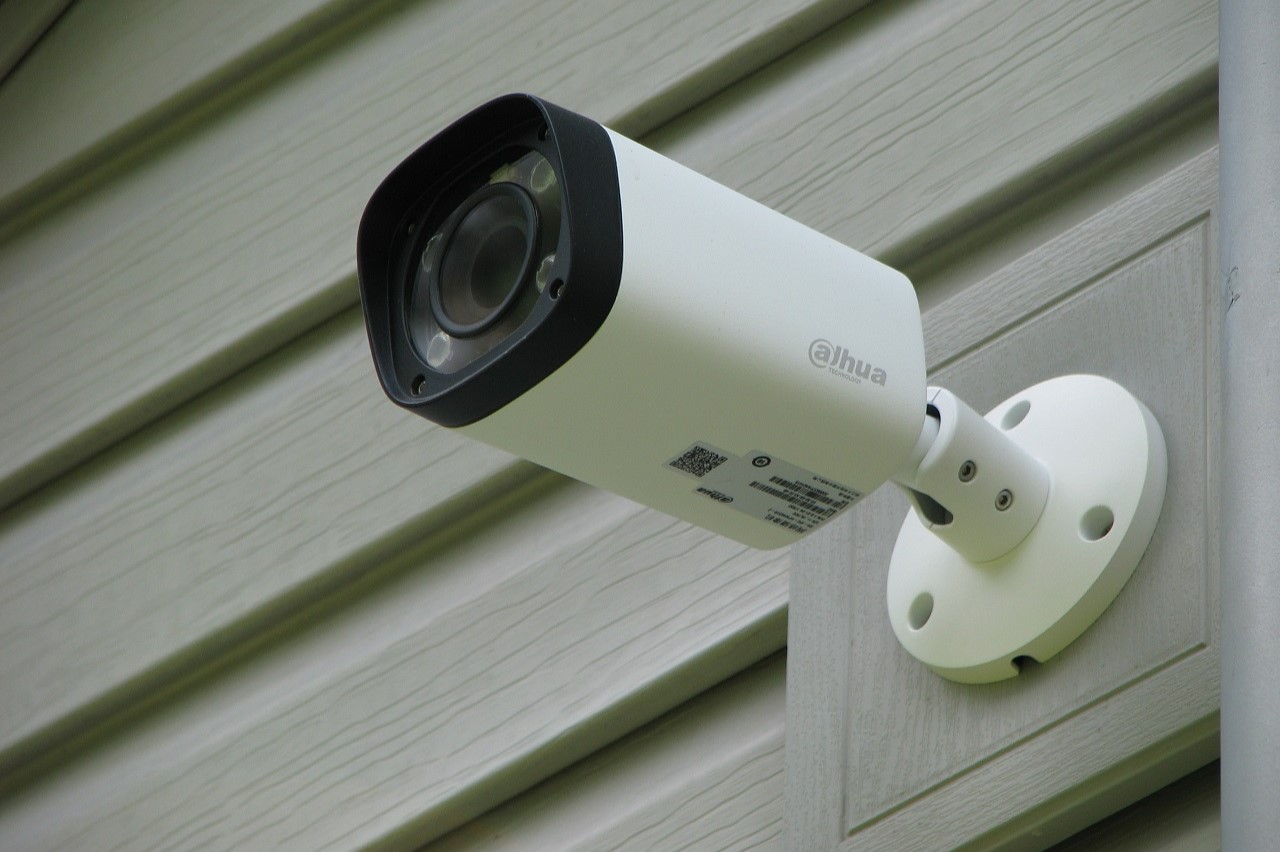
Step 4: Install the mounting bracket
Once you have prepared the vinyl siding, it’s time to install the mounting bracket for your security camera. Follow these steps to ensure a secure and stable installation:
- Position the bracket: Align the mounting bracket with the marked stud locations on the siding. Ensure that it is level and centered within the desired mounting area.
- Drill pilot holes: Using a power drill and the appropriate drill bit, create pilot holes through the pre-drilled holes on the mounting bracket. Make sure to drill straight into the siding and through the studs for maximum stability.
- Insert anchors (if necessary): If your mounting bracket requires anchors for additional support, insert them into the pilot holes. Gently tap them with a hammer until they are fully inserted but be careful not to damage the siding.
- Attach the bracket: Align the pre-drilled holes on the mounting bracket with the pilot holes or anchors, and secure it to the siding using screws provided with the bracket. Use a screwdriver or power drill to tighten the screws until the bracket is firmly attached to the siding.
- Double-check alignment: Make sure the mounting bracket is level and secure. Adjust if necessary to ensure proper alignment and stability.
By installing the mounting bracket accurately, you create a sturdy foundation for your security camera. The bracket serves as a reliable anchor point and allows for easy adjustment and positioning of the camera to achieve the desired surveillance angle.
After installing the mounting bracket for your security camera, it’s time to proceed to the next step: attaching the camera to the bracket. This will finalize the installation process and bring you one step closer to enhancing the security of your home or property.
When mounting a security camera on vinyl siding, use a mounting bracket specifically designed for siding installation. Make sure to drill pilot holes and use screws that are long enough to reach the wood underneath the siding for a secure hold.
Read more: How To Mount To Vinyl Siding
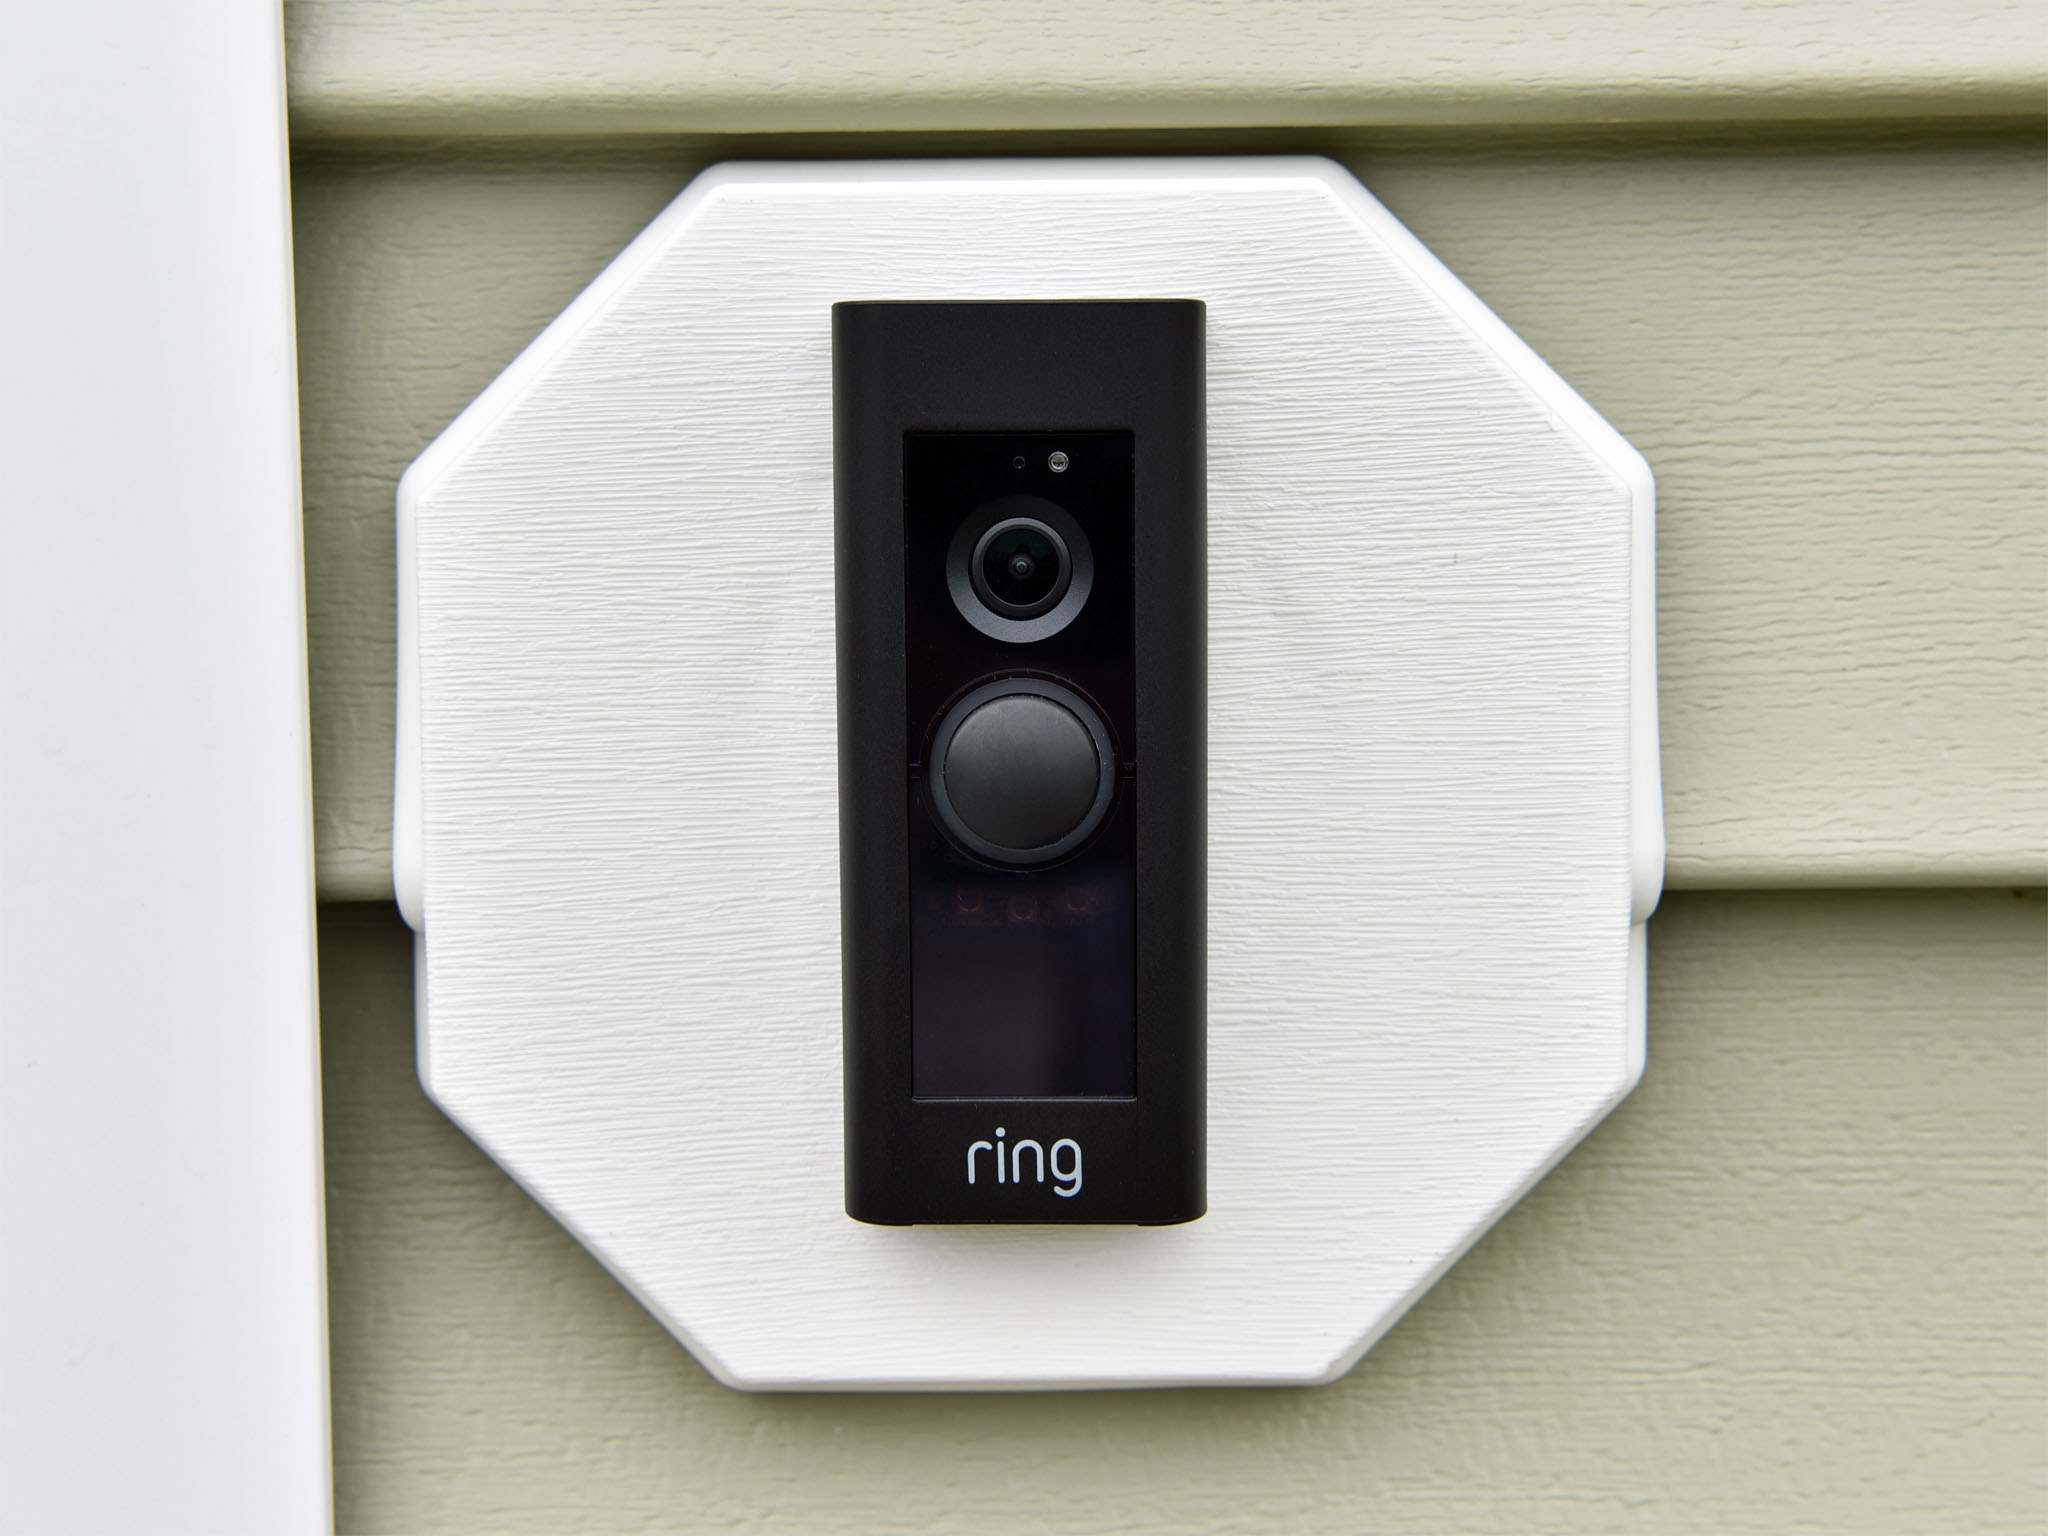
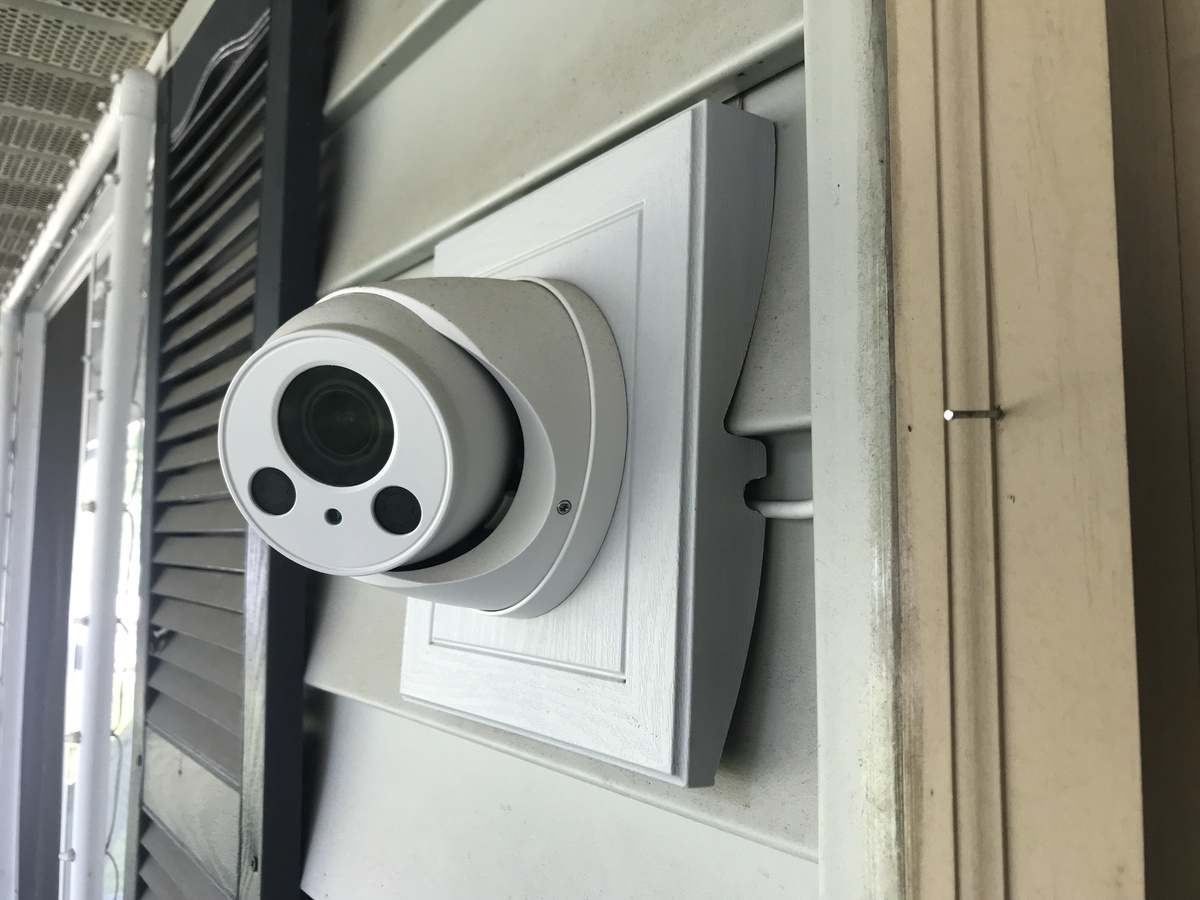
Step 5: Attach the security camera to the mounting bracket
With the mounting bracket securely installed on the vinyl siding, it’s time to attach your security camera to the bracket. Follow these steps to ensure a proper and secure attachment:
- Refer to the camera’s manual: Before attaching the camera, consult the camera’s user manual or manufacturer’s instructions for any specific mounting guidelines or requirements.
- Position the camera: Carefully position the camera onto the mounting bracket, aligning it with the screw holes or attachment points on the bracket.
- Secure the camera: Depending on the design of your camera, it may have a mounting plate or bracket that needs to be attached to the camera first. Follow the instructions provided with the camera to secure it to the bracket using screws or other fasteners.
- Tighten the screws: Use a screwdriver or the designated tool to tighten the screws, ensuring that the camera is securely fastened to the bracket. Avoid overtightening, as it may damage the camera or impede its movement for adjustments.
- Test the camera: Once the camera is attached, test its stability and movement by gently adjusting its angle and direction. Make sure it remains securely in place and can be easily positioned to cover the desired surveillance area.
By properly attaching the security camera to the mounting bracket, you ensure its stability and longevity. The camera should be firmly fixed to the bracket and able to maintain its position without any sagging or movement. This ensures accurate surveillance coverage and minimizes the risk of the camera being affected by wind or other external factors.
After attaching the camera to the mounting bracket, it’s time to move on to the next step: testing the camera’s angle and making adjustments if necessary. This will help optimize the camera’s field of view and ensure maximum effectiveness in monitoring your property.
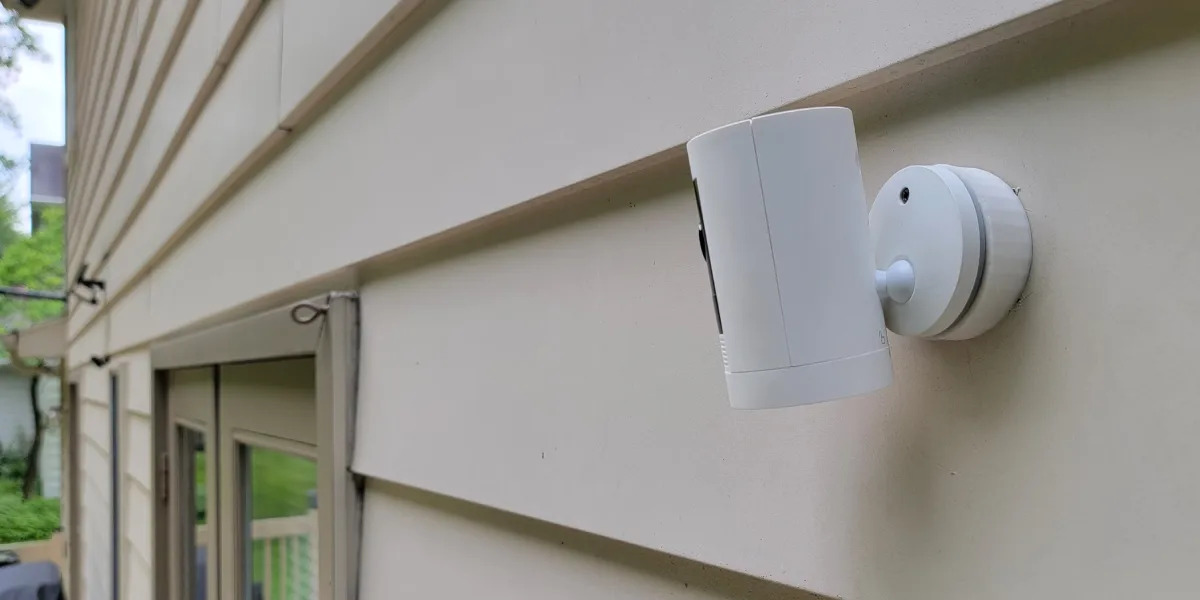
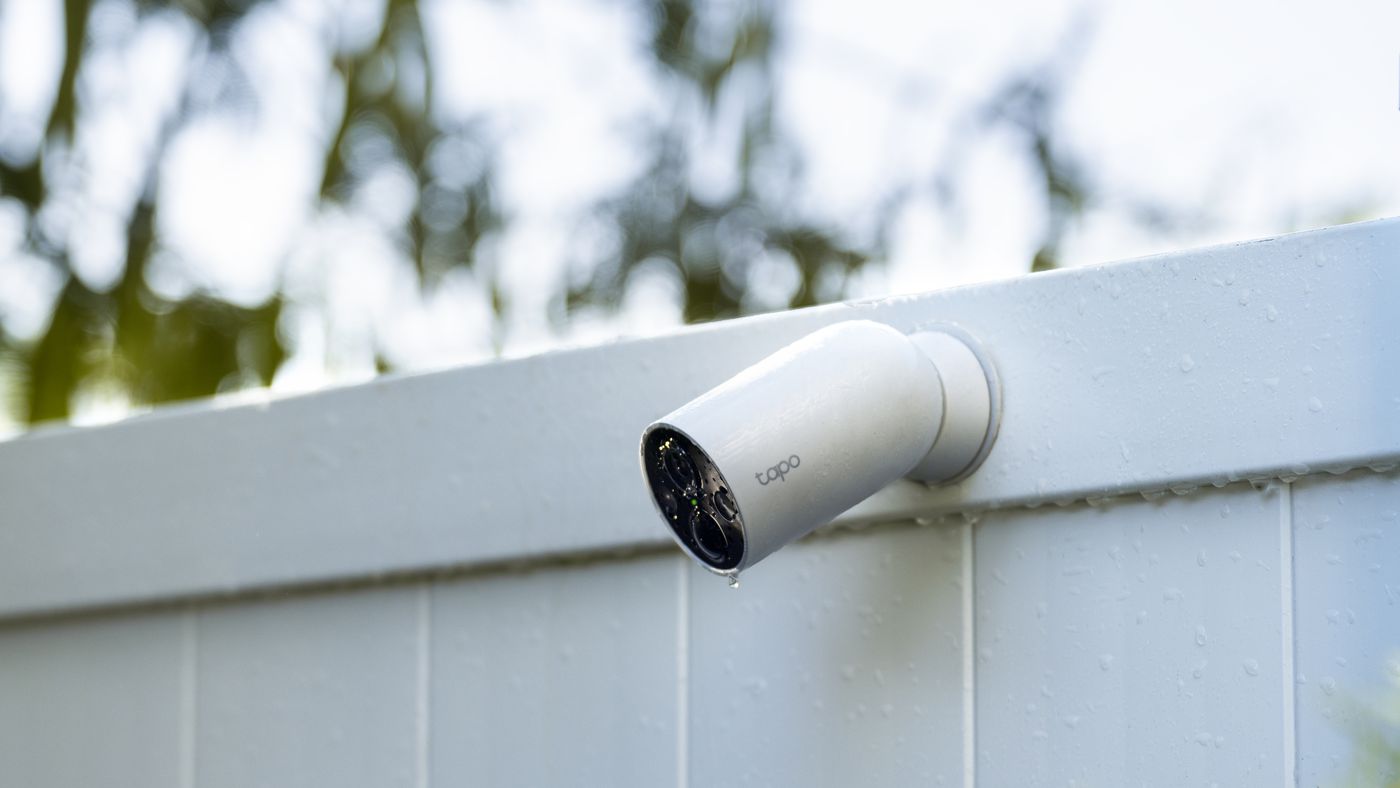
Step 6: Test the camera’s angle and adjust if necessary
Now that your security camera is securely attached to the mounting bracket, it’s important to test its angle and make any necessary adjustments to optimize its field of view. Follow these steps to ensure that your camera is properly positioned:
- Power on the camera: Connect the camera to the power source and turn it on. Ensure that it is functioning correctly and that the image is clear.
- Monitor the live feed: Use a smartphone, tablet, or computer to access the camera’s live feed. This will allow you to see the camera’s view in real-time.
- Evaluate the coverage: Observe the camera’s field of view and check if it covers the desired surveillance area effectively. Pay attention to blind spots, areas with poor visibility, or any obstacles that may obstruct the camera’s view.
- Make adjustments: If necessary, gently adjust the camera’s angle and direction to enhance its coverage. Use the mounting bracket’s swivel or tilt function to adjust the camera vertically or horizontally until you achieve the optimal angle.
- Test at different times: Consider testing the camera’s angle at different times of the day to account for changes in lighting conditions. This will help ensure that you have clear visibility during both day and night.
- Check for reflections or glares: Be mindful of any reflections or glares caused by nearby surfaces, such as windows or glossy walls. Adjust the camera’s position to minimize or eliminate any distractions caused by these reflections.
Regularly monitoring and adjusting the camera’s angle is crucial for maintaining effective surveillance. Take the time to test and fine-tune the camera’s position to ensure that it captures the desired areas and provides clear and unobstructed video footage.
Once you are satisfied with the camera’s angle and coverage, it’s time to secure all cables and wiring to ensure a neat and tidy installation. This will prevent any potential damage to the cables and maintain the overall aesthetic appeal of your security camera setup.
Step 7: Secure all cables and wiring
Now that your security camera is properly positioned and adjusted, it’s time to secure all cables and wiring to ensure a tidy and professional installation. Follow these steps to effectively organize and protect your cables:
- Use cable clips or adhesive mounts: Cable clips or adhesive mounts are an excellent way to secure and organize the cables along the vinyl siding. Place the clips or mounts at regular intervals to keep the cables neatly arranged and prevent them from dangling or getting tangled.
- Route the cables discreetly: Whenever possible, run the cables along the existing vertical or horizontal lines of the vinyl siding to maintain a neat and inconspicuous appearance. This helps to blend the cables seamlessly with the siding and reduces the risk of them being accidentally damaged or snagged.
- Protect cables from the elements: Use weatherproof cable connectors or protective conduit to shield the cables from moisture, UV rays, and other environmental factors. This ensures the longevity and performance of the cables, especially for outdoor installations.
- Separate power and data cables: It is important to keep the power cables separate from the data cables to prevent interference and signal loss. Run the cables in different directions and use separate cable clips or mounts to keep them organized.
- Consider hiding cables in conduit: For a more concealed and polished look, you may opt to hide the cables inside a conduit. This can be attached to the siding or buried underground, offering a seamless finish and added protection for the cables.
By securing the cables and wiring, you minimize the risk of accidental damage and ensure a professional and clean installation. Neatly organized cables not only improve the overall aesthetics of your security camera setup but also make maintenance and future adjustments much easier.
With the cables securely in place, your security camera installation is almost complete. In the next and final step, we will outline the important steps to finalize the installation process and ensure everything is working as expected.
Step 8: Complete the installation process
Congratulations! You’re almost done with the installation of your security camera on vinyl siding. Follow these final steps to complete the installation process:
- Double-check all connections: Ensure that all cables are securely connected to their respective ports on the camera and power source. Tug gently on each cable to confirm its stability.
- Test the camera and system: Power on the camera and check its functionality. Make sure you can access the live feed on your smartphone, tablet, or computer, and verify that the camera is properly recording and capturing video footage.
- Adjust camera settings: If necessary, configure the camera’s settings such as motion detection, recording mode, and resolution to match your preferences and needs. Refer to the camera’s manual for specific instructions.
- Secure the camera and cables: Once you are satisfied with the camera’s performance, use cable ties or clamps to secure any loose cables or excess wiring. This will further enhance the neatness and organization of your installation.
- Perform a final check: Ensure that the camera is securely mounted, the cables are properly managed, and there are no loose components or visible signs of damage. Take a step back and inspect the overall installation to ensure its aesthetic appeal and functionality.
- Document and store important information: Keep a record of the camera’s make, model, and serial number along with any relevant warranty or support information. This will be useful for future maintenance or troubleshooting.
By completing these final steps, you have successfully installed your security camera on vinyl siding. Take some time to familiarize yourself with the camera’s features and settings, and regularly test its functionality to ensure continuous surveillance of your property.
Finally, remember to periodically check for any signs of wear or damage, and clean the camera lens to maintain optimal performance. Regular maintenance will prolong the lifespan of your security camera system and help you enjoy round-the-clock security.
Thank you for following this comprehensive guide, and we hope that your new security camera provides you with peace of mind and enhanced home security.
If you have any questions or encounter any issues during the installation process, don’t hesitate to consult the manufacturer’s documentation or seek assistance from a professional.
Read more: How To Mount TV To Vinyl Siding
Conclusion
Installing a security camera on vinyl siding is an effective way to enhance the security and surveillance of your home or property. By following the step-by-step guide outlined in this article, you can confidently mount your security camera while minimizing the risk of damage to your vinyl siding.
We began by gathering the necessary tools and equipment to ensure a smooth installation process. Then, we discussed the importance of choosing the ideal mounting location, considering factors such as visibility, accessibility, and protection from the elements.
Preparing the vinyl siding for installation is crucial to avoid any damage or compromise to its integrity. Cleaning the siding, inspecting for any damage, and identifying the studs beneath the surface are important steps in creating a solid foundation for the mounting bracket.
Next, we covered the installation of the mounting bracket itself, ensuring it is secured to the vinyl siding and aligned correctly. After attaching the security camera to the mounting bracket, we emphasized the significance of testing the camera’s angle and making adjustments to achieve optimal coverage.
Securing all cables and wiring is essential for maintaining a neat and professional installation. By using cable clips or adhesive mounts, routing the cables discreetly, and protecting them from the elements, you can ensure the longevity and proper functioning of your security camera system.
Finally, after completing the installation process, we highlighted the significance of performing a final check, adjusting camera settings, and documenting important information for future reference.
Remember to regularly test and maintain your security camera system to ensure it remains in optimal condition and provides reliable surveillance coverage for your home.
With this comprehensive guide, you now possess the knowledge and confidence to install a security camera on vinyl siding and enhance the safety and security of your property. Stay vigilant, and enjoy the peace of mind that comes with having a reliable and effective surveillance system in place.
Frequently Asked Questions about How To Mount A Security Camera On Vinyl Siding
Was this page helpful?
At Storables.com, we guarantee accurate and reliable information. Our content, validated by Expert Board Contributors, is crafted following stringent Editorial Policies. We're committed to providing you with well-researched, expert-backed insights for all your informational needs.