Home>Furniture & Design>Outdoor Furniture>How To Turn On An Outdoor Water Faucet
Outdoor Furniture
How To Turn On An Outdoor Water Faucet
Modified: February 17, 2024
Learn how to properly turn on your outdoor water faucet with our expert tips. Keep your outdoor furniture in top condition with our easy-to-follow guide.
(Many of the links in this article redirect to a specific reviewed product. Your purchase of these products through affiliate links helps to generate commission for Storables.com, at no extra cost. Learn more)
Introduction
Welcome to the world of outdoor living, where the gentle gurgle of a flowing water faucet can transform a mundane task into a serene and refreshing experience. Whether you're preparing to water your garden, wash your car, or connect a hose for various outdoor activities, knowing how to turn on an outdoor water faucet is an essential skill for any homeowner or outdoor enthusiast. In this comprehensive guide, we'll explore the step-by-step process of activating an outdoor water faucet, from gathering the necessary tools and materials to troubleshooting common issues that may arise.
Turning on an outdoor water faucet may seem like a simple task, but it's important to approach it with care and attention to detail. By following the guidelines outlined in this article, you'll not only learn the basic steps for activating the faucet but also gain valuable insights into locating the water supply valve and addressing potential issues that may affect the functionality of the faucet.
So, whether you're a seasoned homeowner with years of outdoor maintenance experience or a newcomer to the world of outdoor living, this guide is designed to provide you with the knowledge and confidence to effortlessly turn on an outdoor water faucet and make the most of your outdoor space. Let's embark on this journey together and unlock the secrets to seamlessly activating your outdoor water source.
Key Takeaways:
- Easily turn on your outdoor water faucet by gathering tools, locating the faucet, and turning the water supply valve. Test the faucet and troubleshoot common issues for a seamless outdoor experience.
- With the right tools and steps, anyone can confidently activate their outdoor water faucet. Test the faucet, troubleshoot issues, and enjoy a hassle-free outdoor water source for all your needs.
Read more: Outdoor Faucet Sprays Water When Turning Off
Step 1: Gather Necessary Tools and Materials
Before embarking on the task of turning on an outdoor water faucet, it’s essential to gather the necessary tools and materials to ensure a smooth and efficient process. Here’s a list of items you’ll need:
- Adjustable Wrench: This versatile tool will come in handy for loosening or tightening connections.
- Bucket: Having a bucket on hand can help catch any excess water that may drain from the faucet when it’s turned on.
- Garden Hose: If you plan to connect a hose to the faucet, ensure that it’s in good condition and free of kinks or leaks.
- Teflon Tape: Also known as plumber’s tape, this thin white tape is used to seal pipe threads, preventing leaks and ensuring a secure connection.
- Work Gloves: Protect your hands with a sturdy pair of work gloves, especially if you anticipate dealing with rusty or stubborn connections.
- Flashlight: In case the outdoor faucet is located in a dimly lit area, a flashlight can help illuminate the surroundings for better visibility.
By ensuring that you have these tools and materials at your disposal, you’ll be well-prepared to tackle the task of turning on your outdoor water faucet. With everything in place, you can proceed with confidence, knowing that you have the necessary resources to address any potential challenges that may arise during the process.
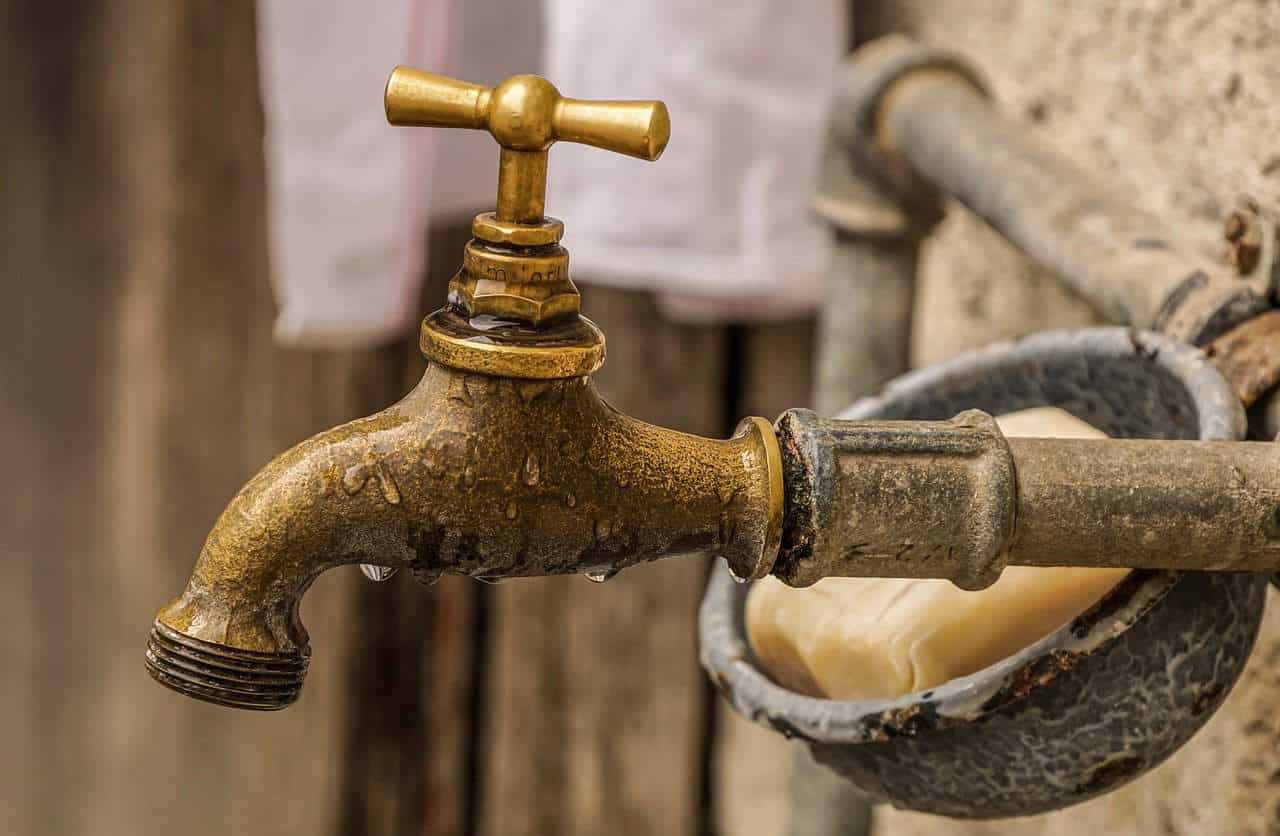
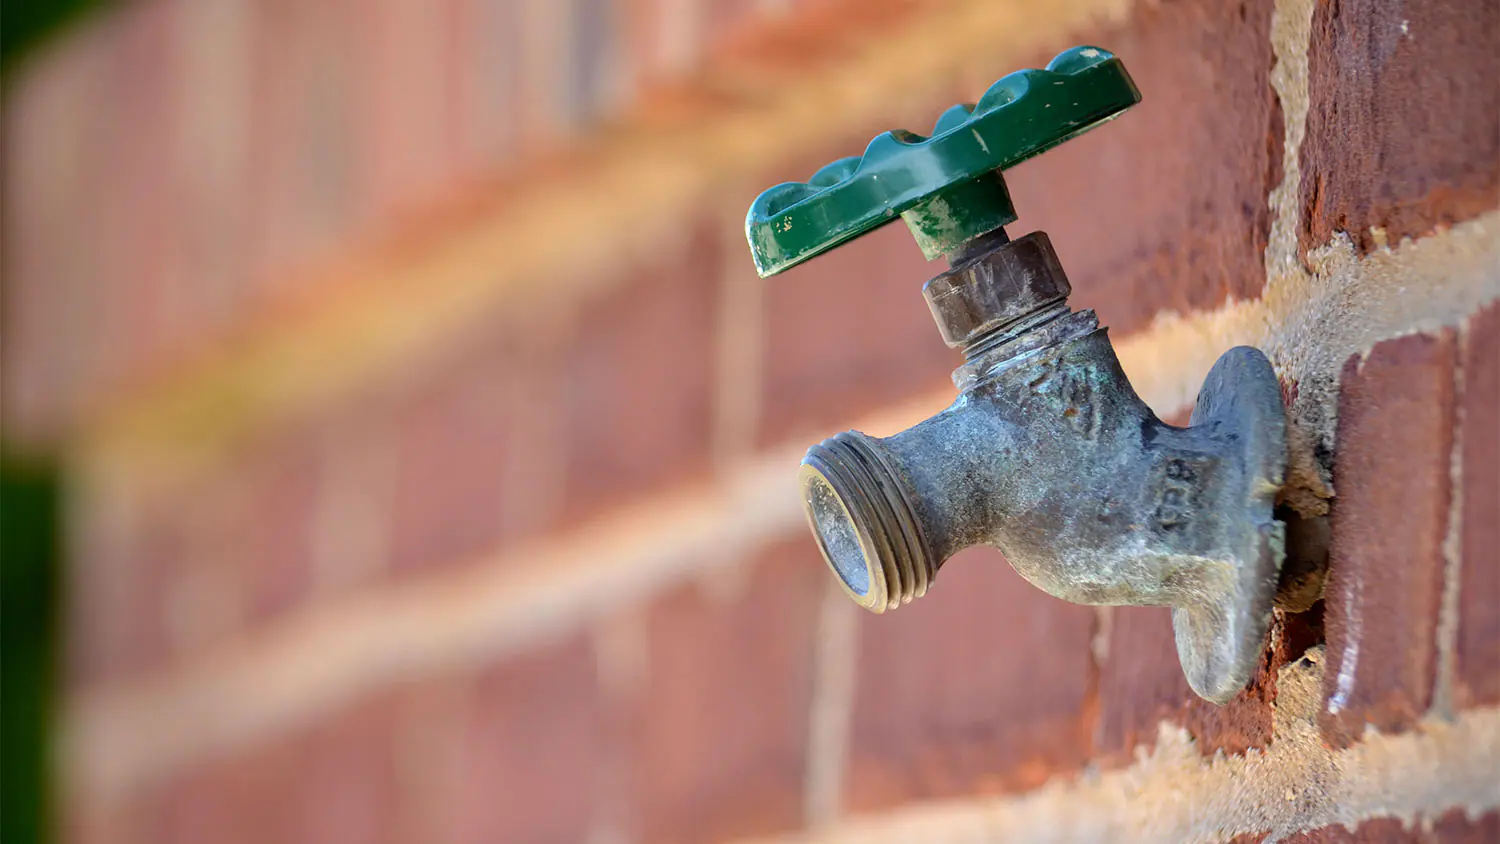
Step 2: Locate the Outdoor Water Faucet
Locating the outdoor water faucet is the next crucial step in the process. While this may seem straightforward, there are a few key considerations to keep in mind:
- Exterior Walls: Outdoor water faucets are typically located on the exterior walls of a building, often near the front, back, or side entrances. Take a moment to visually inspect these areas to identify the faucet’s position.
- Utility Areas: In some cases, outdoor faucets may be situated near utility areas, such as the garage, shed, or outdoor storage space. Check these locations if you haven’t found the faucet along the exterior walls.
- Pipe Extensions: If the outdoor faucet is not immediately visible, it may be connected to a pipe extension that protrudes from the building’s exterior. Look for these extensions, which often feature a valve or handle for controlling the water flow.
- Landscaping Features: Outdoor faucets near gardens, lawns, or landscaping features are commonly positioned for easy access to water outdoor plants and maintain the surrounding greenery. Consider these areas when searching for the faucet.
Once you’ve located the outdoor water faucet, take a moment to inspect its condition. Check for any visible damage, leaks, or signs of wear and tear. Additionally, ensure that the area around the faucet is clear of obstructions and debris, allowing for safe and unobstructed access.
By successfully identifying and assessing the outdoor water faucet’s location, you’ll be well-prepared to proceed with the next steps of the activation process, ultimately enabling you to harness the faucet’s functionality for various outdoor tasks and activities.
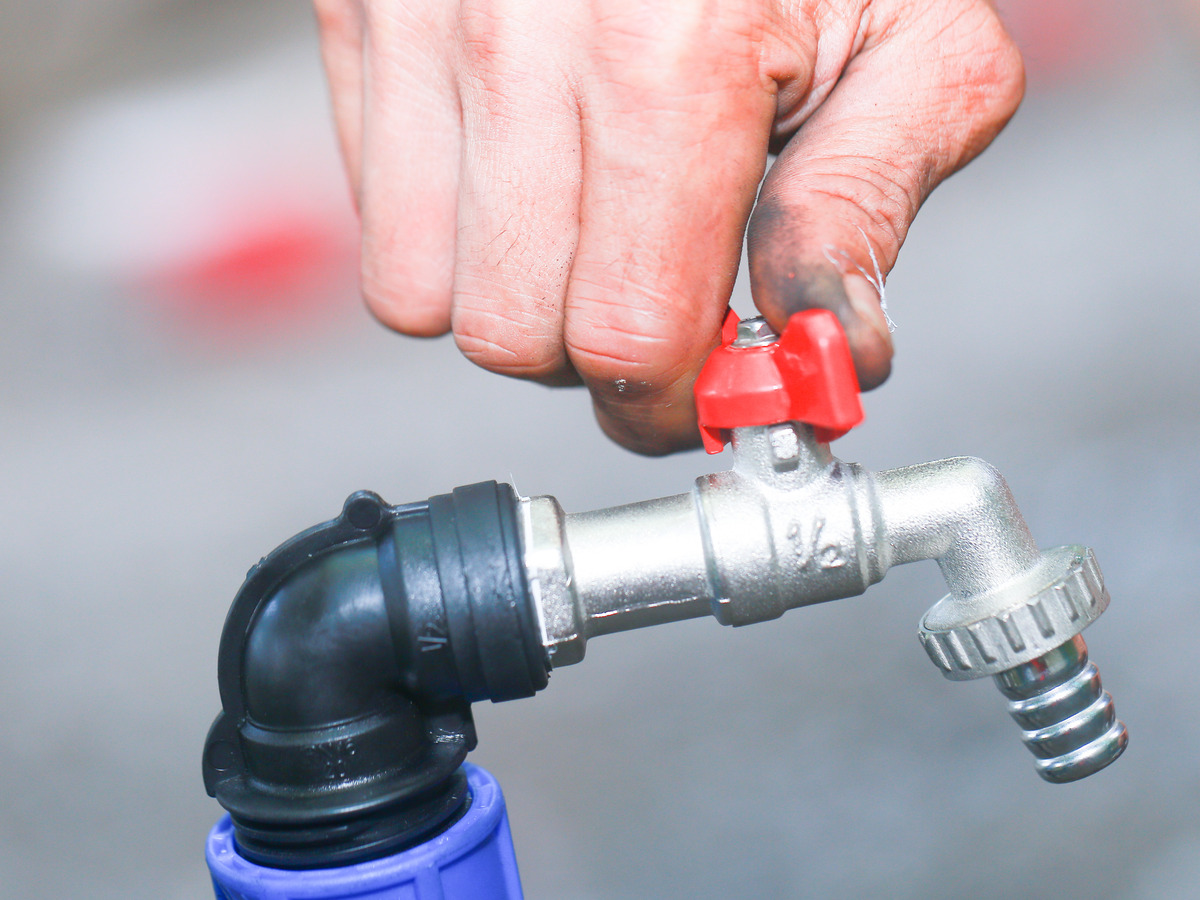
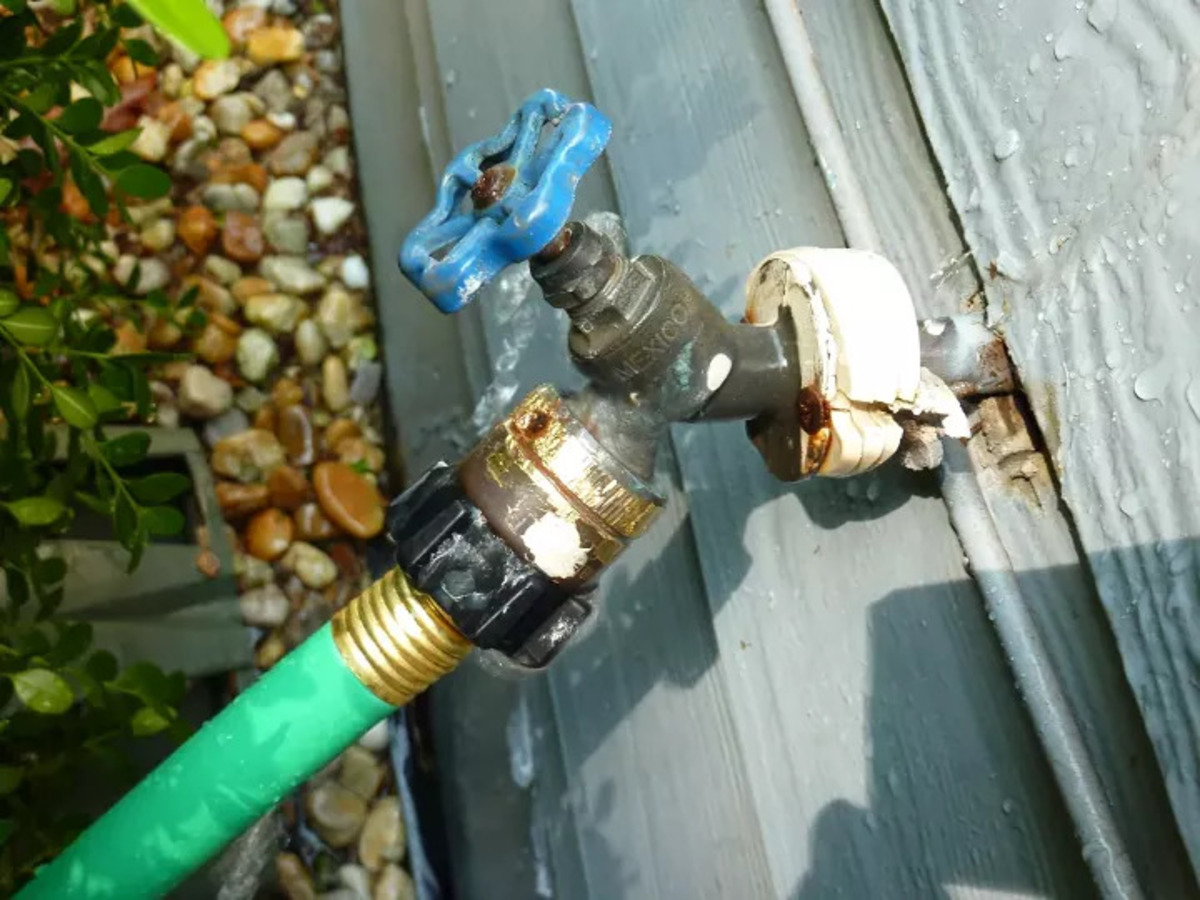
Step 3: Turn the Water Supply Valve
With the outdoor water faucet located, it’s time to proceed with the pivotal step of turning on the water supply. This is achieved by manipulating the water supply valve, which controls the flow of water to the outdoor faucet. Follow these steps to ensure a seamless activation process:
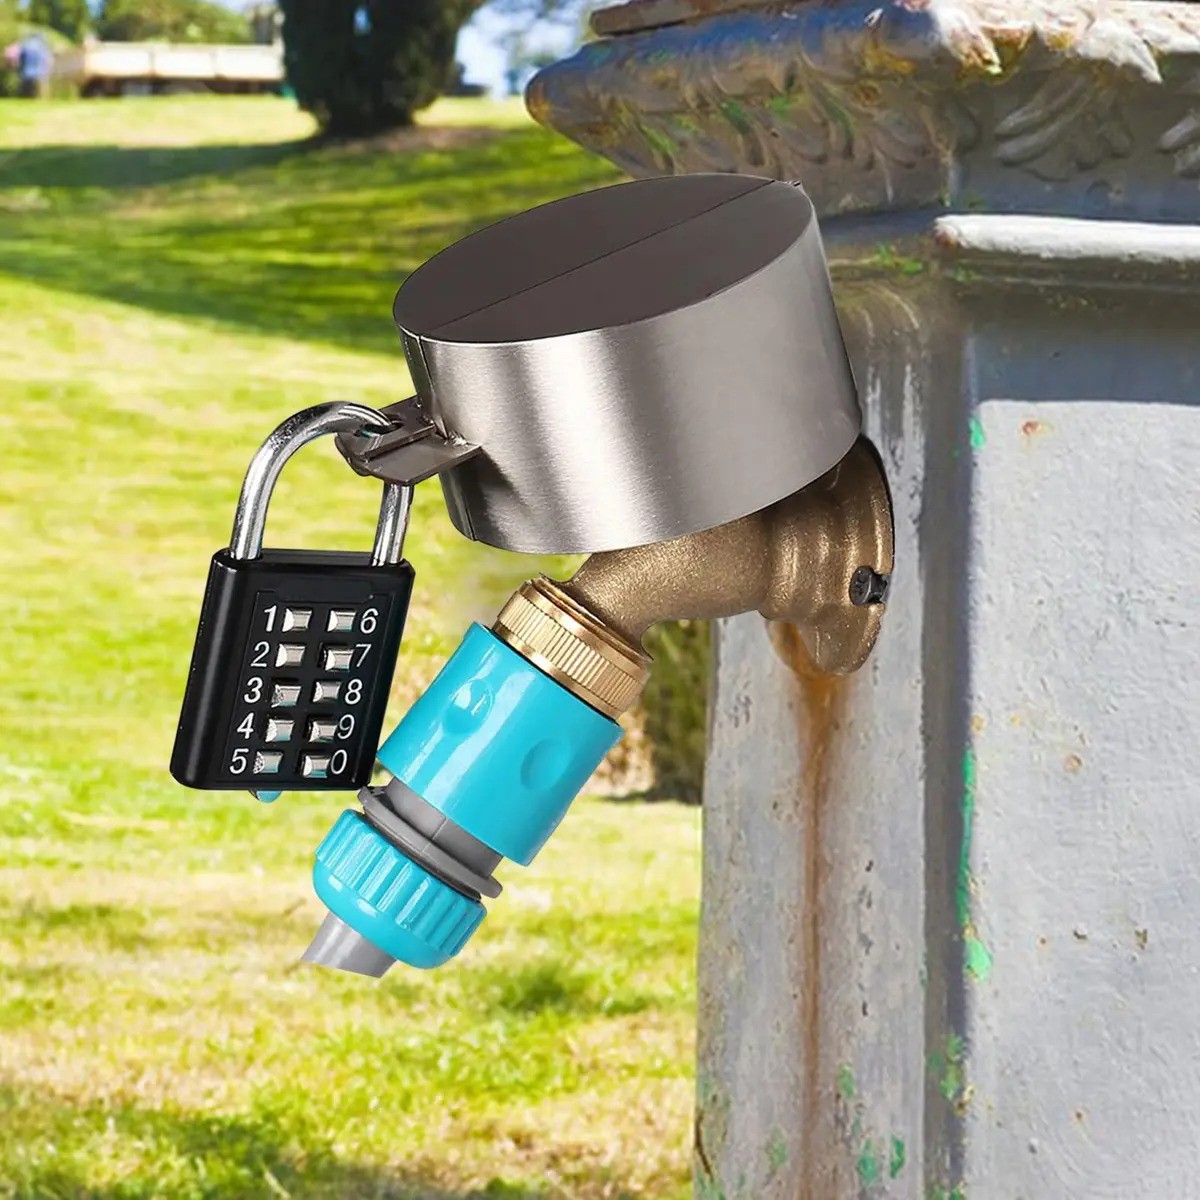
- Locate the Water Supply Valve: The water supply valve is typically situated near the outdoor faucet, often within close proximity to the building’s exterior. It may be positioned on the water pipe leading to the faucet or integrated into the faucet assembly itself.
- Position the Valve Handle: Depending on the type of valve, the handle may need to be turned in a specific direction to activate the water flow. For a traditional wheel-type handle, turning it in a counterclockwise direction typically opens the valve and allows water to flow to the faucet.
- Turn the Valve Handle: Using a firm and deliberate motion, turn the valve handle as needed to open the water supply. Exercise caution to avoid applying excessive force, as this may damage the valve or associated components.
As you manipulate the water supply valve, listen for the sound of water flowing through the pipes, indicating that the faucet is being activated. Additionally, be mindful of any leaks or drips that may occur around the valve or faucet, as these could signal potential issues that require attention.
Once the water supply valve has been successfully turned, the outdoor water faucet should be primed and ready for use. Before connecting any hoses or initiating outdoor tasks, it’s advisable to perform a brief test of the faucet to confirm that water is flowing smoothly and without any unexpected complications.
By effectively navigating the process of turning the water supply valve, you’ll unlock the full potential of your outdoor water faucet, empowering you to engage in a wide range of outdoor activities with ease and convenience.
Make sure the water supply valve is fully open before turning on the outdoor faucet. This will ensure proper water flow and prevent any potential leaks or damage to the faucet.
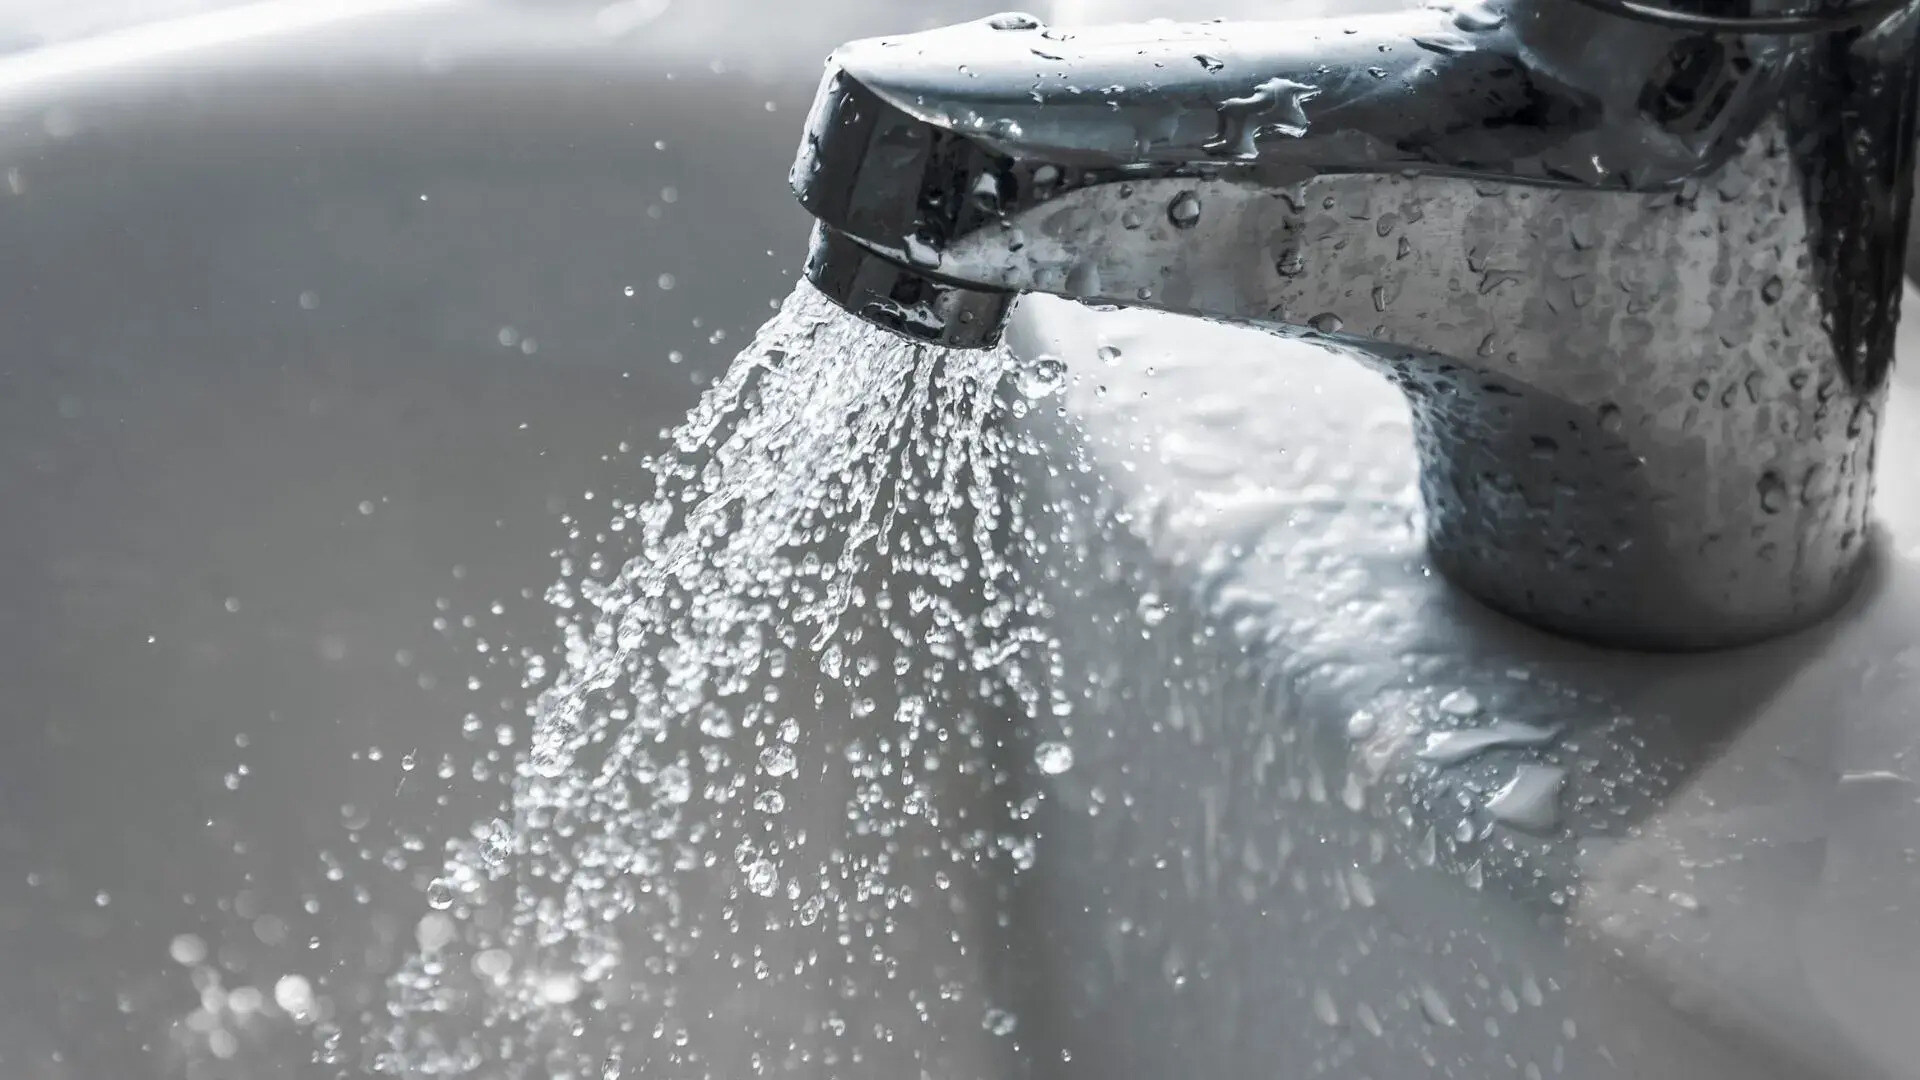
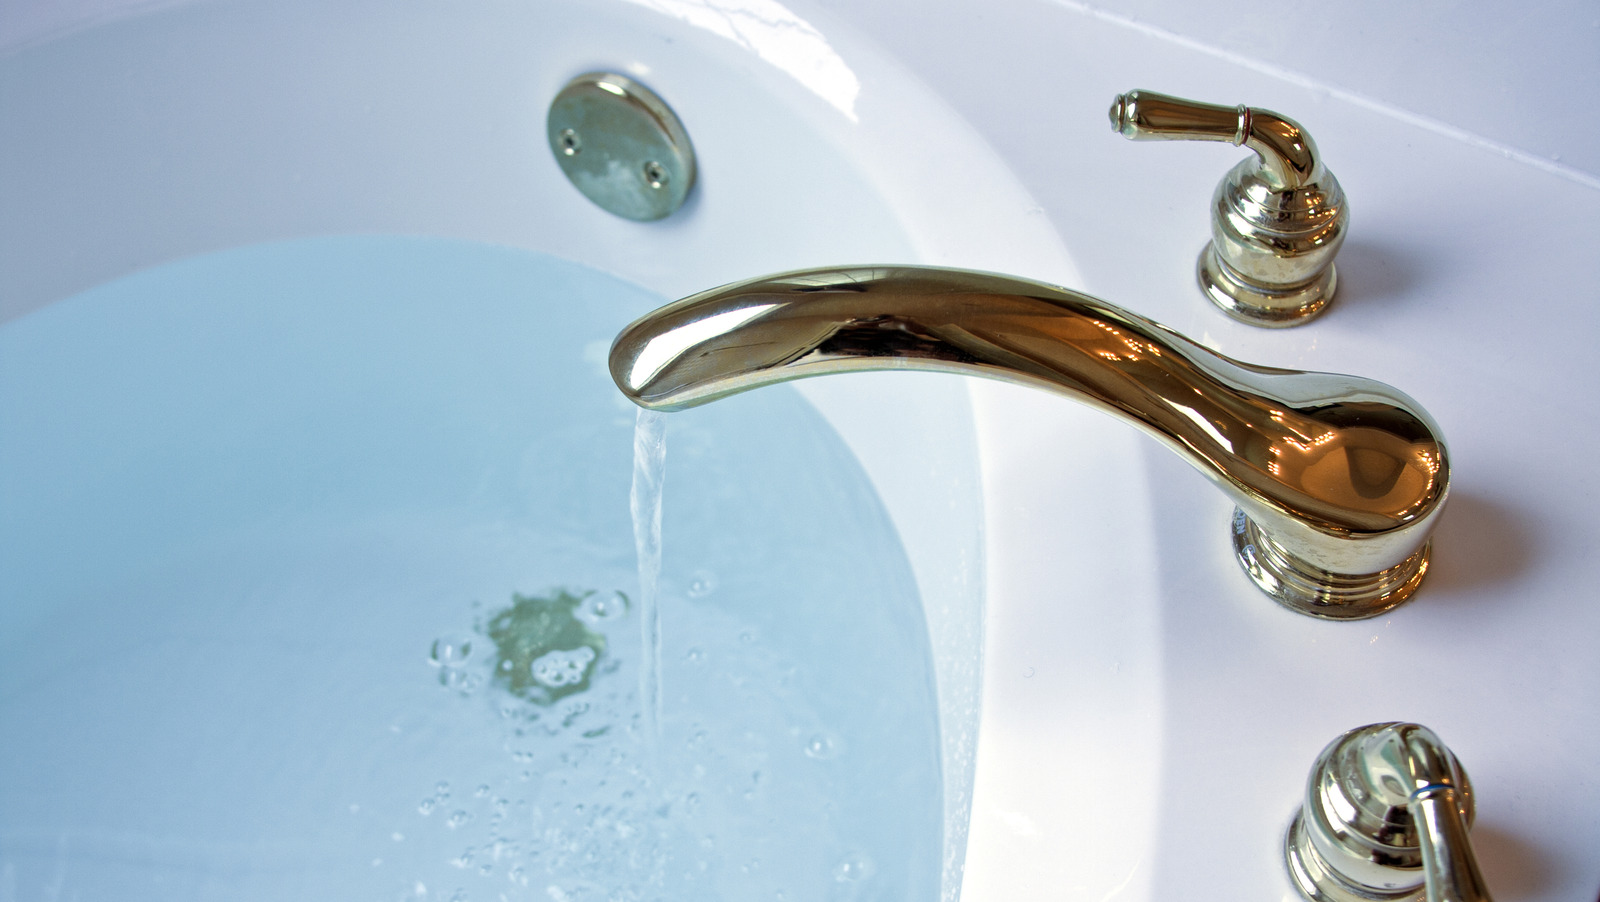
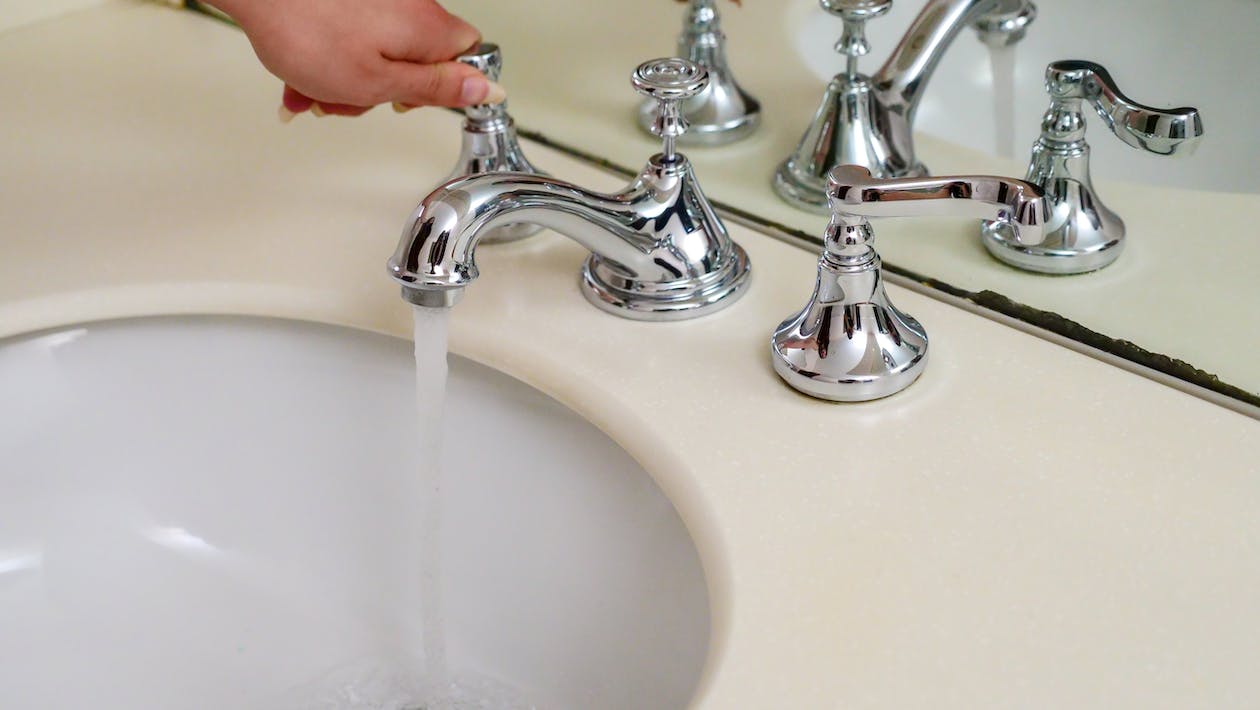
Step 4: Test the Faucet
After successfully turning on the water supply valve, it’s essential to conduct a thorough test of the outdoor water faucet to ensure its functionality and performance. By following these steps, you can verify that the faucet is operating as intended and address any potential issues that may arise:
- Check for Water Flow: Turn the faucet handle or knob in a gradual and controlled manner to initiate the flow of water. Observe the faucet spout for the emergence of water, confirming that the activation process has been effective.
- Assess Water Pressure: Take note of the water pressure as it emanates from the faucet. A steady and consistent flow indicates optimal water pressure, while irregular or weak flow may suggest underlying issues that require attention.
- Inspect for Leaks: Carefully examine the area around the faucet, including the connections and spout, for any signs of leaks or drips. Address any leaks promptly to prevent water wastage and maintain the integrity of the faucet system.
- Connect a Hose (Optional): If you intend to use a garden hose with the outdoor faucet, securely connect the hose to the faucet’s outlet and test the water flow through the hose. Confirm that the hose attachment is watertight and free of leaks.
By methodically testing the outdoor water faucet, you can gain valuable insights into its operational status and identify any potential concerns that may impact its performance. This proactive approach allows you to address issues promptly, ensuring that the faucet remains a reliable and efficient resource for your outdoor water needs.
Upon completing the faucet test, take note of any observations or issues that arise during the process. This information can guide your next steps, whether it involves making adjustments, performing maintenance, or seeking professional assistance to address more complex concerns.
With the outdoor water faucet successfully tested and confirmed to be in good working order, you can proceed with confidence, knowing that it is ready to support a wide range of outdoor tasks and activities, from watering plants to washing outdoor surfaces with ease and convenience.
Read also: 10 Amazing Outdoor Water Faucet for 2024
Step 5: Troubleshooting Common Issues
While activating an outdoor water faucet is typically a straightforward process, it’s important to be prepared to address common issues that may arise during or after the activation. By familiarizing yourself with potential challenges and their solutions, you can effectively troubleshoot and resolve issues, ensuring the optimal functionality of the faucet. Here are some common issues and their troubleshooting steps:
- Low Water Pressure: If the water flow from the faucet is weak or inconsistent, check for potential obstructions in the faucet’s aerator. Remove the aerator and clean any debris or mineral buildup that may be impeding the water flow. Additionally, inspect the water supply valve to ensure it is fully open, allowing for optimal water pressure.
- Leaks and Drips: Address any leaks or drips around the faucet connections by tightening or replacing faulty washers, gaskets, or O-rings. Apply plumber’s tape to the threaded connections to create a secure and watertight seal, preventing leaks and preserving water efficiency.
- Frozen Pipes (Cold Climates): In colder climates, outdoor water pipes and faucets may be susceptible to freezing, leading to potential damage and restricted water flow. To prevent freezing, consider insulating outdoor pipes and faucets with specialized covers or foam insulation, especially during periods of sub-zero temperatures.
- Rusty or Stuck Components: If the water supply valve or faucet handle exhibits signs of rust or becomes stuck due to corrosion, apply a lubricating spray or penetrating oil to loosen the components. Use an adjustable wrench to gently loosen any stubborn connections, taking care to avoid damaging the faucet or associated parts.
By proactively addressing these common issues and implementing the recommended troubleshooting steps, you can maintain the optimal functionality of your outdoor water faucet and mitigate potential disruptions to your outdoor water supply. Regular maintenance and attentive observation can significantly contribute to the sustained performance of the faucet, ensuring its reliability for various outdoor tasks and activities.
Should you encounter more complex or persistent issues with your outdoor water faucet, don’t hesitate to seek the expertise of a professional plumber or maintenance specialist who can provide targeted solutions and guidance tailored to your specific circumstances.
Conclusion
Congratulations! You’ve successfully navigated the process of turning on an outdoor water faucet, equipping yourself with the knowledge and skills to activate this essential outdoor resource with confidence and efficiency. By following the comprehensive steps outlined in this guide, you’ve gained valuable insights into the key aspects of activating and troubleshooting an outdoor water faucet, empowering you to make the most of your outdoor space and water-related activities.
From gathering the necessary tools and materials to locating the outdoor water faucet and turning on the water supply valve, each step has contributed to your understanding of the activation process. By testing the faucet and troubleshooting common issues, you’ve demonstrated a proactive approach to ensuring the optimal functionality and reliability of the outdoor water source.
As you embark on your outdoor endeavors, whether it involves watering your garden, washing your car, or engaging in recreational activities that require access to water, you can do so with the assurance that your outdoor water faucet is primed and ready to support your needs. The seamless activation of the faucet, coupled with your newfound troubleshooting skills, positions you as a capable steward of your outdoor space, fostering a harmonious and efficient outdoor living experience.
Remember that regular maintenance, attentive observation, and prompt resolution of any issues are key to preserving the performance of your outdoor water faucet. By incorporating these practices into your outdoor maintenance routine, you can enjoy the convenience and versatility that this essential resource offers, enriching your outdoor lifestyle and enhancing the functionality of your outdoor living space.
With the knowledge and confidence gained from this guide, you are well-prepared to embrace the possibilities that your outdoor water faucet unlocks, transforming routine tasks into enjoyable and productive experiences. So, go ahead, turn on that outdoor water faucet, and let the refreshing flow of water bring life and vitality to your outdoor oasis.
Frequently Asked Questions about How To Turn On An Outdoor Water Faucet
Was this page helpful?
At Storables.com, we guarantee accurate and reliable information. Our content, validated by Expert Board Contributors, is crafted following stringent Editorial Policies. We're committed to providing you with well-researched, expert-backed insights for all your informational needs.


0 thoughts on “How To Turn On An Outdoor Water Faucet”