
Furniture
How To Decorate A Dresser With A Mirror
Modified: October 20, 2024
Learn how to beautifully decorate your dresser with a mirror and enhance the overall look of your furniture. Discover valuable tips and ideas.
(Many of the links in this article redirect to a specific reviewed product. Your purchase of these products through affiliate links helps to generate commission for Storables.com, at no extra cost. Learn more)
Introduction
Welcome to our guide on how to decorate a dresser with a mirror! The combination of a dresser and mirror is not only practical but also adds style and elegance to any bedroom or dressing area. Whether you are looking to revamp your existing dresser or want to complete the look of a newly purchased one, we have you covered.
Decorating a dresser with a mirror involves more than just placing the mirror on top. It requires careful consideration of factors such as style, size, placement, and overall aesthetic. With the right steps and a touch of creativity, you can transform your dresser into a stunning focal point that reflects your personal taste.
In this guide, we will take you through a step-by-step process to help you decorate your dresser with a mirror. We will cover everything from choosing the right dresser and mirror to arranging decorative elements and adding final touches. So, let’s dive in and create a beautiful and functional space!
Key Takeaways:
- Elevate your dresser with a mirror by choosing the right pieces, considering size and placement, and adding decorative elements. Create a personalized and stylish focal point that reflects your unique taste.
- Complete your dresser space with final touches and styling, incorporating lighting, personal mementos, and decorative accessories. Embrace the creative process and enjoy the transformation of your space.
Read more: How To Put A Mirror On A Dresser
Step 1: Choose the right dresser and mirror
The first step in decorating a dresser with a mirror is selecting the right pieces for your space. When choosing a dresser, consider the overall style of your room. Whether you prefer a modern, traditional, or eclectic look, there is a dresser to match your aesthetic.
Pay attention to the size and proportions of the dresser. It should complement the size of your room without overpowering or appearing too small. Take measurements of the available space and consider other furniture pieces in the room to ensure a cohesive look.
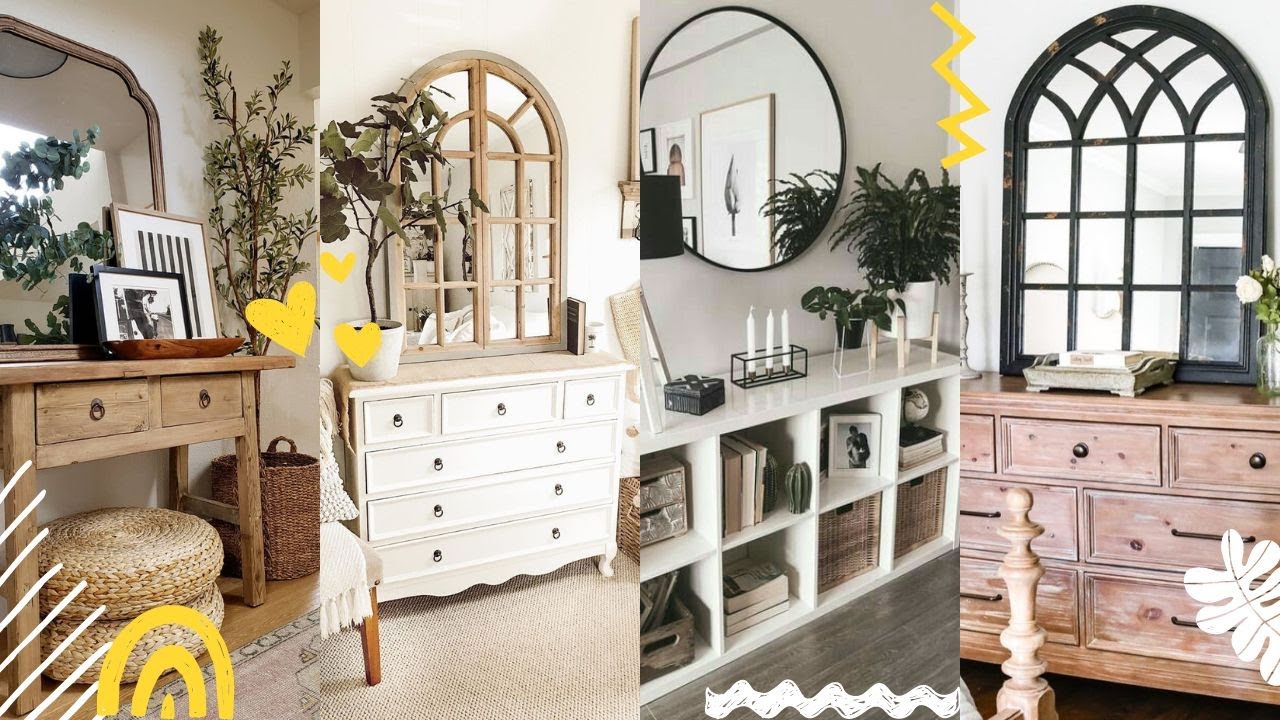
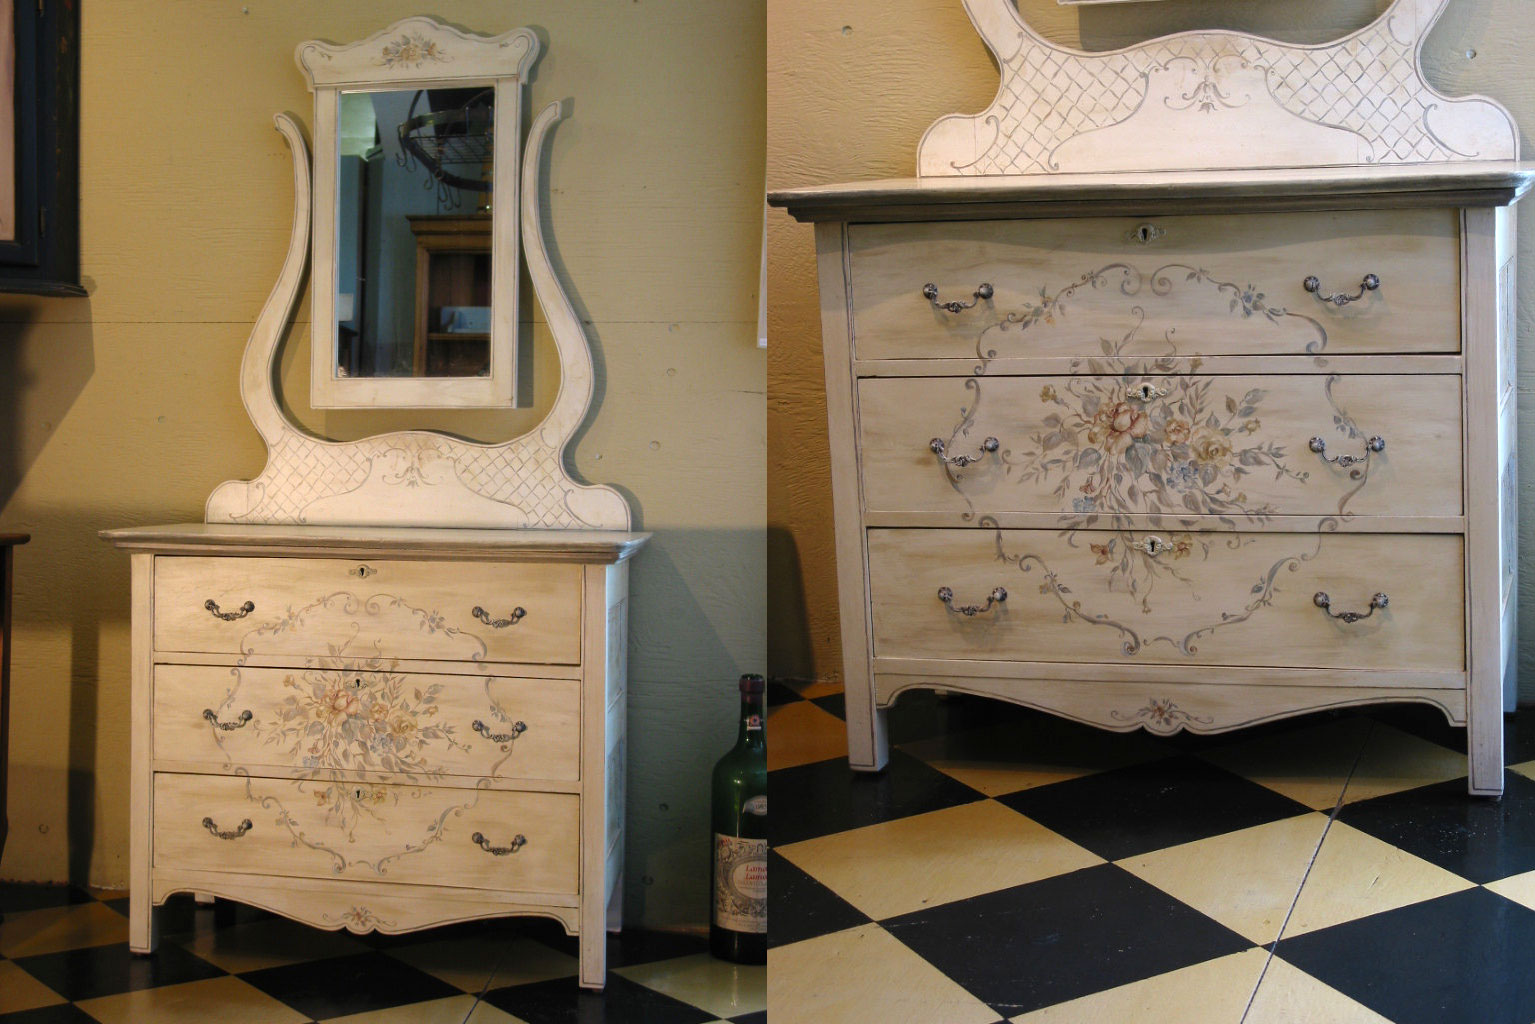
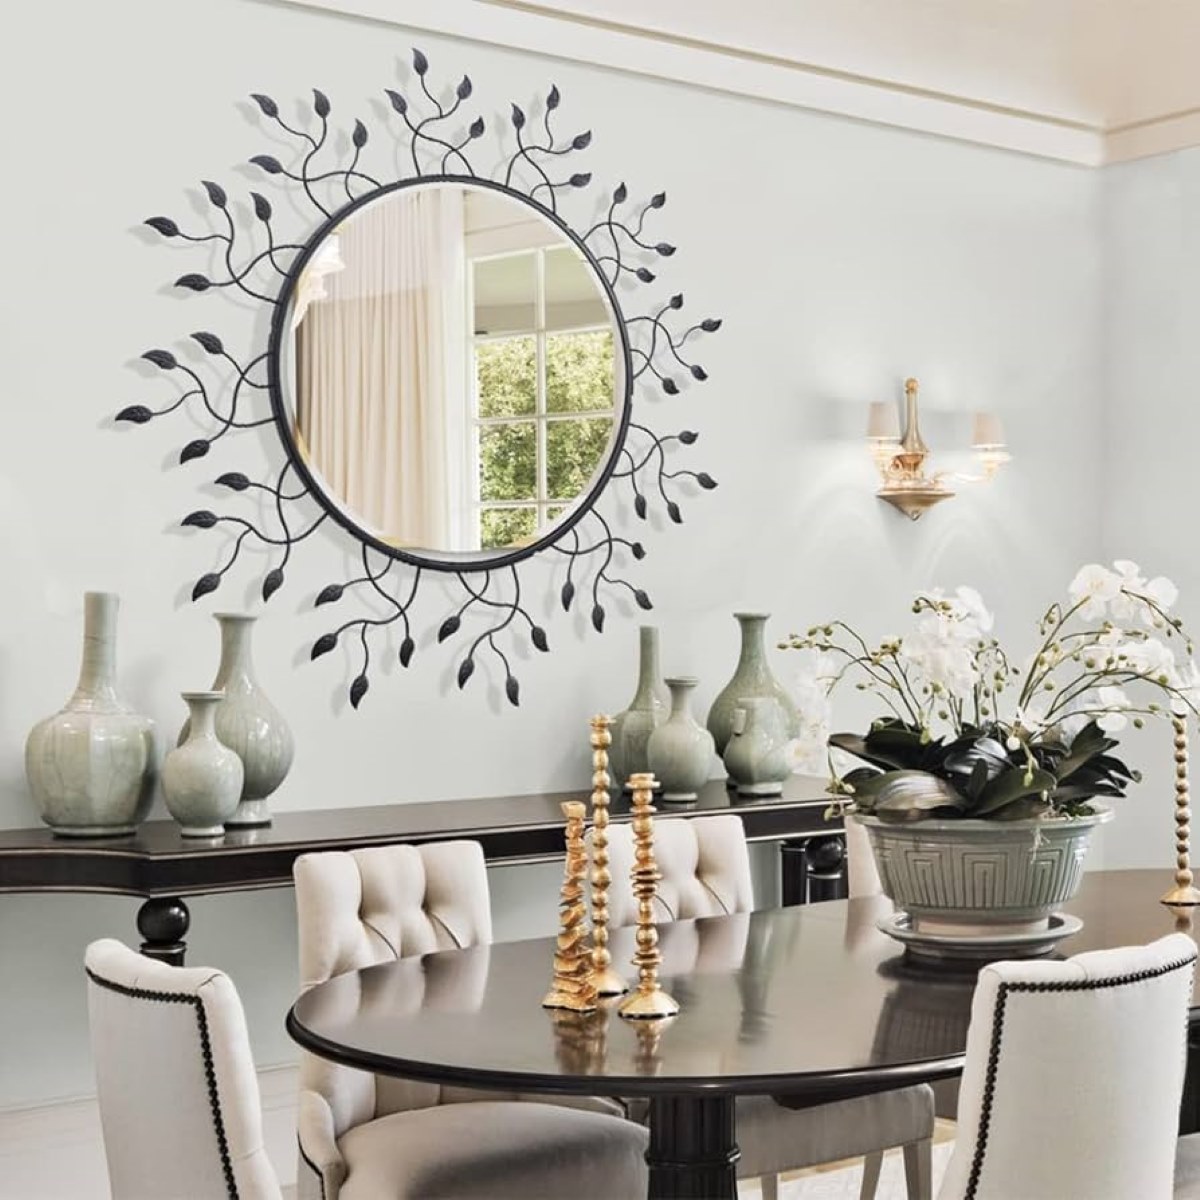
As for the mirror, it should be proportional to the dresser and reflect your personal style. You can go for a classic rectangular mirror or explore unique shapes like oval or round mirrors for a contemporary touch. Additionally, consider the frame design and finish to complement the overall look of your dresser.
Another important factor to keep in mind is the functionality of the dresser and mirror. Assess your storage needs and choose a dresser with adequate drawer space to keep your belongings organized. Similarly, consider whether you prefer a stationary mirror or one that can be tilted or swiveled for adjustable viewing angles.
Don’t be afraid to mix and match styles and finishes. Combining a vintage-inspired dresser with a sleek, modern mirror can create an interesting contrast. Ultimately, choose pieces that speak to your personal taste and create a harmonious balance in your space.
Once you have found the perfect dresser and mirror, it’s time to move on to the next step: considering the size and placement.
Step 2: Consider the size and placement
After selecting the right dresser and mirror, it’s crucial to consider the size and placement to ensure a visually appealing and functional arrangement.
Start by evaluating the available space. Measure the area where you plan to place the dresser and mirror, taking into account any surrounding furniture or architectural features. This will help you determine the ideal size and proportion for the pieces.
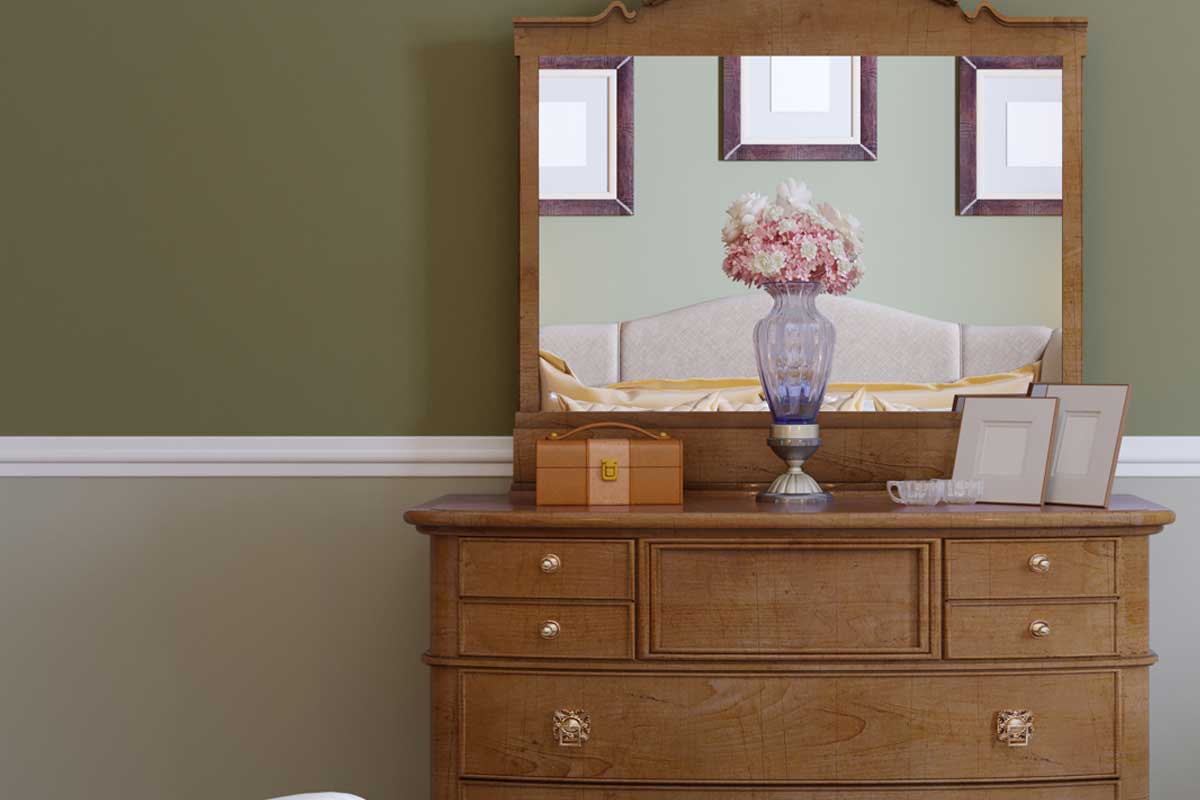
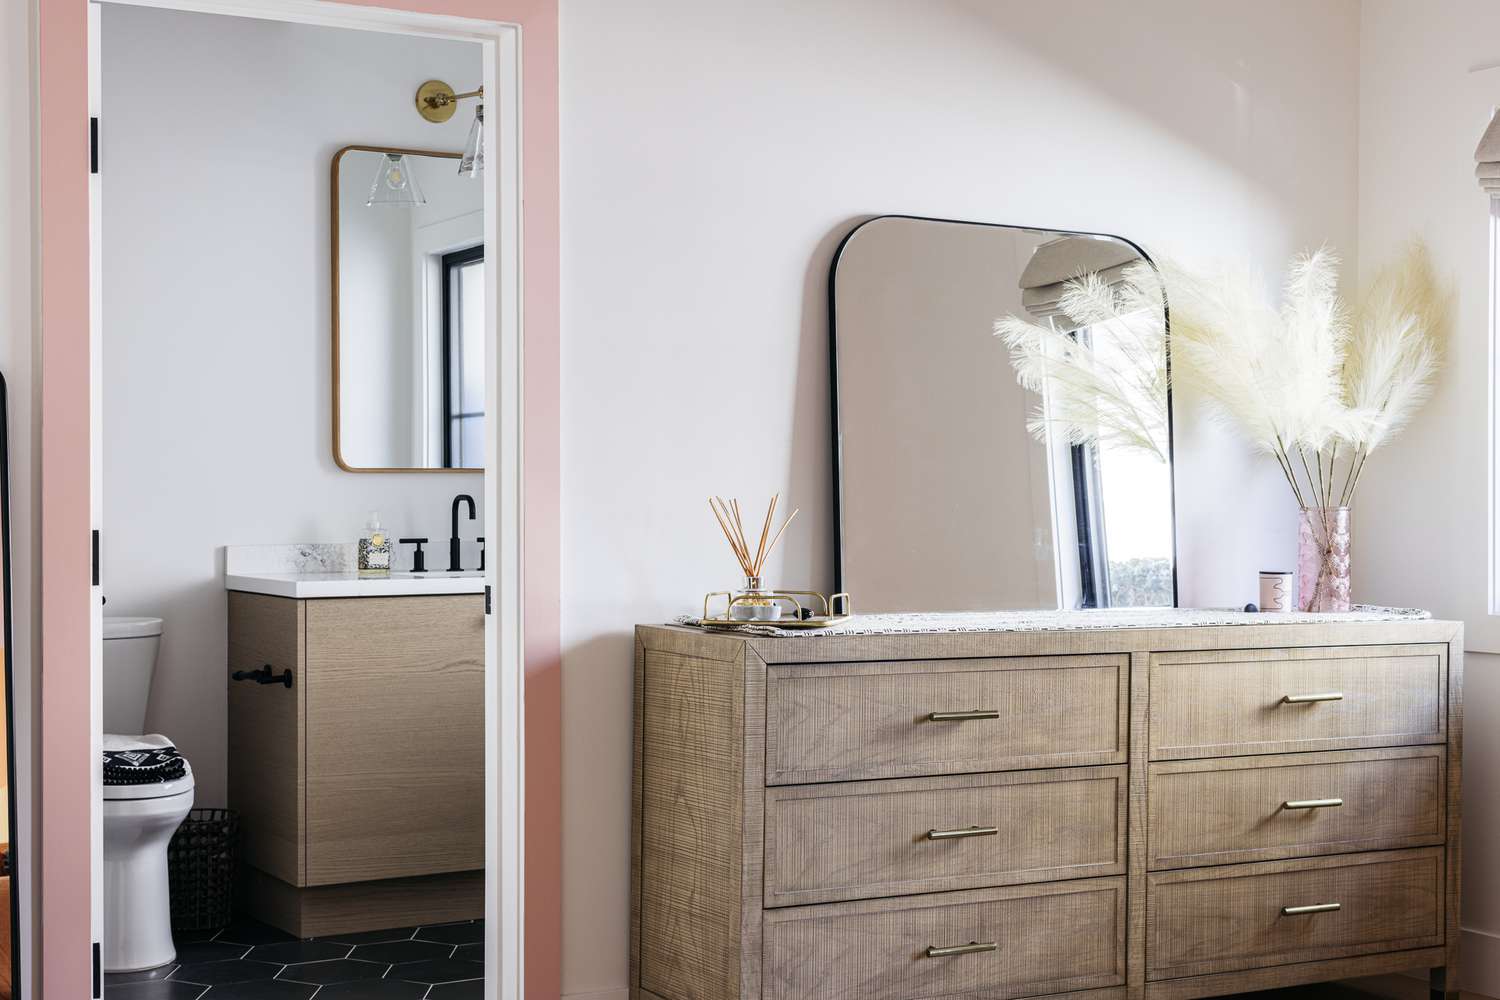
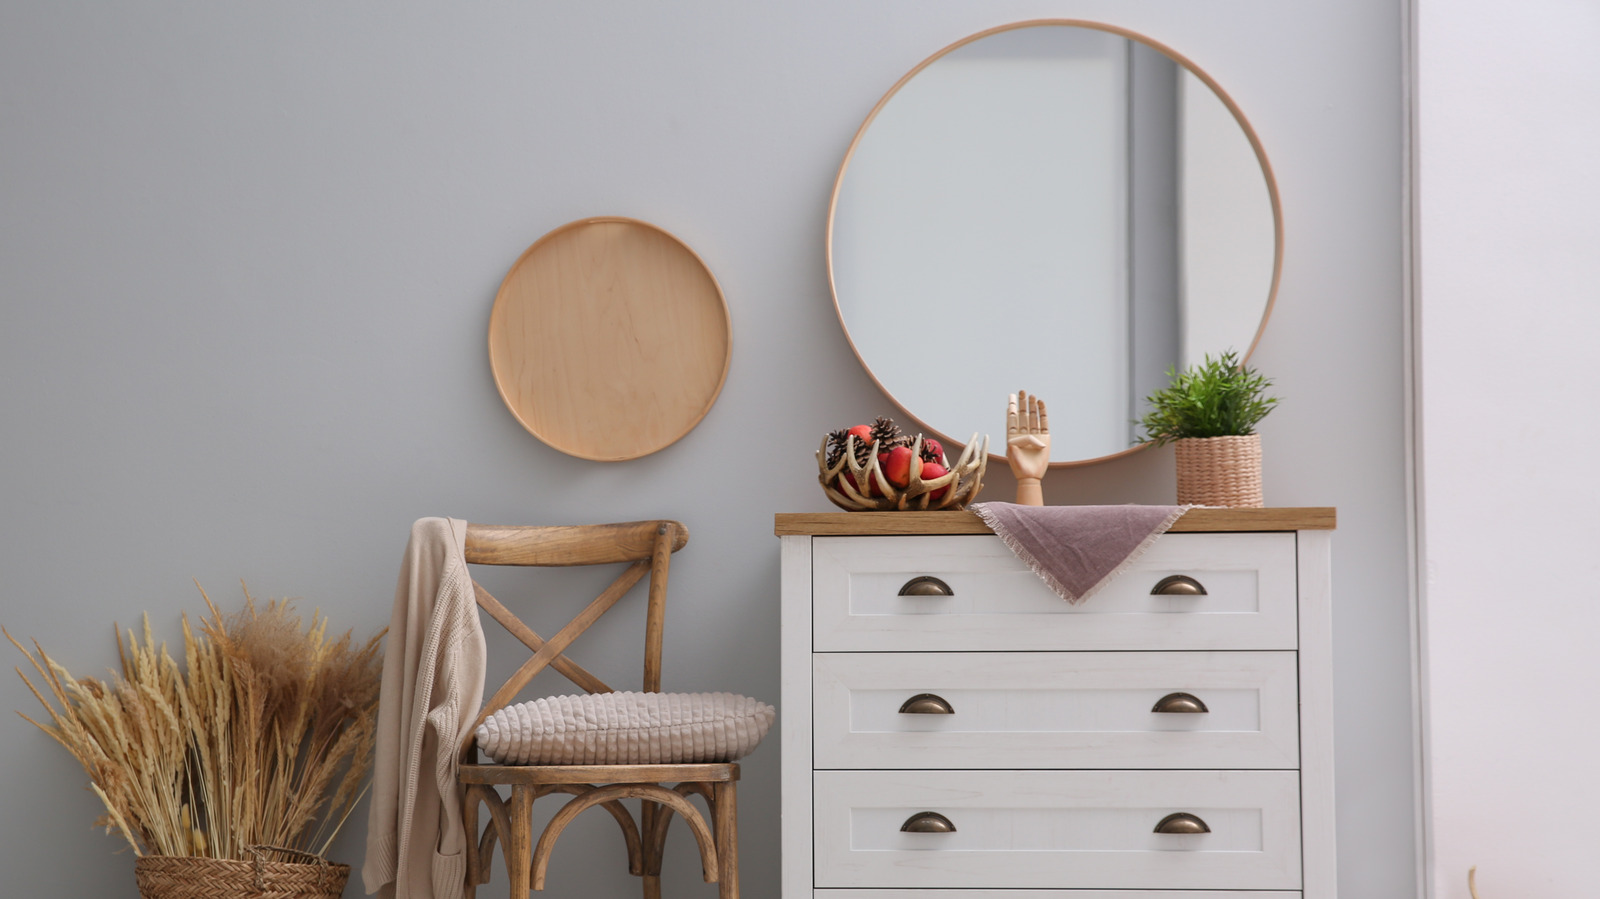
When it comes to placement, there are a few options to consider. One popular choice is to position the mirror directly on top of the dresser. This creates a cohesive look and maximizes the functionality of the dresser as a vanity or dressing area.
Alternatively, you can opt for wall hanging the mirror above the dresser. This adds a vertical element to the space and can make the room appear larger. Make sure to securely attach the mirror to the wall using appropriate hardware.
Take into account the height of the mirror when deciding on placement. Ideally, the mirror should be at a height that allows you to comfortably view your reflection. Consider your own height and that of other household members to find the right positioning.
Additionally, consider the surrounding decor and furniture arrangement. The dresser and mirror should harmonize with other pieces in the room. If you have bedside tables or other furniture nearby, ensure there is enough space for easy movement and a balanced overall look.
Lastly, pay attention to lighting. Natural light can enhance the functionality and aesthetics of your dresser and mirror setup. Positioning the dresser near a window or adding a lamp can provide ample lighting for getting ready. Consider using soft, adjustable lighting around the mirror for optimal visibility.
By carefully considering the size and placement of your dresser and mirror, you can create a visually pleasing and functional setup that complements the overall design of your space.
Next, let’s move on to step 3: cleaning and prepping the dresser and mirror for decoration.
Step 3: Clean and prep the dresser and mirror
Before you begin decorating your dresser and mirror, it’s essential to clean and prepare them for the makeover process. This step ensures that the surfaces are free from dirt, dust, and any existing residue, creating a smooth and fresh canvas for your creative ideas.
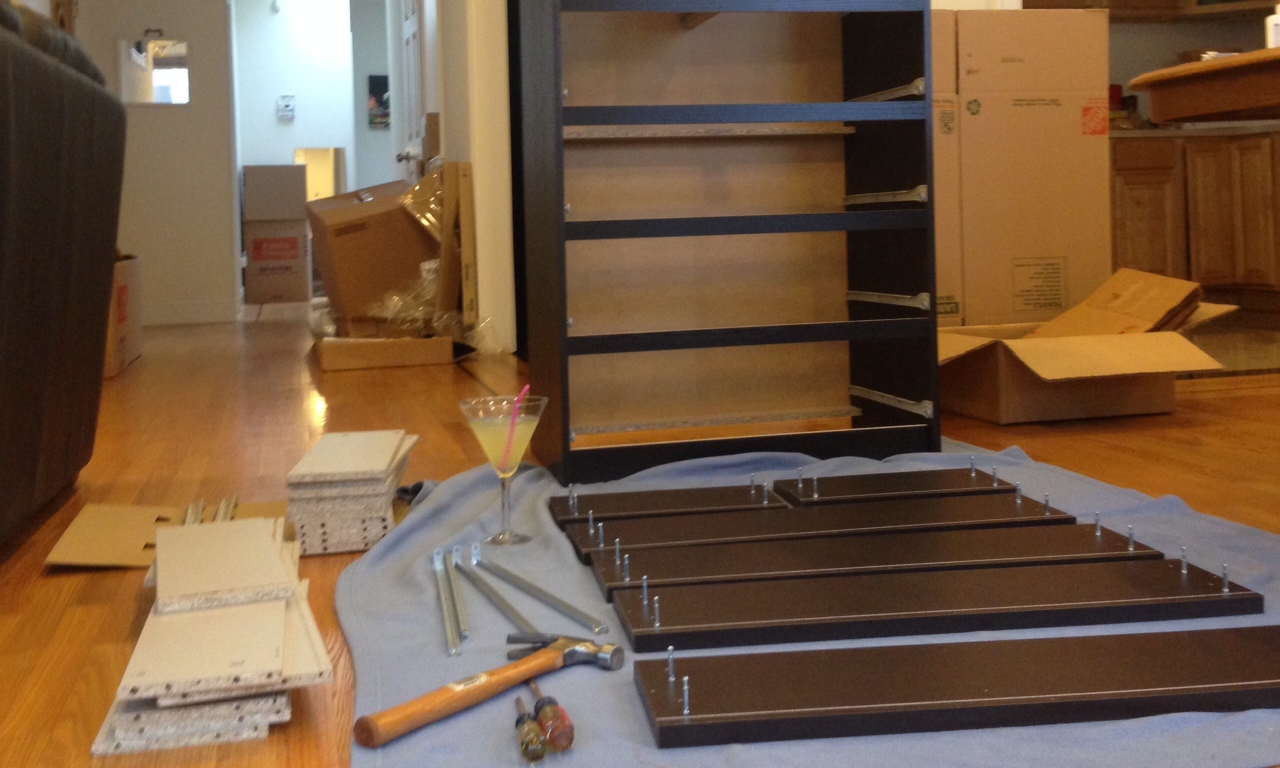
Start by removing any items or clutter from the top of the dresser. Take out the drawers and empty their contents, giving you easy access to clean every nook and cranny. Wipe down the dresser and drawers using a mild cleaning solution or a mixture of water and mild soap. Be sure to use a soft cloth or sponge to avoid scratching any surfaces.
For wooden dressers, you can use a wood cleaner or polish to restore their natural shine. Apply the cleaner according to the manufacturer’s instructions, and use a soft cloth to gently buff and bring out the wood’s luster. If there are existing scratches or blemishes, consider using touch-up markers or polish to conceal them.
When it comes to the mirror, start by cleaning the glass. Use a glass cleaner and a lint-free cloth to remove any smudges or fingerprints. For stubborn stains, you can mix equal parts vinegar and water as a natural cleaning solution. Avoid using abrasive cleaners or rough materials that could scratch the mirror’s surface.
Once the dresser and mirror are clean, inspect them for any repairs or loose parts. Check if there are loose knobs or handles on the dresser and tighten them if necessary. Similarly, ensure that the mirror is securely attached to its frame or hanging mechanism.
If you plan on refinishing or painting the dresser or mirror, this is the time to do it. Follow the appropriate steps for the type of material you are working with, whether it’s wood, metal, or another surface. Sanding, priming, and painting can transform the pieces and give them a fresh new look.
Allow the dresser and mirror to dry completely before proceeding with the next steps of decoration. This will ensure that the paint or finish is set and will prevent any smudges or damage during the decorating process.
With a clean, prepped, and ready-to-go dresser and mirror, you can now move on to step 4: adding decorative elements to enhance their appearance.
Step 4: Add decorative elements
Now that your dresser and mirror are clean and prepped, it’s time to add some decorative elements to elevate their appearance. This step allows you to infuse your personal style and create a visually appealing focal point in your space.
Start by selecting a theme or color scheme that resonates with your taste and complements the overall aesthetic of your room. This will help guide your choices when it comes to decorative elements. Popular themes include minimalist, bohemian, vintage, and contemporary.
One of the easiest ways to add style to your dresser is by incorporating decorative knobs or handles. These small details can make a big difference in the overall look. Choose knobs or handles that match your chosen theme or add an interesting contrast. They come in a variety of materials and designs, such as brass, ceramic, glass, or crystal.
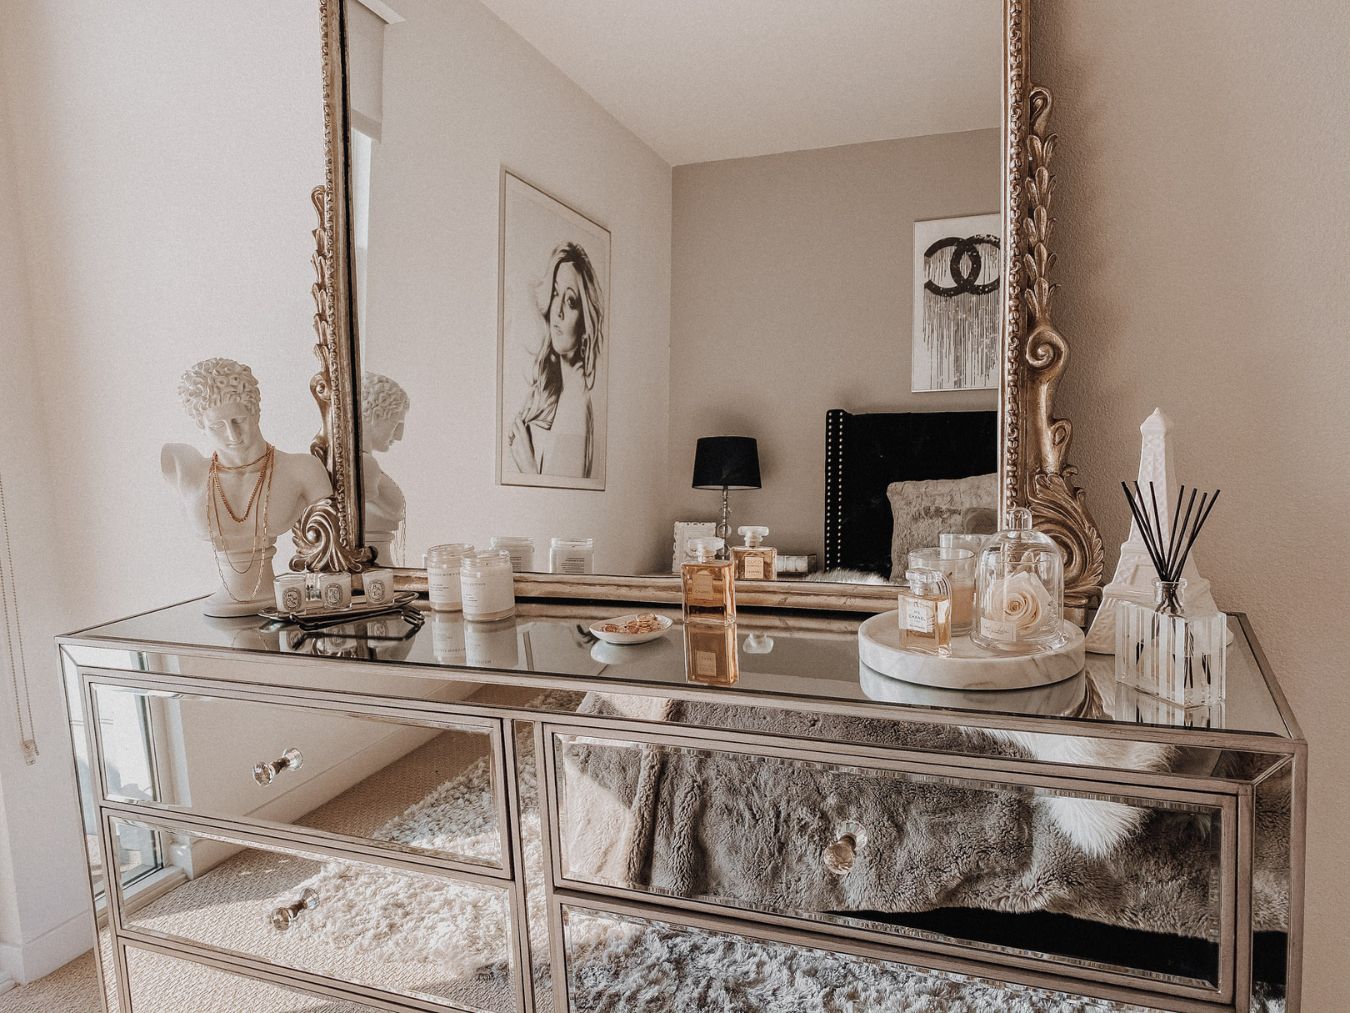
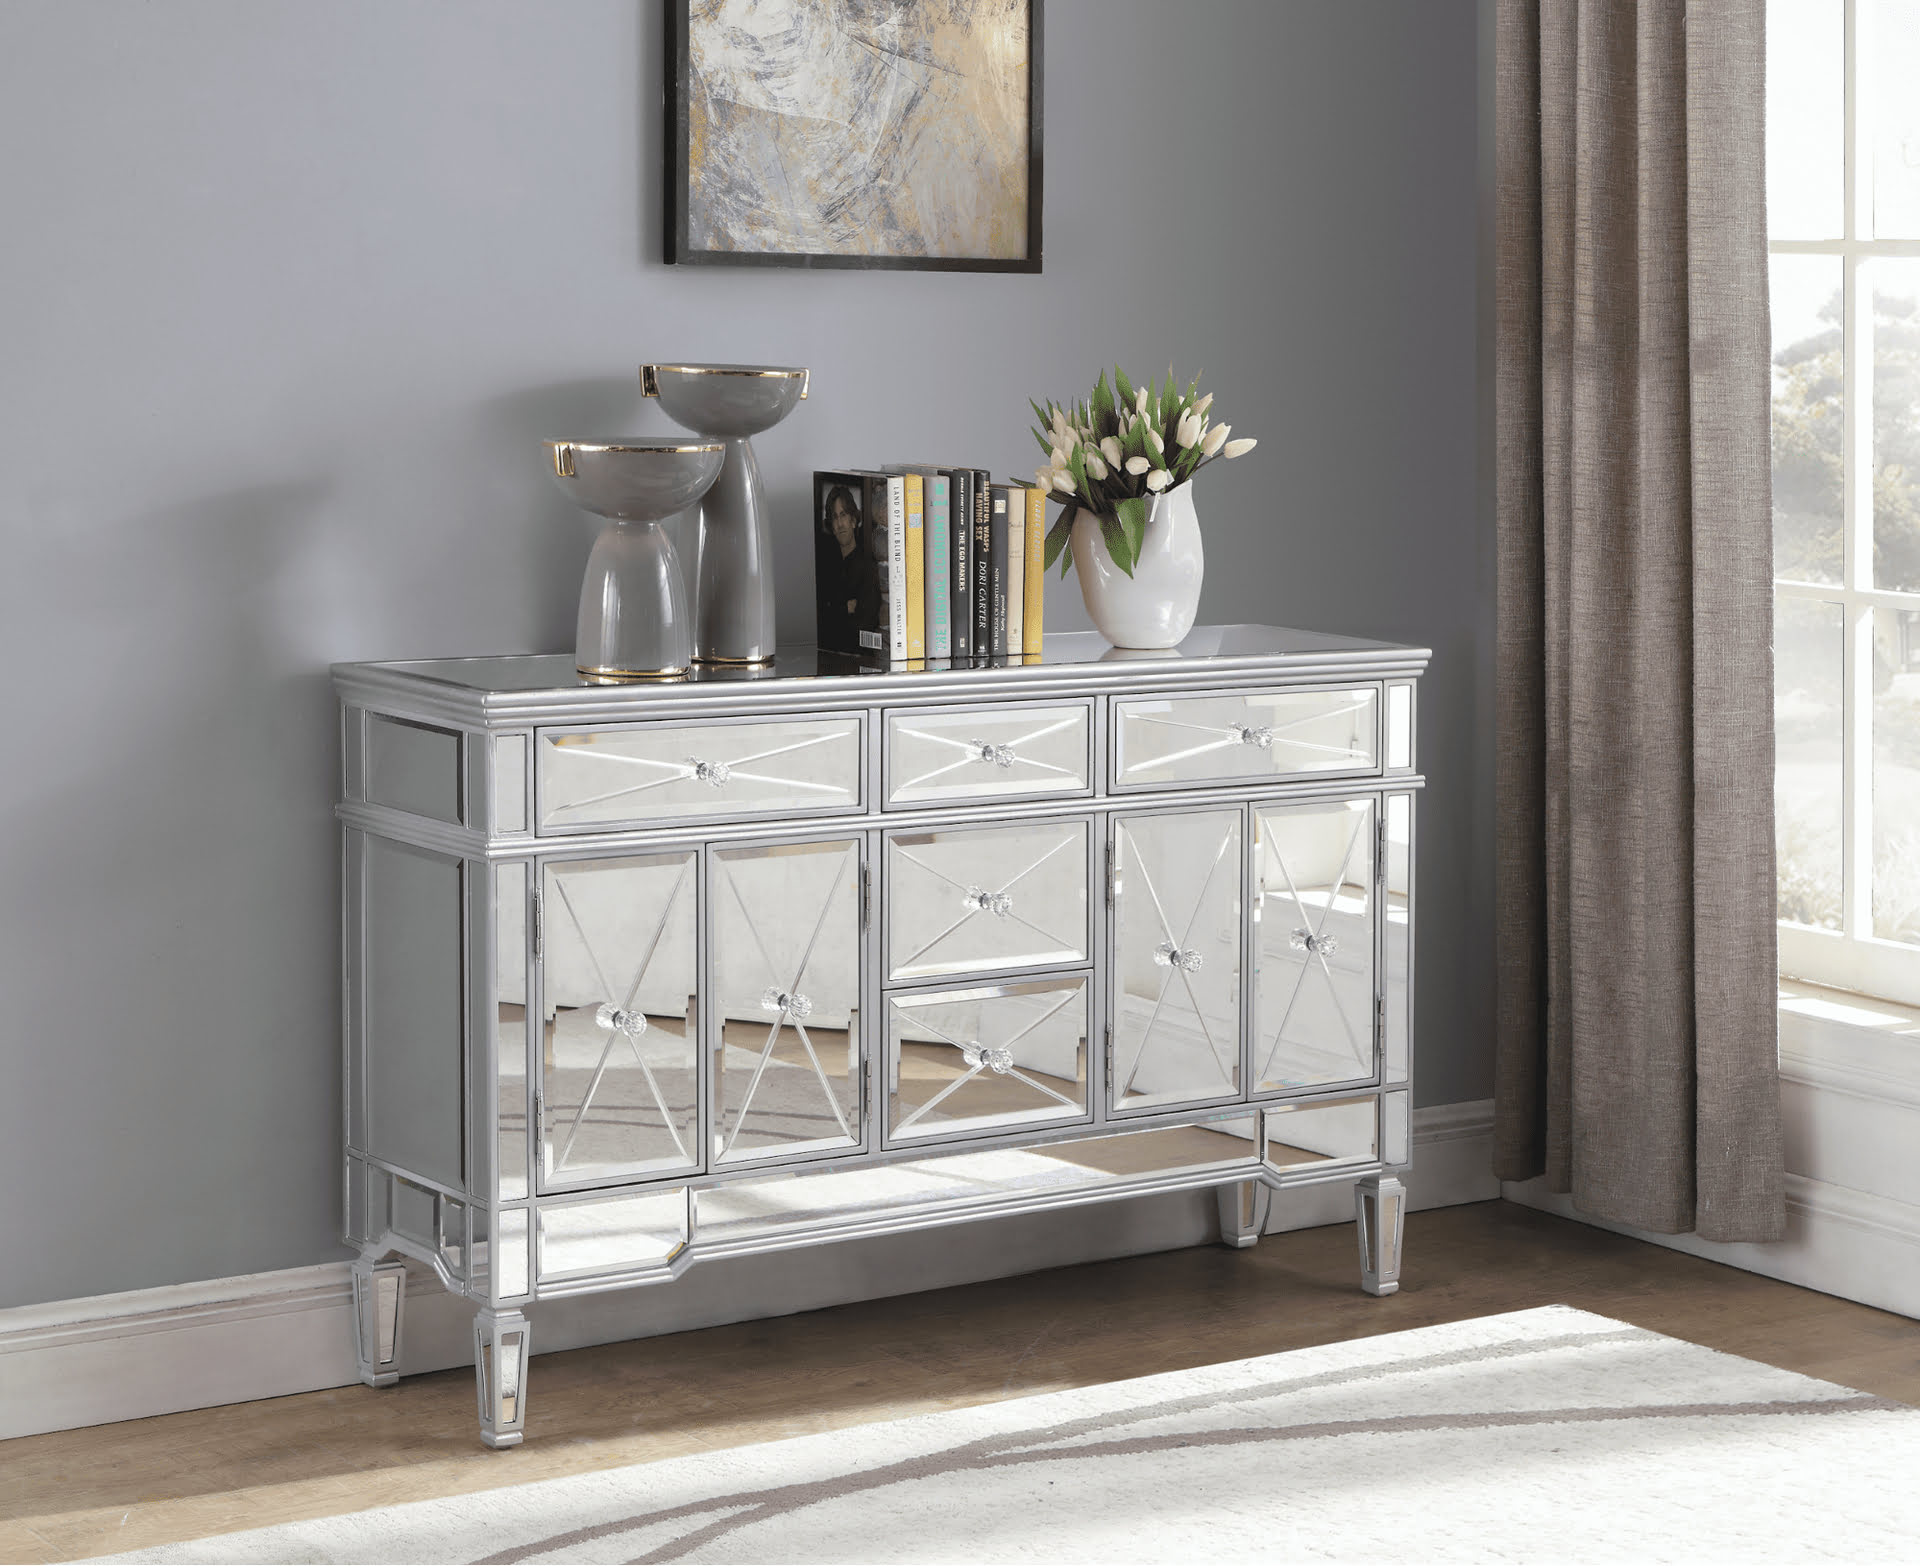
Consider adding a decorative tray or dish on the dresser to corral small items, such as jewelry, perfumes, or trinkets. This not only adds a practical element but also contributes to the overall aesthetic. Opt for trays in materials like metal or mirrored glass for a touch of elegance.
Add a touch of greenery or flowers to bring life and freshness to your dresser. A small potted plant or a vase with fresh flowers can instantly add a pop of color and create a soothing ambiance. Choose plants or flowers that are low-maintenance and fit the available space.
For a more personalized touch, display meaningful items or sentimental objects on the dresser. It could be a collection of family photos, a favorite book, or artwork that holds special significance to you. These personal touches will make the space truly yours.
Consider incorporating decorative elements such as candles, small sculptures, or figurines that align with your chosen theme. These can add visual interest and reflect your unique personality. Keep in mind that less is often more; aim for a curated display rather than overcrowding the dresser.
If you have additional wall space around the mirror, you can hang artwork, a small gallery wall, or a statement mirror to enhance the overall look. Make sure the pieces you choose complement the style and size of the mirror and dresser.
By adding these decorative elements thoughtfully, you can transform your dresser and mirror into a stylish and personalized focal point in your room. The next step is arranging items on top of the dresser to create a visually appealing display.
When decorating a dresser with a mirror, consider adding a statement piece such as a vase of fresh flowers or a decorative tray to create a focal point. This will add visual interest and elevate the overall look of the dresser.
Step 5: Arrange items on top of the dresser
Arranging the items on top of your dresser is an important step in creating a visually appealing display. With a well-thought-out arrangement, you can showcase your decorative elements and create a cohesive look that enhances the overall aesthetic of your space.
Start by arranging larger items first, such as a lamp or a large decorative object. Place them off-center to create an asymmetrical balance and add visual interest. This creates a focal point and serves as an anchor for the rest of the display.
Next, layer in smaller items around the larger ones, balancing sizes, heights, and textures. For example, you can place a stack of books next to the lamp or add a small vase of flowers on the other side. This creates dimension and adds depth to the arrangement.
Consider the rule of threes when arranging items. Grouping items in odd numbers, such as three or five, tends to be visually pleasing and creates a sense of harmony. Mix different heights and shapes to create visual contrast and keep the arrangement dynamic.
For a cohesive look, ensure that the items on the dresser relate to each other in some way. This could be through color coordination, similar styles or materials, or a shared theme. This creates a sense of cohesion and prevents the display from feeling cluttered or disjointed.
Leave some negative space around the items to allow the arrangement to breathe. This gives the eyes a chance to focus on the individual pieces and prevents the display from appearing overwhelming. Avoid overcrowding the dresser with too many items.
Continue to adjust and refine the arrangement until you are satisfied with the overall look. Step back and view the display from different angles to ensure it is visually balanced and appealing from all perspectives.
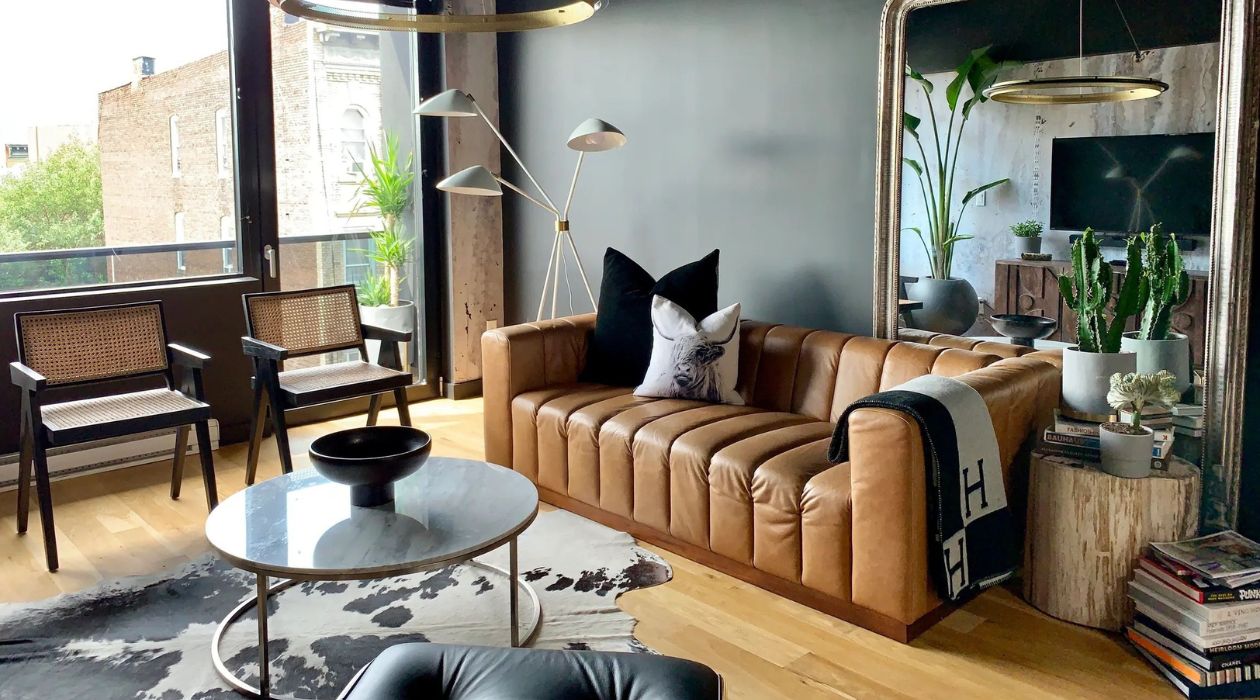
If you have a mirror on top of the dresser, take into consideration its reflection when arranging the items. Ensure that the reflection complements the items on the dresser and adds to the overall aesthetic. For example, you can position a decorative wall art piece behind the dresser to be reflected in the mirror.
Remember, arranging the items on top of your dresser is a creative process, so don’t be afraid to experiment and try different layouts. You can always rearrange and tweak the arrangement until you achieve the desired look.
Now that you have beautifully arranged items on top of your dresser, it’s time to move on to step 6: hanging or attaching the mirror.
Step 6: Hang or attach the mirror
Now that you have decorated your dresser and arranged the items on top, it’s time to hang or attach the mirror. Depending on the type of mirror you have chosen and your personal preference, there are a few different methods you can use.
If you have a dresser with a built-in mirror or a mirror that is meant to sit on top of the dresser, you simply need to place it in the designated spot. Make sure it is centered and secure, and adjust the angle if necessary. This option provides a seamless and cohesive look, while also adding functionality to your dresser.
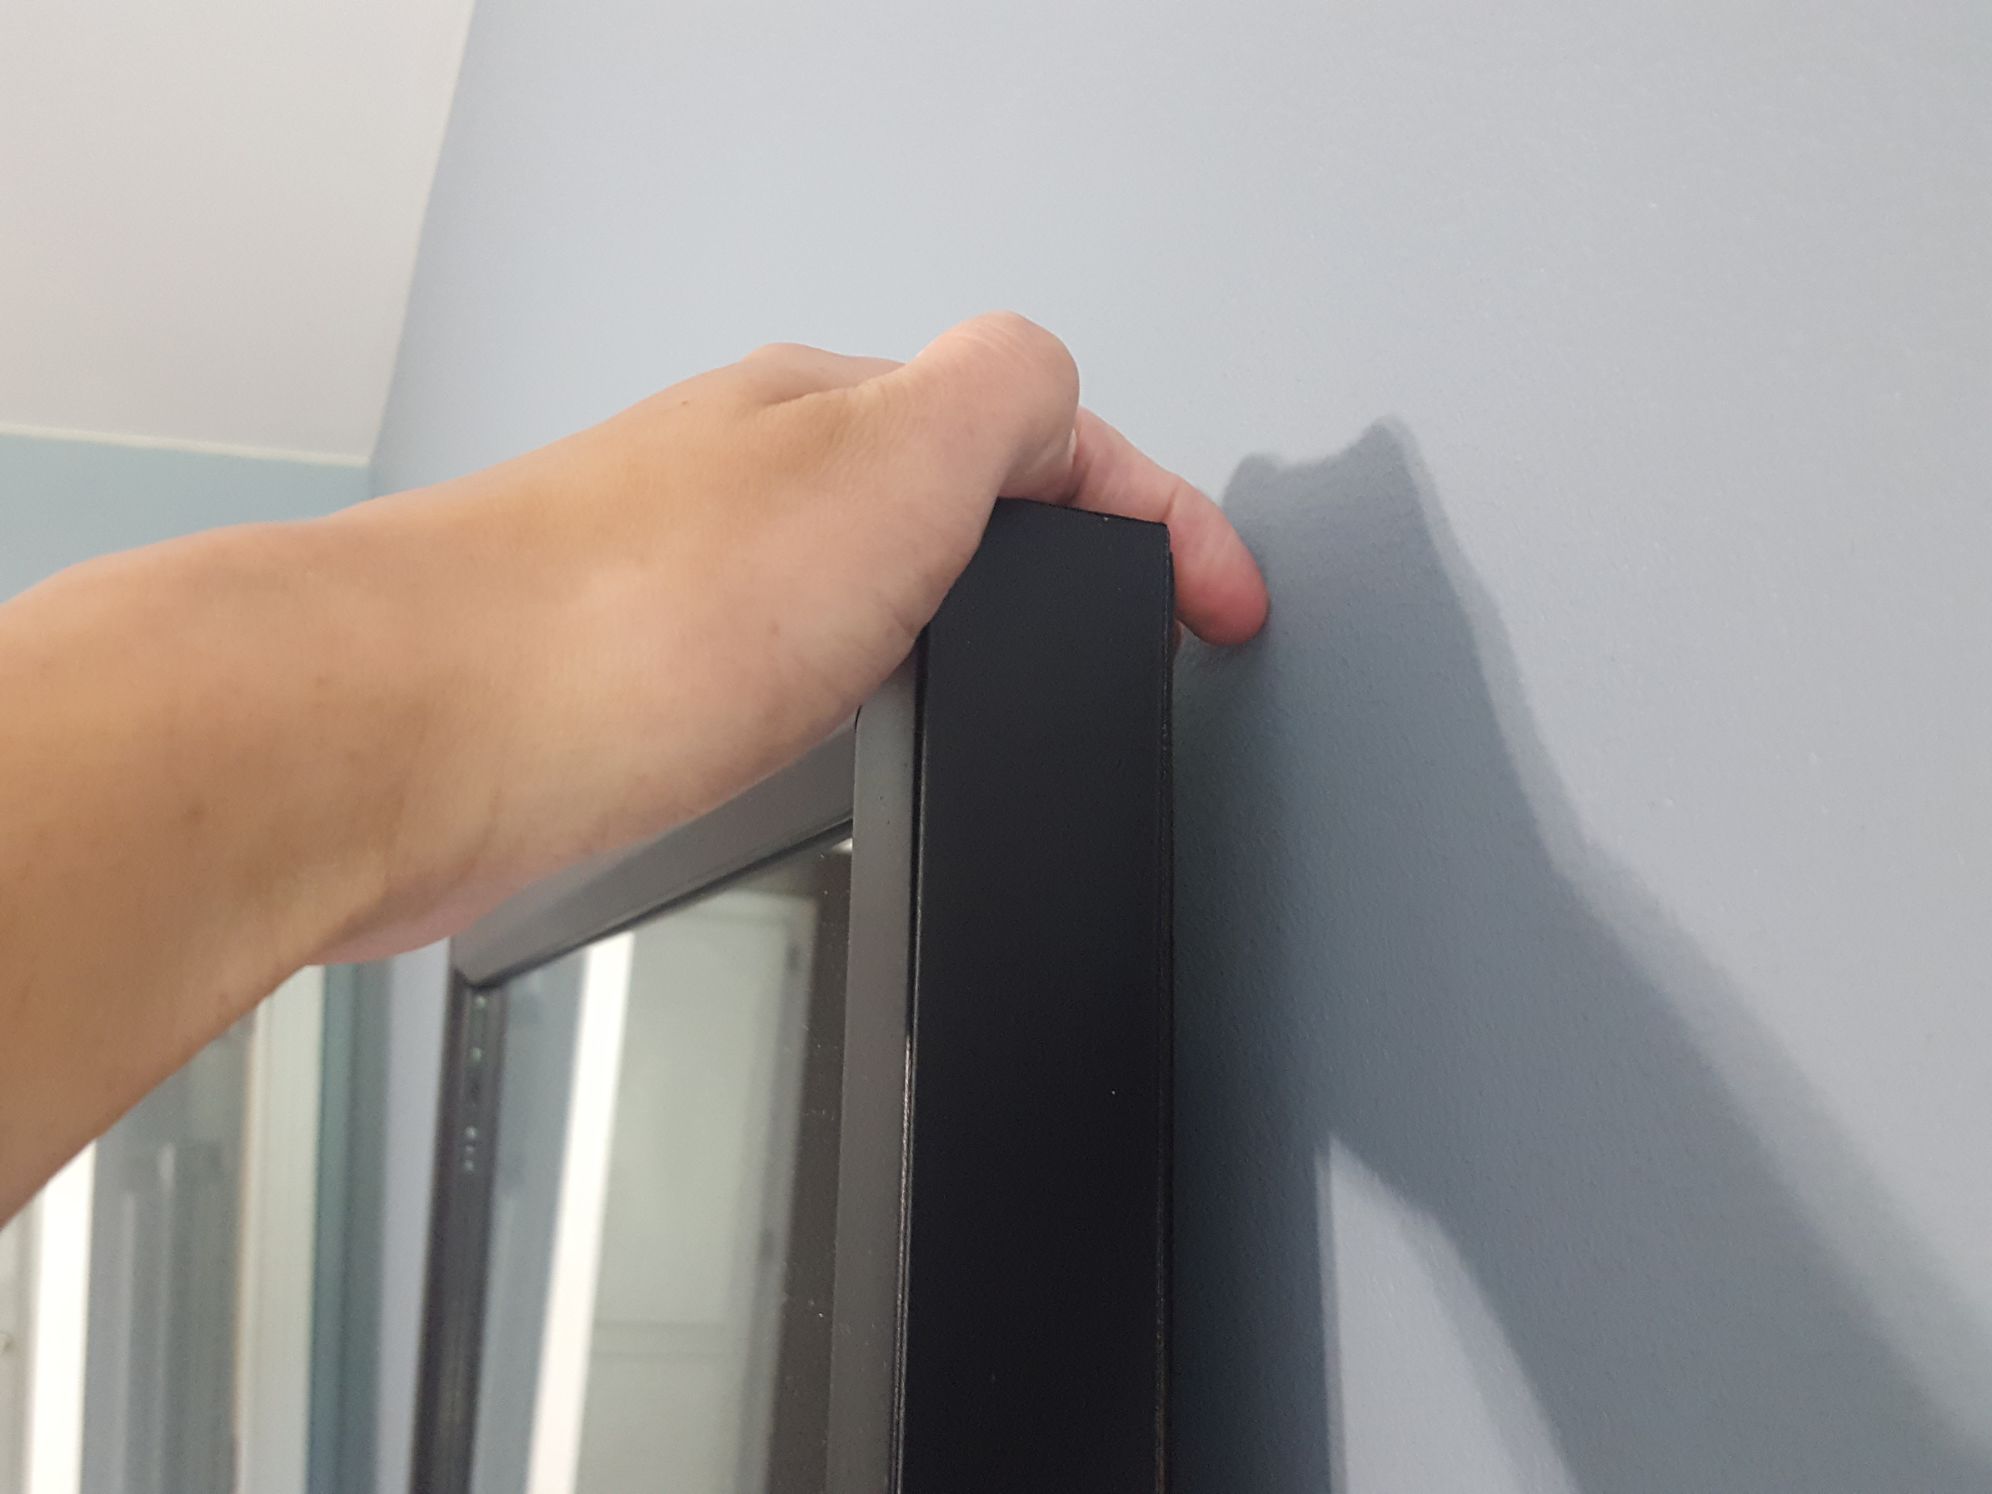
If you have decided to hang the mirror on the wall above the dresser, you will need to follow a few steps. Start by determining the desired height for the mirror. Aim for eye-level positioning, taking into account the height of the dresser and the average height of the people using the mirror.
Next, find the right location for the mirror on the wall. Use a tape measure and a level to ensure that it is centered and straight. Make small marks on the wall to indicate where the mirror will be hung.
Now it’s time to install the hanging hardware. Depending on the weight and size of the mirror, you may need to use wall anchors, screws, or hooks. Follow the manufacturer’s instructions for the specific type of hardware you are using, and make sure it is securely attached to the wall.
With the hanging hardware in place, carefully lift the mirror and hang it on the wall. Check that it is level and adjust if needed. Take a step back and ensure that it is positioned exactly where you want it to be.
If you are attaching a frameless mirror to the wall, you will need mirror clips or adhesive. Mirror clips are typically used for larger and heavier mirrors, while adhesive is suitable for smaller and lighter mirrors. Follow the instructions provided with the clips or adhesive to securely attach the mirror to the wall.
Once the mirror is hung or attached, double-check its stability and make any necessary adjustments. Ensure that it is securely fastened and doesn’t wobble or tilt when touched.
Having your mirror in place completes the look of your decorated dresser and adds functionality to your space. It’s now time for the final touches and styling, which we will explore in step 7.
Step 7: Final touches and styling
With your dresser decorated, mirror hung or attached, and items arranged beautifully, it’s time for the final touches and styling to complete the look of your dresser space. These finishing touches will add an extra layer of charm and personality to your setup.
Consider adding a decorative runner or a tablecloth on top of the dresser. This can add texture, color, and visual interest to the surface. Choose a fabric that complements the overall theme or color scheme of your room.
Add a table lamp or sconces beside the mirror for ambient lighting. This not only enhances the functionality of the space but also adds a warm and inviting atmosphere. Choose lamps that coordinate with the style and scale of the dresser and mirror.
Include a small tray or bowl for storing everyday essentials such as keys, loose change, or small accessories. This not only helps keep the dresser organized but also adds a decorative touch. Opt for a tray or bowl that matches the overall aesthetic of your setup.
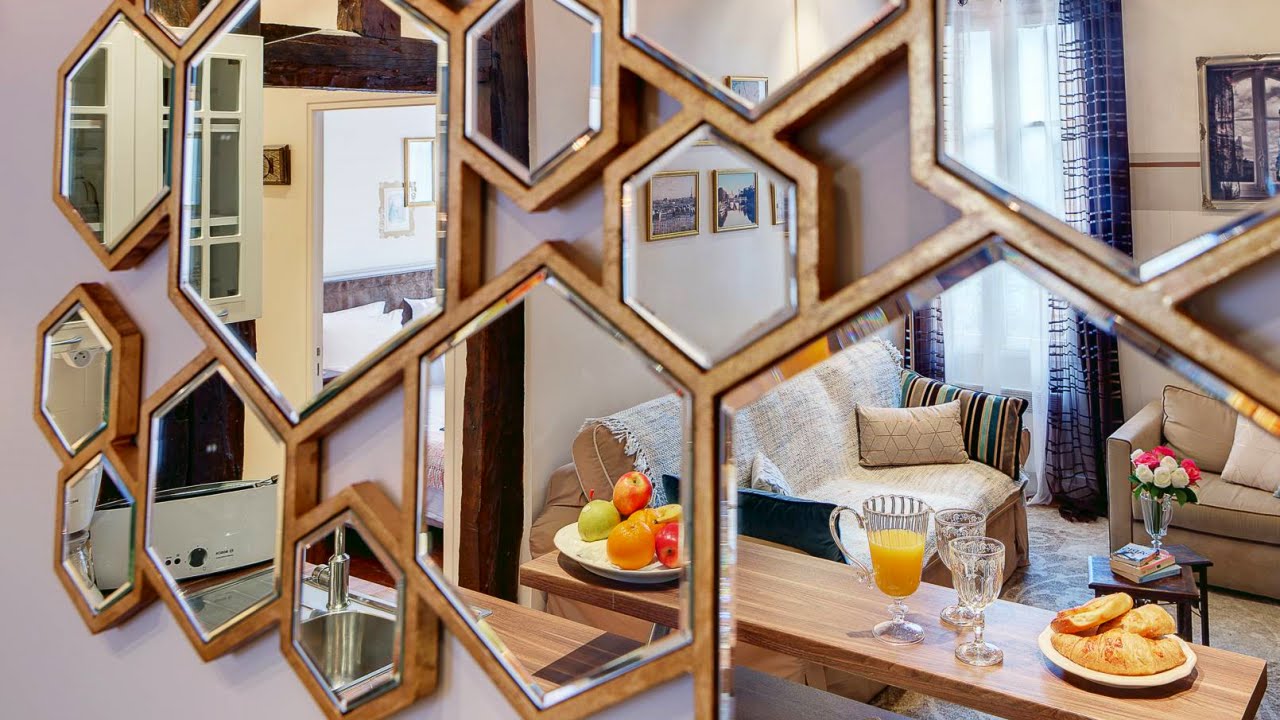
Consider incorporating a decorative mirror or artwork on the wall adjacent to the dresser. This adds visual interest, depth, and reflects more light into the space. Choose pieces that complement the style and colors of your dresser and mirror.
Accessorize your dresser with small decorative objects, such as candles, figurines, or small sculptures. These items can add personality, charm, and a sense of style to the overall display. Choose pieces that are meaningful to you and fit the chosen theme or color scheme.
Don’t forget to add a personal touch with framed photos or artwork. This brings warmth, nostalgia, and a sense of connection to the space. Choose pieces that have special meaning to you and coordinate with the overall look of your dresser setup.
Finally, step back and evaluate the overall styling of your dresser and mirror. Make any necessary adjustments and ensure that the display feels balanced, cohesive, and visually pleasing. Remember, styling is a personal expression, so trust your instincts and create a space that reflects your unique taste.
By adding these final touches and incorporating your personal flair, you can confidently say that your dresser space is complete. It’s now a reflection of your style, organized functionality, and a beautiful focal point in your room.
Congratulations on successfully decorating your dresser with a mirror and creating a space that is not only visually stunning but also practical and personalized. Enjoy your newly transformed dresser space!
Now that you’ve completed all the steps, you have a beautifully decorated dresser with a mirror. Follow these steps, get creative, and have fun in the process. Before you know it, you’ll have a stylish and functional dresser that adds personality to your space.
Conclusion
Decorating a dresser with a mirror is a wonderful way to enhance the style and functionality of your bedroom or dressing area. By following the steps outlined in this guide, you can create a visually appealing and personalized space that reflects your unique taste and meets your practical needs.
Choosing the right dresser and mirror sets the foundation for your project. Consider the style, size, and functionality of these pieces to ensure they complement your space. Carefully clean and prep the dresser and mirror, creating a clean canvas for your creative ideas.
Adding decorative elements brings personality and style to your dresser. Choose items that align with your chosen theme or color scheme and arrange them thoughtfully for a visually pleasing display. The mirror serves as both a functional and decorative element, whether it’s placed on top of the dresser or hung on the wall.
Finally, add the final touches and styling to complete your dresser space. Incorporate accessories, lighting, and personal mementos to infuse the space with your unique flair. Step back, evaluate, and make any necessary adjustments to achieve a polished and cohesive overall look.
Remember, while it’s important to follow these steps, don’t be afraid to get creative and let your personal style shine through. The end result should be a dresser and mirror combination that not only enhances the aesthetics of your space but also brings joy and functionality to your everyday routine.
We hope that this guide has provided you with the inspiration and guidance needed to successfully decorate your dresser with a mirror. Embrace the process, have fun, and enjoy the transformation of your space. Happy decorating!
Frequently Asked Questions about How To Decorate A Dresser With A Mirror
Was this page helpful?
At Storables.com, we guarantee accurate and reliable information. Our content, validated by Expert Board Contributors, is crafted following stringent Editorial Policies. We're committed to providing you with well-researched, expert-backed insights for all your informational needs.

0 thoughts on “How To Decorate A Dresser With A Mirror”