Furniture
How To Sand A Dresser
Modified: October 20, 2024
Learn how to properly sand a dresser and get it ready for refinishing. Transform your old furniture with these simple steps!
(Many of the links in this article redirect to a specific reviewed product. Your purchase of these products through affiliate links helps to generate commission for Storables.com, at no extra cost. Learn more)
Introduction
Furniture is an integral part of our lives. It adds beauty, functionality, and comfort to our homes. However, over time, the wear and tear can take a toll on our beloved pieces. To bring new life to a dresser that has seen better days, sanding is an essential step in the restoration process.
Sanding a dresser not only removes the old finish but also helps to smooth out any imperfections in the wood. It creates a clean canvas for the application of fresh paint or stain, giving the furniture a refreshed and rejuvenated look. In this article, we will walk you through the step-by-step process of how to sand a dresser effectively and efficiently.
Before we begin, it is important to gather the necessary materials to ensure a smooth sanding experience. Let’s take a look at what you’ll need.
Key Takeaways:
- Sanding a dresser is a transformative process that removes old finishes, smooths imperfections, and prepares the surface for a fresh coat of paint or stain, bringing new life to worn-out furniture.
- Proper preparation, attention to detail, and the right tools are essential for successful dresser sanding. Embrace the creativity and joy of restoring furniture to inspire others to embark on their own projects.
Read more: How To Paint Dresser Without Sanding
Materials Needed
Preparing for a dresser sanding project requires a few essential tools and materials. Here’s a list of what you’ll need:
- Sandpaper (medium and fine grit)
- Sandpaper block or sanding sponge
- Electric sander or sanding block (optional but recommended for large surfaces)
- Safety goggles
- Dust mask or respirator
- Drop cloth or plastic sheeting
- Tack cloth or clean cloth
- Paint stripper (if removing old finish)
- Putty knife or scraper (if removing old finish)
- Wood filler (optional, for filling any deep scratches or gouges)
- Sandpaper holder or sanding block
- Lint-free cloth
- Primer or wood conditioner (if planning to paint or stain)
- Paintbrush or foam applicator (if planning to paint or stain)
- Paint or wood stain (depending on your preference)
- Clear coat or sealer (optional, for added protection)
Gathering these materials beforehand will save you time and ensure a smooth sanding process. Once you have everything ready, you can proceed to prepare the dresser for sanding.
Preparation
Before diving into the sanding process, it’s important to properly prepare the dresser. Here are some steps to follow:
- Clear the workspace: Start by removing any items from the dresser and finding a well-ventilated area to work in. Lay down a drop cloth or plastic sheeting to protect your floor or work surface.
- Remove hardware: Take off any knobs, handles, or other hardware from the dresser. This will make the sanding process easier and prevent them from getting damaged.
- Clean the dresser: Use a mild soap and water solution to clean the surfaces of the dresser. Remove any dirt, grime, or residue. Let it dry completely before moving on to the next step.
- Inspect for damage: Examine the dresser for any signs of damage or areas that require repair. If you notice any deep scratches, gouges, or dents, consider using wood filler to fill them in. Allow the filler to dry and sand it smooth before proceeding.
- Test for finish: If your dresser has an existing finish, it’s important to test it before deciding whether it needs to be removed. Apply a small amount of paint stripper to a hidden area of the dresser and wait for the recommended time. If the finish starts to bubble or dissolve, it’s a sign that it needs to be removed. If it remains intact, you can skip the stripping step and proceed with sanding.
By thoroughly preparing the dresser, you’ll ensure that the sanding process goes smoothly and you achieve optimal results. With the preparation complete, it’s time to move on to the actual sanding process.
Step 1: Removing Hardware
Before you can start sanding, it’s important to remove any hardware from the dresser. This includes knobs, handles, drawer pulls, or any other decorative elements that are attached to the dresser.
Removing hardware not only makes the sanding process easier but also protects the hardware from potential damage. It allows you to access all the nooks and crannies of the dresser without obstruction.
To remove the hardware, you’ll need a screwdriver or a drill with the appropriate bit size. Carefully unscrew or unfasten each piece of hardware and set them aside in a safe place. It’s a good idea to keep all the screws or fasteners together in a small container so you don’t lose them.
If the hardware is old or worn, you might consider replacing it with new ones. This can give your refurbished dresser a fresh and updated look.
Once all the hardware has been removed, you’re ready to move on to the next step: cleaning the dresser.
Step 2: Cleaning the Dresser
After removing the hardware, it’s time to give the dresser a thorough cleaning. This step is essential to ensure that dirt, dust, and grime don’t interfere with the sanding process.
Start by using a mild soap and water solution to clean the surfaces of the dresser. You can use a sponge or a clean cloth to gently scrub away any dirt or residue. Pay close attention to the corners, edges, and any intricate details on the dresser.
Once you’ve cleaned the surfaces, rinse off any soap residue with clean water and wipe the dresser dry with a lint-free cloth or towel. Ensure that the dresser is completely dry before proceeding to the next step.
It’s important to note that if your dresser has an existing finish, this cleaning step might not remove it entirely. In such cases, you’ll need to strip the old finish before sanding, but we’ll cover that in detail later in the process.
By cleaning the dresser thoroughly, you’ll ensure that the sanding process is more effective and achieve better results. Now that the dresser is clean and ready, let’s move on to the next step: sanding the surfaces.
Read more: How To Store Sand
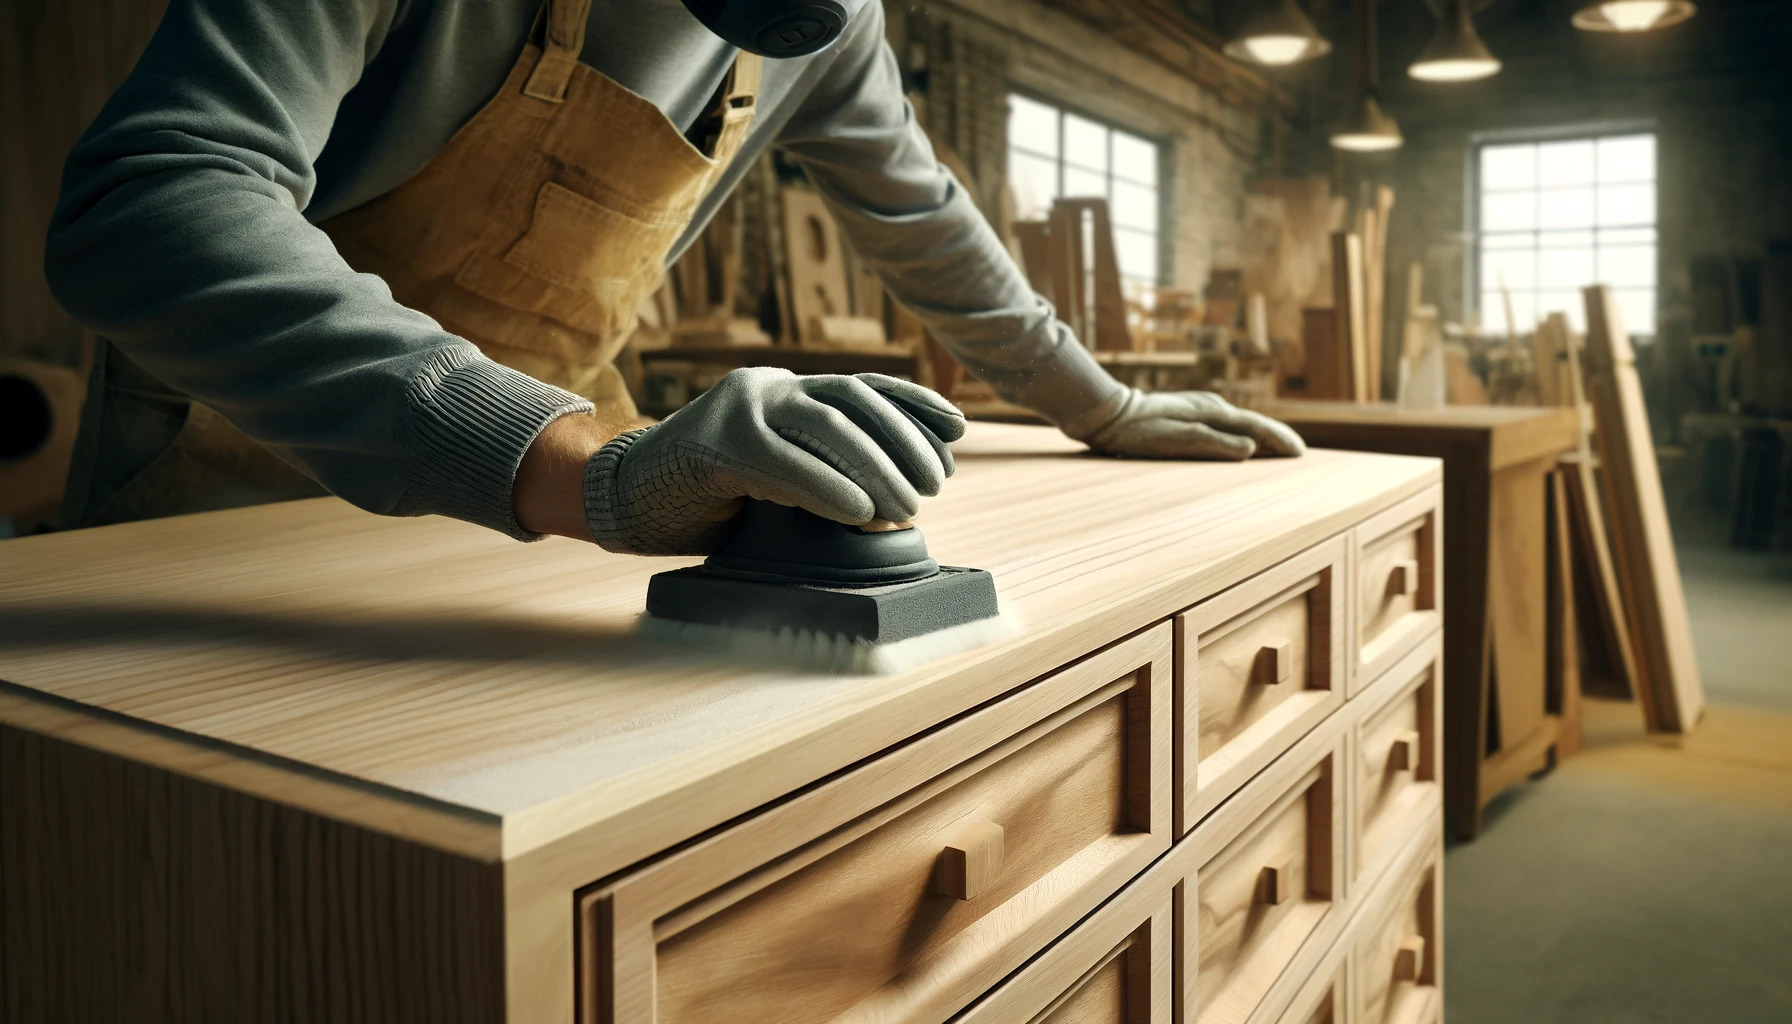
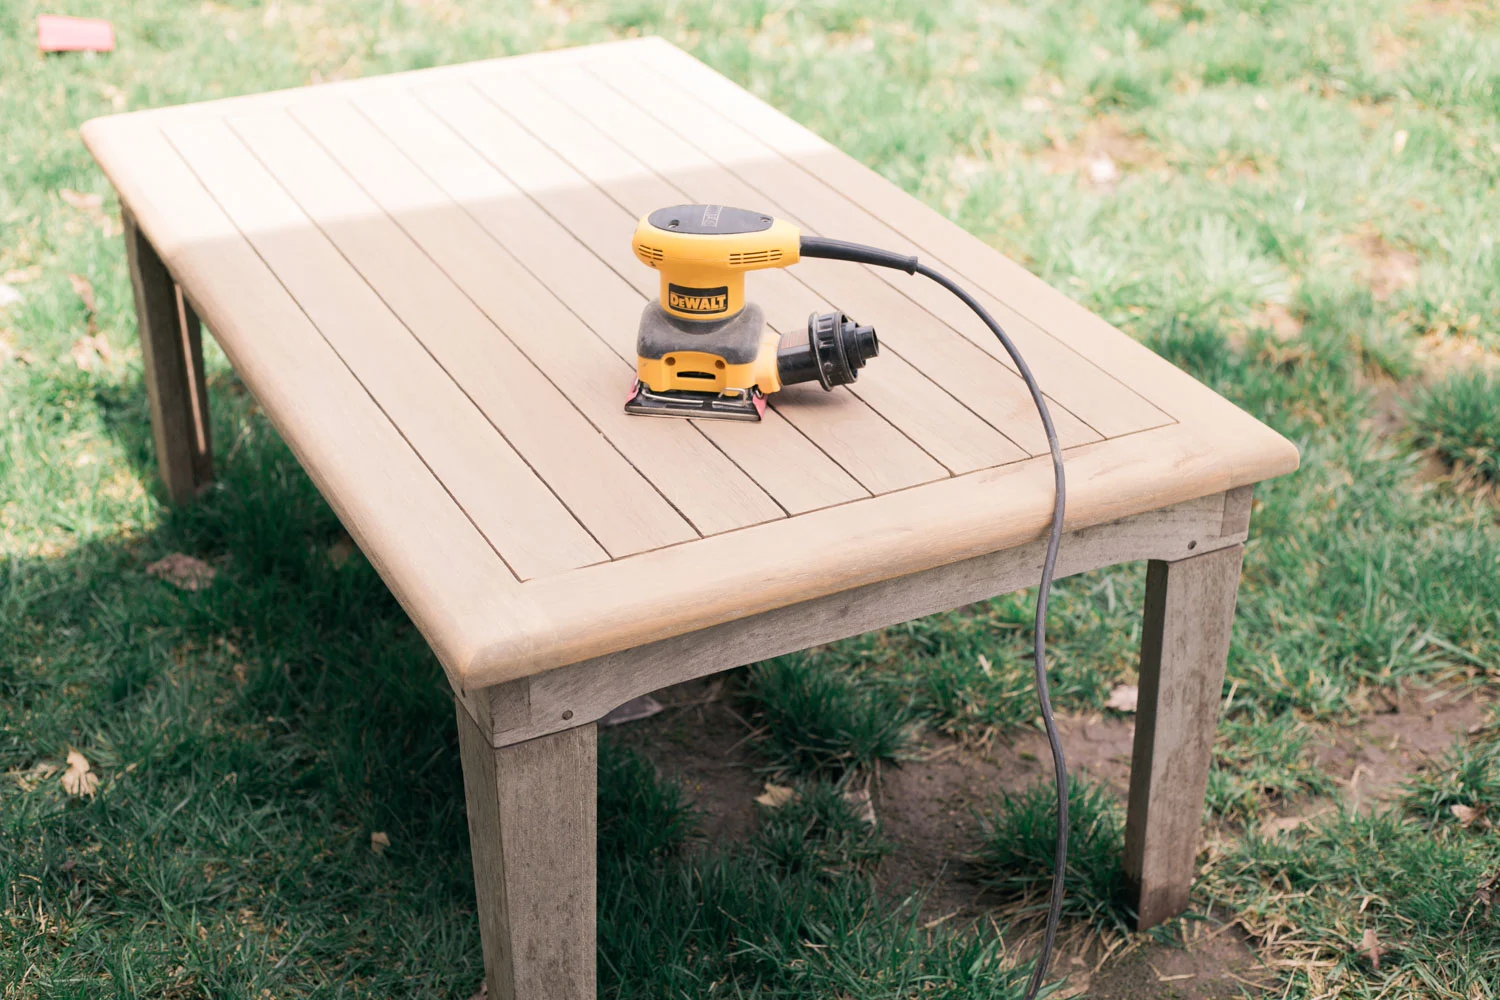
Step 3: Sanding the Surfaces
Now that the dresser is clean, it’s time to start sanding the surfaces. This step is crucial for removing the old finish, smoothing out imperfections, and creating a fresh canvas for the new finish.
Start by choosing the appropriate sandpaper grit. Generally, it’s recommended to begin with a medium grit sandpaper (around 120-150 grit) for initial sanding. This will help remove the old finish and any rough spots on the surface. Once you’ve completed the initial sanding, switch to a finer grit sandpaper (around 220-320 grit) to achieve a smoother finish.
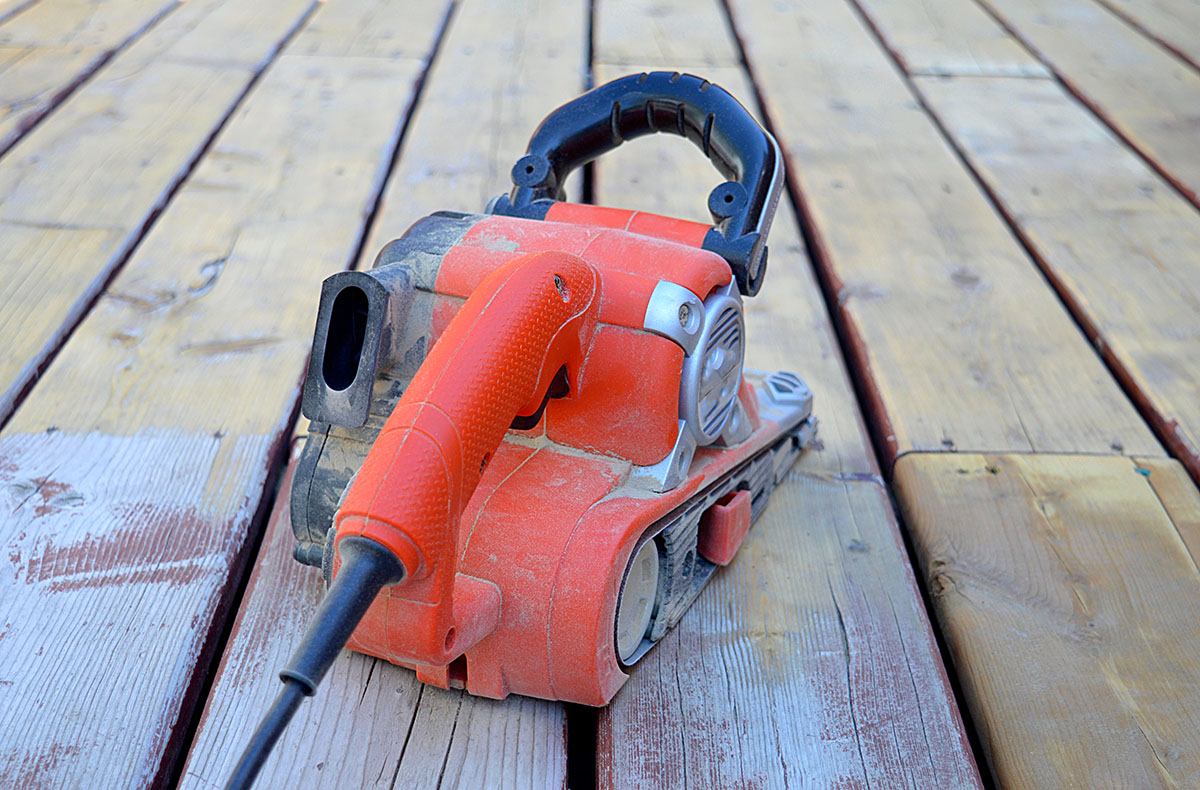
If you’re working on large, flat surfaces, using an electric sander can make the job faster and easier. However, if you prefer a more hands-on approach or are working on smaller areas, a sanding block or sanding sponge can be effective tools.
When sanding, apply even pressure and move the sandpaper or sanding block in the direction of the wood grain. This helps to prevent any scratches or damage to the wood. Be sure to sand all the surfaces of the dresser, including the top, sides, drawers, and edges.
Remember to periodically check the surface to ensure you’re achieving the desired result. The goal is to remove the old finish and create a smooth, even surface. However, be careful not to oversand, as this can damage the wood.
As you sand, you’ll notice that dust particles start to accumulate. To minimize the mess, consider attaching a dust bag to your electric sander or periodically wiping away the dust with a clean cloth or tack cloth.
Once you’ve completed the sanding process with the medium grit sandpaper, it’s time to move on to the next step: smoothing the edges.
When sanding a dresser, start with a coarse grit sandpaper to remove old finish, then switch to a finer grit for a smooth surface. Sand in the direction of the wood grain for best results.
Step 4: Smoothing the Edges
After sanding the surfaces of the dresser, it’s important to pay attention to the edges as well. Smoothing the edges will give your dresser a more polished and finished look.
Start by using a sanding block or sandpaper wrapped around a wooden block to gently sand the edges of the dresser. Move the block in a back-and-forth motion along the edges, applying even pressure. This will help to remove any roughness or sharp edges.
Be mindful of the direction of the wood grain while sanding the edges. It’s best to follow the natural flow of the wood grain to prevent any damage or splintering.
If your dresser has decorative molding or intricate details, you may need to use a smaller piece of sandpaper or sanding sponge to reach those areas. Take your time and be careful not to sand away any delicate design elements.
Continue smoothing the edges until they feel even and smooth to the touch. Once you’re satisfied with the results, it’s time to move on to the next step: wiping down the dresser.
Before moving on, take a moment to clean up any dust or debris that may have accumulated during the sanding process. A vacuum or a clean cloth can help to remove any remaining particles.
Step 5: Wipe Down
After sanding the surfaces and smoothing the edges of the dresser, it’s crucial to thoroughly wipe down the dresser to remove any dust and residue. This ensures a clean and smooth surface for the next steps in the restoration process.
Start by using a tack cloth or a clean cloth slightly dampened with water to wipe down the entire surface of the dresser. The tack cloth is specially designed to pick up and trap dust, leaving the surface clean and ready for the next steps.
Gently run the tack cloth or damp cloth over the dresser, making sure to reach all the nooks and crannies. Be thorough, as even small particles of dust can affect the quality of the final finish.
Take extra care around the edges and any intricate details on the dresser. These areas tend to trap more dust and may require more attention. If needed, you can use a soft brush to gently remove any stubborn dust or debris.
Once you’ve wiped down the entire dresser, allow it to air dry completely before proceeding to the next step. Ensuring that the surface is clean and dry is crucial for achieving a smooth and flawless finish.
With the dresser now clean, dry, and ready for the next steps, it’s time to move on to step 6: applying the finish. You’re one step closer to giving your dresser a beautiful new look!
Step 6: Apply Finish
With the dresser cleaned and prepped, it’s time to apply the finish of your choice. Whether you prefer paint, stain, or a combination of both, applying a finish will protect the wood and enhance the overall appearance of the dresser.
If you’re planning to paint the dresser, start by applying a primer or wood conditioner. This helps to create a smooth and even surface for the paint and also improves the paint’s adhesion. Use a paintbrush or a foam applicator to apply the primer, following the manufacturer’s instructions.
If you want to stain the dresser and showcase the natural beauty of the wood, skip the primer and proceed to directly applying the stain. Choose a stain that matches your desired color and follow the instructions on the product label for application.
When applying the finish, it’s important to work in well-ventilated areas and to follow proper safety precautions. Wear gloves and use a brush or applicator to evenly coat the dresser surfaces. Apply the finish in smooth, even strokes, following the wood grain.
After applying the initial coat of finish, allow it to dry according to the manufacturer’s instructions. Depending on the type of finish you’re using, you may need to apply additional coats for a more durable and desired finish. Apply subsequent coats following the same process, allowing proper drying time between coats.
Once you’re satisfied with the finish, make sure to let the dresser dry completely before moving on to the final step of reattaching the hardware.
Congratulations! You’ve successfully applied the finish to your dresser, bringing it back to life with a fresh and beautiful look. Now, let’s move on to the final step: reattaching the hardware.
Read more: How To Sand Glass
Step 7: Reattach Hardware
After applying the finish and allowing it to fully dry, it’s time to reattach the hardware on your dresser. This final step will bring the whole restoration process together and give your dresser its finishing touch.
Start by gathering all the hardware that you removed in the first step. Make sure all the screws or fasteners are accounted for and in good condition. If any of the hardware needs to be replaced, now is the time to do so.
Align each piece of hardware with its corresponding hole on the dresser. Carefully insert the screws or fasteners and tighten them securely, but be cautious not to overtighten and strip the holes.
Take your time to ensure that each piece of hardware is positioned correctly and securely attached. Pay attention to any alignment or spacing issues and make adjustments as necessary.
As you reattach the hardware, step back and admire your work. The dresser is now complete, with a fresh new finish and revitalized hardware.
Now, all that’s left to do is to step back and enjoy your beautifully restored dresser. It’s time to welcome it back into its rightful place in your home, where it will bring functionality, style, and a renewed sense of joy.
By following these step-by-step instructions, you’ve successfully sanded and transformed your dresser into a piece that’s as good as new. Don’t forget to share your accomplishment with friends and family, and inspire them to embark on their own furniture restoration projects.
Thank you for joining us on this journey of reviving your dresser through sanding. We hope you found this guide helpful and that you enjoy the fruits of your hard work for many years to come!
Conclusion
Revitalizing an old dresser through sanding is a rewarding and transformative process. By following the step-by-step guide outlined in this article, you have learned how to bring new life to a worn-out piece of furniture.
Sanding a dresser removes the old finish, smooths out imperfections, and prepares the surface for a fresh coat of paint or stain. It requires careful preparation, attention to detail, and the right tools and materials.
Throughout the process, remember to prioritize safety by wearing protective gear such as goggles and a dust mask. Properly clean the dresser, sand the surfaces and edges, and wipe away any dust and debris to achieve the best results.
Applying a new finish is the final touch that will not only protect the wood but also enhance the overall appearance of the dresser. Choose a paint color or wood stain that aligns with your style and desired outcome. By applying multiple coats and allowing proper drying time, you’ll achieve a durable and flawless finish.
Once the finish is dry, reattaching the hardware completes the restoration process. Take your time to ensure that each piece is properly aligned and securely attached for a finished look that is both functional and aesthetically pleasing.
Remember, as you embark on the journey of sanding and restoring your dresser, embrace the creativity and joy that comes with breathing new life into a piece of furniture. Be proud of your accomplishment and share your success with others, inspiring them to embark on their own furniture restoration projects.
Thank you for joining us on this journey of transforming your dresser through sanding. We hope that this comprehensive guide has provided you with the knowledge and confidence to take on future furniture restoration projects, bringing beauty, functionality, and joy to your home.
Frequently Asked Questions about How To Sand A Dresser
Was this page helpful?
At Storables.com, we guarantee accurate and reliable information. Our content, validated by Expert Board Contributors, is crafted following stringent Editorial Policies. We're committed to providing you with well-researched, expert-backed insights for all your informational needs.


0 thoughts on “How To Sand A Dresser”