Furniture
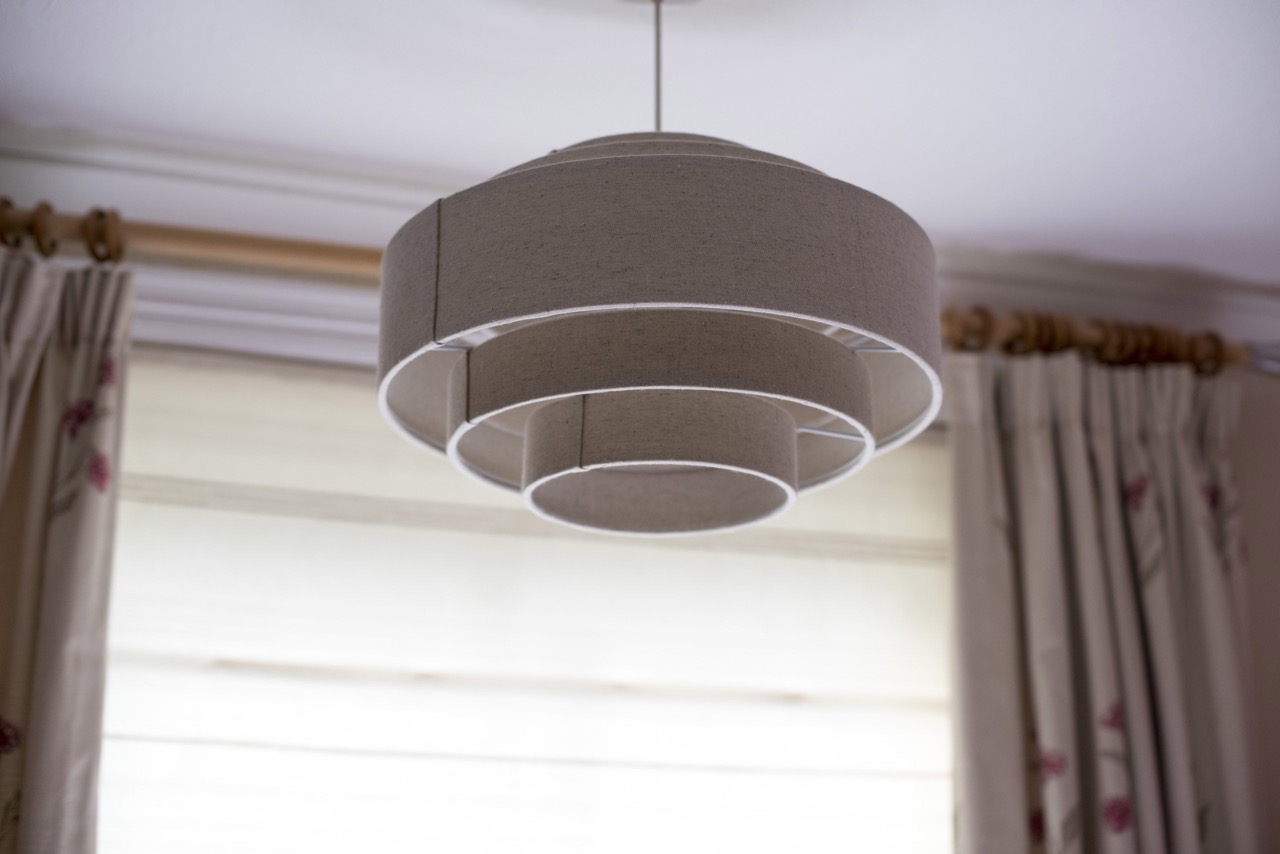
How To Remove A Ceiling Lamp Cover
Modified: December 7, 2023
Learn how to remove a ceiling lamp cover easily and safely with this step-by-step guide. Update your furniture with new lighting fixtures today!
(Many of the links in this article redirect to a specific reviewed product. Your purchase of these products through affiliate links helps to generate commission for Storables.com, at no extra cost. Learn more)
Introduction
Welcome to our guide on how to remove a ceiling lamp cover! Whether you’re looking to clean the cover or replace the bulb, knowing how to safely and efficiently remove the lamp cover is essential. In this article, we will provide you with step-by-step instructions and helpful tips to make the process as smooth as possible.
Before we begin, it’s important to note that electrical work should always be approached with caution. If you’re not comfortable working with electricity or unsure of what you’re doing, we highly recommend hiring a licensed electrician to assist you. Safety should always be the top priority when working with electrical fixtures.
Now, let’s get started with the necessary tools and materials for removing a ceiling lamp cover.
Key Takeaways:
- Safely remove, clean, and reinstall a ceiling lamp cover with the right tools and precautions. Prioritize safety and consider consulting a professional for electrical work if unsure.
- Enhance your home’s ambiance by confidently tackling the task of removing a ceiling lamp cover. Follow the step-by-step guide for a well-lit and inviting space.
Step 1: Gather the necessary tools and materials
Before you begin removing the ceiling lamp cover, it’s important to gather all the necessary tools and materials to ensure a smooth process. Here’s what you’ll need:
- Screwdriver: Depending on the type of screws or fasteners holding the lamp cover, you may need a flat-head or Phillips-head screwdriver.
- Step ladder: Since the lamp cover is typically attached to the ceiling, you’ll need a step ladder or a secure and stable platform to safely reach it.
- Protective gloves: It’s always a good idea to wear protective gloves to prevent any injuries or mishaps during the removal process.
- Clean cloth or sponge: If you plan on cleaning the lamp cover while it’s removed, have a clean cloth or sponge ready.
- Replacement parts (optional): If you’re removing the lamp cover to replace a bulb or any other components, make sure you have the necessary replacement parts on hand.
Once you have all these tools and materials ready, you’re well-prepared to start removing the ceiling lamp cover. But before you do, ensure that the power supply to the lamp is turned off to avoid any electrical accidents.
Step 2: Turn off the power supply
Before you begin working on removing the ceiling lamp cover, it’s crucial to turn off the power supply to ensure your safety. Here’s how to do it:
- Locate the electrical circuit breaker panel in your home.
- Identify the circuit that supplies power to the lamp. You can refer to the circuit breaker diagram or trial and error by turning off each breaker until the lamp turns off.
- Once you’ve identified the correct circuit, switch off the corresponding breaker by flipping it to the “off” position.
- To double-check that the power is truly off, turn on the light switch connected to the lamp. If the light doesn’t turn on, you can proceed with confidence knowing that the power supply is cut off.
Ensure that everyone in your household is aware that you’re working on the electrical fixture, and it’s advised to put a cautionary note or tape on the light switch to prevent accidental turning on while you’re working.
Now that you’ve disabled the power supply and ensured your safety, you can move on to the next step of removing the screws or fasteners holding the lamp cover.
Step 3: Remove the screws or fasteners holding the lamp cover
With the power supply turned off, it’s time to remove the screws or fasteners holding the lamp cover in place. Here’s how:
- Position yourself safely on the step ladder or platform, ensuring you have a steady grip and a clear view of the lamp cover.
- Inspect the lamp cover to identify the type of screws or fasteners used to secure it. Common types include screws, clips, or small latch mechanisms.
- Using the appropriate screwdriver or tool, carefully loosen and remove the screws or fasteners. Be sure to keep a firm grip on the lamp cover to prevent it from falling unexpectedly.
- Place the screws or fasteners in a safe location, such as a small container or bag, to prevent them from getting lost.
It’s worth noting that some lamp covers may have more than one screw or fastener holding them in place. Ensure you remove all of them before attempting to detach the lamp cover from the ceiling.
Once you’ve removed the screws or fasteners, the lamp cover will be ready to detach. However, it’s important to handle it with care to avoid any damage or accidental dropping. Proceed to the next step for safe removal of the lamp cover.
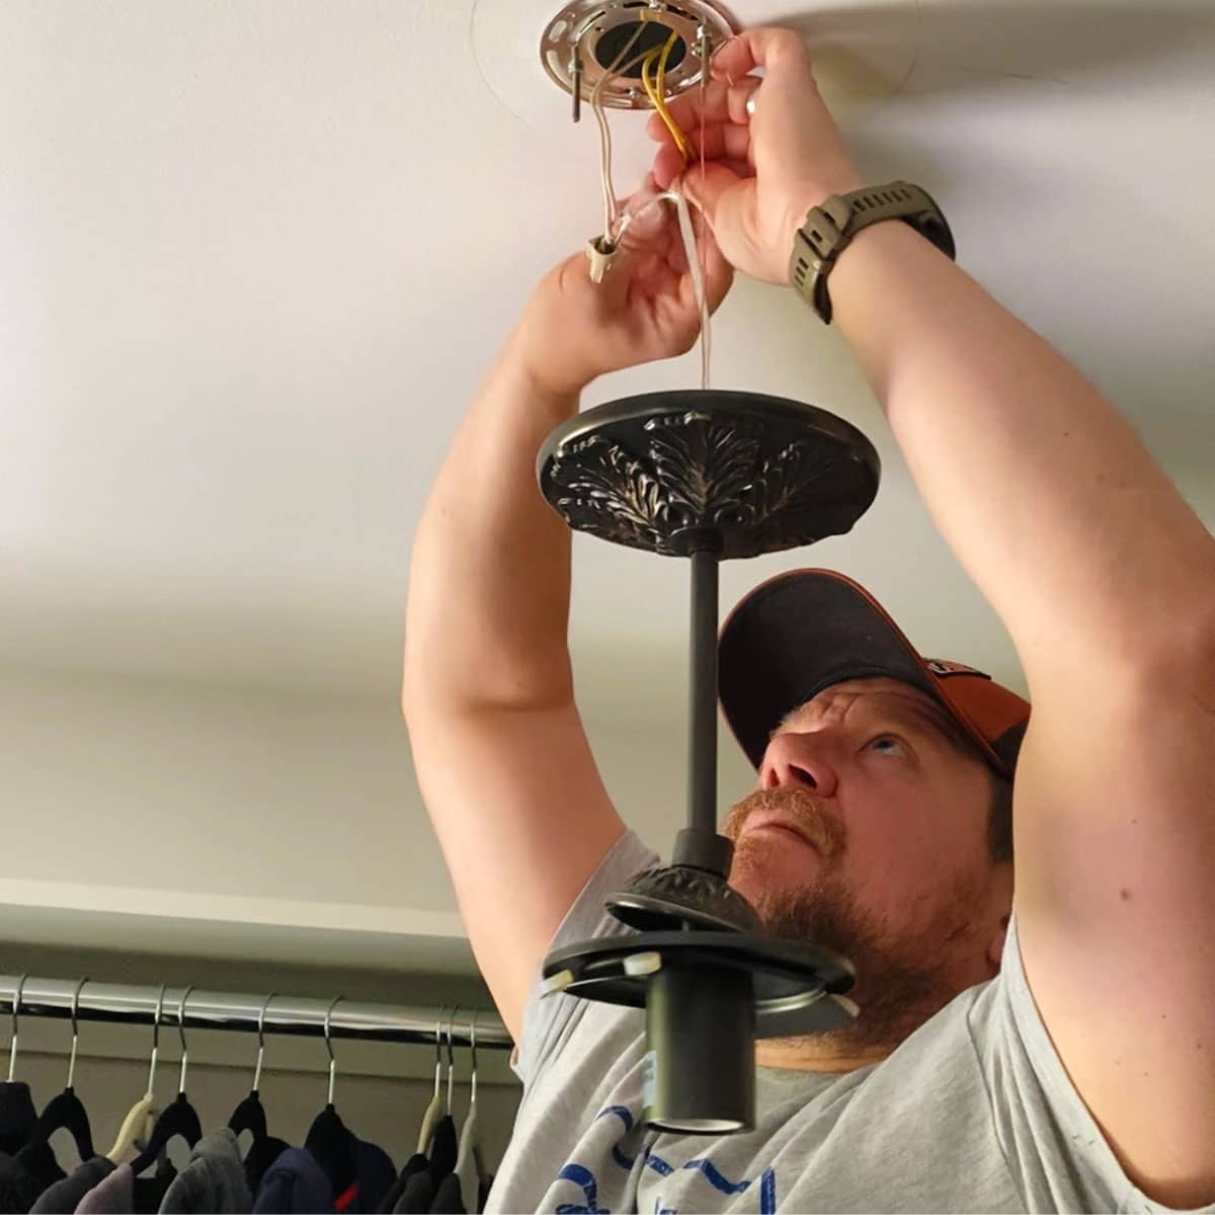
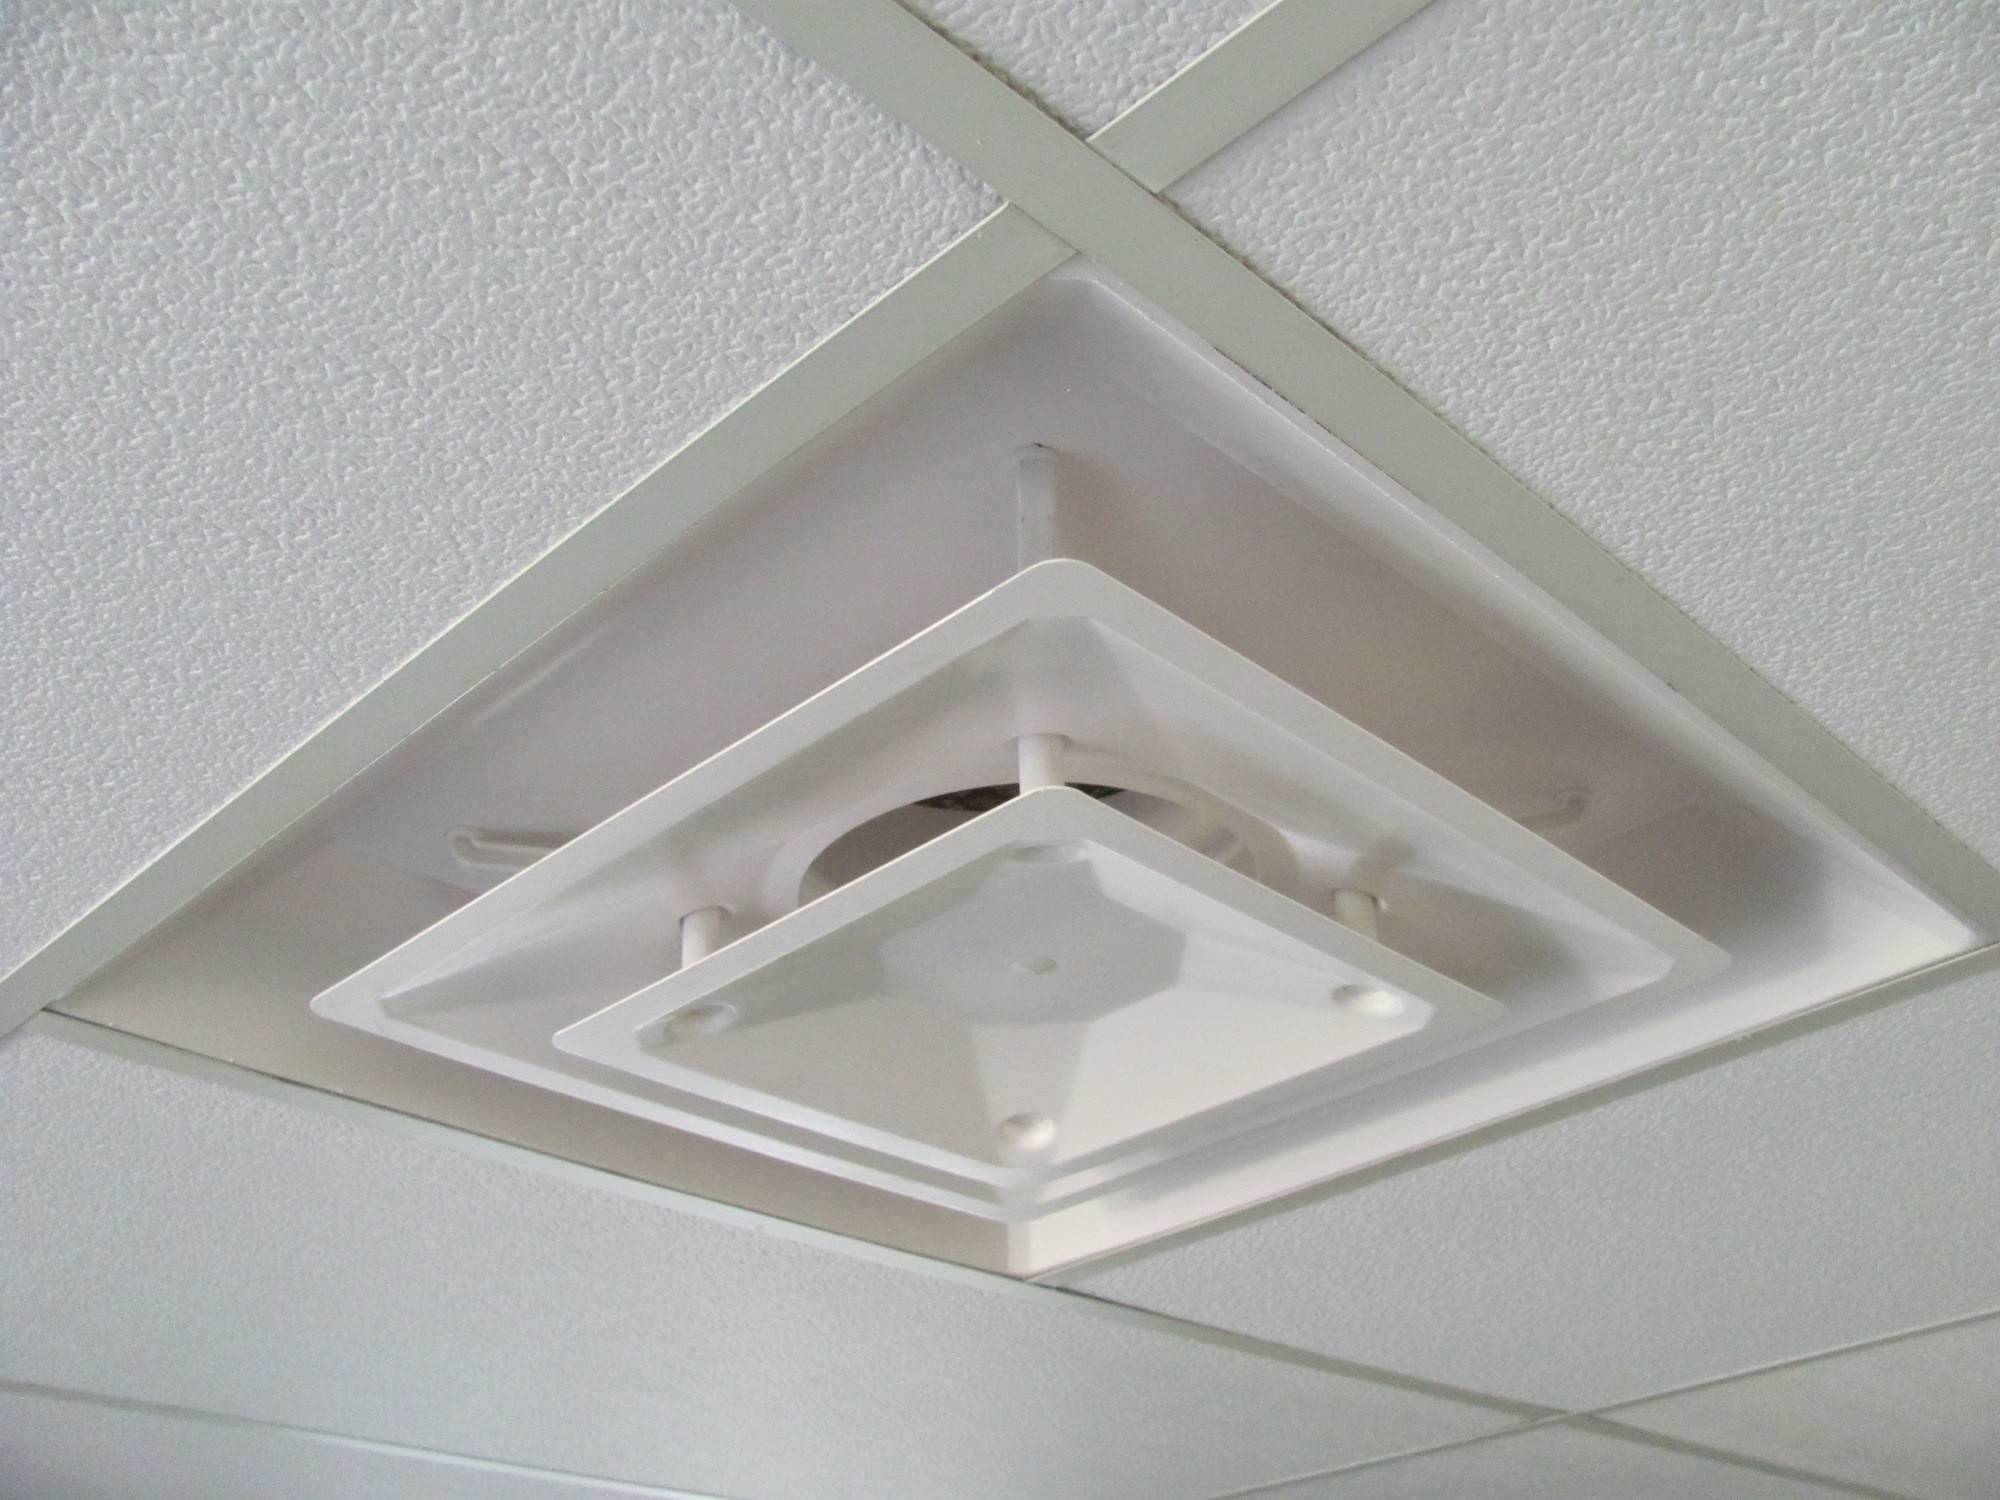
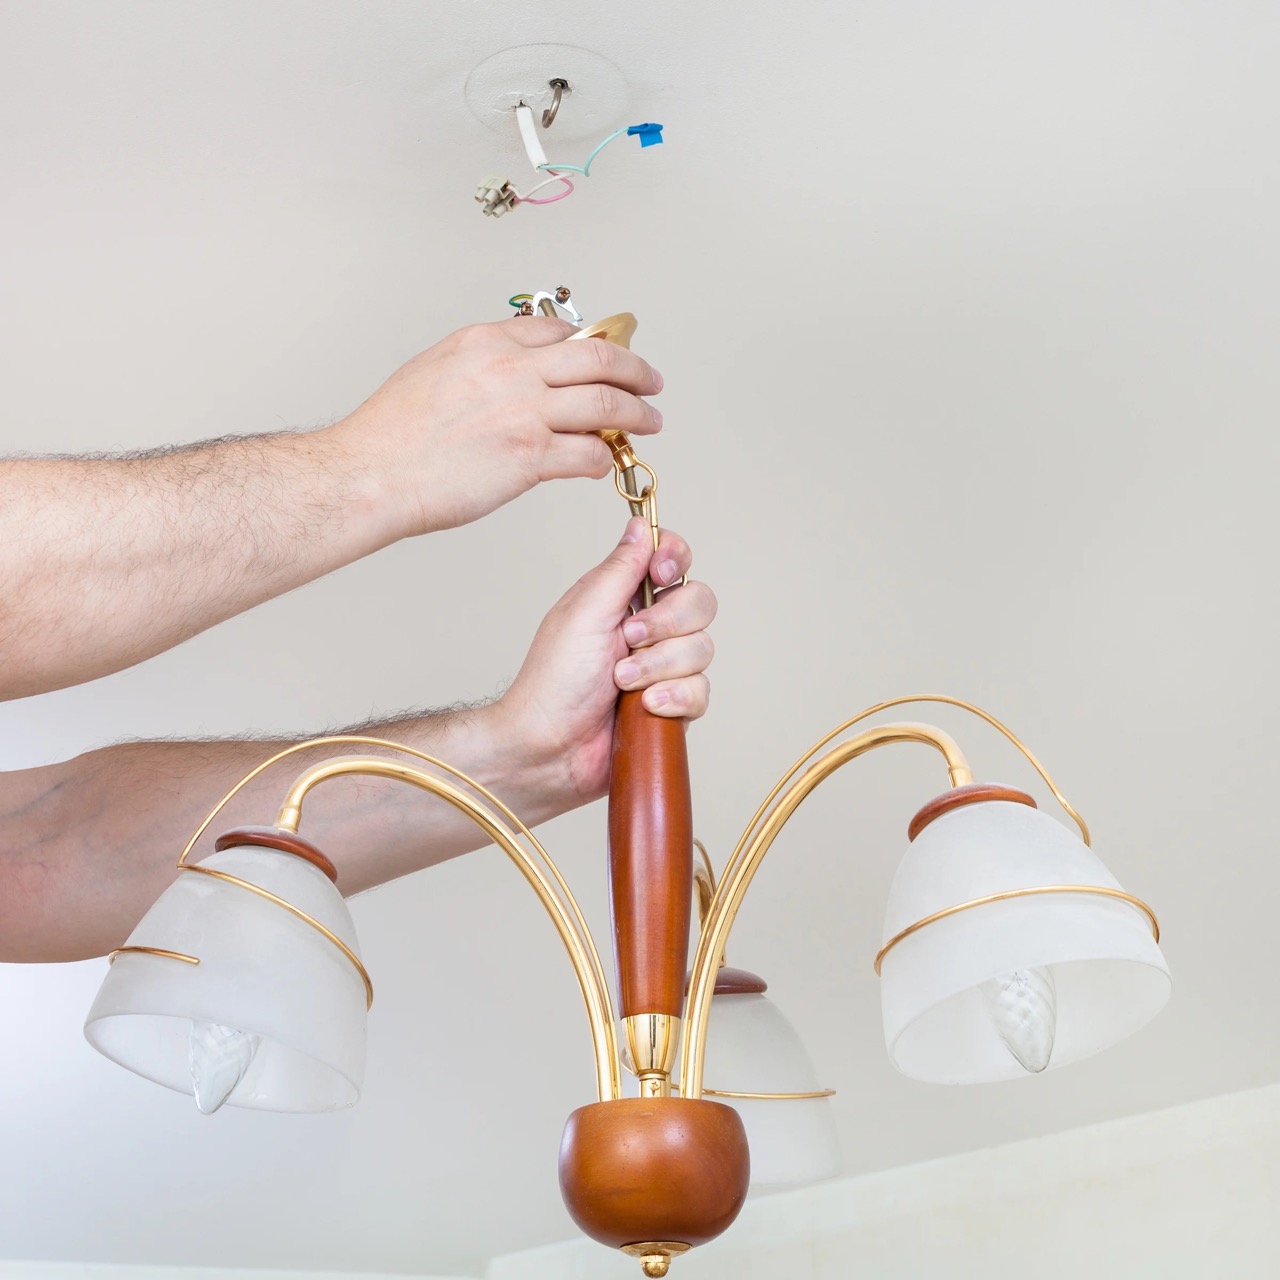
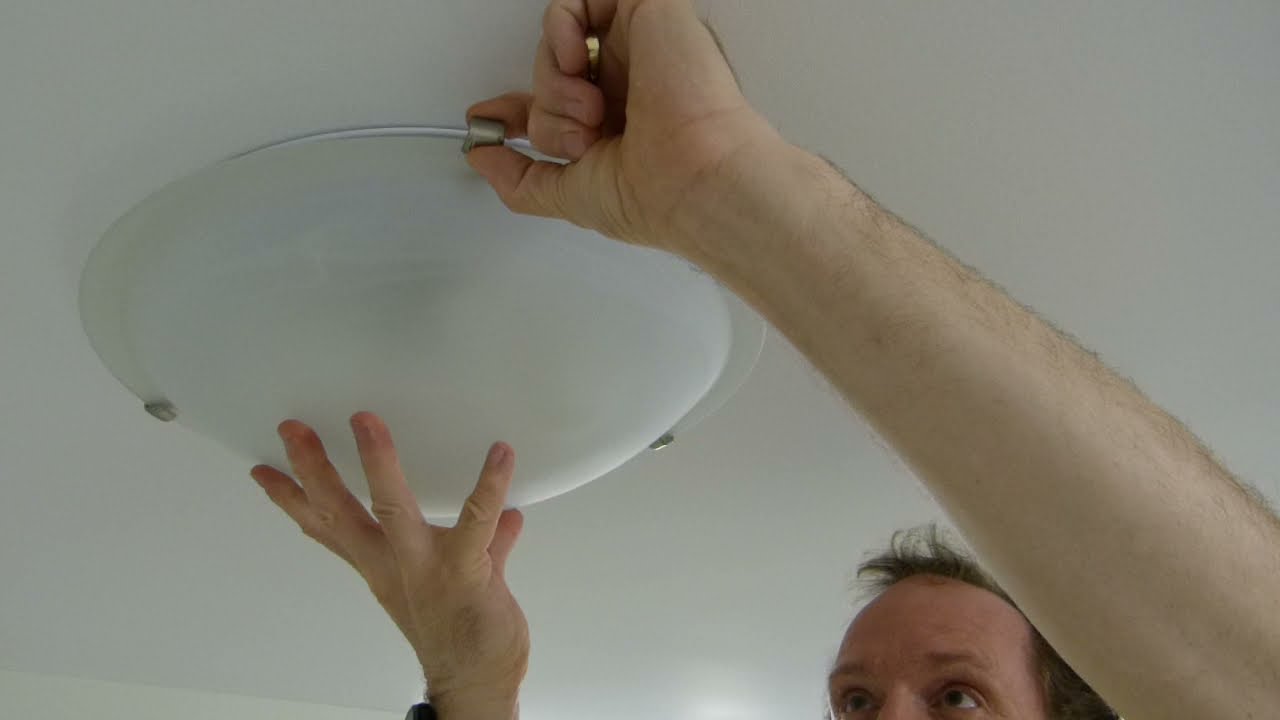
Step 4: Carefully detach the lamp cover from the ceiling
Now that you’ve removed the screws or fasteners holding the lamp cover in place, it’s time to carefully detach it from the ceiling. Follow these steps to ensure a smooth removal process:
- Gently hold the lamp cover with both hands, supporting its weight and keeping it level.
- Slowly lift the lamp cover upward, taking care not to twist or tilt it excessively.
- If the lamp cover feels stuck or resistant, double-check for any additional screws or fasteners that may still be attached.
- Once you’ve detached the lamp cover from the ceiling, set it aside on a flat and stable surface.
It’s essential to handle the lamp cover with caution during this step to prevent any damage or accidental dropping. Some lamp covers may be fragile or have delicate components, so being gentle is crucial.
If you encounter any difficulties while removing the lamp cover, such as stubborn screws or an unusually tight fit, don’t force it. Take a step back, reassess the situation, and consult the manufacturer’s instructions or seek professional assistance if necessary.
With the lamp cover safely detached, you can now move on to the next step, which involves cleaning the cover if needed.
Before attempting to remove a ceiling lamp cover, make sure to turn off the power to the fixture at the circuit breaker. Use a ladder or step stool to safely reach the cover, then carefully unscrew or unclip it from the base to access the light bulbs or wiring.
Step 5: Clean the lamp cover if needed
After removing the lamp cover, you may notice that it could benefit from a thorough cleaning. Over time, dust, debris, and other particles can accumulate, affecting the brightness and appearance of your light fixture. Here’s how you can clean the lamp cover:
- Inspect the lamp cover for any visible dirt or stains. If necessary, gently dust it off using a clean, dry cloth or a soft brush. Be careful not to scratch or damage the surface of the cover.
- If the lamp cover requires deeper cleaning, you can prepare a mixture of mild soap or dish detergent with warm water.
- Dampen a sponge or cloth with the soapy water solution, making sure to wring out any excess liquid to avoid dripping onto the electrical components.
- Gently wipe the lamp cover in a circular motion, targeting any areas of grime or buildup. Take care not to saturate the cover with water.
- Once you’ve cleaned the lamp cover, rinse the sponge or cloth to remove any soapy residue, and then wipe the cover again with clean water to remove any remaining soap.
- Allow the lamp cover to air dry completely before reinstalling it.
It’s important to note that not all types of lamp covers may be suitable for water-based cleaning methods. If you’re unsure about the material or cleaning recommendations, it’s best to consult the manufacturer’s instructions or seek professional advice.
Now that you’ve cleaned the lamp cover and ensured it’s dry, you’re ready to proceed to the next step: replacing or reinstalling the lamp cover.
Step 6: Replace or reinstall the lamp cover
After cleaning the lamp cover or completing any necessary repairs or bulb replacements, it’s time to reverse the process and reinstall the cover back onto the ceiling fixture. Here’s how to replace or reinstall the lamp cover:
- Carefully hold the lamp cover with both hands, ensuring it’s positioned correctly to align with the mounting hardware or slots on the ceiling fixture.
- Slowly lift the lamp cover towards the ceiling, aligning it with the screw holes or fastener openings.
- Insert and tighten the screws or fasteners into their respective holes, making sure they are secure but not overtightened. Be cautious not to damage or strip the screw holes.
- Double-check that the lamp cover is firmly in place and properly aligned with any grooves or markings on the ceiling fixture.
If you are replacing the lamp cover with a new one, ensure that it is the correct size and style to fit your ceiling fixture. If you encounter any difficulties during the installation, refer to the manufacturer’s instructions or consult a professional for assistance.
Once the lamp cover is securely installed, you’re almost done! The final step is to restore power to the lamp and test if everything is in working order.
Step 7: Turn on the power supply and test the light
Now that you’ve successfully replaced or reinstalled the lamp cover, it’s time to turn on the power supply and check if the light is functioning properly. Follow these steps to complete the process:
- Go back to the electrical circuit breaker panel and locate the breaker that corresponds to the lamp’s circuit.
- Flip the breaker back into the “on” position to restore power to the lamp.
- Head back to the lamp and use the light switch to turn it on.
- Observe if the light illuminates as expected. Check for any flickering, dimness, or any other issues that may require further attention.
- If the light doesn’t turn on or there are any problems, double-check the installation of the lamp cover, the bulb, and ensure the power supply is properly restored. If the issues persist, it might be necessary to consult an electrician.
Once you’ve verified that the light is working correctly, congratulations! You have successfully completed the process of removing, cleaning, replacing, or reinstalling the ceiling lamp cover.
Remember that it’s essential to always exercise caution when working with electrical fixtures. If you have any doubts or concerns about your abilities or the safety of the process, it’s recommended to consult a licensed electrician for assistance.
Now you can enjoy the restored brightness and ambiance of your newly cleaned or updated ceiling lamp!
Conclusion
Removing a ceiling lamp cover may seem like a daunting task, but with the right tools, knowledge, and precautions, it can be a manageable DIY project. By following the step-by-step guide outlined in this article, you can safely remove the lamp cover, clean it if needed, and reinstall it with ease.
Remember, electrical work should always be approached with caution. If you’re not comfortable working with electricity or unsure of what you’re doing, it’s best to seek the help of a licensed electrician to ensure your safety.
Gathering the necessary tools and materials, turning off the power supply, removing the screws or fasteners, and carefully detaching the lamp cover are vital steps in the process. If the lamp cover requires cleaning, ensure you handle it gently and use appropriate cleaning methods for the cover material.
Replacing or reinstalling the lamp cover is the next step, ensuring it is securely fastened to the ceiling fixture. Finally, turn on the power supply and test the light to ensure it is functioning correctly.
By following these steps, you can maintain and enhance the appearance of your ceiling lamp while enjoying a well-lit and inviting space in your home.
Always prioritize safety and consult professional help if you have any doubts or concerns. Now that you have the knowledge and understanding, go ahead and confidently tackle the task of removing a ceiling lamp cover!
Frequently Asked Questions about How To Remove A Ceiling Lamp Cover
Was this page helpful?
At Storables.com, we guarantee accurate and reliable information. Our content, validated by Expert Board Contributors, is crafted following stringent Editorial Policies. We're committed to providing you with well-researched, expert-backed insights for all your informational needs.