Furniture
How To Install A Hanging Lamp
Modified: March 1, 2024
Learn how to easily install a stylish hanging lamp in your home. Add a touch of elegance and functionality to your furniture with this step-by-step guide.
(Many of the links in this article redirect to a specific reviewed product. Your purchase of these products through affiliate links helps to generate commission for Storables.com, at no extra cost. Learn more)
Introduction
Installing a hanging lamp can be a great way to add both functionality and style to any room in your home. Whether you’re looking to brighten up a dining area, create a cozy ambiance in the living room, or add a focal point to your entryway, a hanging lamp can be the perfect solution.
However, if you’ve never installed a hanging lamp before, the process may seem a bit daunting. But fear not! In this step-by-step guide, we’ll walk you through the process of installing a hanging lamp, from gathering the necessary materials to hanging the fixture and making sure everything is working properly. By the end of this article, you’ll be well-equipped to tackle this DIY project with confidence.
Before we jump into the installation process, it’s important to prioritize safety. Whenever you’re working with electricity, make sure to turn off the power to the area where you’ll be installing the lamp. If you’re unsure about any steps or tasks involved, it’s always best to consult with a professional electrician.
Now, let’s begin our journey into the world of hanging lamp installation!
Key Takeaways:
- Prioritize safety by turning off the power and consulting a professional electrician if unsure. Gather materials, determine the installation spot, and measure and mark the hanging point for a successful hanging lamp installation.
- Secure the lamp by tightening connections, trimming excess wires, and adjusting its position. Regular inspection and maintenance will ensure long-term functionality and visual appeal.
Read more: How To Make A Hanging Lamp
Step 1: Gather Materials
Before you start the installation process, it’s important to gather all the necessary materials. This will help ensure that you have everything you need within reach and minimize any interruptions during the installation. Here are the key materials you’ll need:
- Power drill: A power drill will be essential for drilling holes and securing the support brace or mounting bracket.
- Wire stripper: You’ll need a wire stripper to remove the insulation from the electrical wires.
- Screwdriver: A screwdriver, both flathead and Phillips head, will be used to tighten screws throughout the installation process.
- Ladder or step stool: Depending on the height of the installation spot, you’ll likely need a stable ladder or step stool to reach the area safely and comfortably.
- Wire connectors: Wire connectors will be necessary for connecting the electrical wires securely.
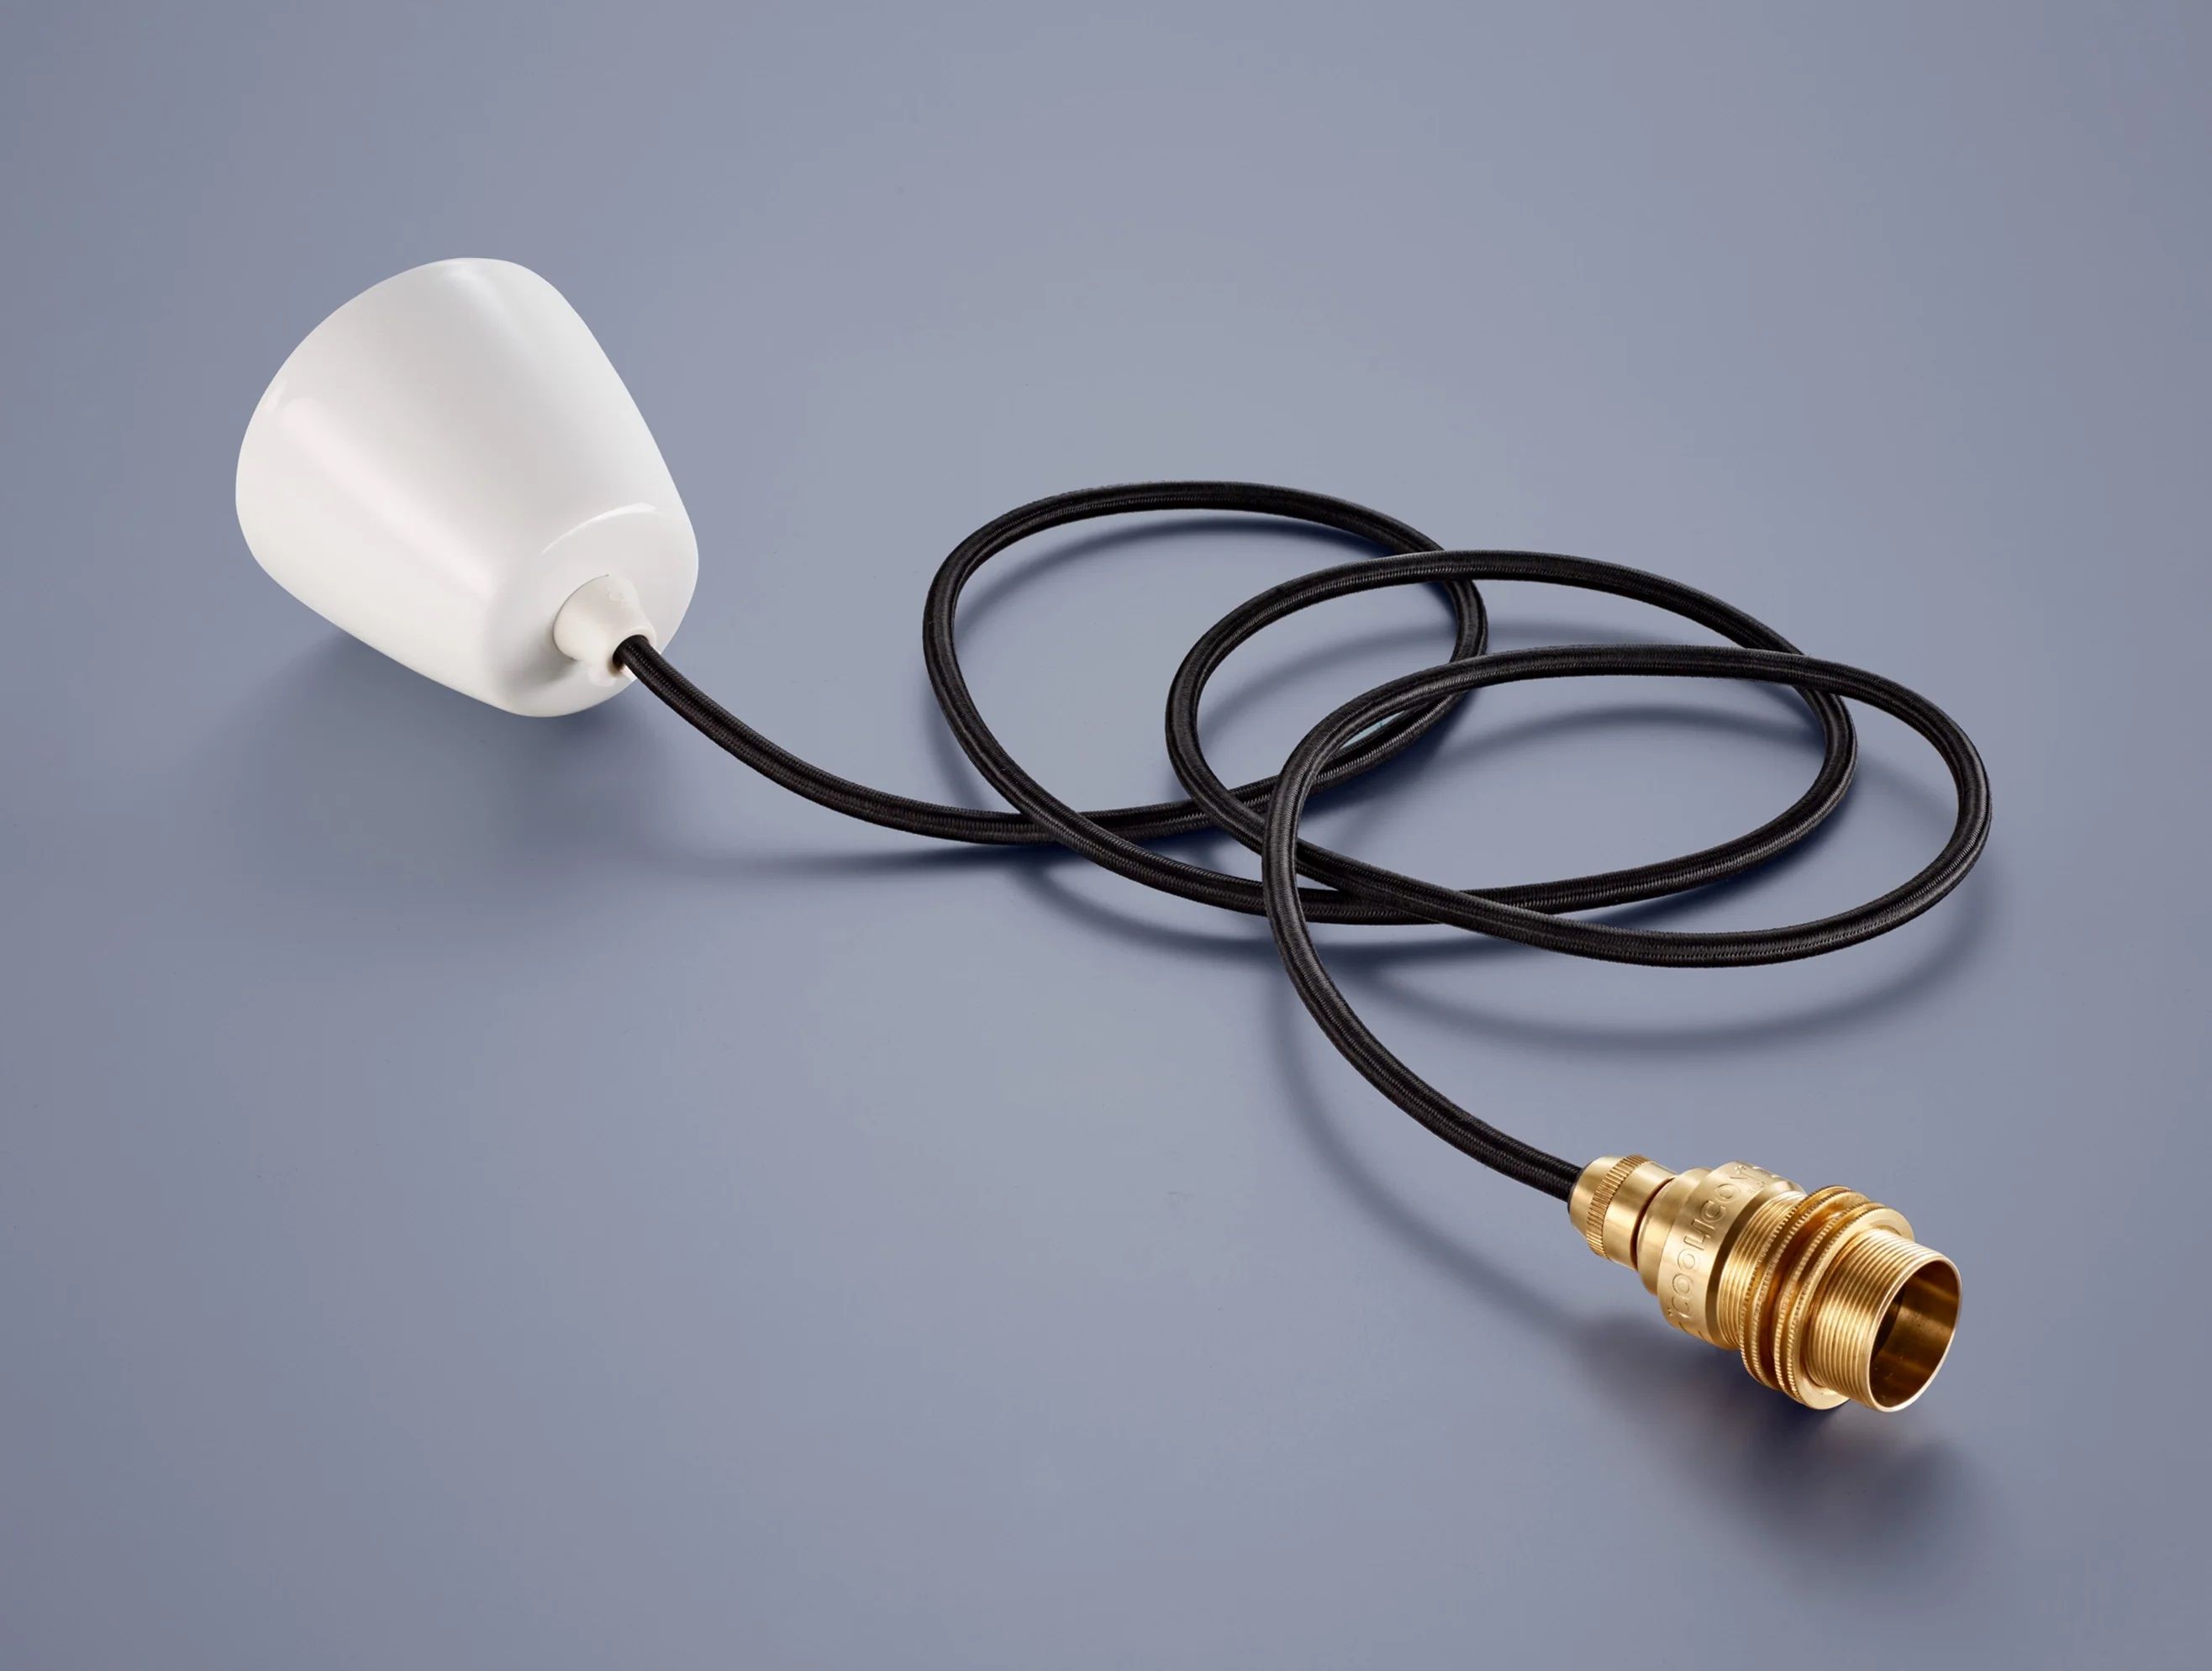
- Hanging lamp fixture: Of course, you’ll need the hanging lamp fixture itself. Choose one that complements your decor style and fits the overall theme of the room.
- Support brace or mounting bracket: Depending on the weight and size of the hanging lamp, you may need to install a support brace or mounting bracket to ensure the fixture is properly secured.
- Bulbs: Don’t forget to have the appropriate light bulbs ready for the hanging lamp. Check the manufacturer’s recommendation for the correct wattage and type of bulbs.
- Wire nuts: Wire nuts are small connectors used to join electrical wires securely. These will be necessary for connecting the lamp fixture’s wires to the electrical wires in your home.
- Tape measure: Accurate measurements are crucial for positioning the hanging lamp correctly. Have a tape measure handy to ensure proper alignment.
Once you have gathered all these materials, you’ll be ready to move on to the next step: determining the installation spot.
Step 2: Determine the Installation Spot
Choosing the right spot for your hanging lamp is crucial to ensure it looks visually pleasing and provides adequate lighting. Here are a few factors to consider when determining the installation spot:
- Room layout: Take into account the layout and purpose of the room. Identify areas where the hanging lamp would be both functional and aesthetically pleasing.
- Ceiling height: Consider the height of your ceiling. Hanging lamps work best in rooms with ceilings that are at least 8 feet high. If your ceiling is lower than this, you may need to reconsider the type of lighting fixture or find a spot where it won’t be an obstruction.
- Table or surface alignment: If you’re installing a hanging lamp over a table or specific surface, ensure that it is centered properly and provides adequate lighting for the area.
- Existing electrical wiring: Check if there are any existing electrical wires in the ceiling that you can tap into for the installation. This will make the wiring process easier and save time and effort.
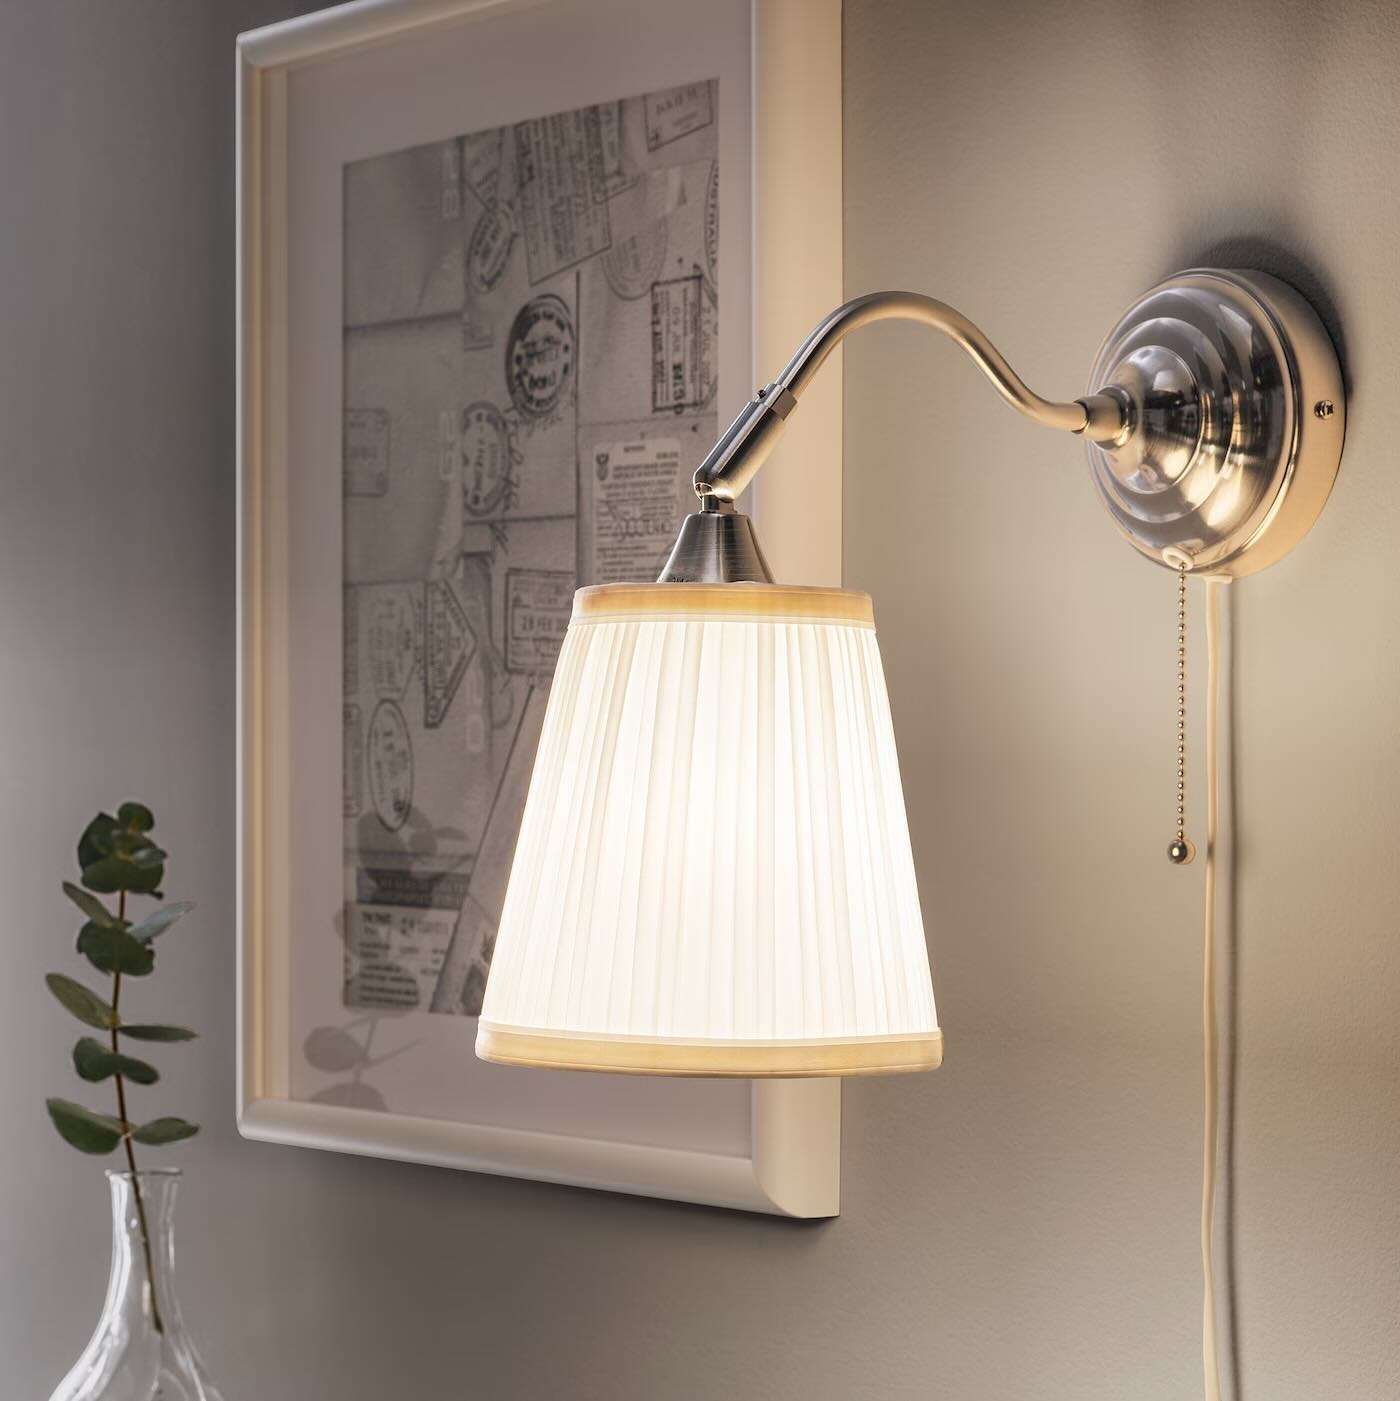
- Style and design: Consider the style and design of the room. Choose a hanging lamp that complements the overall aesthetic and adds to the ambiance you’re aiming for. For example, a modern pendant light might work well in a contemporary setting, while a chandelier might be more suitable for a formal dining room.
Once you’ve taken these factors into consideration, use a pencil or marker to mark the spot where the hanging lamp will be installed. Double-check the alignment and make any necessary adjustments before moving on to the next step.
Now that you’ve determined the installation spot, let’s move on to Step 3: measuring and marking the hanging point.
Step 3: Measure and Mark the Hanging Point
Once you have chosen the installation spot for your hanging lamp, it’s time to measure and mark the exact hanging point. This step is essential to ensure that your lamp is positioned correctly and hangs at the desired height. Follow these steps:
- Measure the distance: Use a tape measure to measure the distance from the ceiling to the desired hanging point. This will depend on factors such as the height of the ceiling and the length of the fixture.
- Mark the spot: Use a pencil or marker to make a small vertical mark on the ceiling at the measured hanging point. This mark will serve as a reference for the next steps.
- Measure the fixture height: Measure the height of your hanging lamp fixture from the top to the desired bottom point, usually the lowest point of the lamp.
- Adjust for space: Take into account the space needed between the fixture and any objects beneath it, such as a table or countertop. This will ensure that the lamp is not too low and doesn’t interfere with any activities.
- Make additional marks (if needed): If your lamp has multiple suspension points, repeat the measurement and marking process for each point. This will help ensure proper alignment and balance.
Once you have marked the hanging point(s), step back and confirm that the placement looks visually appealing and aligns with your overall vision for the room. If everything looks good, it’s time to move on to the next step: turning off the power.
Step 4: Turn Off the Power
Before you begin any work on your hanging lamp installation, it is crucial to turn off the power to the area where you’ll be working. This step will ensure your safety and prevent any electrical accidents. Follow these steps to turn off the power:
- Locate the circuit breaker: Identify the correct circuit breaker in your electrical panel that controls the power supply to the area where you’ll be installing the hanging lamp.
- Turn off the circuit breaker: Flip the switch of the identified circuit breaker to the “Off” position. This will cut off the power supply, ensuring that no electricity is flowing to the wires.
- Test the power supply: To double-check that the power is off, use a voltage tester or a reliable electrical tester to ensure there is no electricity running to the wires or the existing lighting fixture.
Once you have confirmed that the power is off, it’s safe to proceed with the installation process. Take extra caution during this step to prevent any accidents or electric shocks. If you have any concerns about turning off the power or are unsure about the process, it’s always recommended to seek the assistance of a licensed electrician.
With the power turned off, you’re now ready to move on to the next step: installing a support brace (if needed). This step is crucial for ensuring the stability and security of your hanging lamp.
Read more: How To Hang A Heat Lamp
Step 5: Install a Support Brace (if needed)
If the hanging lamp you’re installing is particularly heavy or the ceiling is not sturdy enough to support the weight, you may need to install a support brace. A support brace provides additional stability and ensures that the hanging lamp is securely attached to the ceiling. Follow these steps to install a support brace:
- Locate the ceiling joists: Use a stud finder or tap the ceiling to locate the joists. Joists are wooden beams that provide structural support to the ceiling.
- Measure and mark the position: Using a tape measure, determine the center point of the desired hanging point and mark it on the ceiling.
- Position the support brace: Place the support brace over the marked spot, aligning it with the joists. The brace should have a mounting bracket or flanges that can be secured to the ceiling.
- Mark the screw holes: Once the support brace is in position, use a pencil or marker to mark the screw holes on the ceiling.
- Pre-drill holes: With the screw hole marks in place, use a power drill to pre-drill holes in the ceiling at each marked spot. This will make it easier to insert the screws.
- Secure the support brace: Position the support brace back over the pre-drilled holes and attach it to the ceiling using screws. Make sure the brace is firmly fixed and doesn’t wobble.
- Check for stability: Test the stability of the support brace by applying gentle pressure. It should feel secure and stable.
If you’re unsure about installing a support brace or working with ceiling joists, it’s best to consult a professional electrician or contractor. They can provide guidance and ensure that the installation is done correctly and safely.
With the support brace in place, you can now proceed to the next step: assembling the hanging lamp. This is where you start bringing your hanging lamp to life!
When installing a hanging lamp, always turn off the power at the circuit breaker before starting. This will ensure your safety while working with electrical components.
Step 6: Assemble the Hanging Lamp
Now that you have the support brace installed (if needed), it’s time to assemble your hanging lamp. Follow these steps to ensure a smooth assembly process:
- Read the manufacturer’s instructions: Start by familiarizing yourself with the manufacturer’s instructions that came with your hanging lamp. Each lamp may have specific assembly steps and guidelines that you need to follow.
- Prepare the lamp components: Lay out all the lamp components, including the fixture, canopy, mounting hardware, and any additional accessories. Ensure that all components are intact and in good condition before proceeding.
- Attach the canopy: The canopy is the decorative cover that hides the electrical box and wiring. Attach the canopy to the fixture according to the manufacturer’s instructions.
- Connect the wires: Identify the wires coming from the lamp fixture. These wires are usually color-coded, with a black wire for the hot or live wire, a white wire for the neutral wire, and a green or copper wire for the ground wire.
- Match the wires: Match the corresponding wires from the fixture to the electrical wires in the ceiling. Use wire connectors (wire nuts) to securely connect the wires together. Follow proper wire color-coding and make sure the connections are tight.
- Secure the connection: After connecting the wires, carefully tuck them into the electrical box. Use the provided screws or clips to secure the fixture to the mounting bracket or support brace, depending on your setup.
- Double-check the connections: Before proceeding to the next step, double-check all wire connections to ensure they are properly secured and insulated.
Assembling the hanging lamp may vary depending on the specific design and model you have chosen. It is essential to refer to the manufacturer’s instructions for accurate and customized assembly steps.
Once you have completed the assembly, you’re now ready to move on to the next step: connecting the electrical wiring. This is a crucial step in ensuring that your hanging lamp functions properly and safely.
Step 7: Connect the Electrical Wiring
Connecting the electrical wiring is a crucial step in the installation process to ensure that your hanging lamp is properly powered and functions safely. Follow these steps to connect the electrical wiring:
- Turn off the power: As a safety precaution, double-check that the power to the area is still turned off. This will prevent any potential electrical shocks while working on the wiring.
- Expose the electrical wires: Remove any insulation or covering from the end of the electrical wires in the ceiling using wire strippers. Be careful not to damage the wires while stripping the insulation.
- Expose the wires from the lamp fixture: Check the manufacturer’s instructions to determine if any insulation needs to be removed from the wires of the lamp fixture. Use wire strippers as needed.
- Match the wires: Match the corresponding wires from the electrical box to the wires of the lamp fixture. Connect the black (hot) wire to the black wire, the white (neutral) wire to the white wire, and the green or copper (ground) wire to the ground wire, if present.
- Secure the connections: Use wire connectors (wire nuts) to securely connect the wires together. Twist the wires together and then twist on the wire connector until it is tight and secure. Ensure that there are no exposed wires or loose connections.
- Tuck the wires: Carefully tuck the connected wires back into the electrical box, making sure they are positioned securely and away from any moving parts or other components of the lamp.
- Secure the lamp fixture: Once the wiring is connected and tucked away, secure the lamp fixture to the mounting bracket or support brace using the provided screws or clips.
It is crucial to follow proper wiring practices and ensure that all connections are tight, secured, and insulated. If you’re unsure about any aspect of the wiring process, don’t hesitate to seek the assistance of a professional electrician.
With the electrical wiring connected, you’re now ready to move on to the next step: hanging the lamp fixture. This is where you’ll see your hanging lamp come to life!
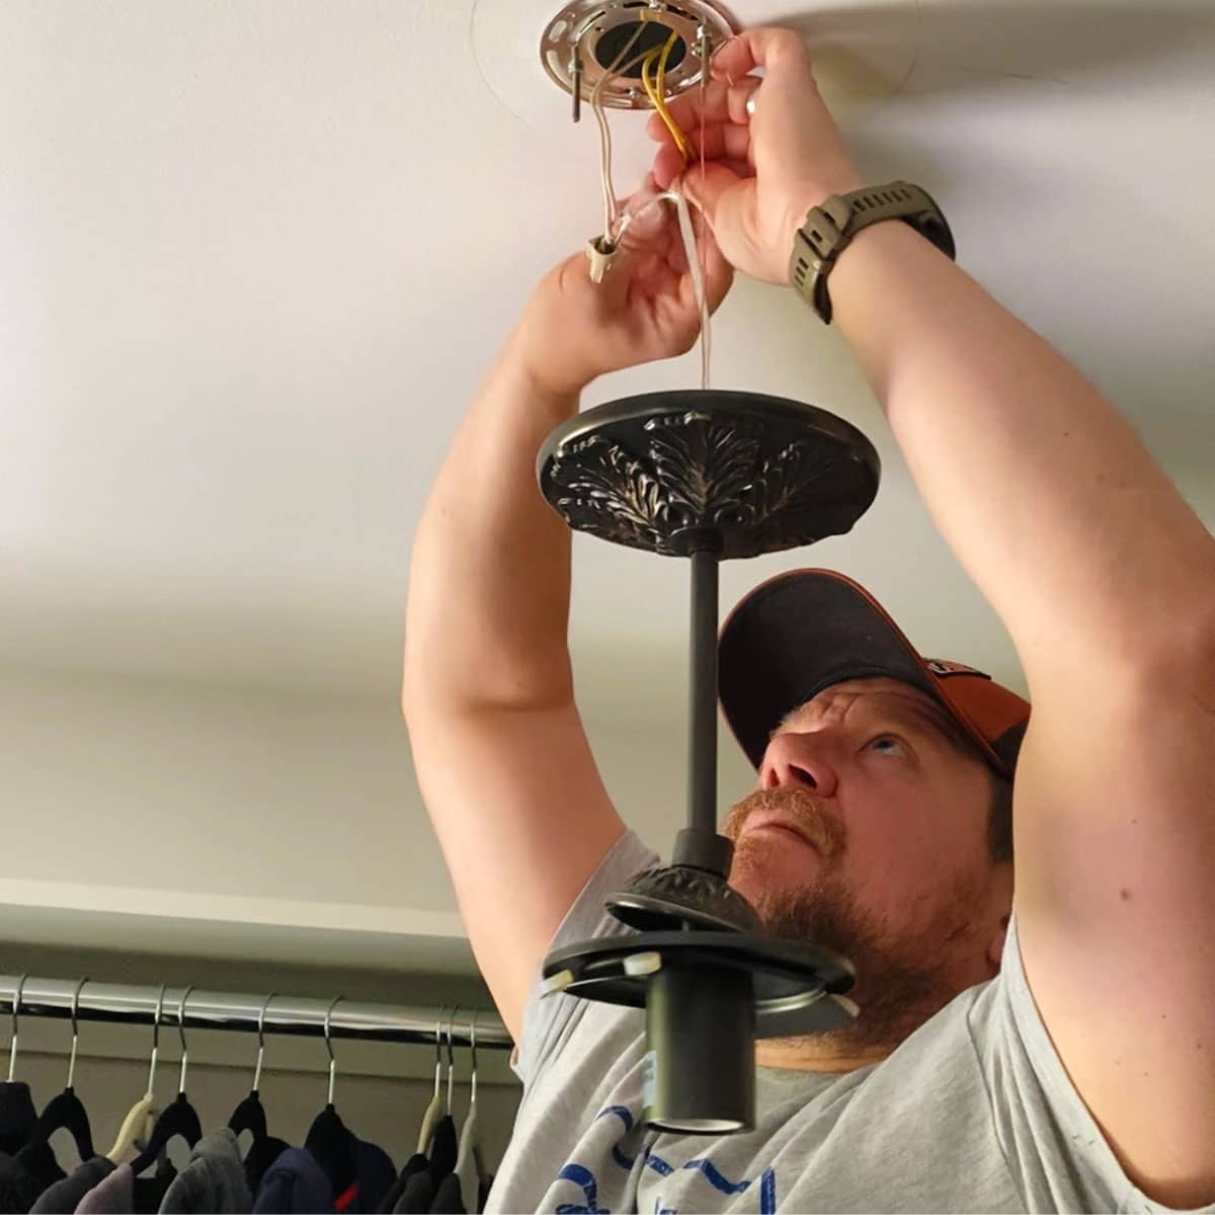
Step 8: Hang the Lamp Fixture
Now that the electrical wiring is connected, it’s time to hang the lamp fixture in its designated spot. Follow these steps to ensure a secure and visually appealing installation:
- Prepare the hanging mechanism: Depending on the type of hanging lamp fixture you have, there may be different mechanisms for attaching it to the ceiling. Refer to the manufacturer’s instructions to understand the specific requirements and components.
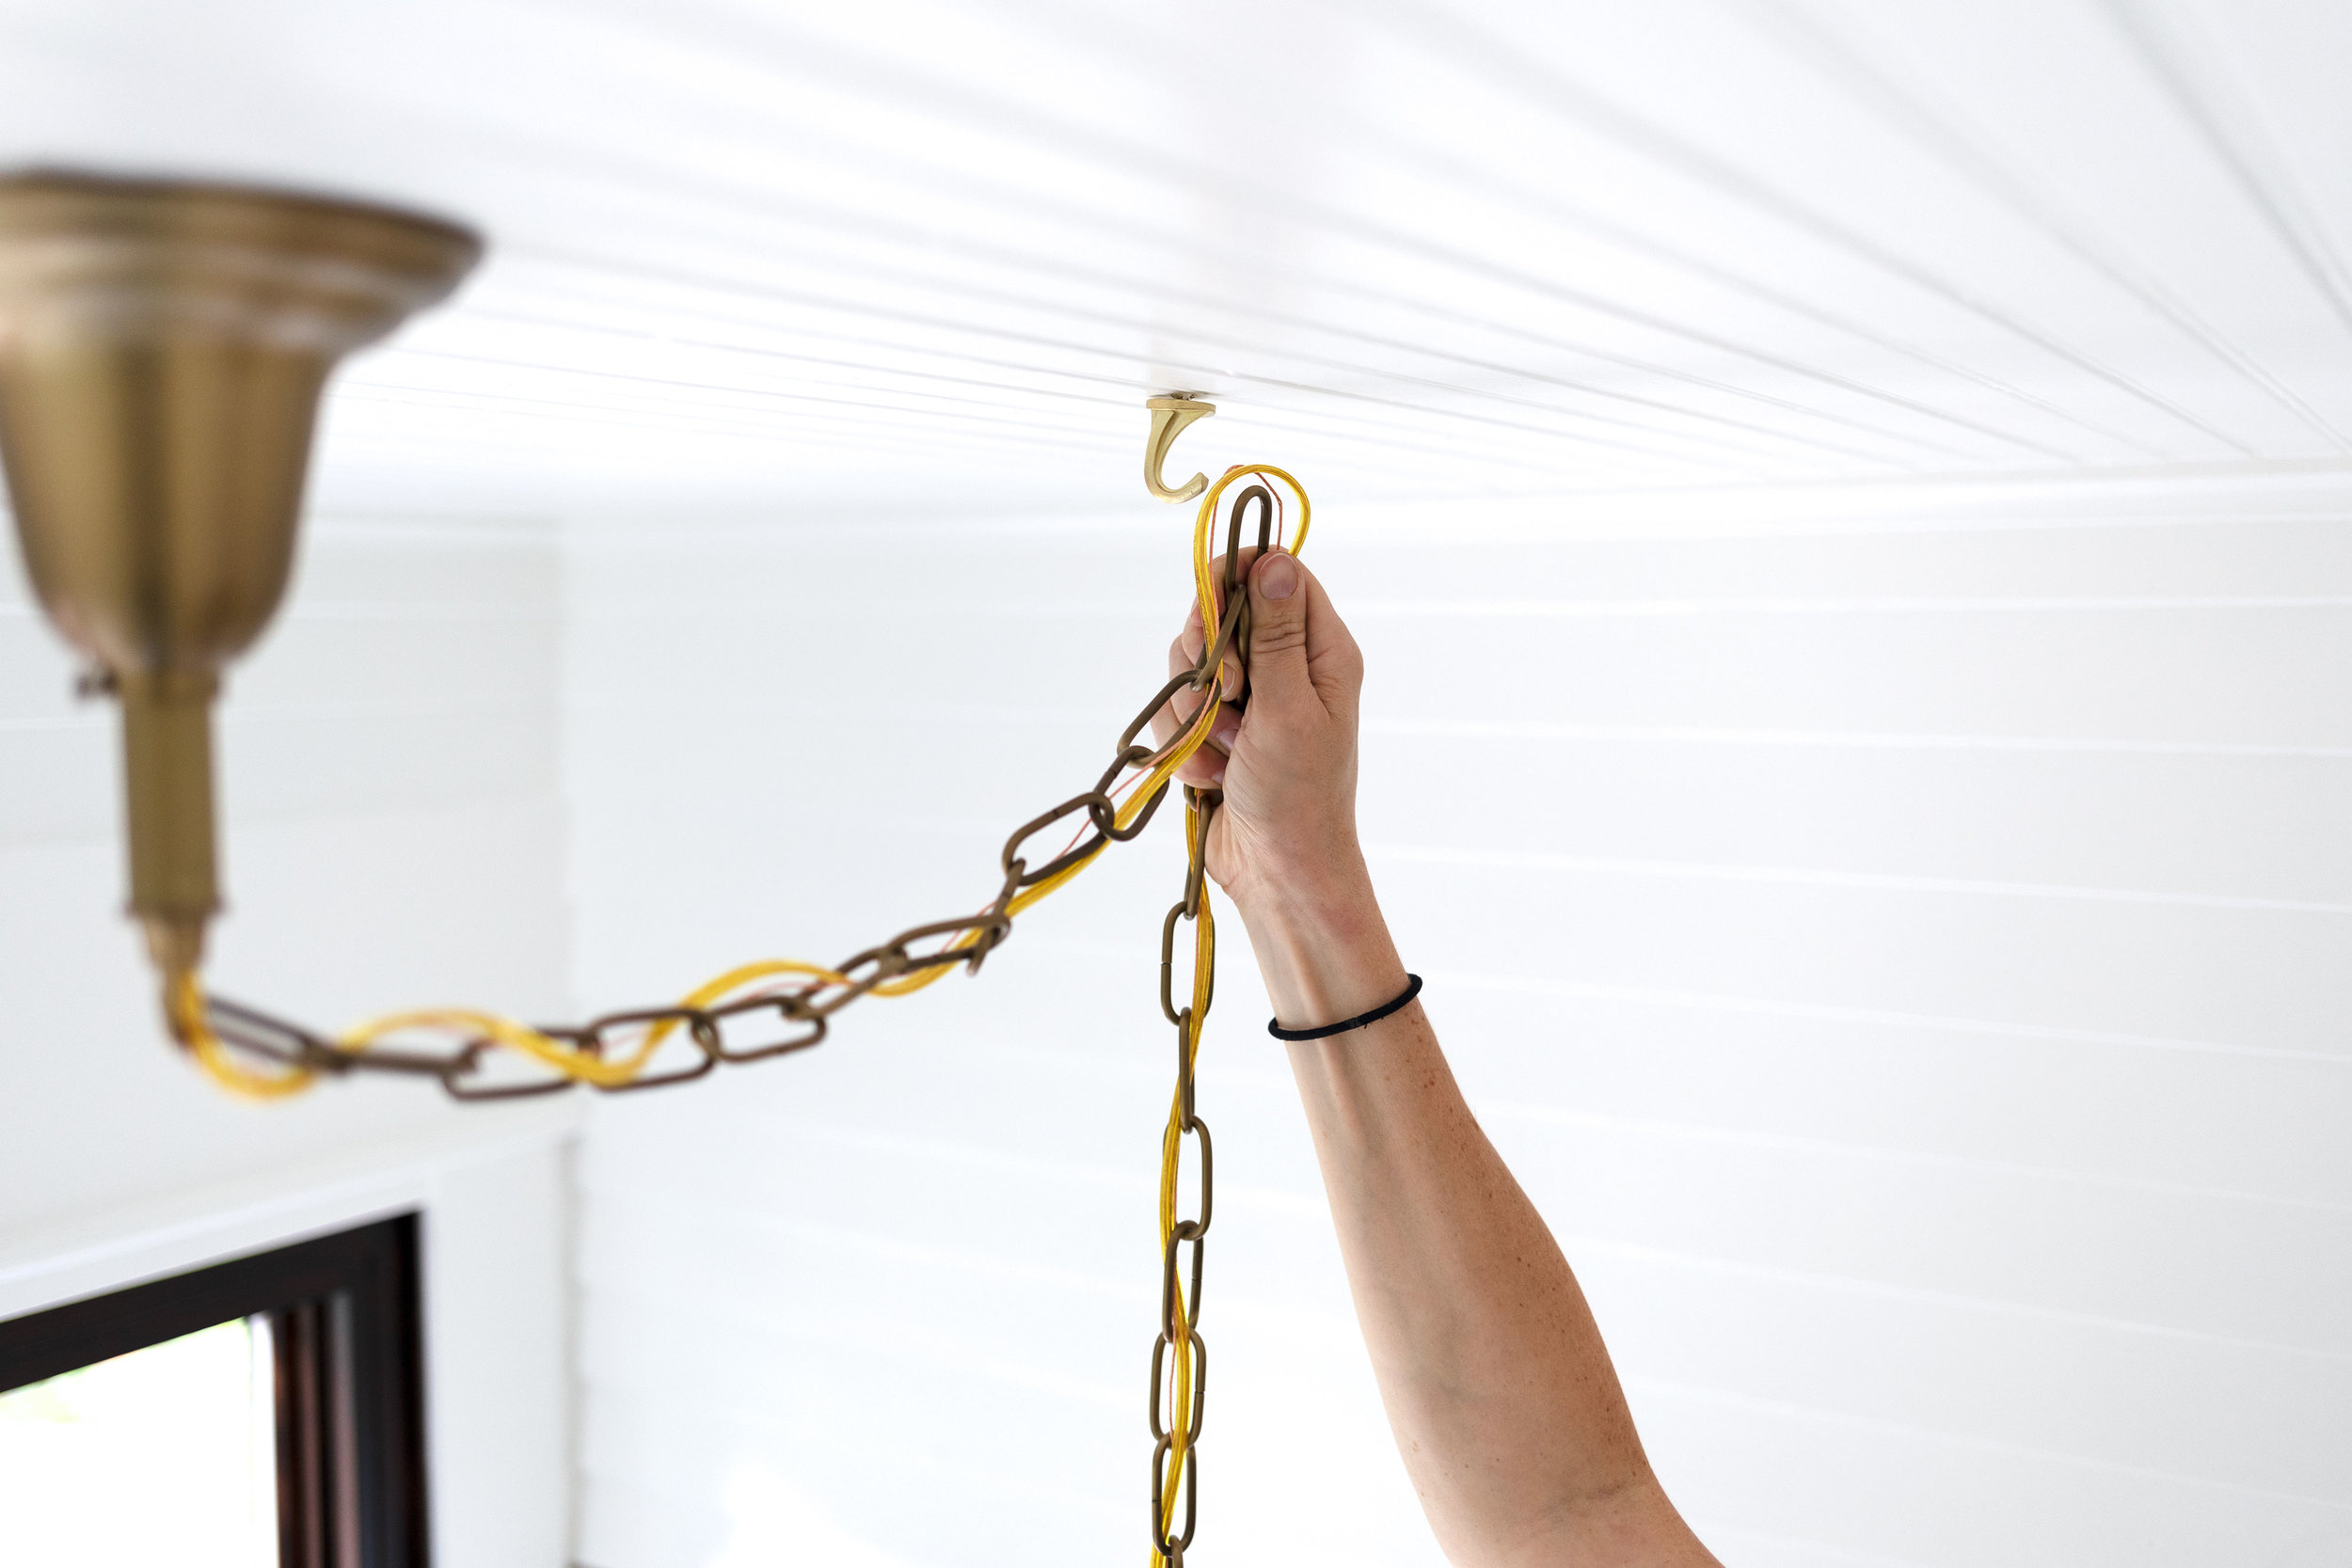
- Secure the hanging hardware: Install any necessary hooks, chains, or rods as specified by the manufacturer. Make sure these components are securely attached to the ceiling or the support brace.
- Hang the lamp fixture: Lift the lamp fixture and hang it on the installed hanging hardware, ensuring that it is properly aligned and positioned in the designated spot. Take caution and avoid straining the electrical wires during this process.
- Adjust the height: If your lamp fixture allows for height adjustment, use the provided mechanisms to adjust the height accordingly. Make sure the lamp is at the desired level, maintaining proper clearance from any objects beneath it.
- Double-check stability: Gently shake the lamp fixture to ensure it is stable and securely mounted. If there is any wobbling or instability, readjust the mounting hardware and connections as needed.
- Tighten all connections: Confirm that all screws, clips, or other fasteners are tightened securely to prevent any movement or loosening over time.
Always follow the manufacturer’s instructions when hanging the lamp fixture, as specific details and requirements may vary depending on the design and model of your hanging lamp.
Once the lamp fixture is hung and securely in place, it’s time to proceed to the next step: testing the installation to ensure everything is functioning properly.
Read more: How To Hang A Swag Lamp
Step 9: Test the Installation
After hanging the lamp fixture, it’s crucial to test the installation to ensure that everything is functioning properly and safely. Follow these steps to test your hanging lamp:
- Turn on the power: Turn on the circuit breaker to restore power to the area where the hanging lamp is installed. Do a final check to confirm that the power is indeed restored.
- Switch on the lamp: Use the light switch or any designated controls to turn on the hanging lamp. Observe if the lamp illuminates as expected.
- Check for any issues: While the lamp is on, inspect the fixture and surrounding area for any signs of flickering lights, buzzing sounds, or loose connections. Also, check for proper alignment and positioning of the lamp.
- Ensure proper functionality: Test any additional features of the hanging lamp, such as adjustable brightness or dimming options, if applicable. Make sure all components are functioning as intended.
- Look for stability: While the lamp is turned on, observe if it remains stable and doesn’t wobble or sway excessively. This ensures that it’s securely mounted and won’t pose any safety risks.
- Perform a final visual inspection: Take a step back and visually inspect the overall appearance of the installed hanging lamp. Ensure that it complements the room’s aesthetics and meets your design vision.
If you encounter any issues during the testing phase, such as flickering lights or loose connections, it’s important to address them immediately. Double-check the wiring connections, tighten any loose screws, or seek professional assistance if needed.
Once you have confirmed that the hanging lamp is functioning properly and meets your expectations, it’s time to move on to the final step: securing and adjusting the lamp to ensure it remains in optimal condition.
Step 10: Secure and Adjust the Lamp
After testing the installation and ensuring that your hanging lamp is functioning properly, it’s important to take a few additional steps to secure and adjust the lamp for optimal performance and longevity. Follow these final steps to complete the installation process:
- Tighten all connections: Double-check all the screws, clips, and connectors to ensure they are properly tightened. This will prevent any loose components that may affect the stability and functionality of the hanging lamp.
- Trim excess wires: If there are any excess electrical wires hanging down, carefully trim them to avoid any trip hazards or unsightly appearance. Leave a sufficient length for future adjustments or modifications, if necessary.
- Adjust the lamp position: Take a moment to step back and assess the positioning and alignment of the lamp fixture. Make any necessary adjustments to ensure that it is visually pleasing and appropriately illuminates the desired area.
- Secure any movable parts: If your lamp fixture has any movable parts, such as adjustable arms or swiveling mechanisms, make sure they are locked in place to prevent unintentional movement or shifting over time.
- Inspect regularly: Periodically check the hanging lamp for any signs of wear and tear, including loose screws, damaged wires, or fading finishes. Address any maintenance or repair needs promptly to keep your hanging lamp in optimal condition.
By taking the time to secure and adjust your hanging lamp, you can ensure that it remains stable, functional, and visually pleasing for years to come. Regular inspection and maintenance will help extend its lifespan and prevent any potential issues.
Congratulations! You have successfully completed the installation process of your hanging lamp. Enjoy the enhanced ambiance and lighting that it brings to your space!
If you require any further assistance or have any questions, don’t hesitate to seek professional guidance or consult a licensed electrician.
Conclusion
Installing a hanging lamp can be a rewarding DIY project that adds charm and functionality to any room in your home. By following the step-by-step guide outlined in this article, you can confidently install a hanging lamp and transform your space with beautiful lighting.
Throughout the installation process, it’s essential to prioritize safety. Always turn off the power before starting any work on the electrical components and consider consulting a professional electrician if you have any doubts or concerns.
By gathering the necessary materials and determining the installation spot, you set the foundation for a successful installation. Measuring and marking the hanging point ensure that your lamp is positioned at the desired height, while turning off the power and installing a support brace if needed provides stability and safety.
Assembling the hanging lamp, connecting the electrical wiring, and hanging the fixture require attention to detail and following manufacturer instructions. By testing the installation, you can ensure everything is functioning correctly, and by securing and adjusting the lamp, you guarantee its stability and longevity.
Remember to regularly inspect and maintain your hanging lamp to address any wear and tear or potential issues that may arise over time.
Now that you have completed the installation process, it’s time to sit back, relax, and enjoy the beautiful illumination and ambiance of your newly installed hanging lamp.
If you have any further questions or need assistance, don’t hesitate to consult a professional or seek expert advice. Happy lighting!
Frequently Asked Questions about How To Install A Hanging Lamp
Was this page helpful?
At Storables.com, we guarantee accurate and reliable information. Our content, validated by Expert Board Contributors, is crafted following stringent Editorial Policies. We're committed to providing you with well-researched, expert-backed insights for all your informational needs.