Furniture
How To Repaint A Brass Lamp
Modified: August 30, 2024
Learn how to transform your brass lamp into a stunning piece of furniture with our step-by-step guide. Repaint your lamp to give it a fresh, modern look.
(Many of the links in this article redirect to a specific reviewed product. Your purchase of these products through affiliate links helps to generate commission for Storables.com, at no extra cost. Learn more)
Introduction
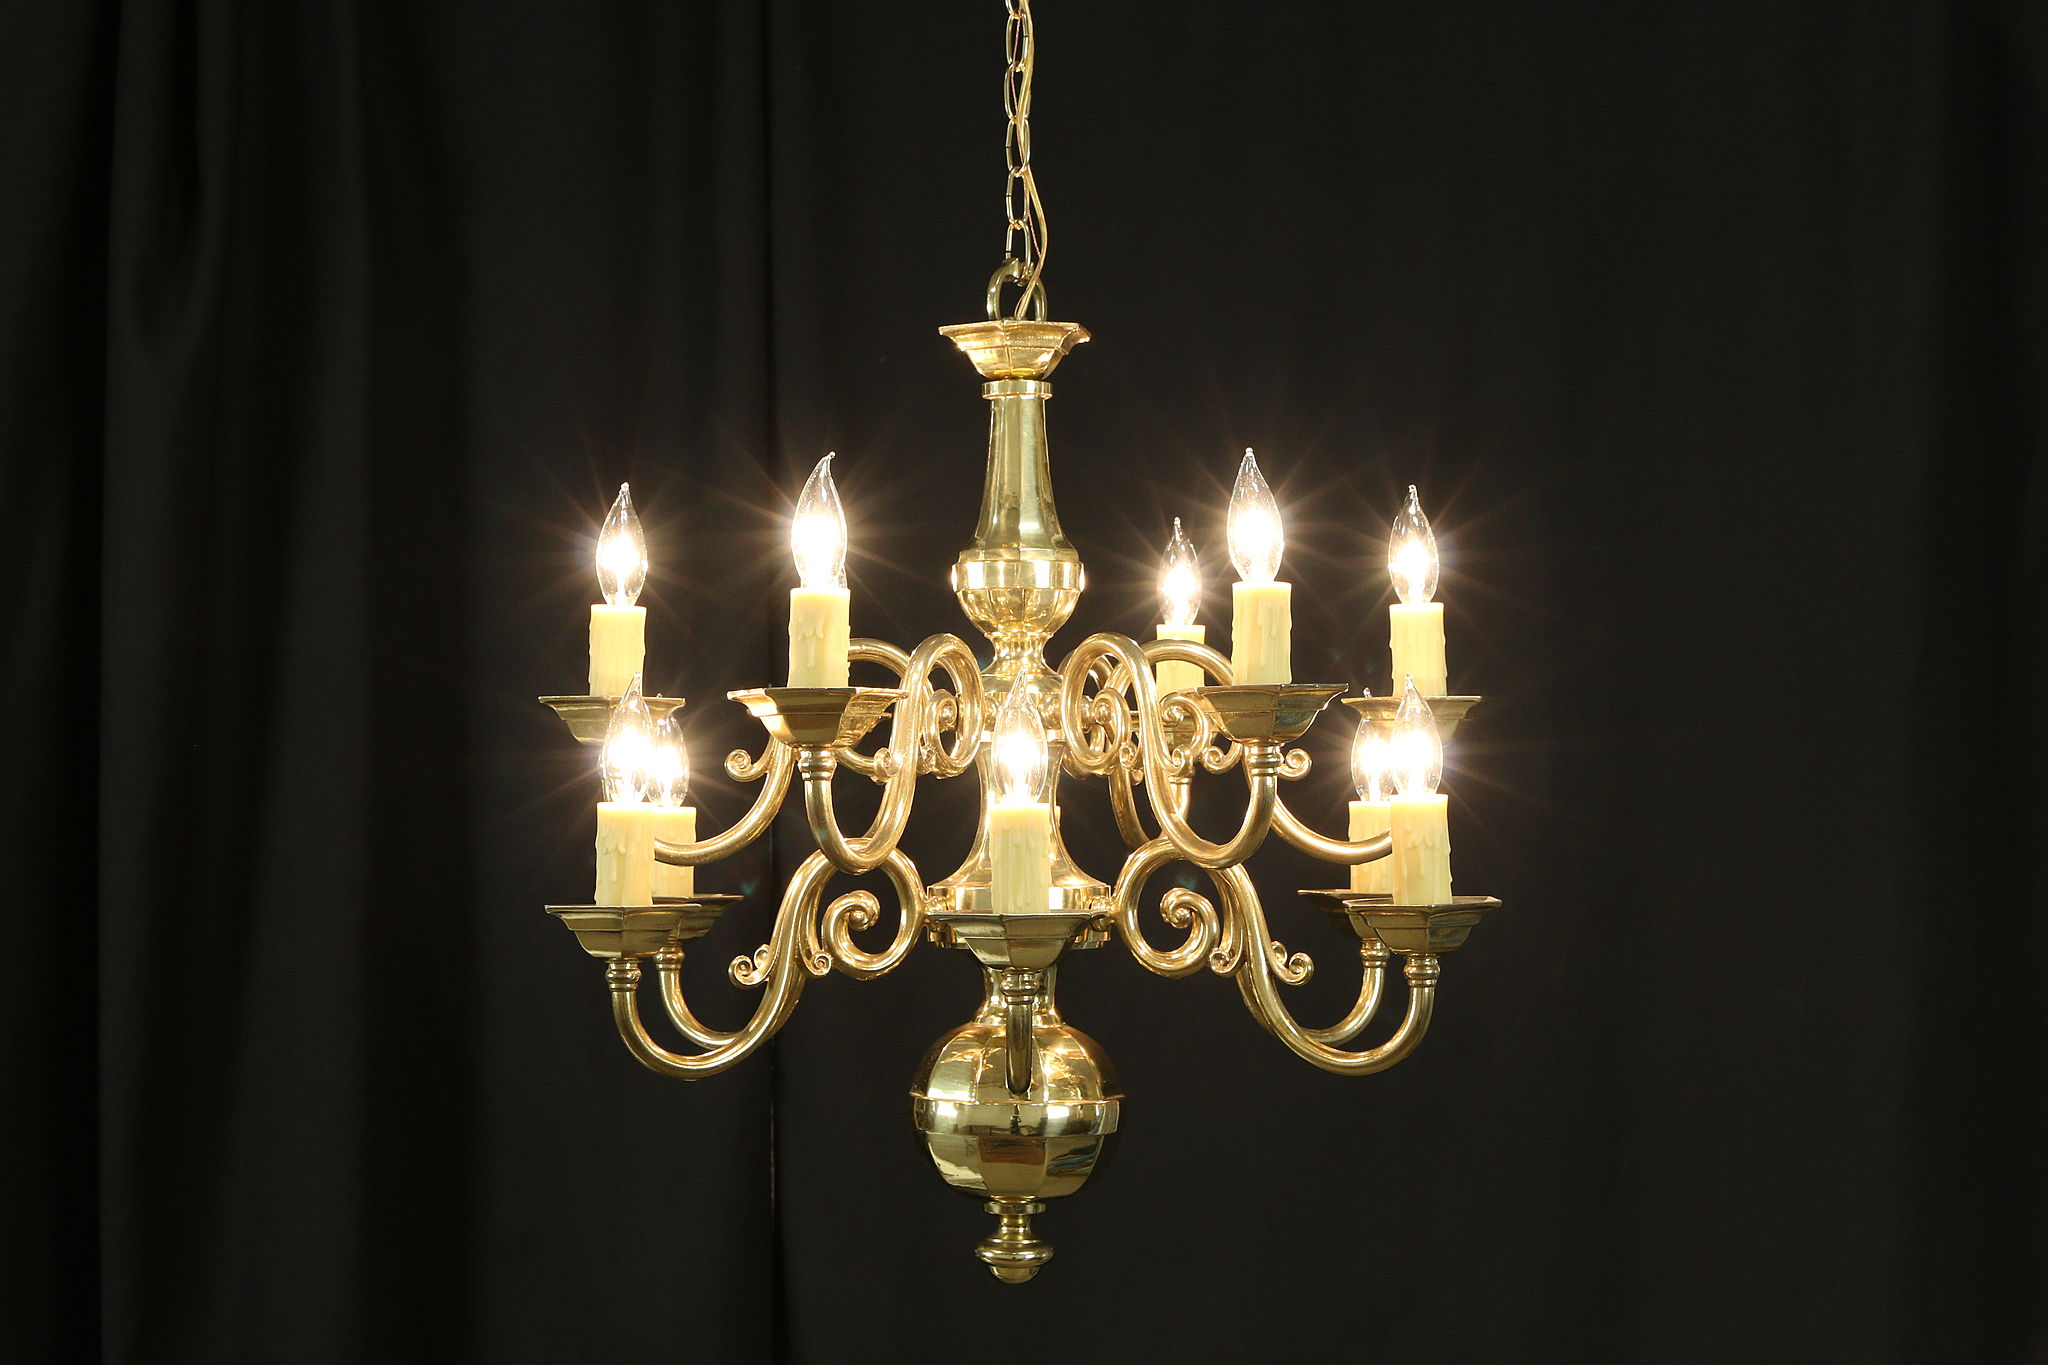
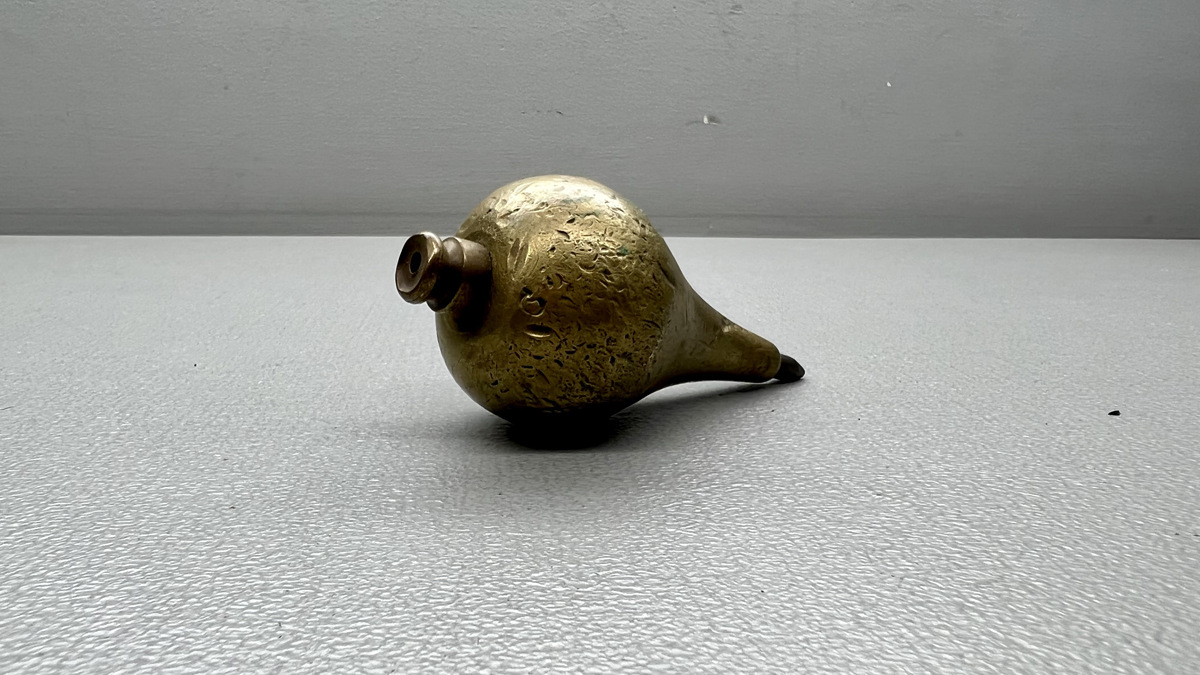
Repainting a brass lamp is a simple and cost-effective way to give new life to an old piece of furniture. Whether you have inherited a vintage lamp or want to rejuvenate a worn-out fixture, repainting can transform it into a stylish and updated accessory for your home. With the right materials and techniques, you can easily achieve a professional-looking finish.
In this guide, we will walk you through the step-by-step process of repainting a brass lamp. From preparing the surface to choosing the right paint, we will cover everything you need to know to successfully complete the project. So, grab your tools and let’s get started!
Key Takeaways:
- Revitalize old brass lamps with a simple repainting process using the right materials and techniques. Choose the perfect paint and finish to complement your home decor and achieve a professional-looking result.
- Proper preparation, including cleaning, priming, and applying paint in thin coats, is essential for achieving a smooth and durable finish. Finish off with a clear coat for added protection and enjoy your newly transformed brass lamp.
Read more: How To Clean An Old Brass Lamp
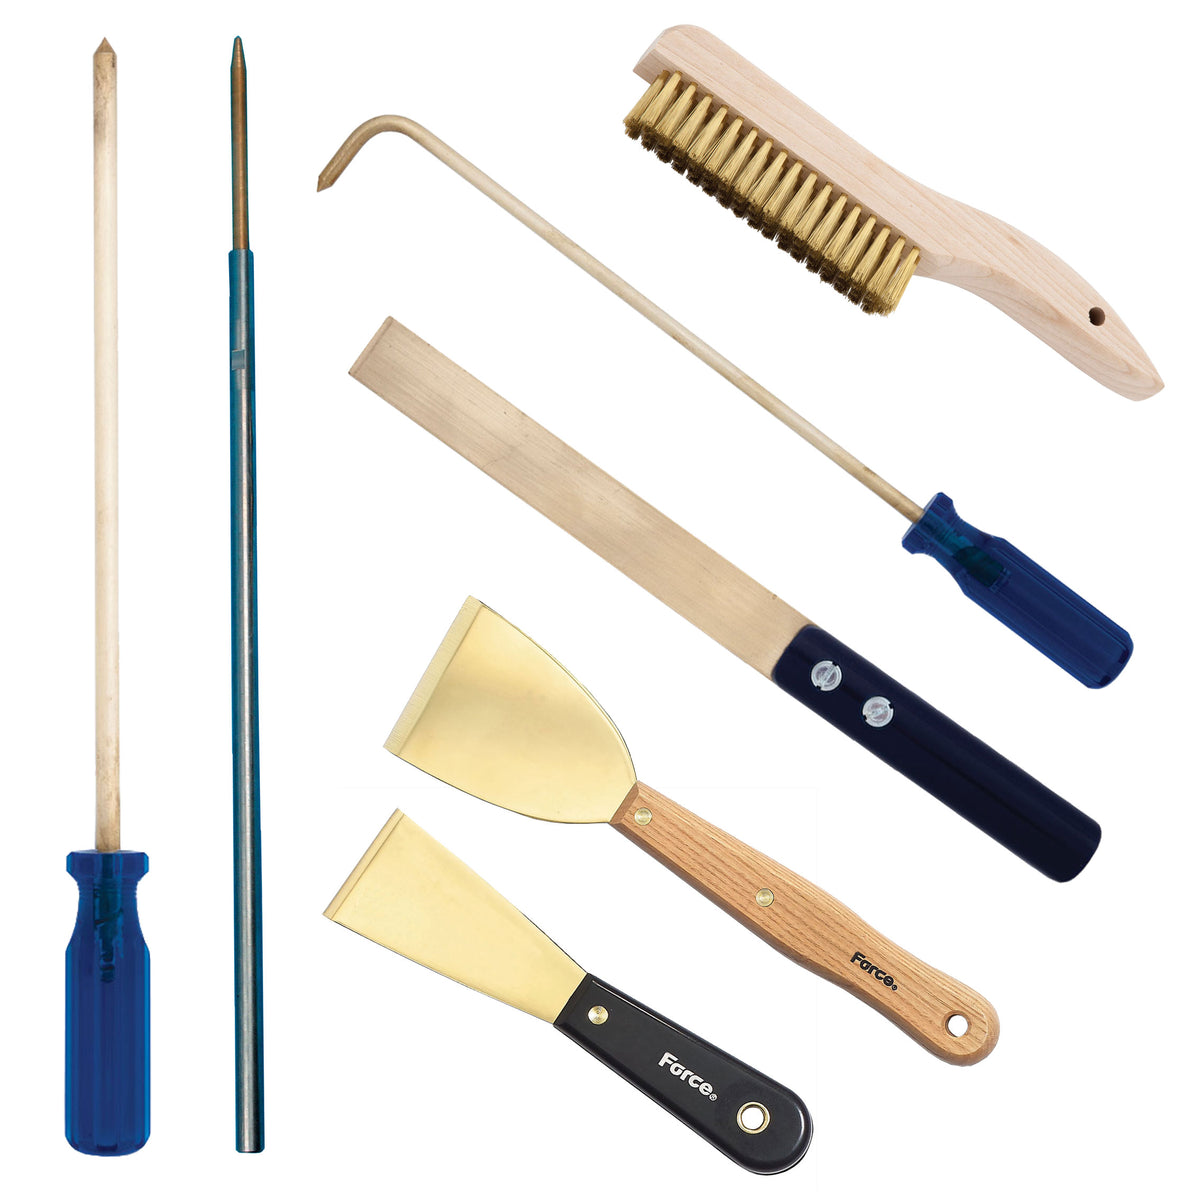
Materials Needed
Before you begin repainting your brass lamp, gather the following materials:
- Brass lamp
- Sandpaper (fine grit)
- Painter’s tape
- Drop cloth or newspaper
- Lint-free cloth
- Brass cleaner
- Primer
- Spray paint or enamel paint
- Clear coat or sealant
- Paintbrushes or foam rollers
Make sure to choose materials that are suitable for the type of lamp you are working with. For example, if you have a lamp with intricate details or delicate surfaces, opt for a smaller paintbrush or foam roller that can navigate those areas more easily.
Also, consider the color and finish you want for your lamp. Select a spray paint or enamel paint that complements your interior design and personal style. If you’re unsure, take a trip to your local hardware store and explore the options available. Don’t be afraid to experiment!
Now that you have your materials ready, let’s move on to the preparations before repainting your brass lamp.
Preparation
Before diving into the repainting process, it’s crucial to properly prepare the brass lamp to ensure a smooth and long-lasting finish. Follow these steps to prepare your lamp:
- Choose a well-ventilated area: Find a space outdoors or in a well-ventilated room where you can work comfortably without the risk of inhaling fumes.
- Protect the surrounding area: Place a drop cloth or lay down newspapers to protect the floor or surface where you will be working. This will catch any paint drips or dust.
- Disassemble the lamp: If your lamp has removable parts, such as a lampshade or finial, carefully detach them. This will make it easier to paint each component separately and avoid any unwanted paint transfer.
- Clean the lamp: Use a lint-free cloth to remove any dust, dirt, or grime from the lamp’s surface. This will help the paint adhere better and provide a smoother finish. If your lamp is particularly dirty, you may need to use a brass cleaner to remove stubborn stains or tarnish.
- Mask off areas: If there are any areas of the lamp that you do not want to paint, use painter’s tape to mask off those sections. This can include electrical sockets, switches, or decorative elements that you want to preserve in their original state.
Once you have completed these preparation steps, you are ready to move on to the next stage: removing the old paint from the lamp.
Removing the Old Paint
To achieve a smooth and flawless finish on your brass lamp, it’s important to remove any existing paint before applying a new coat. Here’s how you can effectively remove the old paint:
- Sand the surface: Start by using fine-grit sandpaper to gently sand the entire lamp. This will help create a rough surface that allows the new paint to adhere better. Be sure to sand in the direction of the grain to avoid damaging the brass.
- Remove paint residue: After sanding, wipe off any paint dust or residue with a clean, lint-free cloth. This will ensure a clean surface for the next steps.
- Consider chemical paint removers: If your lamp has multiple layers of paint or stubborn spots that cannot be removed by sanding alone, you can opt for a chemical paint remover. Follow the instructions on the product carefully and use it in a well-ventilated area.
- Sand again (if necessary): After using a chemical paint remover, it’s important to sand the lamp again to remove any remaining paint and residue. This will provide a smooth, clean base for the next steps.
By thoroughly removing the old paint, you will create a clean canvas for your lamp and ensure that the new coat of paint adheres properly. Once the old paint has been removed, you can move on to the next stage: cleaning the brass lamp.
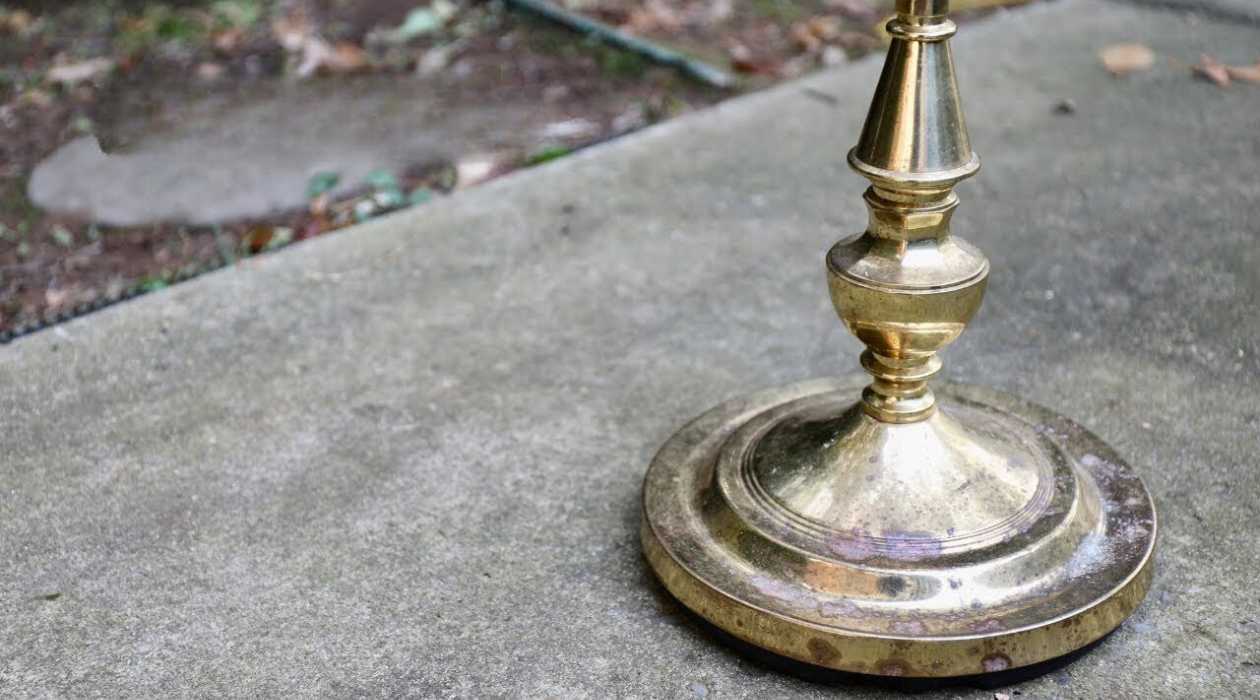
Cleaning the Brass Lamp
Before applying any new paint or primer, it’s important to clean the brass lamp to ensure a pristine surface. Follow these steps to effectively clean your lamp:
- Use a brass cleaner: Apply a small amount of brass cleaner to a clean cloth or sponge. Gently rub the cleaner onto the brass surface, paying close attention to any areas with tarnish or discoloration. Follow the instructions on the brass cleaner for the best results.
- Remove cleaner residue: After cleaning, use a separate clean cloth or sponge to wipe away any excess brass cleaner residue. This will ensure that no residue interferes with the adhesion of the primer and paint.
- Dry the lamp: Allow the lamp to air dry completely or use a soft, lint-free cloth to dry it thoroughly. Ensure that there is no moisture left on the surface as it can affect the adherence of the paint.
By cleaning the brass lamp before painting, you will remove any dirt, oils, or tarnish that may affect the paint’s finish. Additionally, a clean surface allows for better adhesion of the subsequent layers. Once the lamp is clean and dry, you can proceed to the next step: applying the primer.
Before repainting a brass lamp, make sure to clean the surface thoroughly with a degreaser and fine steel wool to remove any dirt and grime. This will help the paint adhere better and result in a smoother finish.
Read more: How To Repaint A Brick House
Applying the Primer
Priming your brass lamp before painting is an essential step as it helps the paint adhere better and provides a smoother and more durable finish. Here’s how you can apply the primer:
- Choose the right primer: Select a quality metal primer that is suitable for brass surfaces. Look for a primer specifically designed to adhere to metal and provide good coverage.
- Prepare the primer: Follow the instructions on the primer can to prepare it for application. This may involve stirring the primer thoroughly or thinning it with a recommended solvent.
- Apply the primer: Use a paintbrush or foam roller to apply an even layer of primer to the brass lamp. Start with the larger areas and then move on to the smaller and more intricate sections if needed. Ensure that the entire lamp is covered with a consistent layer of primer.
- Allow the primer to dry: Refer to the instructions on the primer can to determine the drying time. It is important to allow the primer to dry completely before proceeding to the next steps. This typically takes a few hours, but it can vary depending on the brand and environmental conditions.
- Sand the primer (optional): If you notice any rough or uneven areas on the primed surface, you can gently sand them with fine-grit sandpaper. This will create a smoother base for the paint application.
- Remove primer dust: After sanding, use a clean, lint-free cloth to remove any dust or debris left from sanding. This will ensure a clean surface for the paint to adhere to.
Applying a primer will provide a strong foundation for the paint and help it adhere better to the brass surface. Once the primer is dry and the surface is prepared, you are ready to move on to the next step: choosing the paint for your brass lamp.
Choosing the Paint
When it comes to selecting the paint for your brass lamp, there are a few factors to consider, including the desired finish, durability, and compatibility with the brass surface. Here are some tips to help you choose the right paint:
- Consider the finish: Decide whether you want a glossy, matte, or satin finish for your lamp. Keep in mind that a glossy finish may highlight any imperfections, while a matte finish can provide a more forgiving look.
- Choose the type of paint: Opt for a paint that is specifically formulated for metal surfaces. You can choose between spray paint or enamel paint, depending on your preference and the type of finish you want to achieve. Spray paint offers a more even and smooth application, while enamel paint provides a thicker and more durable finish.
- Select the color: Think about the color that will enhance your lamp and complement your existing decor. Consider the overall color scheme of the room and choose a paint color that harmonizes with it. You can go for a bold and dramatic color or a more subtle and neutral shade, depending on your style and preferences.
- Read reviews and recommendations: Before finalizing your paint choice, read reviews or seek recommendations from professionals or fellow DIY enthusiasts. This can give you insights into the quality, coverage, and longevity of different paint brands.
Experimenting with different paint options can be fun, so don’t be afraid to try out samples on a small section of your lamp to see how they look before committing to a full coat. Once you have chosen the perfect paint, you can move on to the exciting part: applying the paint to your brass lamp!
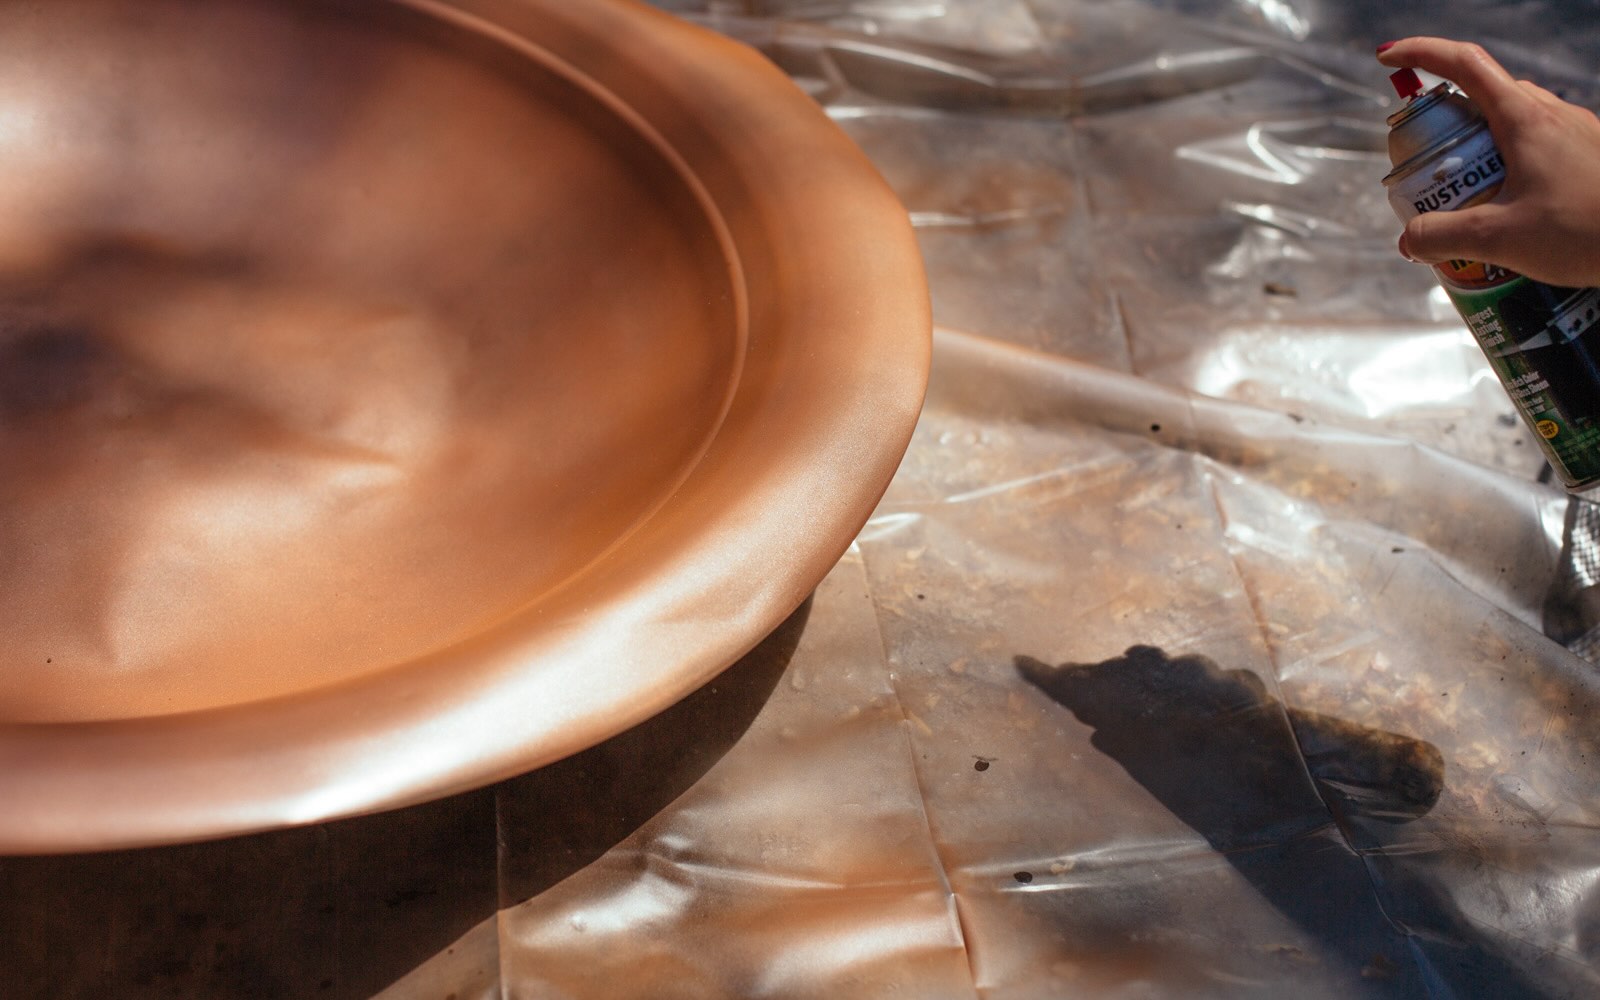
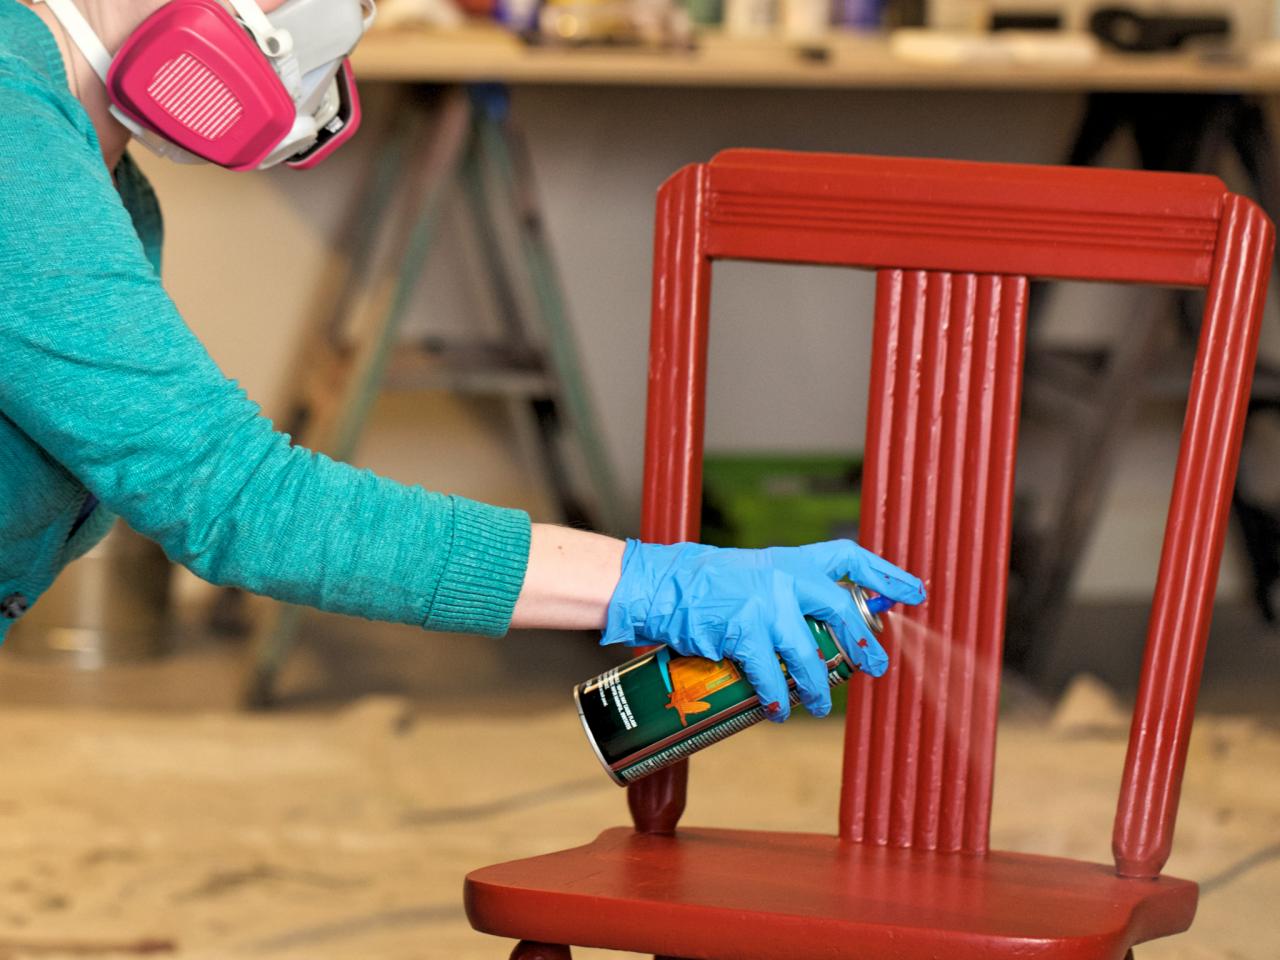
Applying the Paint
Now that you have chosen the perfect paint for your brass lamp, it’s time to apply it and give your lamp a fresh new look. Follow these steps for a successful paint application:
- Prepare the paint: Read the instructions on the paint can and prepare it accordingly. If you are using spray paint, make sure to shake the can thoroughly for the recommended time to ensure proper mixing.
- Protect the surrounding area: Use painter’s tape or newspaper to cover any parts of the lamp that you do not want to paint, such as sockets or switches.
- Apply the paint in thin coats: Start by applying a thin and even coat of paint to the lamp’s surface. Hold the spray can or paintbrush at a distance of 6-8 inches from the lamp and move it in smooth, sweeping motions for an even application. Avoid spraying or brushing too close to prevent drips and uneven coverage.
- Allow the paint to dry: Follow the instructions on the paint can to determine the drying time. It is essential to let each coat dry completely before applying the next one. This usually takes a few hours, but it can vary based on the paint brand and environmental conditions.
- Apply additional coats if necessary: Depending on the desired coverage and finish, you may need to apply multiple coats of paint. Allow each coat to dry before applying the next, and assess the color and coverage after each layer to determine if additional coats are needed.
- Smooth out any imperfections: If you notice any brush marks or uneven areas after the paint has fully dried, you can lightly sand those spots with fine-grit sandpaper. Be gentle to avoid damaging the paint finish, and wipe away any sanding dust with a clean cloth.
By applying the paint in thin coats and allowing sufficient drying time, you will achieve a smooth and professional-looking finish on your brass lamp. Once the paint is dry and any imperfections have been addressed, it’s time to move on to the final step: drying and finishing the lamp.
Drying and Finishing the Lamp
After applying the paint to your brass lamp, it’s essential to ensure that it dries completely and give it a final touch to enhance its appearance and durability. Follow these steps to properly dry and finish your lamp:
- Allow sufficient drying time: Refer to the instructions on the paint can to determine the recommended drying time. Depending on the type of paint and environmental conditions, it may take several hours or even overnight for the paint to fully cure. Avoid handling or placing objects on the lamp until it is completely dry.
- Apply a clear coat: To provide extra protection and a polished finish, consider applying a clear coat or sealant specifically designed for metal surfaces. This will help protect the paint from scratches and ensure its longevity. Follow the instructions on the clear coat can, and apply a thin and even layer over the painted surface. Allow it to dry completely before handling the lamp.
- Reassemble the lamp: Once the paint and clear coat are completely dry, you can reassemble any parts of the lamp that were detached for painting, such as the lampshade or finial. Make sure everything is securely in place.
- Clean and maintain: To keep your repainted brass lamp looking its best, clean it regularly with a non-abrasive cloth or duster. Avoid using harsh chemicals or abrasive cleaners that may damage the paint or brass surface. With proper care, your lamp will continue to be a beautiful addition to your home for years to come.
By allowing sufficient drying time and applying a clear coat, you’ll enhance the longevity and durability of the paint on your brass lamp. Plus, regularly cleaning and maintaining your lamp will help it maintain its fresh appearance and prevent any damage over time.
Congratulations! You have successfully completed the process of repainting your brass lamp. Enjoy your newly transformed piece and the unique touch it brings to your living space.
Read more: How To Repaint A Bathtub
Conclusion
Repainting a brass lamp is a fantastic way to breathe new life into an old piece of furniture and add a personal touch to your home decor. With the right materials, preparation, and technique, you can achieve a professional-looking finish that will make your lamp stand out.
In this guide, we have covered the step-by-step process of repainting a brass lamp. From preparing the surface and removing the old paint to cleaning the lamp, applying the primer and paint, and finally, drying and finishing the lamp, each step is crucial to achieving a stunning result.
Remember to choose the proper materials and consider the desired finish and color of your lamp. Take your time during each stage, allowing for adequate drying time and sanding any imperfections along the way. By following these steps and tips, you can transform your brass lamp into a beautiful and personalized piece of furniture.
Keep in mind that proper care and maintenance are essential to preserve the beauty and longevity of your repainted lamp. Regularly dusting and cleaning the lamp with gentle materials will help ensure that it remains in excellent condition for years to come.
Now, armed with this knowledge and a dash of creativity, it’s time to unleash your inner DIY enthusiast and give your brass lamp the makeover it deserves. Enjoy the process, and relish in the satisfaction of creating a unique and stylish piece that reflects your personal style and enhances your living space.
Frequently Asked Questions about How To Repaint A Brass Lamp
Was this page helpful?
At Storables.com, we guarantee accurate and reliable information. Our content, validated by Expert Board Contributors, is crafted following stringent Editorial Policies. We're committed to providing you with well-researched, expert-backed insights for all your informational needs.