Furniture
How To Install A Plug-In Lamp Dimmer
Modified: August 28, 2024
Learn how to easily install a plug-in lamp dimmer for your furniture to create the perfect ambiance. Step-by-step guide for a hassle-free installation process.
(Many of the links in this article redirect to a specific reviewed product. Your purchase of these products through affiliate links helps to generate commission for Storables.com, at no extra cost. Learn more)
Introduction
Welcome to the world of plug-in lamp dimmers! These nifty devices allow you to easily control the brightness of your lamps, creating the perfect ambiance for any occasion. Whether you’re looking to set a cozy atmosphere for a romantic dinner or create a relaxing environment for winding down after a long day, a plug-in lamp dimmer is the perfect solution.
In this article, we’ll guide you through the process of installing a plug-in lamp dimmer. We’ll cover the necessary tools and materials you’ll need, as well as a step-by-step walkthrough to ensure a successful installation. So, let’s get started!
Before we begin, it’s important to note that electrical work should always be handled by a professional if you’re unsure of what you’re doing. If you have any doubts or concerns, don’t hesitate to consult with an electrician. Safety should always be a top priority when working with electrical systems.
With that said, if you’re confident in your abilities and have a basic understanding of electrical wiring, installing a plug-in lamp dimmer can be a straightforward DIY project.
In the following steps, we’ll assume that you have a basic knowledge of electrical safety and procedures. If you’re not comfortable with any of the steps outlined, it’s best to consult a professional.
Now, let’s move on to the tools and materials you’ll need for this installation.
Key Takeaways:
- Easily control your lamp’s brightness with a plug-in lamp dimmer, creating the perfect ambiance for any occasion. Follow the installation steps carefully for a successful DIY project.
- Prioritize safety and consult a professional if unsure. Enjoy the flexibility and ambiance that plug-in lamp dimmers provide, and bask in the warm glow of a well-lit space tailored to your preferences.
Step 1: Gather the necessary tools and materials
Before you start the installation process, it’s important to gather all the tools and materials you’ll need. Having everything prepared beforehand will make the installation much smoother and more efficient. Here’s a list of what you’ll need:
- Flathead screwdriver or Phillips screwdriver (depending on the type of screws used in your switch or socket)
- Wire stripper/cutter
- Electrical tape
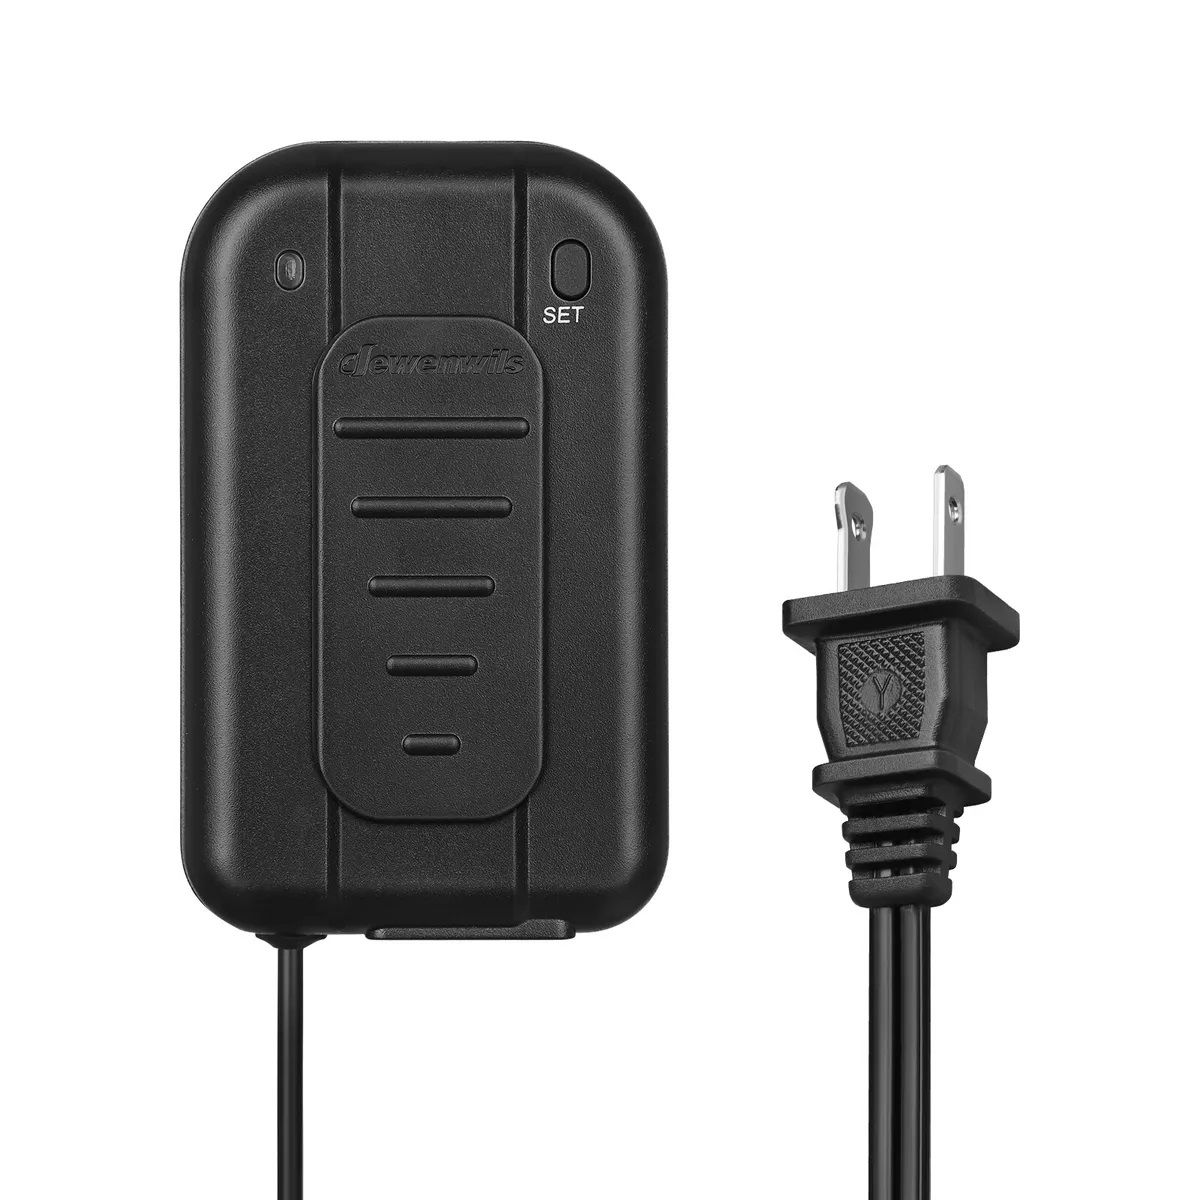
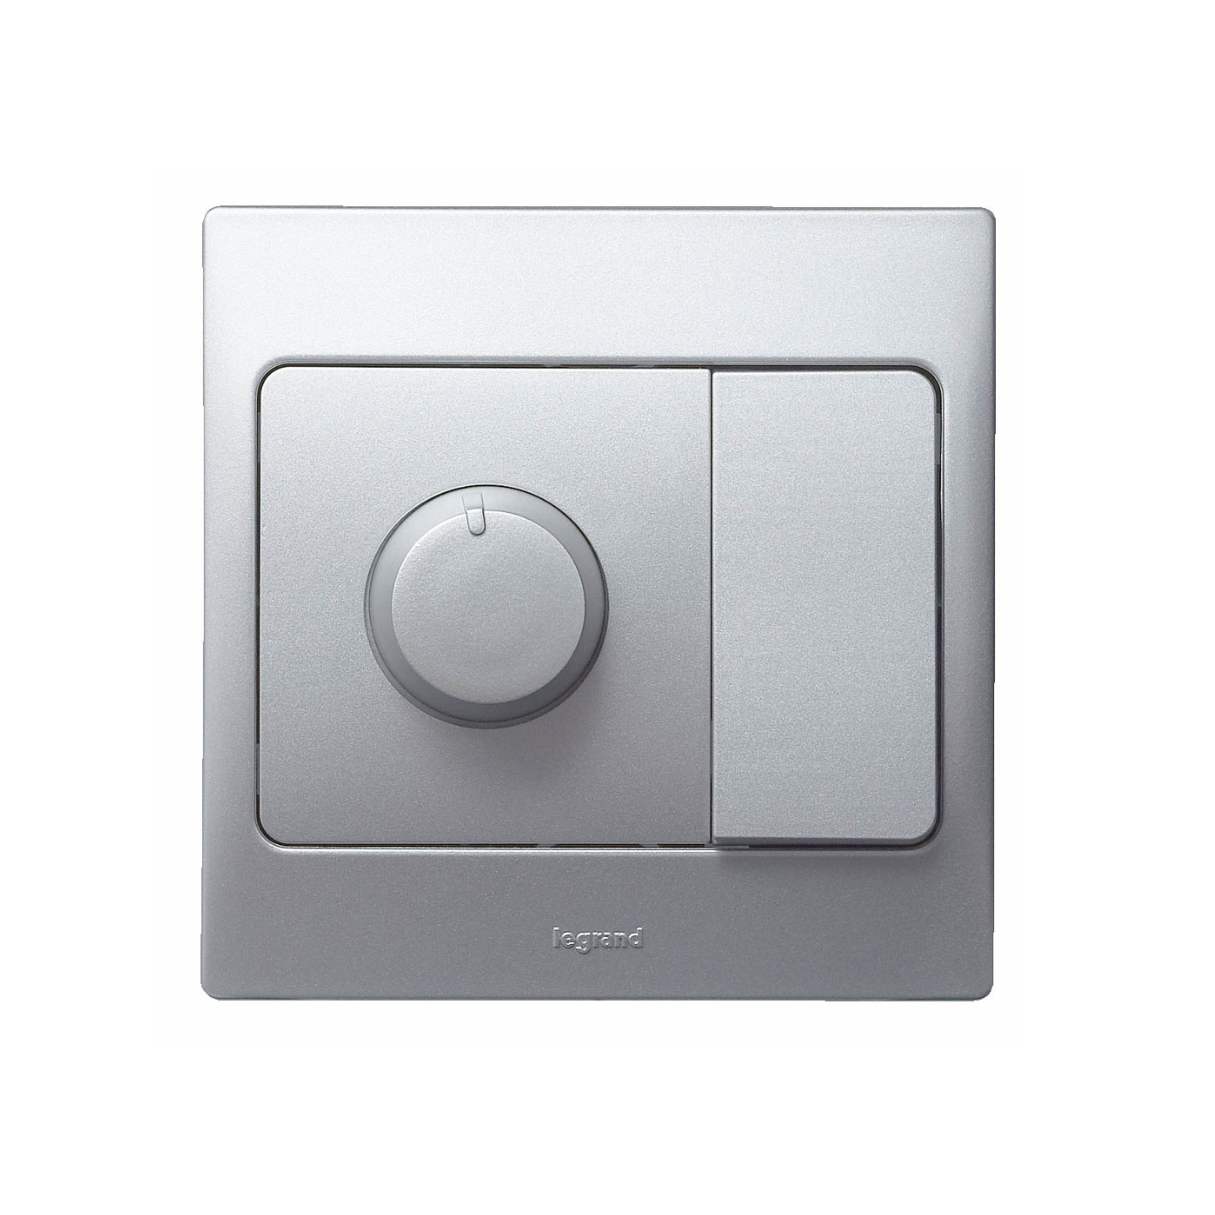
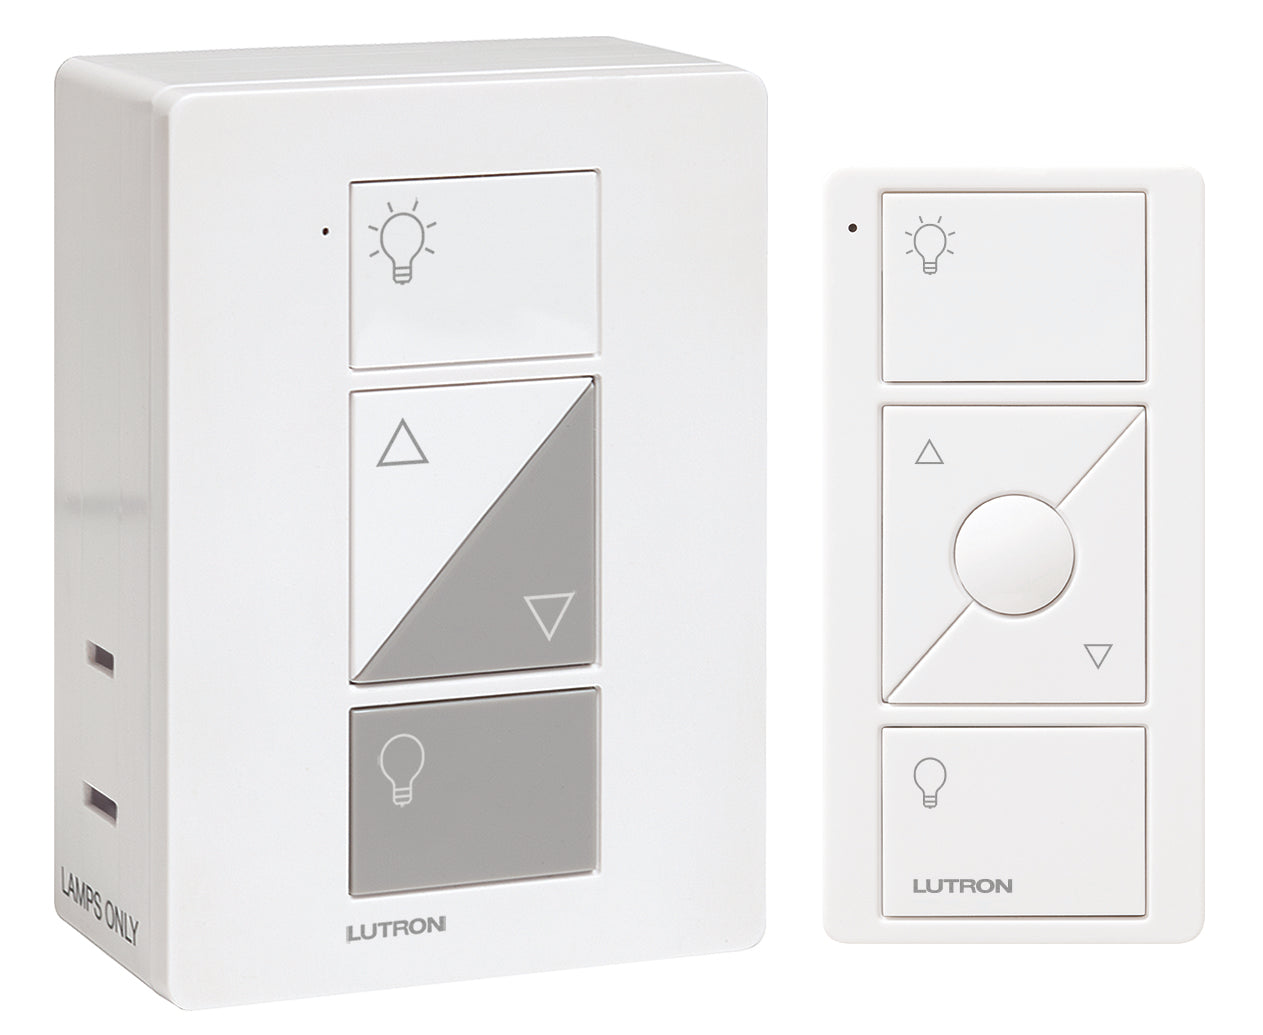
- Plug-in lamp dimmer
- Optional: Voltage tester – this will help ensure that the power is completely switched off before you start working
It’s essential to have the right tools for the job to ensure a safe and successful installation. Make sure your screwdriver is the correct size for the screws you’ll be working with. A wire stripper/cutter is crucial for properly preparing the wires for connection.
When it comes to the plug-in lamp dimmer, you can find these devices at your local hardware store or online. Make sure to choose a dimmer that is compatible with the type of lamp you’ll be using it with. Some dimmers are specifically designed for incandescent bulbs, while others work with LED or CFL bulbs. Check the packaging or product specifications to confirm compatibility.
Once you have all the necessary tools and materials gathered, you’re ready to move on to the next step: switching off the power.
Step 2: Switch off the power
Before you begin any electrical work, it’s crucial to turn off the power to the circuit you’ll be working on. This step is essential to ensure your safety and avoid any electrical accidents.
Follow these steps to switch off the power:
- Locate your electrical panel or circuit breaker box. It is usually found in a basement, garage, or utility room.
- Open the panel door to reveal the circuit breakers.
- Identify the breaker that controls the circuit you’ll be working on. This may require some trial and error or referring to a labeled diagram if available.
- Flip the breaker switch to the “Off” position to cut off the power to the circuit.
Once you have switched off the power, it’s a good practice to use a voltage tester to ensure that the circuit is indeed dead. This handy tool can detect the presence of electrical current, providing an extra layer of assurance.
Hold the voltage tester near the switch or socket you’ll be working on and confirm that it does not detect any electrical activity. If the voltage tester remains inactive (no lights or sounds), you can proceed with the installation knowing that the power is safely turned off.
Remember, electrical safety is paramount. Never attempt to work on a live circuit, as it can be extremely dangerous. Take the time to switch off the power and use a voltage tester to verify that it’s safe to continue.
Now that you’ve turned off the power, it’s time to move on to the next step: removing the existing switch or socket cover.
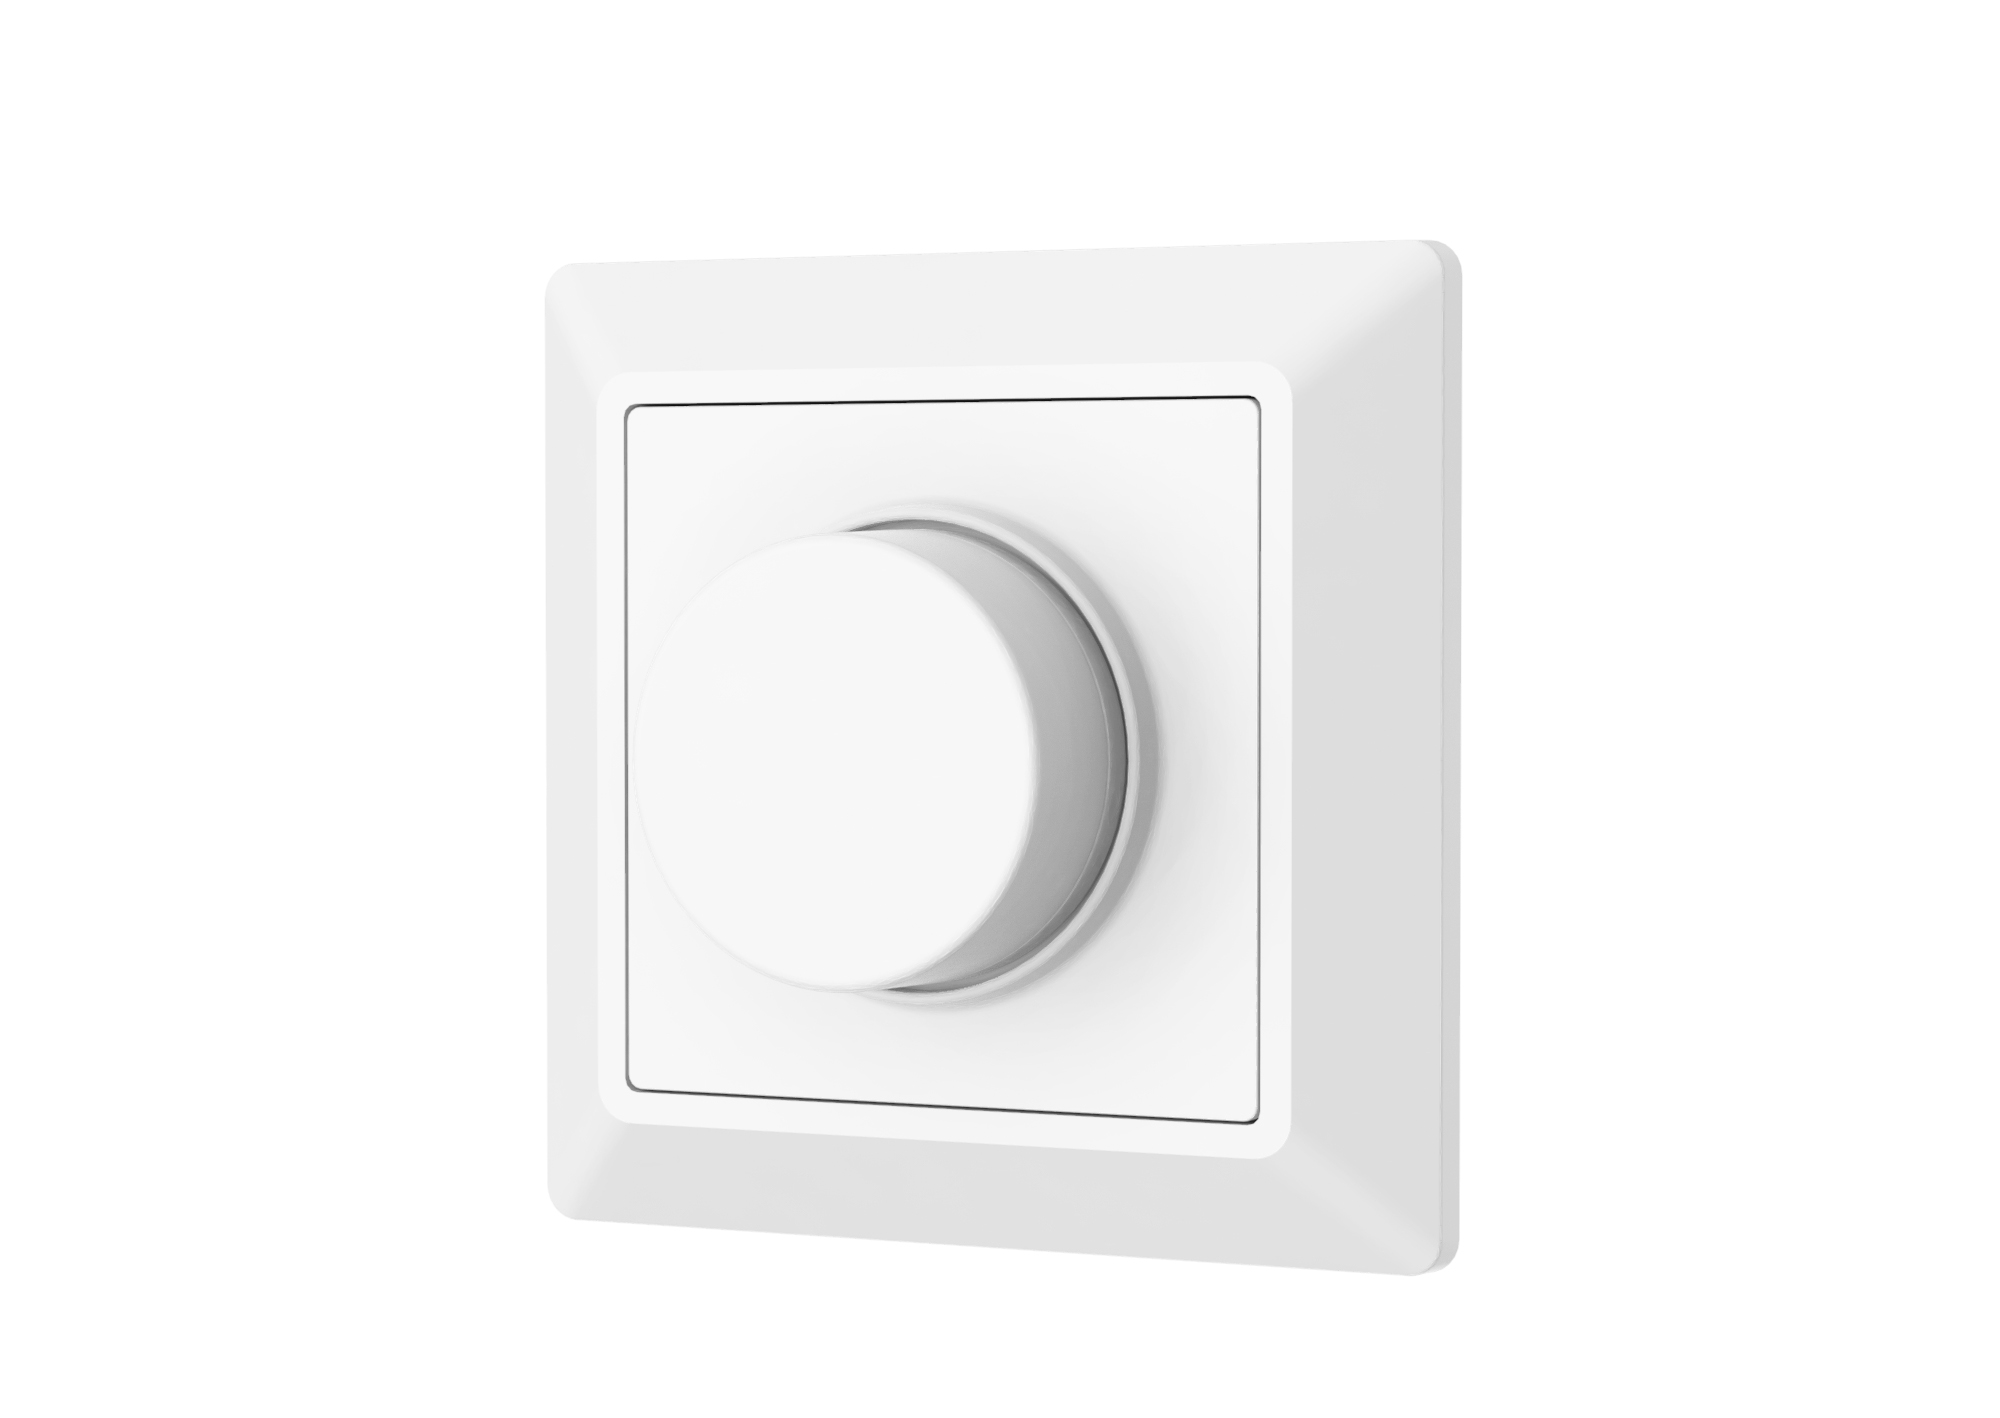
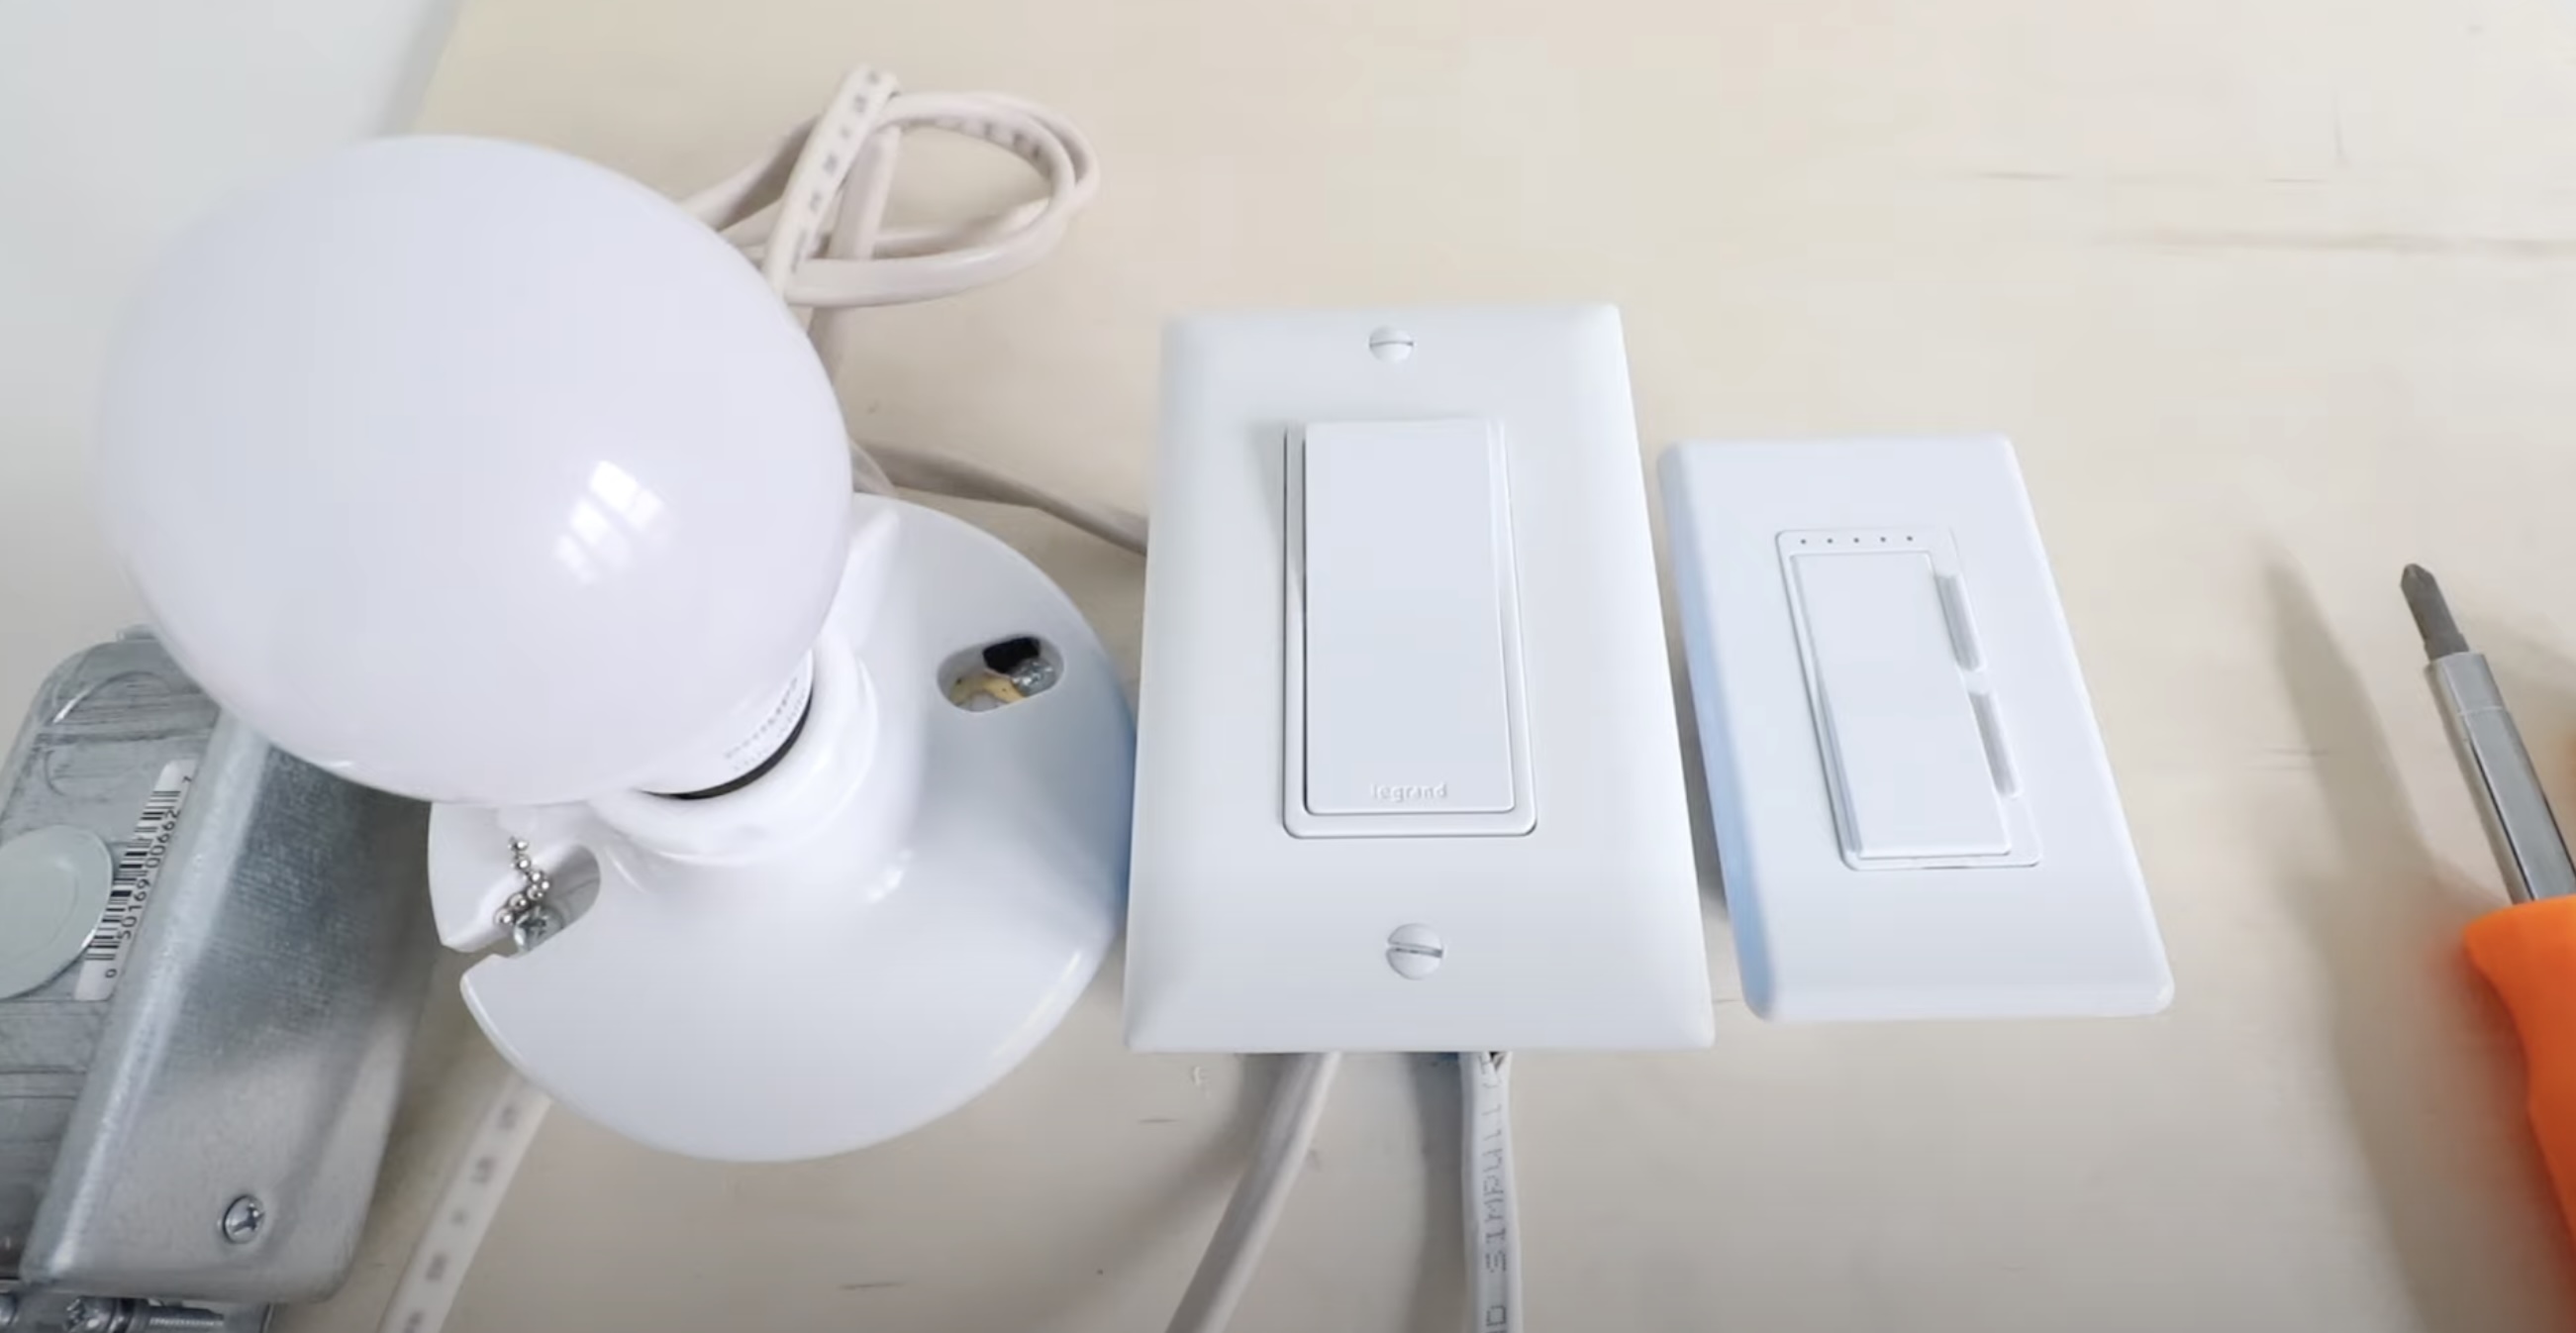
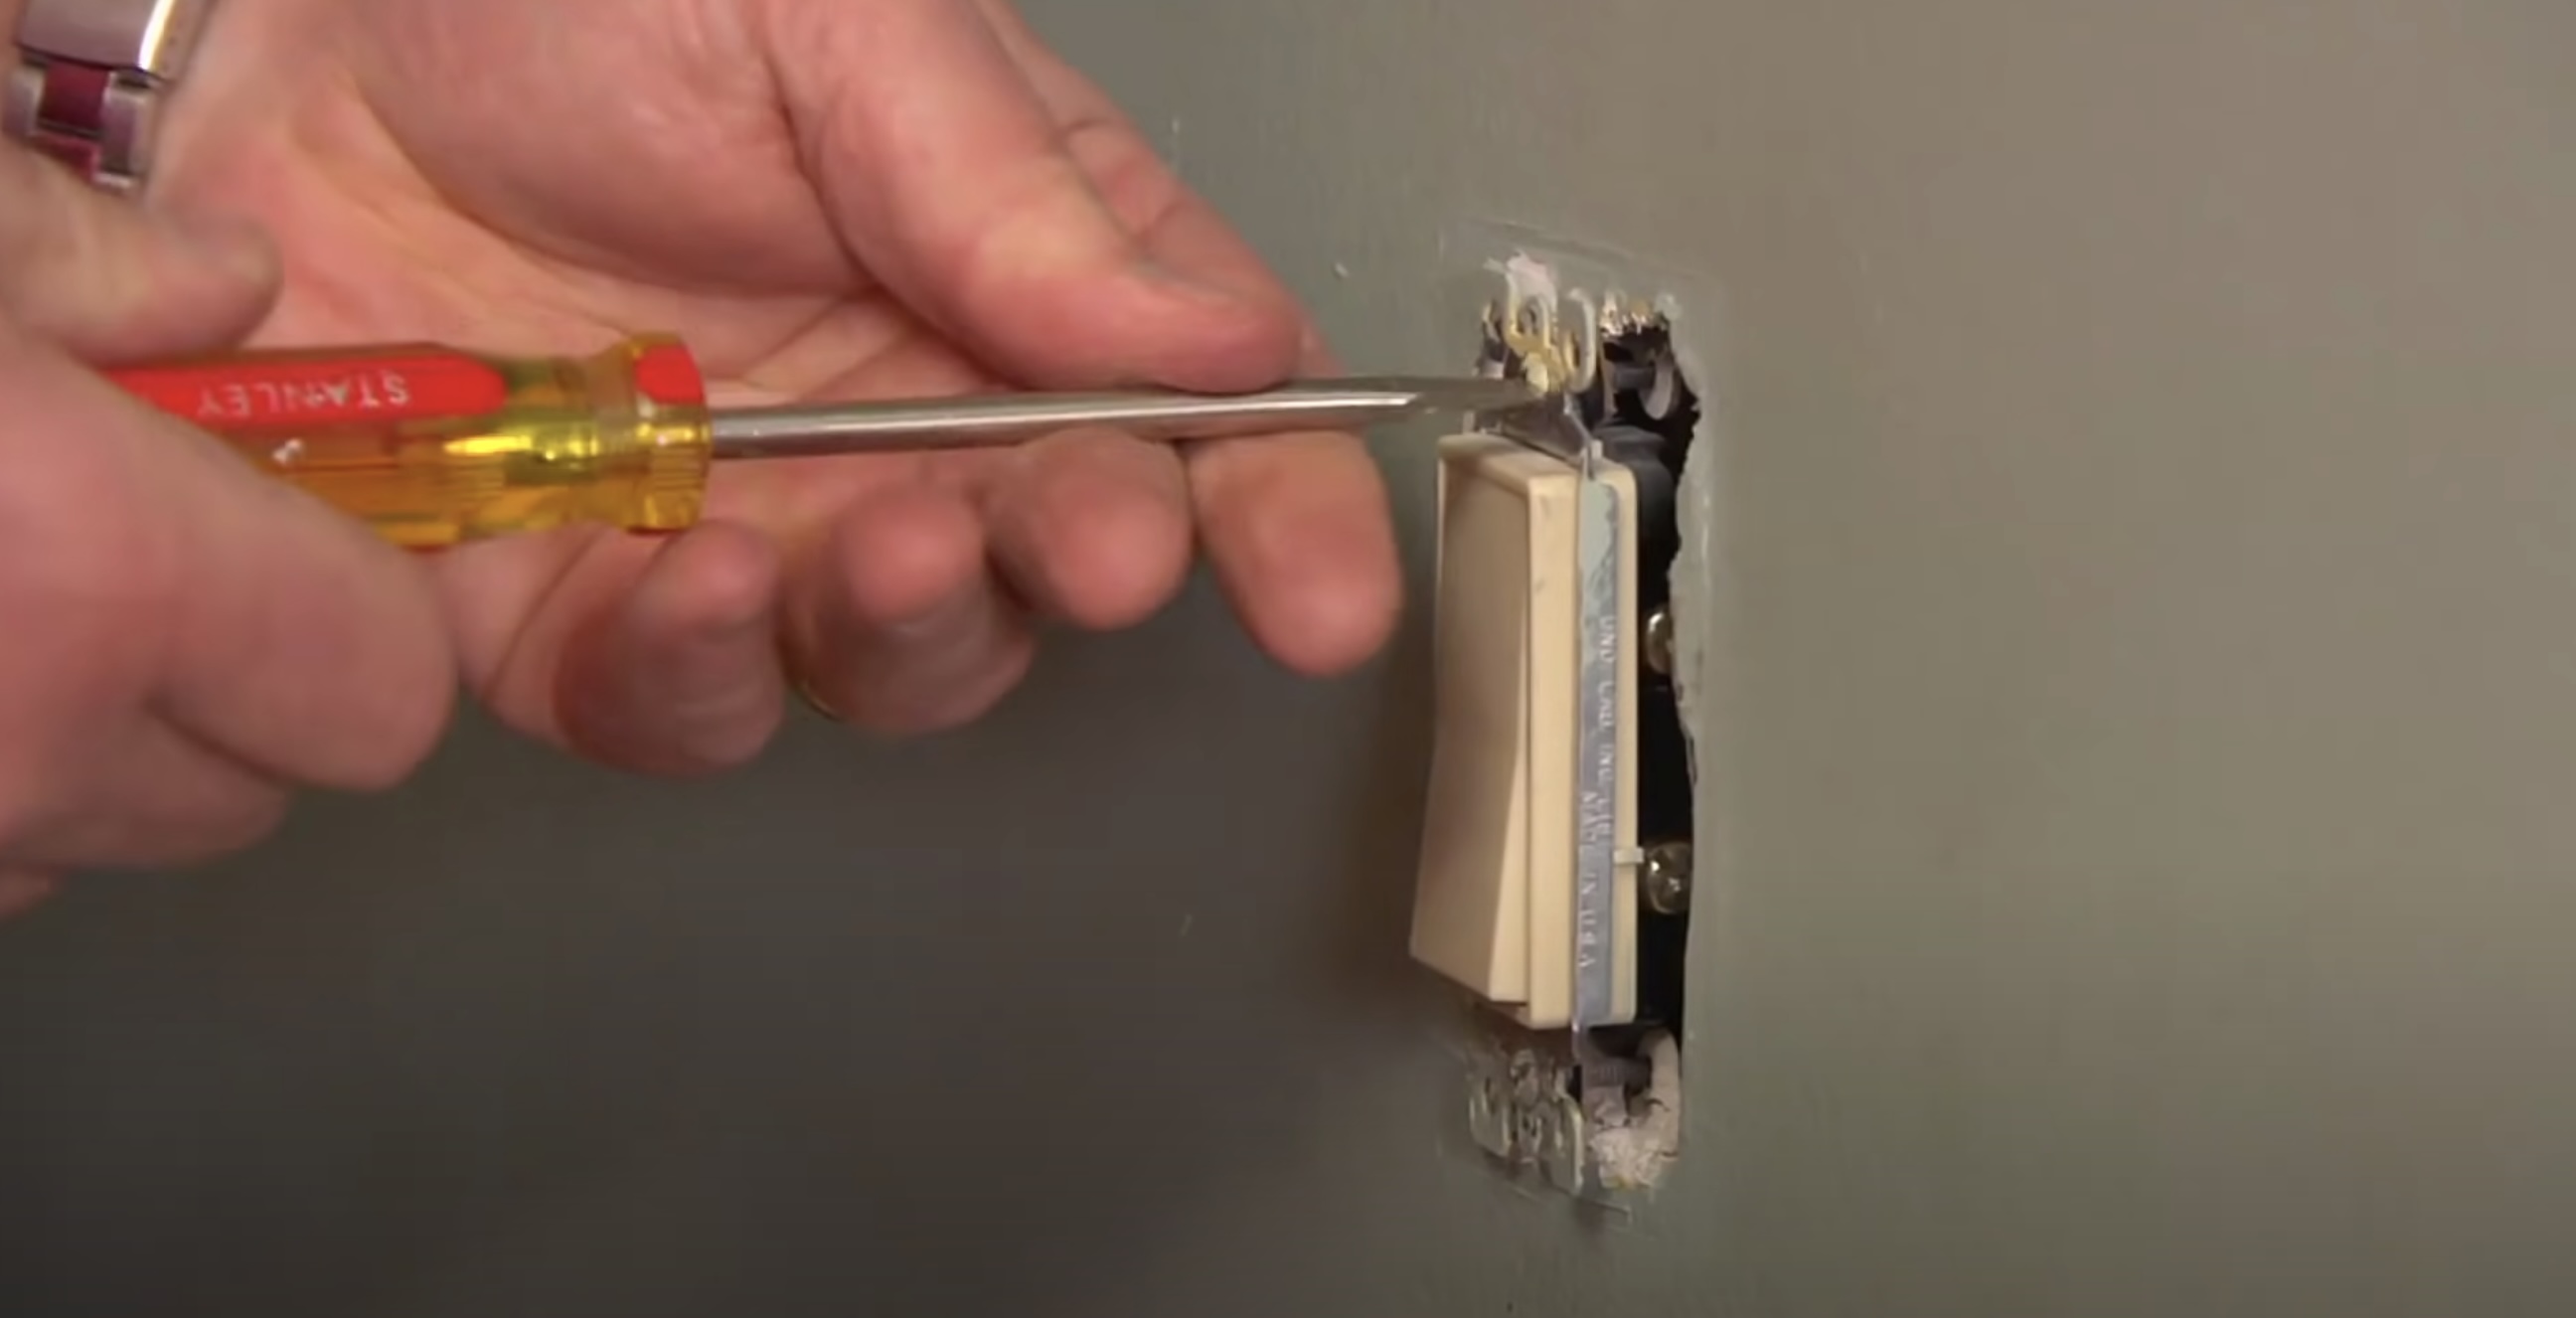
Step 3: Remove the existing switch or socket cover
With the power switched off, it’s now time to remove the cover of the existing switch or socket. This will give you access to the wiring behind it.
Follow these steps to remove the cover:
- Using a flathead or Phillips screwdriver (depending on the type of screws used), carefully unscrew the screws that secure the cover plate to the wall.
- Set the screws aside in a safe place so that they don’t get misplaced.
- Gently pull the cover plate away from the wall to expose the switch or socket.
Be mindful not to put too much force when pulling the cover plate off, as you don’t want to damage the wall or any of the internal components.
Once the cover plate is removed, you should have a clear view of the switch or socket and the wiring connected to it. Take a moment to examine the existing wiring and familiarize yourself with its configuration. This will help you in the next steps when you connect the plug-in lamp dimmer.
Now that you’ve successfully removed the cover plate, it’s time to move on to the next step: disconnecting the existing switch or socket.
Step 4: Disconnect the existing switch or socket
Now that you have removed the cover and exposed the switch or socket, it’s time to disconnect the existing wiring. This step will involve loosening and removing the wires from the switch or socket terminals.
Follow these steps to disconnect the wiring:
- Take a closer look at the wiring connected to the existing switch or socket. You should see several wires: a black (hot) wire, a white (neutral) wire, and a ground wire (usually green or bare copper).
- Using either a flathead or Phillips screwdriver, loosen the terminal screws that secure the wires to the switch or socket.
- Once the screws are loosened, carefully remove the wires from the terminals. Make sure to keep track of which wire goes where, as you’ll need this information when connecting the plug-in lamp dimmer later.
As you disconnect the wiring, pay attention to how the wires are connected and any wire nuts or connectors that may be present. Take note of any wire color-coding or labels that may help you identify the purpose of each wire.
It’s important to handle the wiring with care and avoid tugging or pulling on the wires too forcefully. Gentle movements should be enough to free the wires from the terminals.
Once all the wires are disconnected, set them aside in a safe place. You can use electrical tape to secure the loose ends of the wires and prevent any accidental contact.
With the existing switch or socket now disconnected, you’re ready to move on to the next step: connecting the plug-in lamp dimmer.
When installing a plug-in lamp dimmer, always make sure to unplug the lamp before beginning the installation process to avoid any electrical accidents.
Step 5: Connect the plug-in lamp dimmer
With the existing switch or socket disconnected, it’s time to connect the plug-in lamp dimmer. This step involves making the necessary wiring connections to ensure the dimmer functions properly.
Follow these steps to connect the plug-in lamp dimmer:
- Take a look at the plug-in lamp dimmer and identify the different terminals or connectors on it. These may be labeled or color-coded for easier identification.
- Take the black (hot) wire from the existing wiring and connect it to the corresponding terminal on the dimmer. This is typically labeled “Hot” or “Black”.
- Next, take the white (neutral) wire from the existing wiring and connect it to the corresponding terminal on the dimmer. This is typically labeled “Neutral” or “White”.
- If there is a ground wire present, connect it to the ground terminal on the dimmer. This is usually labeled “Ground” or “Green”. If your plug-in lamp dimmer doesn’t have a ground terminal, it may not be required for proper functioning. Be sure to consult the dimmer’s instructions or labeling for specific guidance.
When making the wiring connections, it’s important to ensure a secure and tight connection. Tighten the terminal screws on the dimmer to firmly hold the wires in place. This will help maintain a solid electrical connection and reduce the risk of loose or exposed wires.
Once all the wiring connections are made, double-check each connection to ensure they’re properly attached. Gently tug on the wires to ensure they’re secure and won’t come loose during use.
After confirming that all the connections are secure, you’re ready to move on to the next step: reinstalling the switch or socket cover.
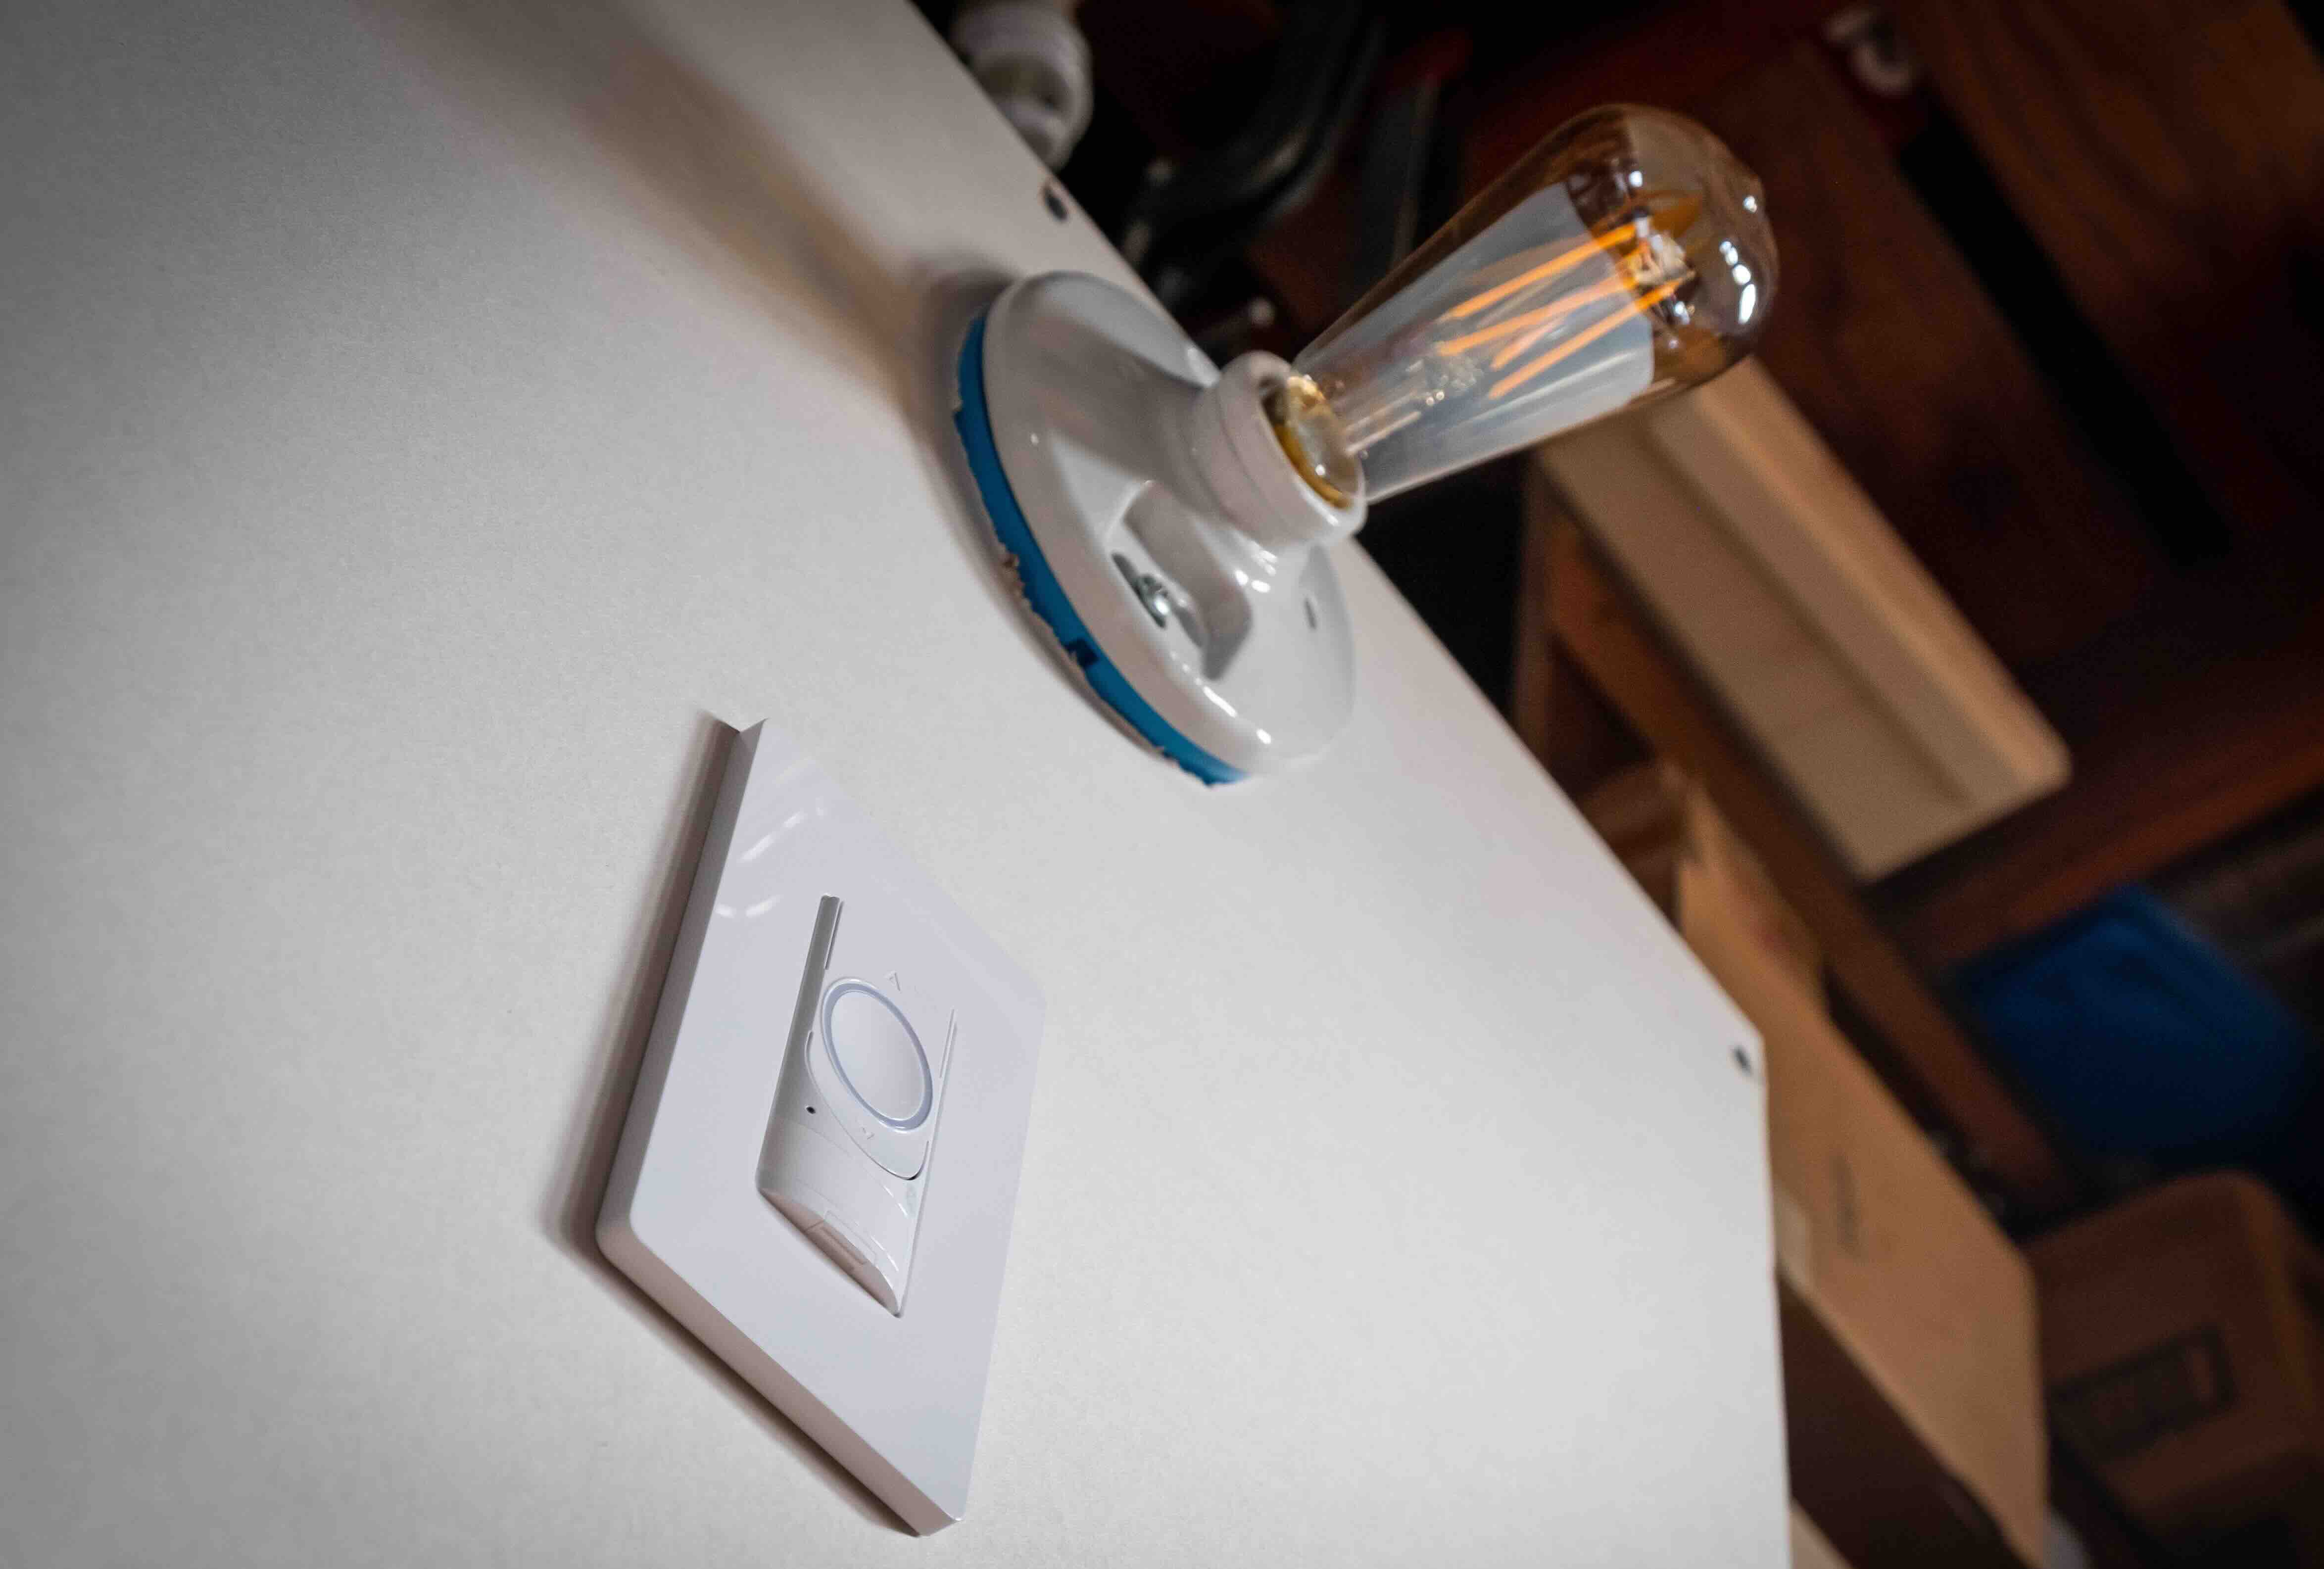
Step 6: Reinstall the switch or socket cover
Now that the plug-in lamp dimmer is connected, it’s time to put everything back together by reinstalling the switch or socket cover. This step will provide a finished and aesthetically pleasing look to your installation.
Follow these steps to reinstall the switch or socket cover:
- Align the switch or socket cover with the corresponding screw holes on the wall.
- Using a flathead or Phillips screwdriver, insert the screws and tighten them to secure the cover in place.
- Ensure that the cover is flush against the wall and there are no gaps or misalignments.
Take your time when tightening the screws to ensure they’re properly secured but be careful not to overtighten and risk damaging the cover or wall.
Once the cover is firmly in place, give it a gentle tug to ensure it’s securely attached. It should not feel loose or wobbly.
With the cover reinstalled, you’ve completed the installation process. However, before considering it complete, it’s important to perform a final step: testing the plug-in lamp dimmer.
Proceed to the next step to learn how to test the dimmer and ensure that it’s functioning as expected.
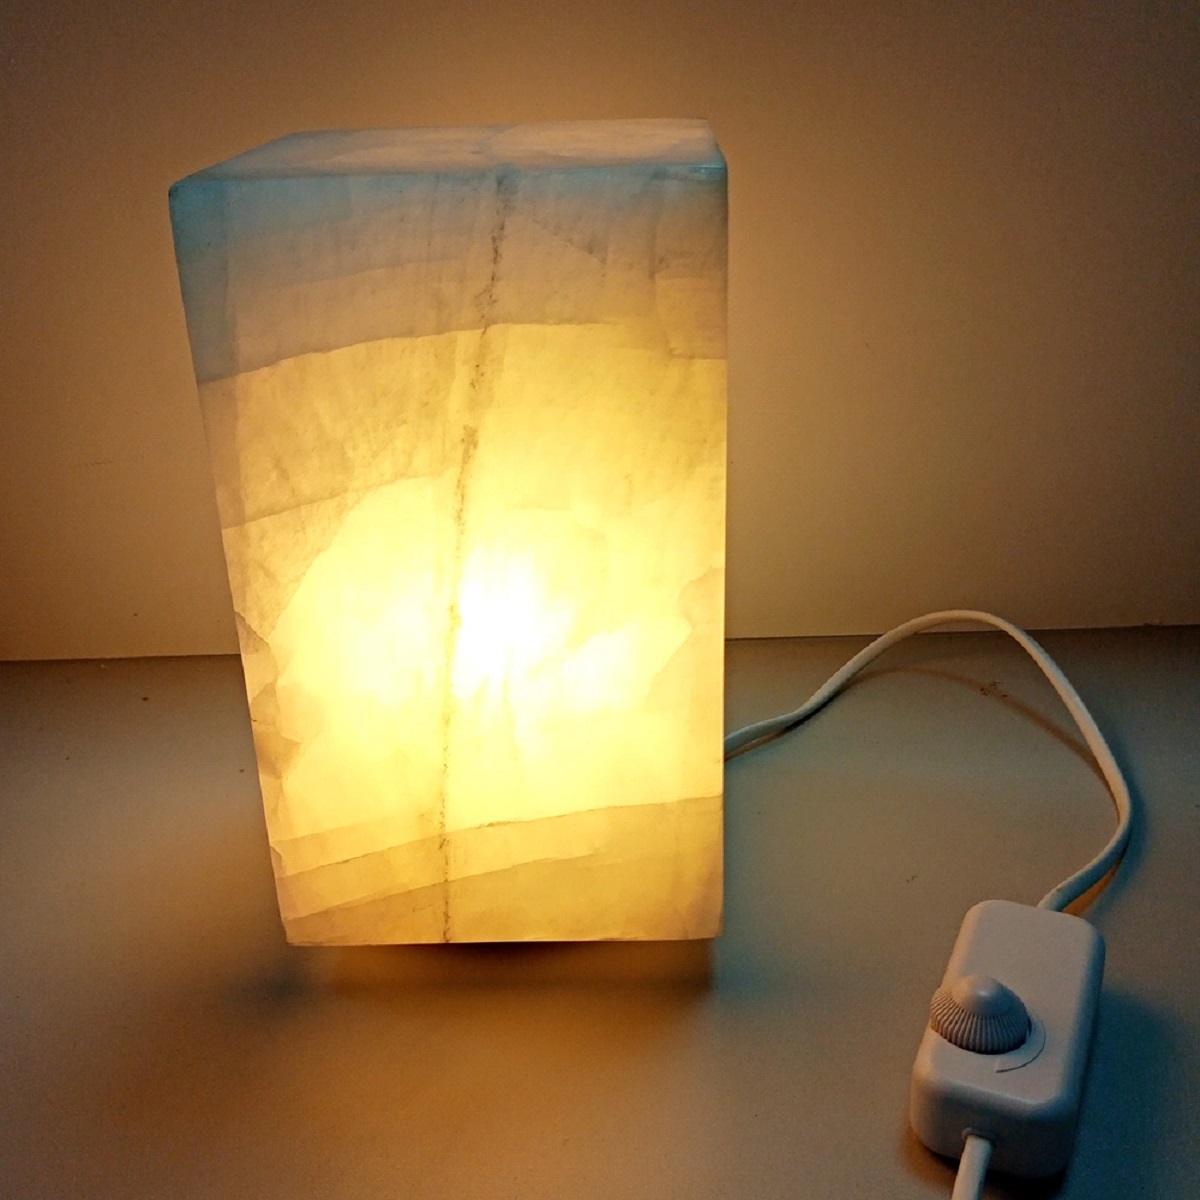
Step 7: Test the plug-in lamp dimmer
After successfully reinstalling the switch or socket cover, it’s time to test the plug-in lamp dimmer to ensure that it’s functioning properly. Testing the dimmer will help verify that the wiring connections were made correctly and that the dimming feature is working as expected.
Follow these steps to test the plug-in lamp dimmer:
- Plug in the lamp or lamps that you’ll be using with the dimmer.
- Turn on the lamp(s) by using the lamp’s built-in switch or by plugging it into a power outlet.
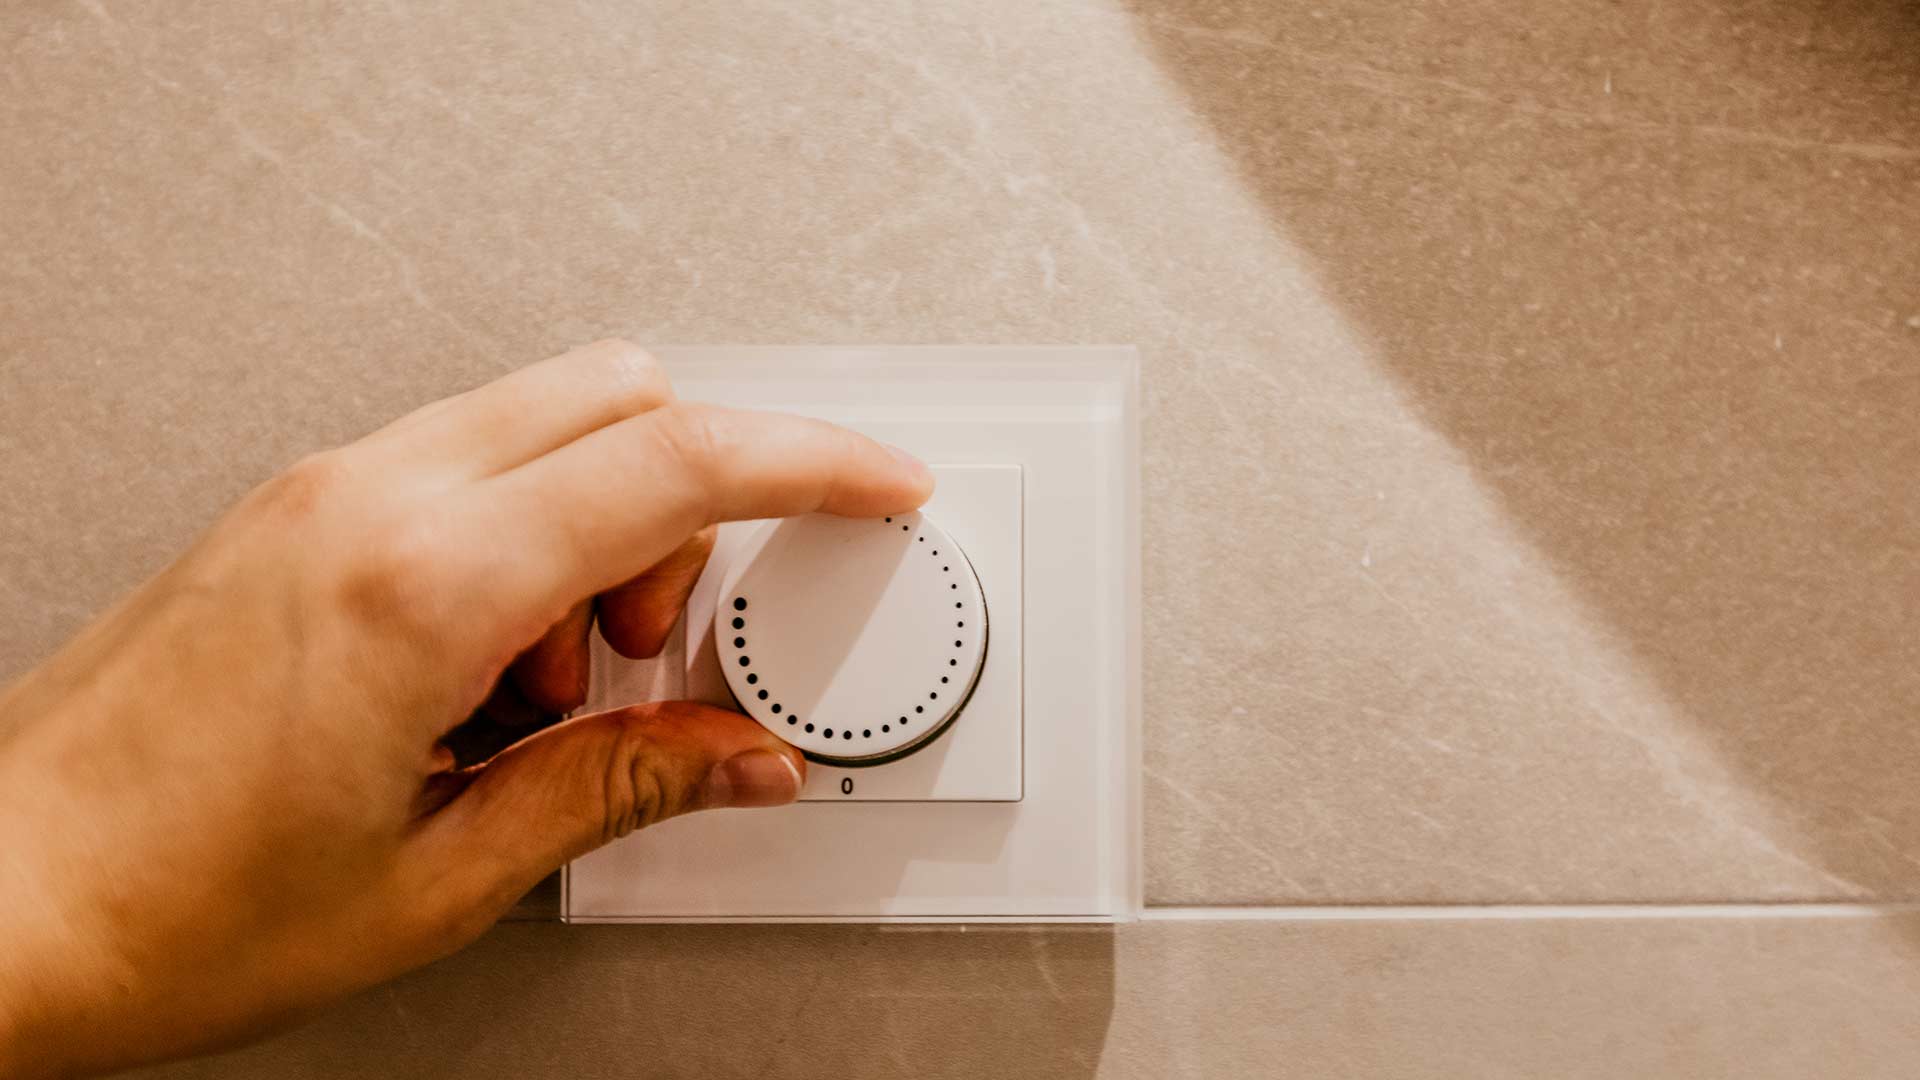
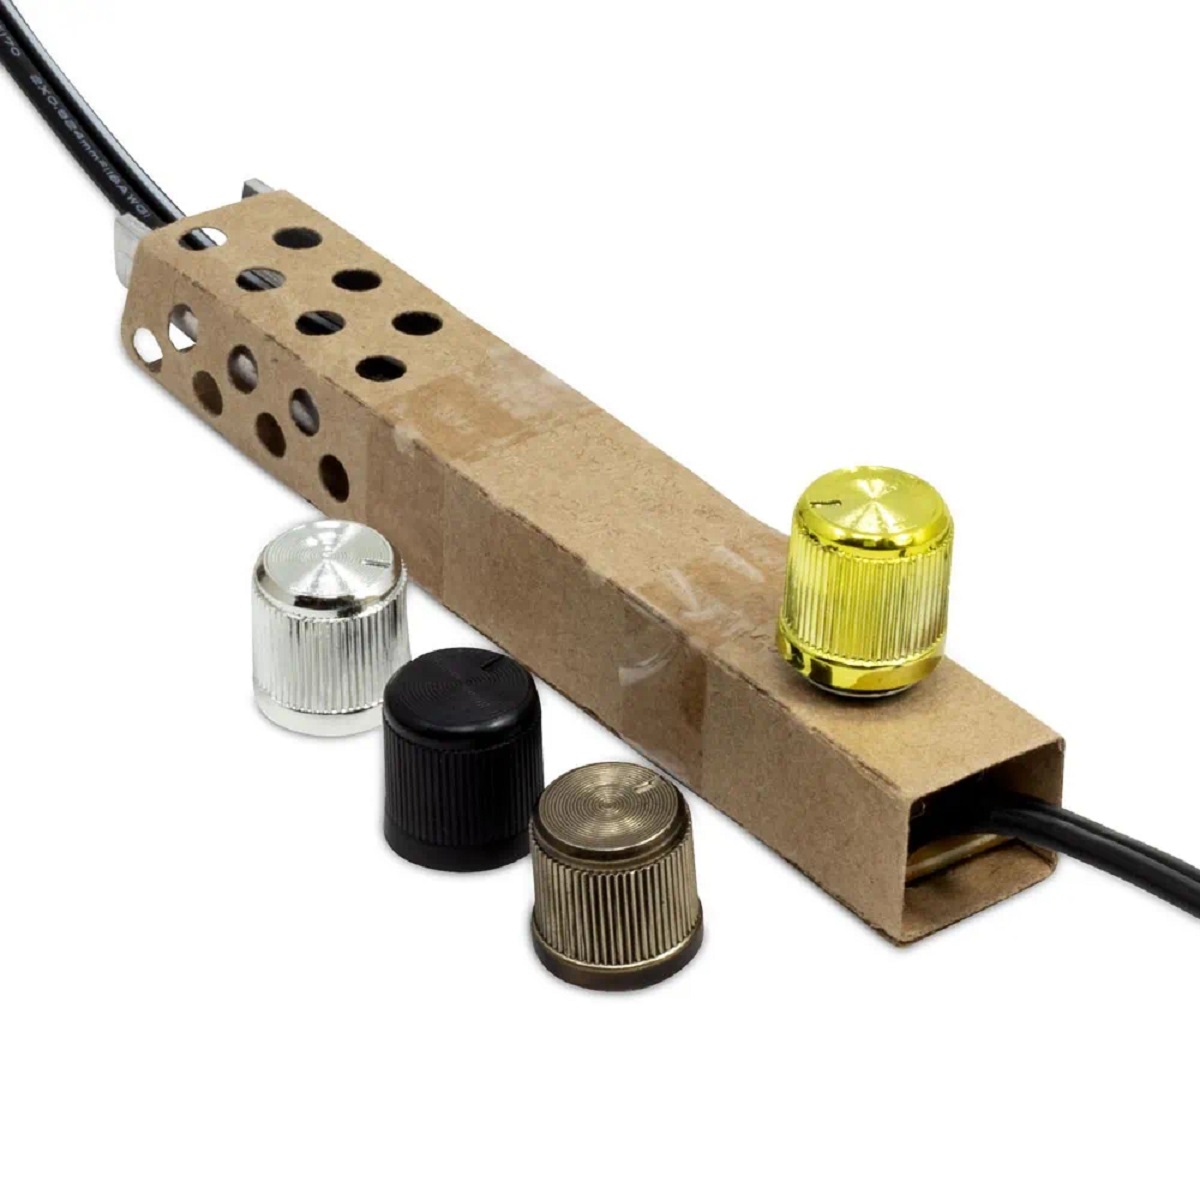
- Locate the control mechanism on the plug-in lamp dimmer. This could be a knob, switch, or slider, depending on the model and design.
- Adjust the control mechanism to increase or decrease the brightness of the lamp(s).
- Observe the lamp(s) and ensure that the dimmer functions as expected, smoothly transitioning between different levels of brightness.
If the lamp(s) respond to the dimmer and the brightness adjusts accordingly, congratulations! You’ve successfully installed and tested the plug-in lamp dimmer.
However, if you encounter any issues such as flickering lights, buzzing sounds, or the dimmer not functioning at all, there may be a wiring problem or compatibility issue. In such cases, it’s best to consult a professional electrician to troubleshoot the problem and ensure a safe and proper installation.
Remember, always exercise caution when working with electricity and follow all safety guidelines. If at any point you feel uncertain or uncomfortable, don’t hesitate to seek professional assistance.
With the plug-in lamp dimmer successfully tested and functioning as expected, you can now enjoy the flexibility and ambiance that it brings to your living space.
Congratulations on completing the installation process and transforming your lighting experience!
Now that you’re comfortable with the installation process and the testing of plug-in lamp dimmers, you can confidently set up dimmers throughout your home, adding a touch of ambiance and versatility to every room.
Enjoy experimenting with different lighting levels and creating the perfect atmosphere for any occasion. Happy dimming!
Conclusion
Congratulations! You have successfully learned how to install a plug-in lamp dimmer. With this newfound knowledge, you now have the ability to control the brightness of your lamps and create the perfect ambiance for any situation.
Throughout this article, we covered the necessary tools and materials, the importance of turning off the power, removing the existing switch or socket cover, disconnecting the existing switch or socket, connecting the plug-in lamp dimmer, reinstalling the switch or socket cover, and testing the dimmer to ensure proper functionality. By following these steps carefully, you can confidently install a plug-in lamp dimmer in your home or office.
Remember to always prioritize safety and consult a professional if you are unsure about any step or encounter any issues during the installation process. Electrical work can be complex, and it’s better to be cautious than to risk harm or damage.
With a plug-in lamp dimmer, you have the power to create the perfect ambience for any situation. Whether you’re hosting a romantic dinner, enjoying a cozy movie night, or simply relaxing after a long day, adjusting the brightness of your lamps can elevate the atmosphere and make your space more inviting.
Additionally, using a plug-in lamp dimmer can save energy and extend the lifespan of your bulbs. By reducing the brightness when it’s not needed, you can lower your electricity consumption and reduce your environmental impact.
Now that you’ve completed the installation process, feel free to explore other ways to enhance your lighting experience. Consider adding dimmers to different rooms, experimenting with different bulb types, or even incorporating smart home technology for remote control and automation.
We hope you found this guide helpful and that it has empowered you to create the perfect lighting atmosphere in your home or workspace. Enjoy the flexibility and ambience that plug-in lamp dimmers provide, and bask in the warm glow of a well-lit space tailored to your preferences.
Happy dimming!
Frequently Asked Questions about How To Install A Plug-In Lamp Dimmer
Was this page helpful?
At Storables.com, we guarantee accurate and reliable information. Our content, validated by Expert Board Contributors, is crafted following stringent Editorial Policies. We're committed to providing you with well-researched, expert-backed insights for all your informational needs.