Furniture
How To Install A Ceiling Lamp
Modified: October 20, 2024
Looking for step-by-step instructions on how to install a ceiling lamp? Our expert guide will help you seamlessly add a stylish furniture element to your home.
(Many of the links in this article redirect to a specific reviewed product. Your purchase of these products through affiliate links helps to generate commission for Storables.com, at no extra cost. Learn more)
Introduction
Welcome to our guide on how to install a ceiling lamp. Adding a ceiling lamp to any space can instantly transform the ambiance and functionality of the room. Whether you are replacing an old light fixture or installing a brand new one, this step-by-step tutorial will walk you through the process.
Installing a ceiling lamp may seem like a daunting task, but with the right tools and a little patience, it can be a straightforward project that you can tackle yourself. Before you begin, it’s important to ensure you have the necessary tools and materials on hand. This will help make the installation process smoother and more efficient. Let’s get started!
Key Takeaways:
- Transform the ambiance and functionality of any room by confidently installing a new ceiling lamp with the right tools and step-by-step guidance. Prioritize safety, secure wiring connections, and test the installation for a beautifully lit space.
- Enjoy a rewarding DIY project with the comprehensive guide to installing a ceiling lamp. From gathering tools to testing the installation, each step ensures safety, proper assembly, and a beautifully illuminated room.
Read more: How To Install A Lamp Harp
Step 1: Gather the necessary tools and materials
Before you start the installation process, you’ll need to gather a few essential tools and materials. Having these items ready beforehand will save you time and prevent any interruptions during the installation. Here’s a list of what you’ll need:
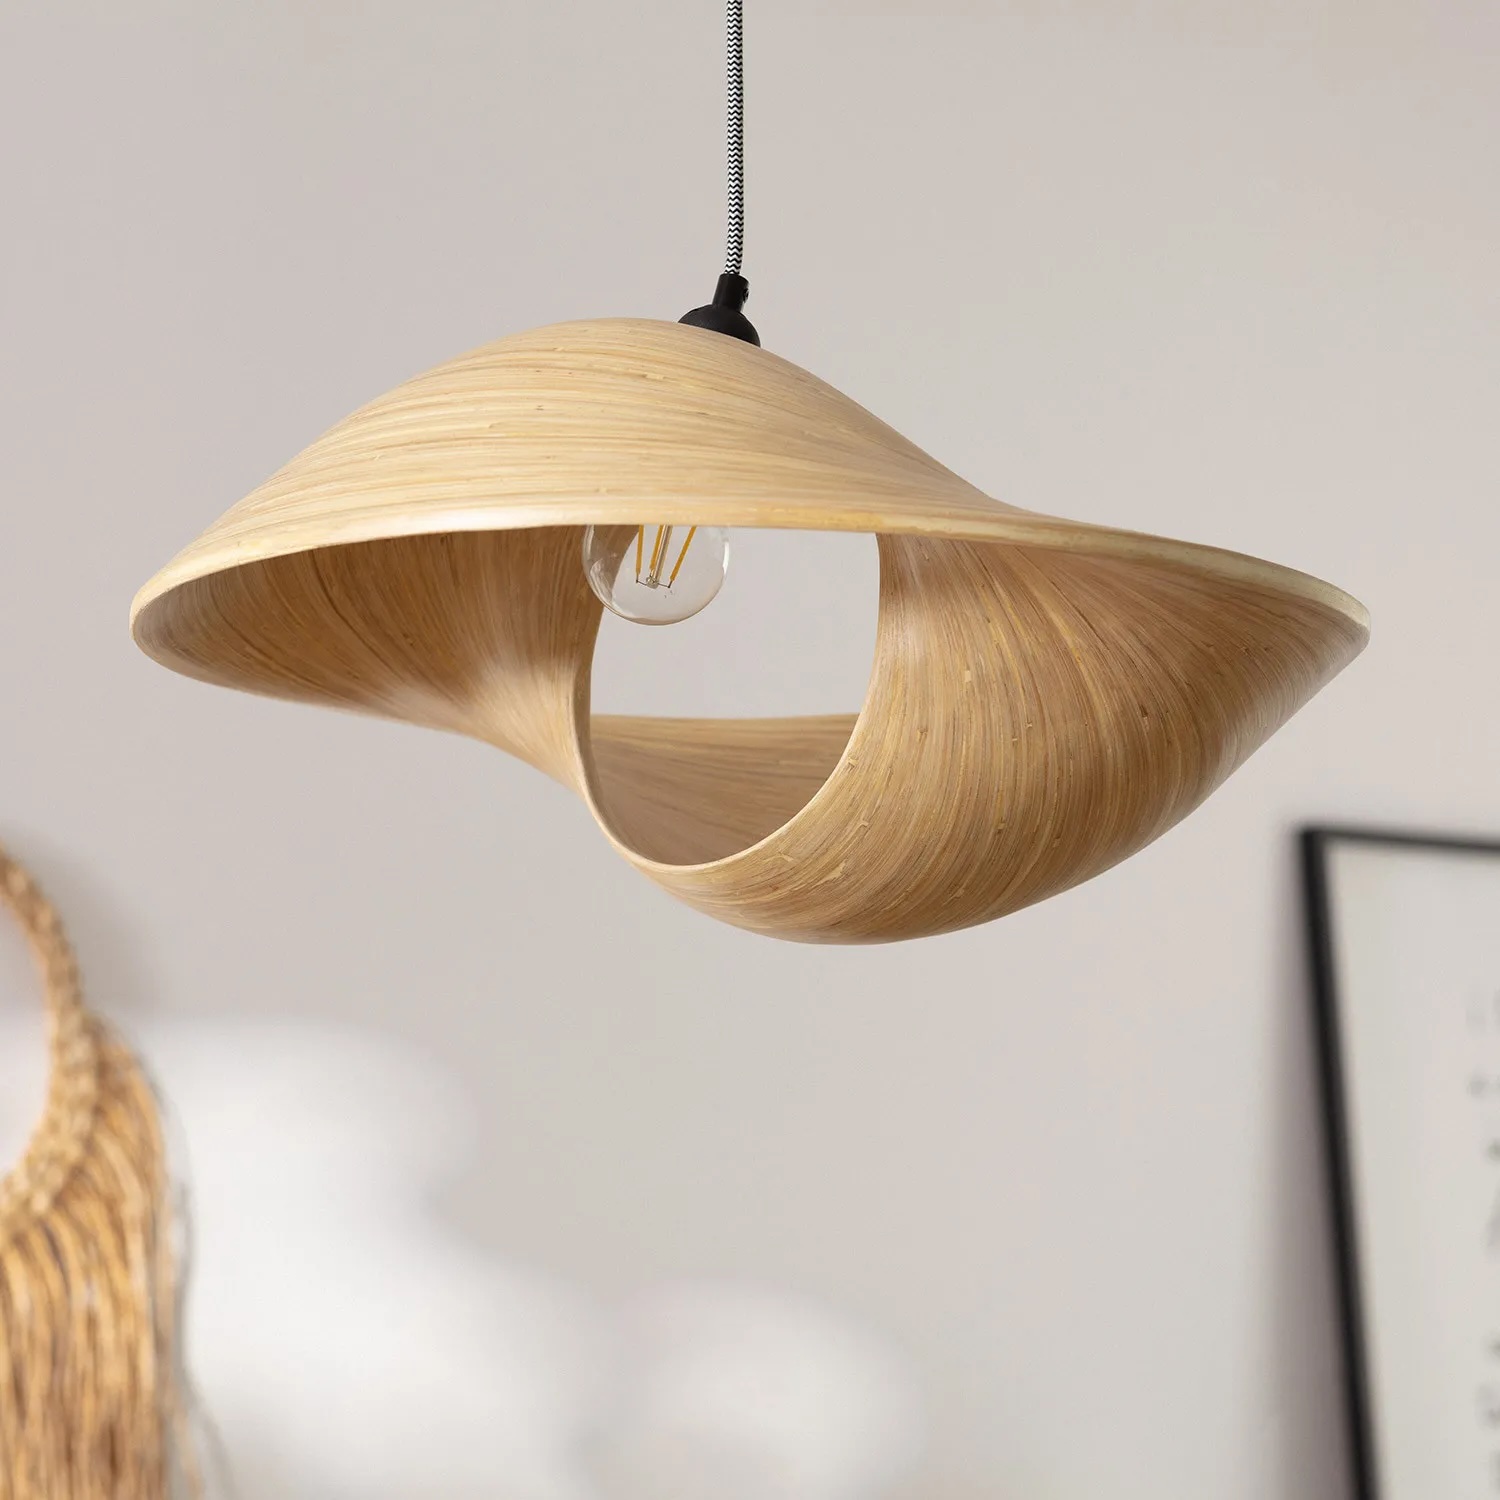
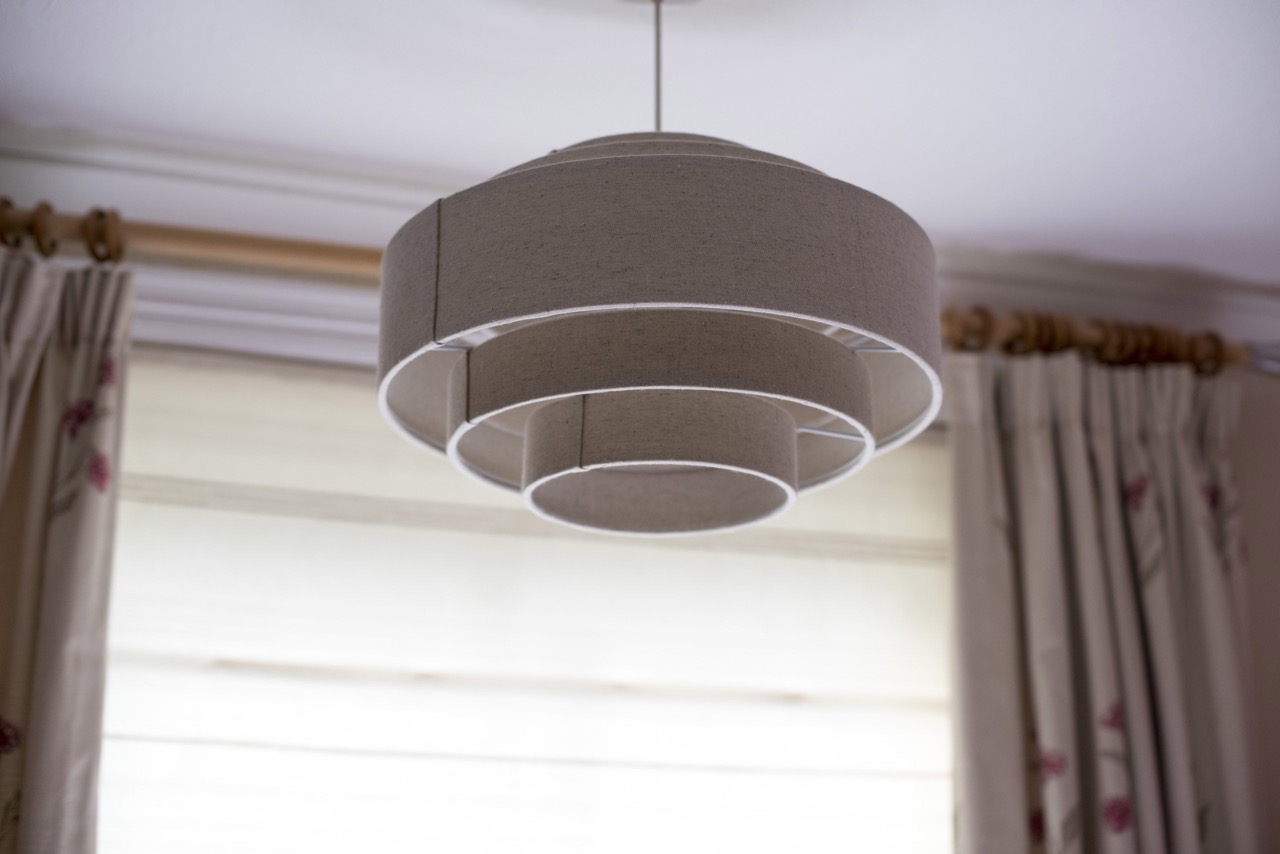
- A new ceiling lamp: Choose a lamp that fits your style and complements the overall design of the room. Ensure it comes with all the necessary parts, including the mounting bracket, screws, and wiring.
- Screwdriver set: A screwdriver set with various sizes and types of screwdrivers will come in handy when disassembling the old lamp and assembling the new one.
- Wire strippers: These tools are used to remove the insulation from the electrical wires, allowing for proper connection.
- Wire nuts: Wire nuts are small plastic caps that securely connect the electrical wires together.
- Electrical tester: An electrical tester is used to ensure the power supply is off before starting the installation process.
- Ladder or step stool: Depending on the height of your ceiling, you may need a ladder or step stool to reach the installation area safely.
- Electrical tape: Electrical tape is used to insulate and secure the electrical connections.
- Circuit breaker: In case of any mishaps or emergencies, locate the circuit breaker that controls the power supply to the installation area.
Once you have gathered all the necessary tools and materials, you’re ready to move on to the next step. Having everything prepared and within reach will streamline the installation process and ensure you have a smooth experience from start to finish.
Step 2: Turn off the power supply
Before you begin working on the ceiling lamp, it’s crucial to turn off the power supply to the installation area. This step ensures your safety and prevents any electrical accidents. Follow these steps to turn off the power:
- Locate the circuit breaker box: The circuit breaker box is typically located in the basement, utility room, or garage. It houses the switches that control the electrical circuits in your home.
- Identify the correct circuit: Look for the circuit that corresponds to the area where you will be installing the ceiling lamp. This may be labeled on the circuit breaker box or in the electrical panel.
- Switch off the circuit: Flip the switch associated with the identified circuit to the “off” position. This will cut off the power supply to the area.
- Double-check the power: Use an electrical tester to confirm that the power is indeed turned off. Carefully touch the tester to the exposed wires to ensure there is no current flowing. If the tester does not light up or make any noise, it is safe to proceed. If the tester indicates the presence of electricity, double-check the circuit breaker and try again.
It’s important to note that turning off the circuit breaker effectively cuts off power to the area you will be working on, but it’s always wise to use caution and treat all wires as if they are live until verified otherwise. This means avoiding contact with exposed wires and using proper insulation techniques.
Once you have verified that the power is off, you can move on to the next step confidently, knowing that you’re working in a safe environment.
Step 3: Remove the old ceiling lamp
Now that the power supply is turned off, it’s time to remove the old ceiling lamp. Follow these steps to safely remove the existing fixture:
- Remove the lampshade or cover: If your old ceiling lamp has a lampshade or cover, carefully remove it by unscrewing it or releasing any clips or fasteners that hold it in place.
- Disconnect the wires: Before proceeding, it’s essential to ensure the wires are not carrying any electrical current. Use an electrical tester to confirm that there is no electricity flowing through the wires. Once verified, carefully disconnect the wires using wire nuts to secure the connections and prevent them from touching.
- Remove the mounting bracket: Look for the mounting bracket that attaches the old ceiling lamp to the ceiling. You may need to unscrew it or release any clips or screws holding it in place. Remove the mounting bracket and set it aside.
- Unscrew and remove the old lamp base: With the mounting bracket removed, take a screwdriver and unscrew the screws that hold the old lamp base to the ceiling. Once the screws are removed, carefully lower the base and disconnect any remaining wires from the ceiling.
- Inspect the wiring: Take a moment to inspect the wiring for any signs of damage or wear. If you notice any frayed wires or other issues, it’s crucial to address them before proceeding with the installation of the new ceiling lamp.
- Remove the old lamp completely: Once the old lamp base and wiring are disconnected, carefully remove the old lamp from the ceiling and set it aside.
With the old ceiling lamp removed, you’re one step closer to installing your brand new fixture. Take a moment to clean the area and prepare for the next step. Ensure you handle the old lamp and its components carefully and dispose of them properly, following any local regulations and guidelines.
Step 4: Assemble the new ceiling lamp
With the old ceiling lamp removed, it’s time to assemble your new ceiling lamp. Follow these steps to ensure a proper assembly:
- Read the instructions: Start by carefully reading the manufacturer’s instructions that came with your new ceiling lamp. Each lamp may have specific assembly steps and requirements, so it’s important to familiarize yourself with these instructions before proceeding.
- Prepare the lamp components: Lay out all the components of your new ceiling lamp and ensure you have everything needed for assembly. This may include the lamp base or canopy, mounting bracket, screws, and any additional components like decorative elements or light bulbs.
- Attach the mounting bracket: Depending on the design of your new ceiling lamp, you may need to attach a new mounting bracket to the ceiling. Follow the instructions provided to secure the bracket in place using the appropriate screws or mounting hardware.
- Prep the wires: If necessary, strip the ends of the electrical wires on both the lamp and the ceiling. Use wire strippers to remove a small portion of the insulation, exposing enough bare wire to make a secure connection.
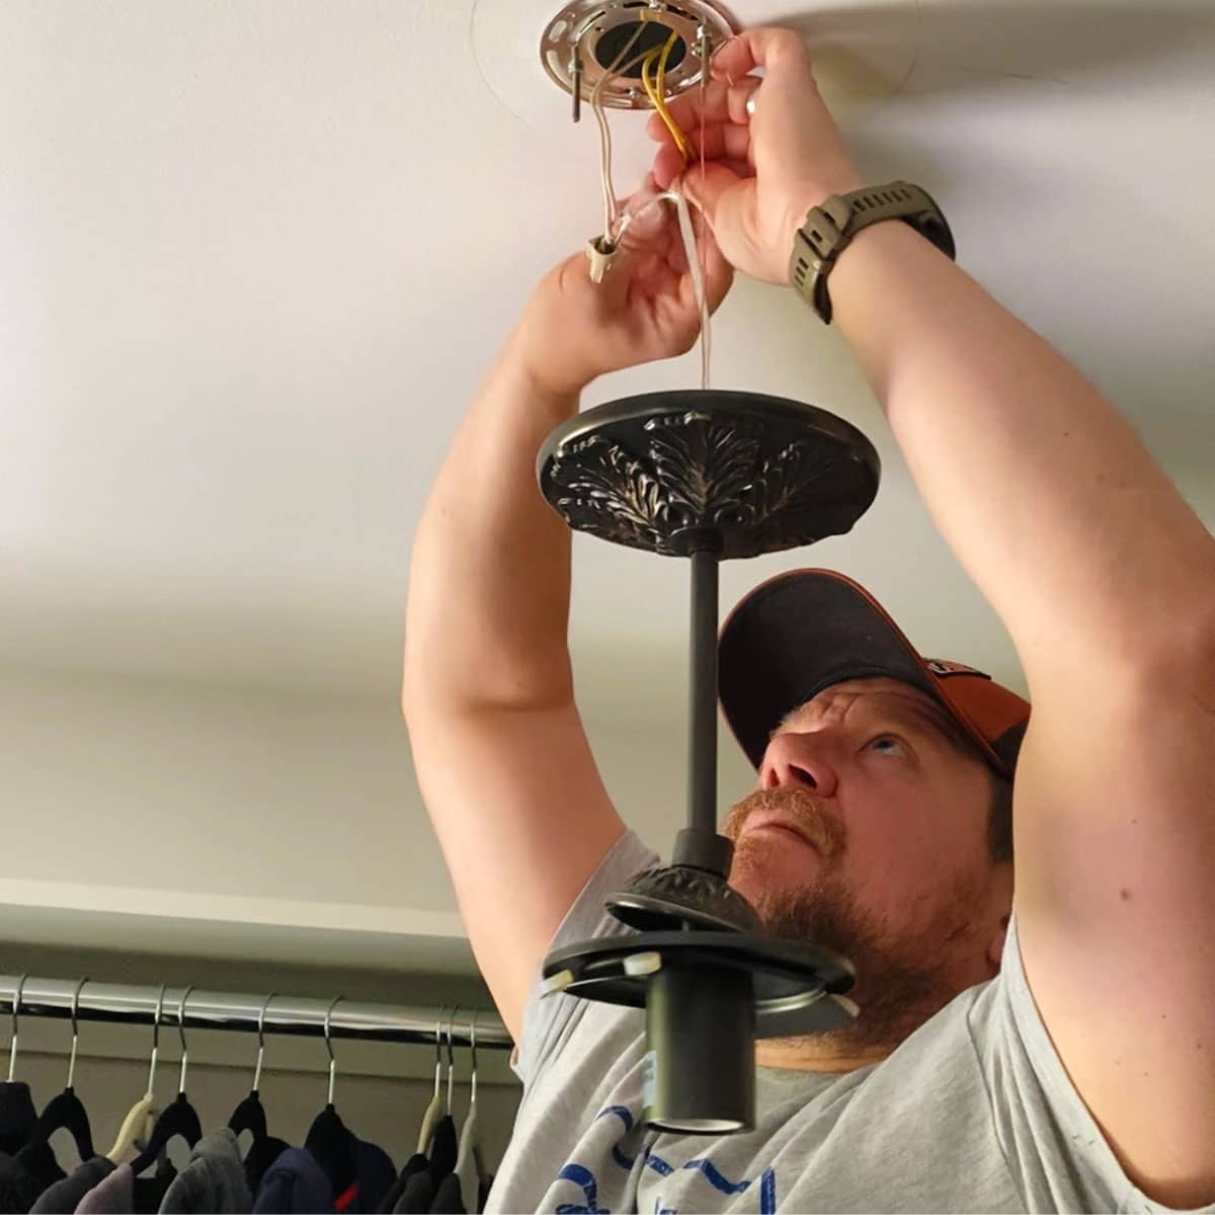
- Connect the wires: Match the colors of the wires from the ceiling to the corresponding wires on the new lamp. Most commonly, black wires are hot wires, white wires are neutral wires, and green or bare wires are ground wires. Twist the matching wires together and secure them with wire nuts.
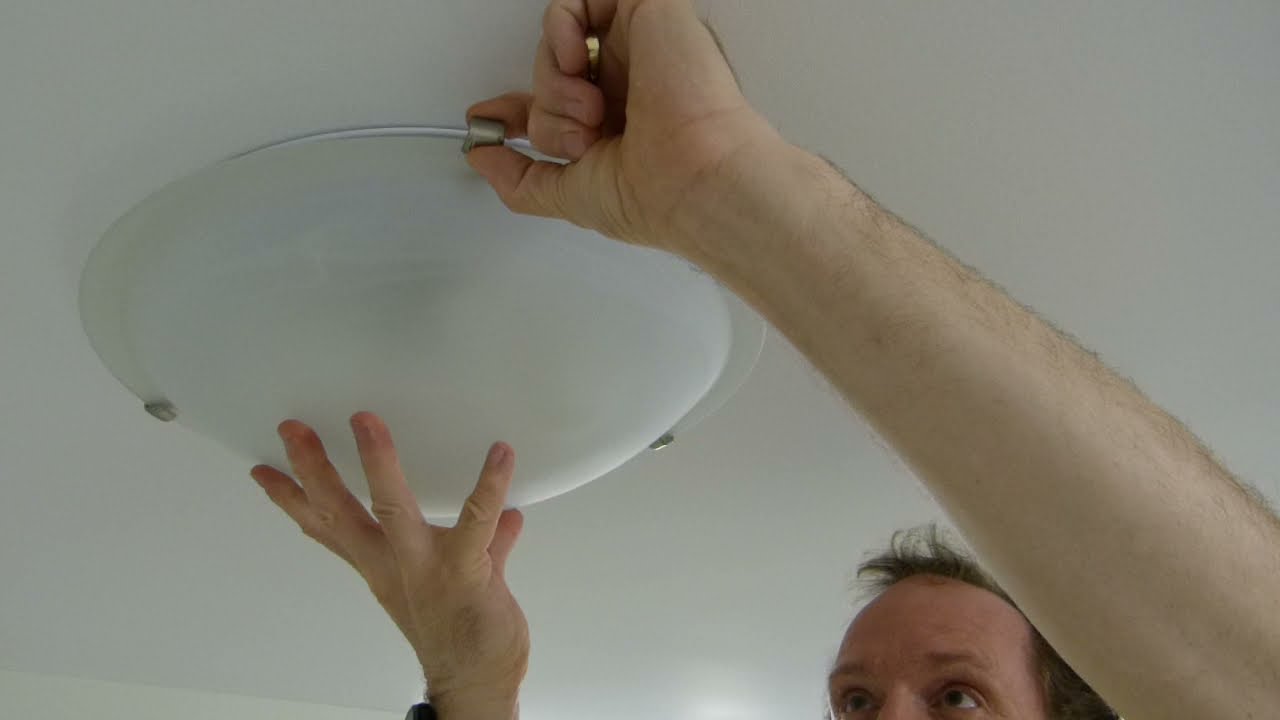
- Secure the lamp base: Position the lamp base or canopy over the mounting bracket and align it with the screw holes. Insert the provided screws and tighten them securely to hold the lamp base in place.
- Attach the lampshade or cover: If your new ceiling lamp includes a lampshade or cover, carefully attach it according to the manufacturer’s instructions. This may involve screwing it in place, clipping it onto the lamp base, or using other fastening methods.
- Double-check the assembly: Once the new ceiling lamp is fully assembled, give it a gentle tug to ensure it is securely attached. Check that all screws are tightened properly and that the lampshade or cover is aligned correctly.
By following these steps, you can successfully assemble your new ceiling lamp and prepare it for installation. Take your time during this process to ensure everything is done correctly and securely, as a well-assembled lamp will provide long-lasting functionality and beauty to your space.
When installing a ceiling lamp, always turn off the power at the circuit breaker before starting. This will ensure your safety while working with electrical wiring.
Read more: How To Install A Wall Lamp
Step 5: Connect the wiring
Now that the new ceiling lamp is assembled, it’s time to connect the wiring. Follow these steps to ensure a safe and proper wiring connection:
- Double-check the power supply: Before proceeding with the wiring, verify that the power supply to the installation area is still turned off. This is crucial for your safety and prevents any electrical accidents.
- Examine the wires: Take a close look at the wiring from the ceiling and the lamp. Check for any signs of damage, such as frayed wires or exposed copper. If you notice any issues, it’s essential to address them before proceeding.
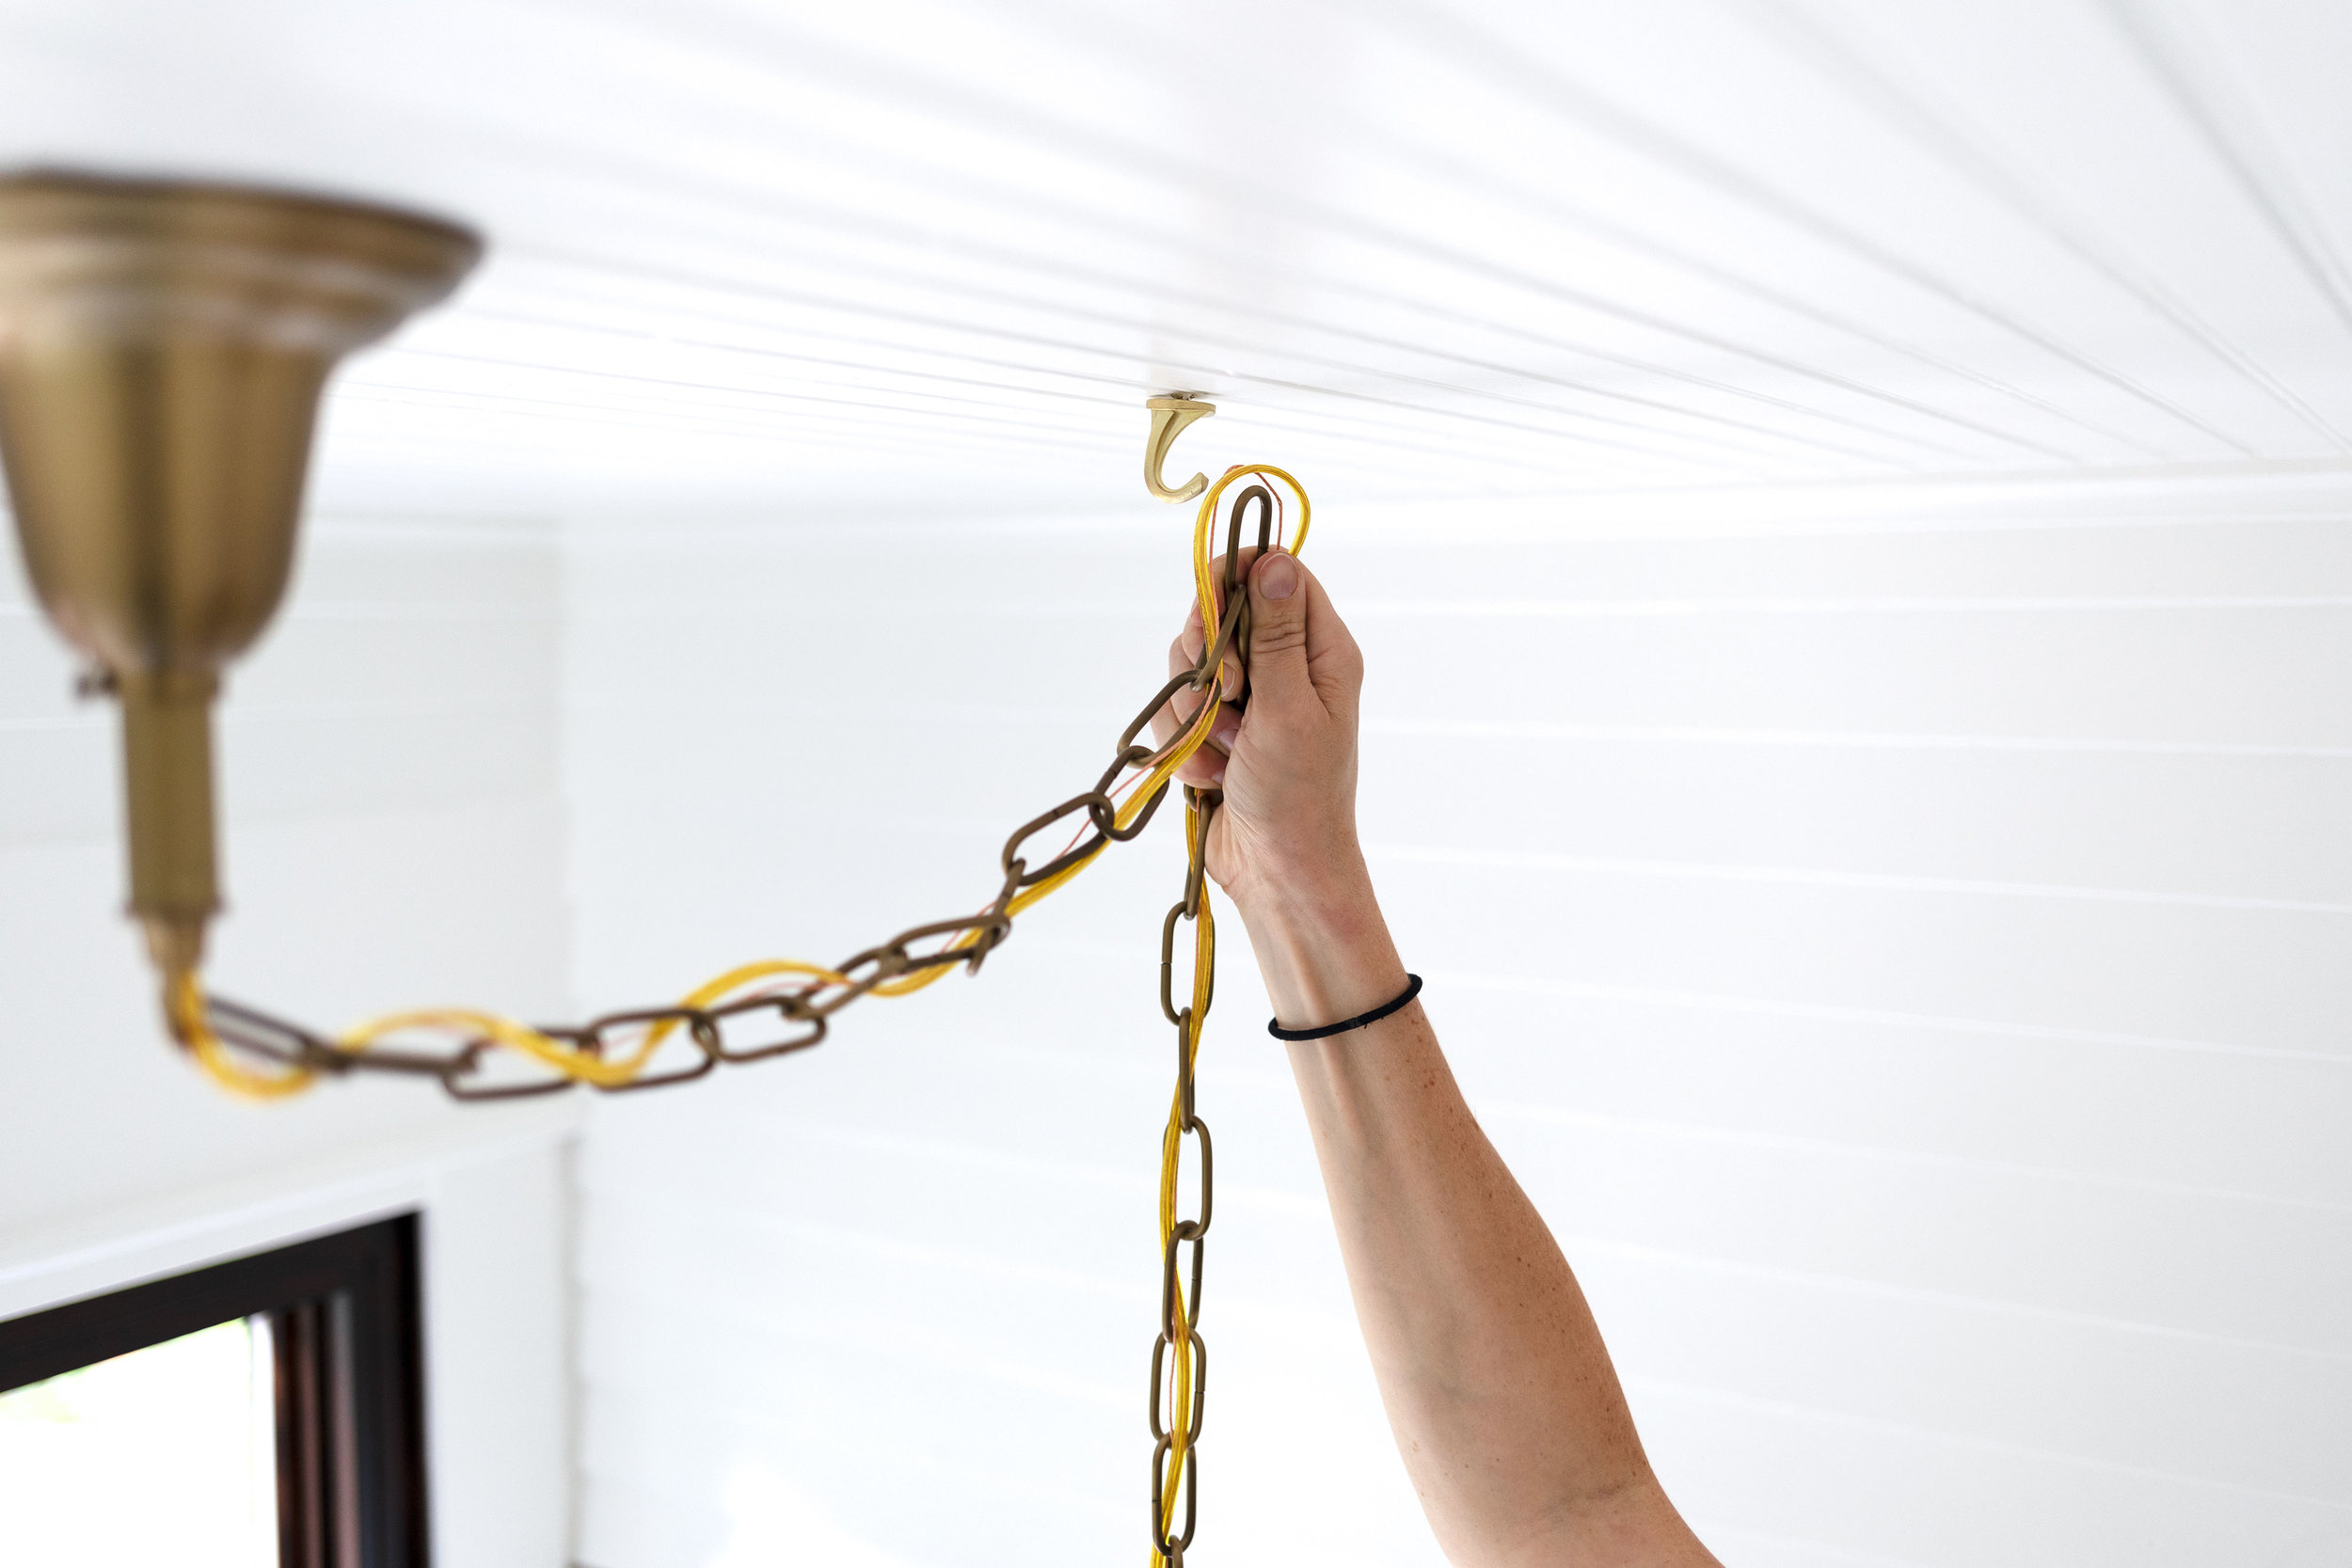
- Match the wires: Match the colors of the wires from the ceiling to the corresponding wires on the new lamp. Typically, black wires are hot wires, white wires are neutral wires, and green or bare wires are ground wires. Connect the matching wires together by twisting them and securing them with wire nuts.
- Insulate the connections: Once the wires are securely connected, use electrical tape to insulate the wire nuts and prevent any accidental contact. Wrap the tape around the exposed metal portions of the wire nuts, ensuring they are fully covered.
- Tuck the connected wires: Carefully tuck the connected wires into the ceiling electrical box. Avoid overcrowding the box and ensure that all wires are neatly arranged and not pinched or stressed.
- Attach the lamp base: Lift the assembled lamp up towards the ceiling and align it with the mounting bracket. Insert the provided screws and tighten them to secure the lamp base to the bracket. Follow the manufacturer’s instructions for specific attachment methods.
- Secure any additional components: If your new ceiling lamp includes additional components such as decorative elements or light bulbs, follow the manufacturer’s instructions to secure them in place. This may involve screwing them in or following specific installation steps.
It’s crucial to ensure that the wiring connections are secure and insulated to prevent any electrical hazards. Take your time during this step, double-checking your work to ensure everything is done correctly. Once the wiring is connected and properly secured, you’re ready to move on to the next step and complete the installation process.
Step 6: Secure the new ceiling lamp
With the wiring connected and the lamp in place, it’s time to securely fasten the new ceiling lamp. Follow these steps to ensure your lamp is safely and securely installed:
- Tighten the lamp base: Using a screwdriver, make sure that all screws securing the lamp base to the mounting bracket are tightened properly. This will ensure that the lamp is firmly attached to the ceiling and will not wobble or come loose over time.
- Align the lampshade or cover: If your new ceiling lamp includes a lampshade or cover, double-check that it is aligned properly. Ensure that it sits securely on the lamp base without any gaps or unevenness. Make any necessary adjustments to ensure a snug fit.
- Test stability: Gently rock the lamp back and forth to check its stability. If you feel any movement or hear rattling, it may indicate that the lamp is not securely fastened. In this case, tighten the screws or mounting hardware further and retest until the lamp is stable.
- Check for proper clearance: Look around the lamp to ensure that there is enough clearance for any moving parts, such as ceiling fans or doors. Verify that the lamp does not obstruct any pathways or create any safety hazards. If adjustments are needed, reposition the lamp to allow for proper clearance.
- Inspect the overall appearance: Take a step back and examine the installed lamp from different angles. Check for any visible defects, crookedness, or unevenness. Make any necessary adjustments or alignments to ensure a visually appealing and balanced installation.
- Dispose of packaging materials: Properly dispose of any packaging materials, such as boxes and plastic wraps. Keep in mind any recycling guidelines and regulations in your local area. Leaving a clean and clutter-free space will add the finishing touch to your installation.
By following these steps, you can ensure that your new ceiling lamp is securely installed and ready to illuminate your space. Taking the time to properly fasten and align the lamp not only enhances its functionality but also adds a polished and professional touch to the overall appearance of the room.
Step 7: Turn on the power and test the installation
Now that the new ceiling lamp is securely installed, it’s time to turn on the power and test the installation. Follow these steps to ensure everything is working properly:
- Double-check the power supply: Before turning on the power, verify that the circuit breaker is still in the “off” position. Safety should always be a top priority, and it’s important to avoid any potential accidents during this step.
- Flip the circuit breaker: Slowly switch the circuit breaker associated with the installation area to the “on” position. This will restore power to the circuit.
- Test the lamp switches: Go to the light switches that control the ceiling lamp and turn them on. If the lamp has a pull chain or any other switch mechanism, activate it as well. Observe the lamp to ensure it turns on without any flickering or issues.
- Check for proper lighting: Take a moment to examine the lighting provided by the new ceiling lamp. Make sure the desired area is properly illuminated, and there are no dark spots or uneven lighting. If necessary, adjust the position or direction of the lamp to achieve the desired lighting effect.
- Verify functionality: Test any additional features or functions of the ceiling lamp, such as dimming capabilities or adjustable settings. Ensure that these features are working correctly and adjust them to your preference.
- Look for any issues: While the lamp is turned on, inspect its components for any signs of overheating, strange noises, or abnormal behavior. These could indicate a potential issue that needs to be addressed, such as a loose connection or a faulty component.
- Record any problems: If you encounter any problems or issues during the testing phase, make note of them. This will help you communicate any necessary adjustments or repairs to the manufacturer or a professional electrician if needed.
By following these steps and testing the installation, you can ensure that your new ceiling lamp is working properly and providing the desired lighting for your space. If everything is functioning as expected, congratulations! Your installation is complete, and you can now enjoy the renewed ambiance and functionality of your room.
Conclusion
Installing a ceiling lamp can be a rewarding project that instantly transforms the look and feel of a room. By following the step-by-step guide outlined in this article, you can confidently install a new ceiling lamp and enjoy a beautifully lit space. From gathering the necessary tools and materials to securely connecting the wiring and testing the installation, each step plays a crucial role in ensuring a safe and successful outcome.
Remember to always prioritize safety by turning off the power supply before starting any electrical work. Take your time to carefully assemble and securely fasten the new ceiling lamp, paying attention to details such as proper wiring connections, alignment, and stability. Finally, test the installation thoroughly to ensure that the lamp is providing the desired lighting and functionality.
If you encounter any problems or are unsure about any step of the installation process, it is always recommended to consult a professional electrician for assistance. They can provide valuable guidance and ensure that the installation is done correctly and up to code.
By following our comprehensive guide and taking the necessary precautions, installing a ceiling lamp can be an achievable DIY project that enhances both the aesthetics and functionality of your space. So go ahead, let there be light!
Frequently Asked Questions about How To Install A Ceiling Lamp
Was this page helpful?
At Storables.com, we guarantee accurate and reliable information. Our content, validated by Expert Board Contributors, is crafted following stringent Editorial Policies. We're committed to providing you with well-researched, expert-backed insights for all your informational needs.


0 thoughts on “How To Install A Ceiling Lamp”