Home>Furniture & Design>Outdoor Furniture>How To Install An Outdoor Lamp Post
Outdoor Furniture
How To Install An Outdoor Lamp Post
Modified: January 18, 2024
Learn how to install an outdoor lamp post to enhance your outdoor space with our expert tips and step-by-step guide. Discover the best outdoor furniture and design ideas for a stylish and functional outdoor area.
(Many of the links in this article redirect to a specific reviewed product. Your purchase of these products through affiliate links helps to generate commission for Storables.com, at no extra cost. Learn more)
Introduction
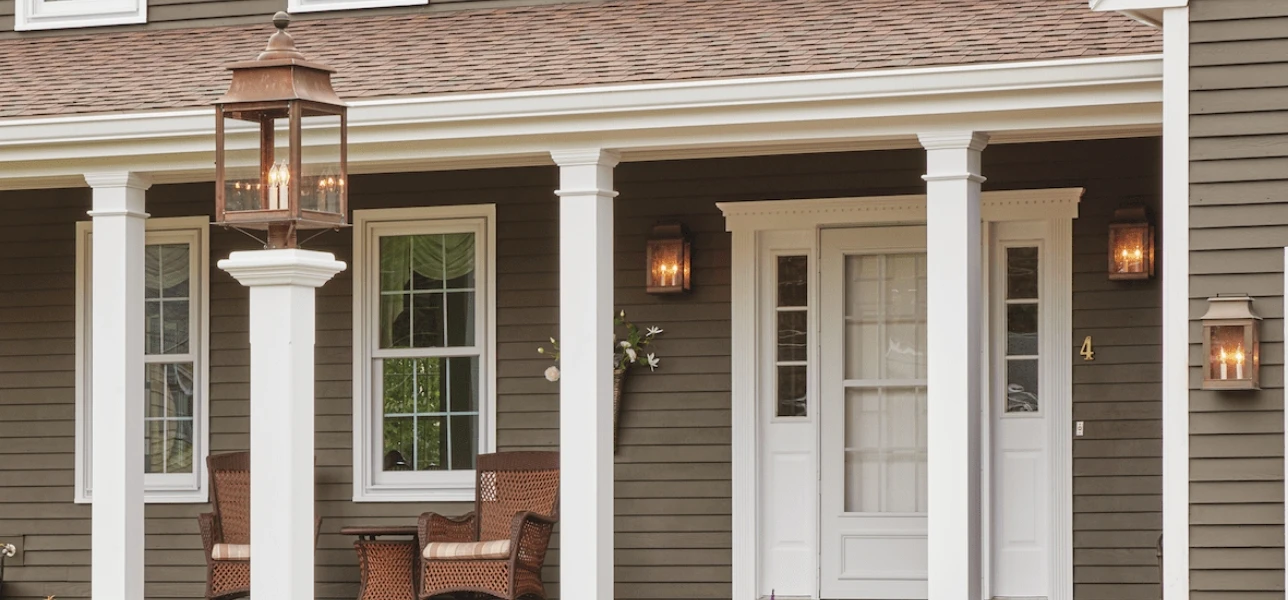
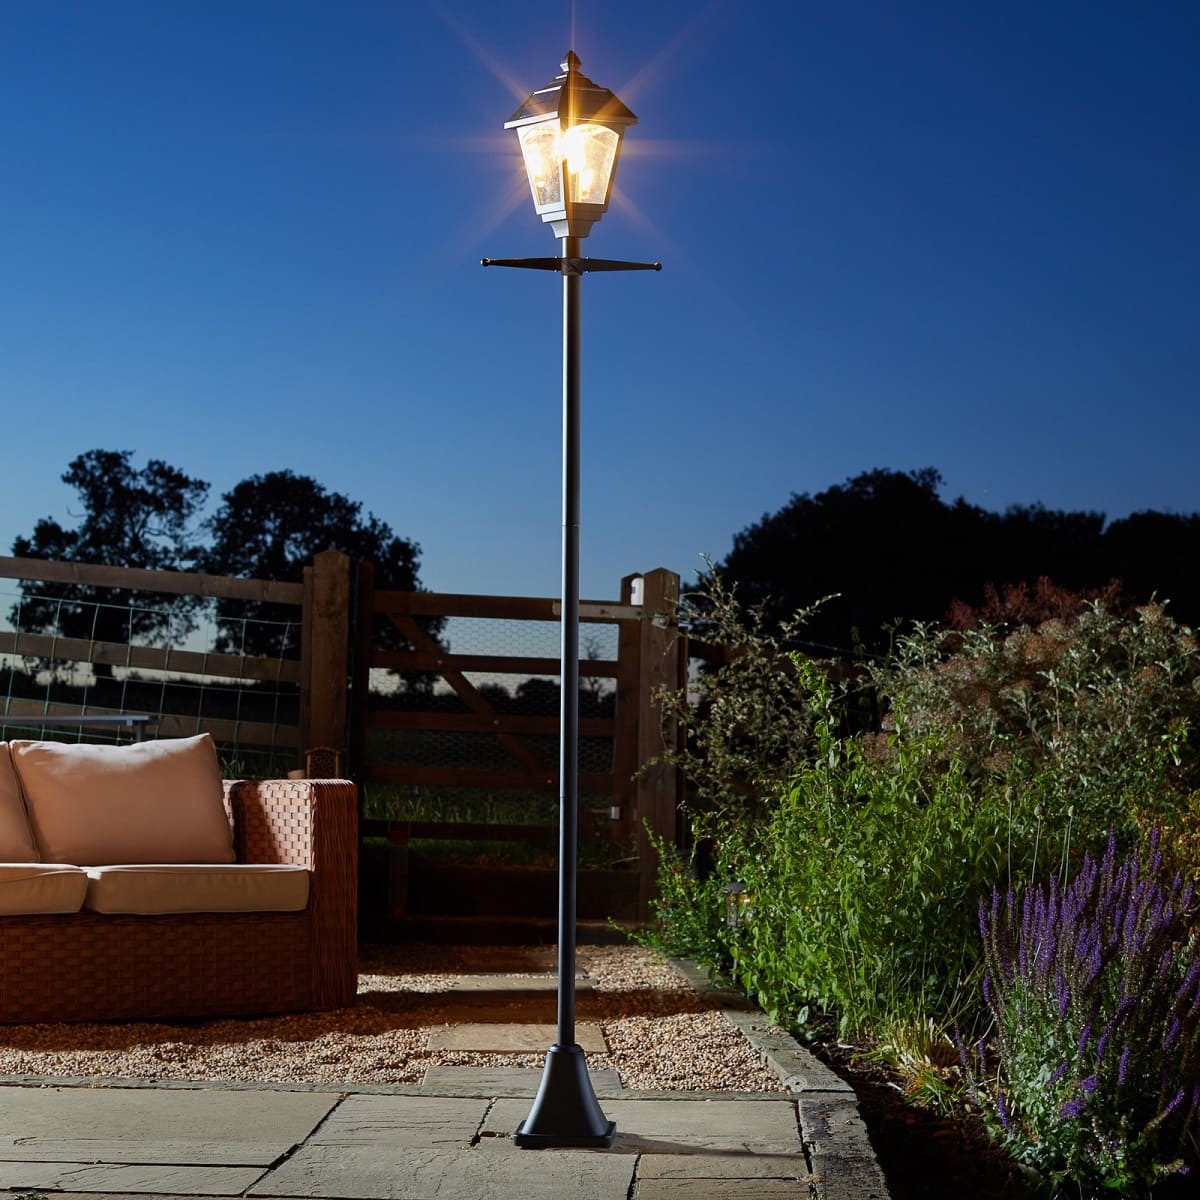
When it comes to enhancing the outdoor ambiance of your home, an outdoor lamp post can be a game-changer. Not only does it provide functional illumination for pathways and driveways, but it also adds a touch of elegance and charm to your outdoor space. Whether you're looking to boost the curb appeal of your property or create a welcoming atmosphere for guests, installing an outdoor lamp post is a rewarding project that can elevate the overall aesthetic of your home.
In this comprehensive guide, we'll walk you through the step-by-step process of installing an outdoor lamp post. From selecting the ideal location to wiring the lamp post, we'll cover all the essential aspects to ensure that your installation is a seamless and successful endeavor. So, roll up your sleeves, gather your tools, and let's shed some light on the art of installing an outdoor lamp post.
Key Takeaways:
- Installing an outdoor lamp post can enhance your home’s outdoor ambiance, adding both functional illumination and visual charm. Careful location selection, proper preparation, and meticulous assembly are key to a successful installation.
- Completing the installation with the right light bulb, adjusting the light direction, and adding landscaping elements can further elevate the lamp post’s impact. Regular maintenance ensures long-term functionality and visual appeal.
Read more: How To Install A Lamp Post
Materials Needed
Before diving into the installation process, it’s crucial to gather all the necessary materials and tools. Here’s a comprehensive list of what you’ll need to complete the outdoor lamp post installation:
- Lamp post fixture
- Lamp post base
- Concrete mix
- Shovel
- Level
- Tape measure
- Post hole digger
- Wire stripper
- Electrical tape
- Wire connectors
- Outdoor-rated electrical cable
- Outdoor outlet box
- Weatherproof conduit
- Wire nuts
- Screwdriver
- Adjustable wrench
- Protective gloves
- Safety goggles
- Outdoor-rated light bulb
Ensuring that you have all these materials on hand will streamline the installation process and help you tackle each step with confidence.
Choosing the Location
Before you start digging or assembling anything, take the time to carefully select the ideal location for your outdoor lamp post. Consider both aesthetic and practical factors when choosing the placement:
- Illumination Needs: Assess the areas of your outdoor space that require illumination. Whether it’s a driveway, walkway, patio, or garden, pinpoint the spots where the lamp post can provide optimal lighting.
- Curb Appeal: Visualize how the lamp post will contribute to the overall curb appeal of your home. It should complement the architectural style and landscaping while adding a touch of sophistication.
- Accessibility: Ensure that the location allows for easy access to the lamp post for maintenance and bulb replacement. Accessibility is key to the long-term functionality of the fixture.
- Underground Utilities: Before digging, contact your local utility companies to identify the locations of any underground utilities. This precaution is essential to prevent accidental damage during the installation process.
Once you’ve considered these factors, mark the chosen location for the lamp post with stakes or spray paint. This will serve as a visual guide as you proceed with the installation process.
By thoughtfully selecting the location, you can ensure that your outdoor lamp post not only serves its practical purpose but also enhances the visual appeal of your outdoor living space.
Preparing the Area
With the location for your outdoor lamp post identified, it’s time to prepare the area for installation. This step is crucial for ensuring the stability and longevity of the lamp post. Follow these steps to get the area ready:
- Clear the Site: Remove any obstacles, such as rocks, plants, or debris, from the designated area. Clearing the site will provide a clean and level foundation for the lamp post.
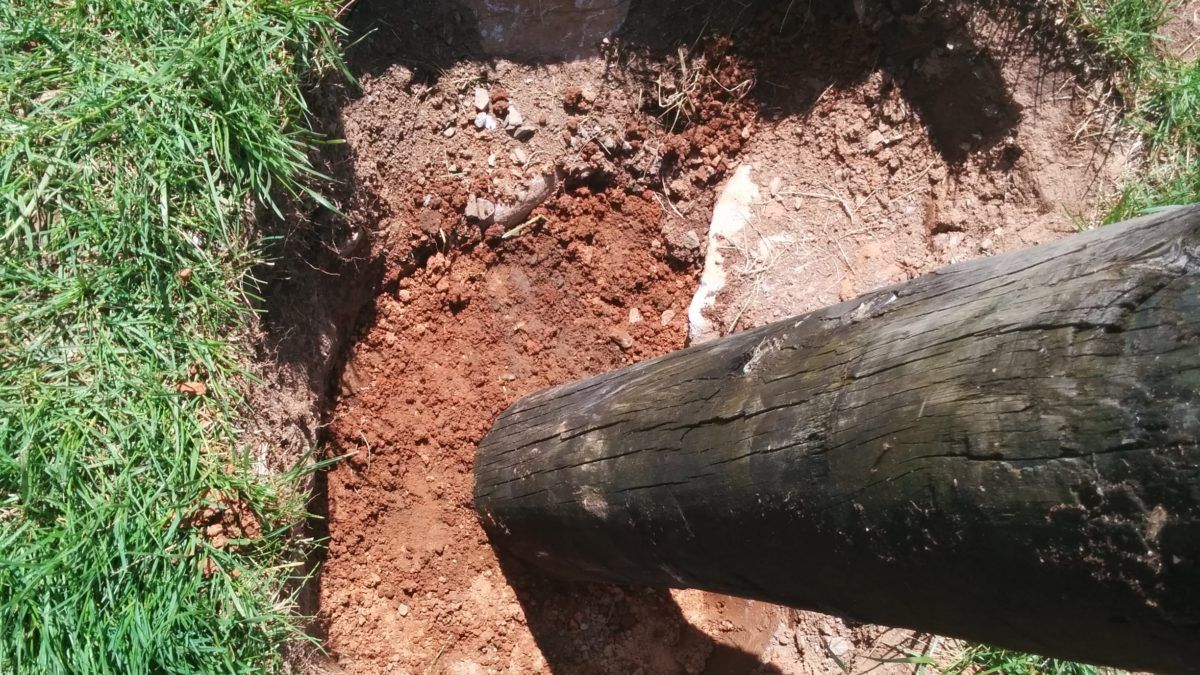
- Excavate the Hole: Use a post hole digger to excavate a hole for the lamp post base. The depth of the hole will depend on the specific requirements of your lamp post, so refer to the manufacturer’s instructions for guidance.
- Prepare the Concrete Mix: Once the hole is dug, prepare the concrete mix according to the manufacturer’s recommendations. The concrete will provide stability and support for the lamp post.
- Position the Lamp Post Base: Place the lamp post base in the center of the hole, ensuring that it is level and plumb. This step is crucial for the proper alignment of the lamp post.
- Pour and Set the Concrete: Carefully pour the prepared concrete mix into the hole around the lamp post base. Use a shovel to eliminate air pockets and ensure that the base remains level and upright as the concrete sets.
- Allow the Concrete to Cure: Give the concrete sufficient time to cure and harden as per the manufacturer’s instructions. This typically involves allowing the concrete to set for a specified period, ensuring the stability of the lamp post.
By meticulously preparing the area, you’ll establish a solid foundation for your outdoor lamp post, setting the stage for a secure and visually appealing installation.
Assembling the Lamp Post
With the site prepared, it’s time to assemble the components of the outdoor lamp post. This step involves putting together the various parts to create a sturdy and functional fixture. Follow these guidelines for a seamless assembly process:
- Unpack the Components: Carefully unpack the lamp post fixture and its accompanying parts, ensuring that all components are accounted for and undamaged.
- Follow the Manufacturer’s Instructions: Refer to the manufacturer’s instructions for specific guidelines on assembling the lamp post. These instructions will outline the sequence of assembly and any special considerations for your particular model.
- Secure the Lamp Post to the Base: Attach the lamp post to the pre-installed base, ensuring a secure and stable connection. Use the appropriate fasteners or hardware as specified by the manufacturer.
- Verify Alignment and Stability: Double-check that the lamp post is level and plumb, making any necessary adjustments to ensure proper alignment. Stability is essential to the structural integrity of the lamp post.
- Test for Smooth Movement: If your lamp post includes any movable or adjustable features, such as a swivel head, test these components to ensure smooth and unrestricted movement.
- Inspect for Quality and Functionality: Conduct a thorough inspection of the assembled lamp post, checking for any defects or malfunctions. Verify that all components are securely fastened and that the fixture is ready for installation.
By carefully assembling the lamp post according to the manufacturer’s instructions, you’ll ensure that the fixture is structurally sound and ready for installation in the designated outdoor space.
Before installing an outdoor lamp post, make sure to check for any underground utilities to avoid damaging them. Call 811 to have the area marked before digging.
Read more: How To Replace An Outdoor Lamp Post
Installing the Lamp Post
With the lamp post assembled, it’s time to proceed with the installation process. This phase involves securing the lamp post in its designated location and ensuring that it is firmly anchored for long-term stability. Follow these steps to install the lamp post:
- Position the Lamp Post: Carefully lift the assembled lamp post and position it over the prepped base in the designated location. Enlist the help of a friend or family member to ensure safe and precise placement.
- Secure the Lamp Post: Use the appropriate fasteners or hardware to secure the lamp post to the base. Follow the manufacturer’s guidelines for the recommended installation method, ensuring a firm and stable attachment.
- Check for Plumb and Alignment: Utilize a level to verify that the lamp post is perfectly plumb and aligned with the surrounding landscape. Make any necessary adjustments to ensure an upright and visually appealing installation.
- Stabilize the Lamp Post: If the lamp post includes provisions for additional stabilization, such as anchoring it to the ground or a concrete pad, follow the recommended procedures to enhance its stability, especially in areas prone to strong winds or inclement weather.
- Inspect the Installation: Conduct a thorough visual inspection of the installed lamp post, ensuring that it is securely anchored and free from any structural issues. Confirm that the fixture is ready for the next phase of the installation process.
By meticulously following these installation steps, you’ll ensure that your outdoor lamp post is firmly and securely positioned, ready to illuminate and enhance your outdoor space for years to come.
Wiring the Lamp Post
Once the lamp post is securely installed, the next crucial step is to complete the wiring process, enabling the fixture to illuminate your outdoor space effectively. Proper wiring is essential for the functionality and safety of the lamp post. Follow these steps to wire the lamp post:
- Prepare the Electrical Components: Gather the necessary electrical components, including outdoor-rated electrical cable, wire connectors, wire nuts, and an outdoor outlet box. Ensure that all components are suitable for outdoor use and compliant with local electrical codes.
- Route the Electrical Cable: Carefully route the outdoor-rated electrical cable from the nearest power source to the base of the lamp post. This may involve burying the cable underground or concealing it within a weatherproof conduit, depending on local regulations and safety considerations.
- Connect the Wiring: At the base of the lamp post, connect the electrical cable to the appropriate terminals or wiring points as specified by the manufacturer. Use wire connectors and electrical tape to secure the connections and protect them from environmental elements.
- Install the Outdoor Outlet Box: If the lamp post requires an outdoor outlet box for housing the electrical connections, install it securely at the base of the fixture, ensuring that it provides adequate protection for the wiring and connections.
- Test the Electrical Connections: Before proceeding, conduct a thorough test of the electrical connections to ensure that the wiring is properly installed and that there are no issues with the electrical supply to the lamp post.
- Verify Compliance and Safety: Confirm that the wiring installation complies with local electrical codes and safety standards. It’s crucial to prioritize safety and adherence to regulations when completing the wiring process.
By diligently following these wiring steps and ensuring that the electrical components are installed and connected correctly, you’ll enable your outdoor lamp post to provide reliable and safe illumination for your outdoor living space.
Finishing Touches
With the installation and wiring of the outdoor lamp post completed, it’s time to add the finishing touches to ensure that the fixture not only illuminates your outdoor space but also enhances its visual appeal. Consider the following steps to add those final details:
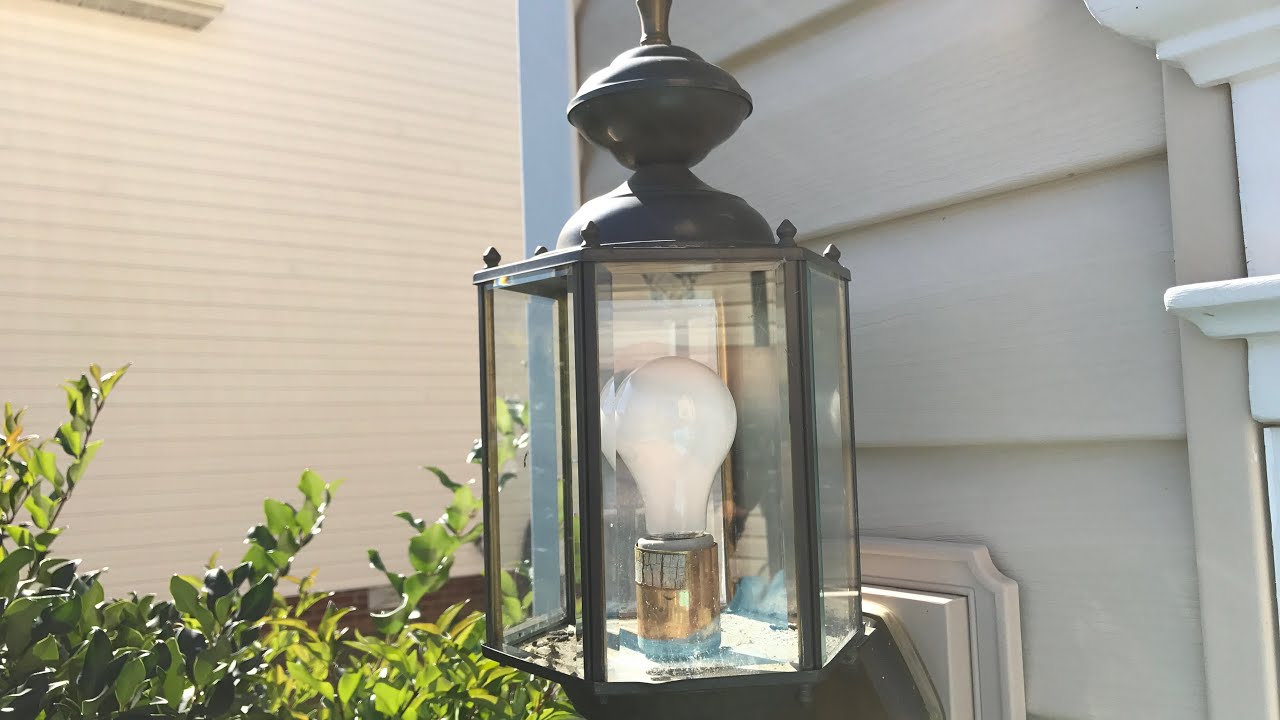
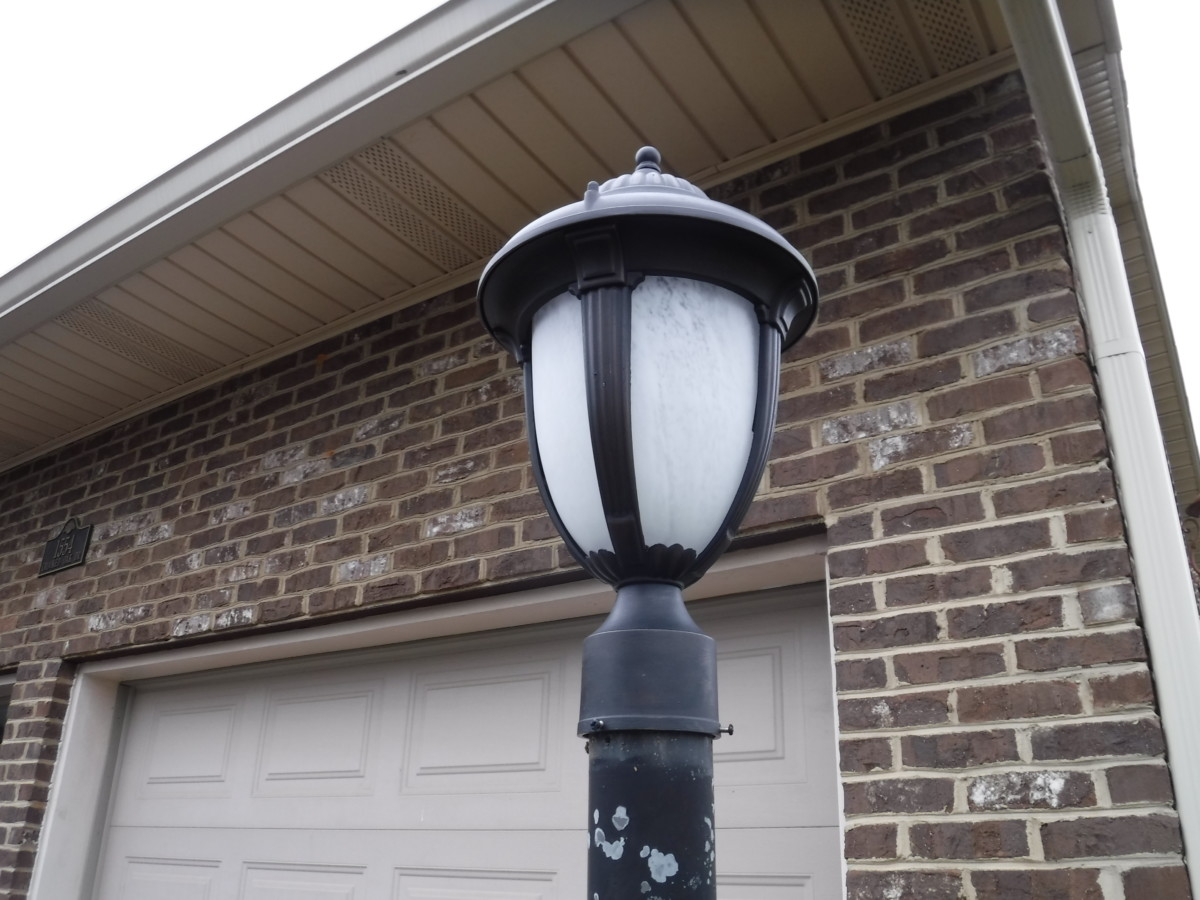
- Choose the Right Light Bulb: Select an outdoor-rated light bulb that suits your preferences and the lighting requirements of the area. Whether you opt for a warm, soft glow or a brighter illumination, the choice of bulb can significantly impact the ambiance of your outdoor space.
- Adjust the Light Direction: If your lamp post allows for adjustable light direction, position the fixture to illuminate the desired areas effectively. This step ensures that the light serves its intended purpose, whether it’s lighting a pathway or accentuating landscaping features.
- Enhance with Landscaping: Consider incorporating landscaping elements around the base of the lamp post to integrate it seamlessly into your outdoor environment. Planting flowers, shrubs, or decorative stones can enhance the visual appeal of the fixture and its surroundings.
- Regular Maintenance: Establish a routine for maintaining the lamp post, including cleaning the fixture, inspecting the wiring, and replacing the light bulb as needed. Regular maintenance will preserve the functionality and appearance of the lamp post over time.
- Illuminate Your Outdoor Space: As dusk falls, bask in the warm glow of your newly installed outdoor lamp post. Take a moment to appreciate how it enhances the beauty and functionality of your outdoor living space, welcoming guests and providing a sense of security.
By attending to these finishing touches, you’ll elevate the impact of your outdoor lamp post, transforming it into a captivating and functional element of your outdoor environment. Embrace the enchanting ambiance created by your thoughtfully installed and adorned lamp post, and revel in the allure it brings to your outdoor living space.
Conclusion
Installing an outdoor lamp post is not just a practical addition to your home; it’s a transformative enhancement that elevates the aesthetics and functionality of your outdoor space. From the careful selection of the installation location to the meticulous wiring process, every step contributes to the creation of an inviting and well-lit environment.
By following the comprehensive guide provided here, you’ve gained the knowledge and confidence to embark on the journey of installing an outdoor lamp post with ease. From preparing the area and assembling the lamp post to wiring the fixture and adding the finishing touches, each step is a testament to your dedication to creating an enchanting outdoor ambiance.
As you bask in the gentle glow of your newly installed outdoor lamp post, take pride in the craftsmanship and attention to detail that went into its installation. Whether it’s illuminating a welcoming pathway or accentuating the beauty of your outdoor landscape, the lamp post stands as a symbol of your commitment to enhancing your home’s exterior appeal.
Embrace the warmth and allure of your outdoor environment, knowing that the installation of the lamp post has not only added light but has also illuminated the potential for memorable moments and captivating experiences in your outdoor living space.
So, as the sun sets and the lamp post casts its gentle radiance, take a moment to appreciate the transformation that has taken place – a transformation that has not only brightened your outdoor space but has also added a touch of elegance and charm to your home.
Frequently Asked Questions about How To Install An Outdoor Lamp Post
Was this page helpful?
At Storables.com, we guarantee accurate and reliable information. Our content, validated by Expert Board Contributors, is crafted following stringent Editorial Policies. We're committed to providing you with well-researched, expert-backed insights for all your informational needs.


0 thoughts on “How To Install An Outdoor Lamp Post”