Furniture
How To Make A Dresser Taller
Modified: August 17, 2024
Learn how to make a dresser taller with our easy step-by-step guide. Transform your furniture and create more storage space without breaking the bank.
(Many of the links in this article redirect to a specific reviewed product. Your purchase of these products through affiliate links helps to generate commission for Storables.com, at no extra cost. Learn more)
Introduction
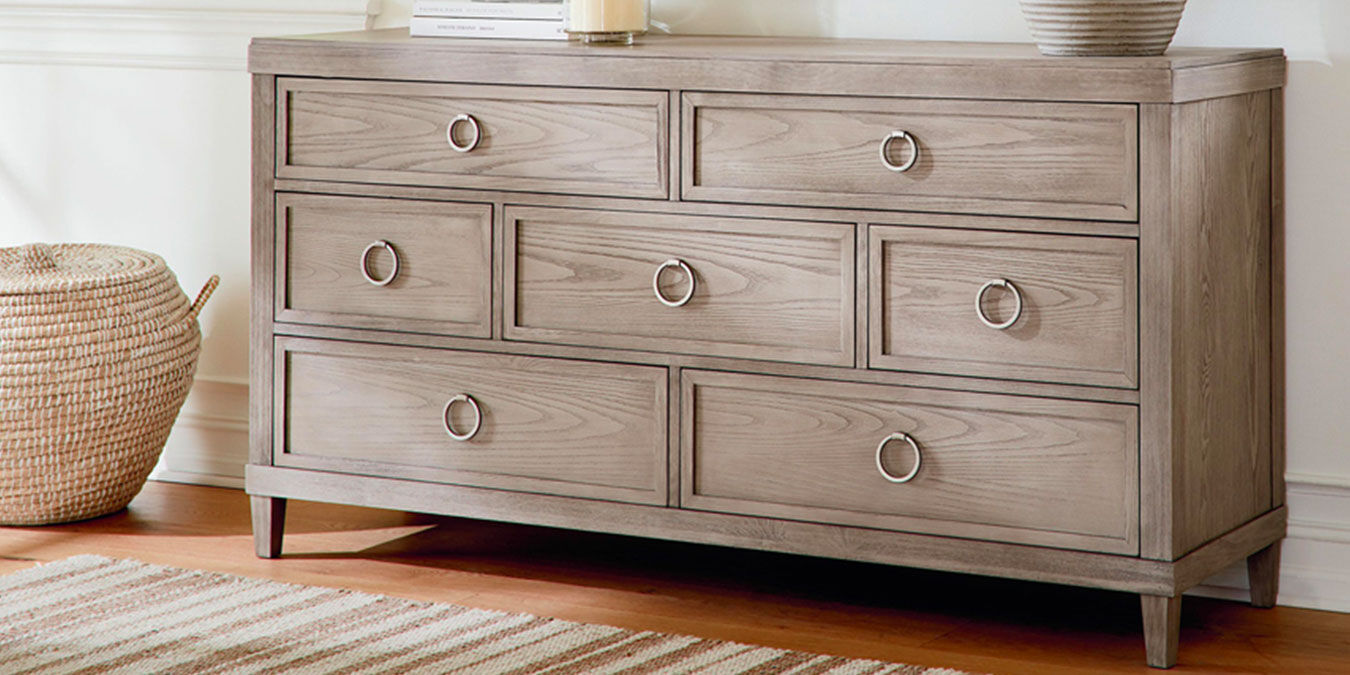
When it comes to furniture, functionality and style go hand in hand. Your dresser, for example, may serve its purpose of providing storage space for your clothes, but what if you find yourself needing a taller dresser to better suit your needs and aesthetic preferences? Luckily, there are several ways you can make a dresser taller without compromising its integrity or design.
In this article, we will explore different methods you can use to elevate your dresser to new heights. Whether you want to add a few inches or transform it into a towering statement piece, we’ve got you covered. So, let’s take a closer look at how you can achieve the perfect height for your dresser.
Before we dive into the various techniques, it’s important to assess your current dresser to determine the best course of action. Consider the style and material of your dresser, as well as its stability and structural integrity. This will help you select the most suitable method to make your dresser taller.
As you evaluate your dresser, keep in mind that the goal is to enhance its height while maintaining its functionality and aesthetic appeal. With that in mind, let’s explore the different approaches you can take to achieve the desired height for your dresser.
Key Takeaways:
- Elevate your dresser with confidence by assessing its condition and choosing the right method to make it taller, whether it’s extending the legs, adding a base, using decorative molding, or repurposing additional furniture pieces.
- Transform your dresser into a taller, more functional, and visually appealing piece of furniture that perfectly matches your needs and style, with careful consideration and the right modification methods.
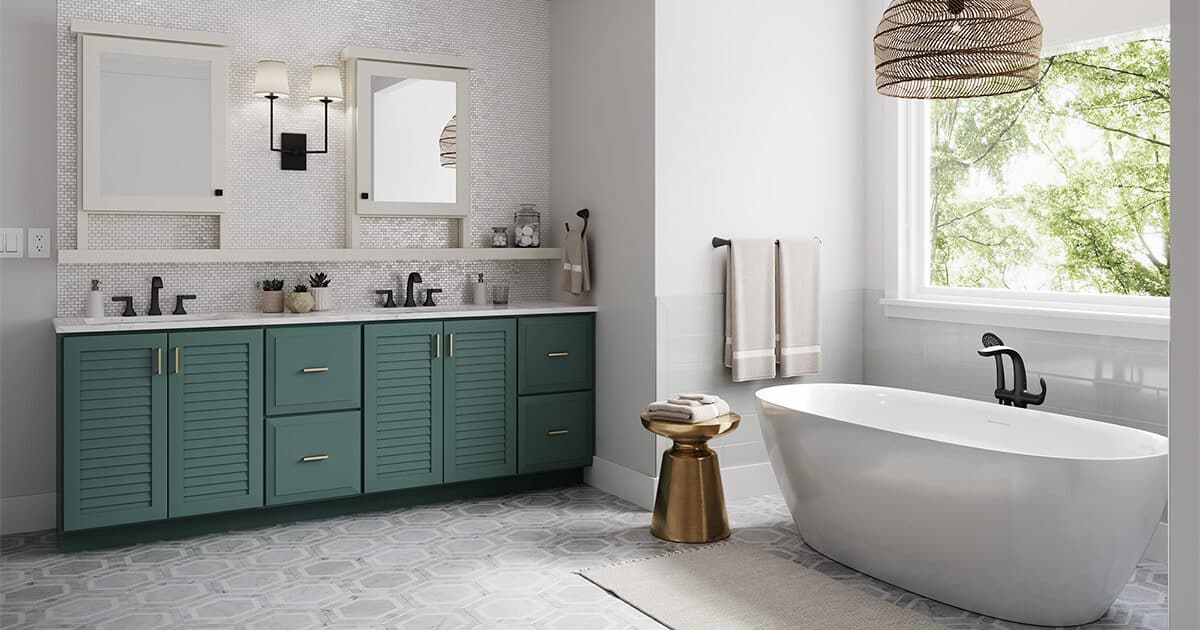
Read more: How To Make A Bathtub Taller
Assessing the Dresser
Before you embark on any modifications to make your dresser taller, it’s essential to assess its current condition. This assessment will help you determine the best method to achieve your desired height while ensuring the structural integrity and stability of the dresser.
Start by examining the material and construction of your dresser. Is it made of solid wood, particleboard, or a combination of materials? Solid wood dressers are generally more suitable for modifications, as they offer better stability and durability.
Next, evaluate the overall condition of the dresser. Look for any signs of damage or weakness, such as wobbly legs, loose joints, or sagging drawers. If your dresser is already in poor condition, it may not be suitable for height modifications, as it could compromise its structural integrity.
Consider the style and design of your dresser as well. Some dressers have intricate detailing or unique features that may be difficult to modify without affecting their original charm. If preserving the original aesthetics is important to you, choose a modification method that can seamlessly blend with the dresser’s design.
Additionally, take into account the available space in your room. Measure the height of the ceiling and the clearance between the dresser and any other furniture or fixtures in the room. Ensure that increasing the height of your dresser won’t make it too tall for the space or create an imbalance in the overall room design.
By thoroughly assessing your dresser, you can make an informed decision about the modification method that will work best for your needs. Whether you end up extending the legs, adding a base, or repurposing additional furniture pieces, this initial evaluation will help you achieve the desired height while maintaining the structural integrity and style of your dresser.
Choosing the Right Method
Once you have assessed your dresser and determined that it is suitable for modification, it’s time to choose the right method to make your dresser taller. There are several techniques you can employ, each with its own advantages and considerations.
One common method is to extend the legs of the dresser. This involves replacing the existing legs with longer ones to elevate the entire piece. This method is relatively straightforward and can be done with the help of a few simple tools. When choosing new legs, ensure they are sturdy enough to support the increased height and match the style of your dresser.
An alternative approach is to add a base or platform to the bottom of the dresser. This involves constructing a new base that sits beneath the original dresser, effectively raising its overall height. This method provides additional stability and can be a great option if you want to maintain the original legs or if the existing legs are not easily replaceable.
If you want to enhance the aesthetics of your dresser while increasing its height, consider using decorative molding or trim. Adding crown molding or a stylish border to the top of the dresser can create the illusion of added height without physically modifying the structure. This method is ideal for dressers with flat tops and can give them a more elegant and sophisticated look.
Another creative option is to repurpose additional furniture pieces to create a stacked or tiered dresser. For example, you can place a smaller dresser or a chest of drawers on top of your existing dresser. This technique not only adds height but also introduces a unique and visually appealing element to your furniture arrangement. Just ensure that the combined weight of the stacked pieces does not exceed the weight capacity of the bottom dresser.
Ultimately, the right method for making your dresser taller depends on your specific preferences and the condition of your dresser. Consider factors such as style, stability, ease of implementation, and the overall look you want to achieve.
Before embarking on any modifications, it’s always a good idea to consult with a professional or do thorough research to ensure you understand the process and any potential challenges. With careful consideration and the right method, you can transform your dresser into a taller, more functional, and visually appealing piece of furniture that perfectly matches your needs and style.
Extending the Legs
If you want to increase the height of your dresser while maintaining its original design, extending the legs is a popular and practical option. This method allows you to elevate the entire piece without having to make significant structural modifications. Here’s how you can extend the legs of your dresser:
1. Measure and Purchase: Start by measuring the desired height increase for your dresser. Take into account the current height of the legs and the additional height you want to achieve. Once you have determined the measurements, purchase new legs that match the style and material of your dresser.
2. Remove Existing Legs: To begin the process, carefully remove the existing legs from your dresser. This can usually be done by unscrewing them from the underside of the dresser. Depending on the design of your dresser, you may need to remove any brackets or brackets that attach the legs to the dresser.
3. Attach the New Legs: Once the old legs are removed, attach the new legs in their place. Use screws or bolts to secure the new legs firmly to the underside of the dresser. Ensure that the new legs are level and aligned properly to maintain stability.
4. Test and Adjust: After attaching the new legs, test the dresser’s stability by gently rocking it from side to side. If there is any wobbling or instability, adjust the placement of the legs or tighten the screws/bolts as needed. It’s crucial to ensure that the dresser is sturdy and secure before proceeding.
5. Finishing Touches: Depending on the design of your dresser and the new legs, you may want to add additional finishing touches such as painted or stained legs, decorative accents, or leg caps to enhance the overall look and protect your flooring from scratches.
By extending the legs of your dresser, you can achieve the desired height increase while preserving the original design and aesthetic appeal. This method is relatively straightforward and can be easily accomplished with basic tools and careful measurements. However, it’s important to ensure that the new legs are sturdy enough to support the weight of the dresser and that the overall stability is maintained. If you are unsure or uncomfortable with this process, it’s advisable to seek professional assistance to ensure a safe and successful modification.
Consider adding furniture risers or bed risers to the bottom of the dresser to increase its height. This simple solution can provide the extra height needed without having to replace the entire dresser.
Adding a Base or Platform
If you prefer to keep the existing legs of your dresser or if they are not easily replaceable, adding a base or platform is a viable method to increase its height. This approach allows you to maintain the original structure of the dresser while providing a stable foundation for the desired height increase. Here’s how you can add a base or platform to your dresser:
1. Measure and Prepare: Begin by measuring the dimensions of your dresser’s base. This will help you determine the size and shape of the base or platform you need to create. Consider the desired height increase and ensure that the base or platform will provide adequate support.
2. Choose the Material: Select a suitable material for the base or platform. You can use plywood, MDF (Medium-Density Fiberboard), or other sturdy materials that can withstand the weight of the dresser. Make sure the material is thick enough to support the dresser and provide stability.
3. Cut the Base or Platform: Using the measurements you took earlier, cut the plywood or chosen material to the appropriate dimensions. Ensure that the corners are cut at right angles to provide a stable base for the dresser.
4. Attach the Base: Place the cut piece of material under the existing dresser base, ensuring that it is centered and aligned evenly. Use screws or nails to secure the base to the underside of the dresser. It’s important to use appropriate fasteners that are suitable for the material and thickness of the base.
5. Reinforce as Needed: Depending on the size and weight of your dresser, you may want to reinforce the base by adding additional support in the form of braces or blocks. These can be attached to the corners or along the edges of the base to provide extra stability.
6. Finishing Touches: To ensure a seamless look and protect the edges of the base, consider adding trim or molding around the perimeter. You can paint or stain the base to match the dresser or choose a contrasting color for added visual interest.
By adding a base or platform to your dresser, you can achieve the desired height increase without altering the original legs or structure. This method provides stability and allows you to preserve the overall design while creating a solid foundation for your dresser. It’s important to ensure that the base is securely attached and can support the weight of the dresser to prevent any wobbling or instability. If you are unsure or uncomfortable with this process, seeking professional assistance is recommended to ensure a successful and safe modification.
Read more: How To Make A Ladder Taller
Using Decorative Molding or Trim
If you’re looking to add height to your dresser while simultaneously enhancing its aesthetic appeal, using decorative molding or trim is an excellent option. This method can create the illusion of additional height and give your dresser a more sophisticated and elegant look. Here’s how you can use decorative molding or trim to make your dresser taller:
1. Measure and Plan: Start by measuring the top surface of your dresser to determine the length and width of the decorative molding or trim you will need. Consider the desired height increase and decide on the type of molding or trim that best complements the existing design of your dresser.
2. Select the Molding: Visit a local home improvement store or browse online to explore the various options for decorative molding or trim. Choose a style that suits the overall aesthetic of your dresser, whether it’s intricate and ornate or sleek and modern. Ensure that the molding or trim is thick enough to provide a noticeable height increase.
3. Cut the Pieces: Using a saw or miter box, cut the molding or trim to the appropriate lengths according to your dresser’s measurements. It’s important to make precise cuts to ensure a seamless and professional-looking result.
4. Attach the Molding: Apply a thin line of wood glue to the back of the molding or trim pieces and carefully press them onto the top edges of your dresser. Ensure they are aligned properly and apply gentle pressure to allow the glue to bond. You can also use finishing nails or screws for additional support, but make sure to countersink them and fill the holes with wood filler for a smooth finish.
5. Paint or Stain: Once the molding or trim is securely attached, you can paint or stain it to match the existing color of your dresser. This step helps blend the added height seamlessly with the rest of the piece and creates a cohesive look.
6. Finishing Touches: Consider adding additional decorative elements such as corner brackets or embellishments to further enhance the aesthetic appeal of your dresser. These small details can elevate the overall design and add a touch of uniqueness.
By using decorative molding or trim, you can not only increase the height of your dresser but also give it a refined and stylish appearance. This method is relatively simple and can be done with the help of basic tools and materials available at most home improvement stores. However, if you are not confident in your DIY skills, it’s advisable to seek assistance from a professional to ensure precision and a flawless outcome.
Repurposing Additional Furniture Pieces
If you’re looking for a creative and unique way to make your dresser taller, consider repurposing additional furniture pieces to create a stacked or tiered dresser. This method adds height while introducing an interesting visual element to your furniture arrangement. Here’s how you can repurpose furniture pieces to make your dresser taller:
1. Assess Available Furniture Pieces: Take inventory of any extra furniture pieces you have that could be repurposed to increase the height of your dresser. This could include smaller dressers, chests of drawers, bookcases, or even side tables. Keep in mind that the combined weight of the stacked pieces should not exceed the weight capacity of the bottom dresser.
2. Determine the Placement: Decide where you want to position the additional furniture pieces in relation to your dresser. You could stack them directly on top of the dresser or place them next to it, creating a tiered effect. Consider the height and dimensions of the pieces to ensure a stable and visually appealing arrangement.
3. Secure the Stacked Pieces: Once you have determined the placement, secure the stacked pieces to each other and to the dresser. You can use strong adhesive, brackets, or screws to hold them together. Ensure that the connection points are secure to prevent any wobbling or instability.
4. Level and Align: Pay attention to the levelness and alignment of the stacked pieces. Use a level to ensure that they are straight and not leaning to one side. Make any necessary adjustments to the placement or use shims to achieve a balanced and stable configuration.
5. Optimize Storage: Take advantage of the additional storage space that the stacked furniture pieces provide. You can designate each section for different purposes, such as organizing clothes, accessories, or other personal items. Consider adding dividers or baskets to optimize the storage potential.
6. Cohesive Finish: To achieve a cohesive and unified look, consider painting or staining the stacked furniture pieces and dresser in the same color or complementary shades. This will create a sense of harmony and make the stacked configuration appear intentional and well-coordinated.
Repurposing additional furniture pieces to make your dresser taller offers a creative and unconventional solution. It not only adds height but also introduces an interesting design element to your space. However, it’s important to ensure that the stacked configuration is secure and stable. If you have any doubts or concerns about the safety of the arrangement, consult with a professional or seek their assistance to ensure a successful and safe modification.
Conclusion
When it comes to making your dresser taller, there are various methods you can employ to achieve the desired height increase while maintaining its functionality and aesthetic appeal. Assessing your dresser’s condition and considering factors such as style, stability, and available space are important steps in determining the best modification method for your needs.
Extending the legs of your dresser is a practical option that allows you to elevate the entire piece without making significant structural alterations. By choosing new legs that match the style and material of your dresser, you can achieve a seamless and cohesive look.
For those who prefer to keep the existing legs or have difficulty replacing them, adding a base or platform is a suitable alternative. This method provides stability and a solid foundation for your dresser, giving it the height increase you desire while preserving the original structure.
If you’re looking to add a touch of elegance and visual interest, using decorative molding or trim can create the illusion of additional height. By carefully selecting the right molding and attaching it to the top edges of your dresser, you can enhance its overall appearance and make it appear taller.
For a more creative and unique solution, repurposing additional furniture pieces to create a stacked or tiered dresser can be an excellent choice. This method not only adds height but also introduces an interesting design element to your space, providing both functionality and visual appeal.
In conclusion, making your dresser taller is a task that can be accomplished with careful consideration and the right methods. By assessing your dresser, choosing the appropriate technique, and ensuring stability and safety, you can transform your dresser into a taller and more aesthetically pleasing piece of furniture that perfectly suits your needs and style.
Frequently Asked Questions about How To Make A Dresser Taller
Was this page helpful?
At Storables.com, we guarantee accurate and reliable information. Our content, validated by Expert Board Contributors, is crafted following stringent Editorial Policies. We're committed to providing you with well-researched, expert-backed insights for all your informational needs.


0 thoughts on “How To Make A Dresser Taller”