Furniture
How To Make A Doll Dresser
Modified: February 25, 2024
Learn how to make a beautiful doll dresser with this step-by-step tutorial. Create your own custom furniture piece for your little ones to enjoy.
(Many of the links in this article redirect to a specific reviewed product. Your purchase of these products through affiliate links helps to generate commission for Storables.com, at no extra cost. Learn more)
Introduction
Welcome to the world of doll furniture DIY! In this tutorial, we will guide you through the process of making a charming doll dresser from scratch. Whether you are a seasoned hobbyist or a curious beginner, this project is both fun and rewarding. Not only will you end up with a unique piece of doll furniture, but you will also get the satisfaction of creating something with your own two hands.
Before we dive into the steps, let’s take a moment to gather all the materials you will need for this project. Having everything prepared in advance will make the process much smoother and more enjoyable.
Key Takeaways:
- Create a charming and functional doll dresser by following this DIY tutorial. Customize the design, add decorative touches, and enjoy the satisfaction of crafting a unique piece for your doll collection.
- From building the frame to adding drawers and decorative elements, this tutorial guides you through each step of making a personalized doll dresser. Unleash your creativity and craftsmanship to bring your vision to life.
Read more: How To Make A Doll Quilt
Materials Needed
Before you get started, it’s essential to gather all the necessary materials for building your doll dresser. Here’s a list of items you’ll need:
- Wooden boards or plywood sheets
- Saw (circular saw or jigsaw preferred)
- Sandpaper (various grits)
- Wood glue
- Wooden dowels
- Wooden knobs or handles
- Paint or wood stain
- Paintbrushes or foam brushes
- Measuring tape
- Pencil or marker
- Drill
- Screws
- Screwdriver
It’s important to choose quality materials to ensure the durability and longevity of your doll dresser. Opt for sturdy wood that is free of knots and other imperfections. The size of the boards will depend on the dimensions you want for your dresser.
Keep in mind that you can customize the size and design of the dresser to fit your preferences. You can also add decorative elements such as trim, molding, or even decoupage to make it truly unique.
Now that you have all your materials ready, let’s move on to the steps of building your doll dresser!
Step 1: Building the Frame
Now that you have gathered all your materials, it’s time to start building the frame of your doll dresser. Follow these steps to create a sturdy foundation for the dresser:
- Measure and mark the dimensions for your dresser on the wooden boards or plywood sheets. This will include the height, width, and depth of the dresser.
- Using a saw, carefully cut along the marked lines to create the top, sides, and back of the dresser. Make sure the edges are smooth by sanding them with sandpaper.
- Next, measure and cut the supports for the dresser. These will be vertical pieces of wood that connect the top and bottom of the dresser to provide stability.
- Attach the supports to the top and bottom pieces using wood glue and screws. Make sure they are aligned correctly and securely fastened.
- If desired, you can add additional reinforcement by attaching wooden dowels between the supports and the top and bottom pieces.
- To create the front of the dresser, cut a piece of wood to the desired width and attach it to the frame using wood glue and screws.
- Lastly, attach the back piece of the dresser to complete the frame. This will provide additional stability and a finished look.
Once the frame is assembled, take some time to sand any rough edges and make sure all the pieces are secure. Now you have the basic structure of your doll dresser!
Stay tuned for the next step, where we will add drawers to our dresser to make it functional and stylish.
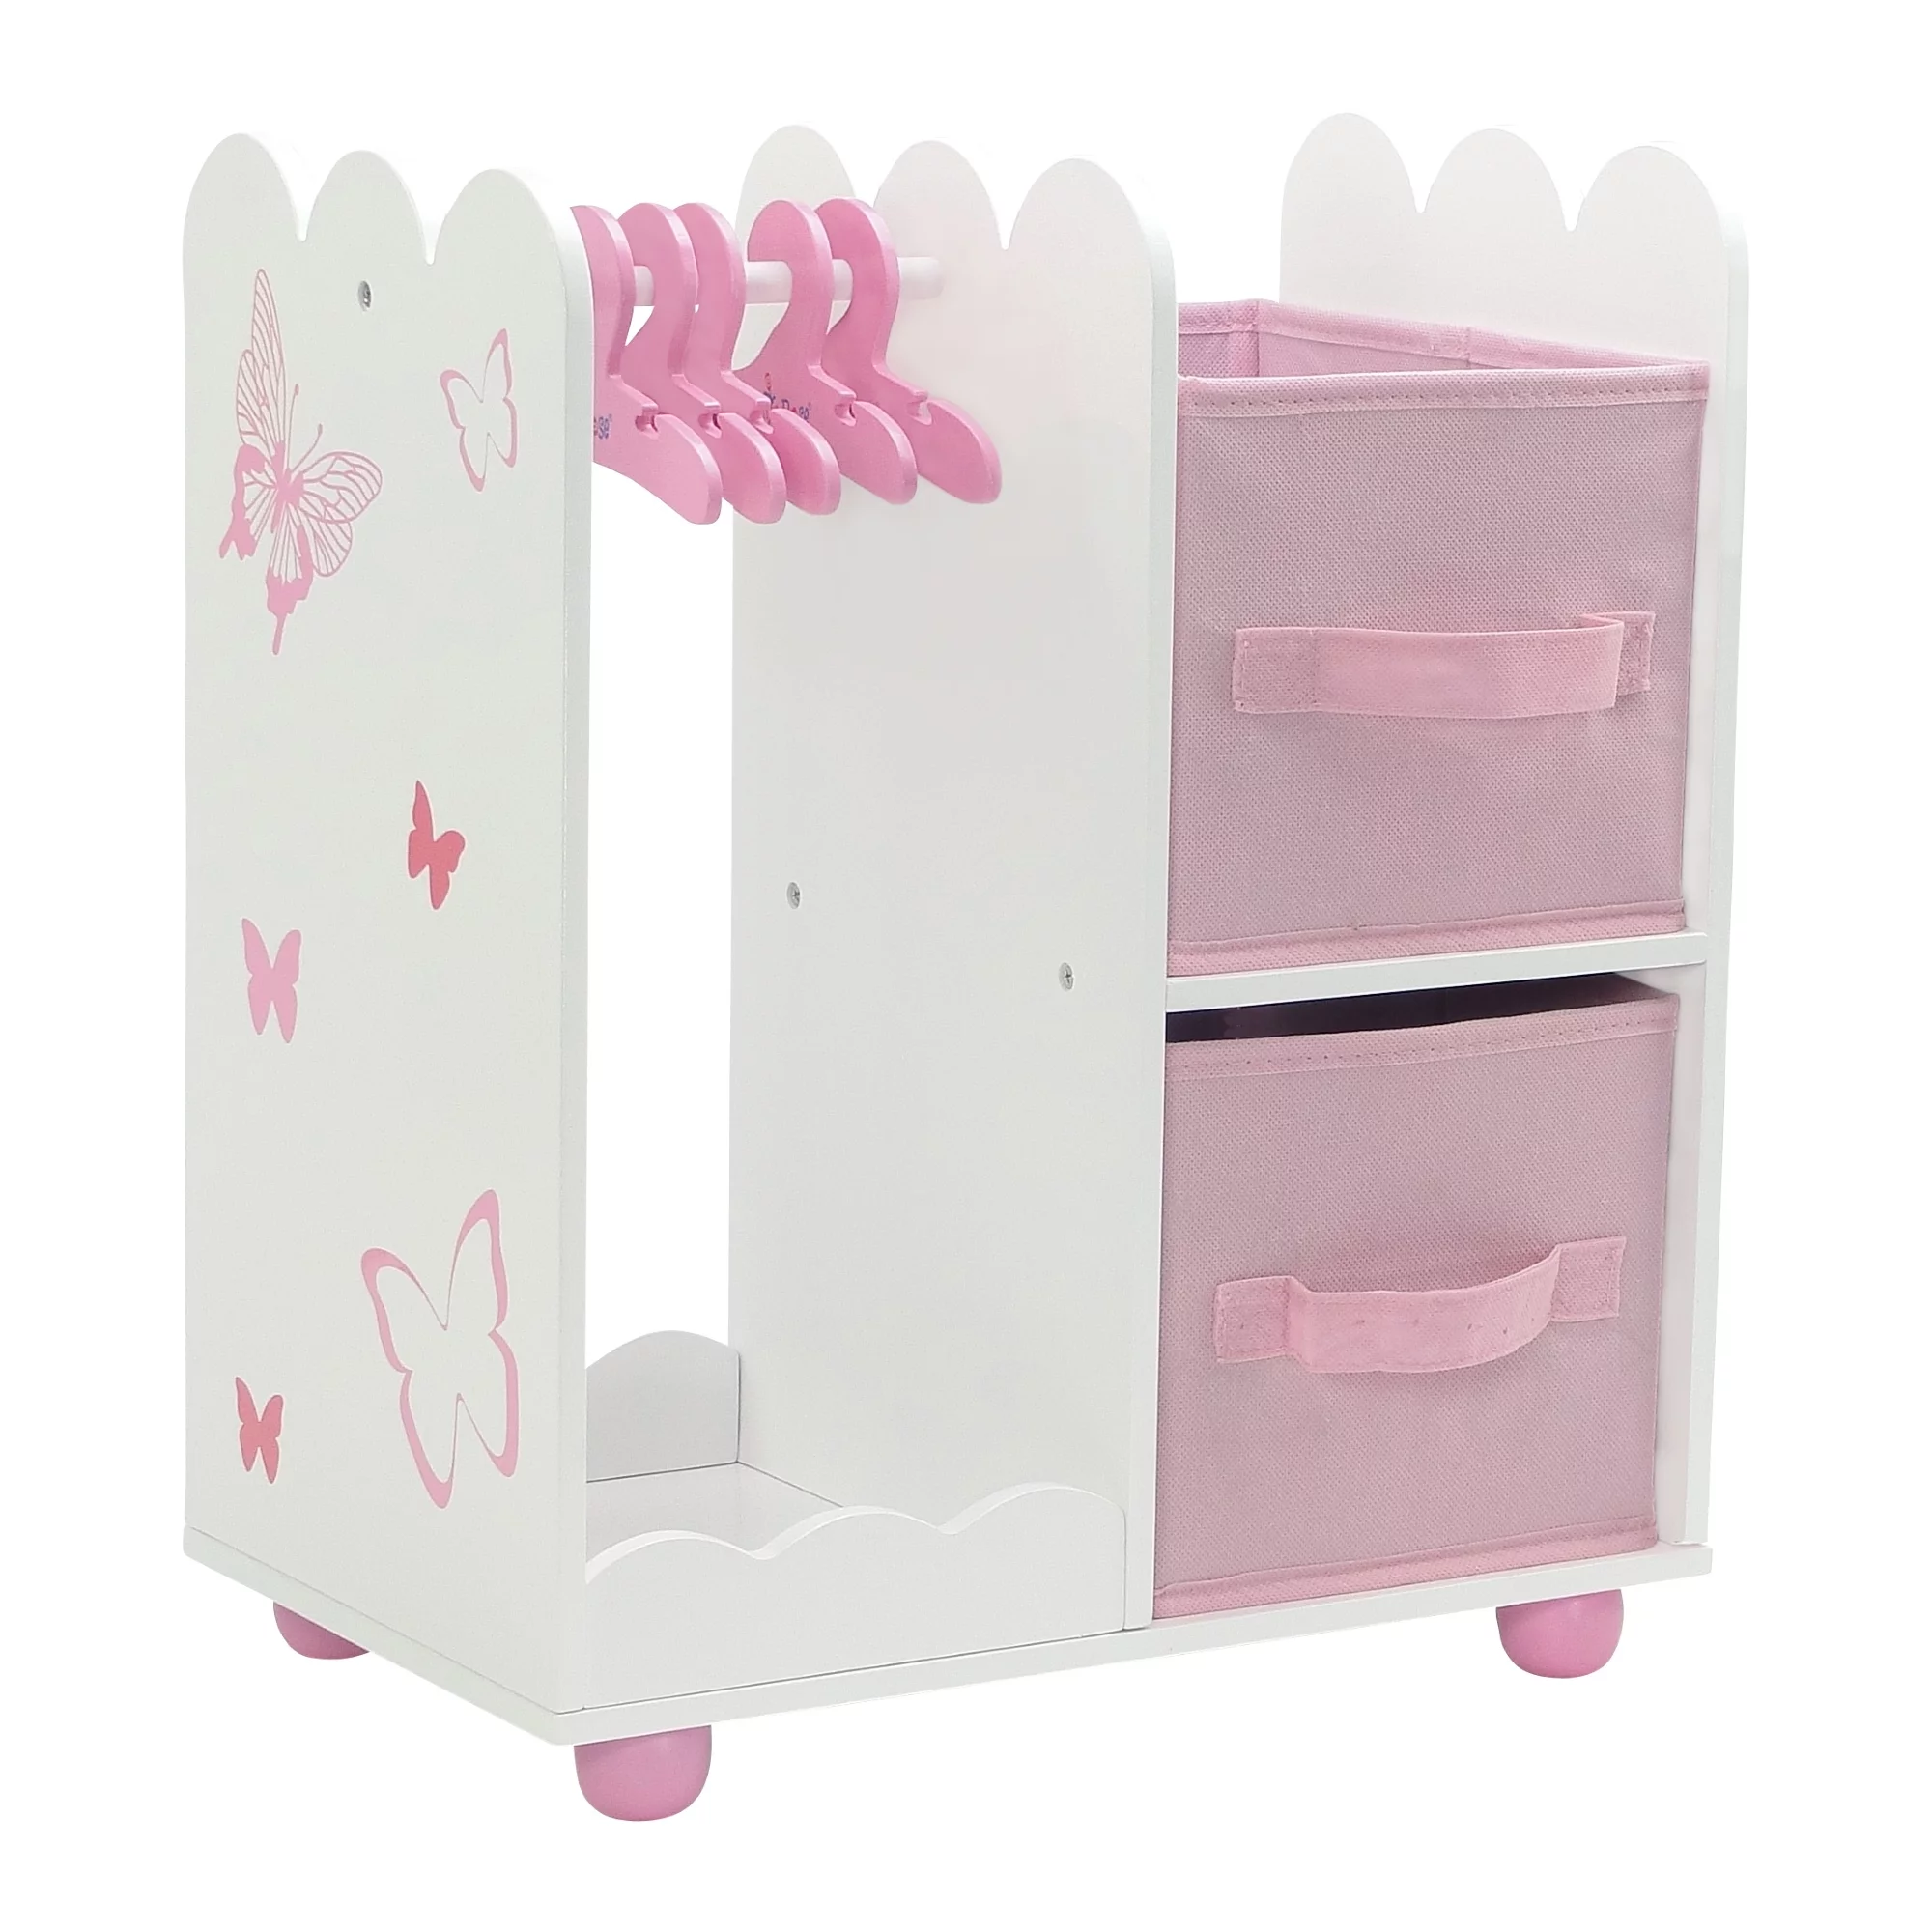
Step 2: Adding the Drawers
Now that the frame of your doll dresser is complete, it’s time to add the drawers. Follow these steps to create functional and aesthetically pleasing drawers:
- Measure the interior width and depth of the dresser frame to determine the size of the drawers.
- Cut pieces of wood or plywood to the desired size for the drawer fronts and backs.
- For the drawer sides, cut pieces of wood to the width and height of the drawers.
- Assemble the drawer pieces by attaching the sides to the front and back using wood glue and screws.
- Make sure the drawers slide smoothly by sanding the edges and applying a thin layer of wax or a drawer slide lubricant.
- If desired, add drawer guides or slides to ensure the drawers open and close easily.
- To add a decorative touch, attach wooden knobs or handles to the front of each drawer using screws.
- Before inserting the drawers into the dresser frame, paint or stain them to match your desired color scheme.
- Once the paint or stain has dried, carefully slide each drawer into its designated slot in the dresser frame.
Ensure that the drawers fit snugly and glide smoothly in their respective spaces. Adjust if needed by sanding or trimming the edges.
With the drawers installed, your doll dresser is not only functional but also visually appealing!
Stay tuned for the next step, where we will explore different coloring and finishing options for your doll dresser.
When making a doll dresser, use lightweight and sturdy materials such as balsa wood or cardboard to ensure the dresser is easy to handle and durable for play.
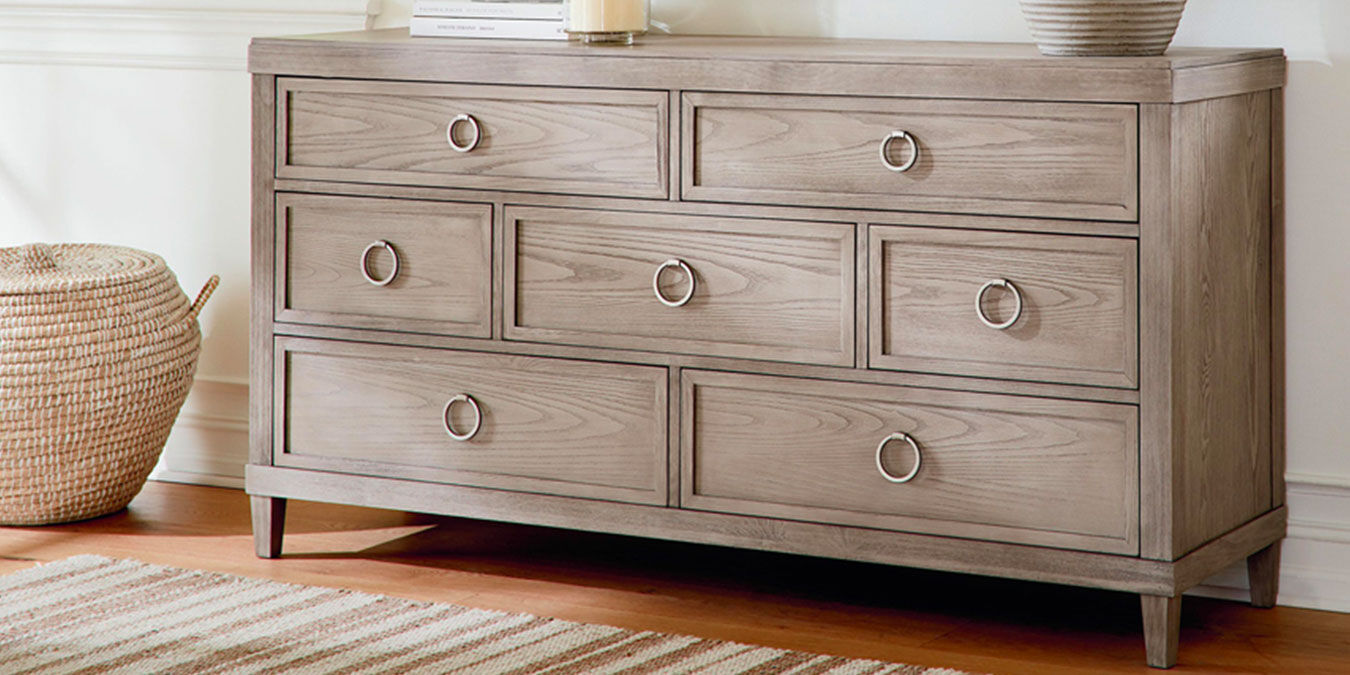
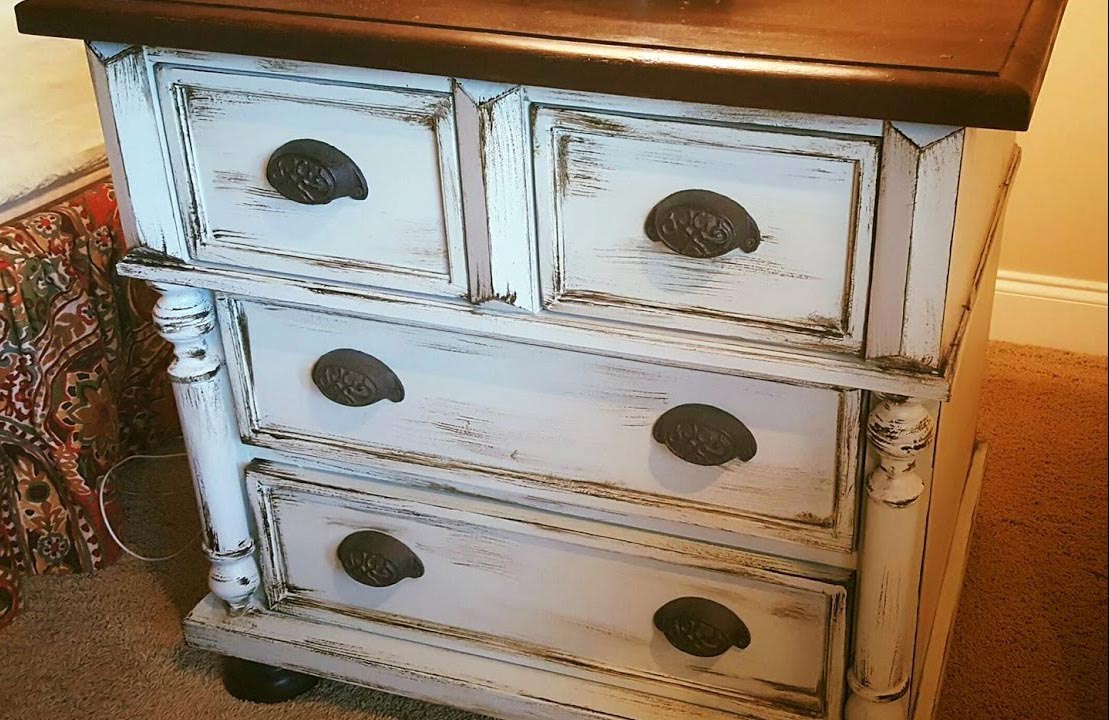
Step 3: Painting or Staining the Dresser
Now that the structure of your doll dresser is complete and the drawers have been added, it’s time to add some color or finish to bring it to life. Follow these steps to paint or stain your dresser:
- If you plan on painting the dresser, start by lightly sanding the surface to create a smooth and even base for the paint. Use a medium-grit sandpaper followed by a finer grit for a polished finish.
- Remove any dust or debris from the surface of the dresser using a clean cloth or a tack cloth.
- Apply a coat of primer to the entire surface of the dresser. This will help the paint adhere better and provide a more even finish. Allow the primer to dry completely.
- Choose your desired paint color and apply the first coat using a paintbrush or foam brush. Make sure to paint in long, even strokes and cover the entire surface, including the sides of the dresser and the drawer fronts.
- Allow the first coat to dry completely before applying additional coats. Depending on the type of paint and the desired coverage, you may need to apply multiple coats for a smooth and opaque finish.
- If you prefer a stained finish, start by sanding the surface of the dresser as mentioned earlier. This will ensure a smooth and clean base for the stain.
- Wipe away any dust or debris using a clean, lint-free cloth.
- Using a clean brush or cloth, apply the wood stain to the dresser, following the grain of the wood. Allow the stain to penetrate the wood for the recommended amount of time specified on the label.
- Wipe away any excess stain using a clean cloth and let the dresser dry completely.
- If desired, apply a clear topcoat to protect the paint or stain and give the dresser a polished finish. Allow the topcoat to dry according to the manufacturer’s instructions.
Remember to work in a well-ventilated area and protect your work surface from paint or stain drips. Take your time and ensure each coat is dry before proceeding to the next step.
With the painting or staining complete, your doll dresser will look stunning and ready to be showcased!
Stay tuned for the next step, where we will add some decorative touches to personalize your doll dresser.
Read more: How To Make A Swimming Pool For Dolls
Step 4: Adding Decorative Touches
Now that your doll dresser has been painted or stained, it’s time to add some decorative touches to make it truly unique. Follow these steps to add those special finishing touches:
- If desired, add decorative trim or molding to enhance the overall look of the dresser. Measure and cut the trim to fit the edges of the dresser, and attach it using wood glue or small finishing nails.
- Create a charming focal point by adding wallpaper or fabric to the back of the dresser. Measure the dimensions of the back panel and cut the material accordingly. Apply a layer of adhesive or use double-sided tape to secure it in place.
- Consider adding a decorative stencil pattern to the drawer fronts for an artistic touch. Use a stencil and acrylic paint to create intricate designs or patterns. Allow the paint to dry before handling the drawers.
- For an extra touch of elegance, add decorative drawer liners to the inside of each drawer. Choose a fabric or paper that complements the overall theme and cut it to fit the dimensions of the drawer bottoms. Attach it using adhesive or double-sided tape.
- Further enhance the look of the dresser by incorporating decorative handles or knobs. Select options that match the style and color scheme of the dresser, and securely attach them to the drawer fronts using screws.
- If desired, add small decorative embellishments like appliques, wooden decals, or even hand-painted designs to give the dresser a personalized touch. Use craft glue or hot glue to attach these elements securely.
- Take a step back and assess the overall appearance of the dresser. Make any final adjustments or additions to ensure that it meets your vision.
Adding these decorative touches will elevate the aesthetics of your doll dresser and make it a standout piece. Let your creativity and personal style shine through!
Stay tuned for the final step, where we will assemble the dresser and bring it all together.
Step 5: Assembling the Dresser
Now that you have added all the decorative touches to your doll dresser, it’s time to assemble it and bring all the components together. Follow these final steps to complete your project:
- Ensure that the paint or stain has dried completely before proceeding with the assembly.
- Begin by carefully inserting each drawer into its respective slot in the dresser frame. Make sure they slide smoothly and are aligned properly.
- If your dresser has additional shelves or compartments, insert them carefully and secure them in place using screws or dowels.
- Double-check that all the screws and fasteners are tightened securely to ensure the stability of the dresser.
- Give the dresser a thorough inspection, making sure all the drawers open and close smoothly, and that the decorative elements are securely attached.
- Clean the surface of the dresser with a soft cloth to remove any dust or debris.
With the final step complete, take a moment to admire your handiwork. You have successfully created a beautiful and functional doll dresser from scratch! Congratulations!
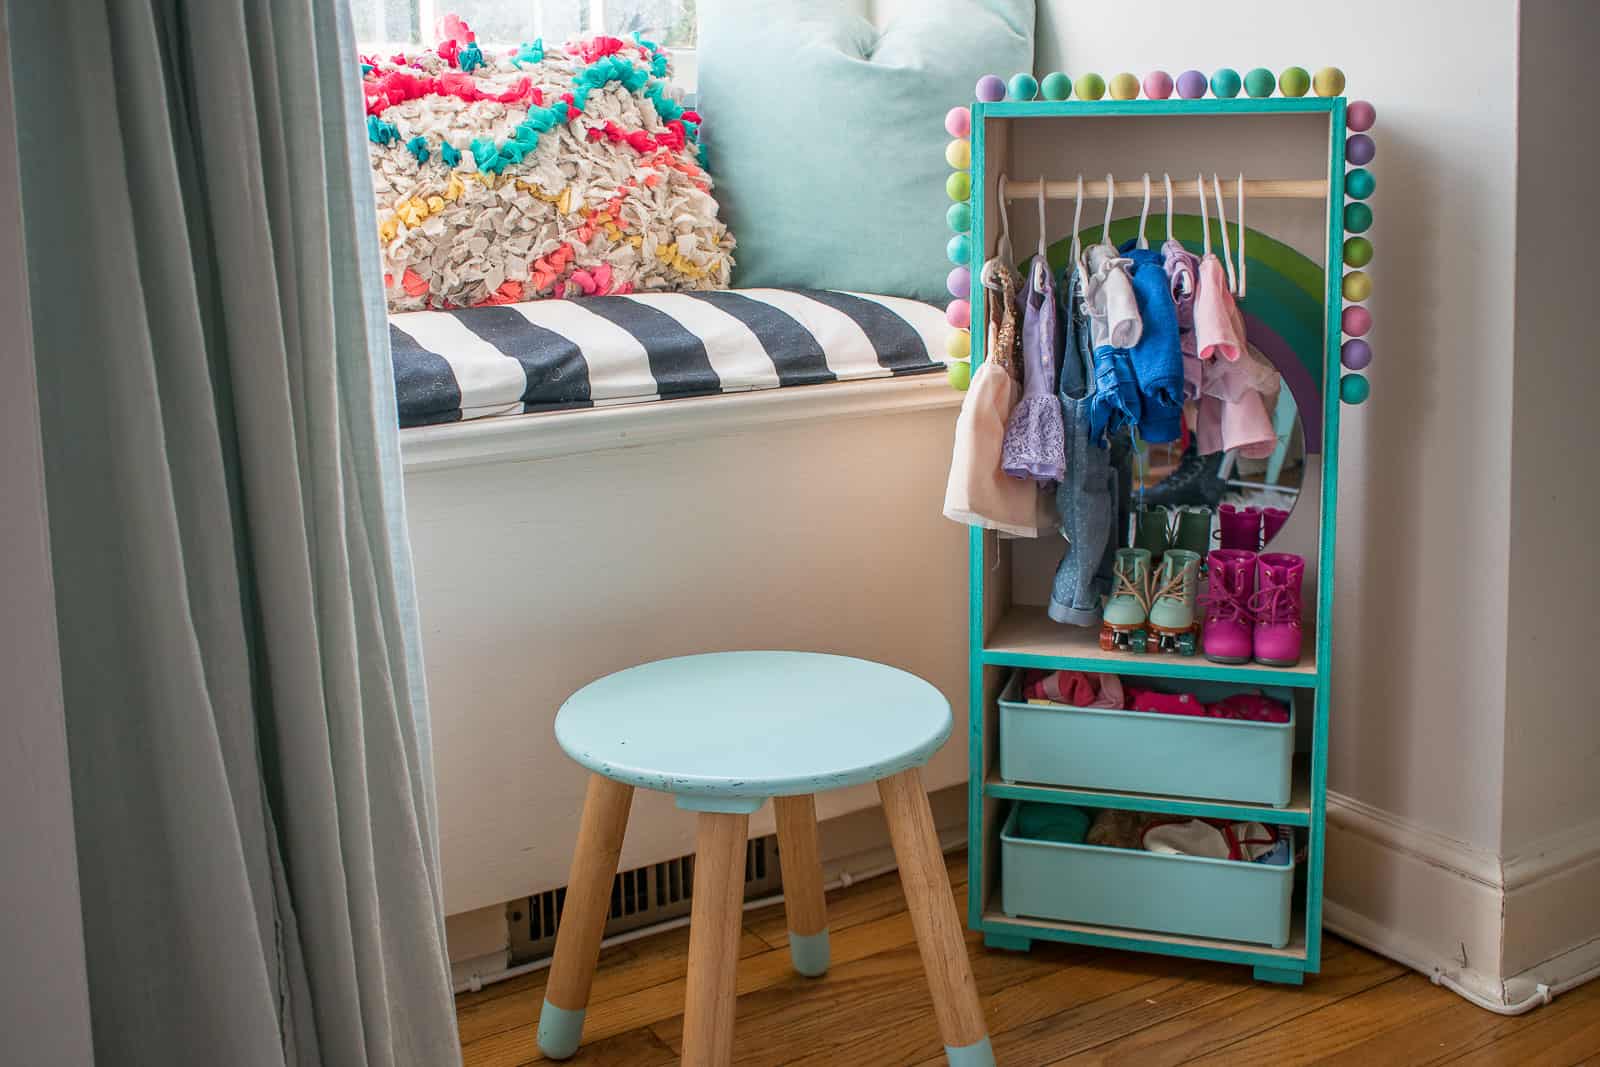
Now, it’s time to display your doll dresser proudly. Whether it’s for miniature dolls or as a decorative piece for your dollhouse, this dresser will surely add charm to any setting.
Remember, you can make variations to the design, size, and finish of the dresser to suit your preferences. Let your creativity shine through and have fun with the process!
We hope you enjoyed this DIY doll dresser tutorial. Happy crafting!
Conclusion
Building a doll dresser from scratch is a rewarding project that allows you to showcase your creativity and craftsmanship. By following the steps outlined in this tutorial, you have learned how to create a beautiful and functional piece of doll furniture.
From constructing the frame to adding drawers, painting or staining, and adding decorative touches, each step has contributed to the final result. Your doll dresser is now a unique and personalized piece that can be cherished for years to come.
Remember, you can customize this project to suit your preferences and style. Experiment with different colors, finishes, and decorative elements to create a dresser that reflects your own unique taste.
Whether you’re an experienced DIY enthusiast or just starting out, building furniture for dolls is an enjoyable and fulfilling endeavor. Not only does it provide a sense of accomplishment, but it also allows you to create heirloom-quality pieces for your doll collection or dollhouse.
We hope this tutorial has inspired you and provided you with the guidance needed to embark on this creative journey. So, gather your materials, set up your workspace, and let your imagination run wild. Get ready to build a dazzling doll dresser that will be the envy of miniature worlds everywhere!
Happy crafting!
Frequently Asked Questions about How To Make A Doll Dresser
Was this page helpful?
At Storables.com, we guarantee accurate and reliable information. Our content, validated by Expert Board Contributors, is crafted following stringent Editorial Policies. We're committed to providing you with well-researched, expert-backed insights for all your informational needs.


0 thoughts on “How To Make A Doll Dresser”