

Furniture
How To Raise The Dresser Height
Modified: October 20, 2024
Learn how to increase the height of your dresser easily with these simple furniture raising techniques. Transform your space with little effort and maximum impact.
(Many of the links in this article redirect to a specific reviewed product. Your purchase of these products through affiliate links helps to generate commission for Storables.com, at no extra cost. Learn more)
Introduction
When it comes to furniture, finding the perfect fit for your space can sometimes be a challenge. Whether you have purchased a new dresser that sits too low or you simply want to elevate your current dresser for functional or aesthetic reasons, raising the dresser height can be a practical solution. By increasing the height of your dresser, you can make it more accessible, prevent damage to the bottom of the dresser, and even create a stylish look.
In this article, we will explore different methods for raising the height of your dresser. We will discuss the reasons why you might want to raise the dresser height, how to assess the current height and determine the desired height, as well as the tools and materials needed for the project. Additionally, we will provide step-by-step instructions for three different options: using risers or furniture leg extenders, building a custom base or platform, and attaching furniture casters or wheels. We will also cover important safety considerations to keep in mind during the process. Let’s get started!
Key Takeaways:
- Elevating your dresser’s height can improve accessibility, prevent damage, enhance aesthetics, and provide extra storage. Consider risers, custom bases, or casters for a personalized solution.
- Prioritize safety, choose the right method, and enjoy the process of raising your dresser’s height to create a functional and stylish piece of furniture that perfectly fits your needs.
Read more: How To Raise Vanity Height
Why would you want to raise the dresser height?
Raising the height of a dresser can serve a variety of purposes. Here are a few reasons why you might consider elevating your dresser:
- Improved accessibility: A low dresser can be frustrating to use, especially if you find yourself constantly bending down to reach items. By raising the height, you can make it easier to access your belongings and reduce strain on your back.
- Prevention of damage: If your dresser sits directly on the floor, it is more prone to wear and tear. Dust, spills, and even pests can easily make their way underneath the dresser, causing damage over time. By raising the height, you create a barrier that helps protect both the dresser and the contents inside.
- Aesthetic enhancement: Sometimes, a dresser that is too low can look visually disproportionate in a room. By raising the height, you can create a more balanced and cohesive appearance. This is particularly useful if you have other tall furniture pieces, such as a bed or armoire, that you want to match in height.
- Functional advantages: Raising the height of your dresser can provide additional storage opportunities. By creating space between the floor and the bottom of the dresser, you can place baskets, bins, or even small furniture pieces underneath for extra organization.
Ultimately, the decision to raise the dresser height depends on your specific needs and preferences. Whether it’s for practical reasons or to achieve a desired look, making adjustments to the height can greatly enhance the functionality and aesthetics of your dresser.
Assessing the current dresser height
Before you begin the process of raising the height of your dresser, it’s important to assess the current height to determine the extent of the adjustment needed. Here’s how you can assess the current height:
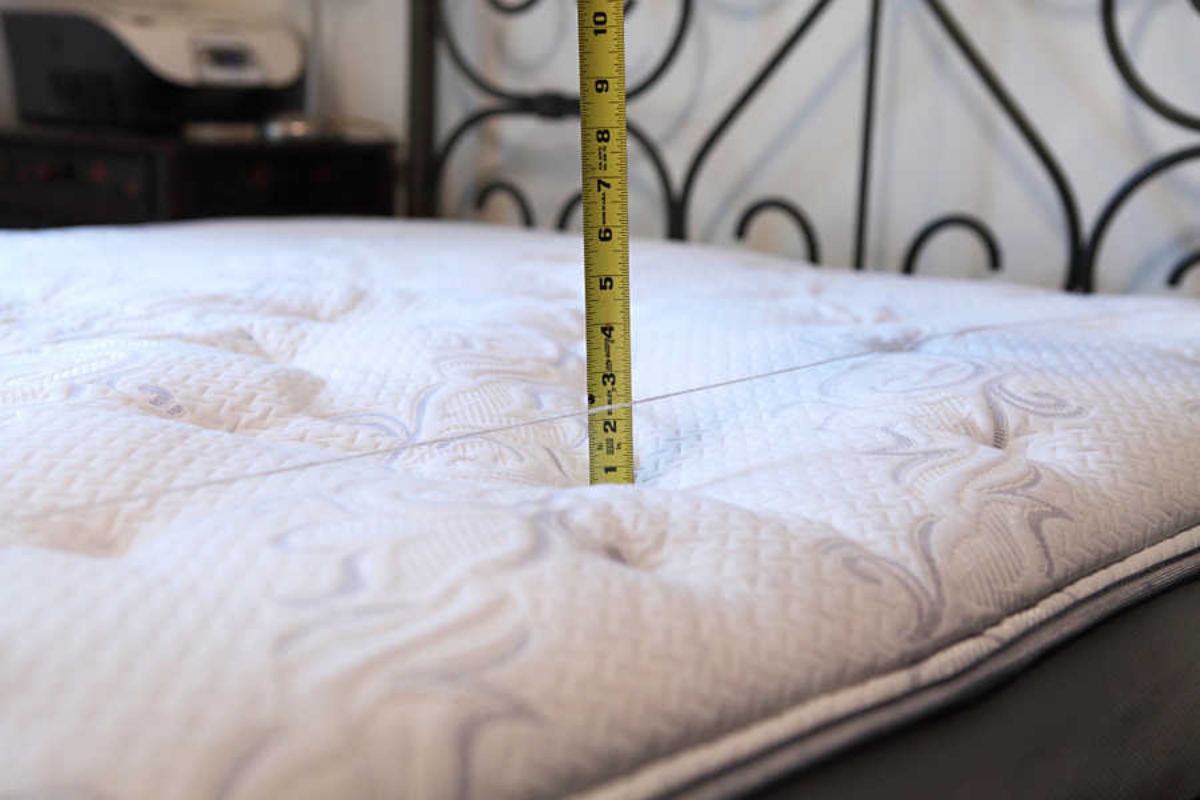
- Measure the current height: Start by measuring the distance from the floor to the top surface of your dresser. Use a measuring tape or ruler to get an accurate measurement. Write down the measurement so you can refer to it later.
- Consider your needs: Think about why you want to raise the dresser height and what height would be ideal for your specific situation. Assess your own comfort level and functionality requirements. Do you want to raise it just a few inches or significantly increase the height?
- Examine the design and structure: Take a close look at your dresser to see if there are any limitations or constraints that may affect your options for raising the height. Look at the legs, base, and overall stability of the dresser to ensure it can support the adjustments.
Once you have assessed the current height, determined your desired height, and evaluated the dresser’s structure, you will be ready to move on to the next steps in raising the dresser height.
Note: If you have a dresser with integrated or fixed legs that cannot be easily adjusted or replaced, you may need to explore other options for raising the height, such as adding a base or platform. We will discuss these alternatives in the following sections.
Determining the desired dresser height
Once you have assessed the current height of your dresser, it’s time to determine the desired height that you want to achieve. Here are some factors to consider when determining the height:
- Functionality: Think about how you will be using the dresser. Consider your own height and comfort level when accessing the drawers or using the dresser surface. The ideal height should allow for easy access and comfortable use.
- Aesthetic appeal: Consider the overall aesthetics of the room and how the dresser will fit into it. Take into account the height of other furniture pieces in the room, such as the bed or nightstands. A dresser that is too low or too high can create visual imbalance, so aim for a height that complements the rest of the furniture.
- Storage options: If you plan to utilize the space underneath the dresser for additional storage, consider the height needed for your desired storage containers, such as baskets or bins.
- Personal preference: Ultimately, the desired height of your dresser should align with your personal preferences and needs. Trust your intuition and choose a height that feels right for you.
Once you have considered these factors, measure and determine the exact height you want your dresser to be. Take into account the adjustments you’ll be making in the next steps, such as adding risers or building a base. It’s helpful to write down the desired height as a reference for the next stages of the process.
Remember, raising the height of your dresser is a personal decision, and it’s important to choose a height that meets your functional and aesthetic requirements. With the desired height in mind, you can move forward with the necessary tools and materials for raising the dresser height.
Tools and materials needed
Before you can start raising the height of your dresser, you’ll need to gather the necessary tools and materials. The specific items required will depend on the method you choose, but here are some common tools and materials that may be needed:
Tools:
- Measuring tape or ruler
- Power drill
- Screwdriver
- Saw (if building a custom base)
- Sandpaper (if building a custom base)
Materials:
- Risers or furniture leg extenders: Depending on the desired height, you may need risers or leg extenders to raise the existing legs of the dresser. These can typically be sourced from furniture hardware stores or online retailers.
- Base or platform materials: If you plan on building a custom base or platform, you’ll need materials such as lumber, plywood, or MDF (medium-density fiberboard), depending on your preferences and the desired height. You may also need screws, nails, and wood glue for assembly.
- Furniture casters or wheels: If you choose to add casters or wheels to the dresser, you’ll need the appropriate size casters and screws for installation. Make sure to choose casters that can support the weight of your dresser and roll smoothly on your flooring.
Make sure to gather all the necessary tools and materials before you begin the process. This will help ensure a smooth and efficient process as you work towards raising the height of your dresser. Keep in mind that specific projects may require additional tools or materials, so it’s always a good idea to double-check instructions and do some research if needed.
Read more: How To Raise Ceiling Height
Step-by-step instructions
Now that you have assessed the current height of your dresser, determined the desired height, and gathered the necessary tools and materials, it’s time to raise the dresser height. Below are step-by-step instructions for three different options:
Option 1: Using risers or furniture leg extenders
- Measure the height of your dresser legs and determine the additional height you want to achieve.
- Purchase risers or leg extenders that are suitable for your dresser. Make sure they are capable of supporting the weight of your dresser and are of the appropriate size.
- Remove the existing legs of your dresser, if possible, using a screwdriver or power drill.
- Attach the risers or leg extenders to the bottom of each leg, following the manufacturer’s instructions. Use a power drill or screwdriver to secure them in place.
- Place the dresser back in its designated location and ensure that it is stable and level.
Option 2: Building a custom base or platform
- Determine the desired height for your dresser and calculate the dimensions for the base or platform accordingly.
- Obtain the necessary materials, such as lumber, plywood, or MDF, as well as screws, nails, and wood glue.
- Measure and cut the pieces of wood according to the calculated dimensions.
- Assemble the base or platform using the appropriate tools. Use screws, nails, and wood glue to secure the pieces together.
- Place the dresser on top of the custom base or platform, ensuring it is stable and level.
Option 3: Attaching furniture casters or wheels
- Measure the height of your dresser legs and determine the additional height you want to achieve.
- Purchase furniture casters or wheels that are suitable for your dresser. Make sure they can support the weight of your dresser and are of the appropriate size.
- Remove the existing legs of your dresser, if possible, using a screwdriver or power drill.
- Attach the casters or wheels to the bottom corners of the dresser, following the manufacturer’s instructions. Use the provided screws and a power drill or screwdriver to secure them in place.
- Test the mobility of the dresser by gently pushing it in different directions to ensure the casters or wheels are functioning properly.
Remember to always follow safety guidelines and recommendations while working on your dresser to prevent accidents or damage. If you are unsure about any step in the process, it is advisable to consult with a professional or seek guidance from experienced individuals.
By following these step-by-step instructions, you can successfully raise the height of your dresser using your chosen method. Enjoy the improved functionality and aesthetics of your elevated dresser!
Read more: How To Raise Office Chair Height
Option 1: Using risers or furniture leg extenders
If you want a simple and convenient way to raise the height of your dresser, using risers or furniture leg extenders is a great option. Here’s how you can go about it:
- Measure the height of your current dresser legs and determine the additional height you want to achieve. This will help you choose the appropriate size of risers or leg extenders.
- Purchase risers or leg extenders that are suitable for your dresser. Consider factors such as weight capacity and material quality when making your selection.
- Start by removing the existing legs of your dresser, if possible. Use a screwdriver or power drill to unscrew them and detach them from the dresser base.
- Attach the risers or leg extenders to the bottom of each leg, following the manufacturer’s instructions. Most often, this involves inserting the leg into the riser or extender and using a screw or bolt to secure them together.
- Once the risers or leg extenders are securely attached, place the dresser back in its designated location. Take care to ensure that it is stable and level.
Using risers or furniture leg extenders provides a quick and effective method to raise the height of your dresser. It allows you to maintain the original design and style of your dresser while increasing its overall height to meet your preferences.
It’s important to note that when using risers or leg extenders, you must ensure that your dresser remains stable and balanced. Avoid overloading the dresser, as this can affect its stability. Regularly check the risers or extenders to ensure they remain securely attached.
By following these steps, you can easily raise the height of your dresser using risers or furniture leg extenders. Enjoy the convenience and functionality of your elevated dresser!
Option 2: Building a custom base or platform
If you prefer a more customized and sturdy solution for raising the height of your dresser, building a custom base or platform is a great option. Here’s how you can do it:
- Begin by determining the desired height for your dresser. Consider factors such as functionality, aesthetics, and storage needs.
- Calculate the dimensions for the base or platform based on the desired height. Remember to take into account the dimensions of your dresser to ensure a proper fit.
- Gather the necessary materials for building the custom base or platform. This may include lumber, plywood, or MDF for the structure, as well as screws, nails, and wood glue for assembly. Sandpaper may also be needed for finishing touches.
- Measure and cut the pieces of wood according to the calculated dimensions. Use a saw to make precise cuts, and sand the edges if needed.
- Assemble the base or platform by attaching the pieces of wood together. Use screws, nails, or wood glue to secure them firmly. Take care to create a stable and level structure.
- Place the dresser on top of the custom base or platform. Ensure that it is centered and aligned properly.
Building a custom base or platform provides a durable and stable foundation for your dresser. It allows you to have complete control over the height and design, providing a seamless integration with your existing furniture and décor.
When building a custom base or platform, it’s important to ensure that the structure can properly support the weight of your dresser. Use sturdy materials and secure the pieces together tightly. Regularly inspect the base or platform to ensure it remains sturdy and free of any signs of damage or wear.
By following these steps, you can create a custom base or platform to raise the height of your dresser. Enjoy the personalized solution and enhanced functionality of your elevated dresser!
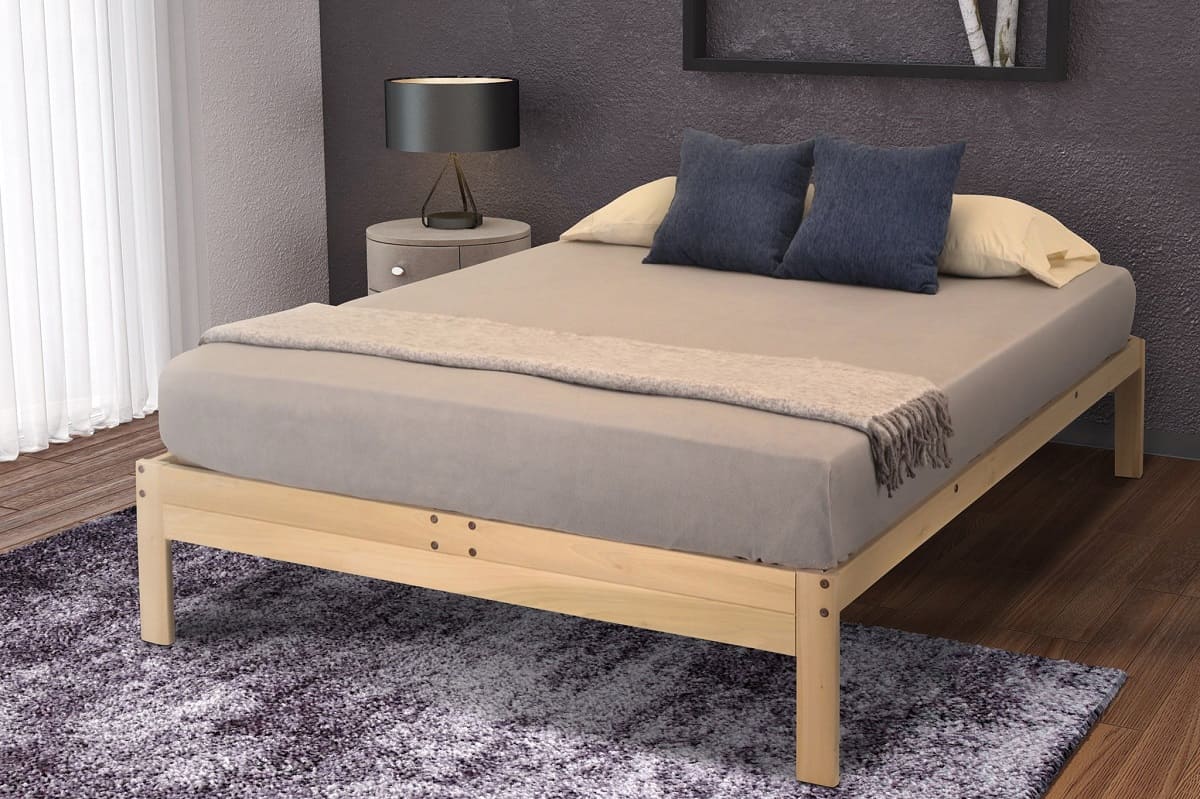
Consider using bed risers to raise the height of the dresser. These can be easily placed under each leg to provide the extra height needed. Make sure to choose a sturdy and stable option to ensure safety.
Option 3: Attaching furniture casters or wheels
If you’re looking for a versatile and easily movable solution for raising the height of your dresser, attaching furniture casters or wheels is a fantastic option. Here’s how you can do it:
- Begin by measuring the height of your dresser legs and determine the additional height you want to achieve. This will help you choose the appropriate size of casters or wheels.
- Purchase furniture casters or wheels that are suitable for your dresser. Consider factors such as weight capacity, wheel type (swivel or fixed), and material quality when making your selection.
- Remove the existing legs of your dresser, if possible. Use a screwdriver or power drill to unscrew them and detach them from the dresser base.
- Attach the casters or wheels to the bottom corners of the dresser, following the manufacturer’s instructions. Most often, this involves screwing the casters or wheels into pre-drilled holes on the dresser base.
- Once the casters or wheels are securely attached, test the mobility of the dresser by gently pushing it in different directions. Ensure that the casters or wheels roll smoothly and that the dresser remains stable.
Attaching furniture casters or wheels to your dresser provides the flexibility to easily move it around whenever needed. It allows you to access different areas of the room or rearrange your furniture layout without any hassle.
It’s important to choose casters or wheels that can support the weight of your dresser and can roll smoothly on your flooring surface. Make sure to regularly check the casters or wheels for any signs of wear or damage, and replace them if necessary.
By following these steps, you can effortlessly raise the height of your dresser and enjoy the convenience of enhanced mobility. Embrace the versatility and functionality of your elevated dresser!
Safety considerations
When raising the height of your dresser, it’s important to prioritize safety to prevent accidents or damage. Here are some safety considerations to keep in mind:
- Weight distribution: Ensure that the dresser remains stable and balanced after raising its height. Avoid overloading the dresser with excessive weight, as this can compromise its stability and potentially lead to tipping.
- Secure attachments: If you’re using risers, leg extenders, or casters, make sure that they are securely attached to your dresser. Follow the manufacturer’s instructions for proper installation and regularly check the attachments to ensure they remain tight.
- Sturdy construction: If you’re building a custom base or platform, use sturdy materials and proper construction techniques to create a stable structure. Double-check the stability of the base or platform before placing the dresser on top.
- Floor protection: Consider using protective pads or furniture sliders underneath the legs or casters to prevent damage to your flooring. This will also help in avoiding any unwanted scratches or marks.
- Safe lifting techniques: When removing or attaching legs and maneuvering the dresser, use proper lifting techniques to avoid strain or injury. Lift with your legs, keep your back straight, and ask for assistance if needed.
- Regular maintenance: Periodically inspect your raised dresser to ensure that all attachments, screws, and joints are secure and in good condition. Tighten any loose connections and make any necessary repairs promptly.
While raising the height of your dresser can be a relatively simple process, safety should never be overlooked. By following these safety considerations, you can ensure a secure and stable raised dresser that will provide you with functional and aesthetic benefits for years to come.
If you have any concerns about the safety of the modifications you are making to your dresser, it’s always recommended to seek professional advice or consult with experienced individuals who can provide guidance and assistance.
By prioritizing safety throughout the process, you can enjoy the elevated height of your dresser with peace of mind and without any unnecessary risks.
Read more: What Is The Standard Dresser Height
Tips and tricks
As you embark on the journey of raising the height of your dresser, here are some tips and tricks to make the process smoother and more successful:
- Measure twice, cut once: Take accurate measurements of your dresser, desired height, and materials before making any cuts or modifications. Double-check your measurements to ensure precision.
- Use a level: When attaching risers, leg extenders, or casters, use a level to ensure that your dresser remains balanced and doesn’t tilt to one side.
- Consider adjustable options: If you anticipate needing to change the height of your dresser in the future, consider using adjustable leg extenders or risers. This will allow for flexibility and adaptability to your changing needs.
- Match the style: Choose risers, leg extenders, or casters that match the style and finish of your dresser. This will ensure a seamless and cohesive look.
- Double-check weight capacity: Before purchasing risers, leg extenders, or casters, verify that they can safely support the weight of your dresser. Overloading the dresser can compromise stability and durability.
- Securely fasten all screws: When attaching components or building a custom base, make sure all screws are tightly secured to prevent any wobbling or shifting.
- Protect your floors: Use adhesive furniture pads or protective felt sheets underneath the feet or casters to prevent scratches or damage to your flooring.
- Add aesthetic enhancements: If desired, consider painting or staining the custom base or risers to match the color scheme or style of your room. This can enhance the visual appeal of your elevated dresser.
- Ask for assistance: If you feel overwhelmed or unsure about any step of the process, don’t hesitate to ask for help from a friend, family member, or professional. It’s always better to have an extra set of hands or expert advice.
These tips and tricks will help you navigate the process of raising the height of your dresser with confidence and ease. They can improve the outcome of your project and ensure that your elevated dresser meets your functional and aesthetic expectations.
Remember that every project is unique, and it’s important to adapt these tips and tricks to your specific circumstances. Stay organized, take your time, and enjoy the satisfaction of transforming your dresser into a perfectly elevated piece of furniture.
Conclusion
Raising the height of your dresser can have numerous benefits, from improved accessibility and functionality to enhanced aesthetics. Whether you choose to use risers or leg extenders, build a custom base, or attach furniture casters or wheels, there are various options to suit your needs and preferences.
Throughout this article, we have discussed the reasons why you might want to raise the dresser height, how to assess the current height and determine the desired height, the tools and materials needed, step-by-step instructions for each option, safety considerations, and helpful tips and tricks.
Remember to prioritize safety during the process and choose the method that best fits your dresser and requirements. Whether you’re increasing the height for easier access, to prevent damage, or to achieve a specific look, the result will be a dresser that is both functional and stylish.
By following the instructions and recommendations outlined in this article, you can successfully raise the height of your dresser and enjoy its benefits for years to come. The process may require some time and effort, but the end result will be a customized and elevated dresser that perfectly fits your needs and enhances your living space.
Now it’s time to take action! Assess your current dresser height, determine the desired height, gather the necessary tools and materials, and choose the method that suits you best. With careful planning and execution, you can transform your dresser and create a more comfortable and stylish environment in your home.
So go ahead, raise the height of your dresser and experience the difference it can make in your everyday life. Enjoy the newfound convenience, accessibility, and aesthetic appeal of your elevated dresser!
Now that you've mastered raising your dresser height, why stop there? With a bit more creativity and effort, whole rooms can transform. Our guide on DIY home improvement offers practical advice for tackling projects that will refresh your living space without breaking the bank. From painting walls to upgrading fixtures, get ready to give your home a personal touch that reflects your style and needs.
Frequently Asked Questions about How To Raise The Dresser Height
Was this page helpful?
At Storables.com, we guarantee accurate and reliable information. Our content, validated by Expert Board Contributors, is crafted following stringent Editorial Policies. We're committed to providing you with well-researched, expert-backed insights for all your informational needs.






0 thoughts on “How To Raise The Dresser Height”