Furniture
How To Remove Dresser Drawers On Tracks
Modified: December 7, 2023
Learn how to remove dresser drawers on tracks with our simple step-by-step guide. Easily fix and maintain your furniture with our expert advice.
(Many of the links in this article redirect to a specific reviewed product. Your purchase of these products through affiliate links helps to generate commission for Storables.com, at no extra cost. Learn more)
Introduction
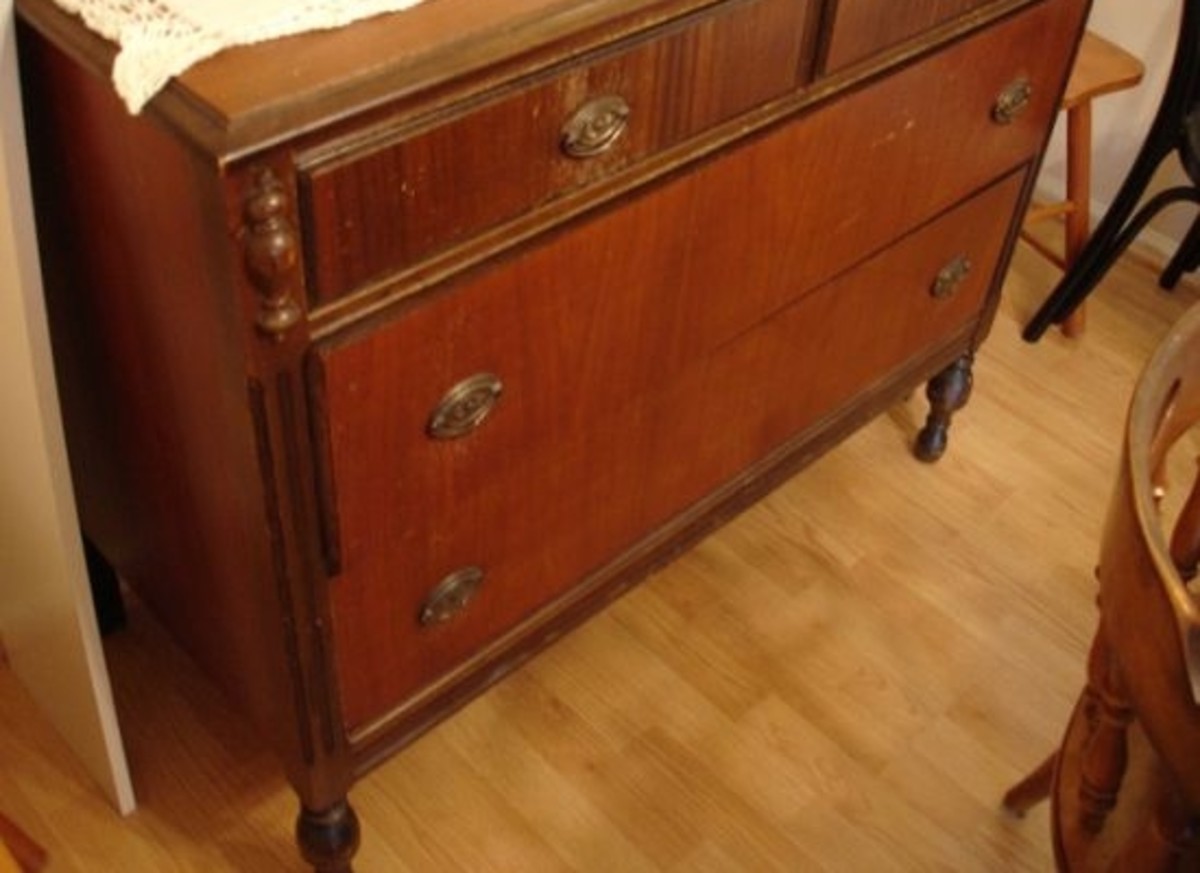
When it comes to furniture, few pieces are as versatile and essential as dressers. These functional storage units offer a convenient solution for organizing clothes, linens, and other personal belongings. However, there may come a time when you need to remove the dresser drawers on tracks, whether it’s to clean them, make repairs, or simply reposition them.
Removing dresser drawers may seem like a daunting task at first, as each drawer is typically secured to the tracks. However, with the right knowledge and some simple steps, you can easily remove the drawers without any hassle. In this article, we will guide you through the process of how to properly remove dresser drawers on tracks.
Before we dive into the step-by-step instructions, it’s important to gather the necessary tools and prepare the area. You will need a screwdriver or a similar tool to access the release tabs. It’s also a good idea to have a clean cloth or towel on hand to wipe away any dust or debris that may have accumulated in the drawer tracks.
Now that you’re ready to tackle the task, let’s begin by locating the drawer release tabs.
Key Takeaways:
- Easily remove dresser drawers by locating and pressing the release tabs while gently pulling the drawer out. Clean and inspect the drawer and tracks before reinserting for smooth functionality.
- Prepare the area, press and hold the release tabs, and gently remove the dresser drawer. Clean and inspect before reinserting to maintain a functional and organized dresser.
Read more: How To Remove An IKEA Dresser Drawer
Step 1: Prepare the Area
Before attempting to remove the dresser drawers, it’s important to prepare the area to avoid any potential damage or accidents. Start by clearing any items that may be blocking access to the dresser or obstructing the movement of the drawers. This will provide you with enough space to work comfortably and safely.
Next, ensure that the dresser is stable and won’t tip over while you remove the drawers. If the dresser is freestanding, make sure it is on a level surface. If it is attached to a wall, check that it is securely anchored.
Once the area is clear and the dresser is stable, it’s a good idea to lay a soft cloth or towel on the floor or nearby surface. This will provide a cushioned space to place the drawers once they are removed. It will also prevent them from getting scratched or damaged while you work on them.
Now that the area is properly prepared, you’re ready to move on to the next step: locating the drawer release tabs.
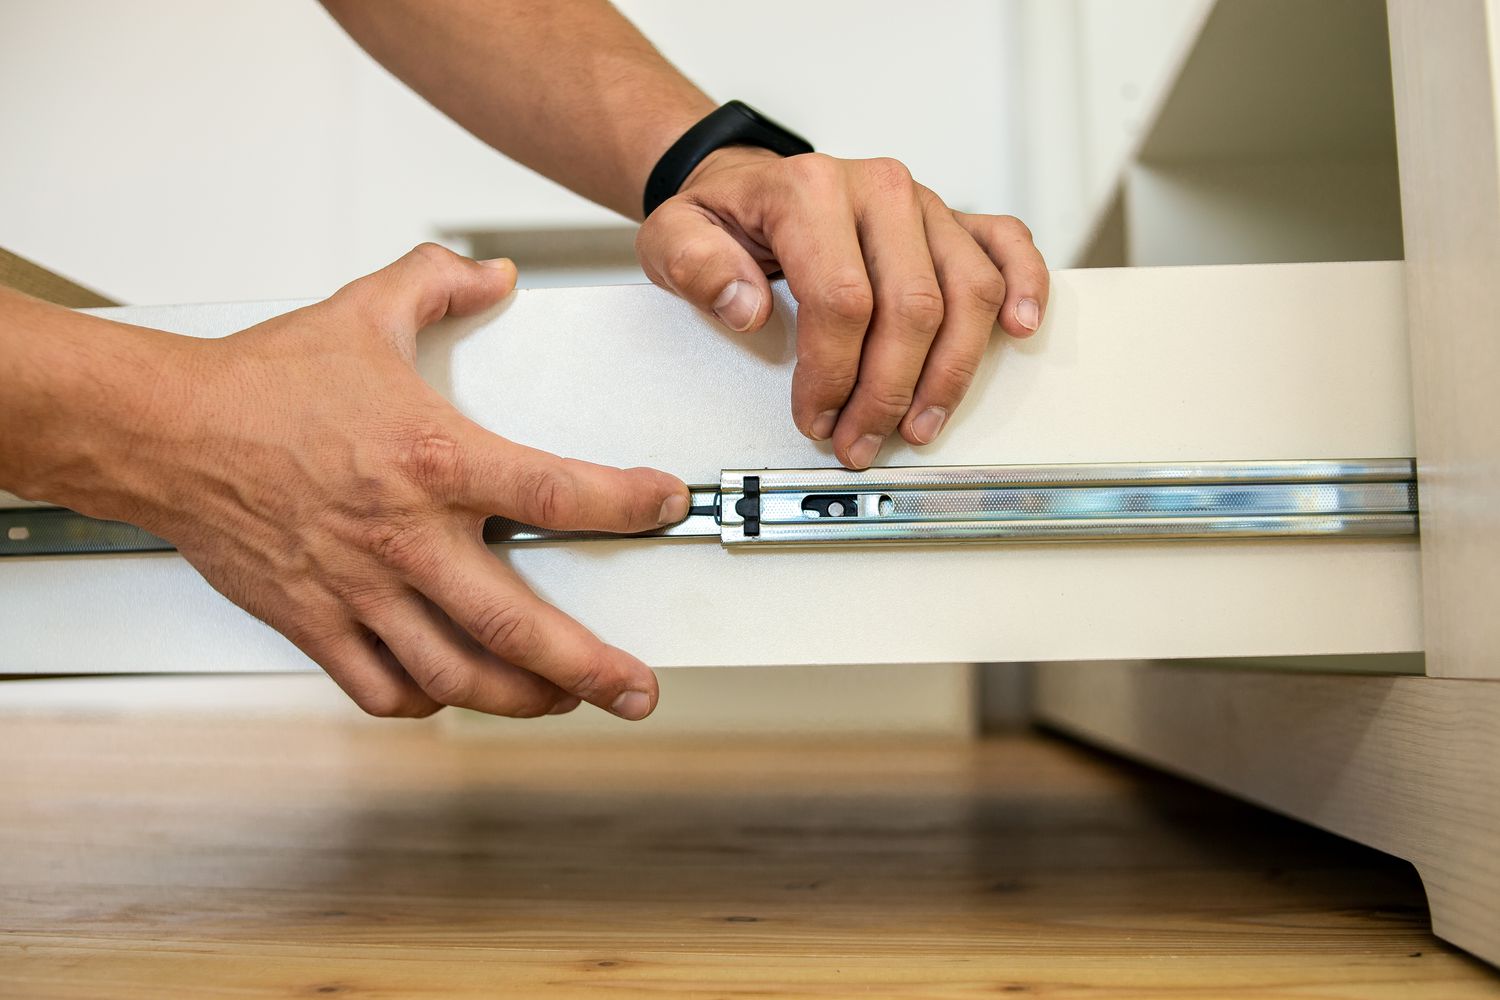
Step 2: Locate the Drawer Release Tabs
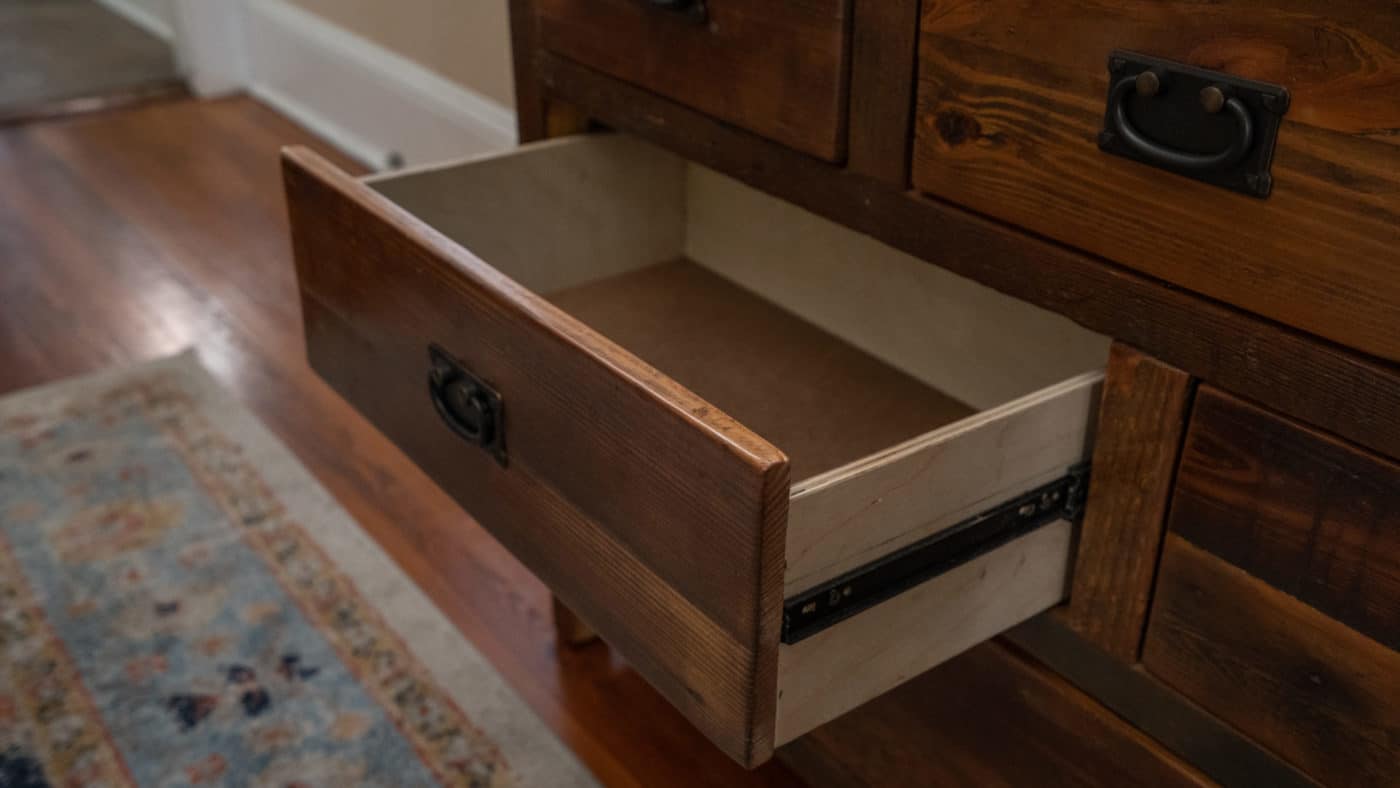
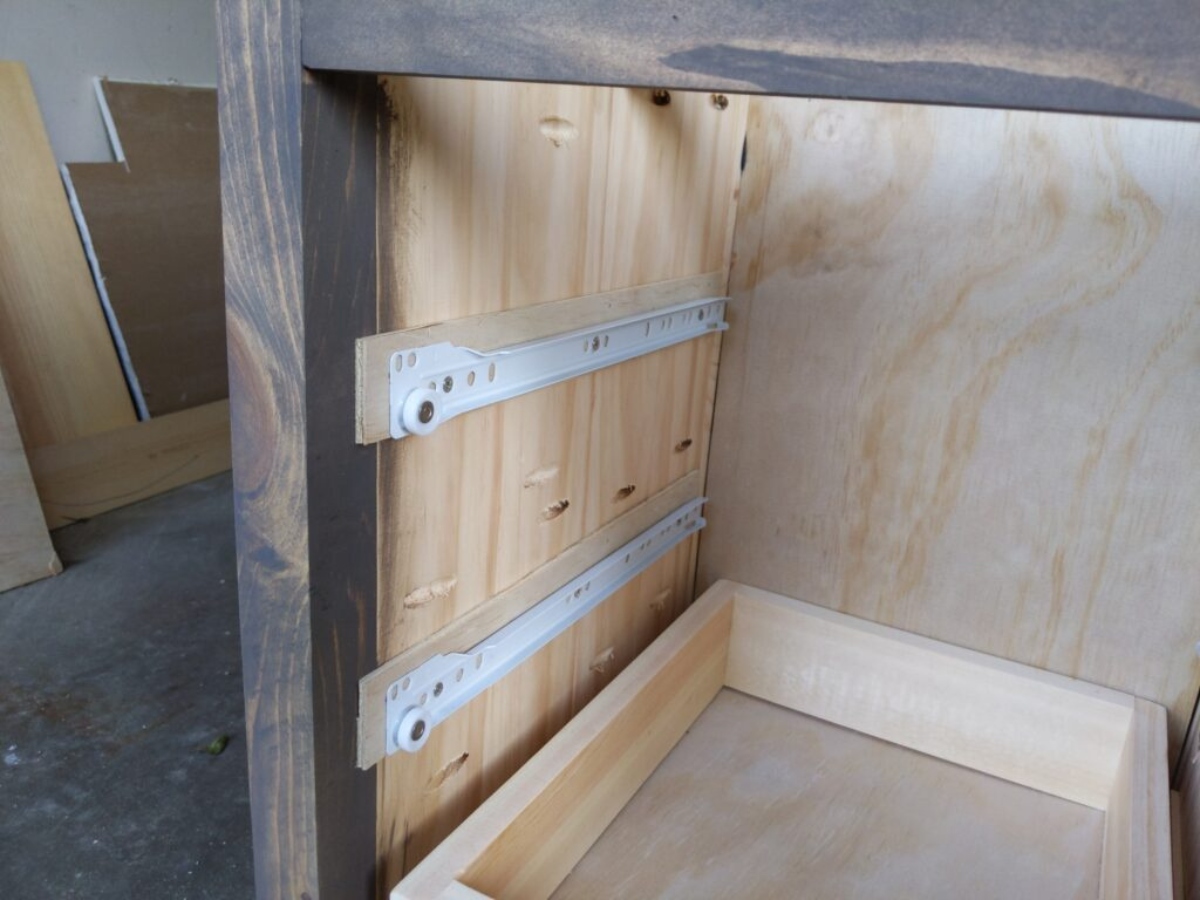
Locating the drawer release tabs is crucial for safely removing the dresser drawers. These release tabs are typically located on either side of the drawer near the front. They are designed to disengage the drawer from the tracks, allowing for easy removal.
Start by opening one of the dresser drawers fully. Take a close look at the sides near the front of the drawer. You should see small, rectangular-shaped tabs or levers on each side. These are the release tabs.
Depending on the design of your dresser, the release tabs may be visible from the front of the drawer or hidden inside. If they are hidden, you may need to slide the drawer slightly to one side or pull it forward to reveal the tabs. Use a flashlight if needed to get a better look.
Once you have located the release tabs, take note of their position and how they function. This will help you in the next step when you press and hold them to release the drawer.
It’s important to be gentle when handling the release tabs to avoid any damage to the drawer or the tracks. Take your time to understand their positioning and how they operate before proceeding to the next step.
With the release tabs identified, you’re now ready to move on to Step 3: pressing and holding the release tabs.
Step 3: Press and Hold the Release Tabs
Now that you have located the release tabs on the dresser drawers, it’s time to press and hold them to release the drawer from the tracks. This step requires a gentle yet firm touch to ensure smooth removal without causing any damage.
Start by positioning yourself in front of the dresser drawer that you want to remove. Place your hands on either side of the drawer near the release tabs. Use your thumbs or fingers to press down on the release tabs while keeping a firm grip on the drawer.
As you press and hold the release tabs, you may feel some resistance. This is normal, as the tabs are meant to securely hold the drawer in place. Maintain pressure on the release tabs while gradually pulling the drawer out, keeping it aligned with the tracks.
Be mindful not to force the drawer out or jerk it abruptly, as this can potentially damage the tracks or the drawer itself. If the drawer does not easily come out at first, double-check that you are pressing the release tabs correctly and applying sufficient pressure.
Continue to hold the release tabs and gently pull the drawer outward until you feel it disengage from the tracks. The drawer should slide out smoothly and easily. If you encounter any resistance or difficulties, release the tabs and reassess the positioning before trying again.
With the drawer successfully released from the tracks, you can now proceed to Step 4: gently pulling the drawer out.
Step 4: Gently Pull the Drawer Out
Now that you have pressed and held the release tabs, it’s time to gently pull the dresser drawer out of its place. This step requires careful attention to ensure that the drawer comes out smoothly, without any jolts or tugs that could potentially damage the tracks or the drawer itself.
Start by maintaining your grip on the release tabs while using your other hand to hold onto the front of the drawer. Pull the drawer towards you, making sure to keep it level and aligned with the tracks. Use slow and steady motions to avoid any sudden movements.
As you pull the drawer out, you may feel a slight resistance from the tracks. This is normal, as the drawer may have been sitting in place for some time. Apply gentle pressure and continue to pull the drawer steadily until it is fully extended.
Be mindful of any obstacles or hindrances along the way. If the drawer encounters any sticking points or becomes difficult to pull out, stop and reassess the situation. Double-check that the release tabs are still being held down properly and that the drawer is aligned correctly.
If necessary, you can wiggle the drawer slightly from side to side or lift it slightly to help dislodge any stubborn spots. However, be cautious not to apply excessive force or tilt the drawer at an angle that could cause it to become unbalanced.
With a gentle and steady pull, the drawer should come out smoothly and easily. Once the drawer is fully extended, you can move on to the next step: lifting and removing the drawer from the tracks.
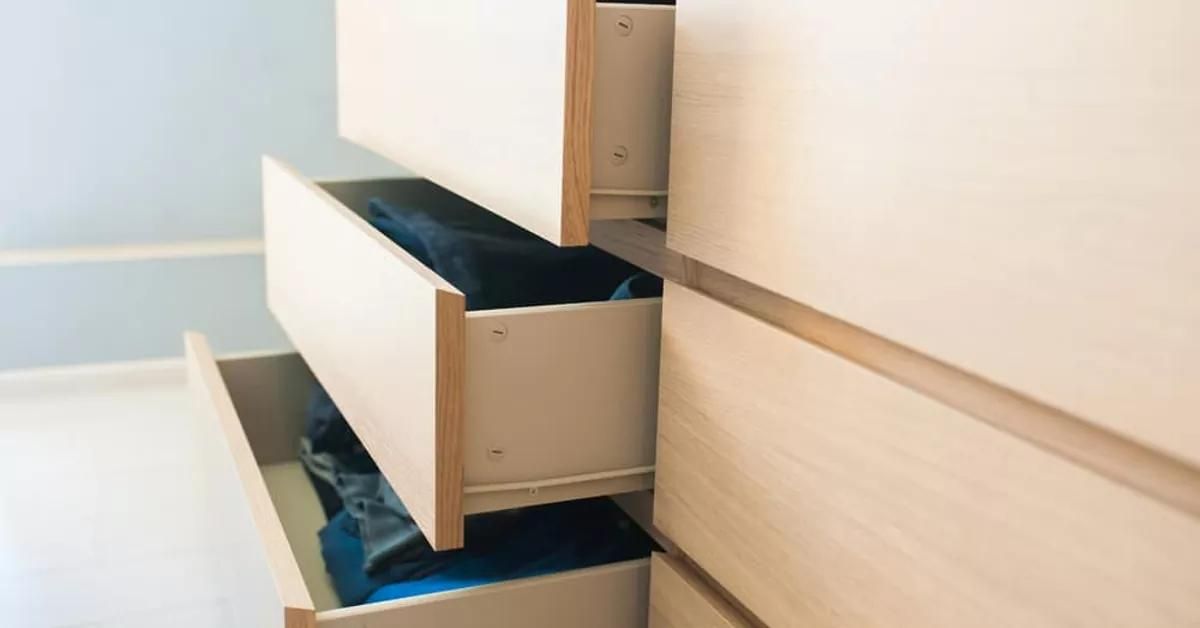
To remove dresser drawers on tracks, start by pulling the drawer out as far as it will go. Then, lift the front of the drawer and tilt it slightly upward to disengage the wheels from the track. Finally, carefully lift the drawer up and out to remove it completely.
Read more: How To Remove Broyhill Dresser Drawers
Step 5: Lift and Remove the Drawer from the Tracks
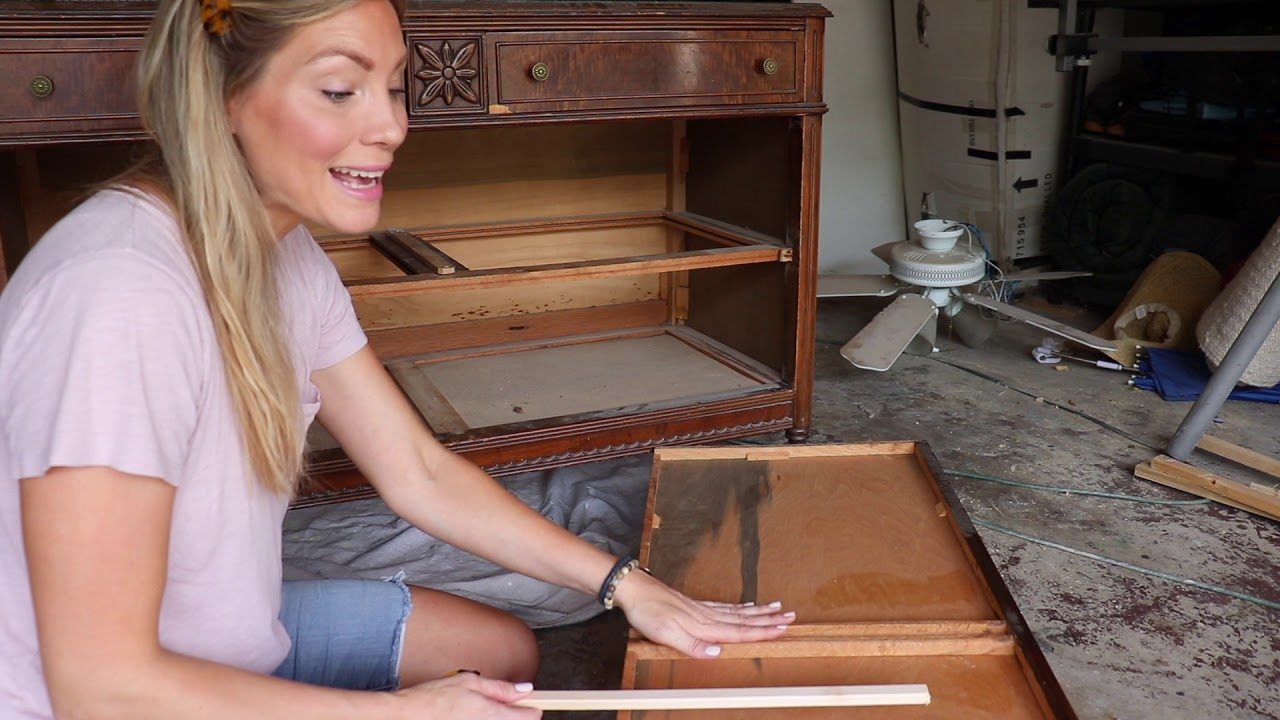
With the dresser drawer fully extended, it’s time to lift it and remove it from the tracks. This step requires caution to prevent any accidental drops or damage to the drawer or the surrounding furniture.
Start by ensuring that you have a secure grip on the drawer, with one hand on each side or using both hands placed underneath the drawer. Lift the drawer slightly and check for any obstructions or resistance.
If the drawer lifts smoothly without any obstructions, continue to lift it upward while maintaining a steady grip. Use your other hand to support the bottom of the drawer if needed.
As you lift the drawer, keep it level and avoid tilting it at an angle that could cause items inside to shift or fall out. Be mindful of the weight distribution and maintain control throughout the lifting process.
Once the drawer is fully lifted, carefully remove it from the tracks by pulling it towards you. Take note of the position of any rollers or glide mechanisms that may be attached to the drawer or tracks. These components may need to be inspected or cleaned during the process.
Place the lifted drawer on the soft cloth or towel that you prepared earlier to protect it from any scratches or damage. Set it aside in a safe location where it won’t be in the way or at risk of being accidentally knocked over.
With the drawer successfully lifted and removed from the tracks, you’re now ready to move on to Step 6: cleaning and inspecting the drawer and tracks.
Step 6: Clean and Inspect the Drawer and Tracks
Now that you have removed the dresser drawer from the tracks, it’s important to take the opportunity to clean and inspect both the drawer and the tracks. This step will help ensure that your dresser remains in good condition and that the drawers continue to glide smoothly.
Start by examining the drawer for any signs of wear, damage, or loose components. Check for loose screws or knobs that may need tightening, as well as any cracks or chips in the wood or other materials.
If you come across any issues, make note of them and consider addressing them before reinserting the drawer. This may involve making repairs or replacing any damaged parts. Consult a professional or follow appropriate guides to ensure proper repairs are made.
Next, it’s time to clean the drawer and tracks. Use a soft cloth or a mild cleaning solution to wipe down the interior and exterior of the drawer. Pay attention to any areas that may have accumulated dust, grime, or stains.
For the tracks, use a clean cloth or a small brush, such as a toothbrush, to gently remove any debris or buildup. Make sure to reach into crevices and corners to ensure a thorough cleaning. If needed, you can use a mild detergent mixed with water to remove any stubborn stains or dirt.
Once you have cleaned both the drawer and the tracks, take a moment to let them dry before proceeding. This will prevent any moisture from causing damage or affecting the smooth movement of the drawer.
By taking the time to clean and inspect the drawer and tracks, you are ensuring that your dresser remains in good condition and that the drawers continue to function properly. With Step 6 complete, now you can move on to the final step: reinserting the drawer onto the tracks.
Step 7: Reinsert the Drawer onto the Tracks
After cleaning and inspecting the dresser drawer and tracks, it’s time to reinsert the drawer back onto the tracks. This step will bring everything back together and ensure that your dresser is fully functional and ready to use.
Start by aligning the drawer with the tracks. Hold the drawer slightly lifted from the bottom, positioning it at a slight angle to easily slide it into place. Make sure the glide mechanisms or rollers on the sides of the drawer line up with the corresponding tracks.
Gently slide the drawer back into the dresser, ensuring that it moves smoothly along the tracks. As you do this, keep the drawer level and avoid any tilting or forcing that could cause damage to the tracks or drawer.
Continue to slide the drawer in until you feel it fully engage with the tracks. You may need to apply slight pressure to overcome any resistance. Once the drawer is in place, give it a gentle push to make sure it is properly secured and glides smoothly along the tracks.
With the drawer back in its rightful place, take a moment to test its movement. Open and close the drawer to ensure that it slides effortlessly along the tracks and that there are no issues with its alignment or functionality.
If the drawer doesn’t slide smoothly or seems misaligned, remove it again and double-check for any obstructions or misalignments. Make any necessary adjustments before reinserting the drawer and testing it again.
Once you are satisfied with the smooth movement and alignment of the reinserted drawer, take a final look at the dresser to ensure everything looks neat and in place. If needed, give the outside of the dresser a quick wipe down to remove any fingerprints or smudges.
With Step 7 complete, you have successfully reinserted the drawer onto the tracks. Your dresser is now ready to be used and enjoyed once again.
Conclusion
Removing dresser drawers on tracks may seem like a daunting task at first, but with the right knowledge and step-by-step instructions, it can be a straightforward process. By following the steps outlined in this article, you can safely and efficiently remove dresser drawers for cleaning, repairs, or repositioning.
Starting with preparing the area and locating the drawer release tabs, you can press and hold the release tabs to disengage the drawer from the tracks. Gently pulling the drawer out, you can lift and remove it from the tracks for further inspection and cleaning.
After thoroughly inspecting and cleaning the drawer and tracks, it’s time to reinsert the drawer back onto the tracks. Making sure it aligns properly, sliding it in and testing its movement ensures that it is securely in place and functioning smoothly.
Remember to take your time throughout the process and be mindful of any potential obstacles or issues along the way. If you encounter any difficulties, don’t hesitate to double-check the steps and make any necessary adjustments.
By following these simple steps, you can maintain the functionality and longevity of your dresser while keeping your drawers clean and organized. Whether you’re a seasoned DIY enthusiast or a beginner, removing dresser drawers on tracks is a task that anyone can tackle with confidence.
Now that you have the knowledge and know-how, you can confidently remove and reinsert dresser drawers whenever the need arises. Enjoy a refreshed and organized space, knowing that you can easily access and maintain your belongings with ease.
Frequently Asked Questions about How To Remove Dresser Drawers On Tracks
Was this page helpful?
At Storables.com, we guarantee accurate and reliable information. Our content, validated by Expert Board Contributors, is crafted following stringent Editorial Policies. We're committed to providing you with well-researched, expert-backed insights for all your informational needs.


0 thoughts on “How To Remove Dresser Drawers On Tracks”