
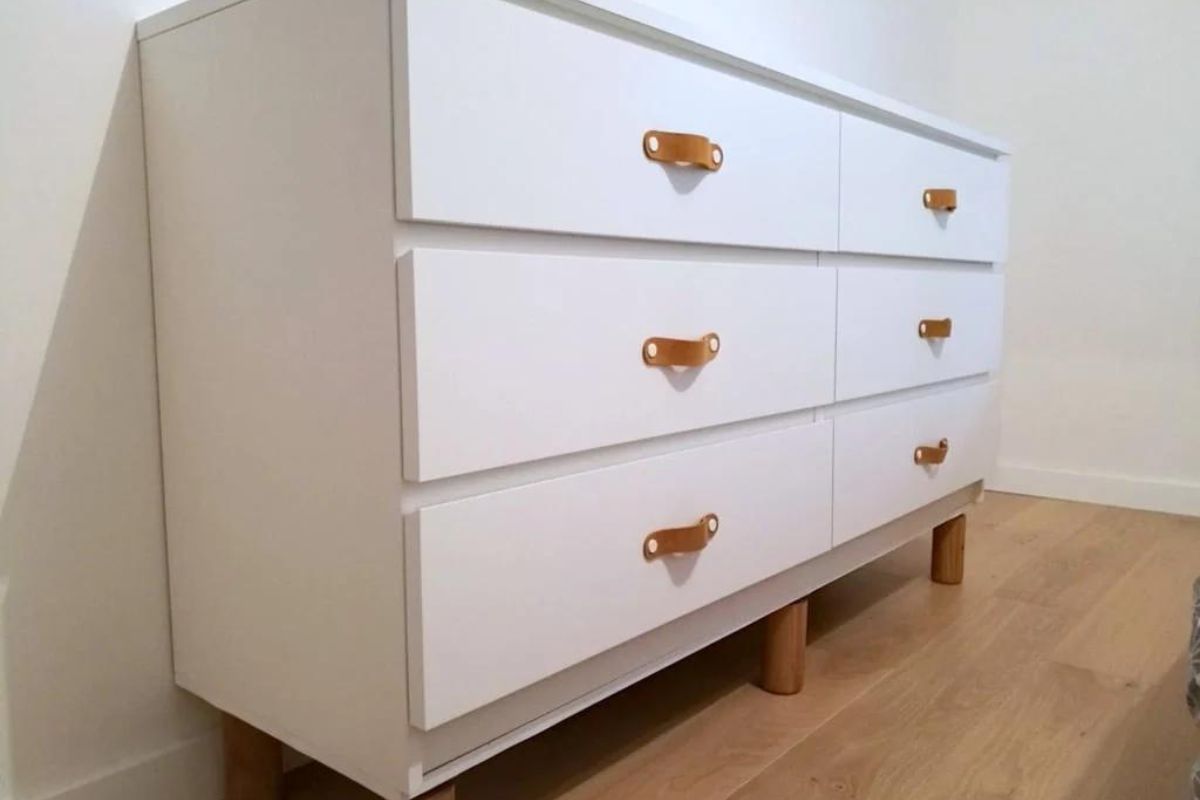
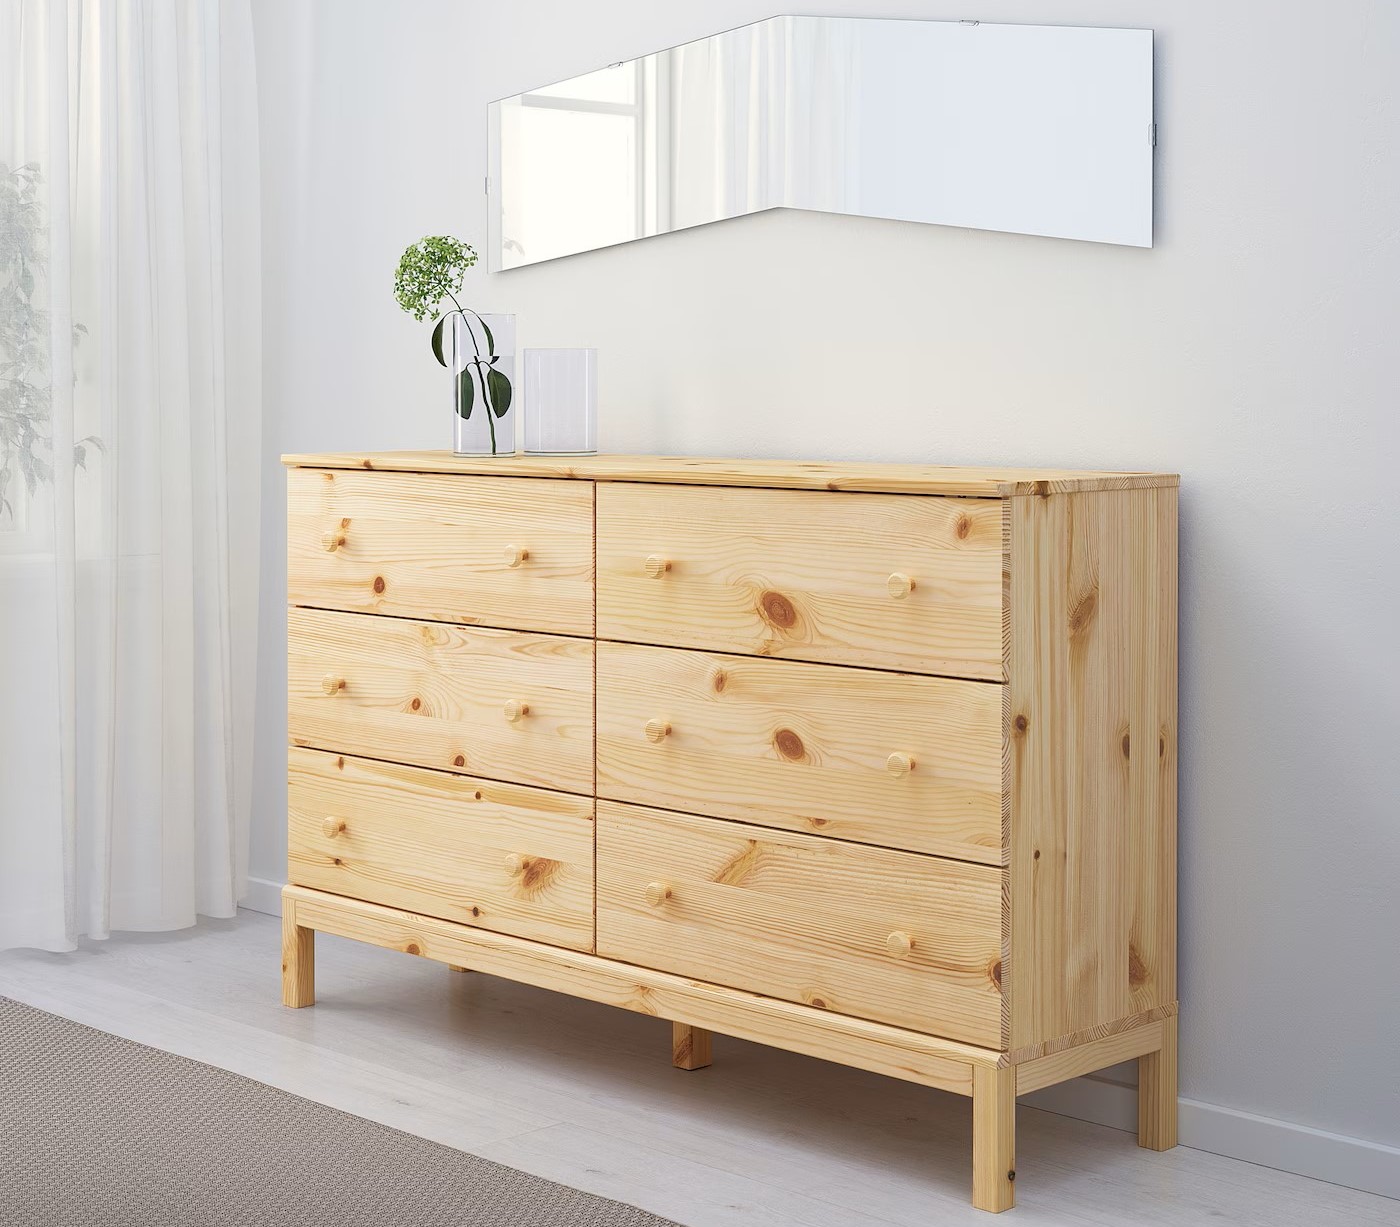
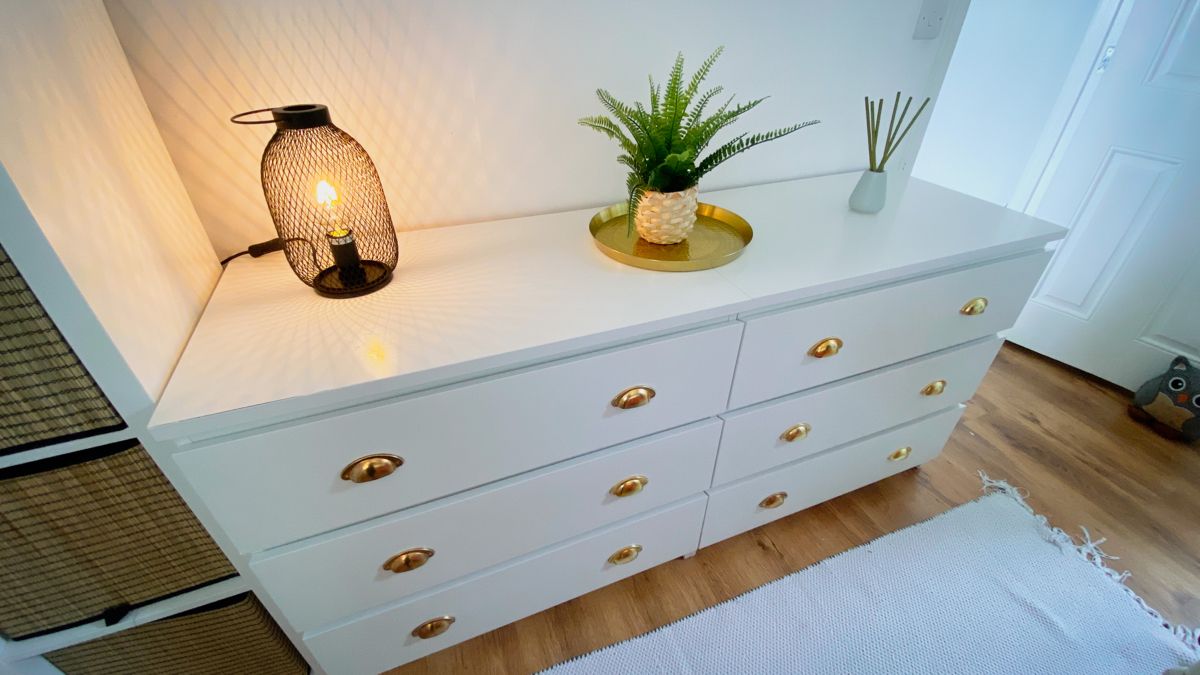
Furniture
How To Remove An IKEA Dresser Drawer
Modified: May 6, 2024
Learn how to easily remove a dresser drawer from your IKEA furniture. Follow our step-by-step guide and make furniture assembly a breeze!
(Many of the links in this article redirect to a specific reviewed product. Your purchase of these products through affiliate links helps to generate commission for Storables.com, at no extra cost. Learn more)
Introduction
Welcome to our guide on how to remove an IKEA dresser drawer. As furniture enthusiasts, we understand the importance of maintaining and organizing your furniture. Removing a dresser drawer may seem like a daunting task, but with the right instructions and a little patience, it can be a simple and straightforward process.
Whether you are relocating, redecorating, or needing to access the back of your dresser, knowing how to remove the drawers properly is essential. In this article, we will provide you with step-by-step instructions to safely and efficiently remove an IKEA dresser drawer.
Before we dive into the steps, it is important to note that different IKEA dressers may have slight variations in their drawer removal process. However, the general principles outlined here will apply to most IKEA dresser models. Always refer to your dresser’s specific manual or online instructions for any unique steps or precautions.
Now, let’s get started with the first step to successfully removing an IKEA dresser drawer!
Key Takeaways:
- Clearing out the dresser, removing drawer stops, front panel, and slides are crucial steps in safely removing an IKEA dresser drawer. Organize belongings and exercise caution to ensure a smooth process.
- Reassembling the dresser involves aligning drawer slides, securing the front panel, and testing functionality. Keep the instruction manual for future reference and enjoy the refreshed look and functionality of your IKEA dresser!
Read more: How To Remove Dresser Drawers On Tracks
Step 1: Emptying the Dresser
Before you begin removing the drawer, it is crucial to clear out the contents of the dresser. This will make the process easier and prevent any items from falling out or getting damaged during the removal.
Start by removing all items stored in the dresser. Take out clothing, accessories, or any other belongings stored inside the drawers. Set them aside carefully, ensuring they are safely out of the way.
If your dresser has multiple drawers, empty them one by one. Organize the items as you go, grouping similar items together. This will make it easier to reorganize your dresser once the drawer is reattached.
Pro Tip: Take this opportunity to declutter and sort through your belongings. Consider donating or discarding any items you no longer need or use. This will not only make the removal process easier but also help you create a more organized and tidy living space.
After emptying the dresser, double-check all the compartments to ensure nothing has been left behind. Look inside the corners and under any dividers or shelves. Once you are certain the dresser is completely empty, you can proceed to the next step.
Now that your dresser is empty and ready, let’s move on to removing the drawer stops in step 2.
Step 2: Removing the Drawer Stops
In order to remove the drawer smoothly, you will need to remove the drawer stops first. These are small plastic or metal clips that prevent the drawer from being pulled out too far.
Locate the drawer stops on each side of the drawer. They are usually situated towards the front, near the middle or slightly towards the bottom edge.
To remove the drawer stops, gently push them downwards or towards the center of the drawer. Some stops may have a release tab or button that you need to press or squeeze before they can be removed.
Once the stops are detached, give the drawer a gentle tug to test if it is able to slide out freely. If the drawer still feels stuck, double-check that you have completely removed all the drawer stops.
Pro Tip: Place the removed drawer stops in a safe spot, such as a small container or bag. This will prevent them from getting lost during the removal process.
Now that the drawer stops have been taken out, we can proceed to the next step and remove the front panel of the drawer.
Step 3: Removing the Front Panel
With the drawer stops removed, we can now focus on removing the front panel of the drawer. The front panel is usually attached to the drawer using either screws, nails, or plastic clips.
Start by inspecting the front panel for any visible screws or nails. If you find any, use a screwdriver or a suitable tool to unscrew or remove them. Keep the screws or nails in a safe place so that they can be reused during reassembly.
If there are no visible screws or nails, the front panel might be secured with plastic clips. To release these clips, gently push or squeeze them towards the center of the drawer. This will disengage them from the drawer and allow you to remove the front panel.
Once the front panel is loosened, carefully lift it up and away from the drawer. Be cautious with any knobs or handles attached to the front panel, as they may need to be removed separately before the panel can be fully detached.
Pro Tip: If the front panel seems stubborn or difficult to remove, double-check for any hidden screws or nails that may be holding it in place. Also, refer to the specific instructions provided with your IKEA dresser model to ensure the correct removal method.
Now that we have successfully removed the front panel, we can move on to the next step: removing the drawer slides.
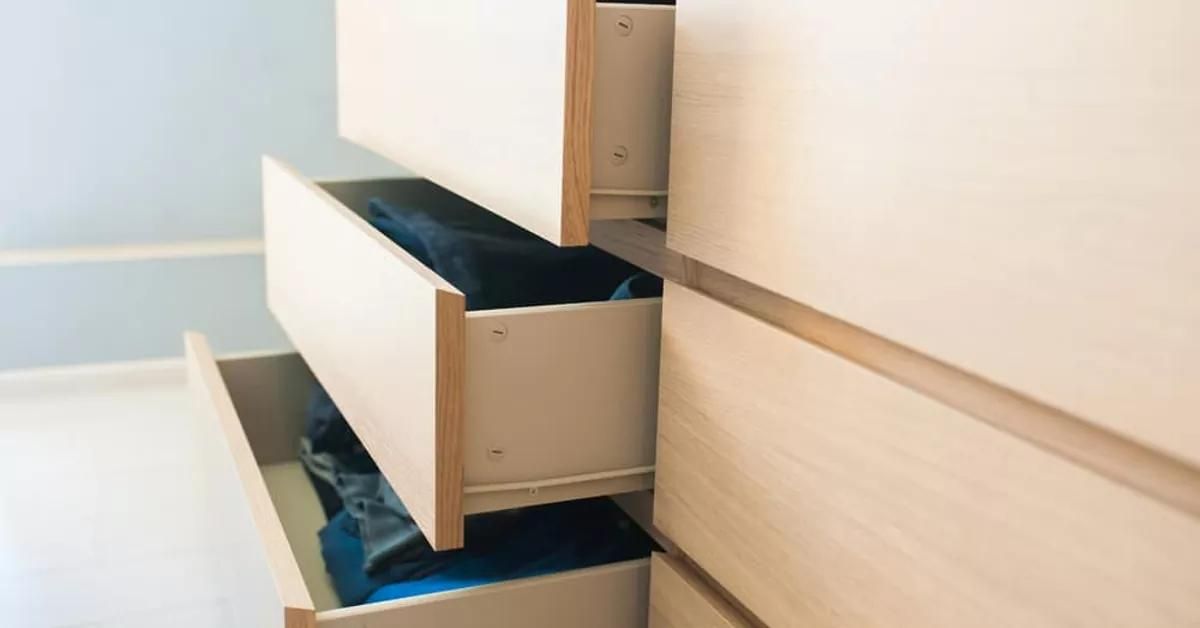
When removing an IKEA dresser drawer, gently pull the drawer out as far as it will go, then lift the front of the drawer slightly while continuing to pull it out. This will release the drawer from the tracks.
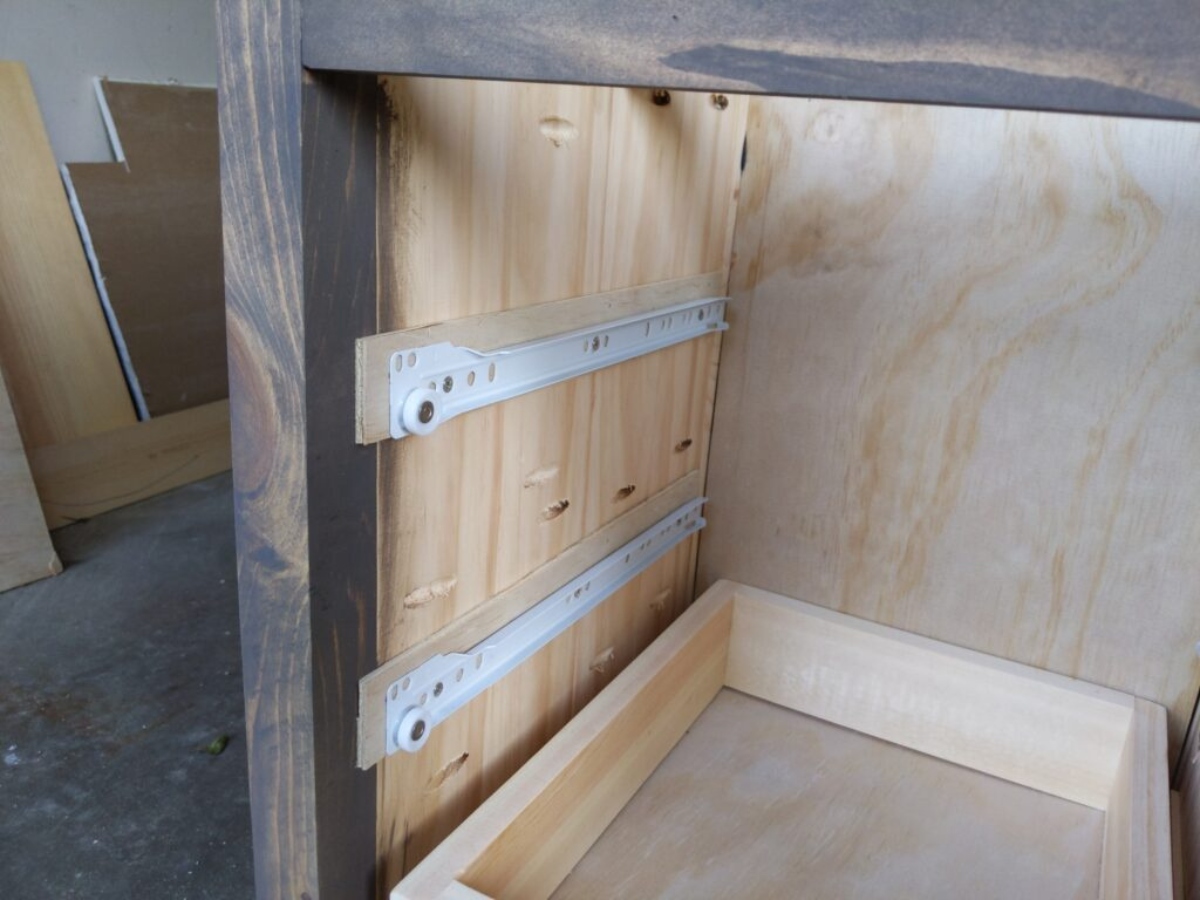
Step 4: Removing the Drawer Slides
After removing the front panel, we can now focus on removing the drawer slides. The drawer slides are the mechanisms that allow the drawer to glide in and out of the dresser.
Inspect the sides of the drawer for any visible screws or fasteners attaching the drawer slides. Using a screwdriver or appropriate tool, unscrew and remove these screws to detach the slides from the drawer.
If the drawer slides are secured with plastic clips, gently push or squeeze them to release the slides from the drawer. Take note of the placement of the clips as they will need to be reattached during reassembly.
Once the screws or clips are removed, carefully pull the drawer slides away from the sides of the drawer. Be mindful of any resistance or tension, as the slides may be spring-loaded or have other mechanisms that require additional steps to release.
Pro Tip: Take pictures or make note of the orientation and position of the drawer slides before removing them. This will make it easier to reinstall them correctly during the reassembly process.
Now that the drawer slides are detached, we can proceed to the final step of removing the drawer itself in step 5.
Read more: How To Remove Broyhill Dresser Drawers
Step 5: Removing the Drawer
Now that we have detached the front panel and removed the drawer slides, it’s time to remove the drawer from the dresser.
Start by grasping the sides of the drawer with both hands. Gently lift and tilt the drawer upwards, allowing the back of the drawer to clear the dresser frame.
As you lift the drawer, be cautious of any wires or connectors that may be attached to the back of the drawer. If there are any electrical components, such as built-in lights or charging stations, make sure to disconnect them before fully removing the drawer.
Once the drawer is lifted, slowly pull it towards you while keeping it level. You may need to wiggle it slightly from side to side to loosen it from its position.
If the drawer feels stuck, check for any remaining screws, nails, or clips that may be holding it in place. Also, ensure that the drawer slides are fully detached from the sides of the drawer.
Continue pulling the drawer out until it is completely free from the dresser frame. Place the drawer aside in a safe location, making sure it is stable and won’t accidentally tip over or cause any damage.
Pro Tip: If you plan on removing multiple drawers from the dresser, it can be helpful to label or number them to ensure you know exactly which drawer belongs where during the reassembly process.
With the drawer successfully removed, we can now move on to the final step: reassembling the dresser.
Step 6: Reassembling the Dresser
Congratulations on successfully removing the drawer from your IKEA dresser! Now, let’s proceed to the final step: reassembling the dresser.
Start by carefully aligning the drawer slides on both sides of the dresser frame. The slides should slot back into the grooves or brackets where they were originally attached.
Once the slides are in position, gently push the drawer back into the dresser frame. Ensure that it glides smoothly and aligns correctly with the other drawers.
Next, reattach the front panel by aligning it with the drawer and securing it back in place. If there were screws or nails that were removed earlier, use them to secure the panel. If plastic clips were used, push or squeeze them into their original positions to hold the front panel securely.
Double-check that all the necessary screws, nails, or clips are properly tightened and secured to prevent any loose parts or potential hazards.
Finally, if any electrical components were disconnected earlier, such as built-in lights or charging stations, reattach them according to the manufacturer’s instructions.
Pro Tip: As you reassemble the dresser, periodically test each drawer to ensure they open and close smoothly. If any drawer feels restricted or misaligned, check for any obstructions or issues with the slides or front panel.
Once you have reassembled the dresser and are satisfied with the alignment and functionality of the drawers, take a moment to organize and reinsert your belongings back into the dresser. Enjoy the refreshed look and functionality of your IKEA dresser!
For future reference or in case you need to disassemble the dresser again, it’s a good idea to keep the instruction manual or any online resources related to your specific IKEA dresser model.
We hope this guide has been helpful in assisting you with removing and reassembling your IKEA dresser drawer. By following these steps, you can safely and efficiently perform the necessary maintenance or adjustments to your dresser whenever needed.
Remember, always exercise caution and refer to the specific instructions provided with your IKEA dresser model to ensure proper handling and care.
Happy furniture organizing!
Conclusion
Removing an IKEA dresser drawer may seem like a daunting task, but with the right instructions and a little patience, it can be a straightforward process. By following the steps outlined in this guide, you can safely and efficiently remove a drawer from your IKEA dresser.
Remember to start by emptying the dresser and removing the drawer stops. Then, proceed to remove the front panel and detach the drawer slides. Finally, carefully lift and remove the drawer from the dresser.
Once the drawer is removed, you can reassemble the dresser by aligning and securing the drawer slides, attaching the front panel, and ensuring all screws, nails, or clips are properly tightened.
Throughout the process, always refer to your specific IKEA dresser model’s instructions to ensure proper handling and care. Taking pictures or making notes during the removal process can also be helpful for reassembly later.
By having the knowledge and confidence to remove and reassemble your IKEA dresser drawer, you can easily perform maintenance, organize your belongings, or make adjustments to your furniture as needed.
We hope that this guide has provided you with the necessary information and steps to successfully remove and reassemble your IKEA dresser drawer. Enjoy the refreshed look and functionality of your dresser, and happy organizing!
Now that you've mastered removing drawers, why stop there? Dive into the world of DIY projects and discover the joys and personal satisfaction that come with creating and fixing things yourself. If your space feels cramped, don't fret. We also have organizing tips ready to help transform your small living room into a neatly arranged and spacious-feeling area. Both guides offer practical advice that’s easy to follow, ensuring you tackle your next home project with confidence.
Frequently Asked Questions about How To Remove An IKEA Dresser Drawer
Was this page helpful?
At Storables.com, we guarantee accurate and reliable information. Our content, validated by Expert Board Contributors, is crafted following stringent Editorial Policies. We're committed to providing you with well-researched, expert-backed insights for all your informational needs.


0 thoughts on “How To Remove An IKEA Dresser Drawer”