Home>Furniture>How To Remove A Dresser Drawer With A Center Slide
Furniture
How To Remove A Dresser Drawer With A Center Slide
Modified: December 7, 2023
Learn how to easily remove a dresser drawer with a center slide using our step-by-step guide. The ultimate solution for furniture enthusiasts!
(Many of the links in this article redirect to a specific reviewed product. Your purchase of these products through affiliate links helps to generate commission for Storables.com, at no extra cost. Learn more)
Introduction
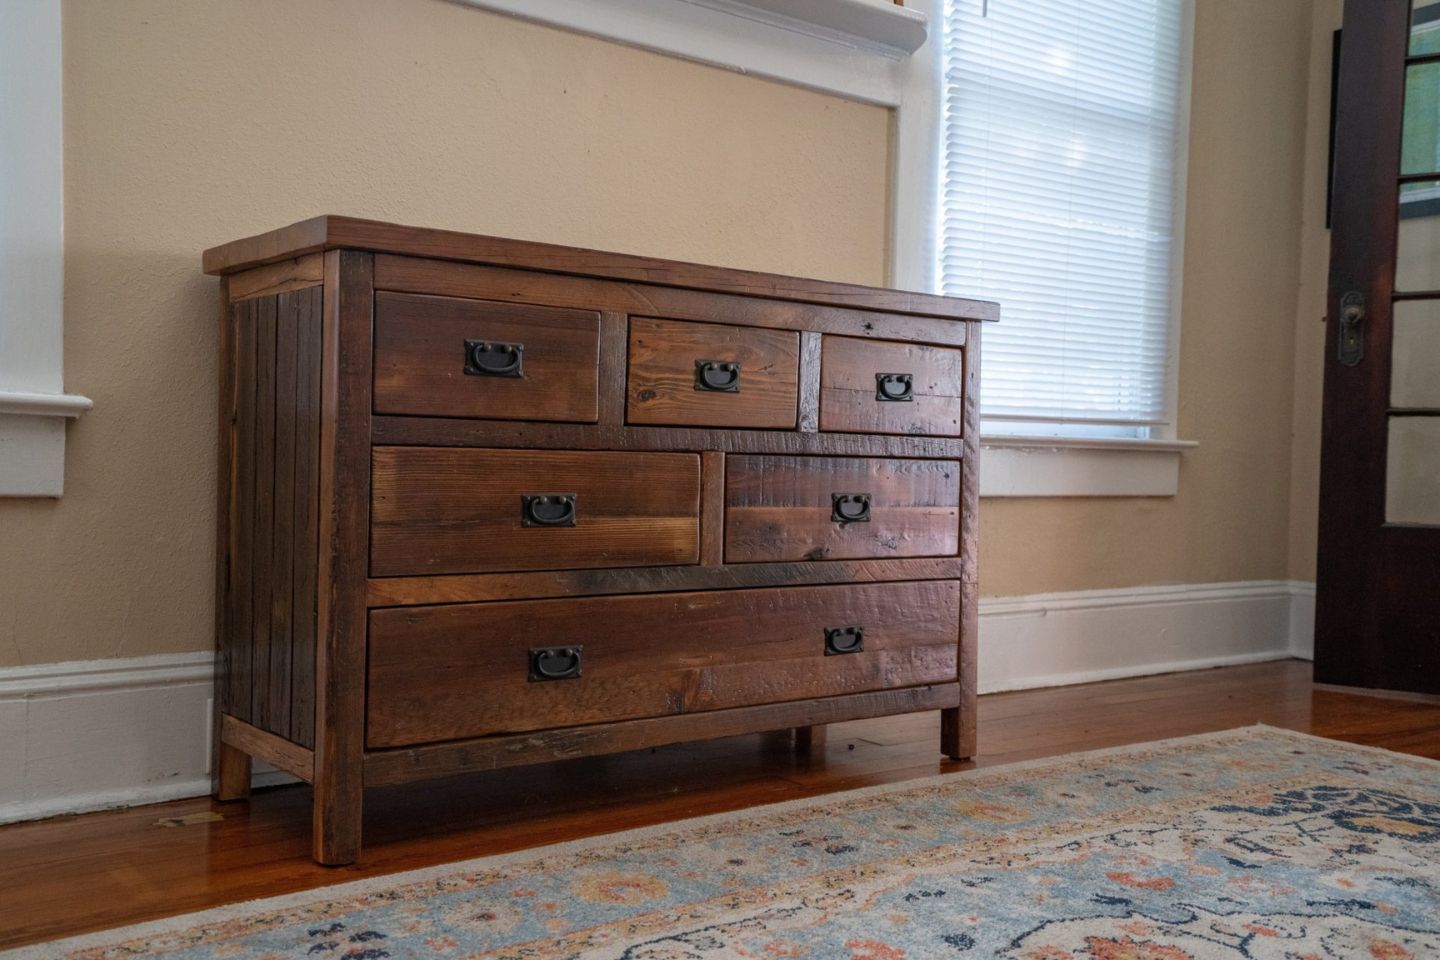
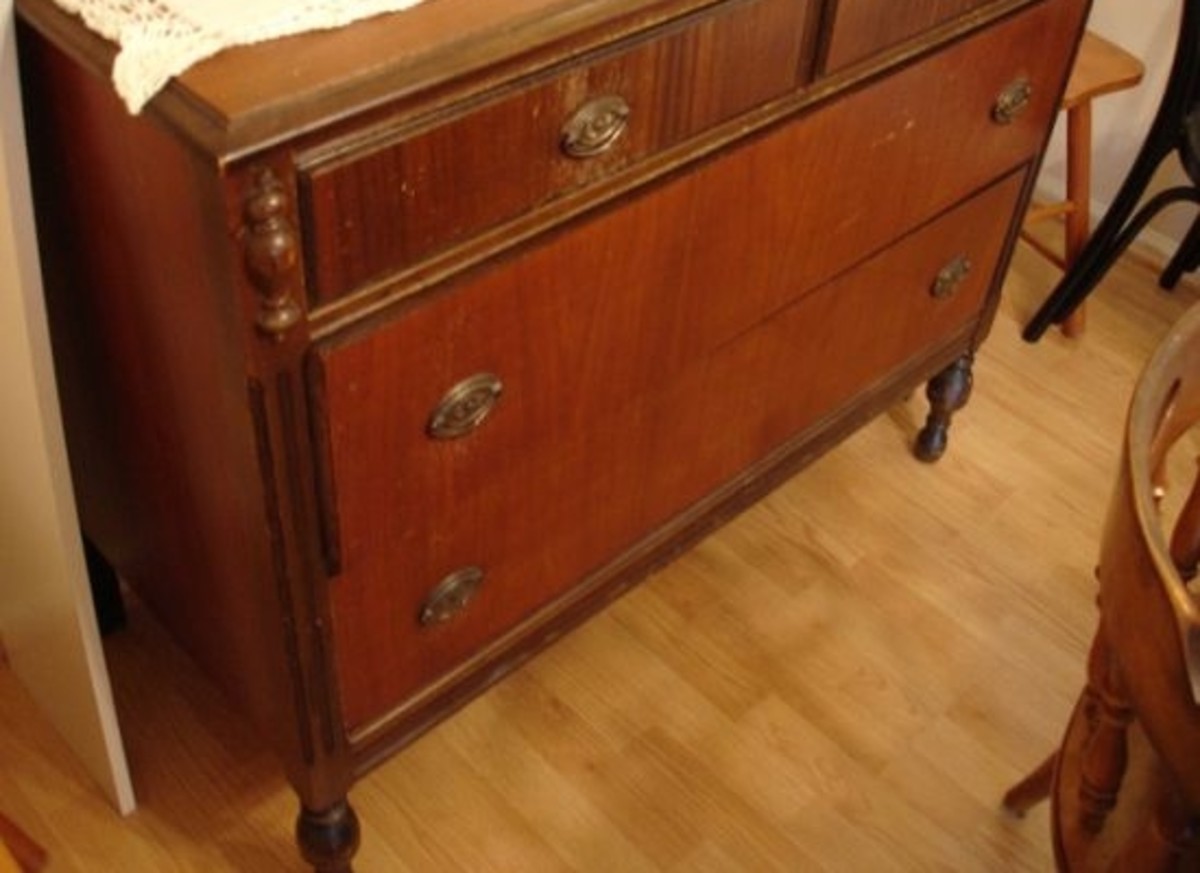
Welcome to our guide on how to remove a dresser drawer with a center slide. Dressers are common pieces of furniture found in many homes, providing storage space for clothing, accessories, and other personal belongings. Over time, it may become necessary to remove a drawer for maintenance, cleaning, or repairs.
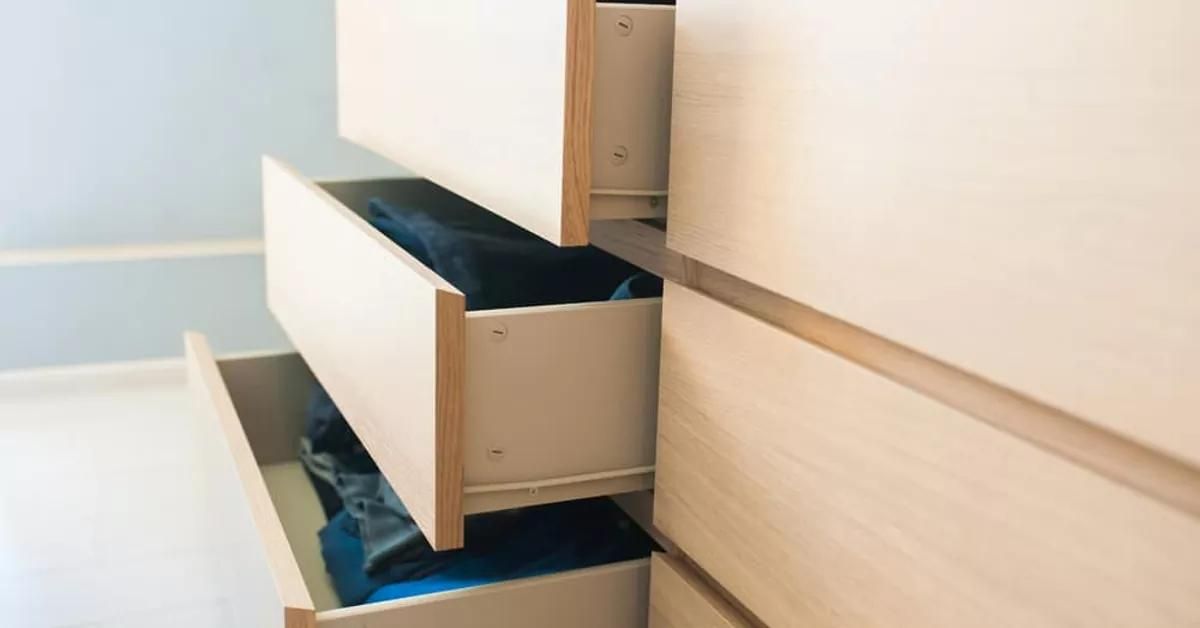
One particular type of dresser drawer design is the center slide, which allows for smooth gliding and easy access to the contents inside. Removing a drawer with a center slide may seem daunting at first, but with the right tools and techniques, it can be a straightforward process.
In this article, we will walk you through the step-by-step process of removing a dresser drawer with a center slide. Whether you need to replace a broken slide, repair the drawer, or simply clean out the contents, this guide will help you accomplish the task with ease.
Before we dive into the steps, it’s essential to ensure your safety and take necessary precautions. Make sure to clear the surrounding area of any obstacles or fragile items and wear appropriate protective gear, such as gloves, to prevent any injuries.
Now, let’s get started with step one: clearing the dresser.
Key Takeaways:
- Safely remove a dresser drawer with a center slide by clearing the dresser, assessing the drawer, removing the stop lever, detaching the drawer slide, and finally, removing the drawer. Take your time and follow the steps to maintain your furniture effectively.
- Organize and declutter the dresser’s contents before removing the drawer. Familiarize yourself with the drawer’s construction, locate screws and locks, and proceed with caution to ensure a smooth and safe removal process.
Read more: How To Fix A Dresser Drawer Slides
Step 1: Clearing the Dresser
Before we can remove the dresser drawer, it’s crucial to clear out its contents. Start by opening the dresser and taking out any items stored inside the drawer. This will prevent any potential damage to the items and make it easier to work with the drawer during the removal process.
As you remove the items, take the opportunity to declutter and organize them. Sort through your belongings and determine if there are any items you no longer need or want to keep. You can donate or sell these items, or if they are no longer in usable condition, dispose of them responsibly.
Once the drawer is empty, remove any loose items or debris from the surrounding area of the dresser. This will prevent any items from falling and getting stuck during the drawer removal process.
Before moving on to the next step, examine the drawer for any signs of damage or wear that may have contributed to the need for removal. Look for loose screws, broken handles, or any other issues that may require further attention or repair.
By clearing the dresser and its contents, you are now ready to proceed to the next step: assessing the drawer.
Step 2: Assessing the Drawer
Now that the dresser is cleared, it’s time to assess the drawer itself. Take a closer look at the construction and components of the drawer to understand how it is attached to the center slide.
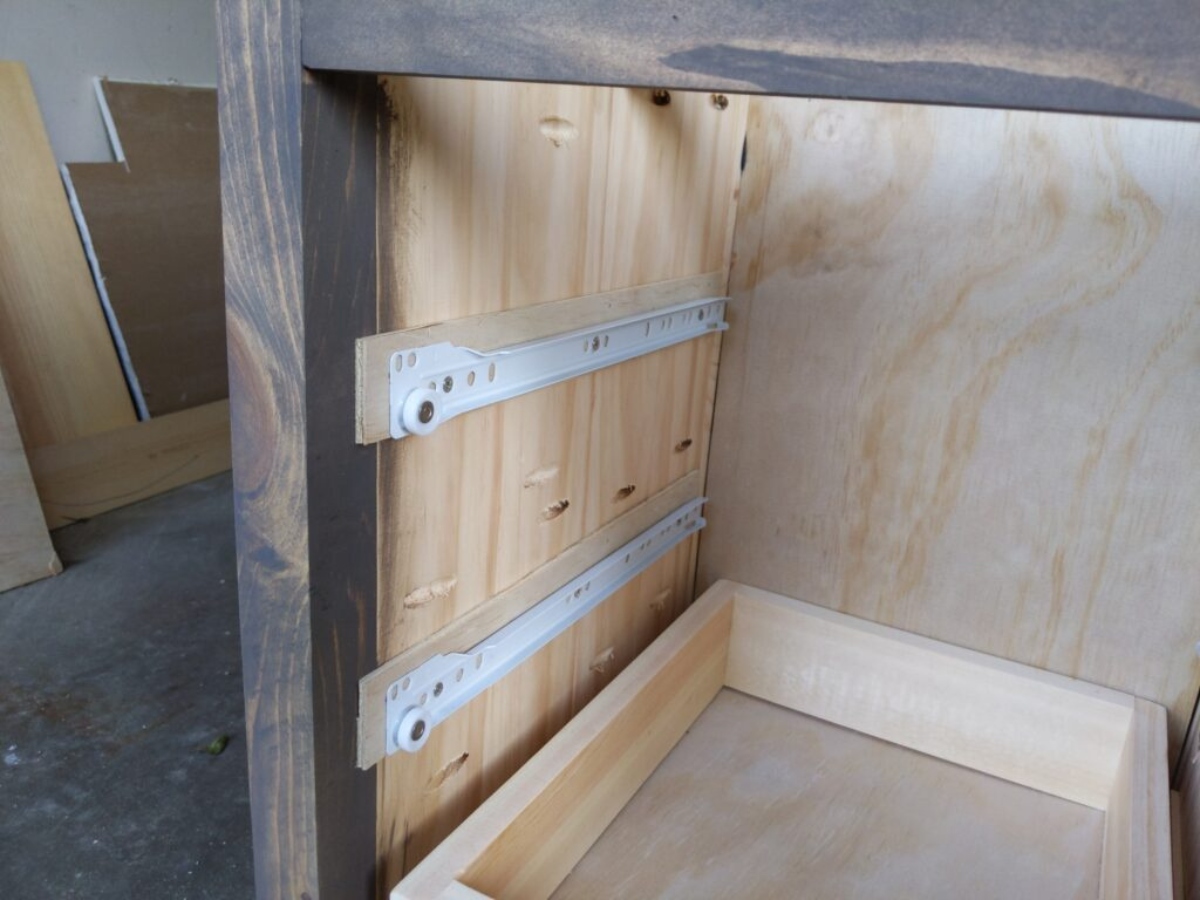
Firstly, check if there are any visible screws or fasteners securing the drawer to the center slide. These may be located on the sides or back of the drawer. If you spot any screws, note their location as they will need to be removed in the following steps.
Next, examine the slides or rails on which the drawer glides. Determine if there are any visible signs of damage, such as bent or misaligned slides. If you notice any issues, you may need to address them during the removal process or consider replacing the slides altogether.
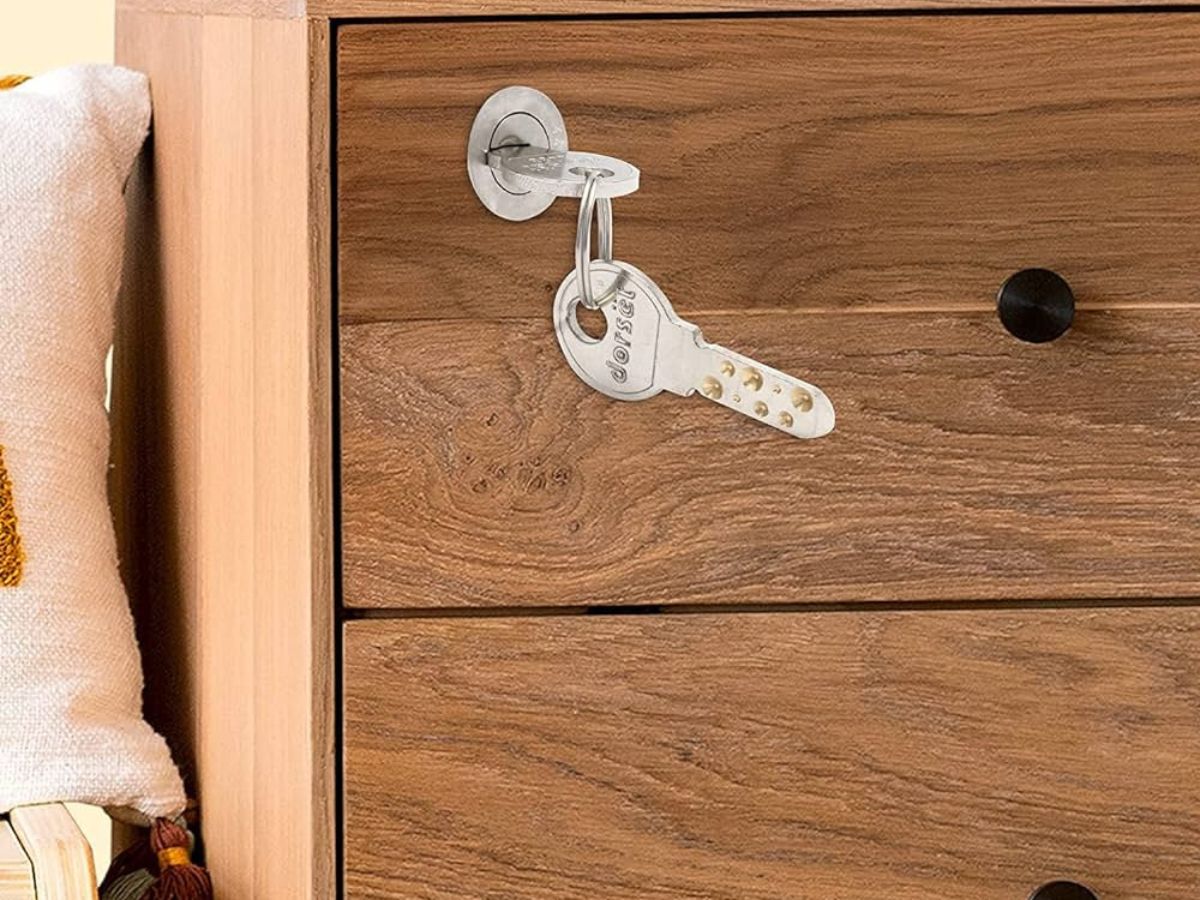
Additionally, take note of any stop levers or locks located on the slides. These mechanisms prevent the drawer from accidentally being pulled out too far or falling out entirely. Understanding how these locks work will help you remove the drawer without causing any damage or complications.
If you are unfamiliar with the specific type of center slide used in your dresser, consult the manufacturer’s instructions or search for online resources that provide guidance for your particular model.
By thoroughly assessing the drawer and familiarizing yourself with its components, you are now ready to move on to the next step: removing the stop lever.
Step 3: Removing the Stop Lever
In this step, we will focus on removing the stop lever that secures the dresser drawer in place. The stop lever is usually a small metal or plastic piece that prevents the drawer from sliding open too far or falling out.
To begin, locate the stop lever on the side or back of the drawer slide. It is typically a small tab or lever that can be manually moved to release the drawer. Refer to the manufacturer’s instructions or research online if you are unsure of its exact location.
Once you have located the stop lever, gently push or lift it to release the drawer. You may need to exert some force if it is secured tightly. Be careful not to apply excessive pressure that could cause damage to the lever or surrounding components.
If the stop lever is held in place with screws or fasteners, use a screwdriver or appropriate tool to remove them. Keep track of the screws and set them aside in a safe place, as they will be needed for reinstallation later.
Once the stop lever is removed or disengaged, test the drawer by gently pulling it out. It should slide open smoothly now that the stop lever is no longer hindering its movement.
It’s important to note that not all dresser drawers have a stop lever mechanism. Some may rely on other methods, such as a push-to-release system or a different type of locking mechanism. If this is the case with your dresser, proceed to the next step and skip this one.
With the stop lever removed, we can now move on to step four: detaching the drawer slide.
To remove a dresser drawer with a center slide, pull the drawer out as far as it will go, then lift the front of the drawer and tilt it slightly downward to disengage the slide.
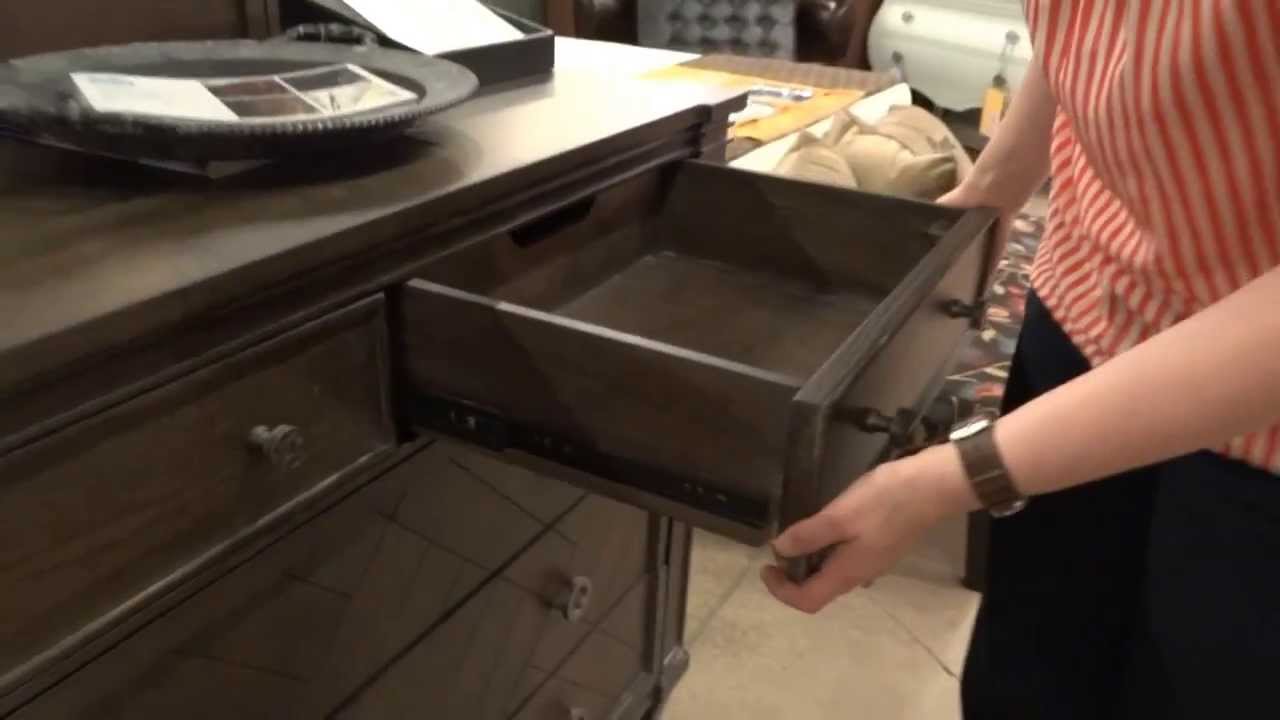
Step 4: Detaching the Drawer Slide
Now that the stop lever has been removed, we can focus on detaching the drawer slide from the dresser. The drawer slide is what allows the drawer to glide in and out smoothly.
Start by examining the sides of the drawer to locate the screws or fasteners that secure the slide to the drawer. These screws may be visible from the inside of the drawer or on the outside, depending on the design of your dresser.
Using a screwdriver or appropriate tool, carefully remove the screws from both sides of the drawer. Take note of the length and type of screws used so that you can reinstall them correctly later on.
Once the screws are removed, gently pull the drawer towards you, away from the dresser. The drawer should start to come loose from the slide. If there is any resistance, check for any additional screws or obstructions that may be preventing the slide from releasing.
If your drawer is attached to a center slide that runs along the bottom of the drawer, there may be additional screws or fasteners on the underside of the drawer. In that case, carefully flip the drawer upside down to access and remove any screws or fasteners that secure the slide to the bottom of the drawer.
Once all screws or fasteners have been removed, the drawer should be free from the slide. Gently lift the drawer to separate it completely from the dresser.
With the drawer slide detached, it’s time to move on to the final step: removing the drawer.
Read more: How To Remove Dresser Drawers On Tracks
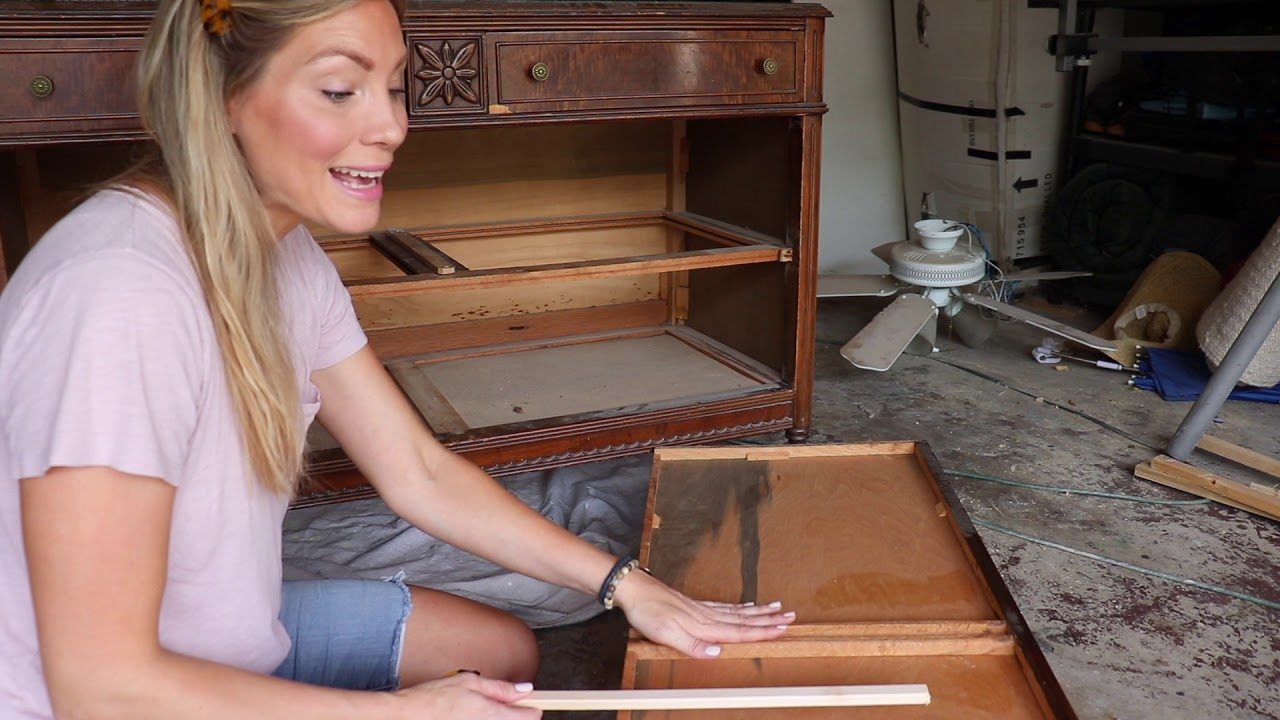
Step 5: Removing the Drawer
We have reached the final step in the process of removing a dresser drawer with a center slide. In this step, we will focus on safely removing the drawer from the dresser.
Start by holding the sides of the drawer firmly with both hands. Gently lift and tilt the front of the drawer upward. This will help disengage the drawer from the dresser’s frame.
Once the front of the drawer is lifted, continue to pull the drawer towards you while maintaining an upward angle. This will allow the back of the drawer to clear the dresser’s frame and slide out smoothly.
As you remove the drawer, be cautious of any obstructions or fragile items in the surrounding area. Take your time and ensure a clear path for the drawer’s safe removal.
Inspect the drawer and the dresser’s frame for any signs of damage, such as loose components or misaligned parts. If you notice any issues, you may need to address them before reinstalling the drawer.
With the drawer successfully removed, you can now clean it, perform any necessary repairs, or replace the center slide if needed. Take the opportunity to clean the inside of the dresser as well, removing any dust or debris that may have accumulated over time.
When you are ready to reassemble the drawer, follow the aforementioned steps in reverse order. Carefully insert the drawer back into the dresser, aligning the slides with the corresponding openings.
Gently push the drawer back into the dresser until it is fully inserted. Reattach the drawer slide using the screws or fasteners that were previously removed, making sure to secure them tightly but not overly tight to avoid stripping the holes.
Finally, test the drawer by sliding it in and out to ensure it moves smoothly along the center slide. If you encounter any issues, double-check the alignment of the slides and make any necessary adjustments.
Congratulations! You have successfully removed and reinstalled a dresser drawer with a center slide. By following these steps and taking the necessary precautions, you can maintain and care for your furniture effectively.
Remember, every dresser and drawer design may vary slightly, so always refer to the manufacturer’s instructions or seek professional help if you encounter any difficulties during the process.
Thank you for reading our guide on how to remove a dresser drawer with a center slide. We hope you found this information helpful and that you can apply it to your own furniture projects.
Happy organizing and maintaining your furniture!
Conclusion
Removing a dresser drawer with a center slide may seem like a daunting task, but with the right steps and precautions, it can be accomplished smoothly and safely. By following the step-by-step guide outlined in this article, you will be able to remove and reinstall your dresser drawer with ease.
Remember to start by clearing the dresser and organizing its contents before proceeding with the removal process. Assess the drawer to familiarize yourself with its construction and components, paying close attention to the location of screws, slides, and any stop levers or locks.
In the following steps, you will remove the stop lever, detach the drawer slide, and finally, remove the drawer itself. Take your time and be careful throughout the process to avoid any accidents or damage to your furniture.
Once the drawer is removed, you can clean it, perform any necessary repairs, or replace the center slide as needed. Take this opportunity to also clean the inside of the dresser, removing any accumulated dust or debris.
When reassembling the drawer, follow the steps in reverse order, making sure to align the slides properly and secure the screws tightly. Test the drawer’s movement to ensure it glides smoothly along the center slide.
We hope that this guide has provided you with valuable insights and instructions on how to remove a dresser drawer with a center slide. By taking the time to properly maintain and care for your furniture, you can prolong its lifespan and ensure it remains in excellent condition for years to come.
If you have any further questions or need additional assistance, consult the manufacturer’s instructions or seek professional help. Remember to always prioritize your safety and take the necessary precautions when handling furniture.
Thank you for reading and happy furniture maintenance!
Frequently Asked Questions about How To Remove A Dresser Drawer With A Center Slide
Was this page helpful?
At Storables.com, we guarantee accurate and reliable information. Our content, validated by Expert Board Contributors, is crafted following stringent Editorial Policies. We're committed to providing you with well-researched, expert-backed insights for all your informational needs.


0 thoughts on “How To Remove A Dresser Drawer With A Center Slide”