Furniture
How To Replace A Lamp On A Sony SXRD TV
Modified: August 22, 2024
Learn how to easily replace a lamp on your Sony SXRD TV with this step-by-step guide. Find out how to keep your furniture looking fresh and stylish.
(Many of the links in this article redirect to a specific reviewed product. Your purchase of these products through affiliate links helps to generate commission for Storables.com, at no extra cost. Learn more)
Introduction
Replacing a lamp on a Sony SXRD TV is a relatively simple process that can extend the life of your television and improve its picture quality. Over time, the lamp in your TV may become dim or fail altogether, resulting in a dim or dark picture. By replacing the lamp, you can restore your TV’s brightness and enjoy a clear and vibrant viewing experience once again.
In this guide, we will walk you through the step-by-step process of replacing the lamp on a Sony SXRD TV. We will cover everything you need to know, from the tools and materials you’ll need to the resetting of the lamp timer. So, let’s get started!
Key Takeaways:
- Replacing the lamp on a Sony SXRD TV is a simple process that can enhance picture quality and extend the TV’s lifespan. Prioritize safety, follow each step carefully, and enjoy a clear, vibrant viewing experience once again.
- By gathering the necessary tools and materials, turning off and unplugging the TV, and following the step-by-step process, you can successfully replace the lamp on your Sony SXRD TV. Enjoy optimal picture quality and an extended television lifespan.
Tools and Materials Needed
Before you begin the process of replacing the lamp on your Sony SXRD TV, make sure you have the following tools and materials on hand:
- Flathead screwdriver
- Replacement lamp (make sure it is compatible with your Sony SXRD TV model)
- Lint-free cloth
- Optional: Gloves (to avoid touching the lamp with bare hands)
Having these tools and materials ready will ensure that you can complete the lamp replacement process smoothly and efficiently.
Once you have gathered all the necessary tools and materials, you can proceed to the next step, which is turning off and unplugging the TV.
Step 1: Turn Off and Unplug the TV
Before you begin replacing the lamp on your Sony SXRD TV, it is crucial to ensure your safety by turning off and unplugging the TV from the power source.
To turn off the TV, locate the power button on either the front panel or the remote control and press it. This will power down the TV and prepare it for the lamp replacement process.
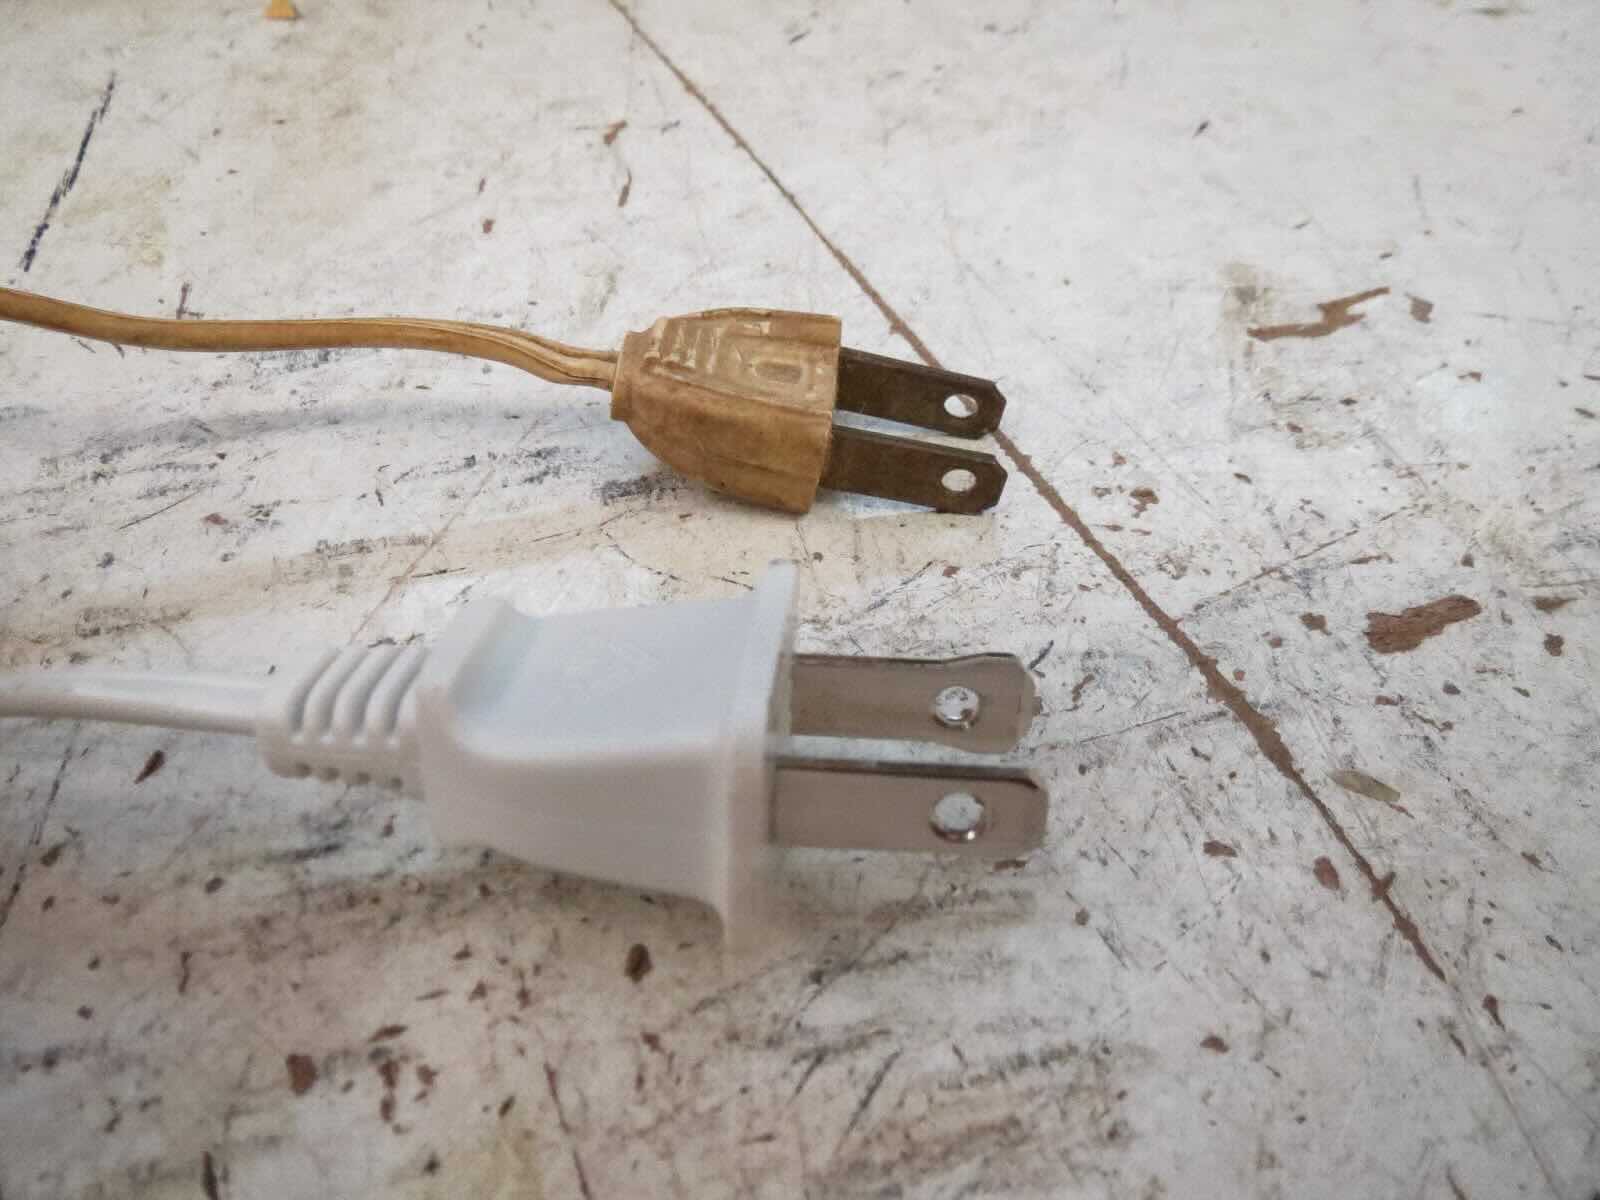
After turning off the TV, locate the power cord at the back of the TV and unplug it from the wall outlet. This will prevent any potential electrical shock and allow you to work on the TV safely.
It is important to wait for a few minutes after unplugging the TV to allow it to cool down. The lamp generates heat during operation, and by waiting, you reduce the risk of burning yourself when handling the lamp and surrounding components.
Now that you have turned off and unplugged the TV, you can proceed to the next step, which is locating the lamp compartment.
Step 2: Locate the Lamp Compartment
Locating the lamp compartment on your Sony SXRD TV is essential to access and replace the lamp. Follow these steps to find the lamp compartment:
- Examine the rear of your Sony SXRD TV to locate the lamp compartment cover. It is usually located towards the bottom or side of the TV.
- Using your flathead screwdriver, gently remove the screws that are securing the lamp compartment cover in place. Set the screws aside in a safe place.
- Once the screws are removed, carefully lift off the lamp compartment cover. Be cautious not to force it open or damage any surrounding components.
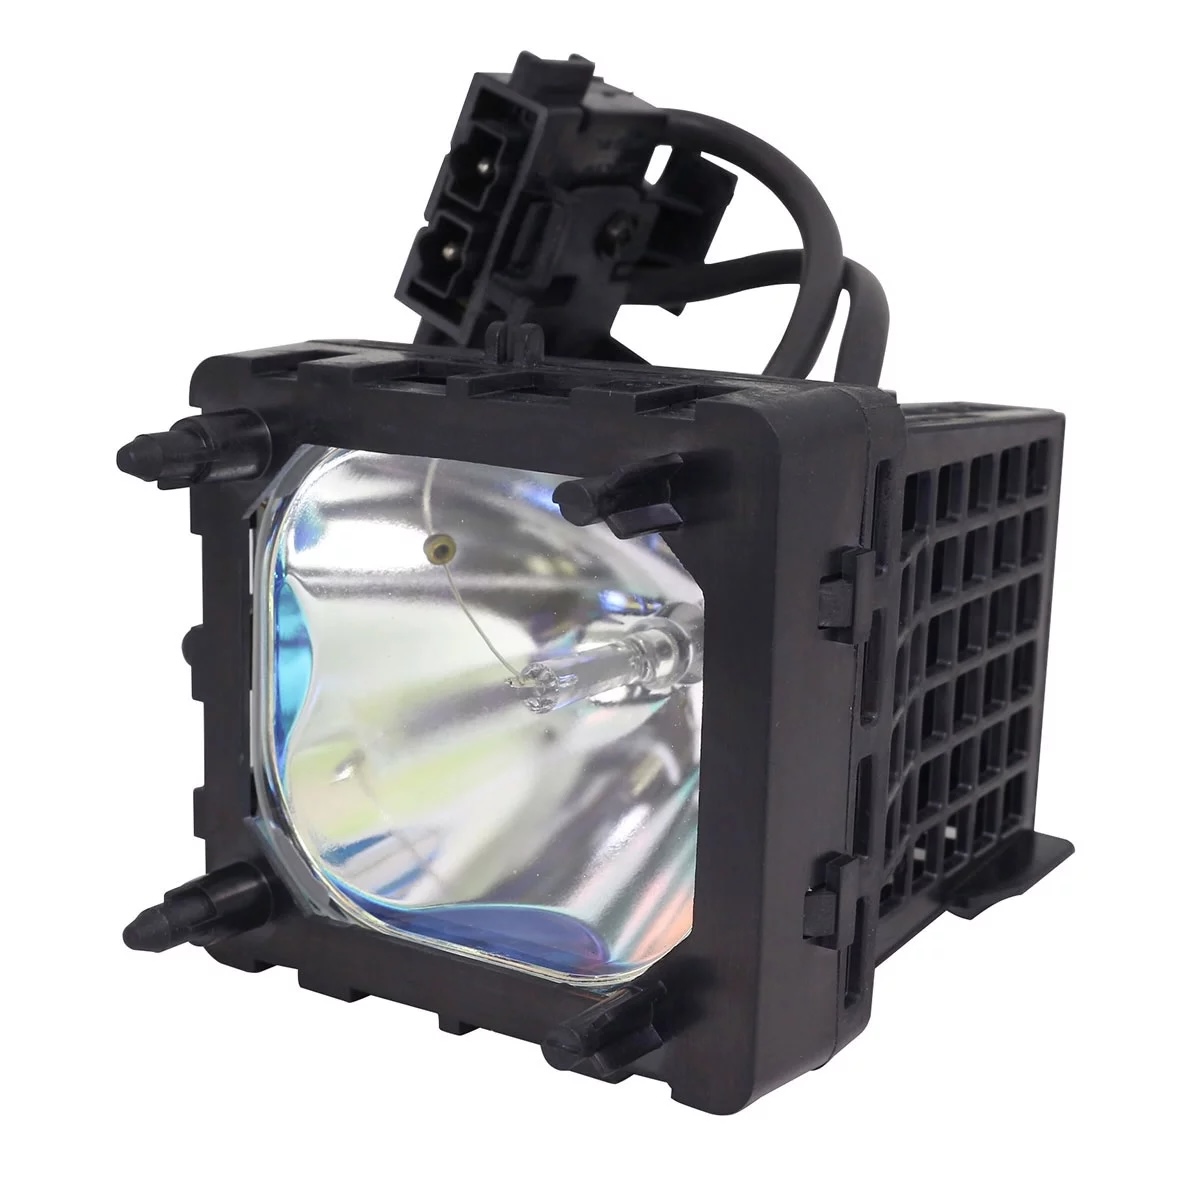
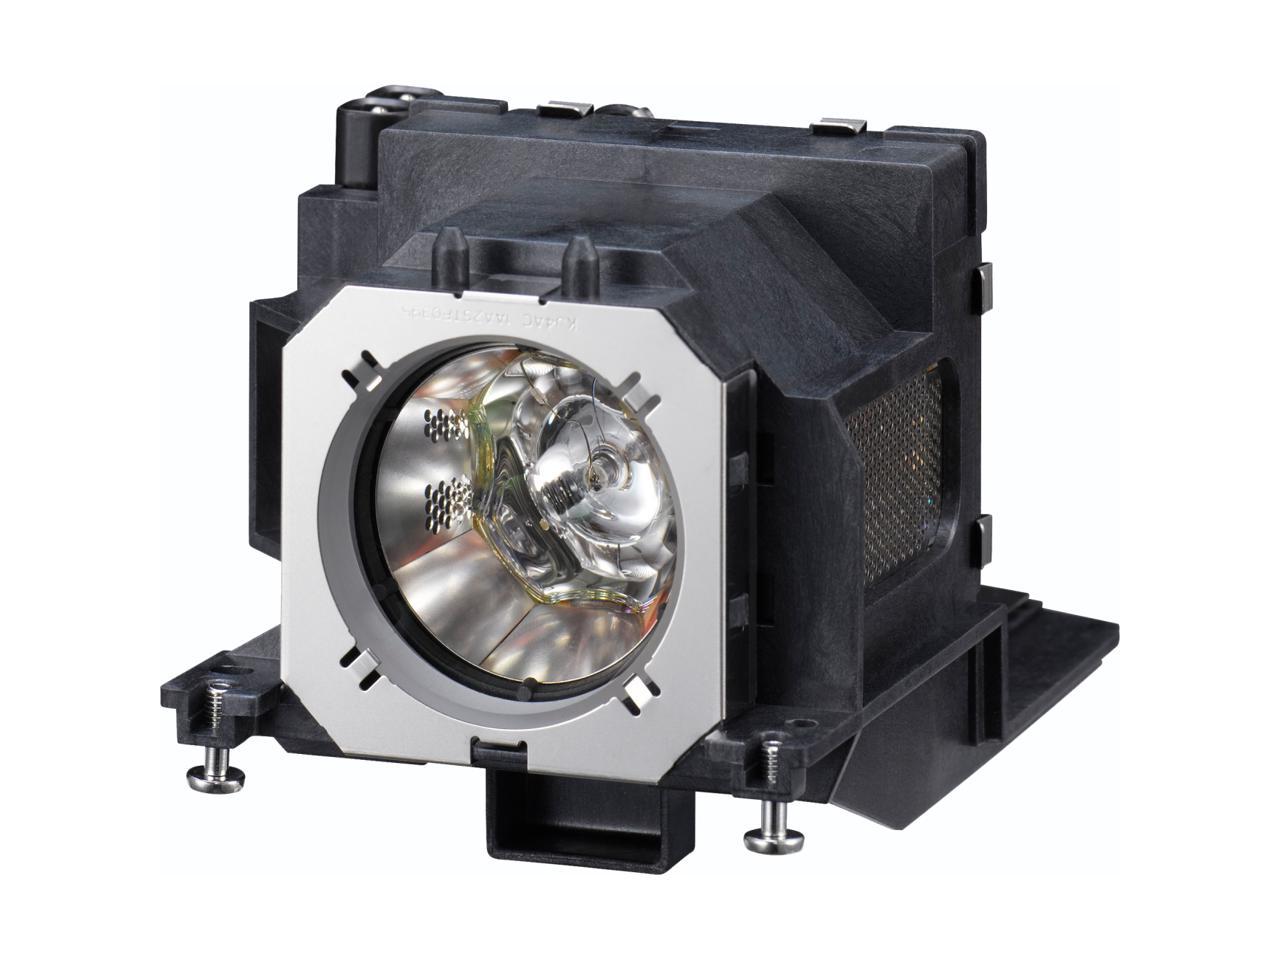
Inside the lamp compartment, you will find the lamp assembly, which is enclosed in a protective housing. Take a moment to familiarize yourself with the lamp assembly before proceeding to the next step.
Now that you have located the lamp compartment, you can move on to the next step, which involves removing the lamp cover.
Step 3: Remove the Lamp Cover
Removing the lamp cover is the next step in replacing the lamp on your Sony SXRD TV. Follow these simple instructions to safely remove the lamp cover:
- Inspect the lamp cover to identify any hooks, tabs, or screws that are holding it in place. The specific mechanism may vary depending on the model of your TV.
- Using your flathead screwdriver, carefully disengage the hooks, release the tabs, or unscrew the screws that are securing the lamp cover.
- Once the securing mechanism is released, gently lift the lamp cover off the lamp assembly. Be cautious not to damage the cover or any of the surrounding components.
- Set the lamp cover aside in a safe place, as you will need it later when reinstalling the new lamp.
With the lamp cover removed, you now have access to the lamp assembly and can proceed to the next step of replacing the old lamp with a new one.
Note: Some Sony SXRD TV models may have additional steps or precautions for removing the lamp cover. Refer to your TV’s user manual for specific instructions related to your model.
Next, we will cover step 4 in the process, which involves removing the old lamp from the assembly.
Read more: How To Connect Sony TV To Google Home
Step 4: Remove the Old Lamp
Removing the old lamp from the lamp assembly is a crucial step in replacing the lamp on your Sony SXRD TV. Follow these steps to safely remove the old lamp:
- Inspect the lamp assembly and locate the lamp itself. It is often held in place with screws or brackets.
- Using your flathead screwdriver, carefully loosen and remove the screws or brackets that are securing the old lamp.
- Once the securing mechanism is loosened, gently pull the old lamp straight out from the assembly.
- Be cautious when handling the old lamp, as it may be hot and fragile. Use a lint-free cloth or gloves to protect your hands if necessary.
- Set the old lamp aside in a safe place or dispose of it properly according to local regulations.
Now that the old lamp has been removed, you can proceed to the next step, which involves installing the new lamp.
Note: It is recommended to avoid touching the lamp with bare hands, as the oils from your skin can potentially shorten the lamp’s lifespan. If you handle the lamp, ensure that you use gloves or a lint-free cloth to prevent any contamination.
In the next step, we will guide you on how to properly install the new lamp in your Sony SXRD TV.
When replacing a lamp on a Sony SXRD TV, make sure to unplug the TV and allow the lamp to cool before handling. Follow the manufacturer’s instructions for proper installation to ensure safety and optimal performance.
Step 5: Install the New Lamp
Installing the new lamp is a crucial step in the process of replacing the lamp on your Sony SXRD TV. Follow these steps to safely install the new lamp:
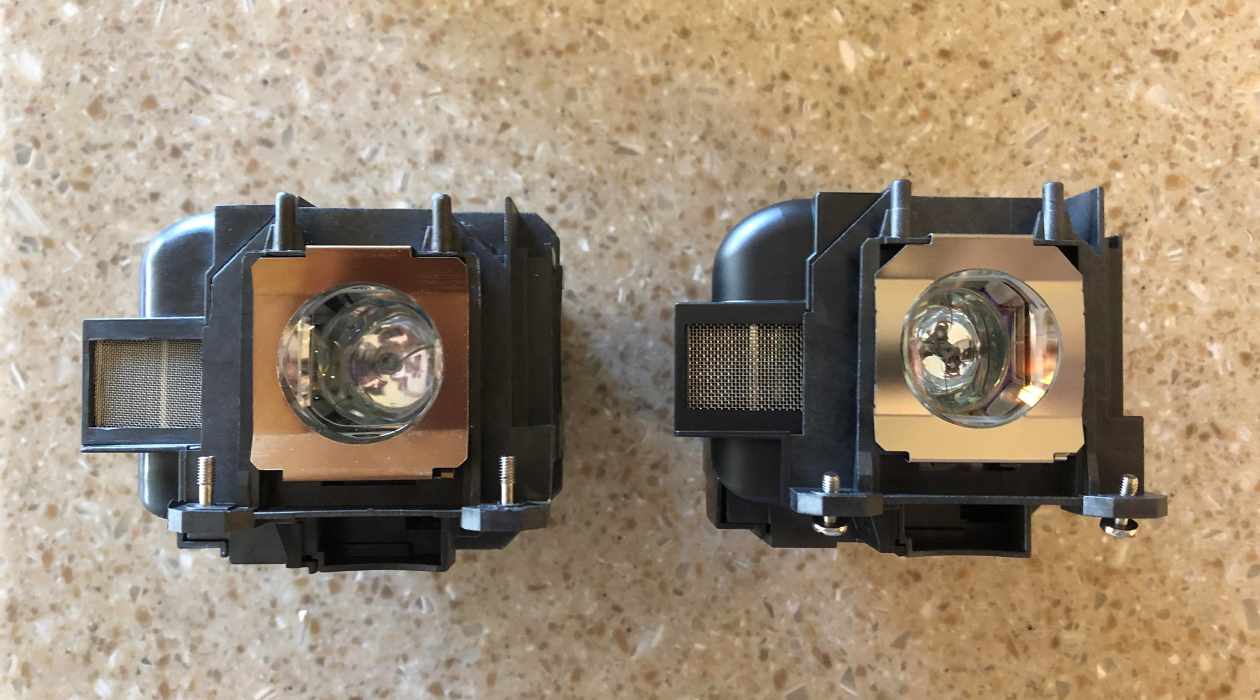
- Take the new lamp out of its packaging and handle it with care. Avoid touching the lamp with bare hands, as the oils from your skin can potentially affect its performance.
- Align the new lamp with the lamp assembly, ensuring that it is inserted correctly and securely.
- If there were screws or brackets holding the old lamp in place, use them to secure the new lamp. Tighten the screws or reposition the brackets as necessary.
- Ensure that the lamp is securely in place, as any loose connections may result in poor picture quality or even damage to the lamp.
It is important to follow the manufacturer’s guidelines and instructions specific to your Sony SXRD TV model. If there are any additional steps or precautions for installing the new lamp, refer to the user manual for detailed instructions.
With the new lamp securely installed, you can proceed to the next step, which involves replacing the lamp cover.
In the next part, we will guide you on how to replace the lamp cover of your Sony SXRD TV.
Step 6: Replace the Lamp Cover
Replacing the lamp cover is the next step in the process of replacing the lamp on your Sony SXRD TV. Follow these steps to properly replace the lamp cover:
- Take the lamp cover that you set aside earlier and align it with the opening of the lamp compartment.
- Gently slide the lamp cover into place, ensuring that it fits snugly and securely. It should align with the hooks, tabs, or screw holes that were used to secure it originally.
- If there were screws securing the lamp cover, use your flathead screwdriver to reinsert and tighten them. Be careful not to overtighten, as this may cause damage to the cover or surrounding components.
Double-check that the lamp cover is properly secured and that there are no gaps or loose edges. It should fit comfortably and seamlessly onto the lamp compartment.
Now that the lamp cover is replaced, you can proceed to the next step, which involves turning on the TV and checking the new lamp’s functionality.
In the next step, we will guide you on how to properly turn on your Sony SXRD TV after replacing the lamp.
Step 7: Turn On the TV
After successfully replacing the lamp on your Sony SXRD TV, it’s time to turn on the TV and test the new lamp’s functionality. Follow these steps to properly turn on your TV:
- Ensure that the lamp compartment cover is securely in place. If not, double-check and reposition the cover if necessary.
- Locate the power button on your Sony SXRD TV or the remote control. Press the power button to turn on the TV.
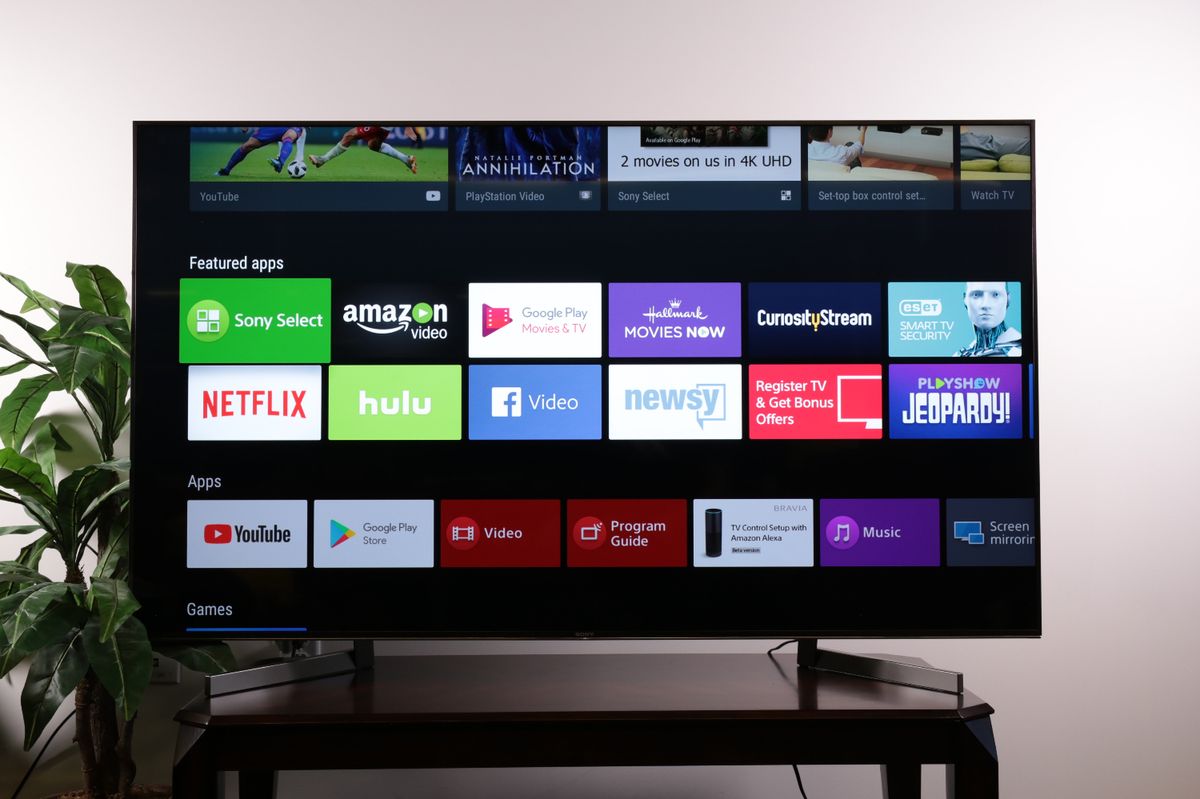
- Wait for the TV to power up, which may take a few moments. You should see the Sony logo or the TV’s startup screen on your display.
- Observe the picture quality and brightness of your TV. If the new lamp is installed correctly, the picture should be clear, vibrant, and properly illuminated.
- If you notice any issues with the picture quality or brightness, double-check that the lamp is securely installed and properly connected. Refer to the manufacturer’s manual for troubleshooting steps or contact a professional for assistance, if needed.
Congratulations! You have successfully turned on your Sony SXRD TV after replacing the lamp. Enjoy your newly restored viewing experience.
In the final step, we will cover resetting the lamp timer, which is an optional step but can help ensure accurate tracking of the lamp’s usage.
Step 8: Reset the Lamp Timer (Optional)
Resetting the lamp timer is an optional step after replacing the lamp on your Sony SXRD TV. The lamp timer is a feature that tracks the usage hours of the lamp, and resetting it ensures accurate tracking once the lamp is replaced. Follow these steps to reset the lamp timer:
- Turn on your Sony SXRD TV and access the TV’s menu. The menu button is usually located on the remote control.
- Navigate to the “Settings” or “Options” menu using the arrow keys on the remote control.
- Within the “Settings” or “Options” menu, look for an option related to “Lamp Settings” or “Lamp Timer.” This option may differ depending on the model of your TV.
- Select the “Lamp Settings” or “Lamp Timer” option to access the lamp settings menu.
- Look for an option to reset or initialize the lamp timer. Select this option to reset the lamp timer.
- Confirm the reset when prompted. The lamp timer should reset to zero, indicating a fresh start for the new lamp.
- Exit the menu and continue using your TV as usual.
Resetting the lamp timer is an optional step, but it can be helpful for accurately tracking the usage hours of the new lamp and keeping track of when it may need to be replaced in the future.
Congratulations! You have now successfully completed the process of replacing the lamp on your Sony SXRD TV. Enjoy your improved picture quality and extended television lifespan.
Remember to consult your Sony SXRD TV’s user manual for any specific instructions or recommendations related to your particular model.
If you have any difficulties or concerns during the lamp replacement process, it is wise to seek professional assistance to ensure that the process is completed correctly and safely.
Happy viewing!
Conclusion
Replacing the lamp on your Sony SXRD TV is a straightforward process that can significantly improve your television’s picture quality and lifespan. By following the steps outlined in this guide, you can successfully replace the lamp and enjoy a clear, vibrant, and illuminated viewing experience once again.
Remember to gather all the necessary tools and materials before starting the process. This includes a flathead screwdriver, a compatible replacement lamp, a lint-free cloth, and optional gloves to protect the lamp from oils on your hands.
Throughout the process, prioritize safety by turning off and unplugging the TV, allowing it to cool down, and taking caution when handling the old and new lamps.
Take your time and follow each step carefully, locating the lamp compartment, removing the lamp cover, uninstalling the old lamp, installing the new lamp, replacing the lamp cover, turning on the TV, and optionally resetting the lamp timer.
By keeping your Sony SXRD TV properly maintained and replacing the lamp when necessary, you can enjoy optimal picture quality and extend the life of your television.
Remember to consult your Sony SXRD TV’s user manual for any specific instructions or recommendations related to your particular model.
If you encounter any difficulties or concerns during the lamp replacement process, it is always recommended to seek professional assistance to ensure that the process is completed correctly and safely.
Now that you have the knowledge and guidance, go ahead and embark on the journey of replacing the lamp on your Sony SXRD TV. Enjoy your enhanced viewing experience and immerse yourself in the world of entertainment with a bright and vibrant picture!
Frequently Asked Questions about How To Replace A Lamp On A Sony SXRD TV
Was this page helpful?
At Storables.com, we guarantee accurate and reliable information. Our content, validated by Expert Board Contributors, is crafted following stringent Editorial Policies. We're committed to providing you with well-researched, expert-backed insights for all your informational needs.


0 thoughts on “How To Replace A Lamp On A Sony SXRD TV”