Home>Furniture>Living Room Furniture>How To Remove Sony TV Stand Legs
Living Room Furniture
How To Remove Sony TV Stand Legs
Modified: November 1, 2024
Discover a step-by-step guide on removing the legs of your Sony TV stand without any hassle. Transform your living room furniture effortlessly!
(Many of the links in this article redirect to a specific reviewed product. Your purchase of these products through affiliate links helps to generate commission for Storables.com, at no extra cost. Learn more)
Introduction
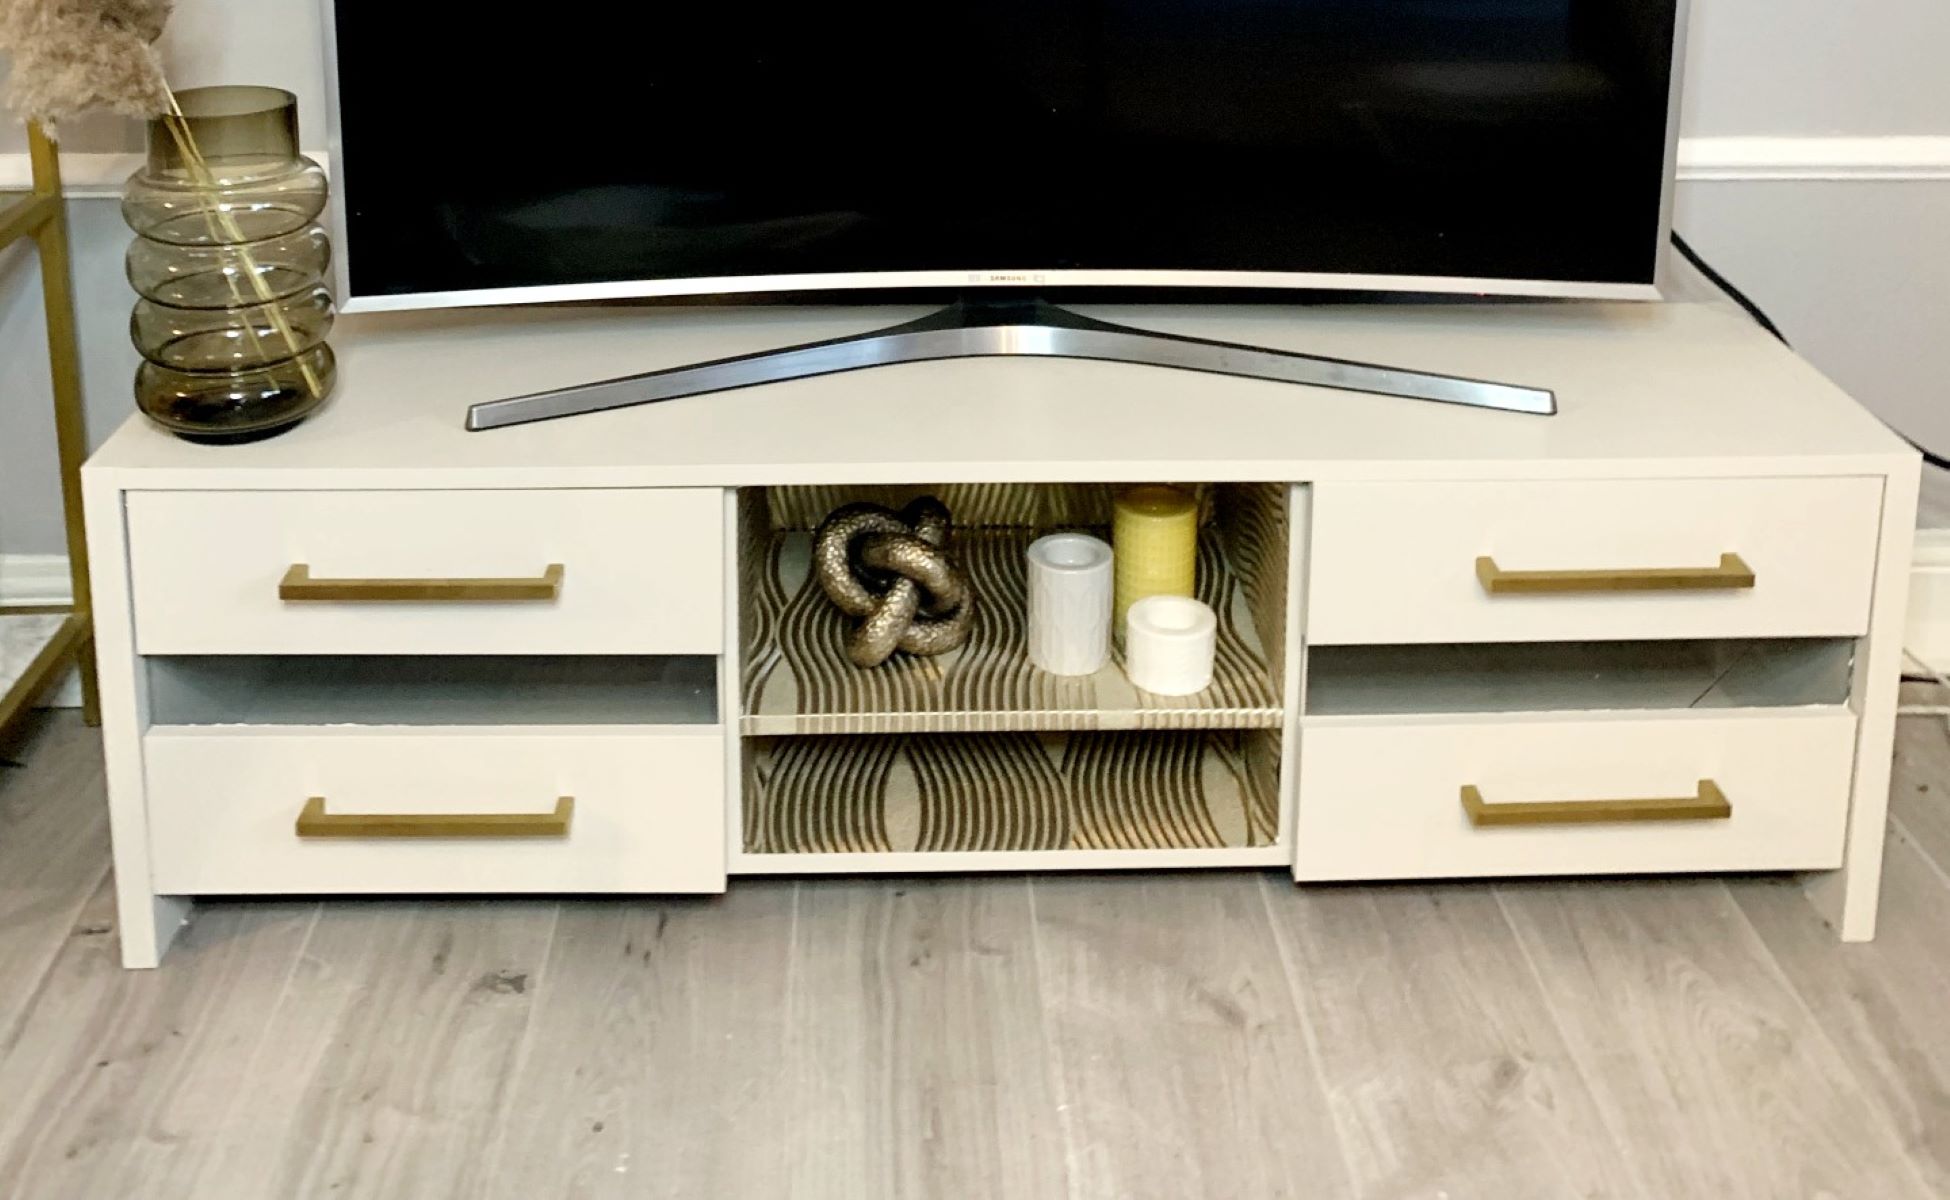
Welcome to this step-by-step guide on how to remove the Sony TV stand legs. If you are planning to mount your Sony TV on the wall or upgrade to a new TV stand, removing the stand legs is an essential first step. Whether you are a DIY enthusiast or a novice, this guide will walk you through the process and ensure that you can safely and successfully remove the TV stand legs without any hassle.
Removing the TV stand legs not only gives you more flexibility in terms of placement, but it also creates a clean and streamlined look for your living room. By following these simple steps, you can easily detach the TV stand legs from your Sony TV and achieve the desired setup.
Before we dive into the process, it’s important to note that different Sony TV models may have slight variations in terms of the stand leg placement and removal method. Therefore, it is crucial to consult your Sony TV’s user manual or the manufacturer’s website for specific instructions that match your TV model.
Now, let’s get started with the step-by-step process to remove the Sony TV stand legs.
Key Takeaways:
- Easily remove Sony TV stand legs by gathering tools, preparing workspace, locating and unscrewing screws, and safely detaching the legs. Store screws and clean the area for a polished TV setup.
- Following simple steps, you can remove Sony TV stand legs, creating flexibility in TV placement and achieving a clean, streamlined look for your living room. Always consult your TV’s manual for specific instructions.
Read more: How To Set Up Sony Bravia TV Stand
Step 1: Gather the necessary tools
Before you begin the process of removing the Sony TV stand legs, it’s important to gather all the necessary tools. Having the right tools on hand will make the process easier and more efficient. Here are the tools you will need:
- Screwdriver: Depending on the TV model, you may need either a Phillips head or a flathead screwdriver to remove the screws that secure the TV stand legs.
- Soft cloth or towel: This will be used to protect the screen of your TV from any scratches or damage during the process.
- Container or small bag: To store the screws safely, you will need a container or a small bag to keep them organized and prevent them from getting lost.
Make sure to gather all these tools before you proceed to the next step. Having everything within reach will save you time and prevent any interruptions during the process. Once you have collected all the necessary tools, you can move on to preparing the workspace for the TV stand leg removal.
Step 2: Prepare the workspace
Before you start removing the Sony TV stand legs, it’s important to prepare your workspace to ensure a smooth and safe process. Here are the steps to prepare your workspace:
- Clear the area: Begin by clearing the area around the TV stand. Remove any obstacles or objects that may hinder your access to the stand legs or create a safety hazard.
- Protect the floor: Place a soft blanket or towel on the floor underneath the TV stand. This will prevent any scratches or damage to both the TV stand and the floor surface.
- Turn off the TV: Before you proceed, make sure to turn off and unplug the TV. This will eliminate the risk of electrical shock and ensure your safety throughout the process.
- Wipe down the TV stand: Use a soft cloth or a microfiber cloth to gently wipe down the TV stand legs and the surrounding area. This will remove any dust or debris that may interfere with the removal process.
By taking these steps to prepare your workspace, you create a clean and safe environment for removing the TV stand legs. Once you have completed these preparations, you can proceed to locate the screws on the TV stand legs.
Step 3: Locate the screws on the TV stand legs
Before you can remove the Sony TV stand legs, you need to locate the screws that are securing them to the TV. The position and number of screws may vary depending on the TV model, so make sure to refer to your TV’s user manual or manufacturer’s website for specific instructions. Here are some general guidelines to help you locate the screws:
- Examine the TV stand: Carefully inspect the stand legs and the bottom of the TV. Look for any visible screws or bolts that are holding the legs in place. These screws are usually located near the corners or sides of the TV stand.
- Check for coverings: In some cases, the screws may be covered by plastic caps or removable covers. Use your fingers or a small tool to gently remove these coverings and expose the screws.
- Inspect the back of the TV: If you can’t find the screws on the TV stand itself, check the back of the TV. Some models have the screws located on the back panel, securing the legs to the TV.
Remember to be gentle when removing any coverings or inspecting the TV. Avoid using excessive force or sharp objects that could cause damage. Once you have located the screws, you can proceed to the next step of unscrewing them using a screwdriver.
Step 4: Unscrew the screws using a screwdriver
Now that you have located the screws that are securing the Sony TV stand legs, it’s time to unscrew them using a screwdriver. Follow these steps to safely remove the screws:
- Select the appropriate screwdriver: Depending on the type of screws used on your TV stand legs, you may need either a Phillips head or a flathead screwdriver. Choose the right screwdriver that fits securely into the screw heads.
- Position yourself: Stand in a comfortable position that allows you easy access to the screws. Make sure you have a clear view and a steady grip on the screwdriver.
- Apply consistent pressure: Place the screwdriver into a screw head and start turning it counterclockwise (lefty-loosey) to loosen the screw. Apply steady and firm pressure, but be careful not to strip or damage the screws or the screw heads.
- Remove the screws: Once the screws are loosened, continue turning them counterclockwise until they are completely unscrewed. Keep them in a safe place, such as a container or a small bag, to prevent them from getting lost.
- Repeat the process: If your Sony TV stand legs have multiple screws, repeat the above steps to remove all the remaining screws. Make sure to keep track of each screw and store them together in a secure location.
While unscrewing the screws, ensure that you have a firm grip on the TV stand legs to prevent any accidental falls or damage. Once all the screws are removed, you can proceed to the next step of actually removing the TV stand legs from the TV.
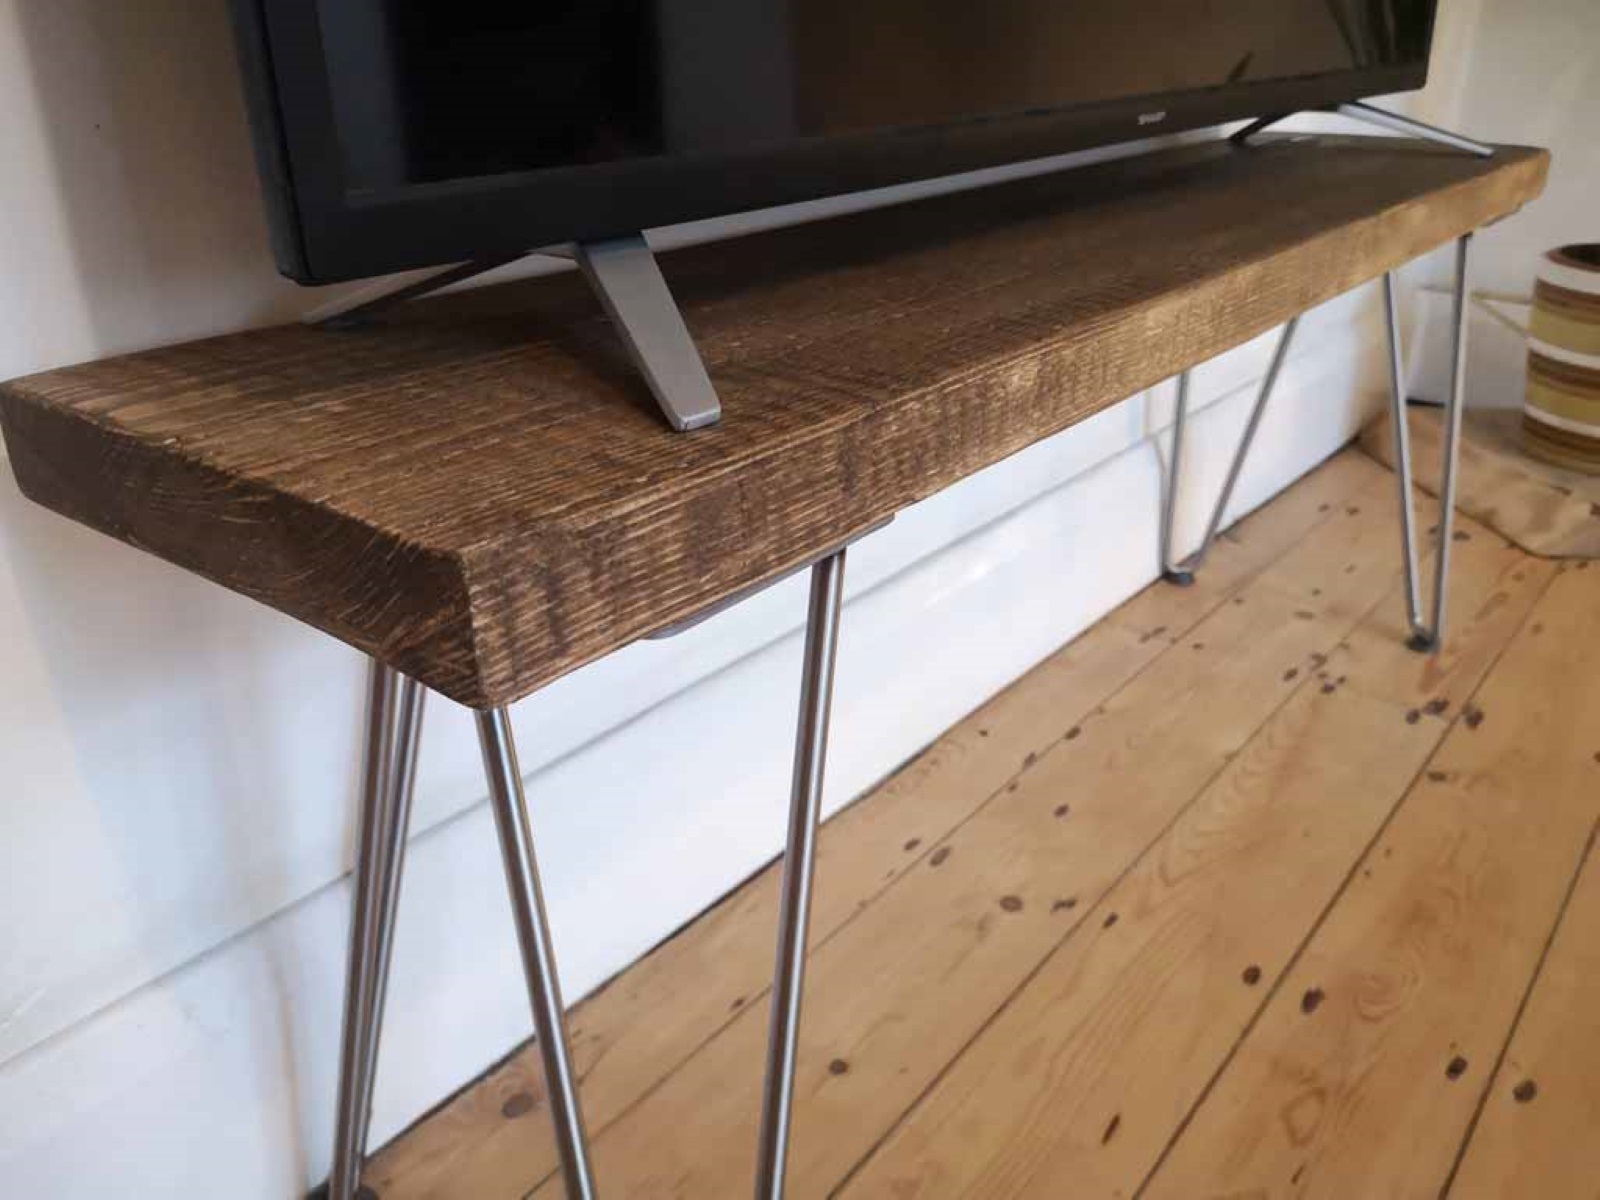
To remove Sony TV stand legs, lay the TV face down on a soft surface. Unscrew the legs from the bottom of the TV using a screwdriver. Lift the TV carefully and store the legs in a safe place.
Read more: How To Make A TV Stand Without Legs
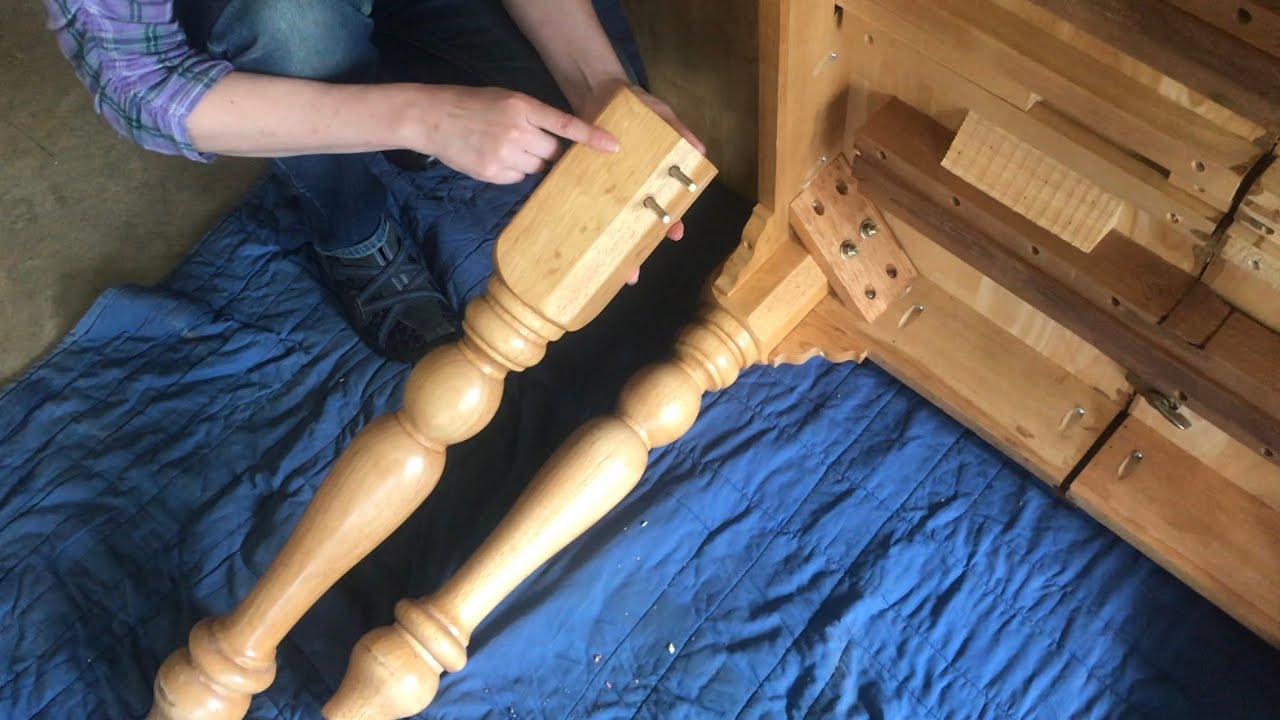
Step 5: Remove the TV stand legs from the TV
With the screws successfully removed, it’s time to remove the TV stand legs from your Sony TV. Follow these steps to safely detach the legs:
- Hold the TV stand legs: Firmly grasp the TV stand legs near the base or where they are attached to the TV. Make sure you have a secure grip to prevent any accidental drops or damage.
- Gently lift the legs: Carefully lift the TV stand legs upwards, away from the TV. Be cautious while doing this to avoid any strain on the TV or any components.
- Check for any additional attachments: In some cases, there may be additional brackets or clips securing the TV stand legs. Inspect the area around the legs and remove any additional attachments, if present, using the appropriate tools or instructions provided by the manufacturer.
Once you have lifted and detached the TV stand legs, set them aside in a safe location. It’s a good idea to keep them together and label them if you plan to reuse them in the future. With the TV stand legs removed, your Sony TV is now ready for its new setup.
Note: If you are planning to mount your TV on the wall or place it on a different stand, make sure to follow the instructions provided by the TV manufacturer or consult a professional for proper installation.
Now that you have successfully removed the TV stand legs from your Sony TV, you can proceed to the next step of storing the screws to keep them safe.
Step 6: Store the screws in a safe place
After removing the TV stand legs from your Sony TV, it’s crucial to store the screws in a safe place. Keeping the screws properly organized will ensure that they are not misplaced and can be easily accessed if needed. Follow these steps to store the screws:
- Prepare a container or small bag: Find a container or small bag to store the screws. It can be a small plastic container, a ziplock bag, or any other suitable storage option.
- Label the container: If you have multiple sets of screws or plan to reuse them later, it’s helpful to label the container to identify which TV model they belong to.
- Place the screws in the container: Carefully place the screws in the container or bag, ensuring that they are secure and won’t spill or get mixed up with other items.
- Seal or close the container: If using a bag, ensure that it is properly sealed. If using a container, make sure the lid is tightly closed to prevent the screws from falling out.
- Store in a safe location: Find a designated spot to store the container or bag of screws. It’s best to keep it in a place where you can easily find them if needed, such as a toolbox or a labeled drawer.
By taking these steps to store the screws in a safe and organized manner, you’ll have peace of mind knowing that they are readily accessible if you decide to reattach the TV stand legs or need them in the future.
Now that you have stored the screws safely, move on to the next step of repeating the process for the other TV stand leg if applicable.
Step 7: Repeat the process for the other TV stand leg
If your Sony TV has two stand legs, you will need to repeat the previous steps to remove the second leg. Follow these instructions to successfully remove the other TV stand leg:
- Ensure stability: Before proceeding, make sure the TV is stable and secure. You can have someone assist you by holding the TV steady while you work on removing the second leg.
- Locate the screws: Similar to the first leg, locate the screws that are securing the second TV stand leg. Refer to the previous steps to help you find and remove any coverings or additional attachments if necessary.
- Unscrew the screws: Use the appropriate screwdriver to unscrew the screws from the second leg. Apply steady and consistent pressure, turning counterclockwise until the screws are fully removed. Keep them in a safe place.
- Remove the second leg: With the screws removed, firmly grasp the second TV stand leg and lift it upwards, away from the TV. Check for any additional attachments and remove them if required.
Once you have removed the second TV stand leg, store the screws in the same manner as instructed in Step 6 for safekeeping. You can now admire your Sony TV with its stand legs successfully detached.
It’s important to note that if you plan to replace the stand legs or reattach them at a later time, it’s crucial to keep them in a secure place and label them for easy identification.
With both TV stand legs now removed, move on to the next step of cleaning and organizing your workspace.
Step 8: Clean and organize the workspace
After removing the Sony TV stand legs, it’s essential to take a few moments to clean and organize your workspace. This step will not only help maintain a tidy environment but also ensure the safety and longevity of your TV. Follow these steps to clean and organize your workspace:
- Dust off the TV stand: Use a soft cloth or a microfiber cloth to gently dust off any debris or dust on the TV stand. Pay special attention to the areas where the stand legs were attached.
- Clean the TV screen: Take a moment to clean the TV screen using a soft, lint-free cloth. You can use a screen cleaner or simply moisten the cloth slightly with water (avoid using harsh chemicals or abrasive materials).
- Organize cables: Use cable ties or cable management solutions to neatly bundle and organize any cables or wires that were previously hidden by the TV stand legs. This will not only improve the overall appearance but also prevent potential tripping hazards.
- Remove any leftover residue: Inspect the TV stand and surrounding area for any remaining residue or marks. You can use a mild cleaning solution and a cloth to gently remove any stubborn marks.
- Put away tools: Return any tools that you used during the process, such as the screwdriver, back to their designated storage area.
By taking the time to clean and organize your workspace, you create a clean and clutter-free area for your TV, enhancing both its aesthetic appeal and functionality.
With the workspace cleaned and organized, you have successfully completed the process of removing the Sony TV stand legs. Congratulations! You can now enjoy the new setup of your TV and explore various placement options, whether it’s wall-mounting or selecting a new TV stand.
Remember, if you encounter any difficulties or have specific questions regarding your Sony TV model, always refer to the user manual or contact the manufacturer for further guidance.
Thank you for following this step-by-step guide, and we hope it has been helpful in assisting you in removing the TV stand legs from your Sony TV.
Read more: How To Remove LG TV Stand
Conclusion
Removing the Sony TV stand legs is a relatively simple process that can provide you with more flexibility in terms of TV placement and aesthetics. By following the step-by-step guide outlined in this article, you can safely and successfully remove the TV stand legs from your Sony TV.
Throughout the process, it’s important to gather the necessary tools, prepare the workspace, locate and unscrew the screws, remove the TV stand legs, and store the screws in a safe place. Cleaning and organizing the workspace at the end ensures a clean and polished look for your TV setup.
Remember, while this guide provides general instructions, it’s crucial to consult your Sony TV’s user manual or the manufacturer’s website for specific instructions tailored to your TV model.
We hope that this guide has been helpful to you, allowing you to achieve the desired setup for your Sony TV. Whether you decide to mount the TV on the wall or opt for a different stand, removing the TV stand legs opens up a world of possibilities for your living room furniture arrangement.
Thank you for following this comprehensive guide on how to remove the Sony TV stand legs. We wish you the best of luck with your TV setup and hope you enjoy the newfound versatility and elegance it brings to your living space.
Frequently Asked Questions about How To Remove Sony TV Stand Legs
Was this page helpful?
At Storables.com, we guarantee accurate and reliable information. Our content, validated by Expert Board Contributors, is crafted following stringent Editorial Policies. We're committed to providing you with well-researched, expert-backed insights for all your informational needs.


0 thoughts on “How To Remove Sony TV Stand Legs”