Home>Furniture>Living Room Furniture>How To Set Up Sony Bravia TV Stand
Living Room Furniture
How To Set Up Sony Bravia TV Stand
Modified: May 6, 2024
Learn how to properly set up your Sony Bravia TV stand in your living room. Get expert tips and guidance on arranging your living room furniture for optimal viewing experience.
(Many of the links in this article redirect to a specific reviewed product. Your purchase of these products through affiliate links helps to generate commission for Storables.com, at no extra cost. Learn more)
Introduction
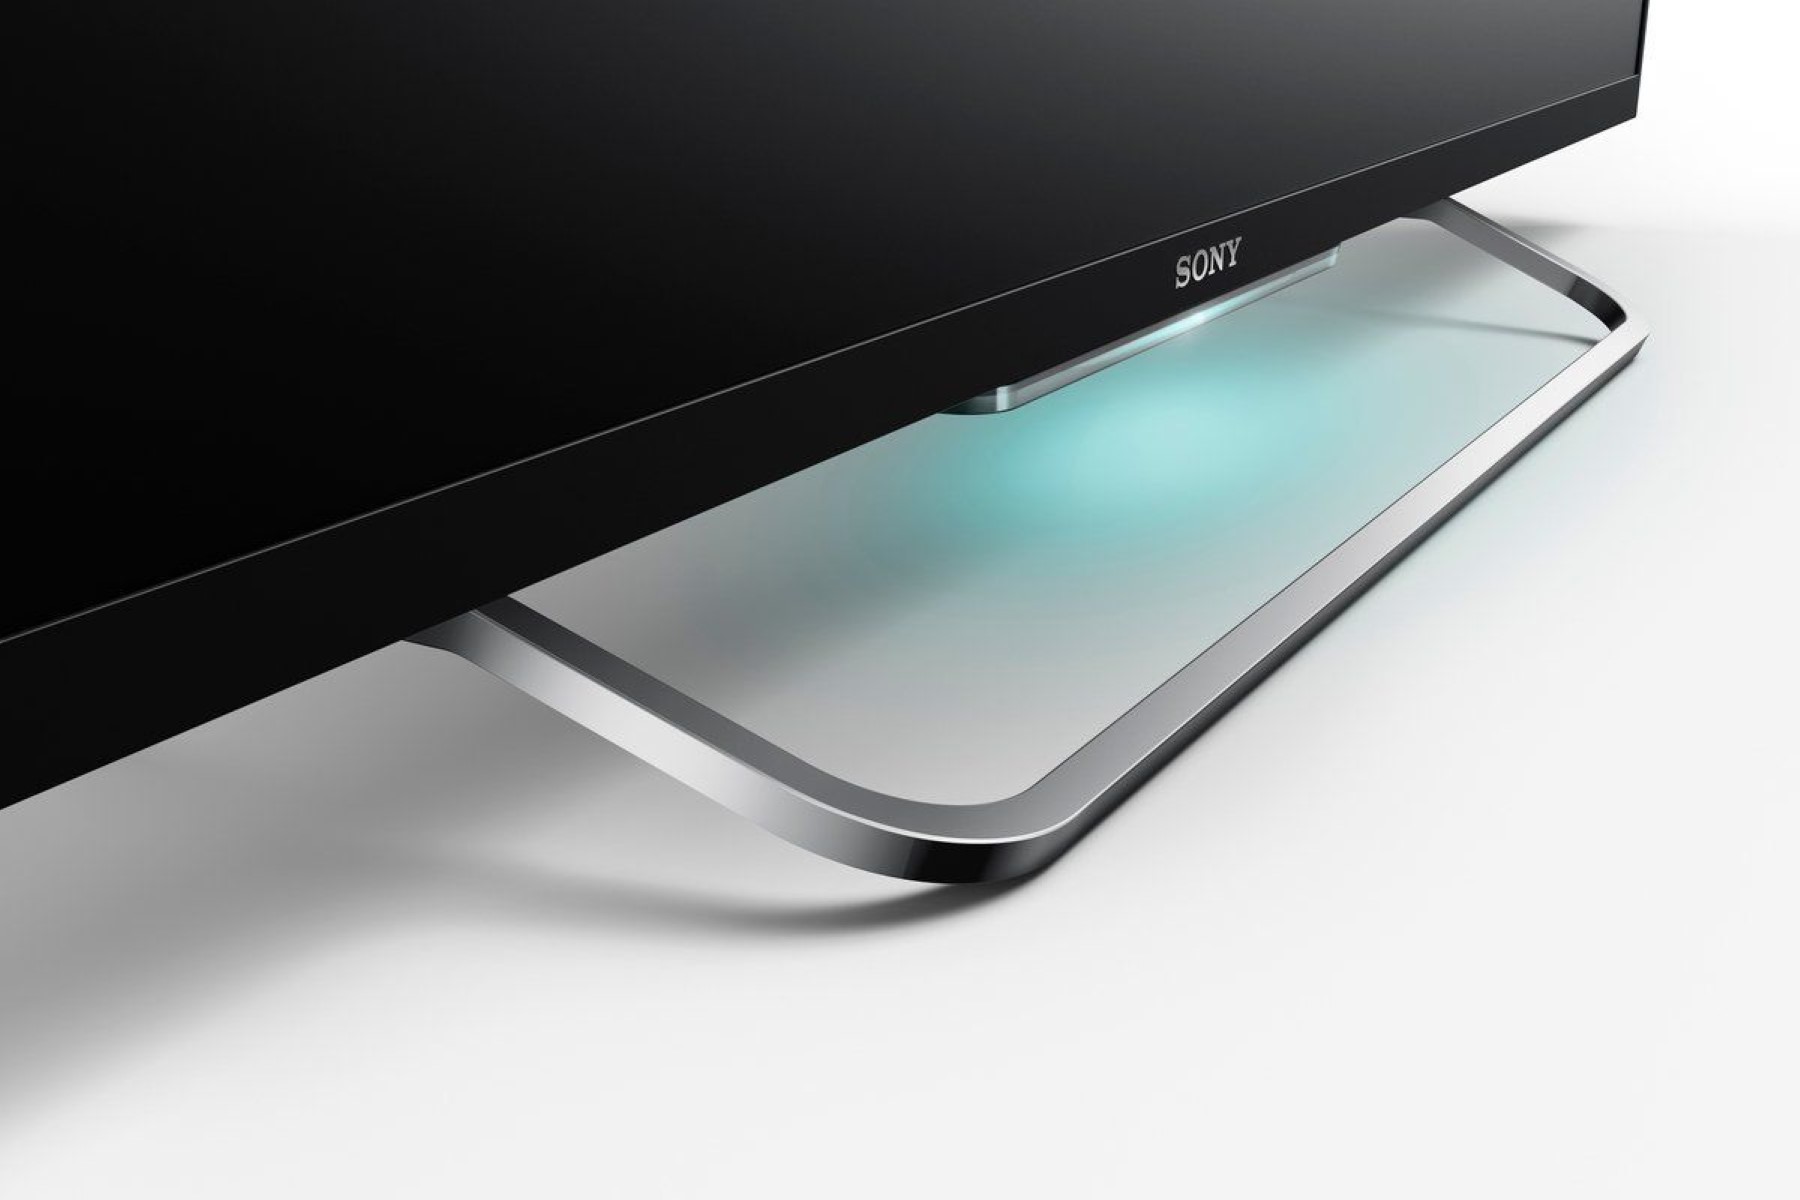
Welcome to our guide on how to set up the Sony Bravia TV stand! The Sony Bravia TV is known for its stunning picture quality and innovative features, and setting up the TV stand correctly is crucial to ensuring optimal viewing experience. Whether you have just purchased a new Sony Bravia TV or are moving and need to reassemble the stand, this step-by-step guide will walk you through the process.
Before we dive into the steps, let’s take a moment to discuss why proper setup is important. The TV stand not only provides stability and support for your Sony Bravia TV, but it also ensures that your TV is positioned at the right height and angle for comfortable viewing. Proper cable management and secure attachment of accessories are also essential for a clean and tidy entertainment setup.
Now that you understand the importance of setting up the Sony Bravia TV stand correctly, let’s move on to the step-by-step process. In the following sections, we will cover everything from unpacking and assessing the components to troubleshooting tips in case you encounter any issues along the way.
Key Takeaways:
- Proper setup of the Sony Bravia TV stand ensures stability, comfort, and optimal cable management for an immersive viewing experience. Follow the step-by-step guide for a seamless entertainment setup.
- Troubleshooting tips are available for common issues such as no picture or sound, remote control problems, TV stand stability, and more. Enjoy your Sony Bravia TV with confidence after setup.
Read more: How To Remove Sony TV Stand Legs
Step 1: Unpacking and Assessing the Components
The first step in setting up your Sony Bravia TV stand is to unpack and assess all the components included in the package. Carefully remove the TV stand and all accompanying accessories from the box, ensuring that you don’t accidentally damage any of the items in the process.
Once you have unpacked everything, take a moment to assess the components to ensure that nothing is missing or damaged. Check for any dents, scratches, or broken parts, and if you find any issues, contact Sony’s customer support for assistance. It’s essential to address any damage or missing parts before proceeding with the setup.
Next, familiarize yourself with the different components of the TV stand. Sony Bravia TV stands usually consist of a stand base, a stand neck or pedestal, and a set of screws or bolts for assembly. Refer to the instruction manual or the diagrams provided to ensure that you understand the purpose and function of each component.
It’s also a good idea to gather the necessary tools before you begin assembling the stand. Depending on the specific model, you may need a screwdriver, a wrench, or other basic tools. Checking the instruction manual or the packaging will help you determine the tools required.
With the components assessed and the tools ready, you are now prepared to move on to the next step: attaching the stand base.
Step 2: Attaching the Stand Base
Now that you have unpacked and assessed the components, it’s time to attach the stand base of your Sony Bravia TV. The stand base provides stability and support for the TV, ensuring that it stays securely in place.
Begin by locating the stand base and placing it on a flat and stable surface. Make sure the surface is large enough to accommodate the TV stand and allows for easy maneuverability during the setup process.
Next, align the stand base with the designated slots or holes on the bottom of the TV. Depending on the model, you may need to insert screws or bolts into the pre-drilled holes, or you may have a click-and-lock mechanism for easy attachment. Consult the instruction manual for specific guidance on your model.
Once the stand base is aligned and in position, fasten the screws or secure the locking mechanism to firmly attach the stand base to the TV. Use the appropriate tools if necessary, but be sure not to overtighten the screws, as this could damage the TV or the stand base.
After attaching the stand base, give it a gentle shake to ensure that it is securely in place. If it feels loose or wobbly, double-check the attachment and tighten any screws if needed.
Now that the stand base is properly attached, you are ready to move on to the next step: securing the TV to the stand.
Step 3: Securing the TV to the Stand
Once you have attached the stand base, the next step in setting up your Sony Bravia TV is to securely fasten the TV to the stand. This step is crucial to ensure the stability and safety of your TV.
Start by carefully lifting the Sony Bravia TV and placing it on the stand base. Be cautious and make sure to have someone assist you if the TV is heavy or if you are unsure about your ability to handle it safely.
Once the TV is placed on the stand base, you will find screw holes or slots on the back of the TV and corresponding attachment points on the stand neck or pedestal. Align these attachment points and insert the appropriate screws or bolts to secure the TV to the stand.
Use the provided screws or bolts and the necessary tools mentioned in the instruction manual to fasten the TV securely. Avoid overtightening the screws, as it could damage the TV. Follow the instructions carefully to ensure a proper and secure attachment.
After securing the TV to the stand, give it a gentle shake and check for any movement. If you notice any instability or wobbling, double-check the attachment and tighten the screws if necessary.
It’s important to note that different Sony Bravia TV models may have variations in the attachment method. Always refer to the instruction manual specific to your TV model for detailed guidance on securing the TV to the stand.
With the TV securely attached to the stand, you can now proceed to the next step: connecting cables and accessories.
When setting up a Sony Bravia TV stand, make sure to carefully follow the instructions provided in the user manual. Ensure that all the necessary parts are included and securely fasten the stand to the TV according to the guidelines to prevent any accidents.
Step 4: Connecting Cables and Accessories
Now that your Sony Bravia TV is securely attached to the stand, it’s time to connect the necessary cables and accessories. Proper cable management and connection are essential for a seamless and clutter-free setup.
Begin by identifying the different ports and connectors on the back of your Sony Bravia TV. These may include HDMI ports, USB ports, audio outputs, and antenna inputs, among others. Take note of the types and number of cables needed for your specific setup.
Gather the required cables, such as HDMI cables, audio cables, and power cords, ensuring that they are of good quality and the appropriate length. It’s always a good idea to use cables that are compatible with the capabilities of your TV and other devices.
Start by connecting the power cord to both the TV and a power outlet. Ensure that the power outlet is easily accessible and provides appropriate voltage for your TV’s requirements. Do not plug in the power cord until all other connections are made.
Next, connect the HDMI cables to the TV and the respective devices you wish to connect, such as a cable/satellite box, gaming console, or Blu-ray player. Insert one end of the HDMI cable into the HDMI port on the device and the other end into the corresponding HDMI input on the TV. Repeat this process for each device you want to connect.
If you have other audio devices, such as a soundbar or speakers, connect them to the TV using the appropriate audio cables. Depending on the connections available, you may use optical cables, RCA cables, or HDMI ARC (Audio Return Channel) to ensure high-quality audio output.
Once all the necessary cables are connected, carefully organize and manage the cables to minimize visibility and potential tripping hazards. You can use cable ties, cable clips, or cable covers to keep the cables neat and tidy.
Now that the cables are connected and organized, you can proceed to the next step: adjusting the TV stand position.
Read more: How To Mount A TV On A TV Stand
Step 5: Adjusting the TV Stand Position
After completing the cable connections, the next step in setting up your Sony Bravia TV stand is to adjust the position of the TV stand for optimal viewing. Proper positioning ensures a comfortable viewing experience and helps to minimize glare or reflections.
Start by considering the location where you plan to place your TV stand. Choose a spot that provides good visibility and is at a comfortable viewing height for your seating arrangement. Make sure there is enough space around the TV for proper ventilation to prevent overheating.
If your Sony Bravia TV stand has a tilt adjustment feature, you can adjust the angle of the TV to reduce glare or accommodate different seating positions. Refer to the instruction manual to understand how to make these adjustments and set them according to your preference.
Additionally, if your TV stand has a swivel feature, you can rotate the TV horizontally to optimize the viewing angle. This is particularly useful if you have a wide seating area or need to adjust the TV based on the room layout. Again, consult the instruction manual for guidance on how to swivel the TV.
Once you have positioned and adjusted the TV stand to your liking, step back and check for any obstructions that may interfere with your viewing experience. Ensure that there are no objects blocking the screen or reflecting excessive light onto the TV.
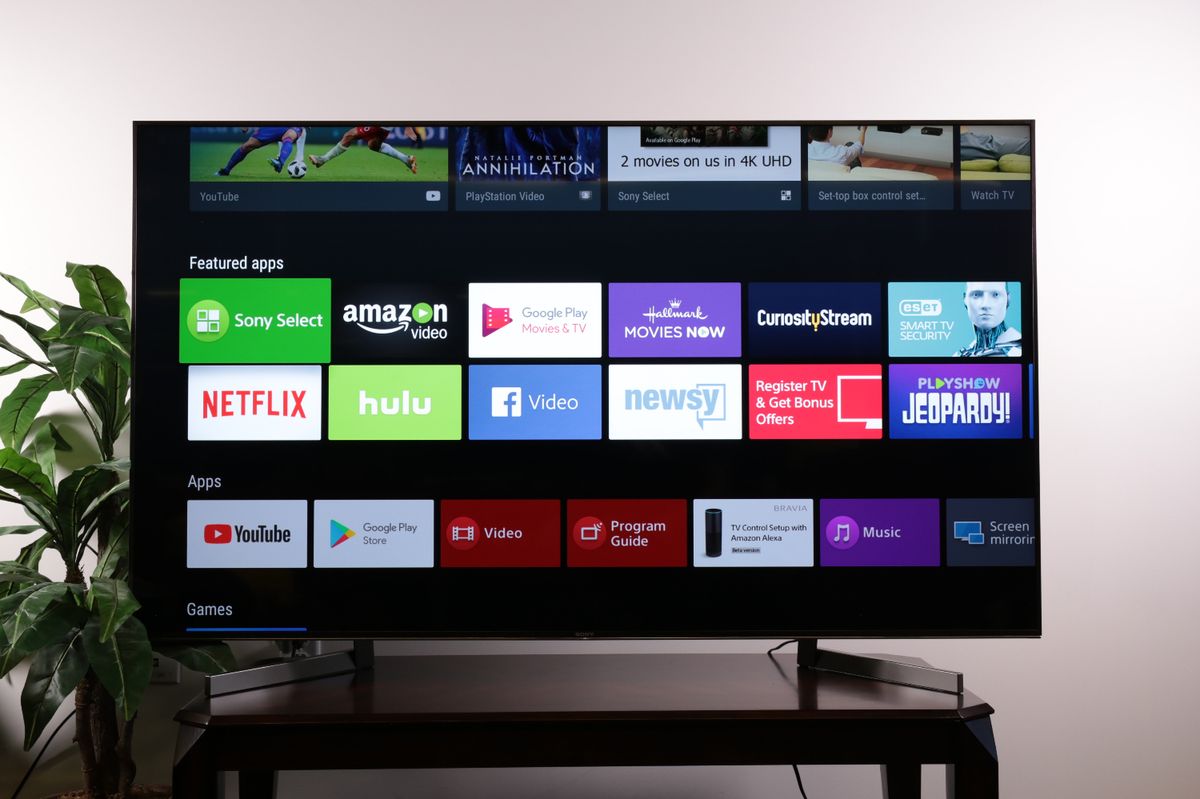
At this stage, it’s a good idea to turn on the TV and check if everything is functioning correctly. Adjust the settings such as brightness, contrast, and color according to your preference. You may also want to configure any additional features, such as smart TV apps or audio settings.
With the TV stand properly positioned and the TV turned on, you are now ready to enjoy your Sony Bravia TV. However, before we conclude, let’s go over some troubleshooting tips in case you encounter any issues.
Step 6: Troubleshooting Tips
Even with careful setup, occasionally you may encounter issues or challenges while setting up your Sony Bravia TV stand. Here are some troubleshooting tips to help you overcome common problems:
- No Picture or Sound: Double-check all cable connections to ensure they are securely plugged into the correct ports. Make sure the devices you are connecting are powered on and set to the correct input source on the TV.
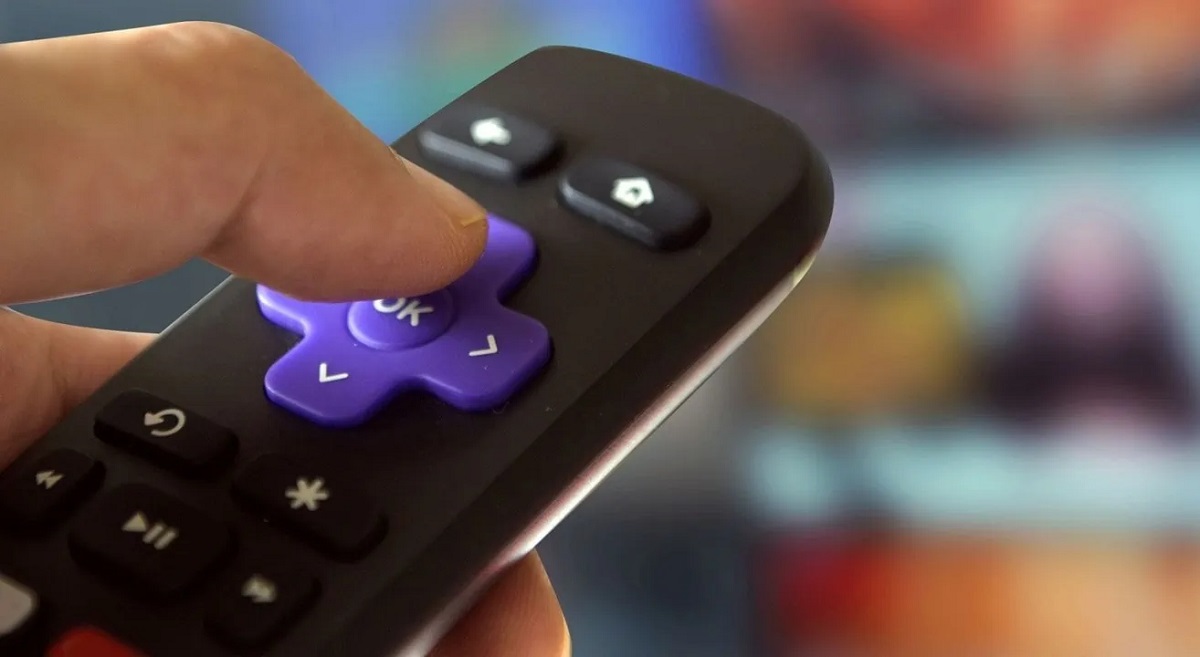
- Remote Control Not Working: Check if the batteries in the remote control are inserted correctly and have sufficient power. If needed, replace the batteries. Also, ensure that there are no obstructions between the remote control and the TV’s infrared receiver.
- TV Stand Stability: If you notice any instability or wobbling of the TV stand, double-check that all screws and attachments are tightened properly. Consider placing adhesive rubber pads or gripper feet under the stand base for added stability.
- Uneven TV Placement: If the TV appears to be tilted or uneven, adjust the leveling screws or feet on the stand base to ensure a balanced and level position.
- External Device Compatibility: If you are experiencing issues with connecting external devices, ensure that they are compatible with your Sony Bravia TV and that you are using the correct cables and inputs. Check for any firmware updates for both the TV and the external devices.
- Audio or Video Quality Issues: Verify that the settings on your Sony Bravia TV are optimized for the best audio and video performance. Adjust the picture and sound settings to your liking and consider consulting the user manual for guidance on specific settings.
If you have exhausted these troubleshooting tips and are still experiencing issues, it may be best to contact Sony’s customer support for further assistance. They will be able to provide specialized guidance based on your specific TV model and help resolve any technical difficulties.
Remember, setting up a Sony Bravia TV stand may require some patience and attention to detail, but it’s worth the effort for an exceptional viewing experience. By following these steps and troubleshooting tips, you’ll be able to enjoy your Sony Bravia TV in no time.
That concludes our guide on how to set up the Sony Bravia TV stand. We hope this information has been helpful, and we wish you many enjoyable hours of entertainment with your new TV!
Conclusion
Setting up the Sony Bravia TV stand is a crucial step in ensuring optimal viewing and a seamless entertainment experience. By following the step-by-step guide we have provided, you will be able to assemble and position your TV stand correctly, securely attach your TV, connect cables and accessories, and troubleshoot common issues.
Proper setup of the TV stand ensures stability, comfort, and proper cable management, allowing you to fully enjoy the features and capabilities of your Sony Bravia TV. Whether it’s for watching your favorite movies, gaming, or streaming content, a well-set TV stand contributes to an immersive viewing experience.
Remember to carefully assess the components, attach the stand base securely, fasten the TV to the stand, connect the necessary cables and accessories, and adjust the TV stand position to your liking. If you encounter any issues, refer to the troubleshooting tips provided or reach out to Sony’s customer support for further assistance.
With the Sony Bravia TV stand properly set up, you can now sit back, relax, and enjoy an incredible visual and audio experience. Immerse yourself in your favorite shows, movies, and games, and appreciate the stunning picture quality and innovative features that Sony Bravia TVs are known for.
We hope that this guide has been helpful in assisting you with the setup of your Sony Bravia TV stand. Remember to keep the instruction manual and any additional documentation for future reference. Enjoy your new Sony Bravia TV to the fullest!
Now that your Sony Bravia TV stand is all set up, you might be thinking about ways to enhance your viewing experience even further. Delve into our guide on the most sought-after television accessories, where you'll find everything needed to complement your setup. Also, if you're contemplating rearranging your space, our tips on living room setup will help you create a cozy, functional environment. Both articles are packed with practical advice to get your living area just right!
Frequently Asked Questions about How To Set Up Sony Bravia TV Stand
Was this page helpful?
At Storables.com, we guarantee accurate and reliable information. Our content, validated by Expert Board Contributors, is crafted following stringent Editorial Policies. We're committed to providing you with well-researched, expert-backed insights for all your informational needs.


0 thoughts on “How To Set Up Sony Bravia TV Stand”