Home>Furniture>How To Replace A Lamp In A Sony LCD Projection TV
Furniture
How To Replace A Lamp In A Sony LCD Projection TV
Modified: January 9, 2024
Learn how to replace a lamp in your Sony LCD Projection TV with this step-by-step guide. Enhance your TV viewing experience with our comprehensive furniture tutorial.
(Many of the links in this article redirect to a specific reviewed product. Your purchase of these products through affiliate links helps to generate commission for Storables.com, at no extra cost. Learn more)
Introduction
Welcome to our comprehensive guide on how to replace a lamp in a Sony LCD Projection TV. Over time, the lamp in your TV may start to dim or burn out completely, resulting in a loss of picture quality. Replacing the lamp is a relatively simple task that can extend the lifespan of your TV and restore its vibrant display. In this guide, we will walk you through each step of the process, ensuring a smooth and successful lamp replacement.
Before we dive into the step-by-step instructions, it is important to note that not all Sony LCD Projection TVs have the same lamp replacement process. It is always recommended to consult the user manual or manufacturer’s instructions specific to your TV model. With that said, let’s get started!
Key Takeaways:
- Regularly replacing the lamp in your Sony LCD Projection TV can enhance picture quality and extend the TV’s lifespan. Follow the step-by-step guide for a smooth and successful replacement process.
- Prioritize safety by turning off and unplugging the TV before replacing the lamp. Consult the user manual for specific instructions and enjoy a renewed viewing experience with vibrant colors and sharp details.
Read more: How To Replace A Lamp On A Sony SXRD TV
Step 1: Gather the necessary tools and materials
Before you begin the lamp replacement process, it is essential to gather the necessary tools and materials to ensure a smooth and efficient procedure. Here are the items you will need:
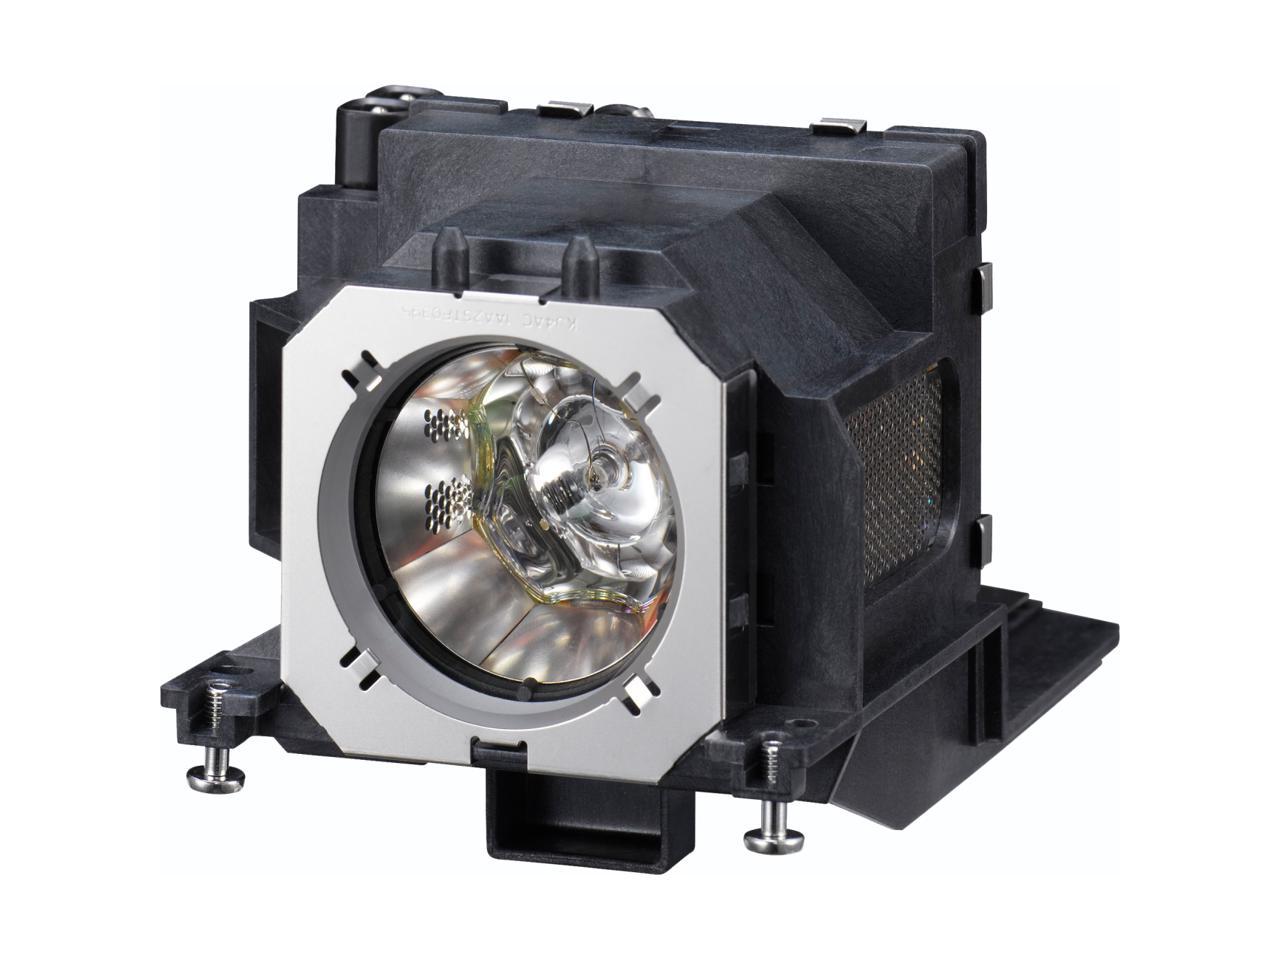
- Replacement lamp: Consult your TV’s user manual or manufacturer’s instructions to find the correct replacement lamp for your specific TV model. It is crucial to use a genuine and compatible lamp to ensure optimal performance.
- Screwdriver: Depending on your TV model, you may need a Phillips or flat-head screwdriver to remove the lamp cover and secure the new lamp.
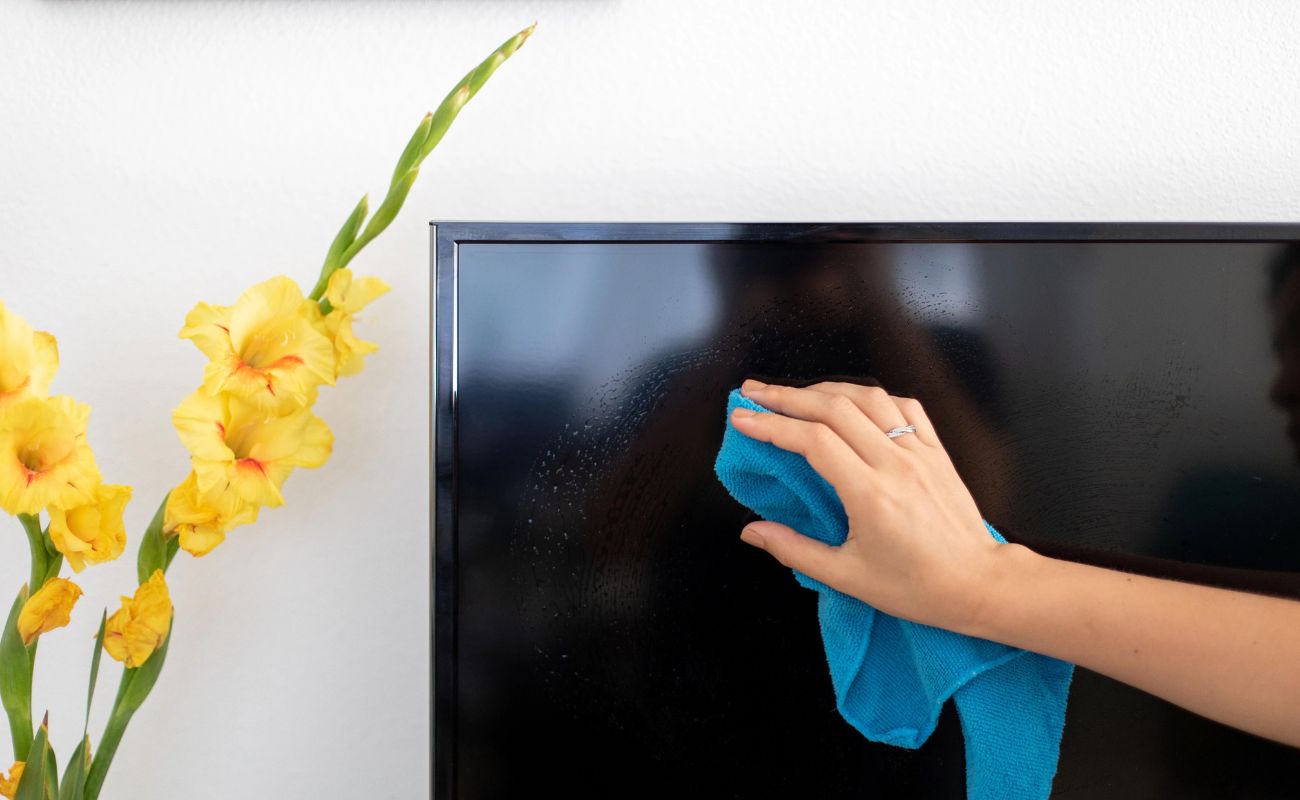
- Clean cloth: It is always a good idea to have a clean, lint-free cloth handy to wipe away any dirt or debris during the lamp replacement process.
- Portable vacuum cleaner (optional): If there is excessive dust or build-up around the lamp area, a portable vacuum cleaner can be useful to clean the area before installing the new lamp.
- Replacement gloves (optional): While not necessary, some people prefer to wear gloves during the lamp replacement process to protect the lamp from fingerprints and smudges.
Once you have gathered all the necessary tools and materials, you are ready to proceed to the next step.
Step 2: Turn off and unplug the TV
The next step in replacing the lamp in your Sony LCD Projection TV is to turn off the TV and unplug it from the power source. This step is crucial to ensure your safety and prevent any electrical mishaps during the lamp replacement process.
Here’s how to turn off and unplug your TV:
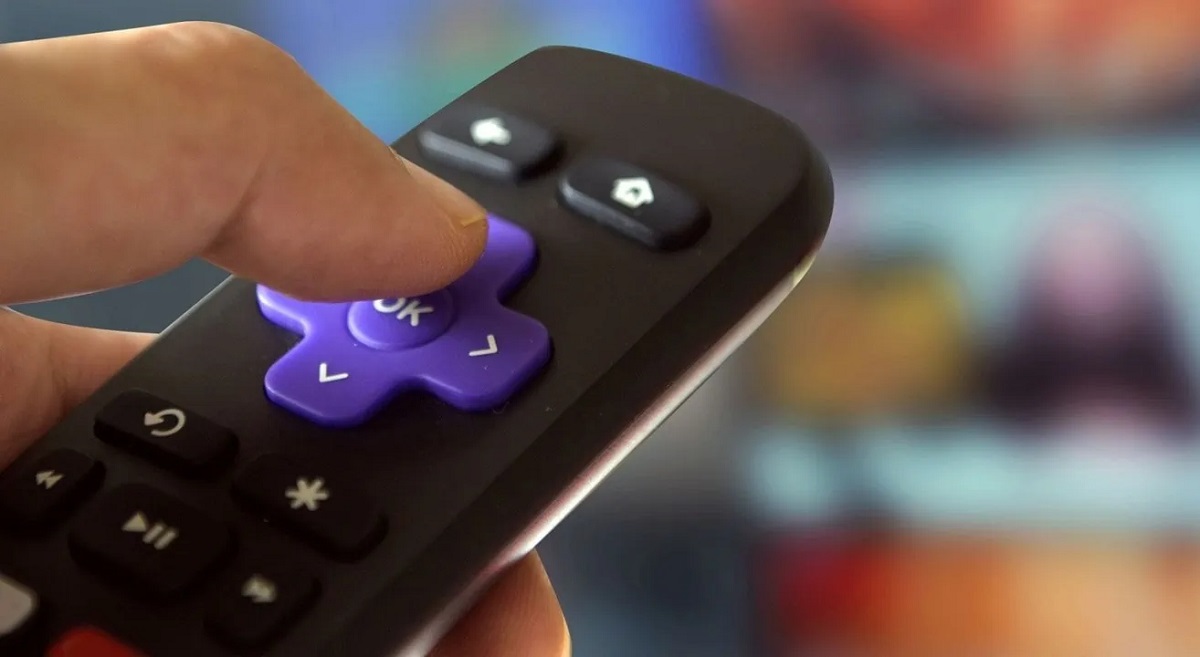
- Using the TV’s remote control, press the power button to turn off the TV. If the TV is not responding to the remote control, locate the power button on the TV itself and press it to turn off the TV.
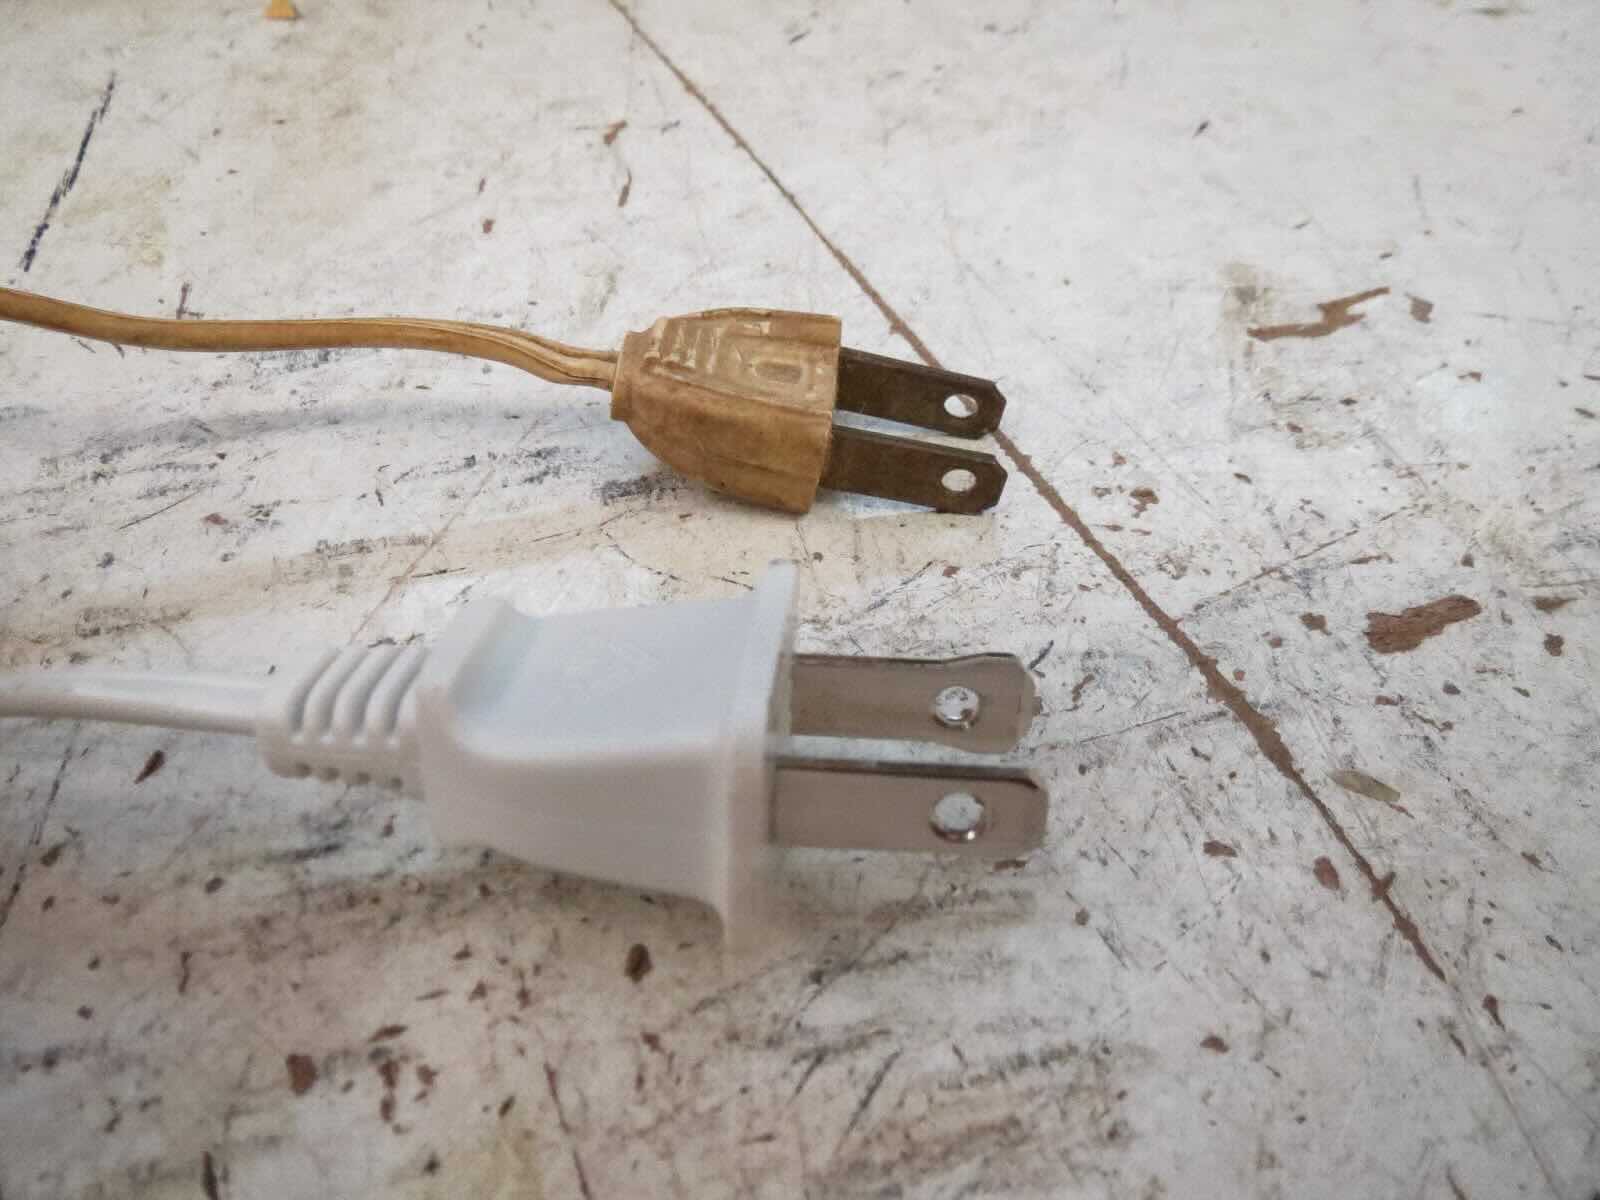
- Once the TV is turned off, reach behind the TV and unplug the power cord from the electrical outlet. It’s important to locate the power cord, not the AV or HDMI cables.
- For additional safety measures, wait for a few minutes to allow the TV’s internal components to cool down before proceeding to the next step.
Ensure that the TV is completely powered off and unplugged before moving on to the next step. This will minimize the risk of electrical shocks and protect both you and the TV from potential damage.
Now that you have turned off and unplugged the TV, let’s move on to the next step of removing the lamp cover.
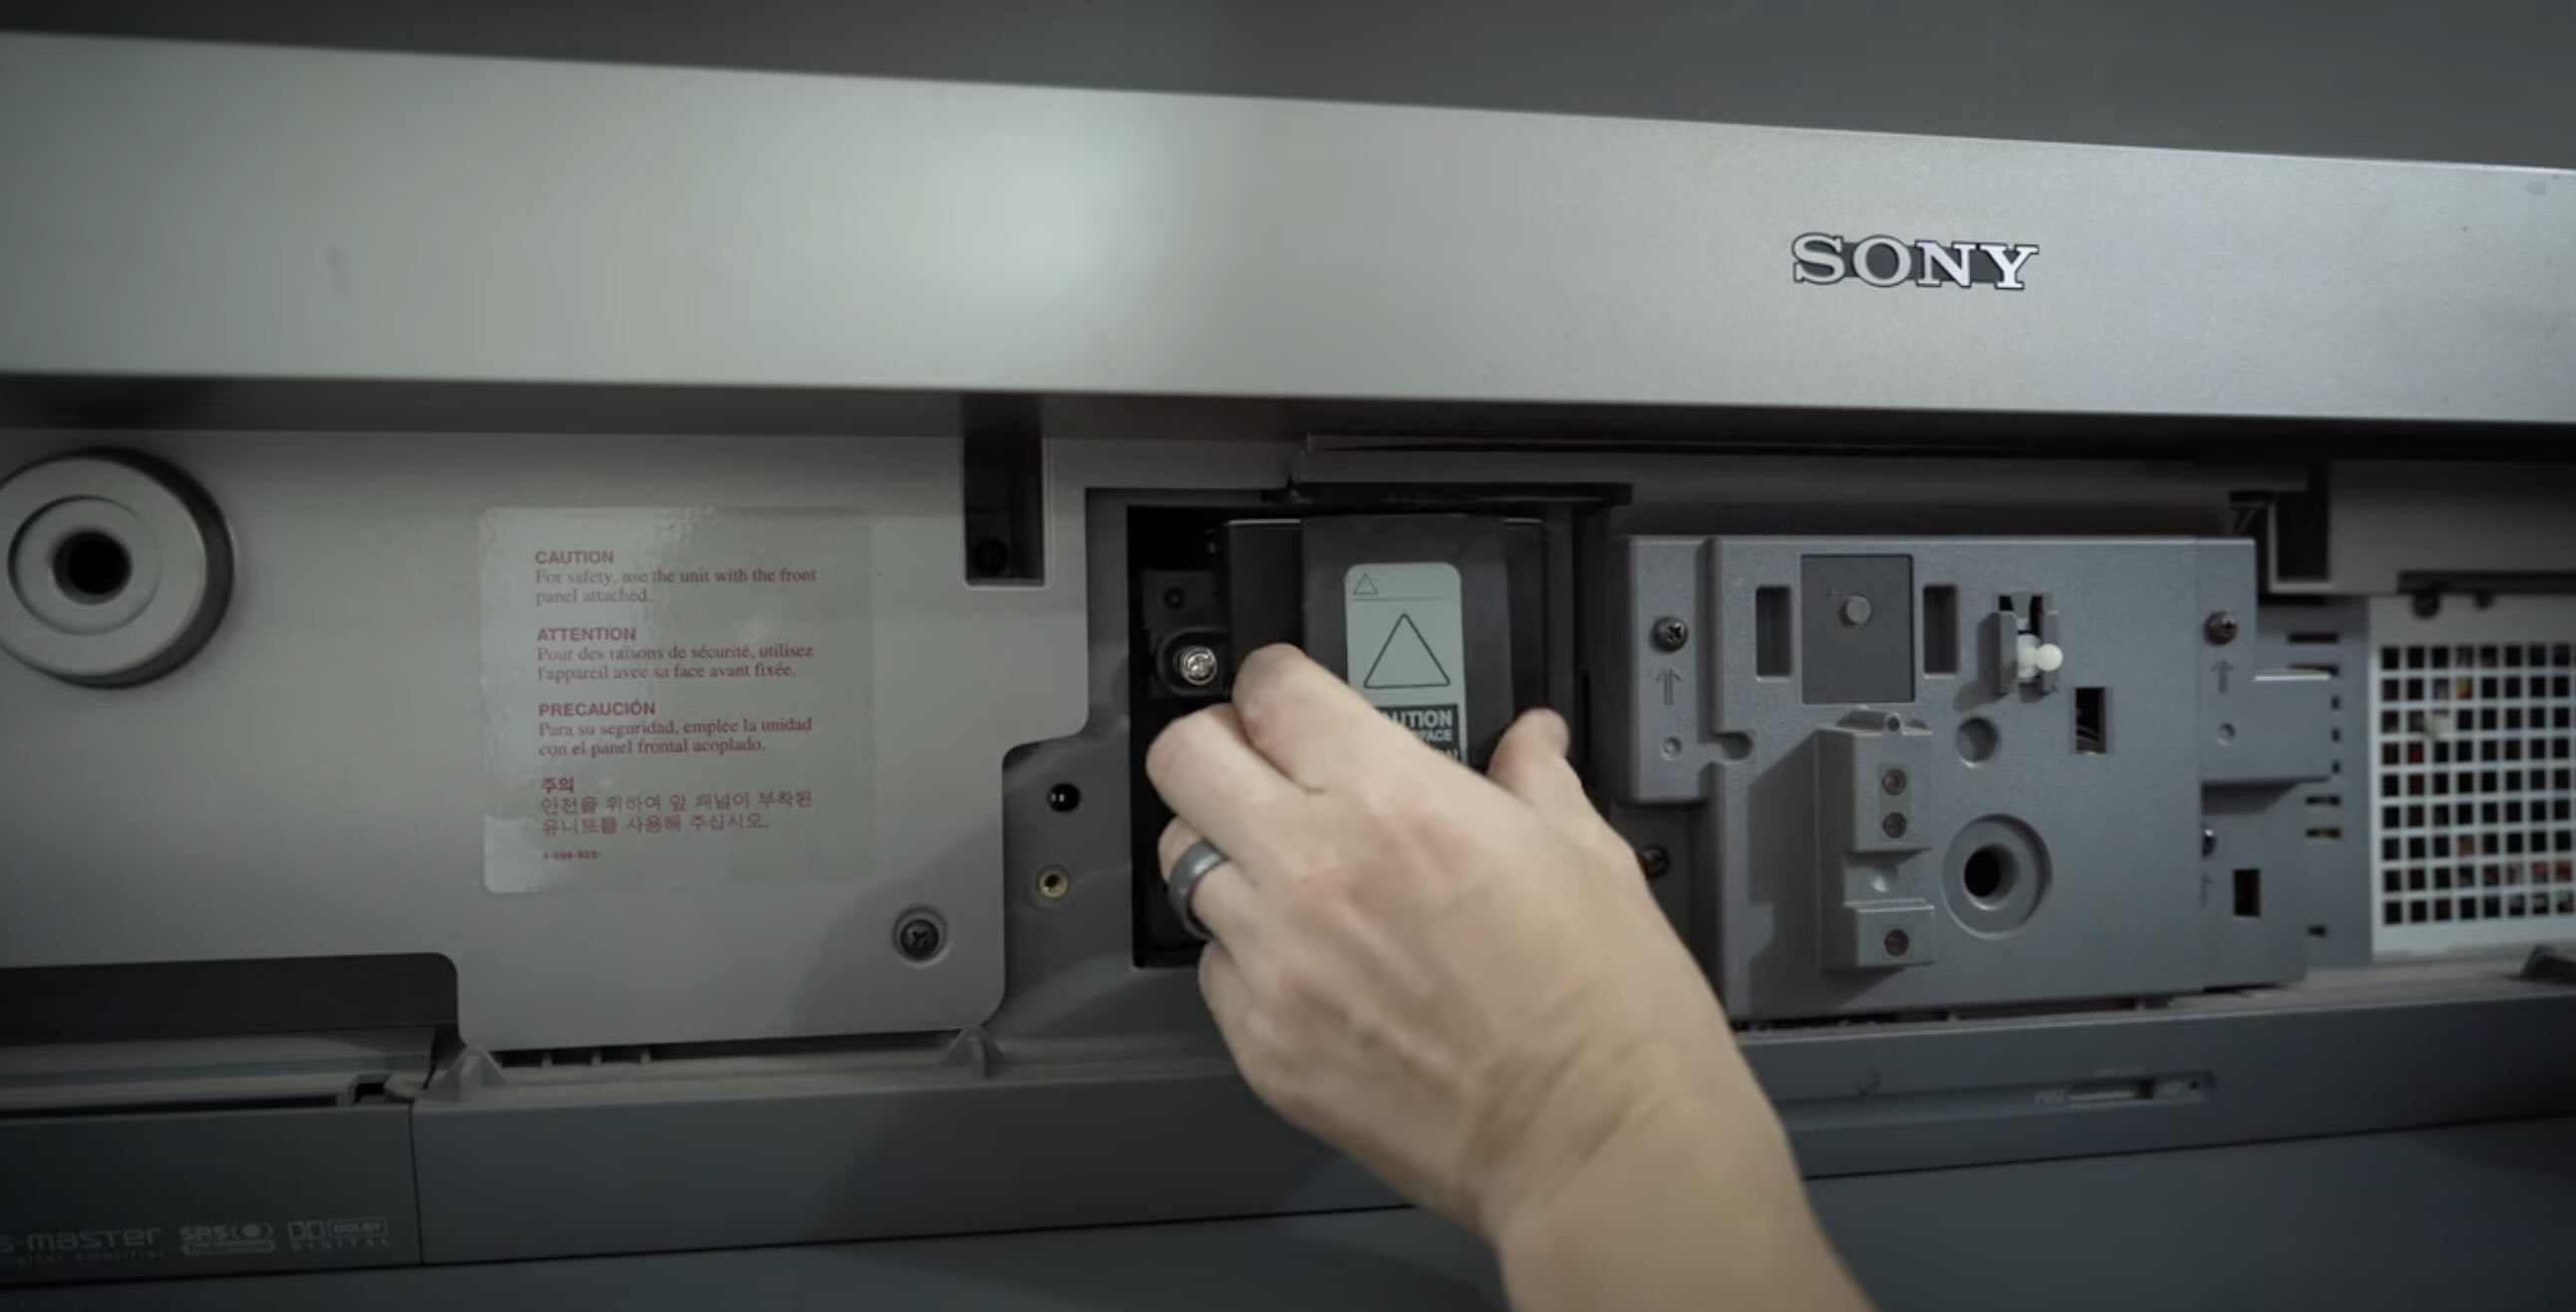
Step 3: Remove the lamp cover
With the TV turned off and unplugged, it’s time to remove the lamp cover. The lamp cover is a protective panel that encloses the lamp compartment of the TV. Removing the lamp cover will grant you access to the old lamp, allowing for its removal and replacement.
Follow these steps to remove the lamp cover:
- Locate the lamp cover on the rear or side of your Sony LCD Projection TV. This may vary depending on your specific TV model.
- Using a screwdriver (either Phillips or flat-head, depending on the type of screws), carefully remove the screws securing the lamp cover in place. Set aside the screws in a safe location as they will be needed later for reassembly.
- After removing the screws, gently slide or lift the lamp cover off the TV. Be cautious as some lamp covers may have tabs or hooks that need to be disengaged before they can be fully removed.
- Once the lamp cover is removed, place it aside in a secure location. It is a good practice to clean the lamp cover with a clean cloth to remove any dust or debris that might have accumulated over time.
By removing the lamp cover, you have successfully gained access to the lamp compartment. The next step involves removing the old lamp.
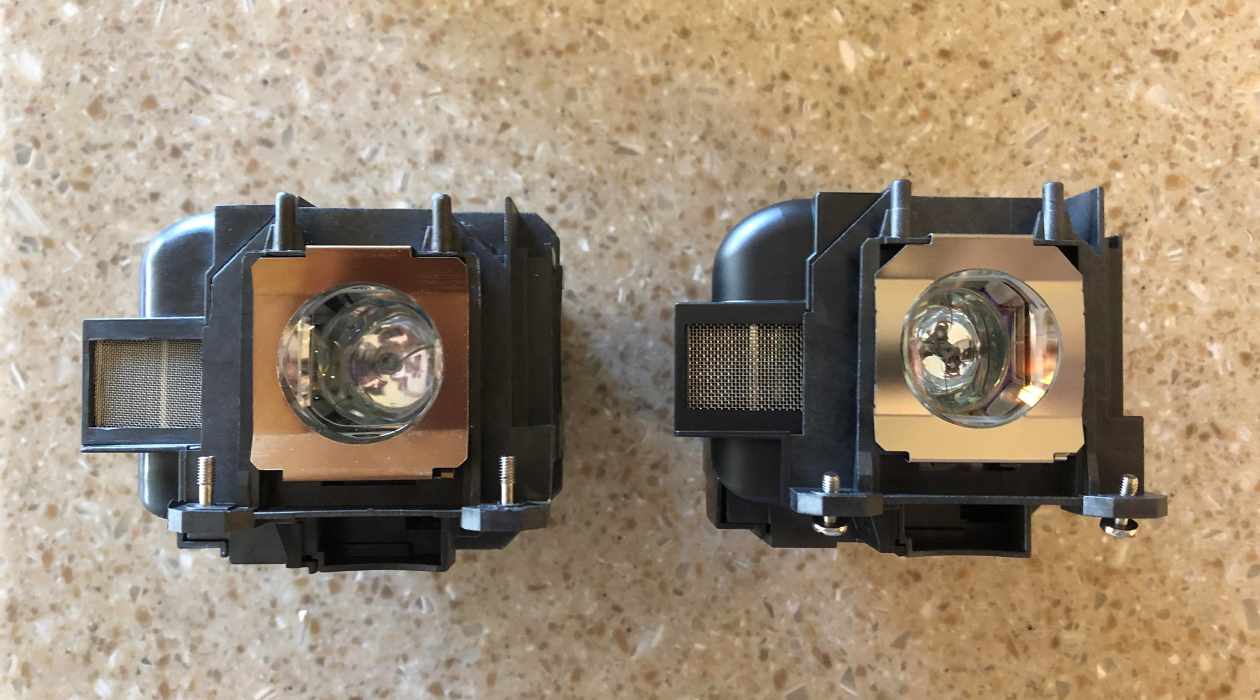
Step 4: Remove the old lamp
Now that you have removed the lamp cover and gained access to the lamp compartment, it’s time to remove the old lamp from your Sony LCD Projection TV. Follow the steps below to safely remove the old lamp:
- Locate the old lamp inside the lamp compartment. It is typically positioned towards the center or rear of the compartment.
- Carefully disconnect any cables or connectors attached to the old lamp. These cables may be connected to the lamp housing or the TV’s internal circuits. Gently detach them to avoid any damage.
- If there are any retaining screws securing the lamp in place, use a screwdriver to carefully remove them. Keep the screws in a safe location as they will be needed for securing the new lamp.
- Grasp the old lamp firmly and pull it straight out of the lamp compartment. Be cautious not to touch the lamp with bare hands as this can shorten its lifespan. If you accidentally touch the lamp, clean it with a lint-free cloth before proceeding.
- Set aside the old lamp in a safe location. It is recommended to handle the old lamp with care and dispose of it properly in accordance with local regulations.
By following these steps, you have successfully removed the old lamp from your Sony LCD Projection TV. Now, we can move on to the exciting part – installing the new lamp!
Make sure to unplug the TV and let it cool down before attempting to replace the lamp. Refer to the TV’s manual for specific instructions on how to access and replace the lamp.
Read more: How To Connect Sony TV To Google Home
Step 5: Install the new lamp
With the old lamp successfully removed, it’s time to install the new lamp in your Sony LCD Projection TV. Here’s a step-by-step guide to help you through the installation process:
- Unpack the new lamp from its packaging and ensure that it is the correct replacement for your TV model. Check for any signs of damage before proceeding.
- Position the new lamp in the lamp compartment, aligning it correctly with the housing. Be gentle and avoid touching the lamp surface with bare hands to prevent any oil or residue from interfering with the lamp’s performance.
- If there were any retaining screws that held the old lamp in place, use a screwdriver to fasten the new lamp securely. Ensure that the screws are tightened enough, but be careful not to overtighten.
- Reconnect any cables or connectors that were detached from the old lamp. Double-check that each connection is secure and properly seated.
- Take a moment to inspect the surrounding area for any dust or debris. Use a clean cloth or compressed air to gently remove any particles that may have accumulated.
- Now, it’s time to close the lamp compartment. Position the lamp cover back onto the TV, ensuring that it fits snugly. Align any tabs or hooks and secure the cover in place using the screws that were removed earlier.
Once the new lamp is securely installed and the lamp cover is back in place, you’re ready to move on to the last steps – replacing the lamp cover and testing the TV!
Step 6: Replace the lamp cover
Now that the new lamp is installed, it’s time to replace the lamp cover on your Sony LCD Projection TV. The lamp cover is a protective panel that encloses the lamp compartment, ensuring its safety and secure positioning. Follow these steps to replace the lamp cover:
- Take the lamp cover that you previously removed and carefully position it back onto the TV. Ensure that it aligns correctly with the lamp compartment and sits flush against the TV’s surface.
- If the lamp cover has tabs or hooks, gently push or slide them into place until they securely latch onto the TV.
- Using the screws that were removed earlier, begin securing the lamp cover in place. Start by inserting and tightening one screw, then move on to the remaining screws. Tighten them evenly, but be careful not to overtighten.
- Double-check that all the screws are securely fastened and that the lamp cover is snugly attached to the TV.
With the lamp cover successfully replaced, you’re almost finished! The final step involves plugging in the TV and testing the newly installed lamp.
Step 7: Plug in and test the TV
After replacing the lamp cover, it’s time to plug in your Sony LCD Projection TV and test the newly installed lamp. This final step ensures that the TV is functioning properly and that the new lamp is providing excellent picture quality. Follow these steps to complete the process:
- Locate the power cord that you previously unplugged from the electrical outlet.
- Carefully plug the power cord back into the electrical outlet.
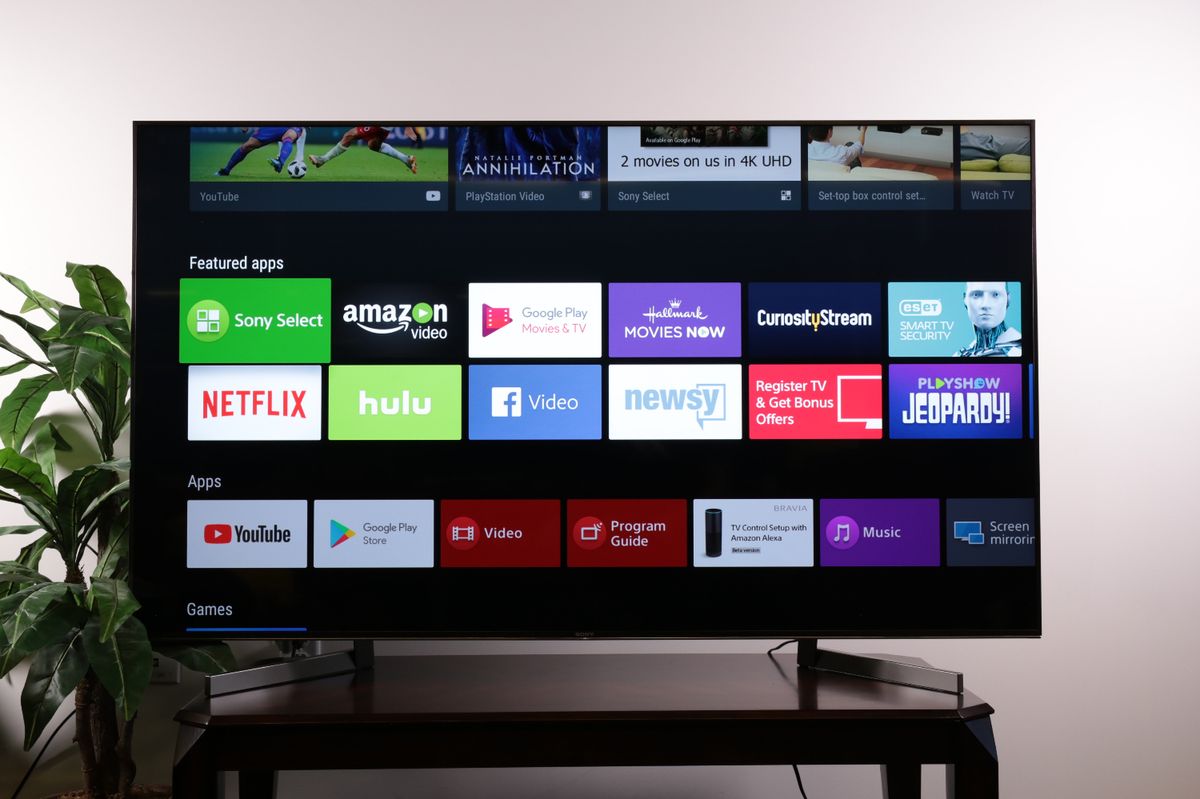
- Once the TV is connected to the power source, use the TV’s remote control or the power button on the TV itself to turn it on.
- Allow the TV a few moments to power up and initialize the new lamp. During this time, you may see some on-screen messages or indicators that indicate the TV is performing maintenance.
- Once the TV is fully powered on, check the image quality to ensure that the new lamp is functioning as expected. Look for vibrant colors, sharp details, and no flickering or dimming in the picture.
- If you encounter any issues with the image quality or notice any abnormalities, consult the TV’s user manual or contact Sony customer support for further assistance.
Congratulations! You have successfully replaced the lamp in your Sony LCD Projection TV. By following these steps and testing the TV, you can now enjoy a renewed viewing experience with a vibrant and clear picture.
Remember, it is recommended to keep track of the usage hours of your TV’s lamp and replace it periodically to maintain optimal performance. Refer to the user manual or manufacturer’s instructions for the recommended lamp replacement intervals specific to your TV model.
Thank you for using our comprehensive guide, and we hope this tutorial has been helpful in replacing the lamp in your Sony LCD Projection TV!
Conclusion
Replacing the lamp in a Sony LCD Projection TV is a relatively simple process that can greatly enhance the picture quality and lifespan of your TV. By following the step-by-step instructions provided in this guide, you can successfully replace the lamp and enjoy a vibrant and clear viewing experience once again.
Remember to consult your TV’s user manual or manufacturer’s instructions for any specific procedures or precautions related to your TV model. It is important to use a genuine replacement lamp that is compatible with your TV to ensure optimal performance and longevity.
Throughout this guide, we have emphasized the importance of safety, such as turning off and unplugging the TV before starting the replacement process. Always prioritize your safety and take necessary precautions to prevent any electrical mishaps.
If you encounter any difficulties or have concerns about the lamp replacement process, it is recommended to seek professional assistance or contact Sony customer support for guidance.
By regularly replacing the lamp in your Sony LCD Projection TV and maintaining its performance, you can continue to enjoy a high-quality viewing experience for years to come.
Thank you for using our comprehensive guide, and we hope it has been informative and helpful. Happy viewing!
Frequently Asked Questions about How To Replace A Lamp In A Sony LCD Projection TV
Was this page helpful?
At Storables.com, we guarantee accurate and reliable information. Our content, validated by Expert Board Contributors, is crafted following stringent Editorial Policies. We're committed to providing you with well-researched, expert-backed insights for all your informational needs.


0 thoughts on “How To Replace A Lamp In A Sony LCD Projection TV”