Articles
How To Splice Gutters Together
Modified: August 28, 2024
Learn the step-by-step process of splicing gutters together with this informative article. Discover expert tips and techniques to ensure a seamless and sturdy gutter installation.
(Many of the links in this article redirect to a specific reviewed product. Your purchase of these products through affiliate links helps to generate commission for Storables.com, at no extra cost. Learn more)
Introduction
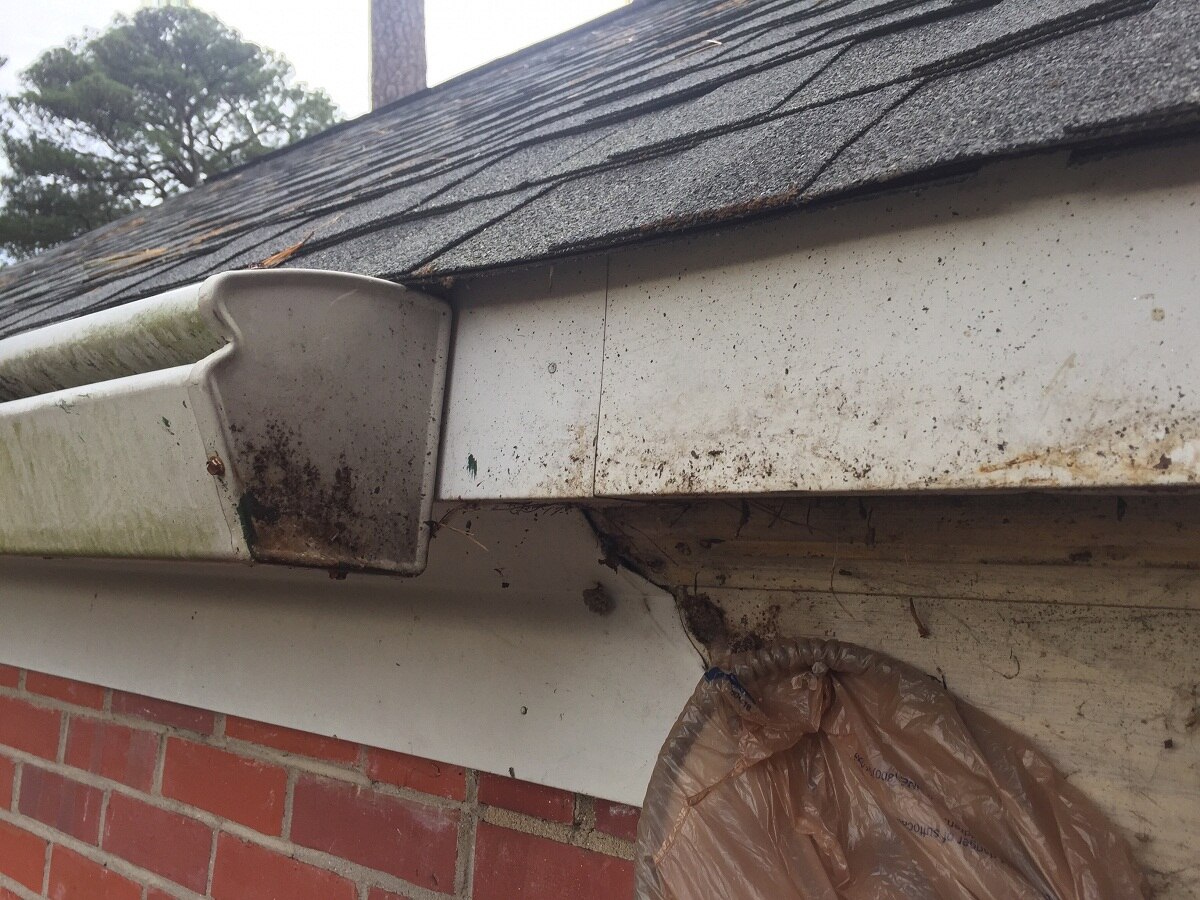
Gutters play a crucial role in keeping your home protected from water damage. They efficiently channel rainwater away from your roof and foundation, preventing issues such as basement flooding, roof leaks, and soil erosion. However, there may come a time when you need to splice gutters together to ensure proper water flow. Whether you are extending an existing gutter system or repairing a damaged section, splicing gutters is a relatively simple task that can be done with the right tools and materials.
In this article, we will guide you through the process of splicing gutters together. We will cover the tools and materials you will need, the steps to take, and the precautions to keep in mind. By following these instructions, you will be able to seamlessly connect your gutters and maintain the integrity of your home’s drainage system.
Key Takeaways:
- Ensure a seamless gutter splice by gathering the right tools and materials, measuring and cutting accurately, and applying high-quality sealant for a watertight connection.
- Secure the spliced gutters properly, inspect for any gaps or misalignments, and test the flow of water to prevent potential issues and protect your home from water damage.
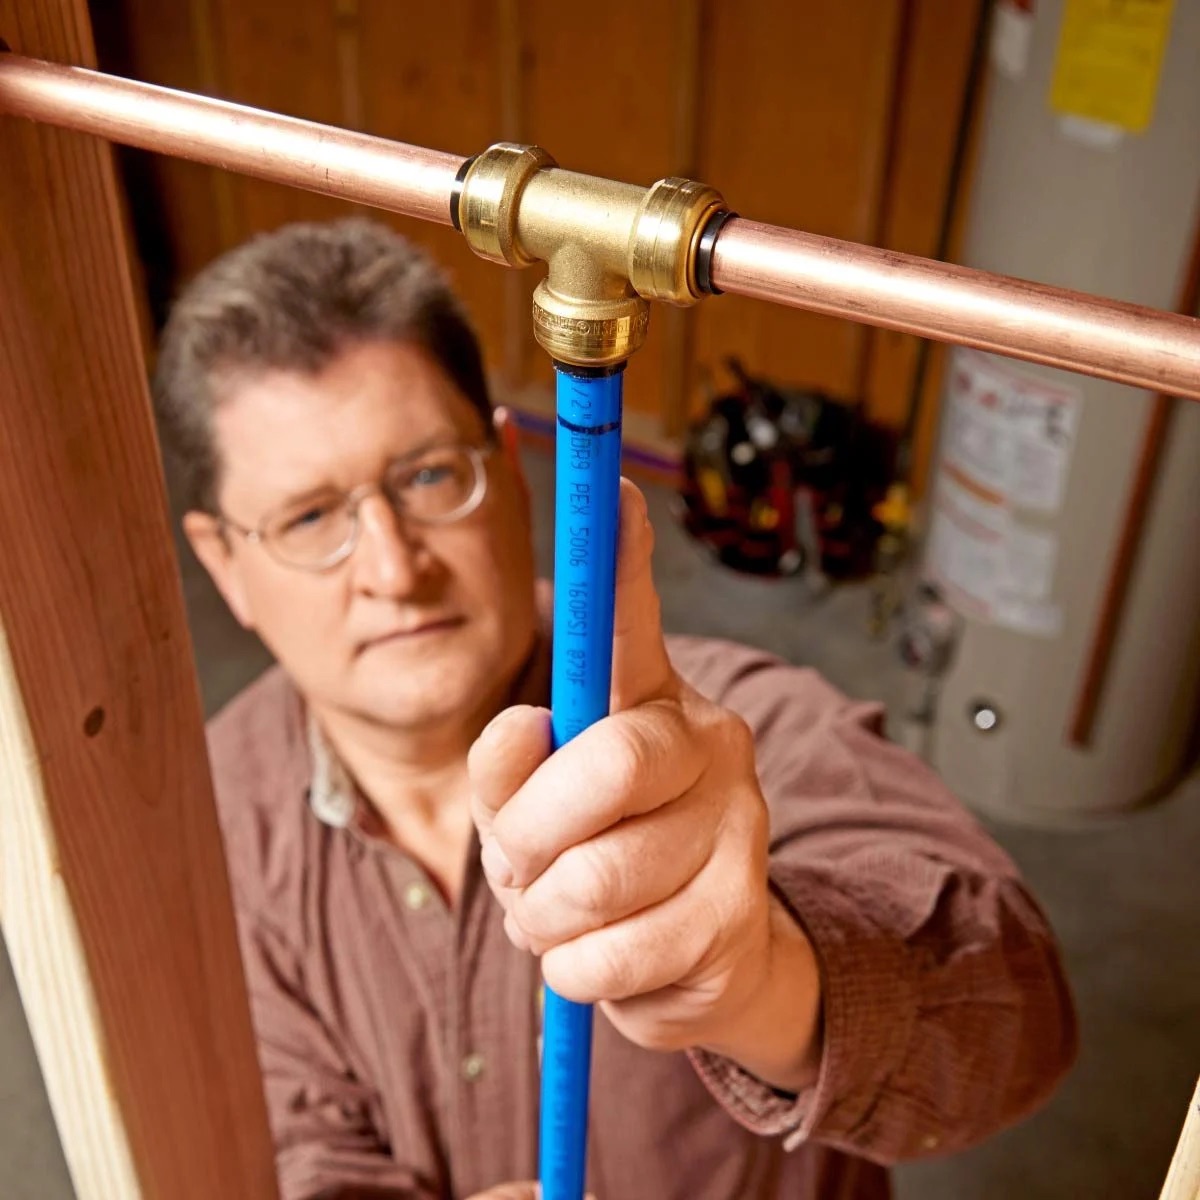
Read more: How To Attach Gutters Together
Tools and Materials Needed
Before you begin splicing your gutters together, it’s essential to gather all the necessary tools and materials. Having everything ready beforehand will streamline the process and ensure you have everything you need at hand. Here’s a list of tools and materials you’ll need:
- Gutter sections: Make sure you have enough gutter sections to reach the desired length. These can be aluminum, vinyl, or any other material that matches your existing gutters.
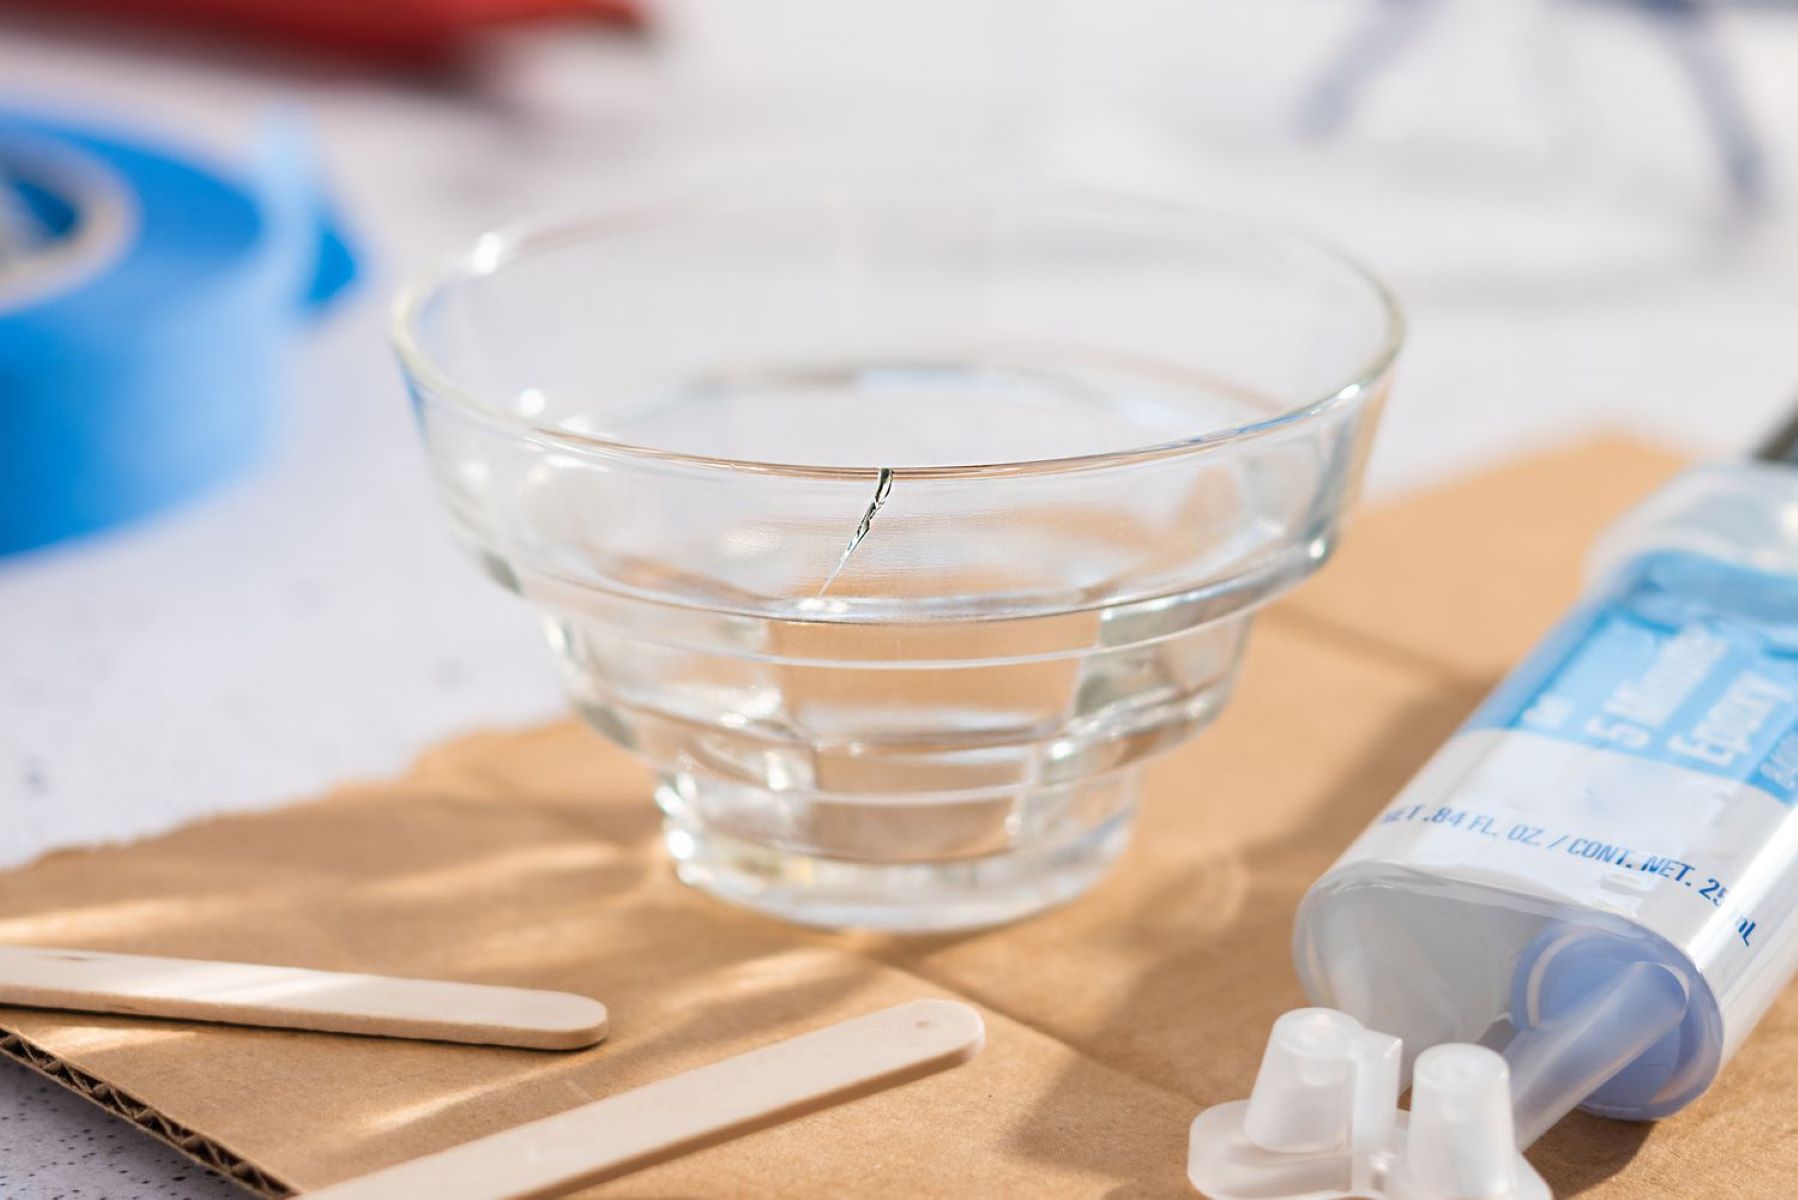
- Gutter sealant: A high-quality gutter sealant is crucial for creating a watertight connection between the gutter sections. Look for a sealant specifically designed for gutter installation.
- Tape measure: Accurate measurements are key to ensuring a proper fit. Have a tape measure ready to measure the length of the gutters and the distance between downspouts.
- Hacksaw or tin snips: You may need to cut the gutter sections to the desired length. A hacksaw or tin snips will come in handy for this task.
- Miter box (optional): If you need to make angled cuts on your gutters, a miter box can help you achieve precise and clean cuts.
- Gloves: Working with gutters can be messy, and gloves will protect your hands from sharp edges and debris.
- Ladder or scaffolding: Depending on the height of your gutters, you may need a ladder or scaffolding to safely reach and work on them.
- Screwdriver or drill: If your gutters are secured with screws or brackets, a screwdriver or drill will be necessary to loosen and reattach them.
- Caulking gun: If your gutter system includes end caps, a caulking gun will be needed to secure them in place with gutter sealant.
- Cloth or brush: Before applying the gutter sealant, use a cloth or brush to clean the gutter sections and remove any debris or dirt.
By having these tools and materials ready, you’ll be well-prepared to tackle the splicing process and ensure a successful result.
Step 1: Gather Your Supplies
Before you begin splicing your gutters together, it’s important to gather all the necessary supplies. By having everything readily available, you’ll be able to complete the task effectively and efficiently. Here are the supplies you’ll need:
- Gutter sections: Measure the length of the area where you’ll be splicing the gutters and acquire the appropriate length of gutter sections. Ensure that the material and design of the new sections match your existing gutters.
- Gutter sealant: Choose a high-quality gutter sealant that is weather-resistant and specifically formulated for gutter installations. This will create a tight and durable bond between the gutter sections.
- Tape measure: Accurate measurements are crucial for a seamless splice. Use a tape measure to determine the length of the gutter section you need and double-check your measurements to ensure precision.
By gathering these supplies, you’ll be well-equipped to begin the process of splicing your gutters together. Having everything prepared in advance will save you time and allow for a smoother installation.
Step 2: Measure and Cut the Gutters
Once you have gathered all the necessary supplies, the next step is to measure and cut the gutter sections to the appropriate length. This ensures a proper fit and seamless splicing of the gutters. Follow these steps:
- Locate the area where you will be splicing the gutters. Measure the length of this section using a tape measure. Take accurate measurements to ensure a precise fit.
- Mark the measured length on the gutter sections using a pencil or a marker. Double-check the measurements before making any cuts.
- If the gutters need to be shortened to fit the measured length, use a hacksaw or tin snips to make the cuts. If making angled cuts, a miter box can be used to ensure precise and clean cuts. Always wear protective gloves when cutting gutters to avoid any injuries.
- Smooth any rough edges or burrs using a file or sandpaper. This will prevent any sharp edges that could cause injury during installation.
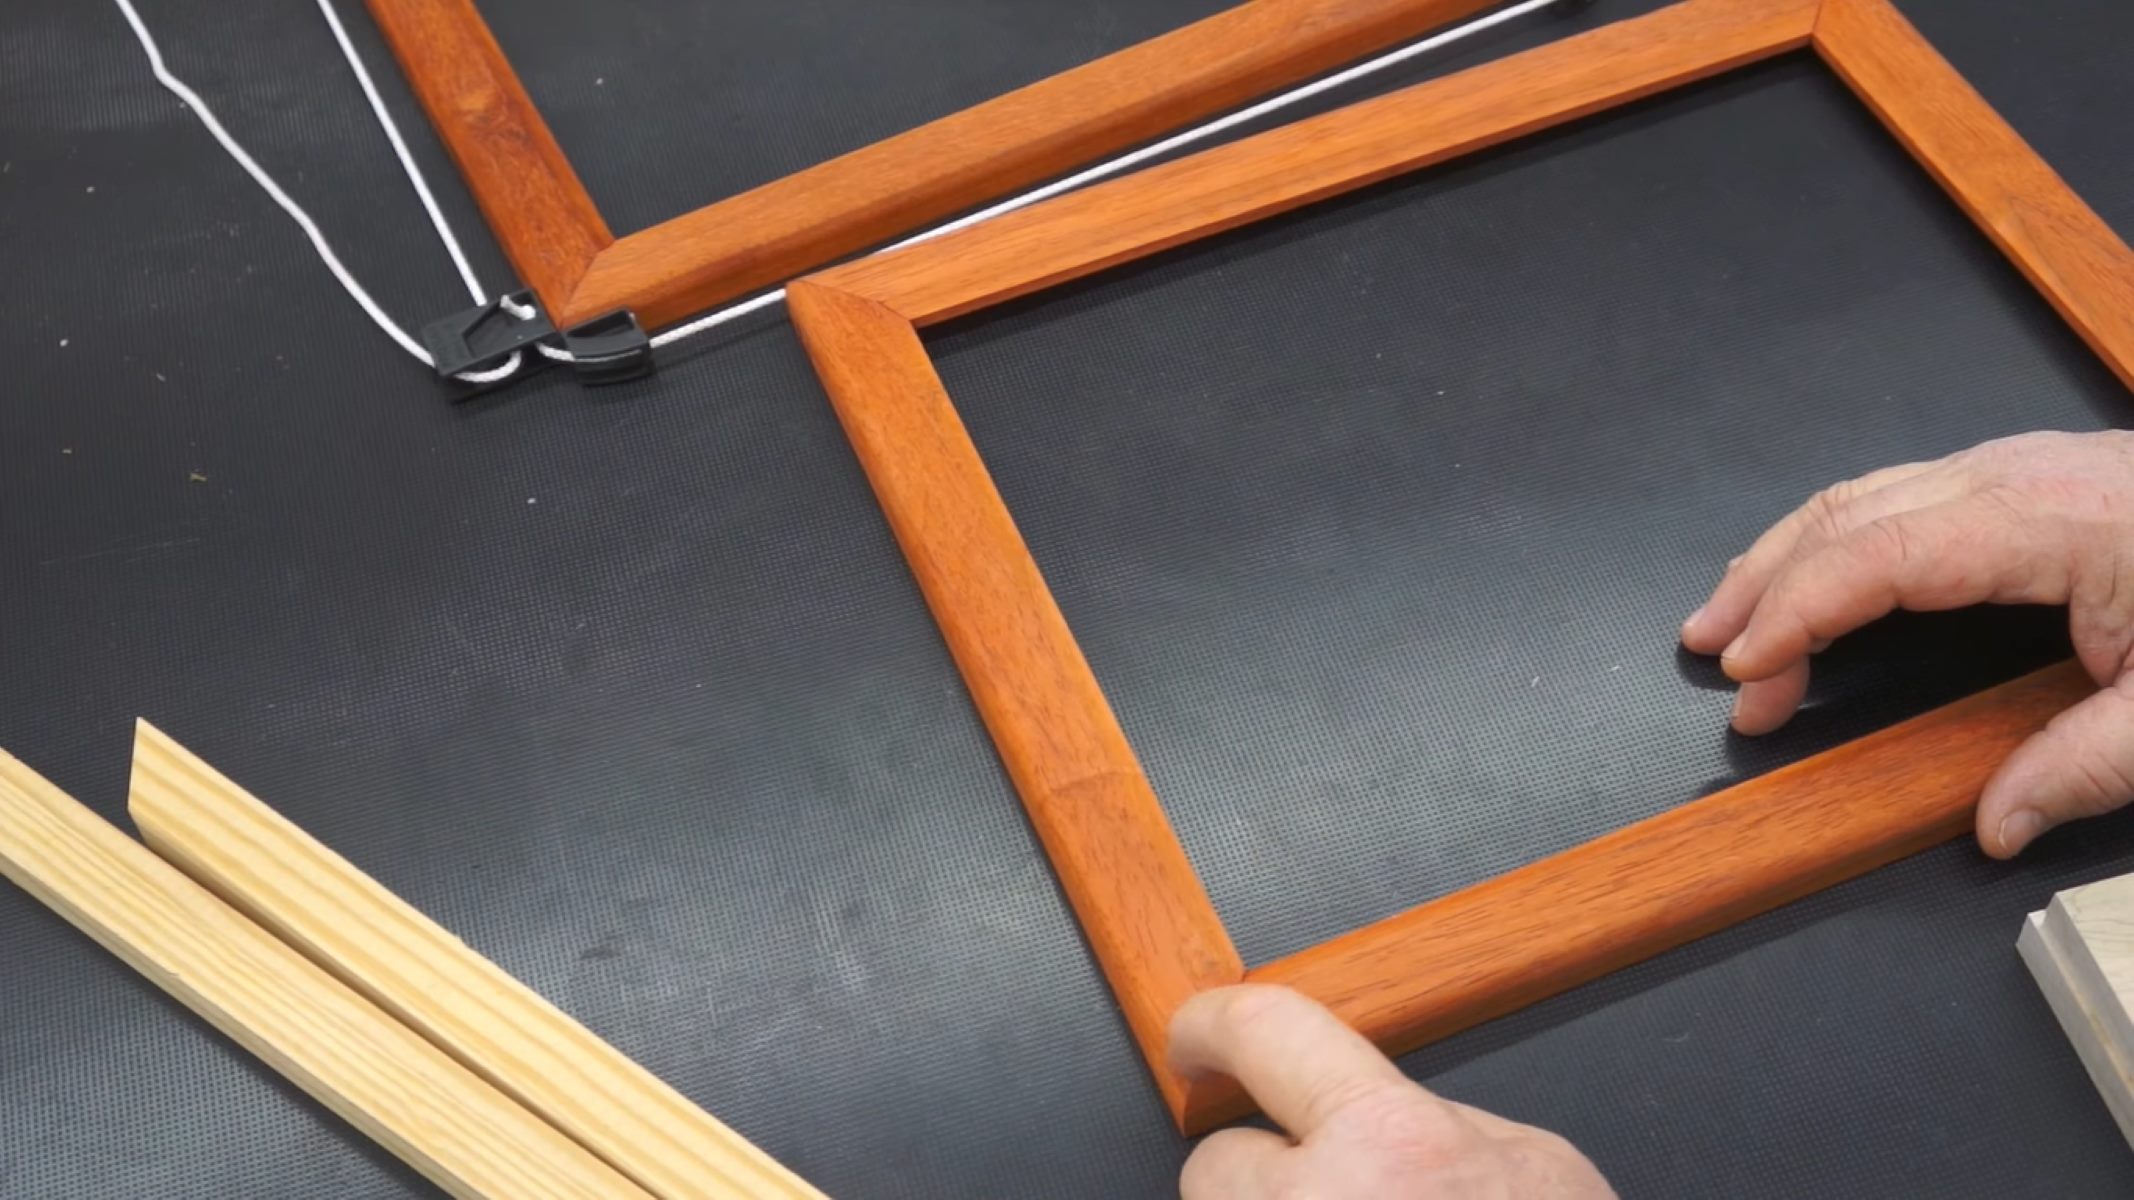
- Once the gutters are cut to the correct length, dry-fit them in the desired position to ensure they align properly. Adjust as needed to achieve a seamless connection.
By accurately measuring and cutting the gutters, you will be setting the foundation for a successful and secure splice. Taking the time to ensure a precise fit will result in gutters that seamlessly blend together and efficiently channel water away from your home.
Step 3: Prepare the Gutter Sections for Splicing
Now that you have measured and cut the gutter sections, it’s time to prepare them for splicing. This step involves cleaning the gutters and ensuring that they are free from any debris or dirt before applying gutter sealant. Follow these steps to properly prepare the gutter sections:
- Use a cloth or brush to remove any debris or dirt from both the inside and outside of the gutter sections. Ensure that the surfaces are clean to promote optimal adhesion of the gutter sealant.
- Inspect the gutter sections for any dents, bends, or damaged areas. Straighten out any bent sections using pliers or a rubber mallet, and make any necessary repairs before proceeding with the splice.
- If your gutter system includes end caps, apply a bead of gutter sealant along the inside edges of the end caps to create a watertight seal. Allow the sealant to cure as per the manufacturer’s instructions.
- Apply a thin layer of gutter sealant along the inside edges of the gutter sections that will be joined together. Ensure that the sealant is evenly distributed and covers the entire length of the joint area.
- If you are using gutter connectors or splice plates, position them on the inside of the gutter sections according to the manufacturer’s instructions. These connectors or plates provide additional support and stability to the spliced area.
By properly preparing the gutter sections, you are setting the stage for a successful splice. Ensuring that the gutters are clean and in good condition, and applying the gutter sealant correctly, will help create a secure and watertight connection between the sections.
When splicing gutters together, make sure to use a high-quality sealant to prevent leaks. Clean and dry the surfaces before applying the sealant for the best results.
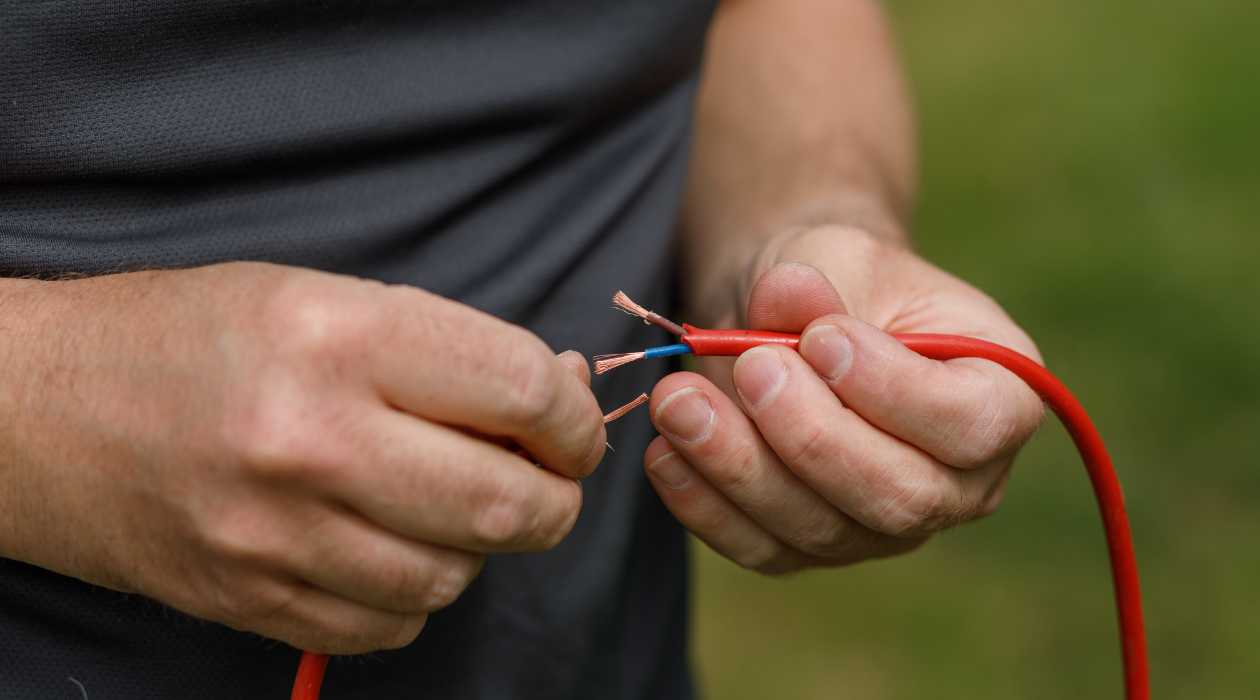
Read more: How To Splice Extension Cord
Step 4: Apply Gutter Sealant
Applying gutter sealant is a crucial step in splicing gutters together. It creates a watertight bond between the gutter sections, preventing leaks and ensuring efficient water flow. Follow these steps to properly apply gutter sealant:
- Using a caulking gun, load the gutter sealant cartridge and cut the tip of the nozzle at a 45-degree angle. This will allow for a precise and controlled application of the sealant.
- Starting at one end of the gutter section, apply a thin and even layer of gutter sealant along the inside edge of the joint area. Move the caulking gun smoothly along the length of the joint, maintaining a consistent flow of sealant.
- Once the first gutter section is coated with sealant, place the second section onto the sealant-covered joint area. Press the sections together firmly to ensure a secure bond.
- Wipe away any excess sealant that may have squeezed out from between the gutter sections. Use a cloth or a gloved finger to carefully remove the excess, ensuring a clean and neat appearance.
- Repeat the process for any additional gutter sections that need to be spliced together. Apply sealant to each joint area and firmly press the sections together.
It is important to follow the manufacturer’s instructions regarding the curing time for the gutter sealant. Allow sufficient time for the sealant to fully cure before exposing it to rain or other weather conditions.
By applying gutter sealant correctly, you are creating a strong and durable connection between the gutter sections. This will help prevent water leakage and ensure that your gutter system functions properly.
Step 5: Splice the Gutters Together
With the gutter sealant applied, it’s time to splice the gutter sections together. This step involves securely connecting the sections to ensure a seamless and functional gutter system. Follow these steps:
- Position the gutter sections in the desired alignment for splicing. Ensure that the sections are properly aligned and that the joint area is fully covered with gutter sealant.
- Press the gutter sections together firmly, making sure they are snug and aligned. The sealant will create a strong bond between the sections, ensuring a watertight connection.
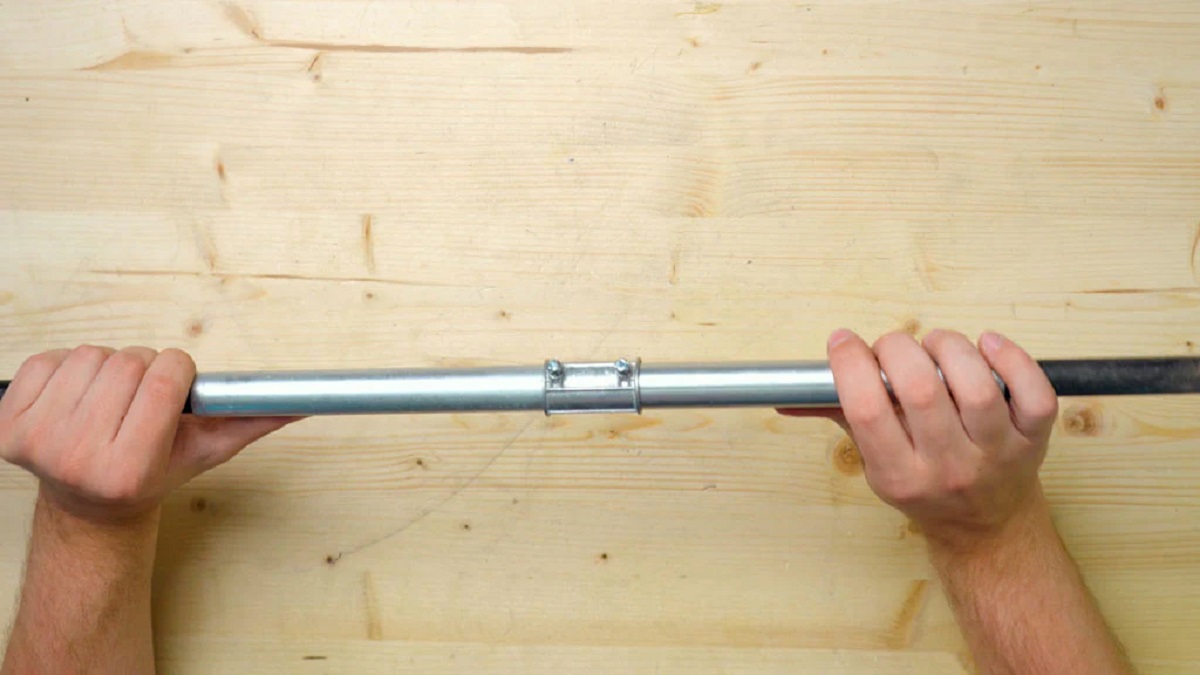
- If you are using gutter connectors or splice plates, align them with the joint area and secure them using screws or fasteners as specified by the manufacturer.
- Double-check the alignment and connection of the spliced gutters. Ensure that there are no gaps or misalignments that could cause water leakage.
It’s important to note that the method of splicing gutters together may vary depending on the type of gutter system you have. Some systems may utilize connectors or splice plates, while others may require a different approach. Always refer to the manufacturer’s instructions for specific guidelines on splicing your particular gutter system.
By properly splicing the gutters together, you are creating a continuous channel for water to flow through. This ensures that your gutter system functions efficiently and effectively in directing water away from your home.
Step 6: Secure the Spliced Gutters
Once you have successfully spliced the gutters together, it’s important to secure them properly to ensure their stability and longevity. Follow these steps to securely fasten the spliced gutters:
- If your gutter system utilizes screws or brackets to hold the gutters in place, reattach them to secure the spliced area. Use a screwdriver or drill to tighten the screws or fasteners, ensuring a snug fit.
- Inspect the entire gutter system, including the spliced area, to ensure that all connections are securely fastened and aligned. Tighten any loose screws or brackets as necessary.
- If your gutter system includes downspouts, check the connections between the gutters and the downspouts. Make sure they are secure and properly aligned to facilitate proper water flow.
- Give the gutters a gentle shake to test their stability. Ensure that the spliced area remains firmly connected and that there is no excess movement or sagging.
By securing the spliced gutters, you are reinforcing the connection and ensuring that they can withstand the elements and the weight of water flow. This will help prevent any potential issues such as sagging or detachment, ensuring the longevity and effectiveness of your gutter system.
Step 7: Inspect and Test the Spliced Gutters
After completing the splicing process and securing the gutters, it is crucial to thoroughly inspect and test the spliced area. This step ensures that the gutters are properly connected and functioning as intended. Follow these steps to inspect and test the spliced gutters:
- Take a close look at the spliced area, examining the connection between the gutter sections. Look for any signs of gaps, misalignments, or areas where the sealant may not have formed a tight bond.
- If you notice any issues during inspection, such as gaps or misalignments, take corrective action. Apply additional gutter sealant or adjust the gutter sections as necessary to ensure a secure connection.
- Once you are satisfied with the inspection, it’s time to test the gutters. Turn on a garden hose or use a bucket of water to simulate rain. Gradually pour the water into the gutters and observe the flow.
- Check for any water leakage or overflow at the spliced area. Verify that the water is flowing smoothly and effectively through the gutters without any blockages.
- Examine the downspouts to ensure that water is properly draining away from the foundation of your home. If you notice any issues, such as slow drainage or clogs, address them promptly.
By inspecting and testing the spliced gutters, you can identify and resolve any potential issues before they escalate into more significant problems. This ensures that your gutter system is functioning optimally and protecting your home from water damage.
Conclusion
Splicing gutters together is a necessary task to extend or repair your gutter system. By following the step-by-step process outlined in this article, you can successfully splice your gutters together and ensure proper water flow away from your home.
Remember to gather all the necessary tools and materials before starting the project. Measure and cut the gutters accurately to ensure a precise fit. Prepare the gutter sections by cleaning them and applying gutter sealant. Then, proceed with splicing the gutters together, making sure they align properly and are securely fastened. Finally, inspect and test the spliced gutters to ensure their functionality.
Regular maintenance of your gutter system, including periodic inspections and cleaning, is essential to ensure its longevity and effectiveness. Pay attention to any signs of damage or deterioration and address them promptly to prevent further issues.
By splicing your gutters together correctly, you can maintain the integrity of your home’s drainage system and protect it from water damage. Remember to follow safety precautions, such as using protective gloves and exercising caution when working at heights.
In conclusion, with the right tools, materials, and techniques, splicing gutters together can be a manageable task. By dedicating time and effort to properly splice your gutters, you can enjoy a functional and efficient gutter system that safeguards your home for years to come.
Frequently Asked Questions about How To Splice Gutters Together
Was this page helpful?
At Storables.com, we guarantee accurate and reliable information. Our content, validated by Expert Board Contributors, is crafted following stringent Editorial Policies. We're committed to providing you with well-researched, expert-backed insights for all your informational needs.


0 thoughts on “How To Splice Gutters Together”