Home>Articles>How To Stain Wood Trim For A Beautiful Long-Lasting Finish

Articles
How To Stain Wood Trim For A Beautiful Long-Lasting Finish
Modified: October 27, 2024
Learn how to stain wood trim and achieve a stunning, durable finish with our informative articles. Enhance your home's aesthetic with ease.
(Many of the links in this article redirect to a specific reviewed product. Your purchase of these products through affiliate links helps to generate commission for Storables.com, at no extra cost. Learn more)
Introduction
Welcome to the world of woodworking and home improvement! One of the key elements that can instantly elevate the look and feel of any space is beautifully stained wood trim. Whether you are working on a DIY project or renovating your home, staining wood trim can provide a touch of elegance and sophistication.
However, achieving a professional-looking, long-lasting finish requires more than just slapping on a coat of stain. It requires careful preparation, proper application techniques, and the right choice of stain and protective finish. In this article, we will walk you through the step-by-step process of staining wood trim and provide helpful tips along the way.
Key Takeaways:
- Choose the right stain by considering wood type, color, transparency, and protection level. Proper preparation, application, and maintenance are key to achieving a stunning and long-lasting finish for your wood trim.
- Properly prepare, apply, and maintain your stained wood trim to ensure a professional-looking, elegant, and durable finish that enhances the overall aesthetic of your space.
Selecting the Right Stain
Choosing the right stain is crucial to achieving the desired look for your wood trim. There are several factors to consider when selecting a stain, including the type of wood, the color you want to achieve, and the level of protection you desire. Here are some tips to help you make the best choice:
- Consider the wood type: Different types of wood absorb stain differently, so it’s important to choose a stain that is compatible with the type of wood you are working with. Softwoods, such as pine and cedar, tend to absorb stain more readily than hardwoods, such as oak and mahogany. Be sure to check the stain manufacturer’s recommendations for the specific wood species you are using.
- Test samples: Before applying stain to your entire wood trim, it’s a good idea to test a small area or sample piece. This will give you a better idea of how the stain will look on the wood and allow you to make any necessary adjustments.
- Consider the color: Stains come in a wide variety of colors, ranging from light natural tones to deep, rich hues. Consider the overall color scheme of your space and choose a stain color that complements it. Keep in mind that the color of the wood will also affect the final result, so it’s important to consider both the stain and the natural color of the wood when making your decision.
- Transparency: Stains come in different levels of transparency – from transparent to semi-transparent to solid. Transparent stains allow the natural grain and texture of the wood to show through, while solid stains provide more coverage and hide imperfections. Consider the level of transparency that best suits your aesthetic preferences.
- Protection: In addition to enhancing the appearance of your wood trim, stain can also provide protection against moisture, UV rays, and other environmental factors. If you are staining wood trim in an area that is exposed to moisture or sunlight, choose a stain with added UV protection and waterproofing properties.
By considering these factors and taking your time to choose the right stain, you can ensure a stunning and long-lasting finish for your wood trim.
Preparing the Wood Trim
Before you start applying the stain, it’s important to properly prepare the wood trim to ensure the best possible finish. Here are the key steps to follow when preparing your wood trim:
- Clean the surface: Begin by thoroughly cleaning the wood trim to remove any dust, dirt, or debris. Use a soft brush or vacuum cleaner to remove loose particles, and wipe down the trim with a damp cloth to remove any stubborn stains or grime. Allow the wood trim to dry completely before moving on to the next step.
- Sand the surface: Sanding the wood trim helps to smooth out any rough patches, splinters, or imperfections. Start with a coarse-grit sandpaper (around 80-100 grit) and gradually move to a finer grit (around 180-220) for a smoother finish. Sand in the direction of the wood grain to avoid leaving visible scratches. Be sure to sand all areas, including edges and corners. Once you are satisfied with the smoothness of the surface, use a tack cloth or damp cloth to remove any sanding dust.
- Fill any holes or gaps: If you notice any holes, cracks, or gaps in the wood trim, use a wood filler to fill them in. Apply the wood filler with a putty knife, smoothing it out evenly. Allow the filler to dry completely before sanding it down to create a smooth, even surface.
- Apply a wood conditioner: For certain types of wood, particularly softwoods, applying a wood conditioner before staining can help to achieve a more even and uniform finish. Wood conditioners are especially useful when working with porous or unevenly textured wood. Follow the instructions on the product label for proper application.
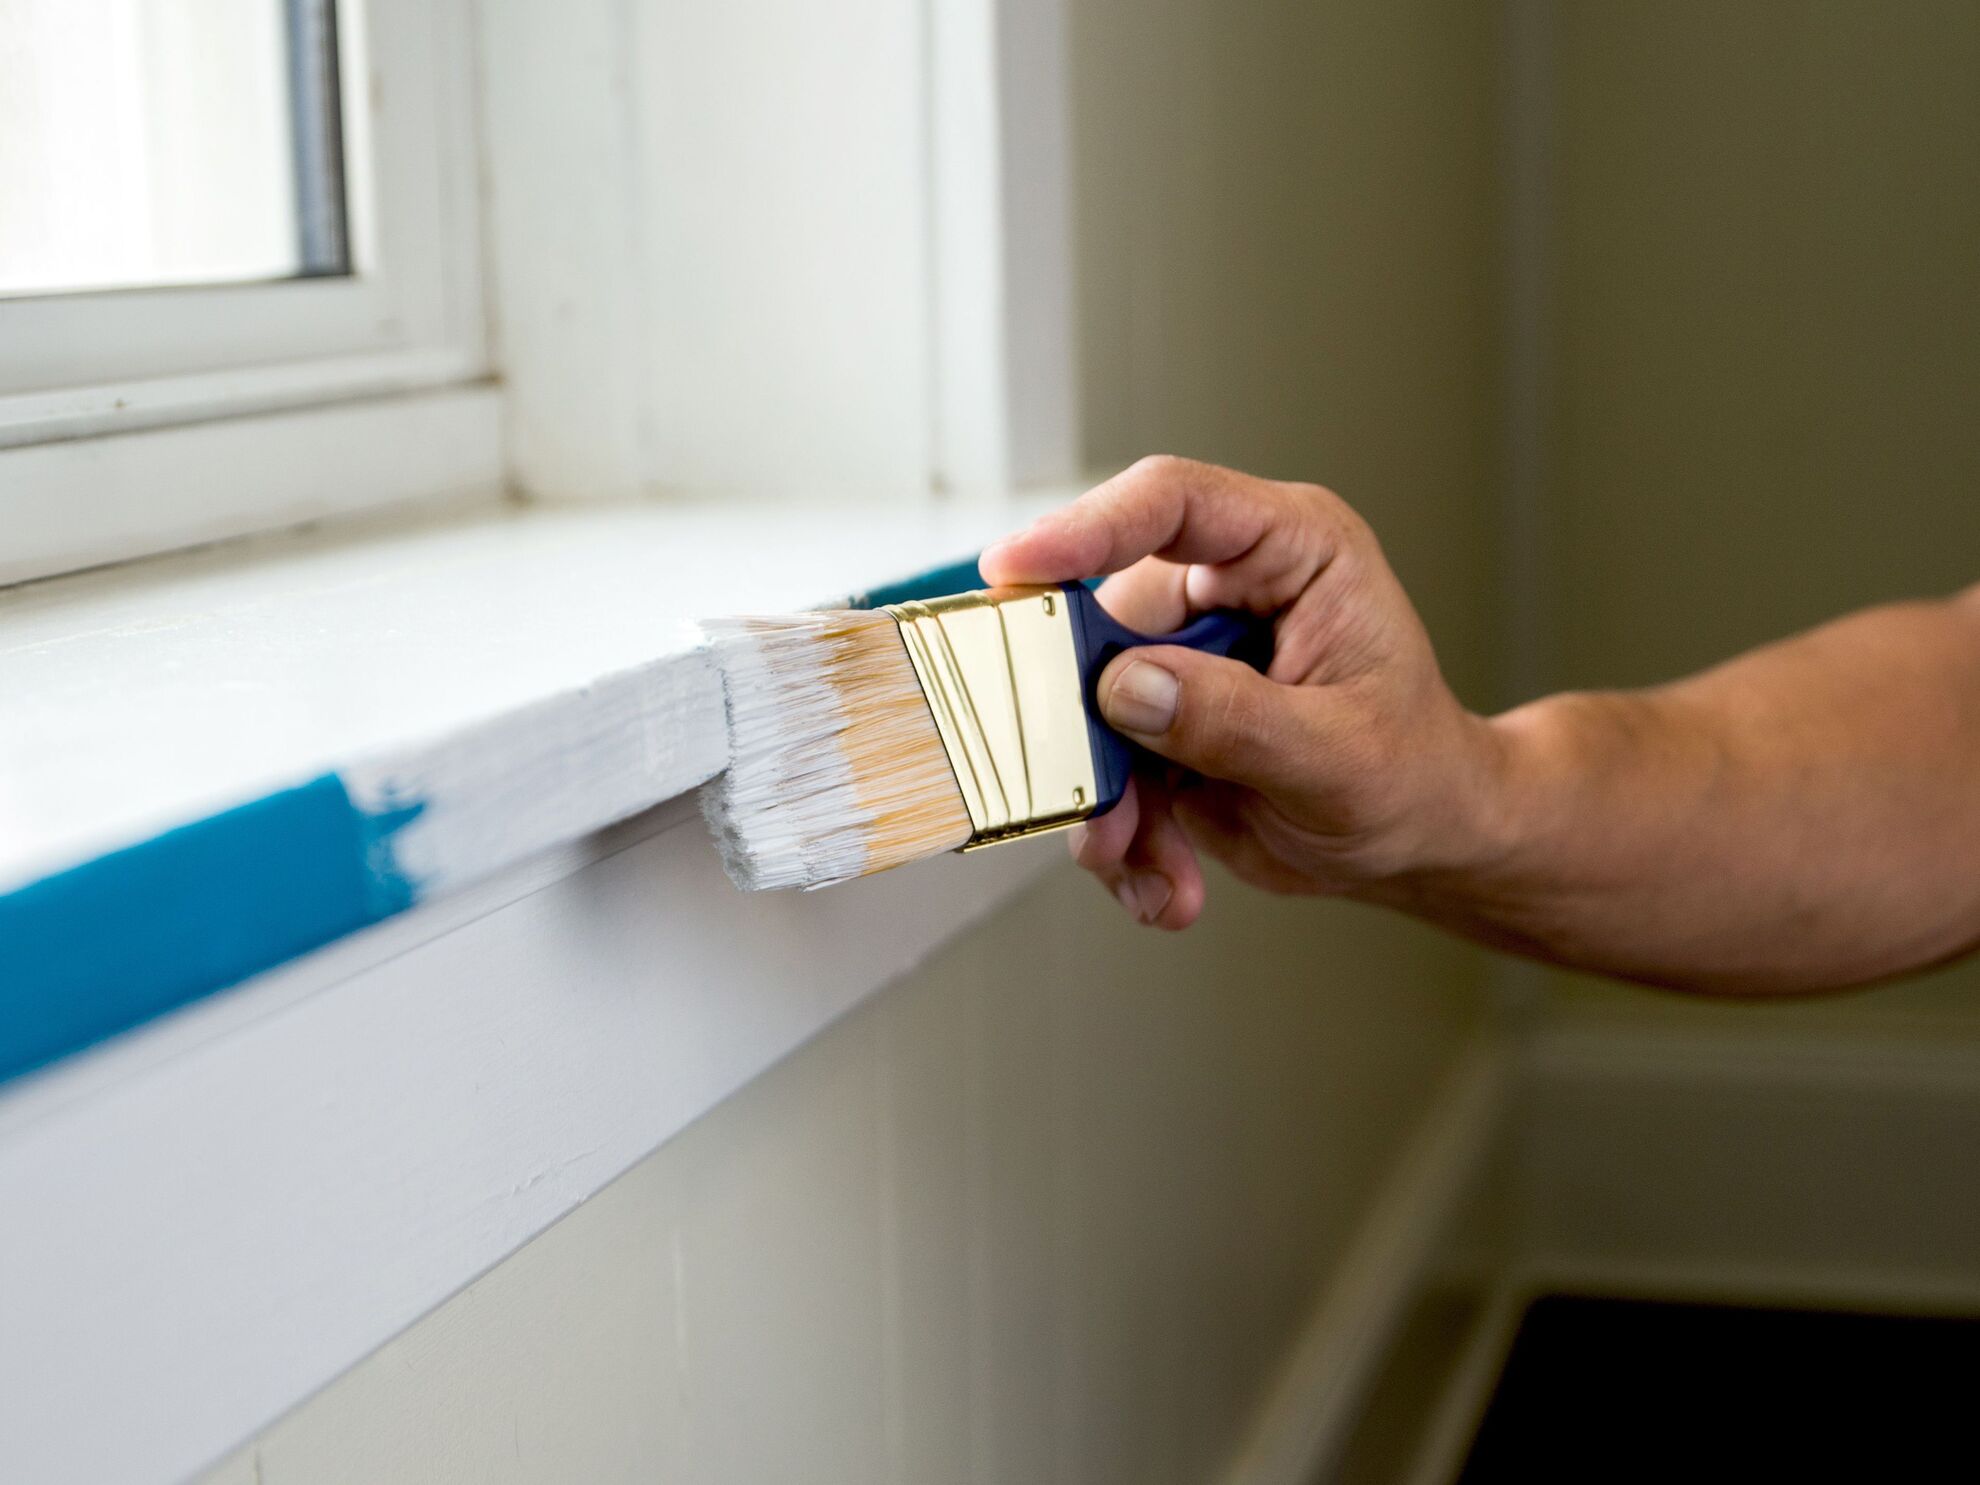
- Protect adjacent surfaces: Cover any surfaces adjacent to the wood trim, such as walls or flooring, with painter’s tape or plastic sheets to protect them from accidental staining or damage. This extra precaution will save you time and effort in cleaning up later.
By taking the time and effort to properly prepare the wood trim, you’ll create a smooth and clean surface that allows the stain to adhere evenly and effectively.
Applying the Stain
Now that you have prepared the wood trim, it’s time to start applying the stain. Here’s a step-by-step guide to help you achieve a professional-looking finish:
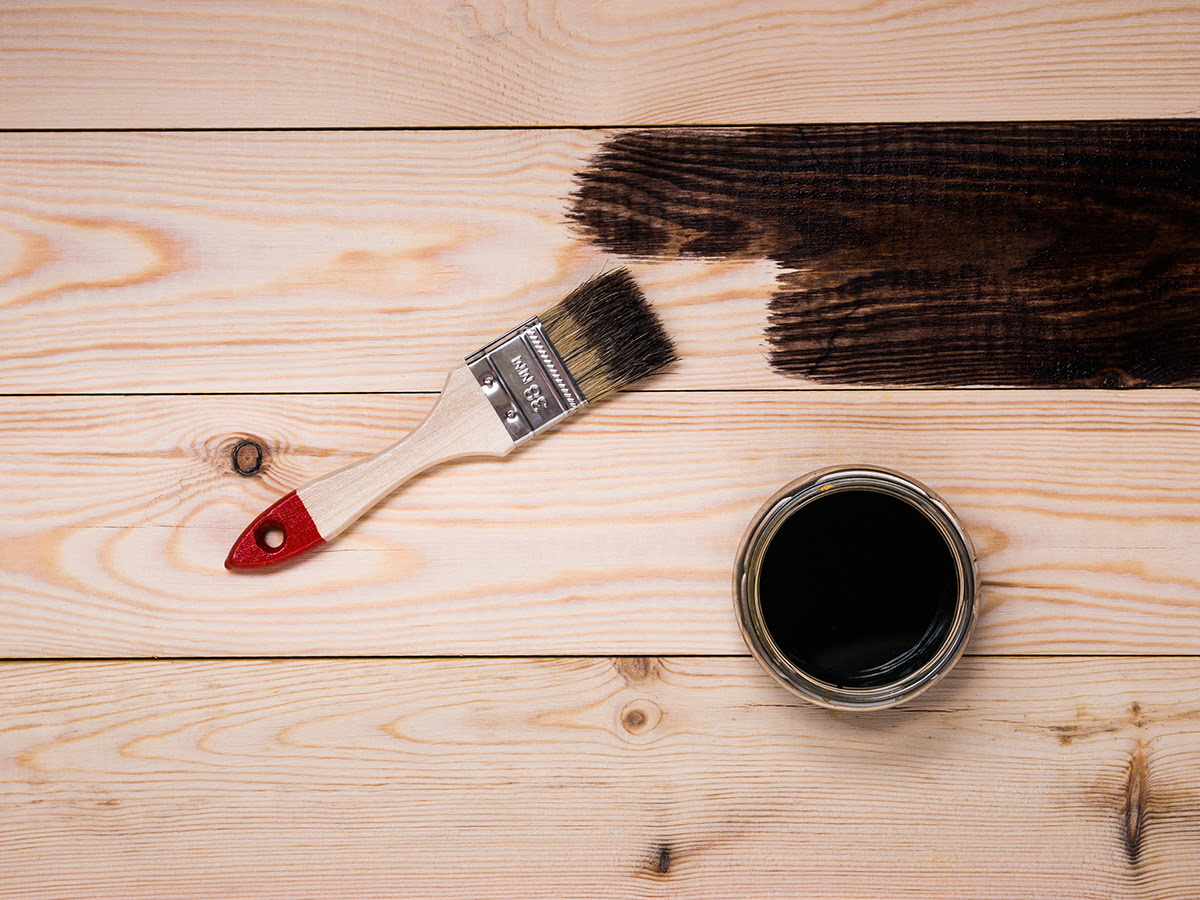
- Stir the stain: Before opening the can of stain, give it a good stir with a stir stick. This will ensure that any settled pigments are mixed evenly throughout the stain.
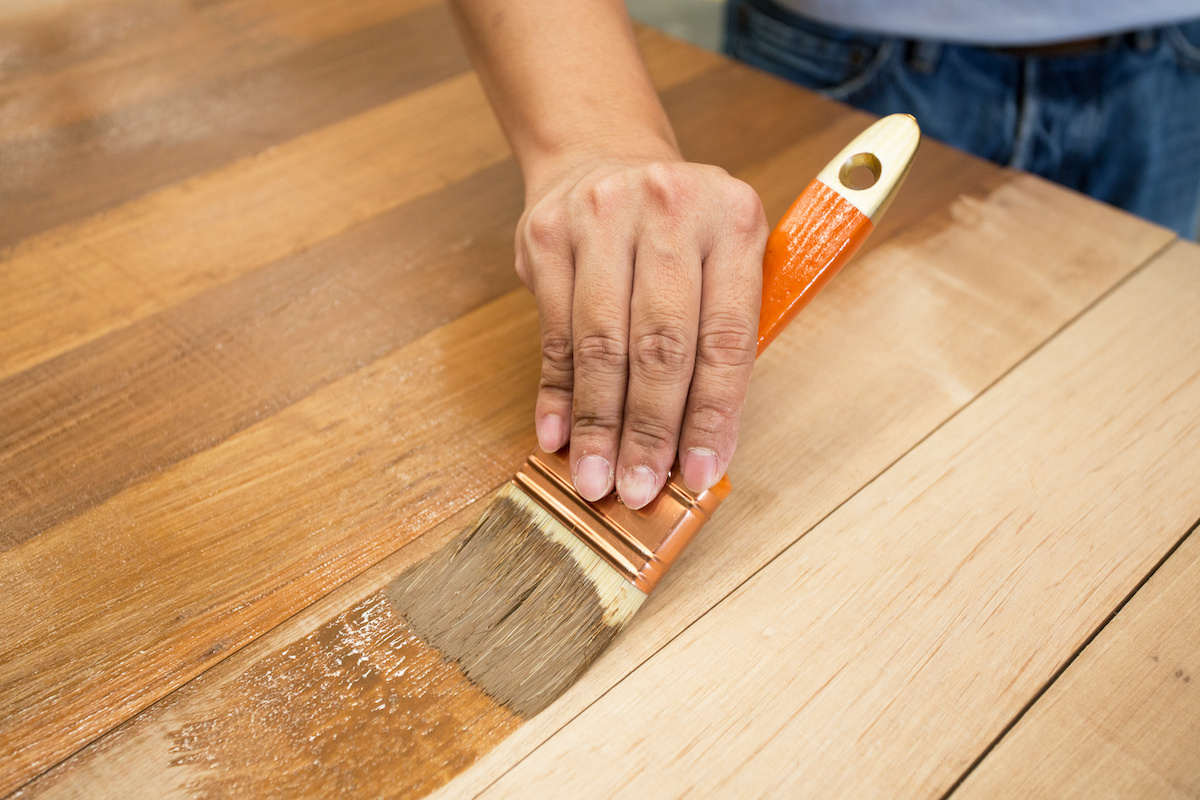
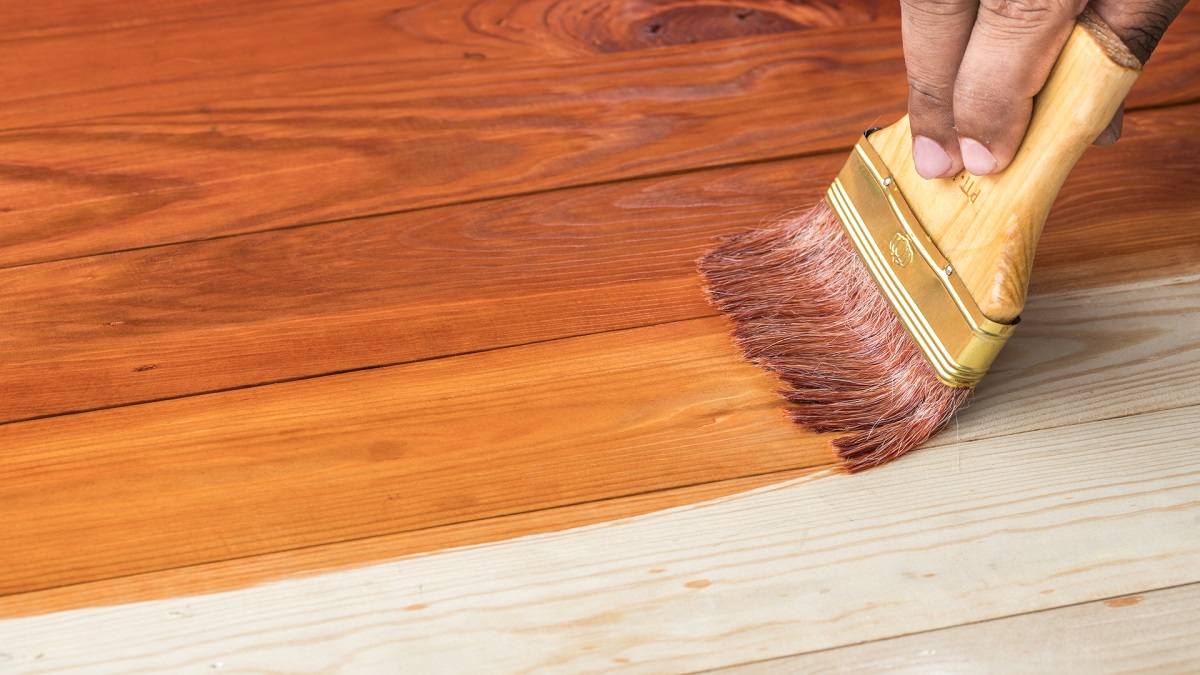
- Apply the stain: Using a brush or a lint-free cloth, start applying the stain to the wood trim in smooth, even strokes. Follow the direction of the wood grain to achieve a more natural and consistent look. Work in small sections at a time, making sure to cover the entire surface evenly. Take care to avoid drips or excess stain pooling in corners or crevices.
- Wipe off excess stain: After applying the stain, use a clean cloth to gently wipe off any excess stain that has not been absorbed by the wood. This will help to prevent uneven coloring or the formation of a sticky residue.
- Check for missed spots: Once you’ve wiped off the excess stain, inspect the wood trim for any missed spots or areas that may need additional coverage. If necessary, apply a second coat of stain to achieve the desired depth of color.
- Allow the stain to penetrate: After applying the stain, it’s important to allow it to penetrate and dry. Follow the instructions on the stain can for the recommended drying time. Avoid touching or placing any objects on the stained wood trim until it is fully dry.
Remember to work in a well-ventilated area and wear protective gloves as staining can be messy and stain can be difficult to remove from skin. Take your time and be patient during the staining process to achieve a beautiful and even finish.
Removing Excess Stain
After applying the stain to your wood trim, you may notice that there is still some excess stain on the surface. It’s important to remove this excess stain to achieve a clean and uniform finish. Here are some steps to effectively remove excess stain:
- Use a clean cloth: Start by using a clean, lint-free cloth to gently wipe away any excess stain. Be careful not to press too hard, as this may remove too much stain from the surface.
- Focus on crevices and corners: Pay extra attention to crevices and corners where excess stain tends to accumulate. Use a soft brush or an old toothbrush to gently scrub these areas and remove any trapped stain.
- Use a fine-grit sandpaper: If there are stubborn areas of excess stain that cannot be removed with a cloth or brush, lightly sand the surface with a fine-grit sandpaper. Be cautious not to sand too aggressively, as this can remove the stain from the wood trim.
- Wipe with a clean, damp cloth: Once you have removed as much excess stain as possible, wipe the surface with a clean, damp cloth to further remove any residue. This will ensure that the wood trim is left with a smooth and clean finish.
- Inspect for missed spots: After removing the excess stain and allowing the wood trim to dry, inspect the surface for any missed spots or uneven coloration. If necessary, you can touch up these areas by applying a small amount of stain and blending it into the surrounding area.
Remember to be gentle and patient while removing excess stain to avoid damaging the wood trim. By taking the time to remove excess stain properly, you will achieve a more professional-looking finish and ensure a uniform appearance throughout your wood trim.
Before staining wood trim, make sure to sand the surface thoroughly to remove any existing finish and create a smooth surface for the stain to adhere to. This will ensure a beautiful and long-lasting finish.
Read more: How Long Does Wood Decking Last
Allowing the Stain to Dry
After applying the stain to your wood trim and removing any excess, it’s crucial to allow the stain to dry properly. Drying time will vary depending on various factors such as the type of stain, humidity levels, and temperature. Here are some important points to keep in mind when allowing the stain to dry:
- Follow the manufacturer’s instructions: Different stains have different recommended drying times. Read the instructions provided by the stain manufacturer carefully and follow their guidelines regarding drying time. This will ensure that the stain sets properly and achieves the desired finish.
- Provide proper ventilation: During the drying process, it’s important to have good air circulation in the room. Open windows or use fans to promote airflow, as this helps the stain to dry more efficiently.
- Avoid touching or placing objects on the stained wood trim: While the stain is drying, it’s crucial to avoid touching the surface or placing any objects on it. This can leave unwanted marks or smudges in the stain. It’s best to give the stain ample time to dry undisturbed.
- Check for tackiness: After the recommended drying time has passed, gently touch the stained wood trim to check for any tackiness. If the stain feels sticky or leaves a residue on your finger, it likely needs more time to dry. Give it a little longer before proceeding to the next steps.
- Be patient: The drying process can take anywhere from a few hours to a few days, depending on the conditions. It’s essential to be patient and allow the stain sufficient time to dry completely before moving on to applying a protective finish or handling the wood trim.
By being attentive to the drying process and giving the stain adequate time to dry, you will ensure that the stain sets properly and achieves the desired color and finish. This will help you achieve a beautifully stained wood trim that is ready for the next steps in the process.
Applying a Protective Finish
Applying a protective finish is an essential step in preserving the beauty and longevity of your stained wood trim. A protective finish not only enhances the appearance of the trim but also provides a barrier against moisture, UV rays, and general wear and tear. Here’s a step-by-step guide on how to apply a protective finish:
- Select the right finish: There are various types of protective finishes available, such as polyurethane, varnish, lacquer, or shellac. Choose a finish that suits your needs, considering factors such as durability, sheen (satin, matte, or glossy), and compatibility with the stain used. Read the product instructions for application and drying times.
- Prepare the surface: Ensure that the stained wood trim is clean and free from any debris or dust. If necessary, lightly sand the surface to create a smooth and even base for the protective finish. Use a tack cloth to remove any sanding dust.
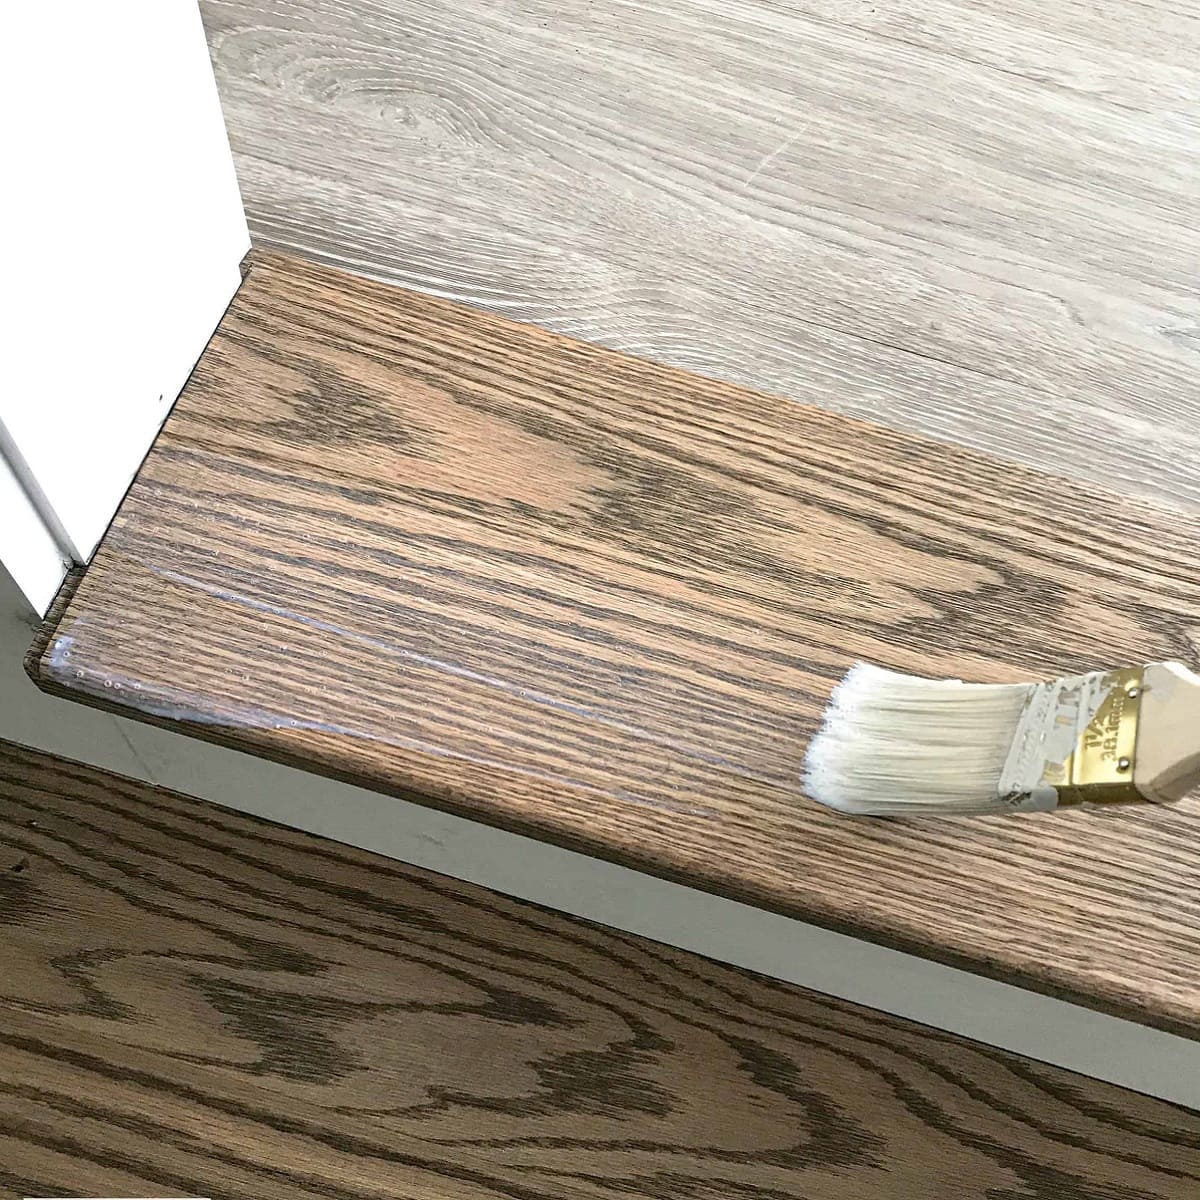
- Apply the first coat: Using a quality brush, foam brush, or sprayer, apply a thin and even coat of the protective finish to the wood trim. Follow the direction of the wood grain and work in small sections at a time. Pay attention to any drips or pooling, and smooth them out with the brush or cloth.
- Allow drying and sanding: Follow the recommended drying time provided by the product instructions. Once the first coat is dry to the touch, lightly sand the surface with a fine-grit sandpaper (around 220-320) to remove any imperfections or bumps. Ensure that the surface is clean and smooth before applying additional coats of the protective finish.
- Apply subsequent coats: Repeat the process of applying thin and even coats of the protective finish, allowing each coat to dry and sanding in between if necessary. The number of coats will depend on the specific product and the level of protection you desire. Follow the product instructions for the recommended number of coats.
- Final sanding and curing: After applying the final coat, allow the protective finish to cure as per the product instructions. Once fully cured, lightly sand the surface with a very fine-grit sandpaper (around 400-600) for a smooth and polished finish.
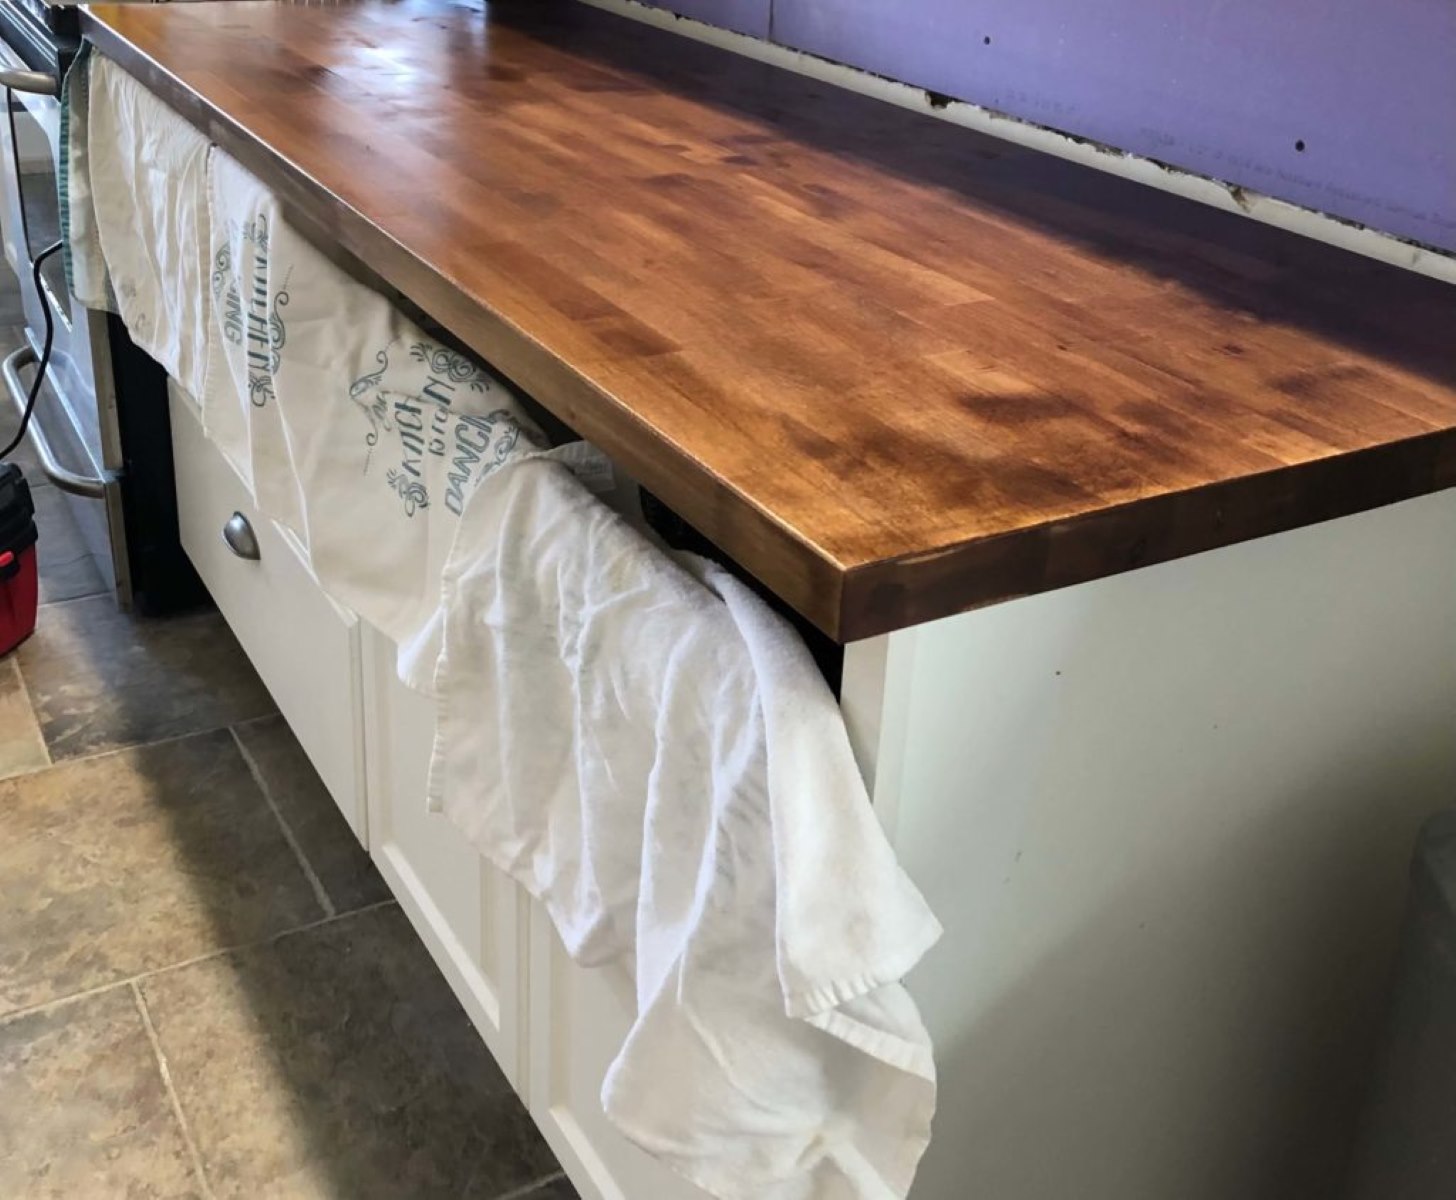
Applying a protective finish not only adds an extra layer of protection to your stained wood trim but also enhances its appearance. It’s important to follow the manufacturer’s instructions for the specific product you are using to ensure proper application and drying times. By taking the time to apply a protective finish, you can enjoy your beautifully stained wood trim for years to come.
Maintaining and Caring for Stained Wood Trim
Once you have stained and protected your wood trim, it’s important to establish a maintenance routine to keep it looking its best and extending its lifespan. Proper care and maintenance will help preserve the rich color, enhance the wood’s natural beauty, and protect it from damage. Here are some tips for maintaining and caring for stained wood trim:
- Regular cleaning: Dust and dirt can accumulate on the surface of stained wood trim, so it’s important to regularly clean it with a soft, lint-free cloth or a feather duster. Avoid using harsh chemicals or abrasive cleaners, as these can damage the finish. Instead, opt for a mild, wood-friendly cleaner or simply dampen the cloth with water.
- Avoid excessive moisture: Moisture can be detrimental to stained wood trim, causing warping, swelling, or discoloration. Wipe up any spills immediately and use coasters or placemats to protect the wood from moisture rings. In areas prone to high humidity, consider using a dehumidifier to maintain optimal humidity levels.
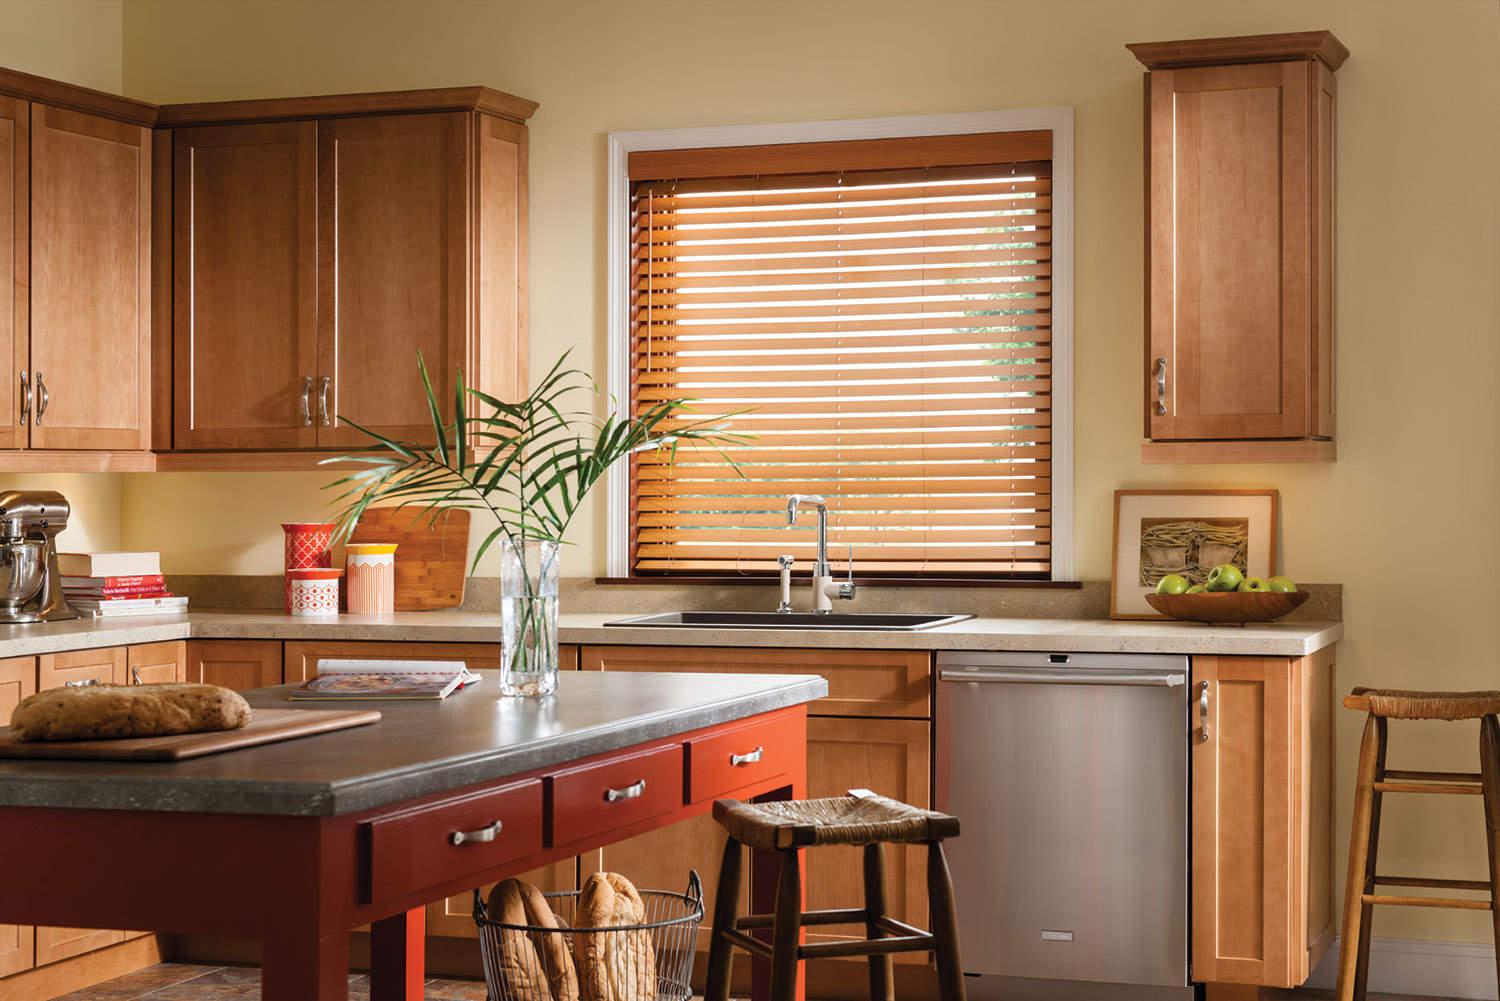
- Prevent sun damage: Prolonged exposure to direct sunlight can cause the stain on wood trim to fade or discolor over time. To protect against UV damage, use blinds, curtains, or UV-protective films on windows to minimize exposure. Additionally, consider applying a clear UV-protective coating as part of the protective finish.
- Avoid sharp objects and impacts: Be mindful of sharp objects or heavy impacts that can scratch or dent the wood trim. Take care when moving furniture or other objects near the trim to prevent accidental damage. Place protective pads or felt pads on the bottom of furniture legs to prevent scratches.
- Regular inspections: Periodically inspect your stained wood trim for any signs of wear, damage, or discoloration. Address any issues promptly, such as repairing scratches or cracks, to prevent further damage. If needed, touch up the stain or protective finish to maintain a consistent appearance.
- Reapply protective finish: Over time, the protective finish on stained wood trim may gradually wear off or become less effective. It’s recommended to periodically reapply a fresh coat of protective finish to maintain optimal protection and appearance. Follow the same process as when initially applying the finish.
By implementing these maintenance practices and caring for your stained wood trim, you can ensure its longevity and retain its beauty for years to come. Regular cleaning, protection from moisture and sun damage, and timely repairs will help preserve its natural beauty and enhance the overall aesthetic of your space.
Conclusion
Staining wood trim can transform the look of any space, adding a touch of elegance and warmth. By following the proper steps and techniques for staining and caring for wood trim, you can achieve a beautiful, long-lasting finish that enhances the overall aesthetic of your home. Here’s a recap of the key points covered in this article:
First, selecting the right stain is crucial. Consider factors such as the type of wood, desired color, transparency, and protection level. Testing samples and following manufacturer recommendations will help you make the best choice for your project.
Next, proper preparation of the wood trim is essential. Clean the surface, sand it to a smooth finish, fill any gaps or holes, and consider applying a wood conditioner for better absorption of the stain.
When applying the stain, use even strokes and work with the wood grain to achieve a natural look. Wipe off excess stain and ensure that the surface is completely dry before proceeding.
Removing any excess stain is important for a clean and even finish. Use a clean cloth, brush, or sandpaper to remove any excess stain, especially in crevices and corners.
Allowing the stain to dry fully is crucial before applying a protective finish. Follow the manufacturer’s instructions for drying time and ensure proper ventilation in the area.
Applying a protective finish adds an extra layer of protection and enhances the appearance of the wood trim. Follow the instructions for the chosen finish, apply multiple coats if necessary, and take the time to let each coat dry before applying the next.
Maintaining and caring for stained wood trim involves regular cleaning, avoiding excessive moisture and sun damage, and inspecting for any signs of wear or damage. Addressing issues promptly and reapplying the protective finish when necessary will help prolong the lifespan and overall beauty of the wood trim.
In conclusion, staining wood trim is a rewarding project that can make a significant difference in the appearance of your home. By following the steps outlined in this article and taking the time to properly care for and maintain your stained wood trim, you can ensure a beautiful and long-lasting finish that adds value and aesthetic appeal to any space.
Frequently Asked Questions about How To Stain Wood Trim For A Beautiful Long-Lasting Finish
Was this page helpful?
At Storables.com, we guarantee accurate and reliable information. Our content, validated by Expert Board Contributors, is crafted following stringent Editorial Policies. We're committed to providing you with well-researched, expert-backed insights for all your informational needs.


0 thoughts on “How To Stain Wood Trim For A Beautiful Long-Lasting Finish”