

Furniture
How To Swag A Chandelier Light
Modified: December 7, 2023
Learn how to add a touch of elegance to your furniture with our step-by-step guide on swagging a chandelier light. Transform your space with this stunning DIY technique.
(Many of the links in this article redirect to a specific reviewed product. Your purchase of these products through affiliate links helps to generate commission for Storables.com, at no extra cost. Learn more)
Introduction
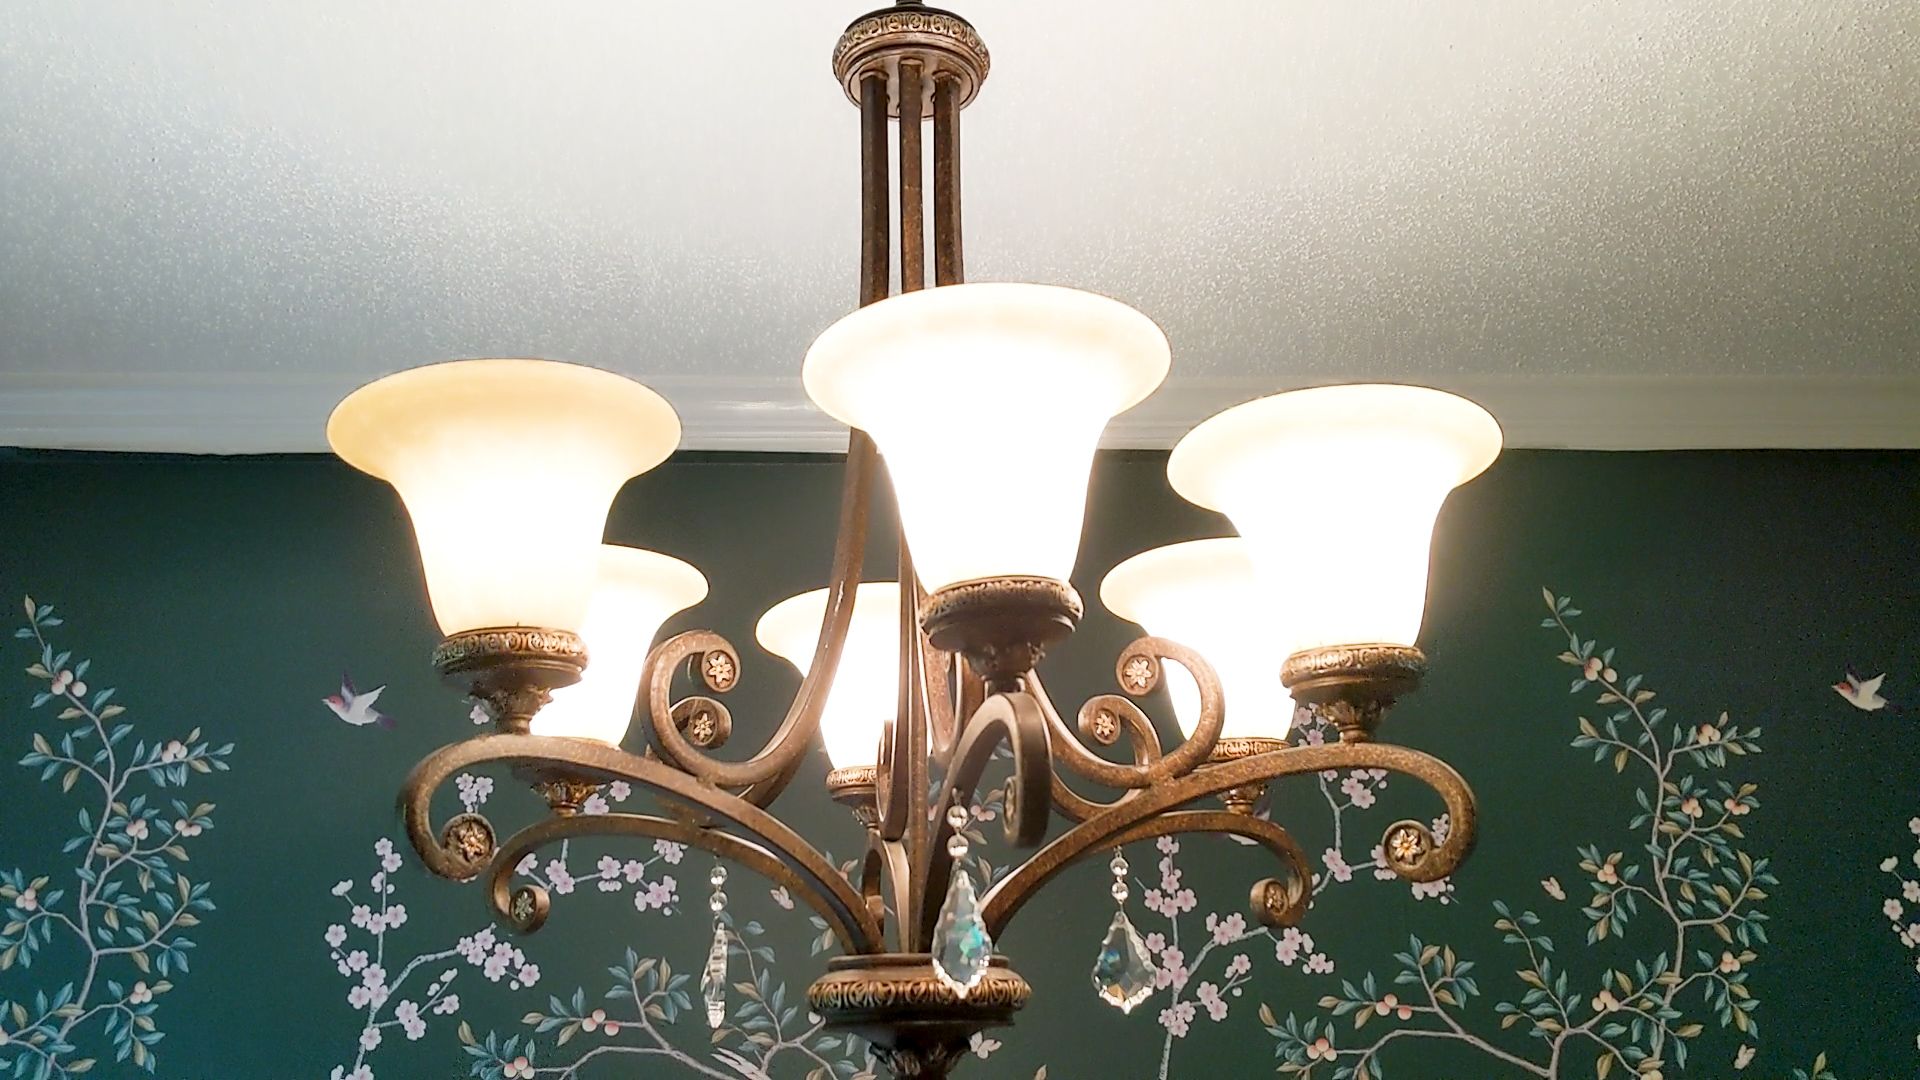
Swagging a chandelier light is a fantastic way to add a touch of elegance and style to any room. Whether you’re looking to create a dramatic focal point in your living room or add a glamorous touch to your dining area, swagging a chandelier can instantly transform the ambiance of your space.
In this article, we will guide you through the step-by-step process of swagging a chandelier light. We will cover everything from gathering the necessary tools and materials to securing the swag chain and testing the chandelier light. So, let’s get started!
Before we begin, it’s important to note that swagging a chandelier light involves some electrical work. If you’re not comfortable working with electrical components or if you’re unsure about your abilities, it’s always best to consult a professional electrician for assistance. Safety should always be your top priority.
Key Takeaways:
- Elevate your space with elegance and style by swagging a chandelier light. Follow the step-by-step process, prioritize safety, and enjoy the stunning transformation it brings to your room.
- Ensure a smooth swagging process by gathering the necessary tools, preparing the chandelier, and carefully adjusting the swag chain. Prioritize safety, test the chandelier light, and bask in the beauty of your swagged centerpiece.
Read more: How To Make Swag Drapes
Step 1: Gather the necessary tools and materials
Before you begin swagging a chandelier light, it’s essential to gather all the necessary tools and materials. Here’s a list of what you’ll need:
- Chandelier – Choose a chandelier that fits your style and the size of your space. Consider the weight and dimensions of the chandelier to ensure it can be safely swagged.
- Swag chain – This is the chain that will be used to hang the chandelier. It should be strong enough to support the weight of the chandelier. Measure the length you will need based on the height you want the chandelier to be hung.
- Ceiling hook – This is the hardware that will be attached to the ceiling and used to suspend the swag chain. Make sure it’s sturdy and can support the weight of the chandelier.
- Wire cutters – These will be needed to cut the swag chain to the desired length.
- Electrical cord – If the chandelier doesn’t come with a cord, you’ll need to purchase one. Make sure it’s long enough to reach the nearest electrical outlet.
- Wire connectors – These will be used to connect the electrical wires of the chandelier to the electrical cord.
- Screwdriver – Depending on the design of your chandelier, you may need a screwdriver to remove any existing hardware or to attach the electrical cord.
- Electrical tape – This will be used to secure the electrical connections and prevent any exposed wires.
- Stud finder – If you’re attaching the ceiling hook to a ceiling joist, a stud finder can help locate the right spot.
- Ladder or sturdy stepstool – You’ll need a safe and stable surface to reach the ceiling and work on the chandelier.
By gathering all the necessary tools and materials beforehand, you’ll have everything you need to successfully swag your chandelier light. This will save you time and ensure a smoother swagging process.
Step 2: Preparing the chandelier
Once you have gathered all the necessary tools and materials, it’s time to prepare the chandelier for swagging. Follow these steps:
- Turn off the power – Before working on the chandelier, make sure to turn off the power at the circuit breaker or by switching off the corresponding switch in your electrical panel.
- Remove any existing hardware – If your chandelier has any existing chains, hooks, or other hardware, remove them carefully using a screwdriver. You want to start with a clean slate for swagging.
- Inspect the chandelier – Take a close look at the chandelier to ensure that it is in good condition. Check for any loose or damaged parts. If you notice any issues, repair or replace them before proceeding.
- Attach the electrical cord (if necessary) – If your chandelier doesn’t come with an electrical cord, you’ll need to attach one. Thread the cord through the center of the chandelier, following the manufacturer’s instructions.
Preparing the chandelier is an important step in the swagging process. Make sure the chandelier is in good working condition and that any existing hardware is removed. If you need to attach an electrical cord, do so carefully while following the manufacturer’s guidelines.
Step 3: Measuring and cutting the swag chain
Now that you have prepared the chandelier, it’s time to measure and cut the swag chain. Follow these steps:
- Determine the desired height – Decide how high or low you want your chandelier to hang. Consider the height of the ceiling and the overall aesthetics of the room.
- Measure the height – Use a measuring tape to measure the distance from the ceiling to the desired hanging height of the chandelier. Add a few extra inches to account for any swag or draping effect.
- Mark the swag chain – Using a marker or a piece of tape, mark the length on the swag chain based on your measurements.
- Cut the chain – Using wire cutters, carefully cut the swag chain at the marked point. Ensure a clean and straight cut.
When measuring and cutting the swag chain, it’s important to consider the height at which you want the chandelier to hang. Take into account the dimensions of the room and the desired aesthetic. Give yourself some extra length for swag or draping, but be mindful not to make it too long, as excess chain can be unsightly.
Remember, measure twice and cut once. Take your time and make sure the measurements are accurate before cutting the swag chain. This will help ensure that the chandelier hangs at the desired height and creates the look you want.
Use a chandelier lift to safely lower the fixture for cleaning and maintenance. Always turn off the power before working on the chandelier.
Step 4: Attaching the swag chain to the chandelier
Now that you have measured and cut the swag chain, it’s time to attach it to the chandelier. Follow these steps:
- Locate the designated spot – Find the designated spot on the chandelier where the swag chain will be attached. This is typically a small hook or loop specifically designed for hanging purposes.
- Open the chain link – Use pliers to open one end of the chain link that you cut. This will create an opening to loop it through the designated spot on the chandelier.
- Attach the swag chain – Insert the opened end of the chain link into the designated spot on the chandelier. Close the chain link using the pliers to secure it in place.
- Check for stability – Once the swag chain is attached, gently tug on it to ensure it is securely fastened to the chandelier. Make any necessary adjustments or tighten the chain link if needed.
Attaching the swag chain to the chandelier is a crucial step in ensuring its stability and safety. Take your time and make sure the chain is correctly secured to the designated spot on the chandelier.
Once the swag chain is attached, visually inspect the chandelier to ensure it hangs straight and level. Make any necessary adjustments before moving on to the next step.
Remember, the swag chain will be responsible for supporting the weight of the chandelier, so it’s essential to ensure it is securely attached. If you have any doubts about its stability, consult a professional electrician for assistance.
Read more: How To Make A Pendant Light Chandelier
Step 5: Adjusting the swag chain and positioning the chandelier
With the swag chain securely attached to the chandelier, it’s time to adjust its length and position the chandelier in its desired location. Here’s what you need to do:
- Adjust the swag chain length – If the swag chain is too long, use wire cutters to trim it to the desired length. Remember to account for any swag or draping effect you want to achieve. If the swag chain is too short, you may need to purchase additional chain links or choose a different hanging method.
- Position the chandelier – Carefully lift the chandelier and position it in the desired location, keeping in mind the height you want it to hang and its relation to other furniture or architectural features in the room.
- Visualize the placement – Step back and take a look at the chandelier in its position. Make any necessary adjustments to ensure it is centered, level, and visually appealing.
- Check for clearance – Ensure that the chandelier has proper clearance from walls, furniture, and any other objects that may come into contact with it. This will prevent any potential hazards or damage.
Adjusting the swag chain length and positioning the chandelier is an important step in achieving the desired aesthetic and functionality. Take your time to ensure that the chandelier is positioned correctly and safely.
If you find that the swag chain is too difficult to adjust or the chandelier is not hanging as desired, consider seeking the assistance of a professional. They can provide valuable guidance and ensure that everything is properly installed.
Once you are satisfied with the swag chain length and the position of the chandelier, you can proceed to the next step – securing the swag chain and testing the chandelier light.
Step 6: Securing the swag chain and testing the chandelier light
Now that the swag chain is adjusted and the chandelier is positioned, it’s time to secure the swag chain and test the chandelier light. Follow these final steps:
- Secure the swag chain – Using pliers, tightly secure the chain link or connector to ensure that the swag chain is securely fastened. This will provide stability and prevent any accidental movements or shifts.
- Test the chandelier light – Turn on the power at the circuit breaker or switch on the electrical panel to test the chandelier light. Ensure that the light is working properly and that the electrical connections are secure. If there are any issues, consult a professional electrician for assistance.
- Check for any adjustments – Once the chandelier light is successfully tested, inspect the entire setup for any further adjustments. Ensure that the swag chain is secure, the chandelier is hanging straight and level, and there are no loose connections or parts.
- Enjoy your swagged chandelier – With the swag chain secured, the chandelier light working perfectly, and all adjustments made, you can now sit back, relax, and enjoy the beauty and ambiance of your swagged chandelier.
By securing the swag chain and testing the chandelier light, you are ensuring that the installation is safe, functioning properly, and ready to be enjoyed. Take the time to double-check all the connections and make any necessary adjustments before completing the process.
It’s important to note that regular maintenance and inspections are crucial to ensuring the ongoing safety and performance of your swagged chandelier. Keep an eye out for any signs of wear or damage and address them promptly to avoid any potential issues.
Congratulations on successfully swagging your chandelier light! It’s now a stunning centerpiece that adds charm and sophistication to your space.
Conclusion
Swagging a chandelier light is a wonderful way to elevate the style and ambiance of any room. By following the step-by-step process outlined in this article, you can confidently swag your chandelier and create a stunning focal point in your space.
Remember to gather all the necessary tools and materials before you begin. Preparing the chandelier and attaching the swag chain require attention to detail and careful execution. Take your time to measure, cut, and adjust the swag chain to achieve the desired height and visual effect.
Positioning the chandelier and securing the swag chain are crucial steps in ensuring stability and safety. Always double-check the connections and ensure that the chandelier hangs straight and level. Test the chandelier light to ensure it functions properly and enjoy the beauty it brings to your space.
When working with electrical components, it’s essential to prioritize safety. If you’re unsure about any electrical aspects, it’s best to seek the assistance of a professional electrician. Safety should always be the top priority to prevent any accidents or damages.
With your chandelier successfully swagged, take the time to admire and appreciate the elegant transformation it brings to your room. Regular maintenance and inspections will help maintain its beauty and performance over time.
So go ahead, unleash your creativity, and let your chandelier shine with its new swagged design. Enjoy the beauty and charm it adds to your space for years to come!
Frequently Asked Questions about How To Swag A Chandelier Light
Was this page helpful?
At Storables.com, we guarantee accurate and reliable information. Our content, validated by Expert Board Contributors, is crafted following stringent Editorial Policies. We're committed to providing you with well-researched, expert-backed insights for all your informational needs.










0 thoughts on “How To Swag A Chandelier Light”