Home>Furniture>How To Make A Wagon Wheel Chandelier With Mason Jars
Furniture
How To Make A Wagon Wheel Chandelier With Mason Jars
Modified: January 3, 2024
Learn how to create a stunning wagon wheel chandelier using Mason jars. Add a touch of rustic charm to your home with this DIY furniture project
(Many of the links in this article redirect to a specific reviewed product. Your purchase of these products through affiliate links helps to generate commission for Storables.com, at no extra cost. Learn more)
Introduction
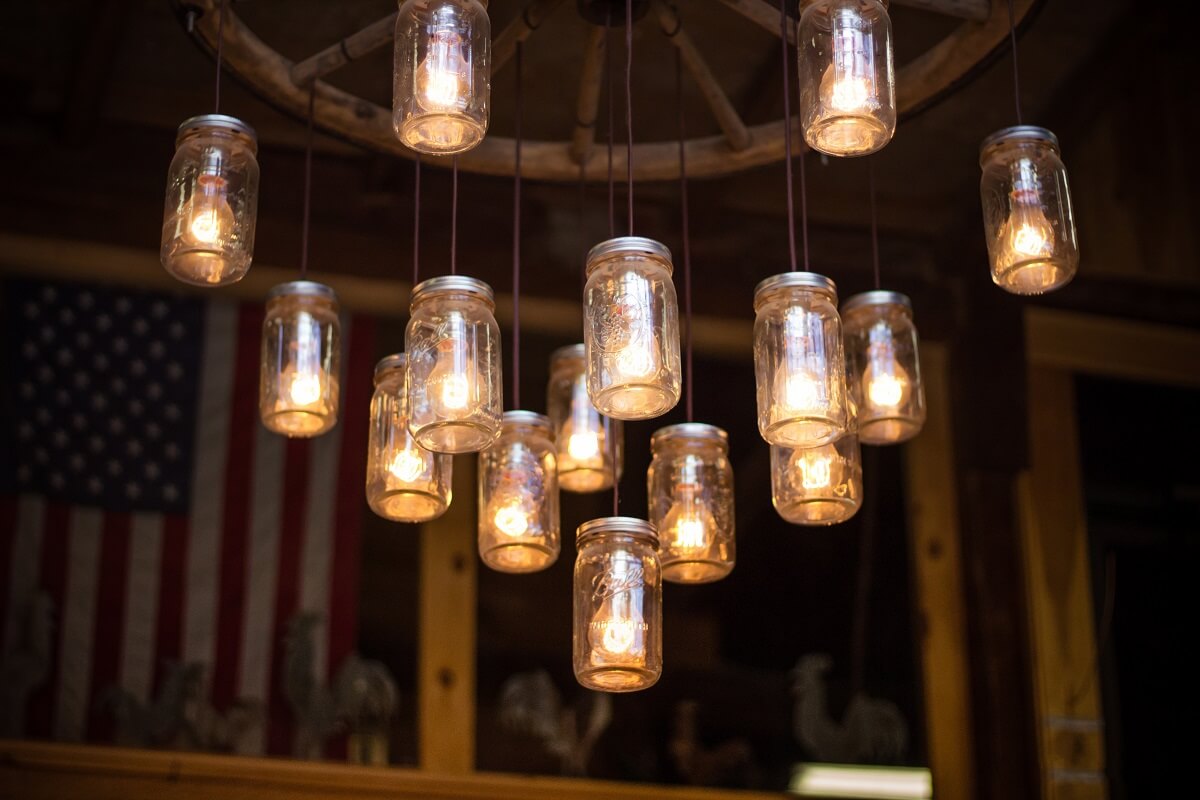
Welcome to the world of DIY home decor! If you’re looking to add a rustic and unique touch to your living space, creating a wagon wheel chandelier with mason jars is a perfect project for you. This eye-catching piece combines the nostalgia of a vintage wagon wheel with the charm of mason jars, resulting in a stunning centerpiece that will enhance the ambiance of any room.
Whether you’re a seasoned DIY enthusiast or a beginner looking to explore your creative side, this step-by-step guide will provide you with all the information you need to make your own wagon wheel chandelier. So gather up your materials and get ready to embark on a fun and rewarding project!
Key Takeaways:
- Create a stunning wagon wheel chandelier with mason jars to add rustic charm to your home. Follow the step-by-step guide for a rewarding DIY project that enhances any room’s ambiance.
- Unleash your creativity and DIY skills to make a unique wagon wheel chandelier. Combine vintage nostalgia with the warmth of mason jars for a captivating centerpiece in your living space.
Read more: How To Make A Mason Jar Chandelier
Materials Needed
Before you dive into creating your wagon wheel chandelier with mason jars, it’s important to gather all the necessary materials. Here’s a list of what you’ll need:
- Wagon wheel: Look for a wagon wheel that fits the size and style you’re aiming for. You can find them at antique shops, salvage yards, or online.
- Mason jars: The number of jars you’ll need depends on the size of your wagon wheel. Aim for a minimum of six to eight jars.
- Chandelier light kit: This kit will include the electrical components necessary to install your chandelier. Make sure it’s compatible with mason jars.
- Light bulbs: Choose light bulbs that fit the style of your chandelier. Edison bulbs or vintage-style bulbs work well with the rustic theme.
- Ceiling hook or bracket: You’ll need a sturdy hook or bracket to hang your chandelier from the ceiling. Ensure it can support the weight of the chandelier.
- Chain or rope: For hanging purposes, you’ll need a chain or rope of the appropriate length.
- Basic hand tools: Including a drill, screwdriver, pliers, and wire cutters for installation.
Once you have gathered all these materials, you’re ready to move on to the next steps of creating your wagon wheel chandelier!
Step 1: Prepare the Wagon Wheel
The first step in creating your wagon wheel chandelier is to prepare the wagon wheel itself. Follow these steps:
- Clean the wagon wheel: If you purchased a used wagon wheel, clean it thoroughly to remove any dirt or debris. Use a damp cloth or brush to gently wipe away any grime.
- Sand and refinish (optional): Depending on the condition of the wagon wheel and the desired look you want to achieve, you may want to sand and refinish it. This step is optional but can give your chandelier a polished and updated appearance.
- Decide on the placement of the mason jars: Lay out the wagon wheel and envision where you want to attach the mason jars. Consider spacing, balance, and aesthetics. This step will help you plan the arrangement and determine the number of jars needed.
- Mark the spots for the jars: Once you have decided on the placement, use a pencil or chalk to mark the spots where the mason jars will be attached to the wheel. Make sure the marks are evenly spaced for a balanced look.
- Pre-drill holes: Using a drill with a drill bit that matches the size of your screws, pre-drill holes on the marked spots. This will make it easier to attach the mason jars securely to the wheel.
By following these steps, you will have prepared your wagon wheel for the next phase of the project, which involves attaching the mason jars. Let’s move on to the next step!
Step 2: Attach the Mason Jars
Now that you have prepared the wagon wheel, it’s time to attach the mason jars. Follow these steps:
- Insert screws into the holes: Take the screws that came with your chandelier light kit and insert them into the pre-drilled holes on the wagon wheel. Make sure they are firmly secured but not overtightened.
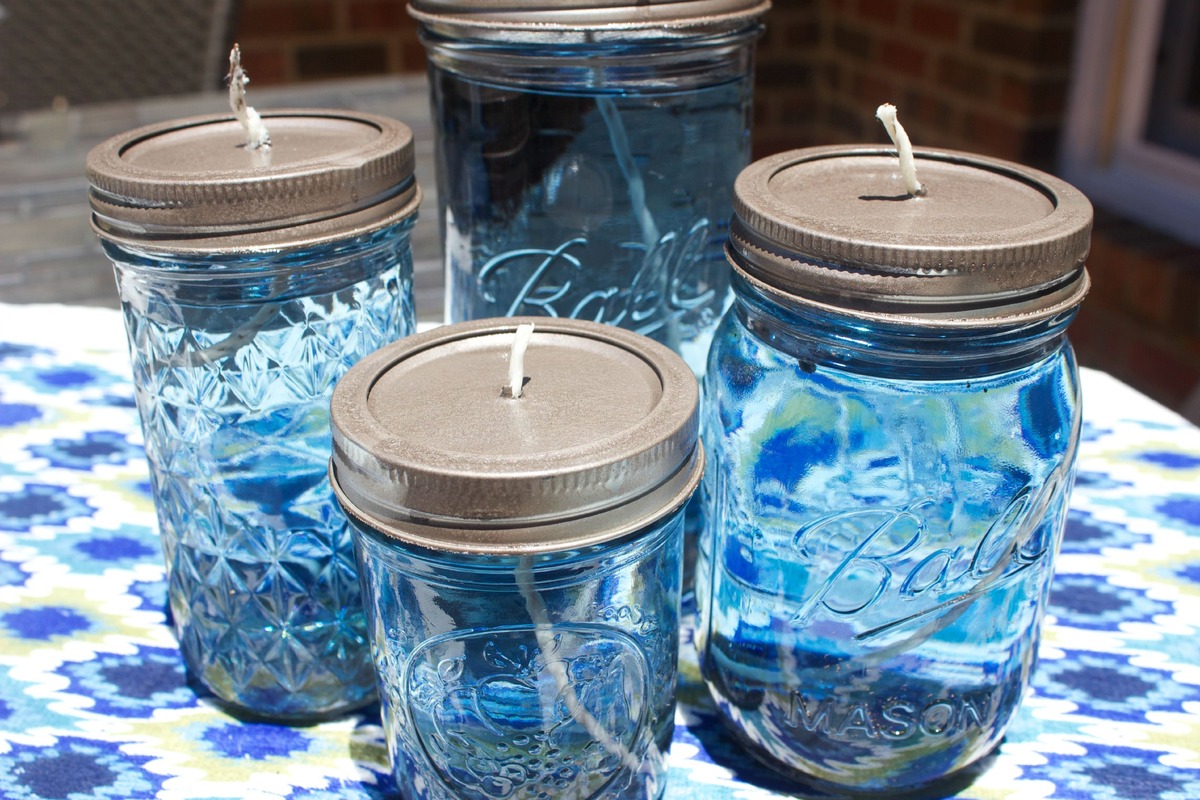
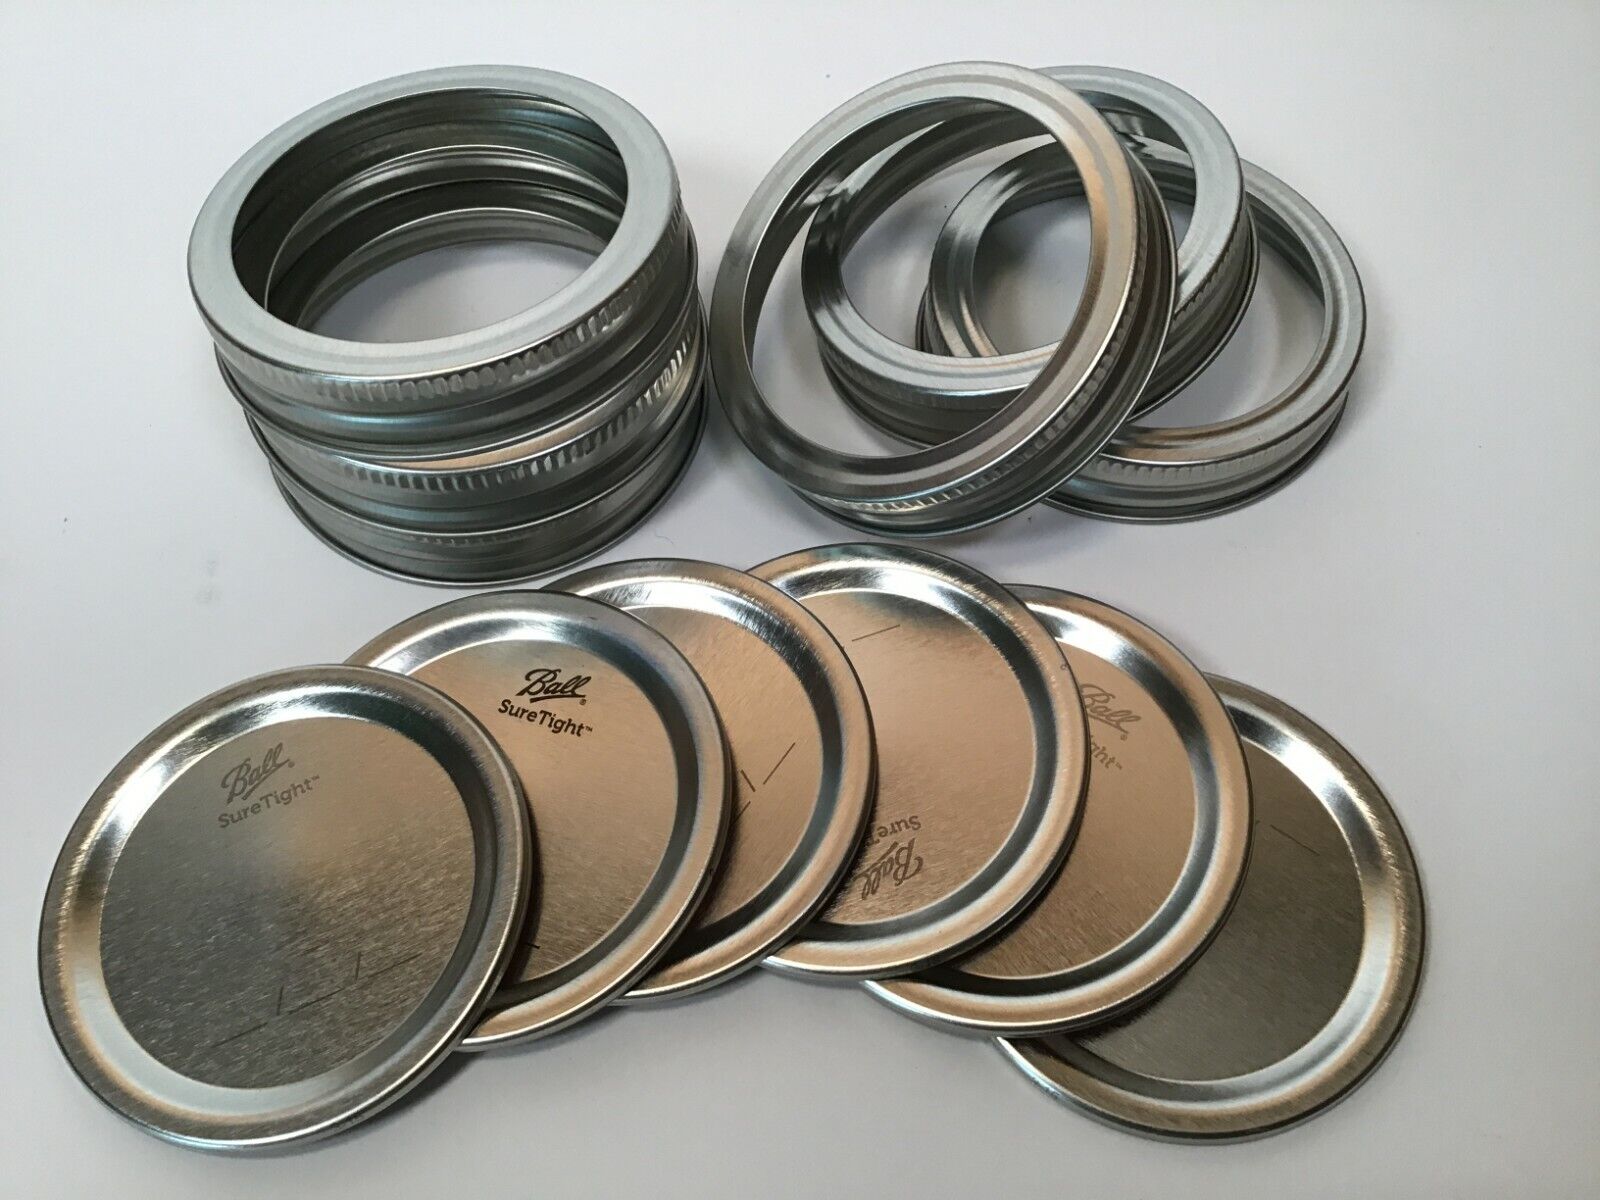
- Prepare the mason jars: Remove the lids from the mason jars and set them aside. You can choose to leave the jars clear or paint them in a color of your choice for added flair.
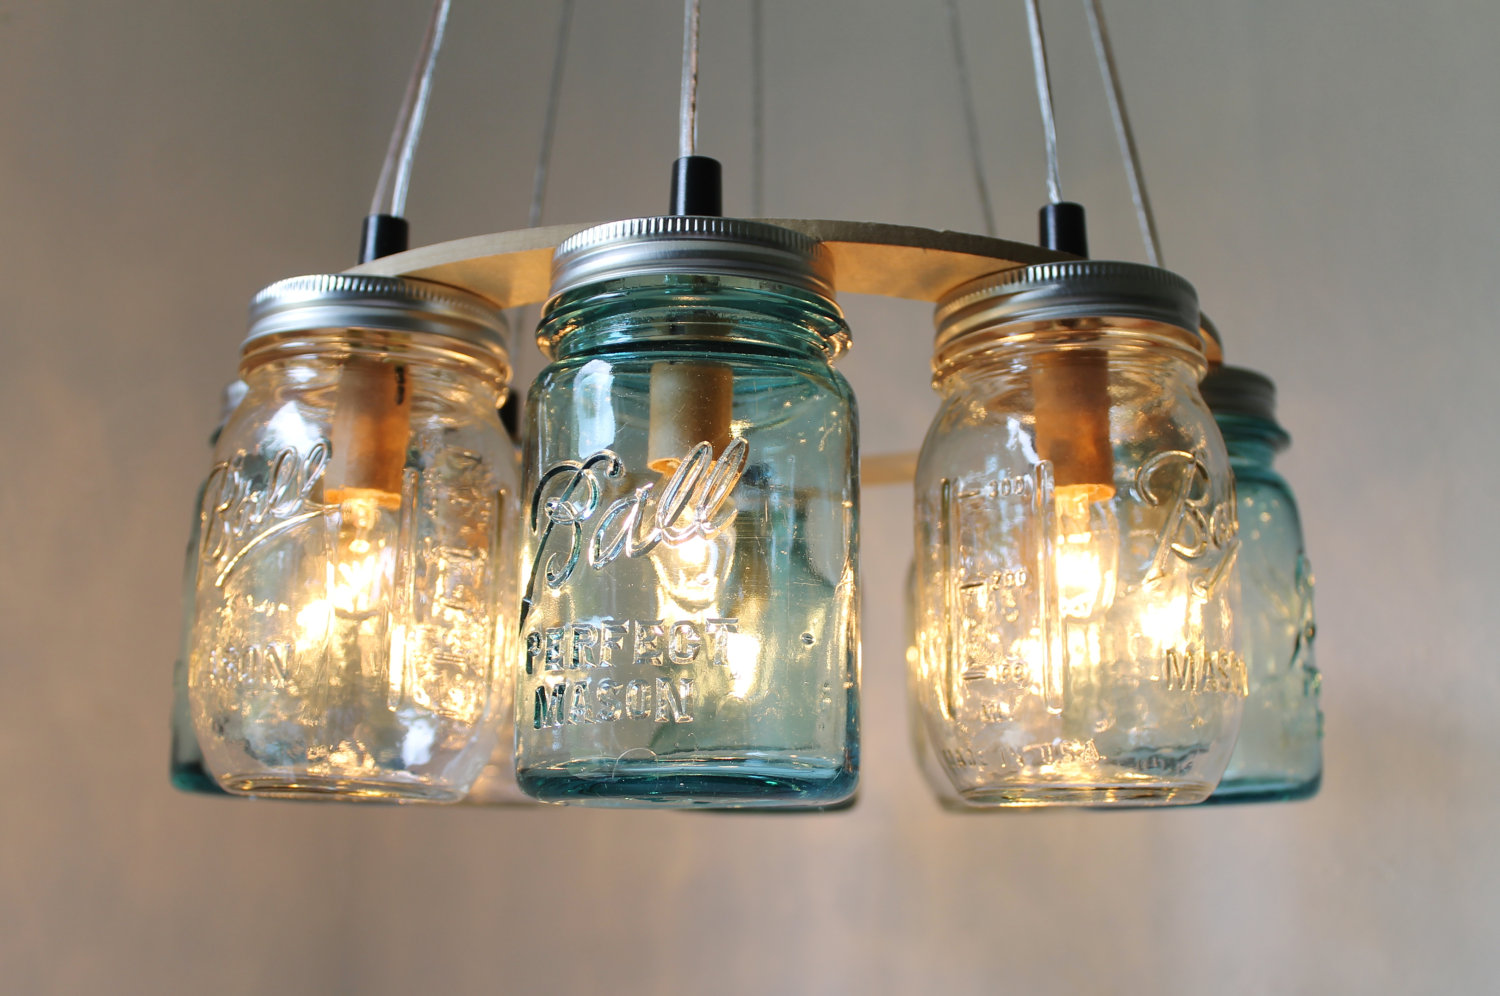
- Attach the jars to the wheel: Place the mason jars over the screws, aligning the holes in the lids with the screws. Slowly screw the lids back onto the jars, securing them to the wagon wheel. Make sure the jars are securely attached and evenly spaced.
- Tighten the jar lids: Using pliers or a wrench, gently tighten the jar lids to ensure they are securely fastened to the wagon wheel. Be careful not to overtighten, as this can cause the jars to crack.
- Adjust the position of the jars: Once all the jars are attached, step back and take a look at the positioning. Make any necessary adjustments to ensure they are evenly spaced and aligned.
With the mason jars securely attached to the wagon wheel, you have completed the second step of creating your wagon wheel chandelier. The next step involves installing the lighting fixtures. Let’s move on to step 3!
When assembling the wagon wheel chandelier, make sure to evenly space out the mason jars and secure them tightly to the wheel to ensure stability and balance.
Step 3: Install the Lighting Fixtures
Now that your mason jars are attached to the wagon wheel, it’s time to install the lighting fixtures. Follow these steps:
- Prepare the chandelier light kit: Read the instructions that come with your chandelier light kit to familiarize yourself with the components and wiring. Make sure you have all the necessary parts.
- Thread the wiring through the jars: Carefully thread the wiring from the chandelier light kit through the holes in the jar lids. This will ensure that the wiring is hidden and doesn’t detract from the overall aesthetic of the chandelier.
- Attach the lighting fixtures: Depending on the type of chandelier light kit you have, you may need to attach the lighting fixtures to the wiring. Follow the manufacturer’s instructions to properly secure the fixtures.
- Connect the wiring: Once the lighting fixtures are attached, connect the wiring according to the instructions. This typically involves matching the colored wires and securing them with wire nuts.
- Secure the wiring: As you work, use zip ties or clips to secure the wiring along the wagon wheel and keep it organized. This will prevent it from hanging loosely and creating a messy look.
Remember to follow proper safety precautions when working with electrical components. If you’re unsure about any step, consult a professional electrician for assistance.
With the lighting fixtures installed, you’re almost ready to hang your wagon wheel chandelier. Stay tuned for the next step, where we’ll guide you through the process of hanging it from the ceiling!
Step 4: Hang the Wagon Wheel Chandelier
Now that you have completed the preparations and installed the lighting fixtures, it’s time to hang your beautiful wagon wheel chandelier. Follow these steps:
- Choose the hanging location: Decide on the optimal spot in your room where you want to hang the chandelier. Consider the overall aesthetics, ceiling height, and the amount of light you want to project.
- Locate the ceiling joists: Use a stud finder or a measuring tape to locate the ceiling joists. This is important for ensuring that the chandelier is securely anchored to a sturdy part of the ceiling.
- Mark the hanging point: Once you have located the ceiling joists, mark the hanging point where you will install the ceiling hook or bracket.
- Install the ceiling hook or bracket: Depending on the type of ceiling hook or bracket you have, follow the manufacturer’s instructions to securely install it into the marked hanging point. Make sure it is properly anchored to the ceiling joist to support the weight of the chandelier.
- Attach the chain or rope: Hang the chain or rope from the ceiling hook or bracket. Ensure it is the desired length and adjust as needed.
- Hang the wagon wheel chandelier: Lift the wagon wheel chandelier and carefully hook it onto the chain or rope. Ensure it is level and balanced. You may need additional help to hold the chandelier while you attach it.
Once the wagon wheel chandelier is securely hung from the ceiling, step back and admire your handiwork. The rustic charm of the wagon wheel combined with the warm glow of the mason jars will instantly transform your space.
Now, let’s move on to the final step, where we’ll test the lighting and ensure everything is working properly.
Step 5: Test the Lighting
With your wagon wheel chandelier hung securely, it’s time to test the lighting and make sure everything is working as expected. Follow these steps:
- Turn off the power: Before conducting any electrical work, always turn off the power to the chandelier at the circuit breaker. This will ensure your safety while handling the wiring.
- Turn on the power: Once you have ensured that the power is turned off, go to the circuit breaker and turn the power back on.
- Test each light bulb: Start by testing each light bulb. Screw them into the lighting fixtures and turn them on one by one. Make sure each bulb illuminates properly and emits a warm, inviting glow.
- Mason jar aesthetics: Take a moment to appreciate the beautiful ambiance created by the mason jars. Make sure the light shines through them evenly, adding to the charm of the chandelier.
- Check the wiring connections: Examine the connections between the wiring and the lighting fixtures. Ensure that the wires are securely connected, and there are no loose or exposed wires.
- Adjustments if needed: If you notice any issues with the lighting or wiring, make the necessary adjustments. Double-check the wiring connections, tighten any loose screws or lids, and ensure everything is safe and secure.
Once you have tested and made any necessary adjustments, take a step back and admire your completed wagon wheel chandelier. The warm glow, rustic charm, and unique combination of the wagon wheel and mason jars will surely make a statement in your space.
Remember, safety is paramount when working with electrical components. If you’re unsure about any step or encounter any difficulties, consult a professional electrician for assistance.
Congratulations! You have successfully created your very own wagon wheel chandelier with mason jars. Enjoy the warm and captivating ambiance it brings to your home.
Conclusion
Creating a customized wagon wheel chandelier with mason jars is a fantastic way to add a unique and rustic touch to your home decor. By following the step-by-step instructions listed above, you can create a stunning centerpiece that will enhance the ambiance of any room.
Throughout this DIY project, you’ve learned how to prepare the wagon wheel, attach the mason jars, install the lighting fixtures, hang the chandelier, and test the lighting. Each step has brought you closer to the finished product and has allowed you to unleash your creativity.
With the mesmerizing combination of the vintage wagon wheel and the charming mason jars, your wagon wheel chandelier will undoubtedly become a focal point in your space. The soft glow emitted by the light bulbs, filtered through the jars, will create an inviting and cozy atmosphere.
As with any DIY project, make sure to prioritize safety. Follow the instructions carefully and, if needed, seek professional assistance for electrical work or any other concerns. Remember to turn off the power before working on the wiring and ensure that all connections are secure.
Now that you have completed your wagon wheel chandelier, take a moment to admire your handiwork. The satisfaction of creating something unique and personalized for your home is truly rewarding. Enjoy the warm and captivating glow that your wagon wheel chandelier brings to your living space.
So, gather your materials, put on your DIY hat, and embark on this creative journey to make your own wagon wheel chandelier with mason jars. Add a touch of rustic charm and elegance to your home, and impress your guests with this stunning masterpiece of DIY craftsmanship.
Frequently Asked Questions about How To Make A Wagon Wheel Chandelier With Mason Jars
Was this page helpful?
At Storables.com, we guarantee accurate and reliable information. Our content, validated by Expert Board Contributors, is crafted following stringent Editorial Policies. We're committed to providing you with well-researched, expert-backed insights for all your informational needs.


0 thoughts on “How To Make A Wagon Wheel Chandelier With Mason Jars”