Home>Furniture>Living Room Furniture>How To Make A No-Sew Window Seat Cushion
Living Room Furniture
How To Make A No-Sew Window Seat Cushion
Modified: March 16, 2024
Learn how to create a cozy window seat with this easy no-sew cushion tutorial. Transform your living room furniture and add comfort to your space.
(Many of the links in this article redirect to a specific reviewed product. Your purchase of these products through affiliate links helps to generate commission for Storables.com, at no extra cost. Learn more)
Introduction:
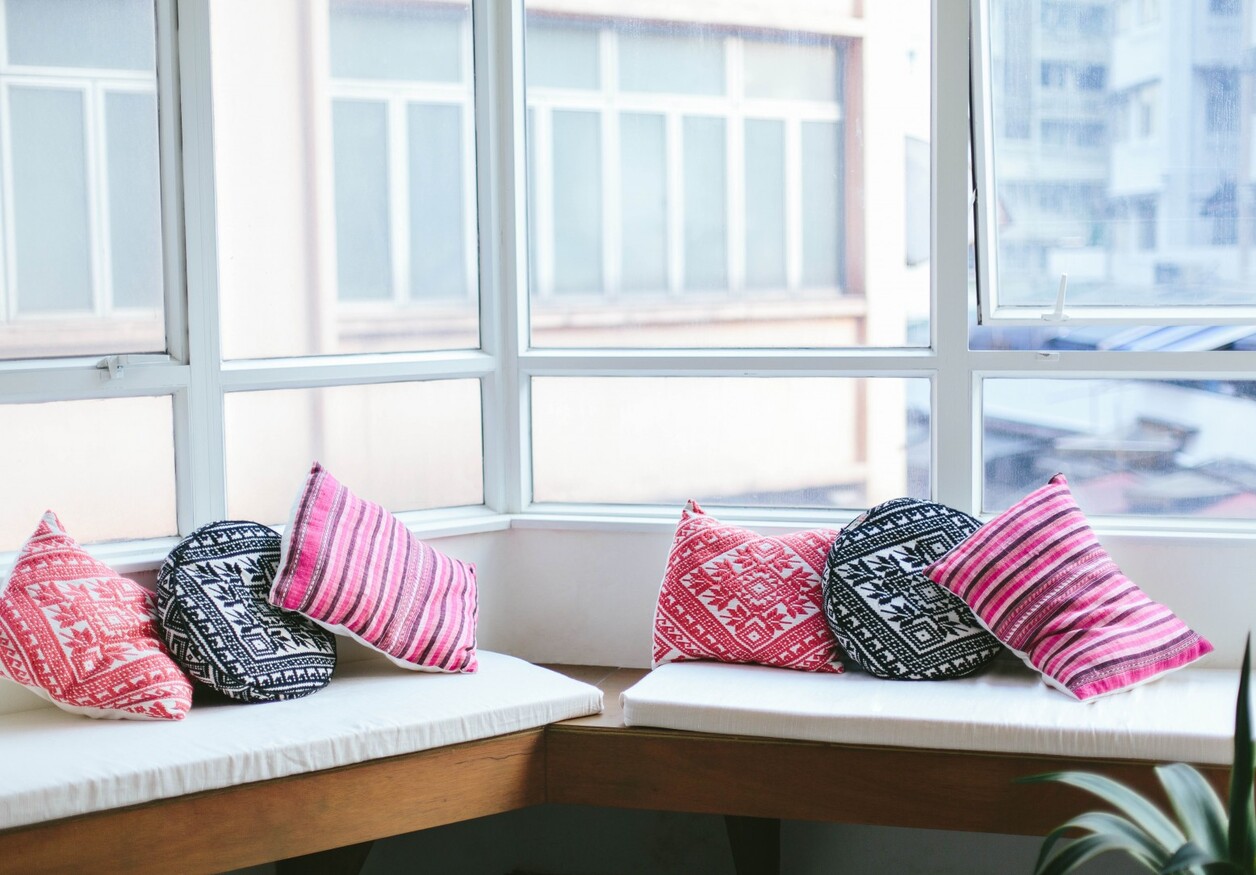
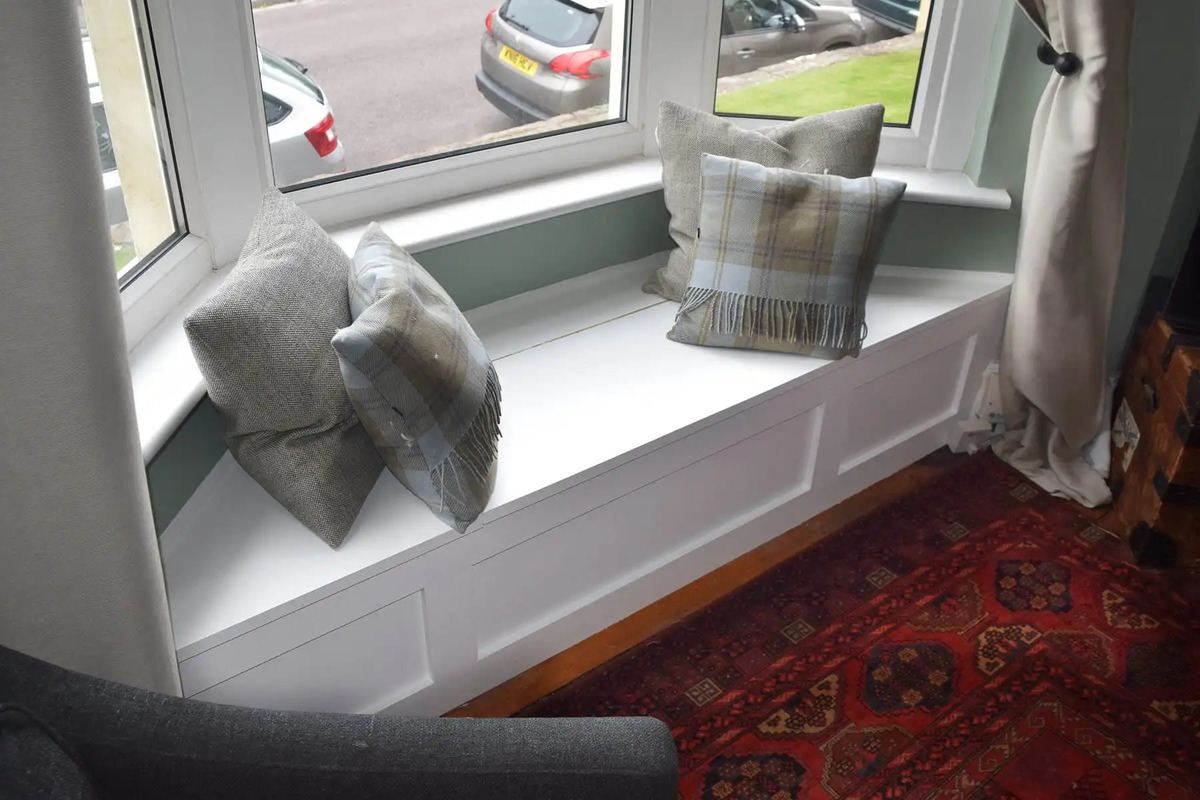
Creating a cozy and inviting space in your home is essential for relaxation and comfort. A window seat is a perfect addition to any living room, providing a spot where you can curl up with a good book, enjoy a cup of tea, or simply admire the view outside. One crucial element in making a window seat comfortable is a well-cushioned seat. While sewing a window seat cushion may seem daunting, there’s a way to achieve the same result without the need for a needle and thread – a no-sew window seat cushion.
In this article, we will guide you through the process of creating a no-sew window seat cushion that will not only be comfortable but also enhance the overall look of your living room. With just a few simple materials and easy-to-follow steps, you’ll have a beautiful cushion that fits perfectly on your window seat.
Before we dive into the details, there are a few materials you’ll need to gather:
Key Takeaways:
- Create a cozy window seat cushion without sewing by measuring, cutting foam, and wrapping it with fabric using Velcro strips. Add decorative details for a personalized touch.
- Enjoy a comfortable and stylish window seat in your living room with a hassle-free, no-sew cushion. Follow simple steps to measure, cut, and wrap the foam, and add personal flair with decorative details.
Read more: How To Sew A Window Seat Cushion With Piping
Materials Needed:
Before you begin making your no-sew window seat cushion, make sure you have the following materials on hand:
- Foam: Measure the dimensions of your window seat and purchase foam that fits the size accordingly. Opt for foam with a thickness that provides comfort while sitting.
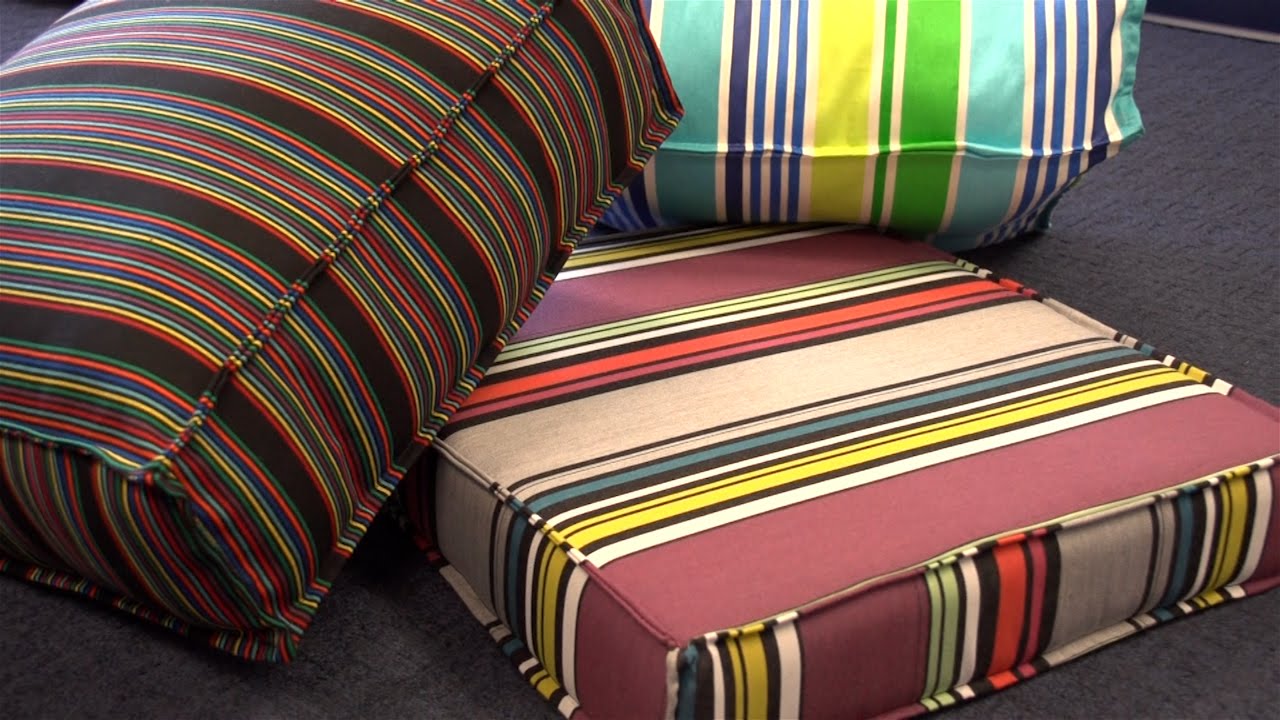
- Fabric: Choose a durable and aesthetically pleasing fabric that complements your living room decor. Make sure the fabric is wide enough to cover the foam and wrap around the edges securely.
- Scissors: You’ll need a sharp pair of scissors to cut the foam and fabric to size.
- Velcro Strips: Velcro strips will help you secure the fabric around the foam without the need for sewing.
- Measuring Tape or Ruler: Accurate measurements are crucial for a proper fit, so have a measuring tape or ruler on hand.
- Fabric Glue: Fabric glue will be used to secure the fabric and Velcro strips together.
- Trim or Decorative Details (optional): If you want to add a little extra flair to your window seat cushion, consider using trim or decorative details like buttons or ribbons.
Once you have gathered all the necessary materials, it’s time to move on to the step-by-step process of creating your no-sew window seat cushion.
Step 1: Measuring and Cutting the Foam:
The first step in creating your no-sew window seat cushion is to measure and cut the foam to fit the dimensions of your window seat. Here’s how:
- Clean the window seat area: Start by clearing any items or debris from the window seat to create an open and accessible work area.
- Measure the window seat: Use a measuring tape or ruler to measure the length, width, and depth of the window seat. Take accurate measurements to ensure a perfect fit for your cushion.
- Transfer measurements to the foam: Place the foam on a flat surface and use a marker or pencil to transfer the measurements of the window seat onto the foam. Make sure to use a straight edge or ruler to draw straight lines and maintain accuracy.
- Cut the foam: Using a sharp pair of scissors or an electric foam cutter, carefully cut along the marked lines to create a foam piece that matches the size of your window seat.
- Trim the edges (optional): If necessary, trim any uneven or excess foam edges to achieve a neat and clean look.
By accurately measuring and cutting the foam, you ensure that your window seat cushion will fit snugly and provide optimum comfort. Once you have completed this step, you can move on to preparing the fabric for wrapping the foam.
Step 2: Preparing the Fabric:
With the foam cut to the dimensions of your window seat, it’s time to prepare the fabric that will cover and wrap around it. Follow these steps to get your fabric ready:
- Lay out the fabric: Find a flat surface or table where you can lay out the fabric. Ensure that it is clean and free of any wrinkles or creases.
- Measure and cut the fabric: Place the foam on top of the fabric and use a measuring tape or ruler to measure how much fabric you will need. Leave enough excess fabric on all sides to ensure a secure wrap around the foam.
- Mark the fabric: Using a marker or pencil, mark the dimensions of the foam on the fabric. Make sure to use a straight edge or ruler to draw straight lines for accuracy.
- Cut the fabric: Using a sharp pair of scissors, carefully cut along the marked lines to create a fabric piece that matches the size of the foam.
- Trim the edges (optional): If desired, you can trim the edges of the fabric to create a clean and neat appearance.
By preparing the fabric before attaching it to the foam, you ensure a smooth and efficient wrapping process. Having the fabric cut to the correct size will make it easier to secure and create a professional-looking no-sew window seat cushion. Once the fabric is ready, you can move on to the next step of attaching Velcro strips.
Step 3: Attaching the Velcro Strips:
Now that you have the fabric prepared, it’s time to attach Velcro strips to secure the fabric around the foam without the need for sewing. Follow these steps to attach the Velcro strips:
- Measure and cut the Velcro strips: Using a measuring tape or ruler, cut Velcro strips to match the length of each side of the foam.
- Place the strips on the fabric: Peel off the adhesive backing on one side of the Velcro strip and press it firmly onto the fabric, approximately one inch from the edge. Repeat this step for each side of the fabric, ensuring that the Velcro strips are evenly spaced.
- Attach the opposing Velcro strips to the foam: Peel off the adhesive backing on the other side of the Velcro strip and carefully attach it to the corresponding strip on the fabric. Make sure the Velcro strips align to create a secure connection.
- Press firmly: Once all the Velcro strips are attached, press firmly on the fabric and Velcro to ensure a strong bond.
Attaching Velcro strips allows you to easily wrap the fabric around the foam and adjust as needed to achieve a snug fit. This no-sew method provides a convenient way to secure the fabric without the use of needles and thread. With the Velcro strips in place, you can now proceed to the next step of placing the foam on the fabric.
When making a no-sew window seat cushion, use a high-density foam for better comfort and durability. This will ensure that the cushion maintains its shape and support over time.
Read more: How To Make Window Seat Cushions
Step 4: Placing the Foam on the Fabric:
With the Velcro strips attached to the fabric, it’s time to place the foam on the fabric and ensure it is positioned correctly. Follow these steps to properly place the foam:
- Lay the fabric on a flat surface: Start by laying the fabric on a clean, flat surface with the Velcro strips facing up.
- Position the foam: Carefully place the foam on top of the fabric, ensuring that it aligns with the corners and edges.
- Center the foam: Adjust the foam to ensure it is centered on the fabric. This will ensure an even distribution of cushioning.
By properly positioning the foam on the fabric, you ensure that it will be secure and provide optimum comfort on your window seat. With the foam in place, you can move on to the next step of wrapping and securing the fabric around the cushion.
Step 5: Wrapping and Securing the Fabric:
Now that the foam is positioned on the fabric, it’s time to wrap and secure the fabric around the cushion. Follow these steps to ensure a snug and secure fit:
- Lift one side of the fabric: Start by lifting one side of the fabric and pulling it tightly over the foam, ensuring that it covers the entire cushion.
- Attach the Velcro strips: Press the fabric onto the corresponding Velcro strips, making sure they firmly connect to secure the fabric in place.
- Repeat on the remaining sides: Repeat the process on the remaining sides, lifting, pulling, and attaching the fabric to the Velcro strips. Pull the fabric tightly to create a smooth and wrinkle-free surface.
- Check for evenness: After wrapping and securing all sides, check to make sure the fabric is even and properly aligned with the window seat.
- Adjust if necessary: If you notice any areas of the fabric that are sagging or uneven, carefully adjust and reattach the Velcro strips to achieve a neat and uniform appearance.
By properly wrapping and securing the fabric, you ensure that your window seat cushion will look polished and stay in place. The Velcro strips provide a convenient and no-sew method of attaching the fabric securely. Once the fabric is wrapped and secured to your satisfaction, you can move on to the optional step of adding decorative details.
Step 6: Adding Decorative Details (optional):
If you want to add a touch of personalization or enhance the aesthetic appeal of your no-sew window seat cushion, you can consider adding some decorative details. Here are a few options:
- Trim: Attach decorative trim along the edges of the cushion for a finished look. There are various types of trim available, such as pom-pom trim, tassel trim, or even lace trim, that can add a playful or elegant touch to your cushion.
- Buttons: Sew or glue buttons in a pattern or randomly onto the cushion for an added visual interest. This option allows you to get creative and choose buttons that match your personal style or complement your living room decor.
- Ribbons: Attach ribbons to the corners or sides of the cushion for a decorative accent. You can tie them in bows or create a crisscross pattern for a charming and whimsical touch.
- Embroidery or Applique: If you have embroidery or applique skills, you can add intricate designs or patterns to the fabric of the cushion. This option allows for a truly unique and personalized touch.
- Monogram or Initials: Consider adding your monogram or initials to the cushion using fabric paint or iron-on letters. This adds a personal touch and makes the cushion uniquely yours.
Adding decorative details allows you to customize your window seat cushion and make it a focal point of your living room. Choose options that resonate with your personal style and complement the overall decor of the space. Once you have added the desired decorative details, step back and admire your beautifully crafted no-sew window seat cushion.
Conclusion:
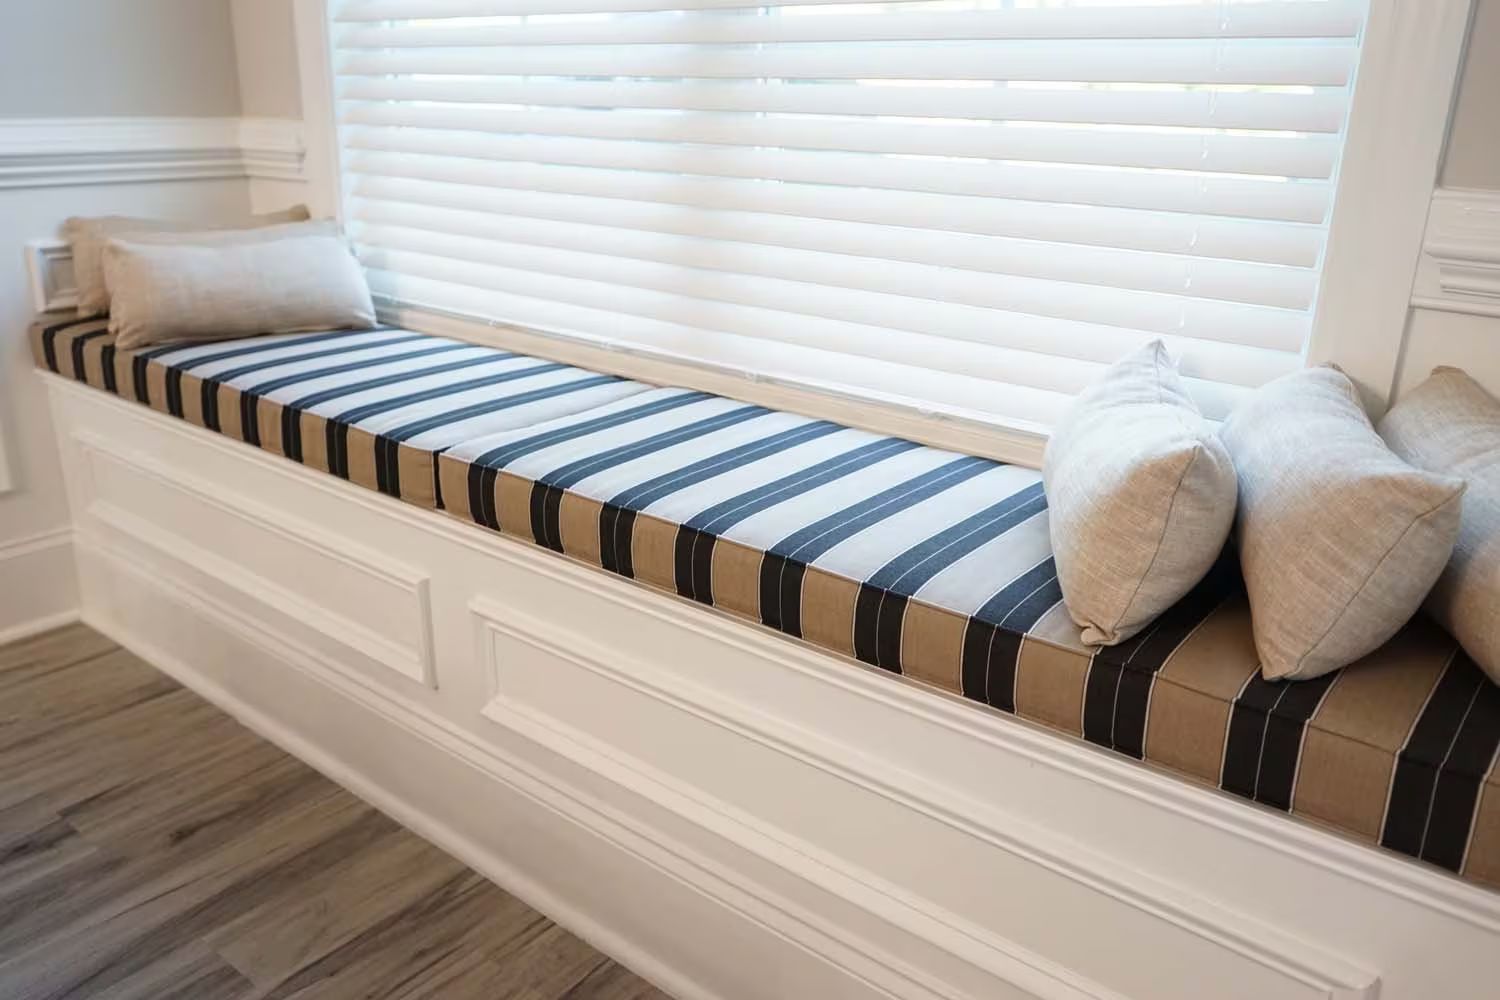
Creating a comfortable and stylish window seat cushion for your living room doesn’t have to involve complicated sewing techniques. With the no-sew method outlined in this article, you can achieve the same results using simple materials and easy-to-follow steps. By measuring and cutting the foam, preparing the fabric, attaching Velcro strips, and wrapping and securing the fabric, you can create a well-cushioned and visually appealing window seat.
Remember to take accurate measurements and choose a durable fabric that complements your living room decor. The Velcro strips will provide a secure attachment without the need for sewing, making the process hassle-free. You also have the option to add decorative details like trim, buttons, ribbons, or personalized monograms to give your window seat cushion a unique touch.
Whether you’re looking to create a cozy reading nook or an inviting spot to relax and unwind, a no-sew window seat cushion will enhance the comfort and aesthetic appeal of your living room. Take the time to carefully follow each step, ensuring that the foam is snugly wrapped and the fabric is securely attached.
With your new no-sew window seat cushion in place, you can now enjoy the comfort and relaxation it provides. Curl up with a good book, savor a cup of tea, or simply admire the view outside your window. The possibilities are endless when you have a cozy and inviting space in your living room.
So, why wait? Gather your materials, follow the steps outlined in this article, and create your very own no-sew window seat cushion today. You’ll be amazed at the transformation it brings to your living room and how it becomes the perfect spot to unwind and enjoy some quality time.
Frequently Asked Questions about How To Make A No-Sew Window Seat Cushion
Was this page helpful?
At Storables.com, we guarantee accurate and reliable information. Our content, validated by Expert Board Contributors, is crafted following stringent Editorial Policies. We're committed to providing you with well-researched, expert-backed insights for all your informational needs.


0 thoughts on “How To Make A No-Sew Window Seat Cushion”