Home>Furniture>Living Room Furniture>How To Sew A Window Seat Cushion With Piping
Living Room Furniture
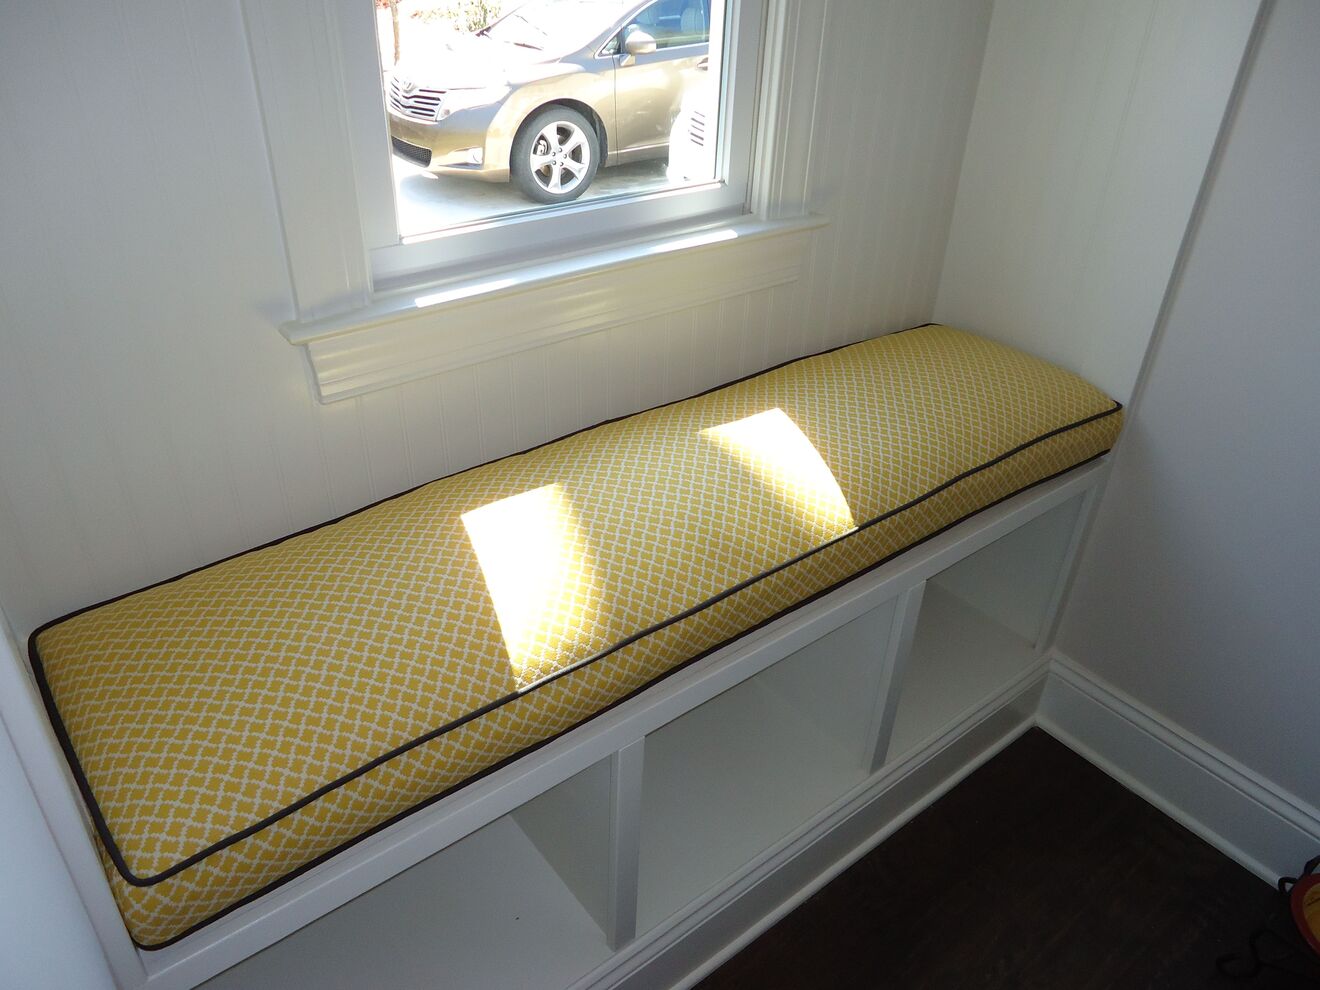
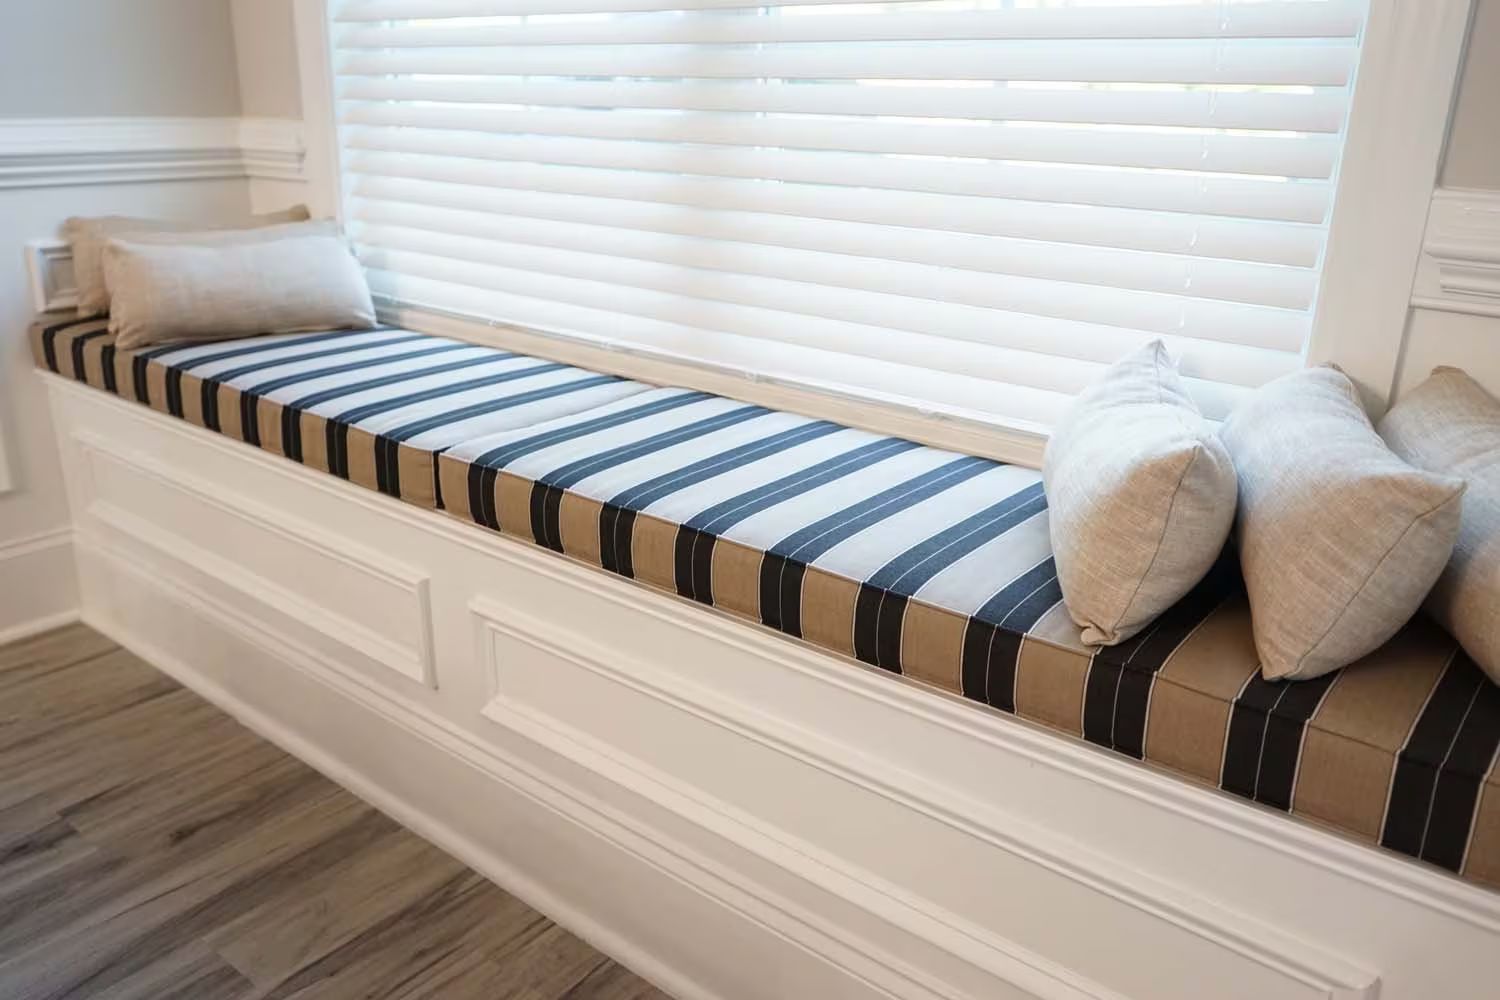
How To Sew A Window Seat Cushion With Piping
Modified: March 16, 2024
Learn how to sew a window seat cushion with piping for your living room furniture. Create a cozy and stylish seating area with this DIY project.
(Many of the links in this article redirect to a specific reviewed product. Your purchase of these products through affiliate links helps to generate commission for Storables.com, at no extra cost. Learn more)
Introduction
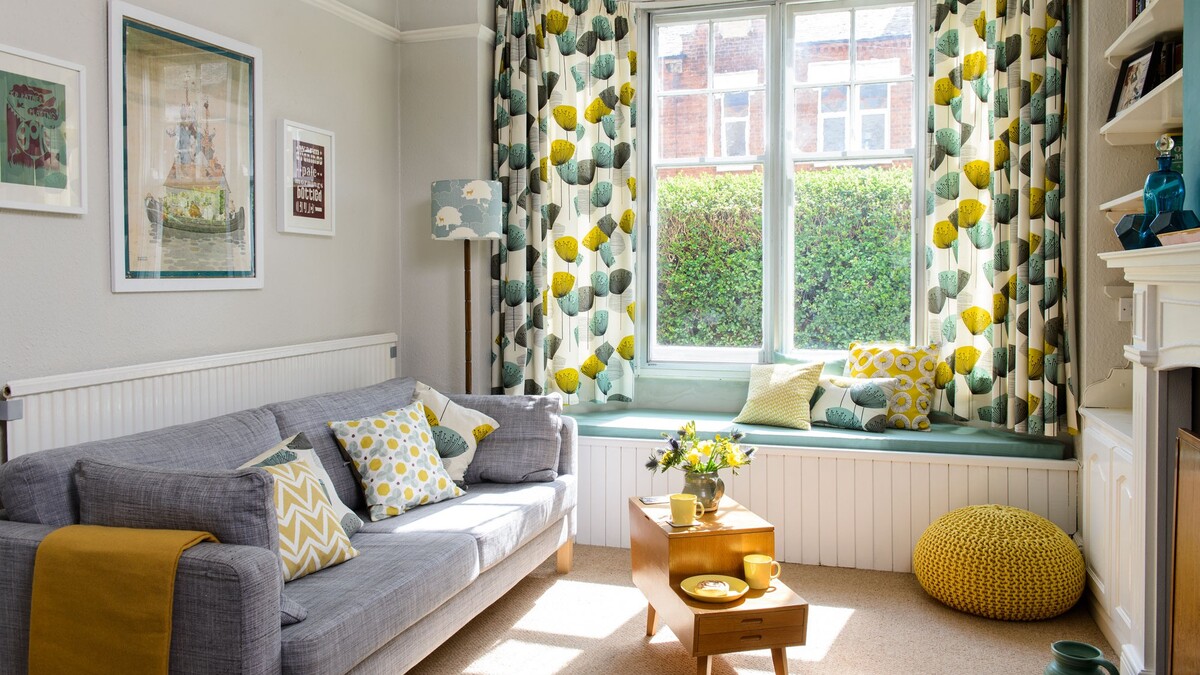
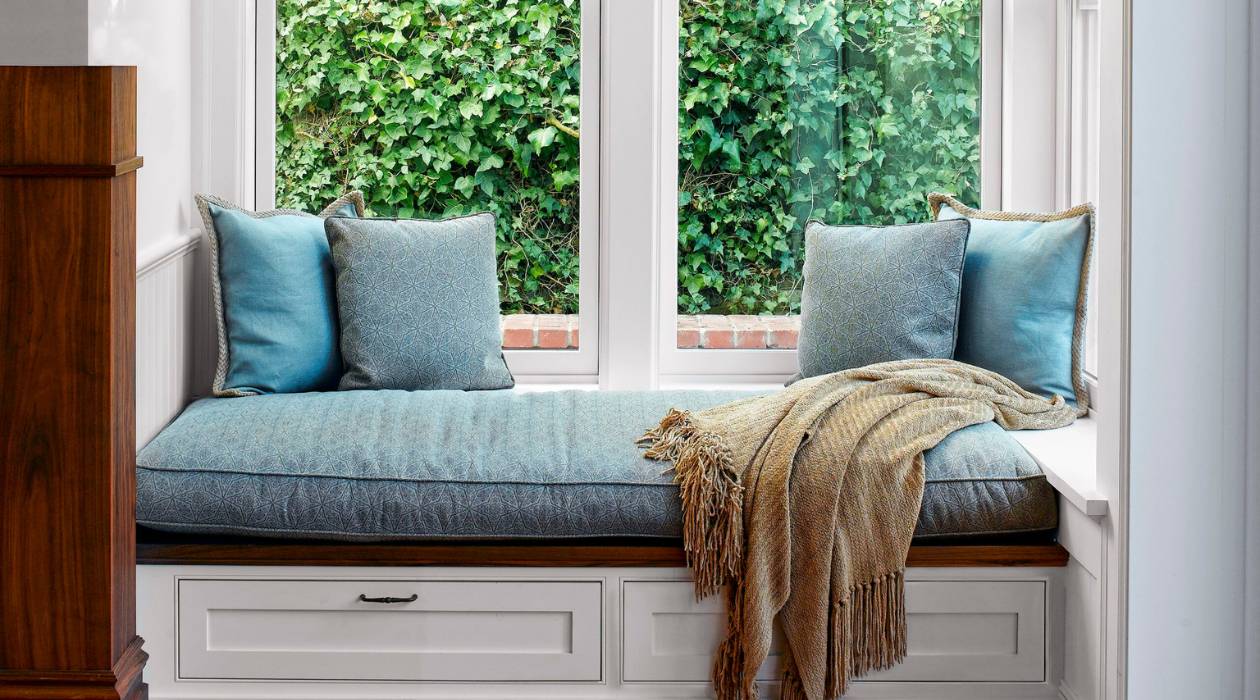
Creating a cozy and stylish window seat in your living room can instantly elevate the comfort and aesthetic appeal of the space. And what better way to enhance the comfort of your window seat than by adding a custom-made cushion with piping?
In this article, we will walk you through the step-by-step process of sewing a window seat cushion with piping. Whether you are an experienced sewer or a beginner looking to tackle a fun project, this guide will provide you with all the information you need to create a beautiful cushion that perfectly fits your window seat.
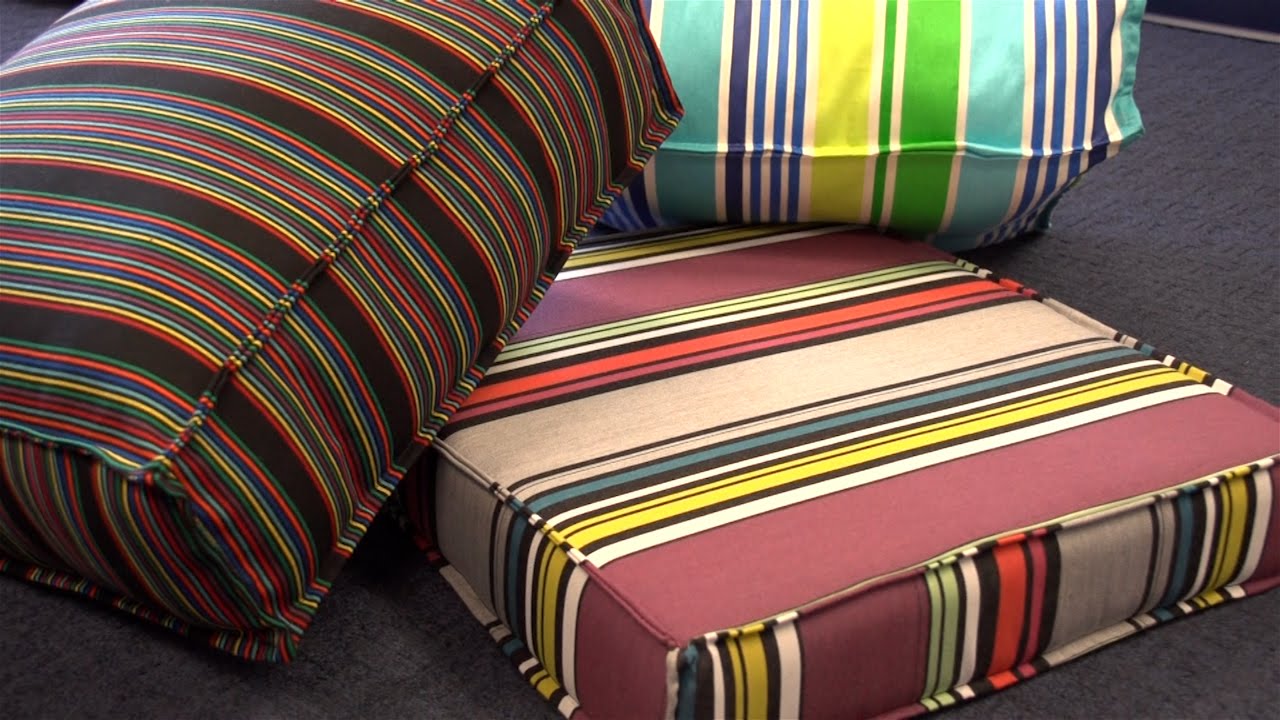
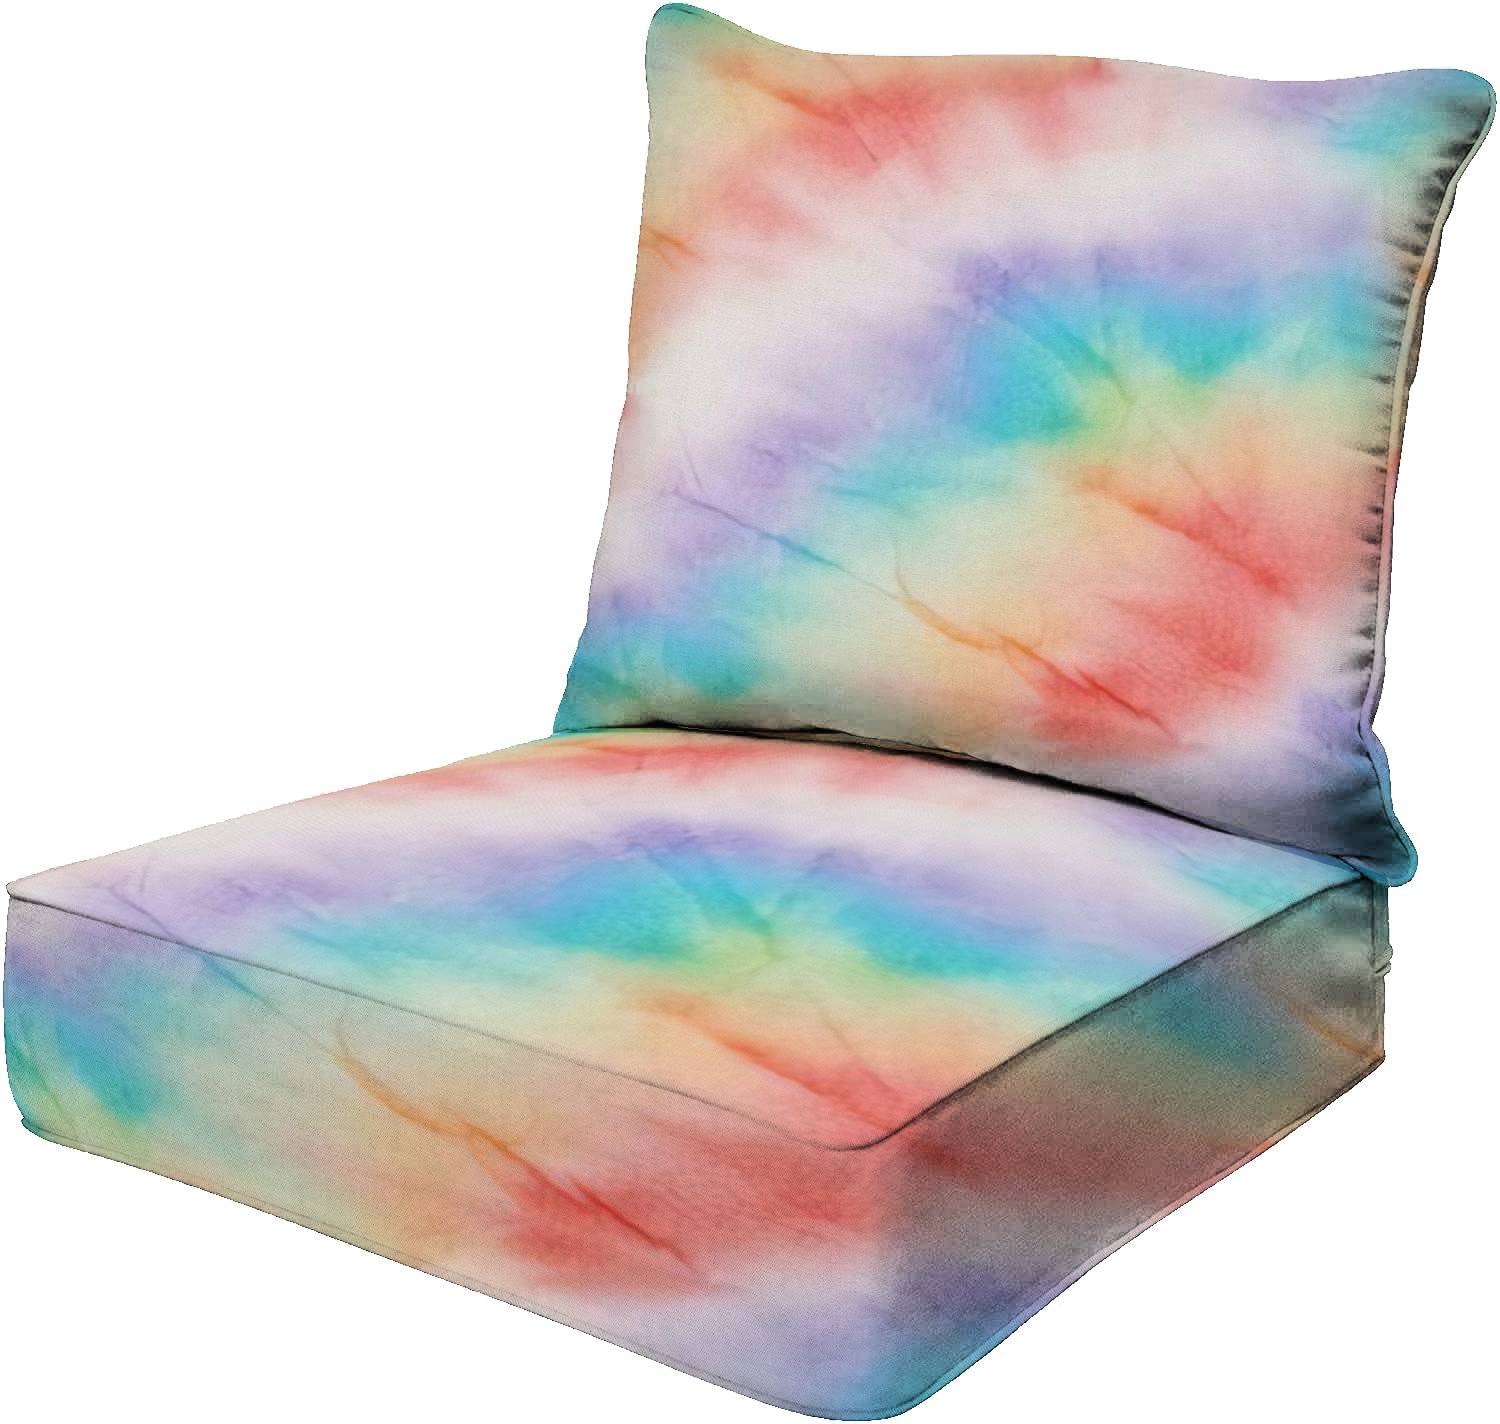
By sewing your own cushion, you have the freedom to choose the fabric that complements your existing decor. Additionally, adding piping enhances the finished look of the cushion and adds a touch of elegance.
Before diving into the sewing process, make sure you have gathered all the necessary materials. Having everything ready will ensure a smooth and stress-free experience.
So, let’s gather our supplies and get started on creating a cozy oasis with our own window seat cushion!
Key Takeaways:
- Create a custom window seat cushion with piping to add comfort and style to your living room. Choose fabric, measure accurately, and sew with care for a cozy oasis.
- Infuse creativity and attention to detail to sew a unique and inviting window seat cushion. Enjoy the satisfaction of a job well done and relish in the cozy comfort of your handmade creation.
Read more: How To Make A Window Seat Cushion
Materials Needed
To sew a window seat cushion with piping, you will need the following materials:
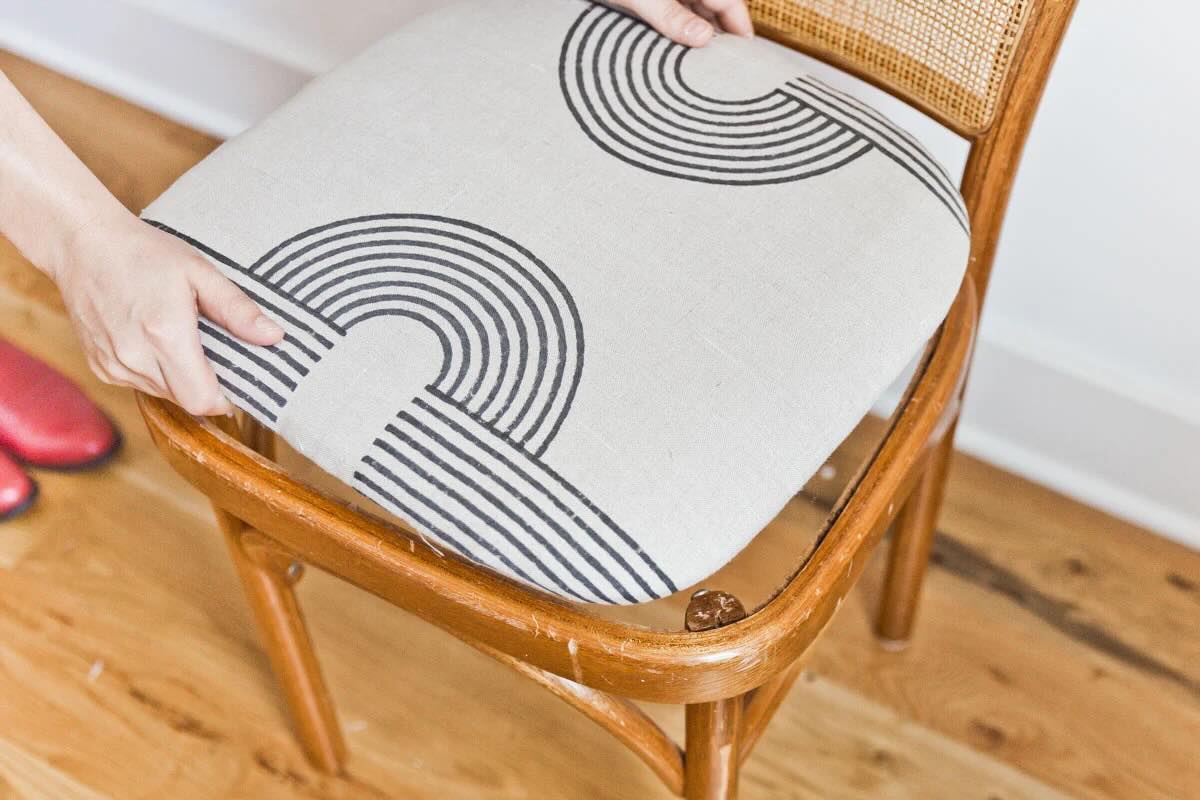
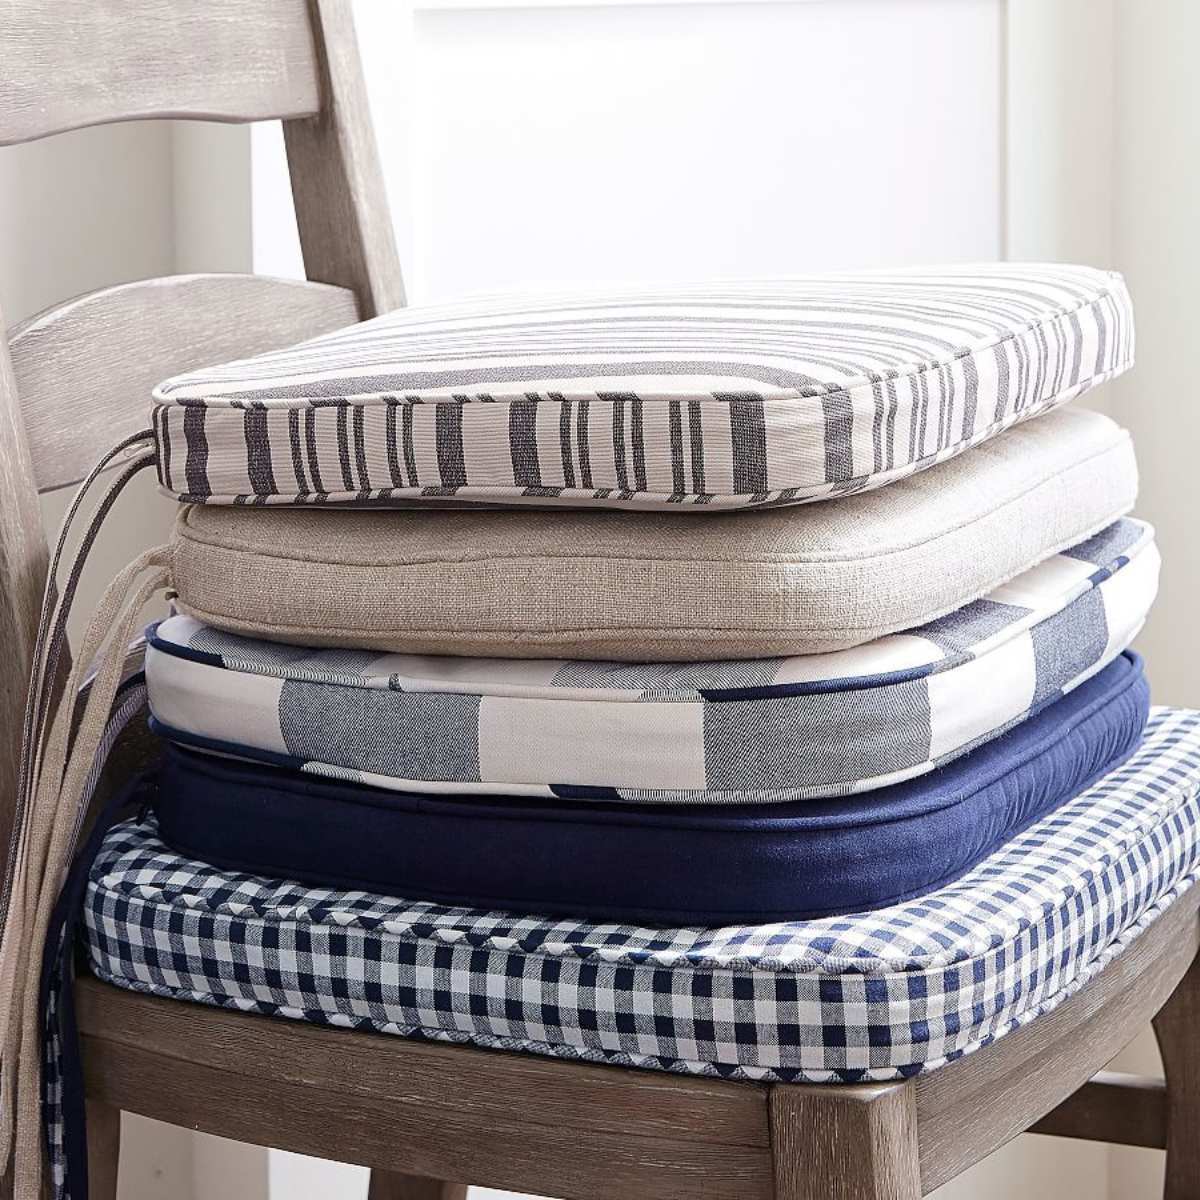
- Fabric for cushion: Choose a durable and comfortable fabric that matches your decor. Consider the color, pattern, and texture that will best suit your living room.
- Fabric for piping: This fabric should complement or contrast with the cushion fabric, depending on the style you prefer. Make sure it is sturdy enough to withstand frequent use.
- Foam or batting: You will need foam or batting to provide the cushioning for your window seat. Foam gives a more firm and supportive feel, while batting provides a softer and cozy texture.
- Sewing machine: A sewing machine will make the process faster and more efficient. Make sure it is in good working condition and threaded with the appropriate thread color.
- Scissors: You will need sharp fabric scissors to cut the fabric and piping accurately. Invest in a quality pair that will make your cutting tasks easier.
- Measuring tape: Accurate measurements are crucial for creating a well-fitting window seat cushion. A measuring tape will help you determine the correct dimensions for your cushion.
- Pins: Pins are essential for holding fabric layers together securely during sewing. Use them to secure the fabric and piping before stitching.
- Thread: Choose a high-quality thread that matches the color of your fabric and piping. This will ensure that the stitches blend seamlessly and provide a professional finish.
- Zipper (optional): If you prefer having a removable cushion cover for easy cleaning, you will need a zipper. Choose a zipper that coordinates with your fabric and is suitable for heavy use.
- Iron: Having an iron handy is essential for pressing the fabric and seams, ensuring a clean and polished look for your window seat cushion.
Before proceeding with the sewing process, double-check that you have all these materials readily available. Having everything within reach will make the project more enjoyable and allow you to proceed smoothly from one step to the next.
Step 1: Measure the Window Seat
The first and most crucial step in creating a custom window seat cushion is accurately measuring the dimensions of your window seat. Taking precise measurements will ensure that your cushion fits perfectly and provides optimal comfort.
Here’s how to measure your window seat:
- Start by measuring the length of the seat from one end to the other. Use a measuring tape and record the measurement.
- Next, measure the width of the seat from the front edge to the backrest. Again, record the measurement.
- Measure the depth of the seat from the front edge to the backrest. This measurement will determine the thickness of your cushion.
- If your window seat has any irregularities, such as curved or angled corners, make sure to measure those as well, noting the specific dimensions.
Once you have all the measurements recorded, it’s time to calculate the fabric and foam/batting needed for your cushion. To determine the fabric dimensions, add 1 inch to both the length and width measurements to account for seam allowances. For example, if your seat measures 50 inches long and 20 inches wide, you would cut your fabric to be 51 inches by 21 inches.
For the foam or batting, cut it to match the exact dimensions of your seat, without adding any extra inches for seam allowances. This will ensure a snug fit inside the cushion cover.
Taking accurate measurements is crucial for achieving a professional-looking window seat cushion. Double-check your calculations before proceeding to the next step. Once you have the measurements ready, you can move on to cutting the fabric for your cushion.
Step 2: Cut the Fabric for the Cushion
Now that you have your measurements for the window seat, it’s time to cut the fabric for the cushion. Make sure to choose a durable and aesthetically pleasing fabric that complements your living room decor.
Follow these steps to cut the fabric for your cushion:
- Lay the fabric flat on a clean and spacious working surface. Ensure that the fabric is wrinkle-free to get accurate and even cuts.
- Using a fabric marker or tailor’s chalk, mark the dimensions of the cushion on the fabric. Refer to the measurements you took in Step 1 for the length and width of your window seat.
- When marking the fabric, add an additional 1 inch to all sides for seam allowances. This will allow enough fabric to sew the cushion cover together.
- Double-check the marked dimensions before proceeding to cut the fabric with fabric scissors. Make precise and straight cuts along the marked lines.
If your window seat has any irregularities, such as curved corners, consider using a template or flexible ruler to create accurate pattern pieces.
Once you have cut the fabric for the cushion, double-check its dimensions to ensure they match your window seat’s measurements. It’s always better to err on the side of caution and make adjustments if needed.
After cutting the fabric, set it aside for the following steps in which you will sew the cushion cover and attach the piping. Having the fabric ready will streamline the rest of the process and help you visualize the final result.
Step 3: Cut the Fabric for the Piping
In this step, we will cut the fabric for the piping that will adorn the edges of our window seat cushion. The piping adds a decorative touch and gives a finished look to the cushion.
Follow these steps to cut the fabric for the piping:
- Choose a fabric for the piping that complements or contrasts with your cushion fabric, depending on the desired look.
- Measure the perimeter of the cushion cover to determine the length of the piping needed. Use a measuring tape and record the measurement.
- Decide on the width of the piping. This will depend on personal preference and the scale of your window seat. Typically, a width of 1/2 inch to 1 inch works well for piping.
- Add extra inches to the measured length to account for the seam allowances and any corners or turns in the piping. It’s best to add around 1 inch to ensure you have enough fabric for the piping.
- Use a ruler and fabric marker or tailor’s chalk to mark the length and width of the piping on the fabric. Make straight lines for a clean finish.
- Double-check the marked dimensions before cutting the fabric with fabric scissors. Take your time and make accurate cuts along the marked lines.
Once you have cut the fabric for the piping, ensure that the dimensions are in line with your cushion cover and the desired width for the piping. Remember that adding a little extra fabric is better than cutting too short.
The fabric for the piping is now ready to be sewn and attached to the cushion cover in the next steps. With the fabric prepared, you are one step closer to completing your custom window seat cushion with a touch of elegant piping.
Read also: 15 Amazing Window Seat Cushion For 2025
Step 4: Cut the Foam or Batting
In this step, we will cut the foam or batting that will provide the cushioning for your window seat. The foam or batting will go inside the cushion cover and ensure a comfortable seating experience.
Follow these steps to cut the foam or batting:
- Refer to the measurements you took in Step 1 for the length, width, and depth of your window seat.
- Place the foam or batting on a flat and clean surface. If using foam, ensure that it is dense enough to provide adequate support.
- Measure and mark the dimensions of the cushion onto the foam or batting using a fabric marker or tailor’s chalk. Make sure to include the thickness measurement, as this will determine how plush the cushion feels.
- Double-check the marked dimensions before cutting the foam or batting. Use a sharp pair of scissors or an electric knife to make precise cuts along the marked lines.
It’s essential to ensure that the foam or batting matches the dimensions of your window seat precisely. A snug fit will prevent the cushion from sagging or sliding around.
Once you have cut the foam or batting, place it aside and keep it clean. It will be inserted into the cushion cover in the later steps of the sewing process.
With the foam or batting ready, you are one step closer to completing your cozy window seat cushion. The cushioning will provide the necessary support and comfort for relaxing on your window seat for hours.
Step 5: Sew the Piping
Now that you have cut the fabric for the piping, it’s time to sew it together. Sewing the piping will create the trim that will run along the edges of your window seat cushion, giving it a polished and finished look.
Follow these steps to sew the piping:
- Take the fabric strip that you cut for the piping and fold it in half lengthwise with the right sides facing each other. Make sure the edges align properly.
- Using a sewing machine, sew a straight stitch along the raw edge of the fabric strip, leaving a seam allowance of 1/4 inch.
- Attach a piping foot to your sewing machine. This foot has a groove that will guide the piping as you sew.
- Place the piping cord along the fold line of the fabric strip, with the raw edges of the fabric enveloping the cord.
- Place the fabric with the attached piping under the piping foot, ensuring that the cord is snug against the groove of the foot.
- Using a zipper foot or another suitable foot, sew as close to the piping cord as possible. This will secure the fabric in place and encase the cord within the piping.
- Continue sewing the entire length of the fabric strip, making sure to maintain a consistent seam allowance and keep the cord centered within the fabric.
- When you reach the end of the fabric strip, trim any excess fabric, leaving a seam allowance of 1/4 inch.
- Join the two ends of the piping strip by folding and overlapping them. Make sure the fabric is smooth and the cord aligns without any twists.
- Finish sewing the two ends together, ensuring a tight and secure connection.
Once you have sewn the piping, take a moment to inspect your work. Make sure the fabric is securely attached to the cord, and there are no loose stitches. Trim any stray threads, if necessary.
With the piping complete, set it aside for the next step, where we will sew the cushion cover and attach the piping to it. Sewing the piping will add a beautiful finishing touch to your window seat cushion.
When sewing a window seat cushion with piping, make sure to use a zipper foot to easily sew close to the piping without catching it. This will give your cushion a professional and polished look.
Step 6: Sew the Cushion Cover
Now that the piping is ready, it’s time to sew the cushion cover. The cushion cover will encase the foam or batting, providing a clean and tailored look to your window seat cushion.
Follow these steps to sew the cushion cover:
- Take the fabric pieces you cut for the cushion and lay them flat with the right sides facing each other. Ensure that the edges align perfectly.
- Pin the fabric pieces together along the edges, leaving one side open for inserting the foam or batting.
- Using a sewing machine, sew a straight stitch along the pinned edges, leaving a seam allowance of 1/2 inch. Sew slowly and remove the pins as you go.
- If you want to add a zipper for easy removal of the cushion cover, sew the zipper to the open side of the cover. Follow the instructions of your zipper for sewing it in place.
- If you are not adding a zipper, simply leave one side open for inserting the foam or batting.
- Trim any excess fabric and clip the corners to reduce bulk.
- Turn the cushion cover right side out through the open side. Use a pencil or similar object to push out the corners and achieve crisp edges.
- Press the cushion cover with an iron to smooth out any wrinkles and create a neat finish.
Once you have completed sewing the cushion cover, take a moment to admire your work and ensure all seams are secure. If you added a zipper, test its functionality to ensure it opens and closes smoothly.
Now that the cushion cover is ready, it’s time to move on to the next step and attach the piping for that extra touch of style and sophistication.
Step 7: Sew the Zipper (optional)
If you prefer a removable cushion cover for easy cleaning, adding a zipper is a great option. The zipper will allow you to easily remove and insert the foam or batting inside the cushion cover. If you decide to add a zipper, follow these steps:
- Measure the length of the open side of your cushion cover.
- Choose a zipper that matches the length of the opening. A zipper that is slightly shorter than the opening will work as well.
- Prepare the zipper by ironing it to remove any wrinkles. This will make it easier to sew in place.
- Place the zipper face-down on one side of the open edge of the cushion cover, aligning it with the raw edges.
- Pin the zipper in place and use a zipper foot on your sewing machine to sew it onto the fabric. Start at one end of the zipper and sew all the way to the other end.
- Repeat the previous step for the other side of the zipper, making sure it aligns with the fabric edges and is sewn securely.
- Test the zipper to ensure it opens and closes smoothly before proceeding to the next step.
Adding a zipper gives you the flexibility to remove the cushion cover for washing or replacing the foam or batting. It’s a great option if you anticipate the need for regular cleaning or maintenance of your window seat cushion.
If you choose not to add a zipper, you can simply sew the open side of the cushion cover shut in the next step.
Now that the zipper is sewn in (or the cushion cover is ready to be sealed), we can move on to attaching the piping for that extra finishing touch.
Read more: How Thick Should My Window Seat Cushion Be
Step 8: Attach the Piping to the Cushion Cover
Attaching the piping to the cushion cover will give your window seat cushion a professional and polished look. Follow these steps to attach the piping:
- Lay the cushion cover flat with the right side facing up.
- Take the piping that you sewed earlier and place it along the edge of the cushion cover, with the raw edges aligned. The piping cord should be facing towards the center of the cushion.
- Pin the piping in place, ensuring that it lies flat and follows the edges of the cushion cover.
- Attach a piping foot to your sewing machine. This foot has a groove specifically designed to guide the piping as you sew.
- Starting at a corner or any convenient point, position the cushion cover and piping under the piping foot. Ensure that the cord of the piping is inserted into the groove of the foot.
- Sew a straight stitch as close to the piping cord as possible. This will secure the piping to the cushion cover.
- As you sew, guide the fabric and piping smoothly, making sure to catch both layers in your stitches.
- Continue sewing around the entire perimeter of the cushion cover, carefully curving and pivoting around corners.
- When you reach the starting point, trim the piping fabric, leaving a small excess to overlap the beginning section.
- Overlap the beginning and ending sections of the piping, ensuring that they align neatly, and sew them together to create a seamless joint.
Take your time while sewing the piping to ensure accuracy and evenness. Remove the pins as you sew to prevent any obstructions or accidents. When you’re finished, inspect the piping to ensure it’s securely attached and lies flat against the cushion cover.
With the piping elegantly attached, your cushion cover is taking shape. The next step will involve sewing the cushion cover closed, enclosing the foam or batting inside.
Step 9: Sew the Cushion Cover Closed
At this stage, we will sew the open side of the cushion cover closed, enclosing the foam or batting inside. Follow these steps to complete the cushion cover:
- Take the cushion cover and fold the open sides inward, aligning the raw edges. Make sure that the fabric is tucked in neatly.
- Pin the folded sides together to secure them in place.
- Using a sewing machine, sew a straight stitch along the pinned edges, approximately 1/2 inch from the edge. Begin stitching a few inches away from one corner and end a few inches before reaching the other corner to leave a small opening.
- Backstitch at the beginning and end of your stitching to reinforce the seam.
- Remove any pins as you sew, taking care not to sew over them.
- Trim any excess thread and remove any loose threads for a clean finish.
Remember to sew slowly and carefully, ensuring that the edges are aligned and the stitches are straight. Take your time to maintain the integrity of the cushion cover.
Once you’ve completed sewing the cushion cover closed, give it a gentle tug to ensure that the seam is strong. Check for any missed areas or loose threads. If necessary, reinforce any weak spots by sewing a second line of stitching.
With the cushion cover securely sewn closed, we are one step away from completing our window seat cushion. All that’s left now is to insert the foam or batting.
Step 10: Insert the Foam or Batting
In this step, we will insert the foam or batting into the cushion cover, giving your window seat cushion its plush and comfortable texture. Follow these steps to insert the foam or batting:
- Open the zipper, if you have added one, or gently pull apart the opening of the cushion cover.
- Ensure that the cushion cover is inside out, with the right side of the fabric facing inwards.
- If you are using foam, carefully slide it into the cushion cover through the opening. Adjust it to fit snugly within the cover.
- If you are using batting, begin by evenly layering and stuffing it into the cushion cover through the opening. Use your hands to fluff and adjust the batting for a comfortable and even distribution.
- Ensure that the foam or batting fills out the corners fully, giving the cushion a plump and well-formed shape.
- Smooth out any wrinkles or lumps by gently manipulating the foam or batting from the outside of the cushion cover.
- Once the foam or batting is positioned and fills the cushion cover, close the zipper or sew the opening shut using a needle and thread. Ensure that the closure is secure, leaving no gaps or loose ends.
Take care when inserting the foam or batting to avoid tearing or stretching the cushion cover. Smooth out any wrinkles or folds as you go to achieve a uniform and comfortable cushion.
After inserting the foam or batting, give your cushion a gentle squeeze and fluff it up to ensure it’s evenly distributed. Take a moment to admire your completed window seat cushion, ready to be placed on your window seat for ultimate comfort and style.
Congratulations! You have successfully completed the steps to sew a window seat cushion with piping. With your newly sewn cushion, your window seat will provide a cozy and inviting spot for relaxation and enjoyment for years to come.
Now, all that’s left is to place your cushion on the window seat and take a moment to appreciate the beauty and comfort you have created.
Step 11: Finishing Touches
After sewing the window seat cushion and inserting the foam or batting, there are a few final touches to complete the project and ensure a polished end result. Follow these steps to add the finishing touches:
- Ironing the Cushion: To give your window seat cushion a polished and professional look, take the time to iron it. Ironing will remove any wrinkles or creases in the fabric, creating a smooth and neat appearance. Set your iron to the appropriate temperature for your fabric type and gently press the cushion cover, paying attention to the edges and corners. Be careful not to iron directly on any piping or foam sticking out.
- Placing the Cushion on the Window Seat: Once your cushion is ironed and ready, it’s time to place it on the window seat. Carefully position the cushion on the seat, ensuring it fits snugly and looks visually pleasing within your living room space. Adjust the cushion to be even and centered, so it provides optimal comfort and adds a touch of elegance to your window seat area.
By ironing the cushion and taking the time to position it correctly, you’ll add that final touch of perfection to your window seat. Sit back, relax, and enjoy the cozy comfort and beautiful aesthetic you’ve created in your living room.
With these final touches, your window seat cushion is complete. It’s time to kick back, relax, and enjoy the cozy corner you’ve designed. Whether you’re curling up with a book or simply gazing out the window, your cushion will provide a comfortable and stylish perch. Well done!
Remember, sewing a window seat cushion is a creative and rewarding project. With some careful measurements, precise sewing, and attention to detail, you have transformed your window seat into a cozy and inviting space. Enjoy your new cushion and the comfort it brings to your home!
Read also: 9 Best Bay Window Seat Cushion For 2025
Conclusion
Congratulations on completing your journey to sew a beautiful window seat cushion with piping! By following the step-by-step instructions in this guide, you have successfully created a custom-made cushion that perfectly fits your window seat, adding both comfort and style to your living room.
Throughout this process, you learned how to measure your window seat accurately, cut the fabric for the cushion and piping, sew the piping and cushion cover, and insert the foam or batting to complete the cushion. Along the way, you added optional steps such as sewing a zipper for easy removal and sewing the cushion cover closed.
By infusing your creativity and personal taste through fabric selection and attention to detail, you’ve crafted a unique and inviting cushion that seamlessly integrates into your living room decor. The addition of piping demonstrates your commitment to quality craftsmanship and elevates the overall look of the cushion.
In the final steps, you put the finishing touches on your cushion by giving it a quick ironing to ensure a crisp appearance and placed it on your window seat. Now, it’s time to enjoy the fruits of your labor and relish in the cozy comfort of your own handmade cushion.
Remember, the skills you’ve gained in this project can be applied to future sewing endeavors. Whether it’s sewing pillows, curtains, or other home decor projects, you now have a solid foundation to explore new possibilities.
Thank you for embarking on this sewing adventure with us. We hope you’ve found this guide helpful and inspiring. Embrace the satisfaction of a job well done, and enjoy your newly adorned window seat with pride!
Frequently Asked Questions about How To Sew A Window Seat Cushion With Piping
Was this page helpful?
At Storables.com, we guarantee accurate and reliable information. Our content, validated by Expert Board Contributors, is crafted following stringent Editorial Policies. We're committed to providing you with well-researched, expert-backed insights for all your informational needs.


0 thoughts on “How To Sew A Window Seat Cushion With Piping”