Home>Furniture>Living Room Furniture>How To Build A Window Seat
Living Room Furniture
How To Build A Window Seat
Modified: March 16, 2024
Learn how to build a stunning window seat in your living room with our step-by-step guide. Enhance the functionality and style of your space with this DIY living room furniture project.
(Many of the links in this article redirect to a specific reviewed product. Your purchase of these products through affiliate links helps to generate commission for Storables.com, at no extra cost. Learn more)
Introduction
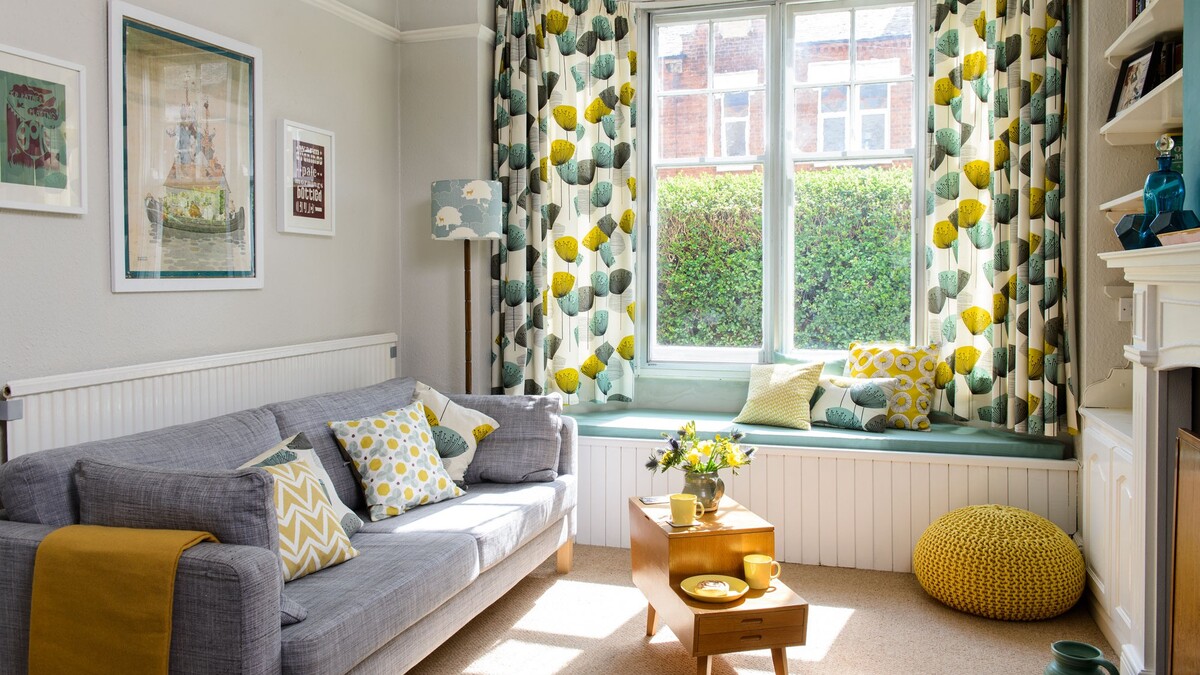
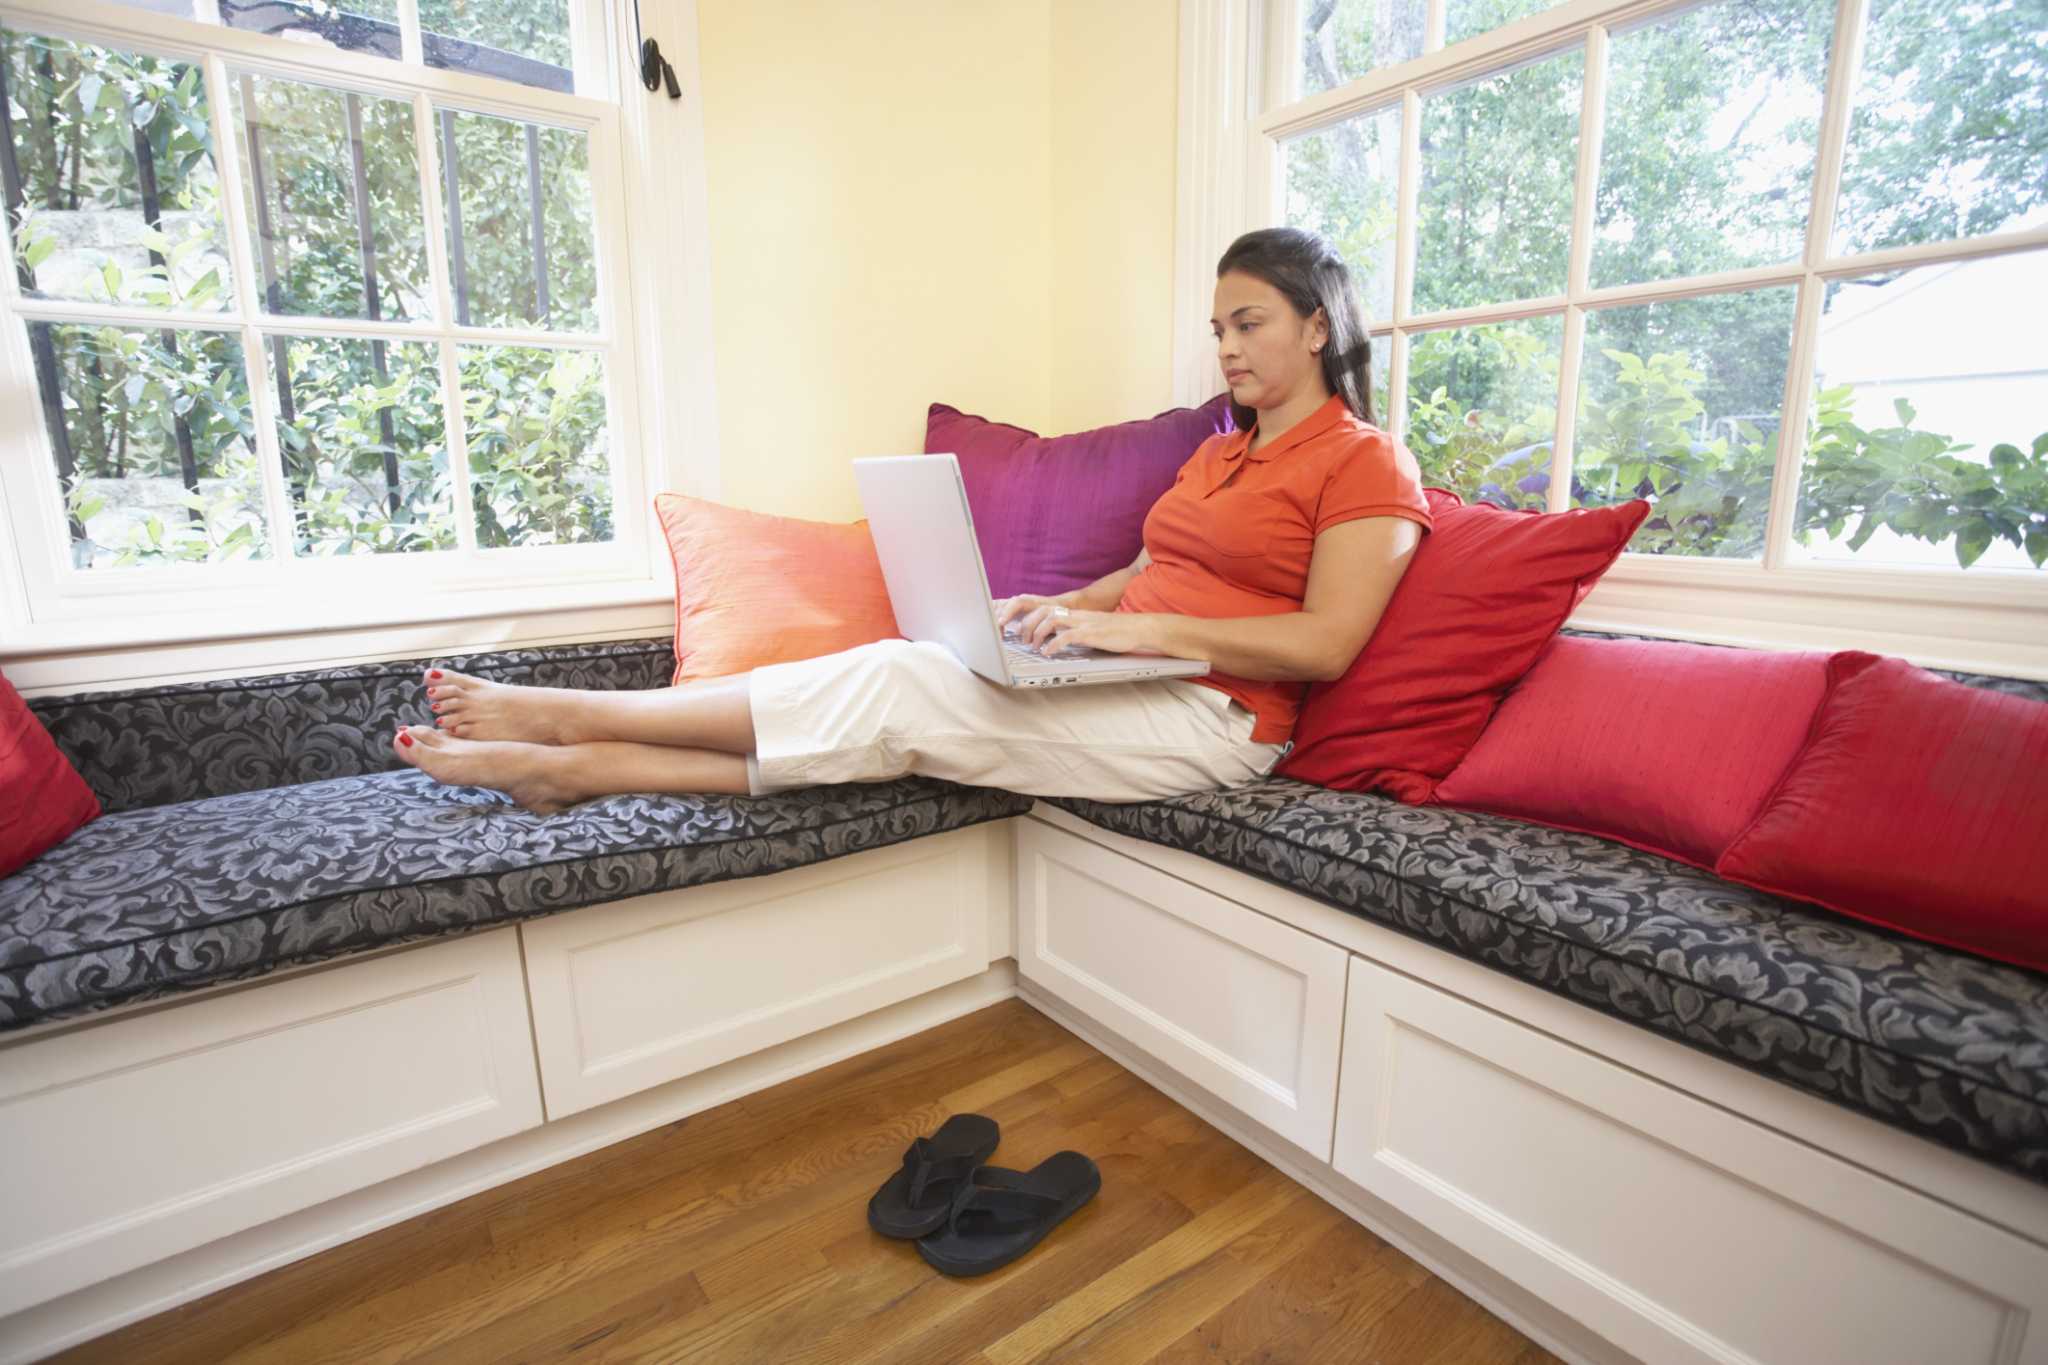
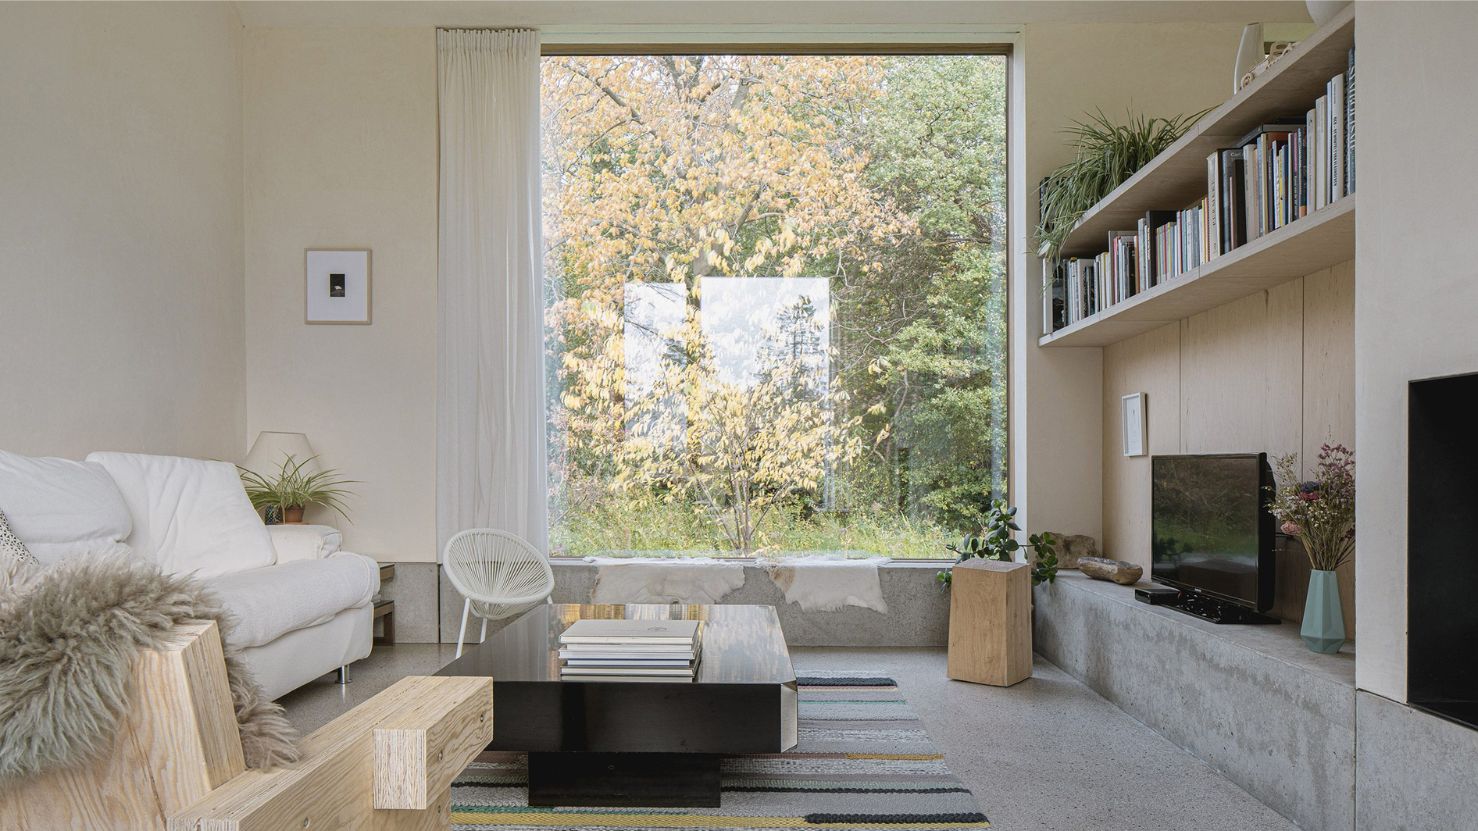
Welcome to the ultimate guide on how to build a window seat! Whether you are looking to add extra seating in your living room, create a cozy reading nook, or simply maximize the use of your window space, building a window seat can be a rewarding project.
A window seat not only provides a functional and comfortable seating area but also adds a touch of charm and elegance to your living room. Imagine cozying up with a book, sipping a cup of tea, and enjoying the view outside your window from your very own custom-built window seat.
In this guide, we will take you through the step-by-step process of building your own window seat, from measuring and planning to adding the finishing touches. So grab your tools, put on your gloves, and let’s get started on this exciting DIY project!
But before we dive into the nitty-gritty details, it’s important to have a clear vision of what your window seat will look like. Consider the style and design that best suits your living room. Do you prefer a built-in window seat or a freestanding one? Will it have storage underneath or open space? These decisions will guide you throughout the building process.
Once you have a clear vision in mind, it’s time to move on to the first step: measuring and planning.
Key Takeaways:
- Building a window seat adds charm and functionality to your living room. Follow the step-by-step guide to create a cozy space for relaxation, reading, and enjoying the view from your window.
- Pay attention to details like measurements, materials, and design choices to ensure a successful window seat project. Customize it to fit your space and personal style for a welcoming and stylish living room addition.
Read more: How To Build A Window Seat
Step 1: Measuring and Planning
Before you begin building your window seat, it’s crucial to measure the available space accurately. Start by measuring the width, height, and depth of the window area where you plan to install the seat. Consider any architectural features, such as walls, radiators, or vents, that may affect the dimensions.
Once you have the measurements, it’s time to create a detailed plan for your window seat. Decide on the height and depth of the seat itself, keeping in mind that the typical height ranges from 17 to 20 inches, and the depth should be around 16 to 20 inches for optimal comfort. Determine if you want a one-sided seat or a wrap-around design that extends along two or more walls.
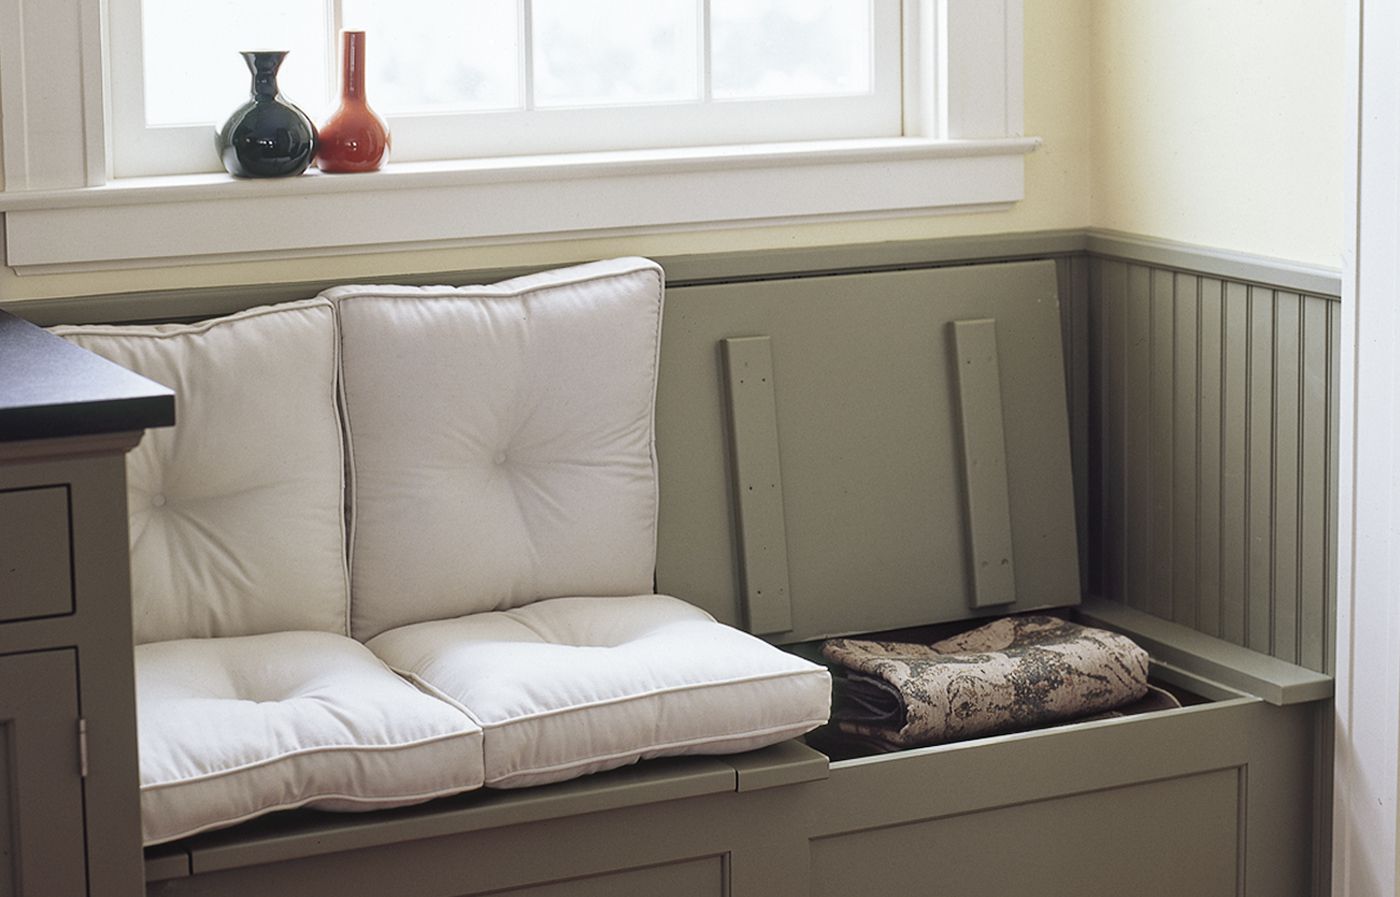
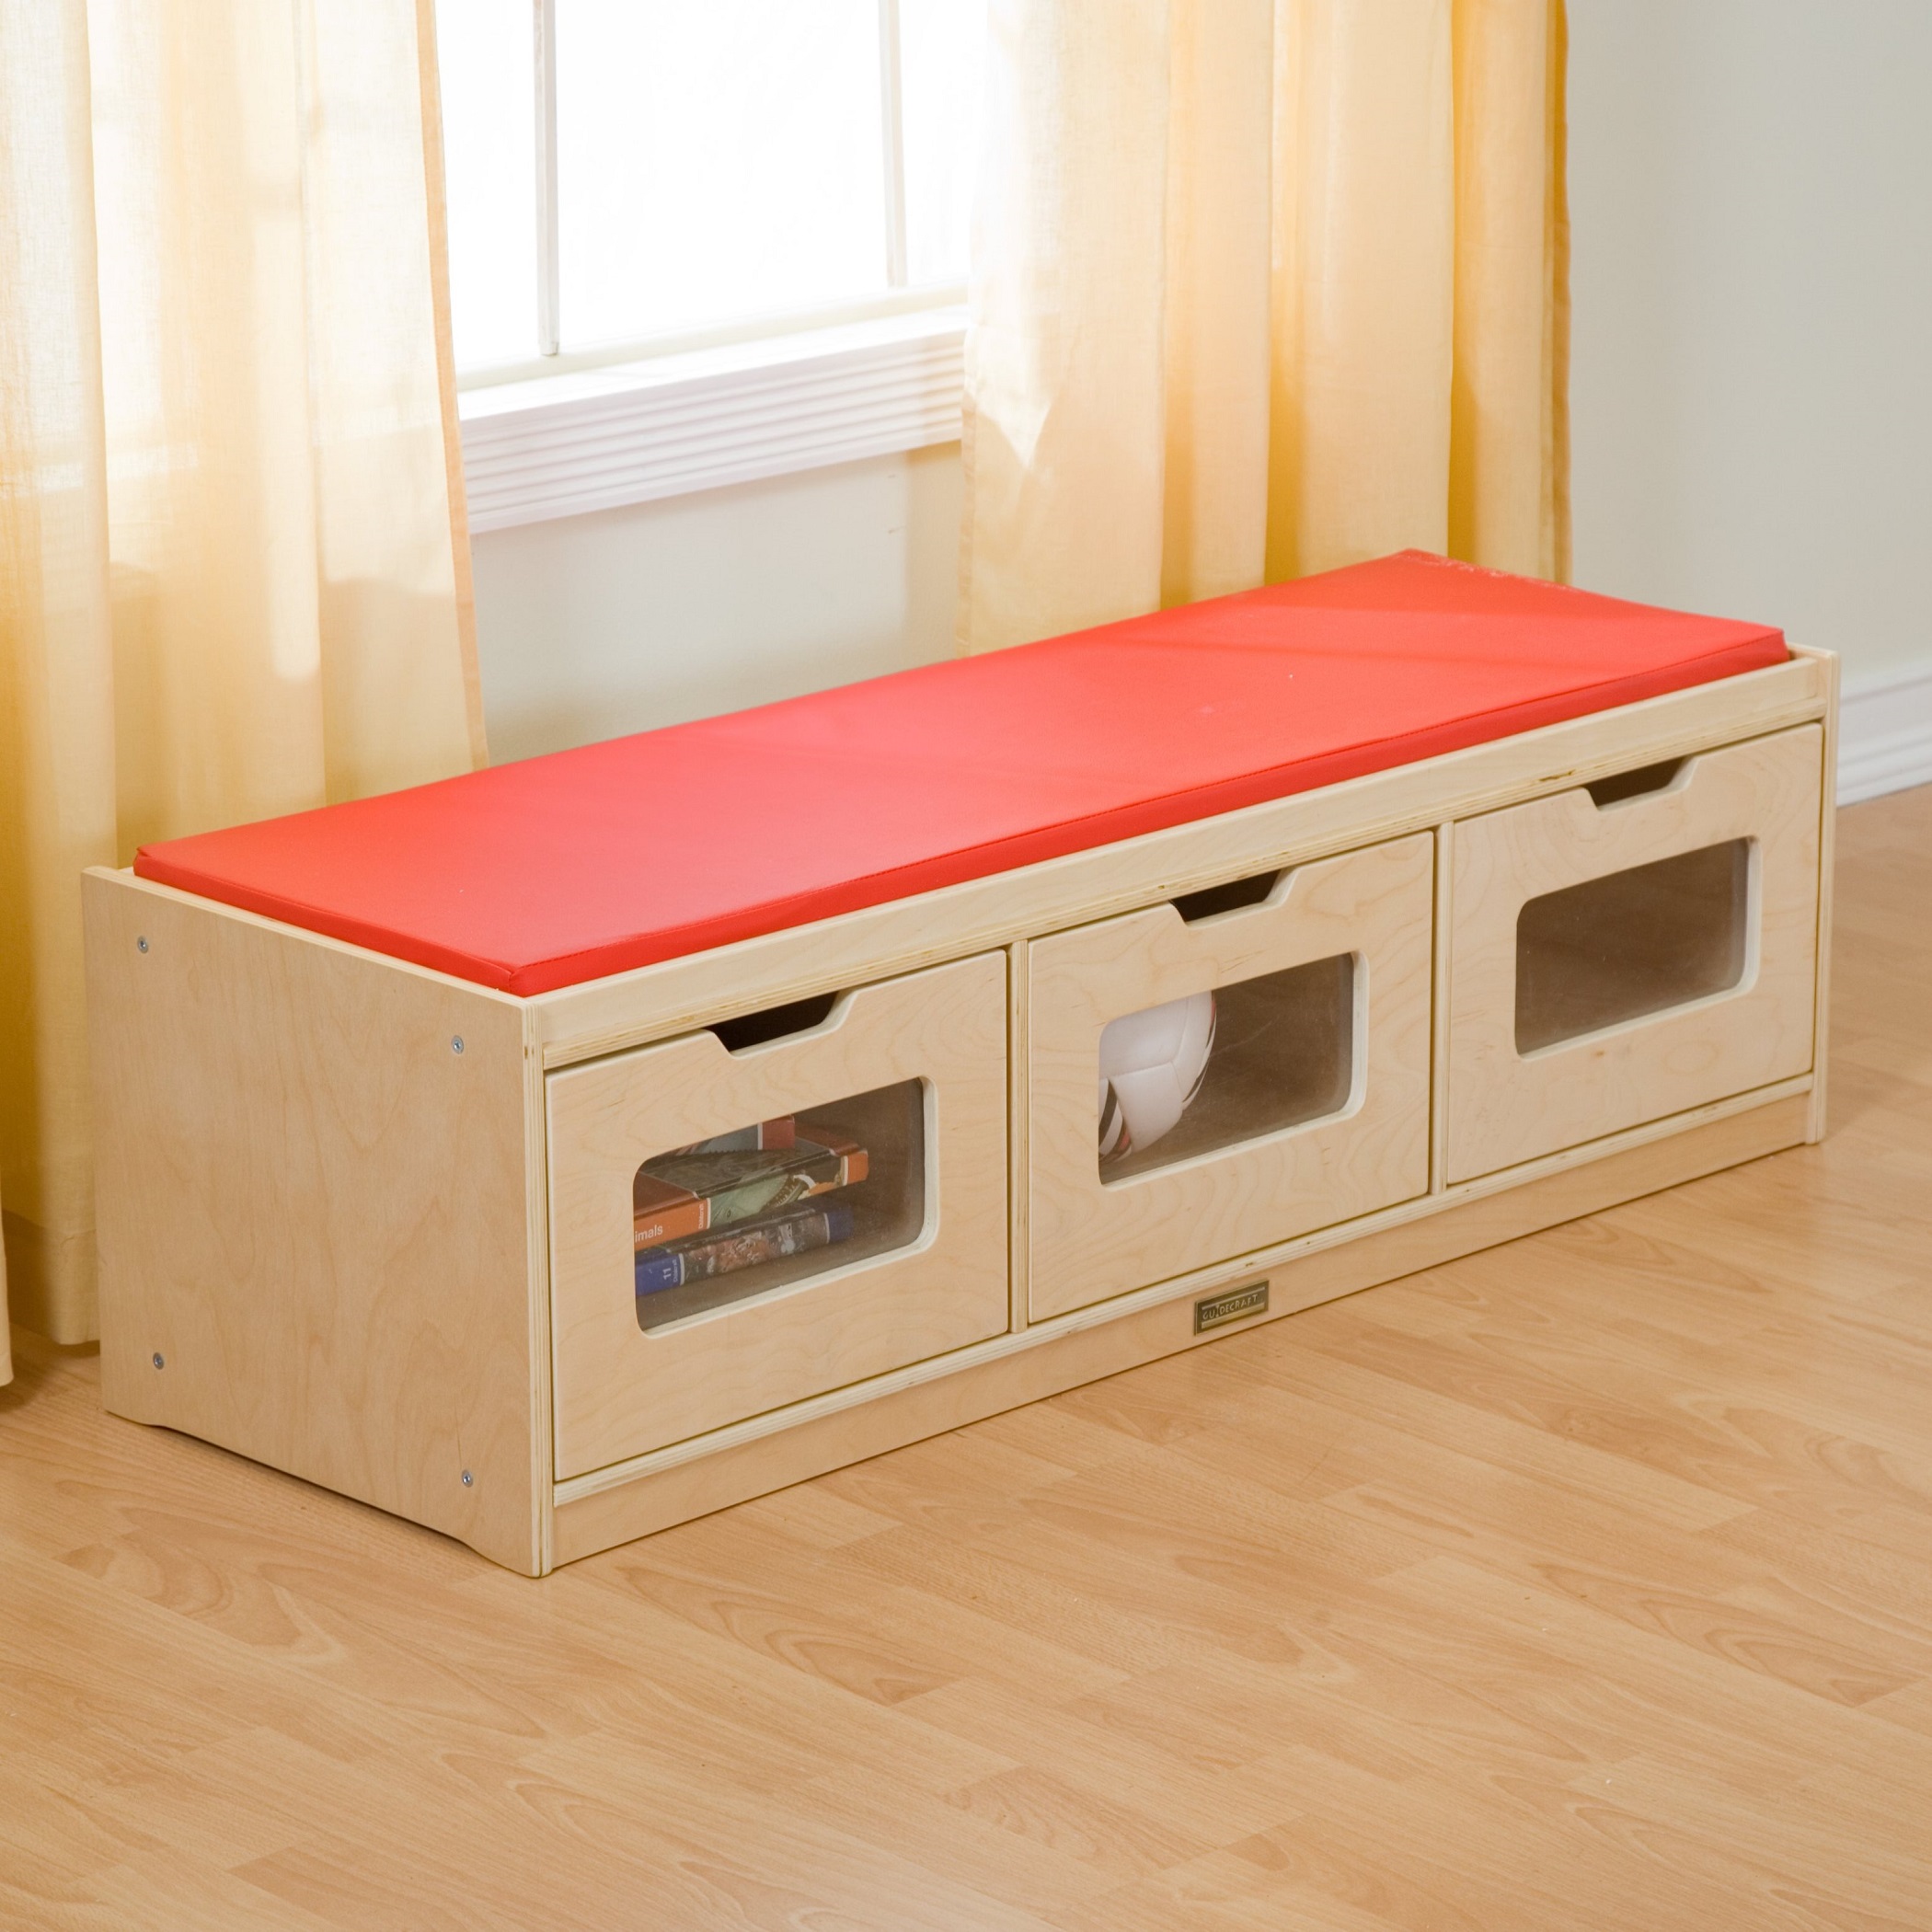
Next, consider whether you want your window seat to have storage underneath. This can be a fantastic opportunity to maximize space and keep your living room organized. Measure the height and width of the storage area you envision, keeping in mind that drawers or hinged doors may require additional clearance space.
Once you have finalized your measurements and design, create a detailed sketch or use a computer software program to visualize your window seat. Include dimensions, material choices, and any additional details you plan to incorporate, such as trim, decorative moldings, or built-in shelves.
Remember to consider the overall aesthetics of your living room when planning your window seat. Choose materials, finishes, and colors that complement your existing décor. You can opt for a seamless integration with the surrounding walls or create a focal point with contrasting materials.
With your measurements and plans in hand, it’s time to move on to the next step: choosing the right materials.
Step 2: Choosing the Right Materials
Choosing the right materials is essential to ensure the durability, comfort, and aesthetic appeal of your window seat. Consider the following factors when selecting materials for each component of your project.
Frame: For the frame of your window seat, you’ll want to use sturdy and reliable materials such as hardwood or plywood. Hardwood offers durability and can be stained or painted to match your desired finish. Alternatively, plywood is an affordable and versatile option that can be easily cut and shaped to fit your specific dimensions.
Seat Support: The seat support is responsible for bearing the weight of the seat and those who will be sitting on it. Consider using sturdy and load-bearing materials such as 2×4 lumber or metal brackets. Ensure proper anchoring to your walls or adding additional support legs if needed.
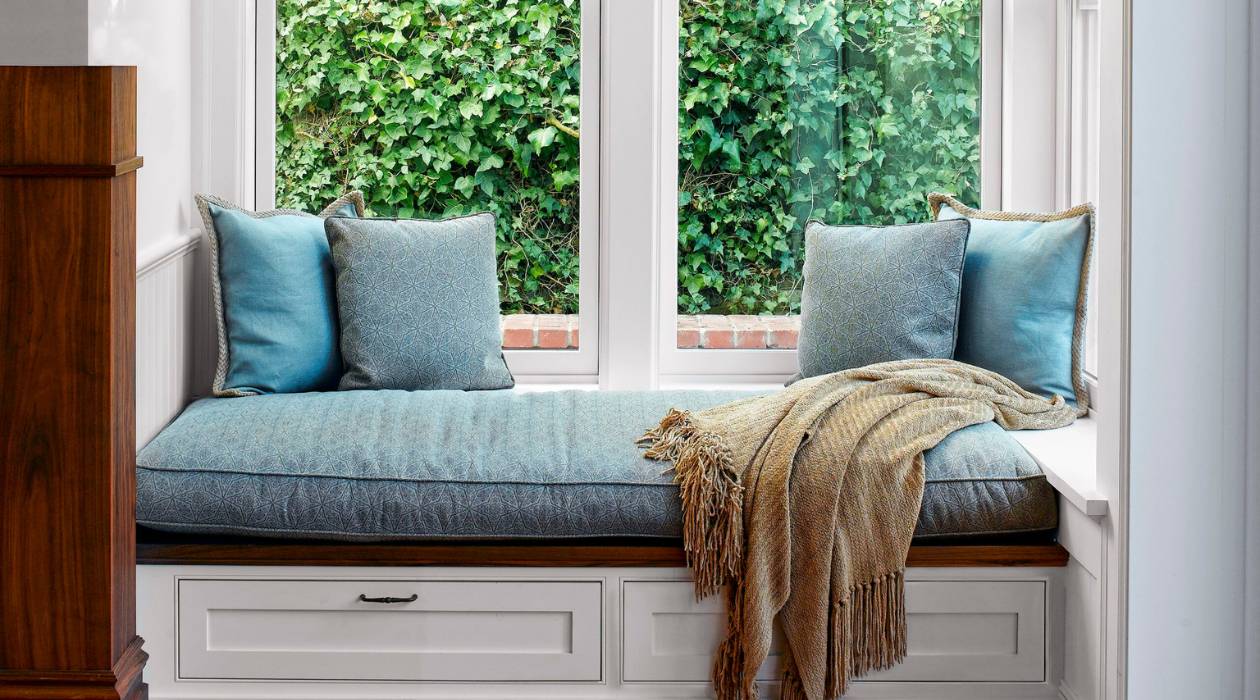
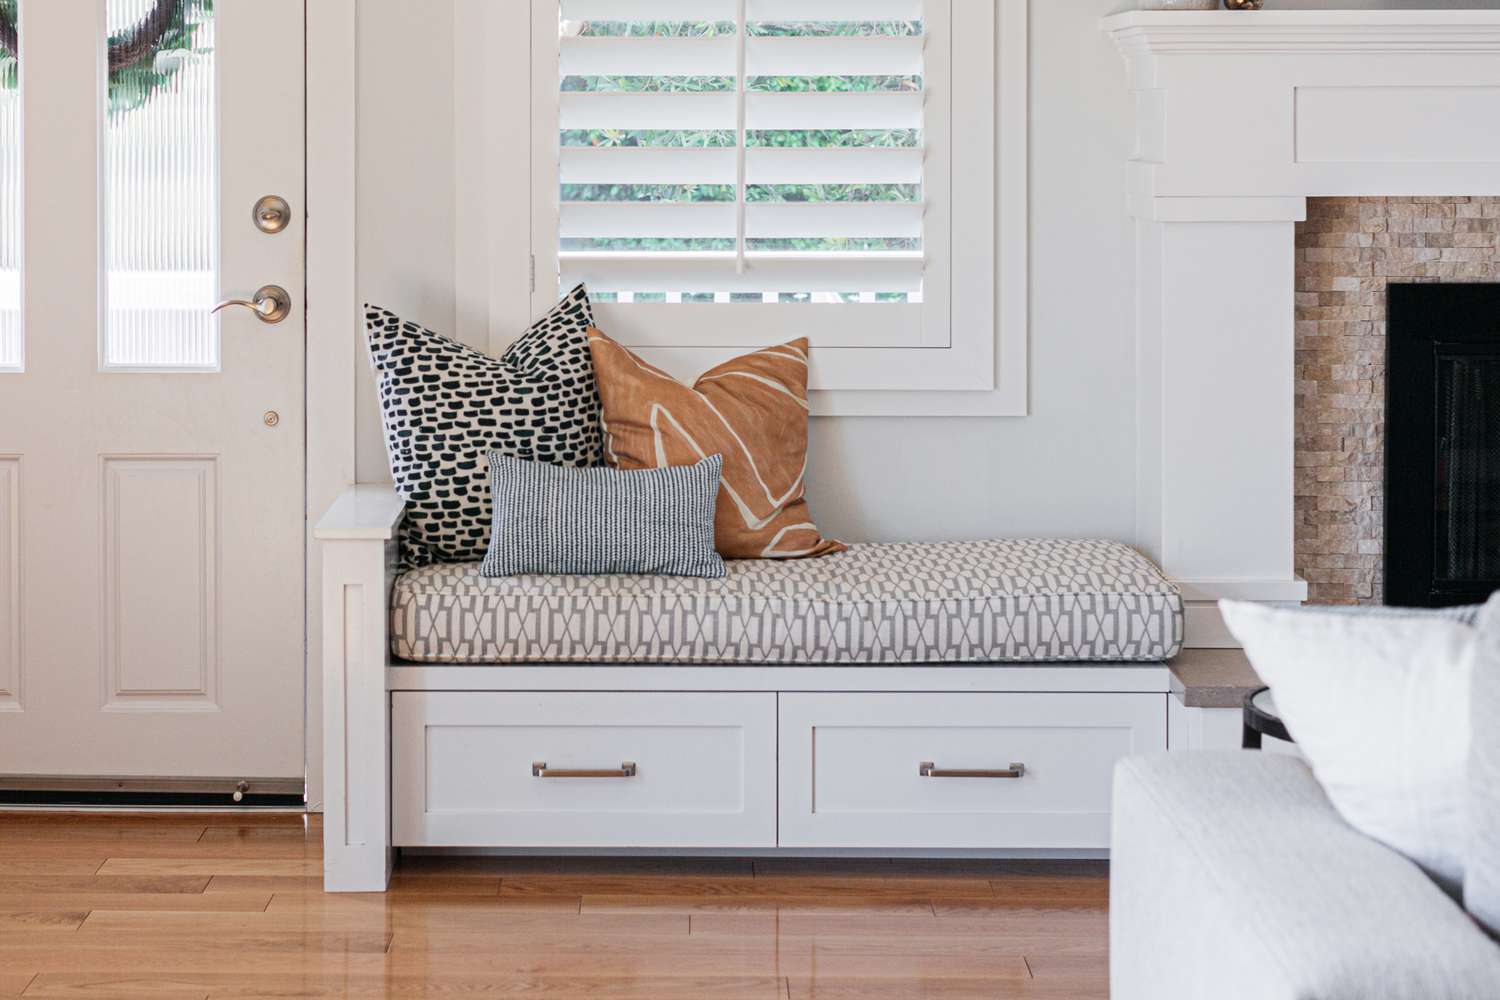
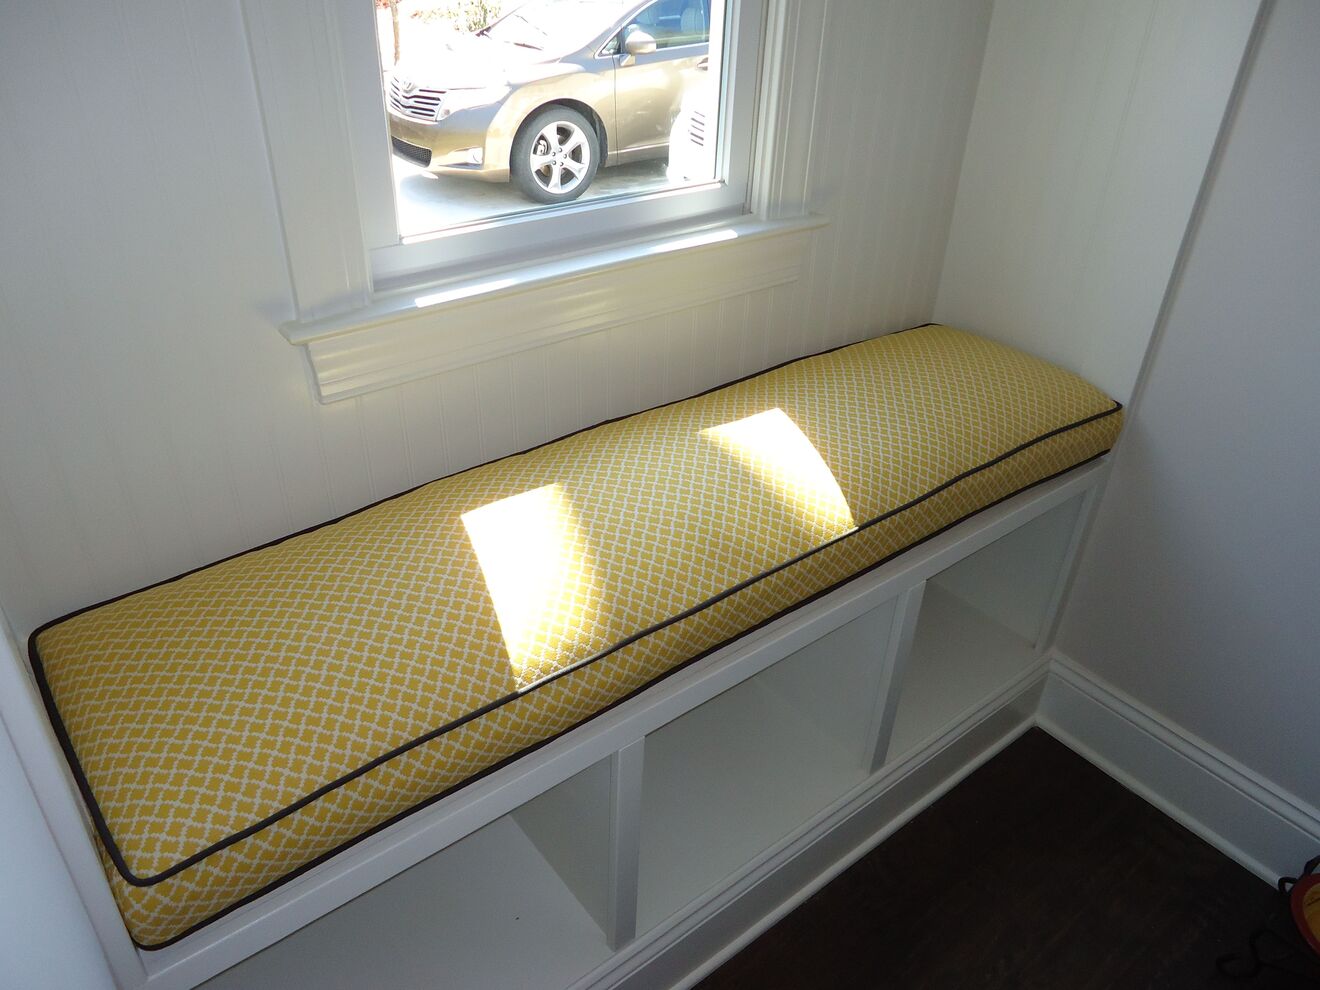
Seat Platform: The top of the window seat, commonly referred to as the seat platform, should be both comfortable and aesthetically pleasing. You have several options, including using plywood as the base and adding foam padding on top, or creating a solid wooden platform that can be upholstered or padded afterward.
Upholstery: If you choose to upholster your window seat, select a fabric that is durable, easy to clean, and complements your living room’s style. Consider factors such as color, pattern, and texture to create a cohesive look. Additionally, choose a high-density foam for the most comfortable seating experience.
Trim and Finishing: The trim and finishing touches add the final touch of elegance to your window seat. Consider using decorative moldings, beadboard paneling, or trim pieces to enhance the overall appearance. Choose materials that match or complement the frame and seat platform to create a cohesive and polished look.
Once you have chosen the right materials for each component, make a list of everything you will need for the project. This includes the necessary lumber, hardware, upholstery fabric, foam padding, and any additional accessories or decorative elements.
Now that you have your materials ready, it’s time to move on to the next step: building the base frame.
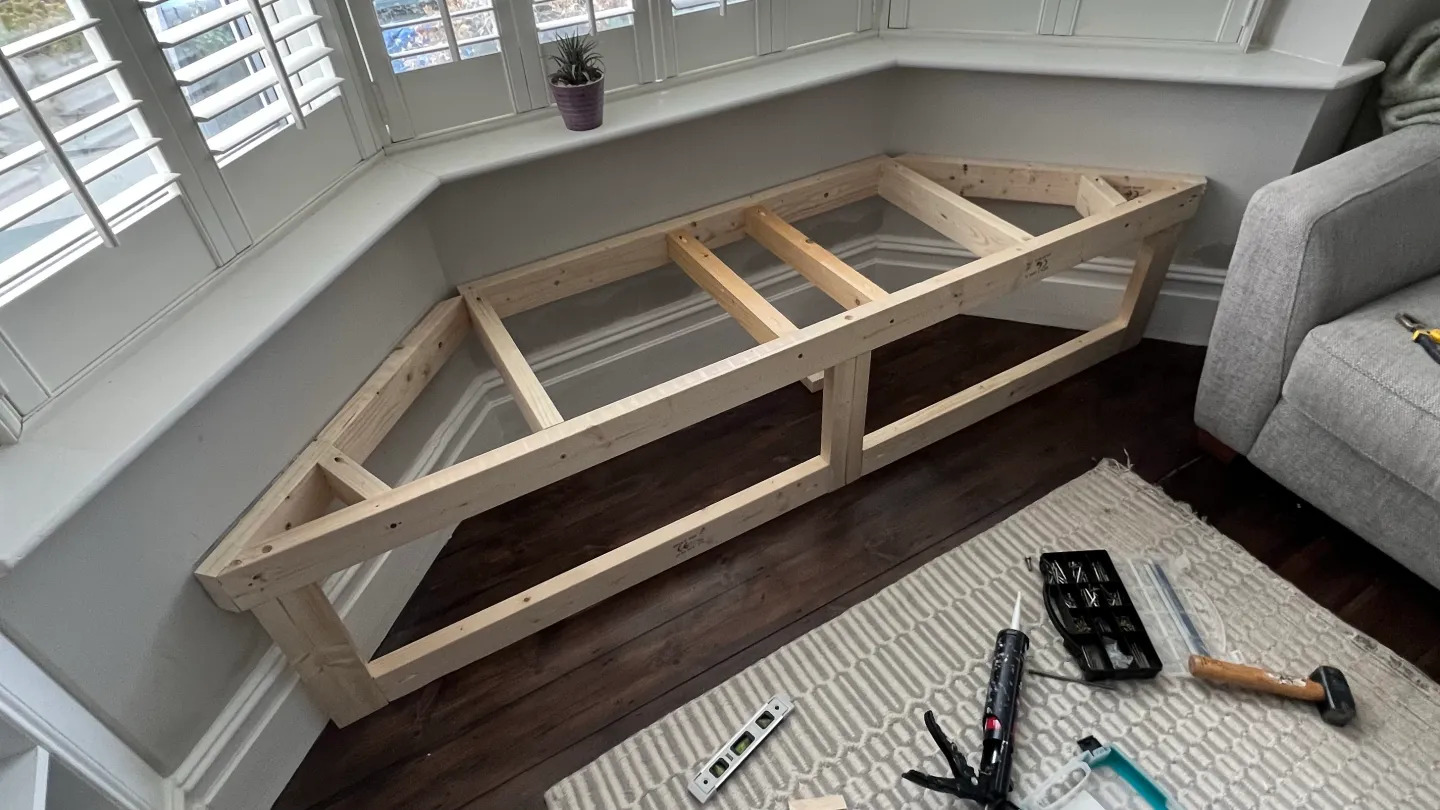
Step 3: Building the Base Frame
Building a sturdy and solid base frame is essential for the stability and longevity of your window seat. Follow these steps to construct the base frame:
- Start by measuring and cutting the lumber according to your desired dimensions. Use a miter saw or hand saw to ensure precise and clean cuts.
- Place the cut pieces of lumber on a flat surface, forming a rectangular or L-shaped frame. Use corner brackets to secure the corners and ensure the frame is square.
- For added stability, attach support beams along the length and width of the frame, evenly spacing them. Use screws or nails to secure the support beams to the frame.
- Check that the frame is level and adjust if necessary. Use a level tool to ensure all sides are even.
- If your window seat will have storage underneath, create additional support beams across the shorter span of the frame. These beams will act as dividers for the storage compartments.
- Once the base frame is assembled and secured, attach it to the wall using sturdy L-brackets or appropriate wall anchors. Ensure a secure and solid attachment.
Remember to double-check your measurements and make any necessary adjustments during the construction process. Ensuring a level and structurally sound base frame is crucial to avoid any problems in the later stages of building your window seat.
Now that the base frame is complete, it’s time to move on to the next step: installing the seat supports.
Step 4: Installing the Seat Supports
The seat supports are an important component of your window seat as they provide the necessary structural support for the seating area. Follow these steps to install the seat supports:
- Measure and mark the desired height of your seat supports on the interior sides of the base frame. This will depend on your preferred seat height and the thickness of the seat platform.
- Using a level tool, ensure that the marks are level and evenly spaced across the length of the base frame.
- Cut pieces of lumber or use pre-cut support brackets to create supports that span the width of the window seat. These supports should be sturdy and strong enough to bear the weight of the seat. Attach them to the base frame at the marked height using screws or nails.
- If your window seat will have a wrap-around design or extend along multiple walls, install additional supports along the connected walls. Secure them to both the walls and the base frame for added stability.
- Check that all the seat supports are level and securely fastened to the base frame. Make any adjustments as needed.
It is important to ensure that the seat supports are solid and properly installed to provide a stable seating area. The number of seat supports will depend on the length and design of your window seat. Consider adding extra supports for longer spans or heavier seating arrangements.
Once the seat supports are installed, you are ready to move on to the next step: building the seat platform.
When building a window seat, make sure to measure the space accurately to ensure a perfect fit. Take into account the height, width, and depth of the seat to create a comfortable and functional space.
Read more: Which Seat Is The Window Seat In Flight
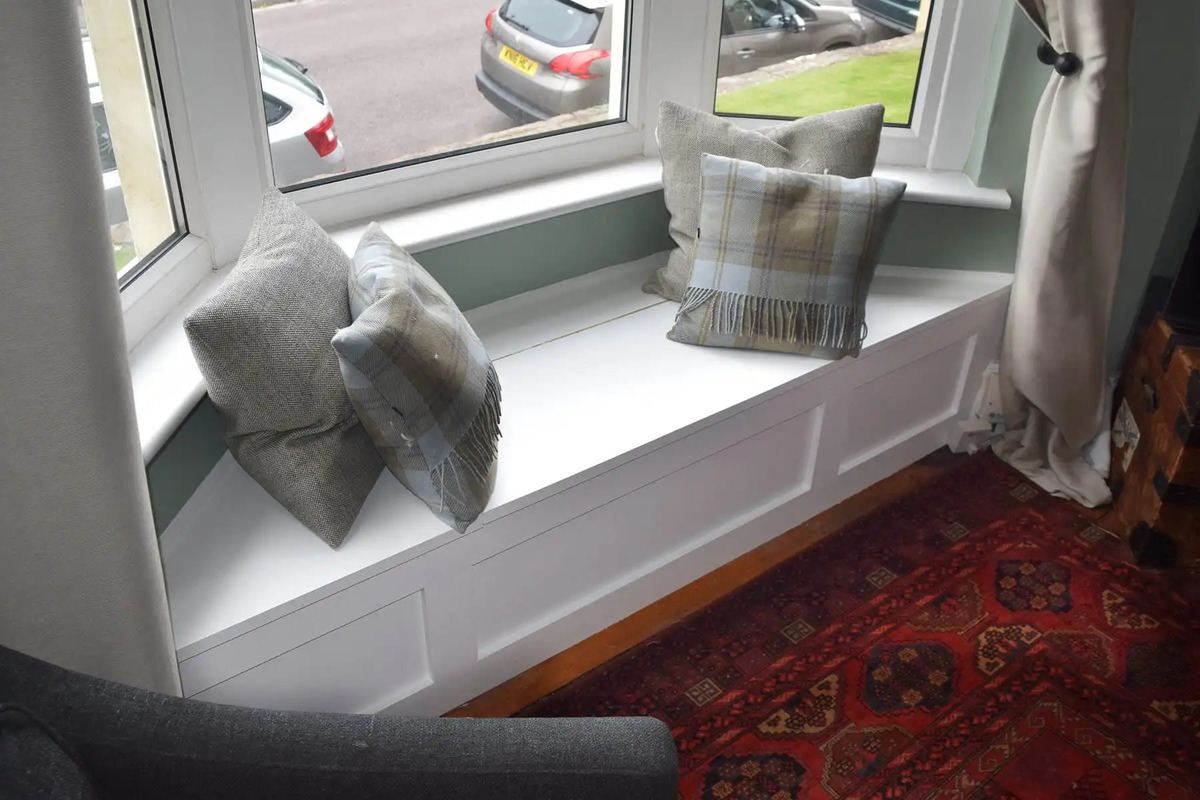
Step 5: Building the Seat Platform
The seat platform is the top surface of your window seat where you and your guests will sit. Follow these steps to build the seat platform:
- Measure and cut a piece of plywood or wood paneling to fit the dimensions of your window seat. Ensure that it is slightly larger than the base frame to allow for overhang.
- If you prefer a padded seat, cut a piece of high-density foam to fit the dimensions of the plywood. Use adhesive spray to attach the foam to the plywood, ensuring it is evenly aligned.
- If you plan to upholster your seat, cut a piece of upholstery fabric that is large enough to cover the foam and wrap around the edges of the plywood. Leave a few inches of excess fabric on each side for a clean and secure finish.
- Lay the upholstery fabric flat on a clean surface, with the pattern facing down. Center the foam-covered plywood on top of the fabric.
- Starting from the longest side, pull the fabric tightly and staple it to the plywood using a staple gun. Work your way around the seat, pulling the fabric firmly and stapling it in place. Trim any excess fabric if necessary.
- If your window seat will be exposed to direct sunlight, consider treating the fabric with a fabric protector to prevent fading and damage.
Once the seat platform is built and upholstered, place it onto the seat supports. It should fit securely and level on top of the supports.
Keep in mind that the seat platform can be customized to suit your preferences. You can choose different materials, such as solid wood or even repurposed furniture pieces. Additionally, you have the option to add decorative molding or trim to enhance the overall appearance.
Now that you’ve completed the seat platform, it’s time to move on to the next step: adding upholstery or cushions.
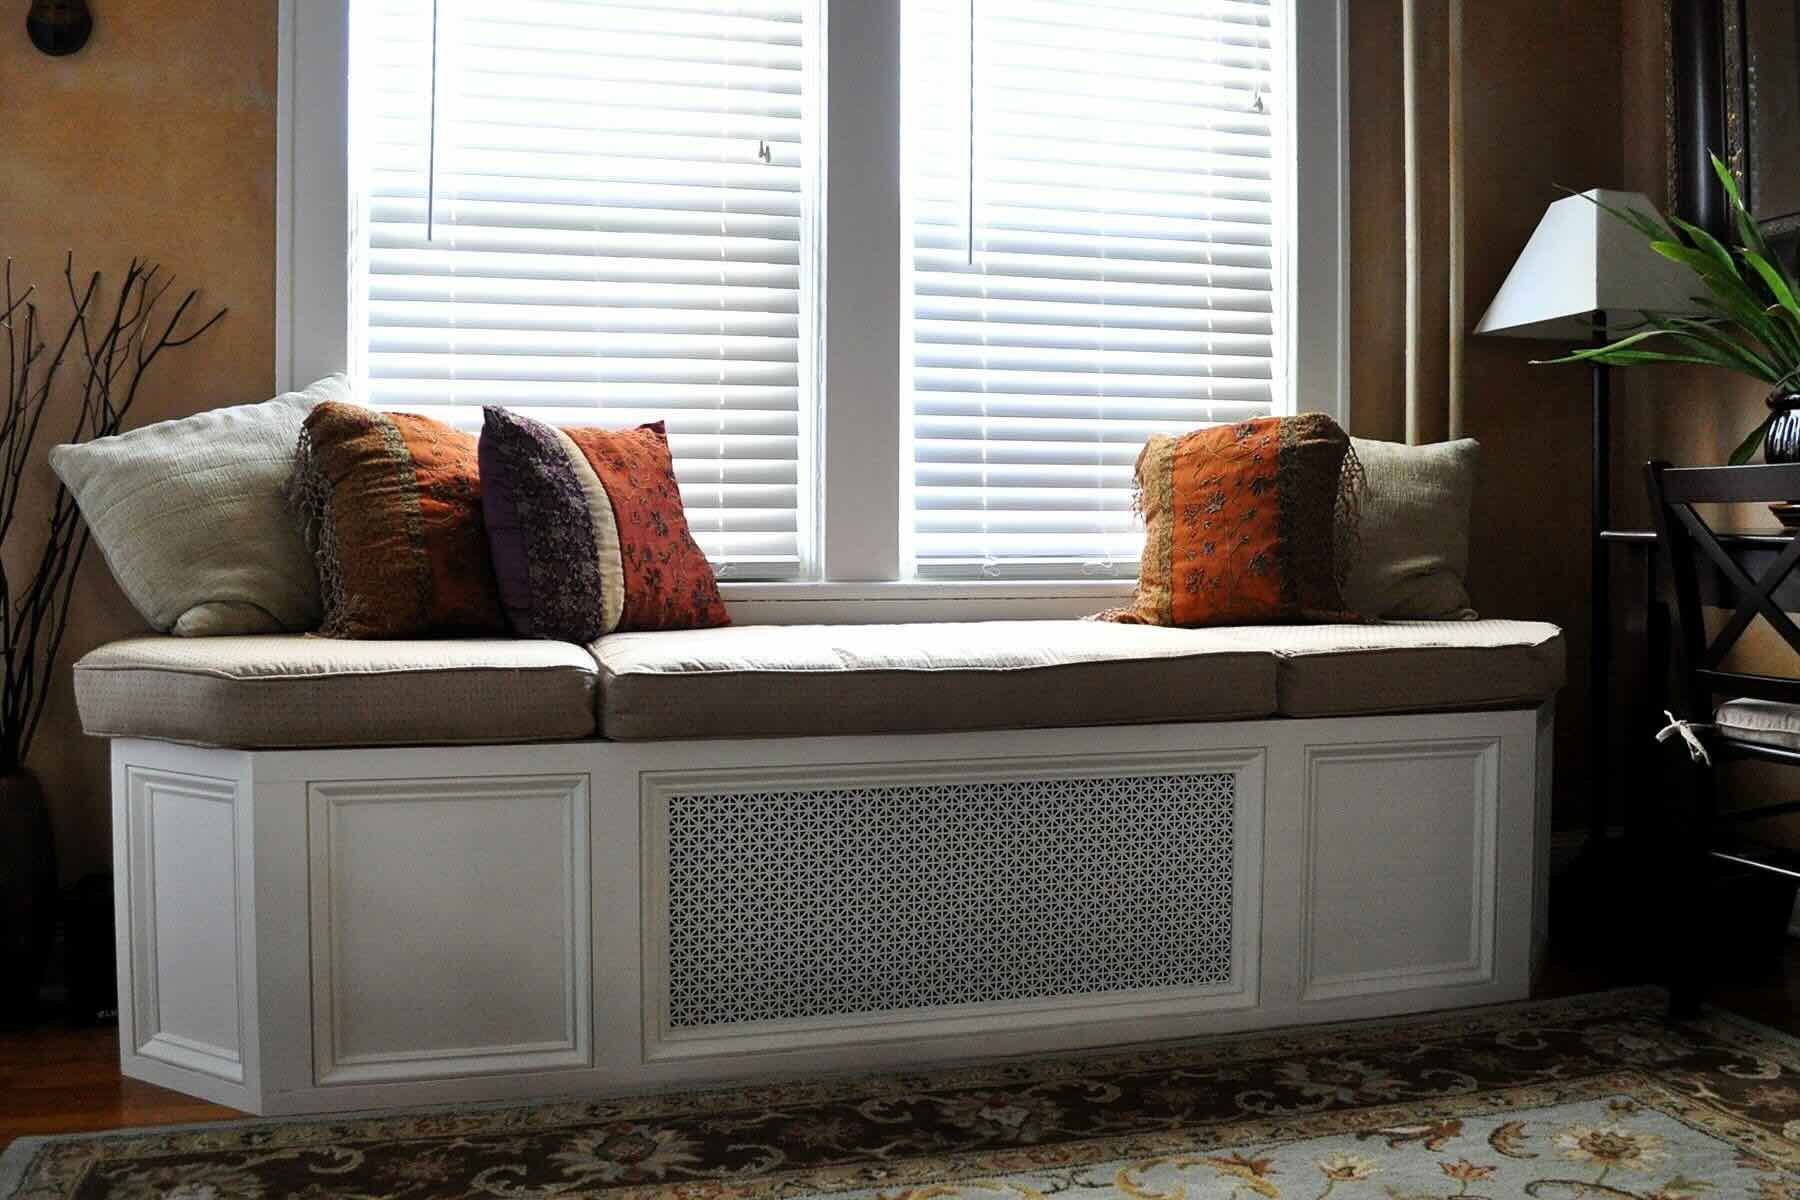
Step 6: Adding Upholstery or Cushions
Adding upholstery or cushions to your window seat not only enhances the visual appeal but also provides added comfort. Follow these steps to complete this step:
- If you have upholstered the seat platform, ensure that it is securely attached to the seat supports.
- If you opted for upholstery fabric, you can further enhance the comfort and aesthetics by adding cushions. Measure and cut foam padding to fit the seating area, and cover it with fabric that complements the overall design. Sew or use fabric glue to close the edges of the cushion cover.
- Place the cushions on the seat platform, arranging them to your desired configuration. This will depend on the size of your window seat and personal preference.
- If you prefer a more casual and cozy look, consider adding a mix of throw pillows and cushions of different sizes, shapes, and textures. This allows you to create a personalized and layered seating area.
- Experiment with various fabric patterns and colors to add visual interest and coordinate with your living room decor.
- Ensure that the cushions are comfortable and securely positioned on the seat platform. Arrange them in a way that allows easy access to the window and provides ample support for relaxation and leisurely activities.
Adding upholstery or cushions to your window seat not only adds comfort but also allows you to inject personality and style into the space. Embrace your creativity and use different textures, patterns, and colors to create a seating area that complements your living room’s overall aesthetic.
With the upholstery or cushions added, your window seat is almost complete. The last step is to add the finishing touches and decorations, which we will cover in the next step.
Step 7: Finishing Touches and Decoration
Now that your window seat is constructed and comfortable, it’s time to add the finishing touches and decorations to truly make it a focal point in your living room. Follow these steps to complete this final step:
- Add decorative trim or molding along the edges of the seat platform or the base frame. This adds an elegant touch and can help create a cohesive look with the rest of your living room decor.
- Consider painting or staining the wood components of your window seat to match your desired color scheme. Use a high-quality paint or stain that is suitable for the type of wood you used.
- Add accent pillows or throws to the seating area for a pop of color or pattern. Choose fabrics that coordinate with your living room’s theme or seasonally change them to keep things fresh and inviting.
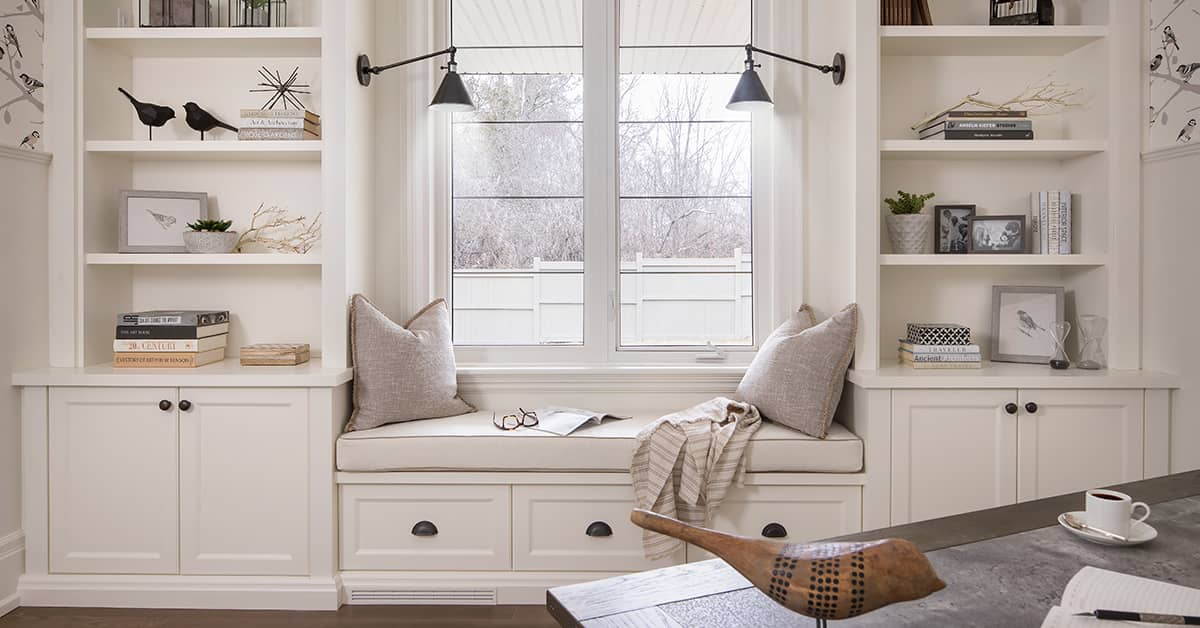
- Add shelves or cubbies to the sides of the window seat for additional storage or display space. This is especially useful for showcasing books, decorative items, or personal mementos.
- Create a cozy ambiance around the window seat by adding soft lighting, such as a floor or table lamp nearby. This encourages relaxation and creates an inviting atmosphere.
- Consider incorporating curtains or blinds on the window to enhance privacy or control the amount of natural light entering the space. Choose fabrics or materials that coordinate with the overall aesthetic of your living room.
- Personalize the space by adding artwork, photographs, or framed prints on the walls surrounding the window seat. This helps create a sense of coziness and adds a personal touch to your seating area.
Remember to consider the scale and proportion of the decorations and furniture in relation to your window seat. The goal is to create a harmonious and visually appealing space that complements your living room’s overall design.
With these finishing touches and decorations, your window seat is complete! Sit back, relax, and enjoy your new cozy corner in the comfort of your home.
Congratulations on successfully building your window seat! This DIY project not only provides additional seating but also adds charm and functionality to your living room. Remember to take pride in your accomplishment and take the time to enjoy the fruits of your labor.
Thank you for using our guide on how to build a window seat. We hope it has been informative and inspiring, and we wish you many happy moments in your new window seat!
Conclusion
Building a window seat is a rewarding DIY project that adds both beauty and function to your living room. With careful planning, measuring, and the right materials, you can create a cozy and inviting space where you can relax, read, or enjoy the view from your window.
Throughout this guide, we have covered the step-by-step process of building a window seat, including measuring and planning, choosing the right materials, constructing the base frame, installing the seat supports, building the seat platform, adding upholstery or cushions, and adding the finishing touches and decorations.
By following these steps, you can create a custom window seat that perfectly fits your space and personal style. From the sturdy base frame to the comfortable seat platform and the decorative elements, every aspect contributes to the overall charm and functionality of your window seat.
Remember to pay attention to details such as measurements, materials, and design choices to ensure a successful project. Customize your window seat to suit your preferences, whether that means adding storage, incorporating different upholstery fabrics, or personalizing the decoration.
We hope that this guide has provided valuable insights and inspiration for your window seat project. Building a window seat not only adds a cozy seating area but also enhances the visual appeal of your living room, creating a welcoming and stylish space for you and your guests.
So, gather your tools, unleash your creativity, and embark on this exciting DIY adventure. Enjoy the process of building your window seat and savor the satisfaction of creating a beautiful and functional addition to your home.
Thank you for using our guide, and we wish you every success in building your window seat!
Frequently Asked Questions about How To Build A Window Seat
Was this page helpful?
At Storables.com, we guarantee accurate and reliable information. Our content, validated by Expert Board Contributors, is crafted following stringent Editorial Policies. We're committed to providing you with well-researched, expert-backed insights for all your informational needs.


0 thoughts on “How To Build A Window Seat”