Home>Furniture>Living Room Furniture>How To Make A TV Stand Out Of Wood Pallets
Living Room Furniture
How To Make A TV Stand Out Of Wood Pallets
Modified: August 24, 2024
Learn how to create a unique TV stand for your living room using wood pallets. Transform your space with this DIY living room furniture idea.
(Many of the links in this article redirect to a specific reviewed product. Your purchase of these products through affiliate links helps to generate commission for Storables.com, at no extra cost. Learn more)
Introduction
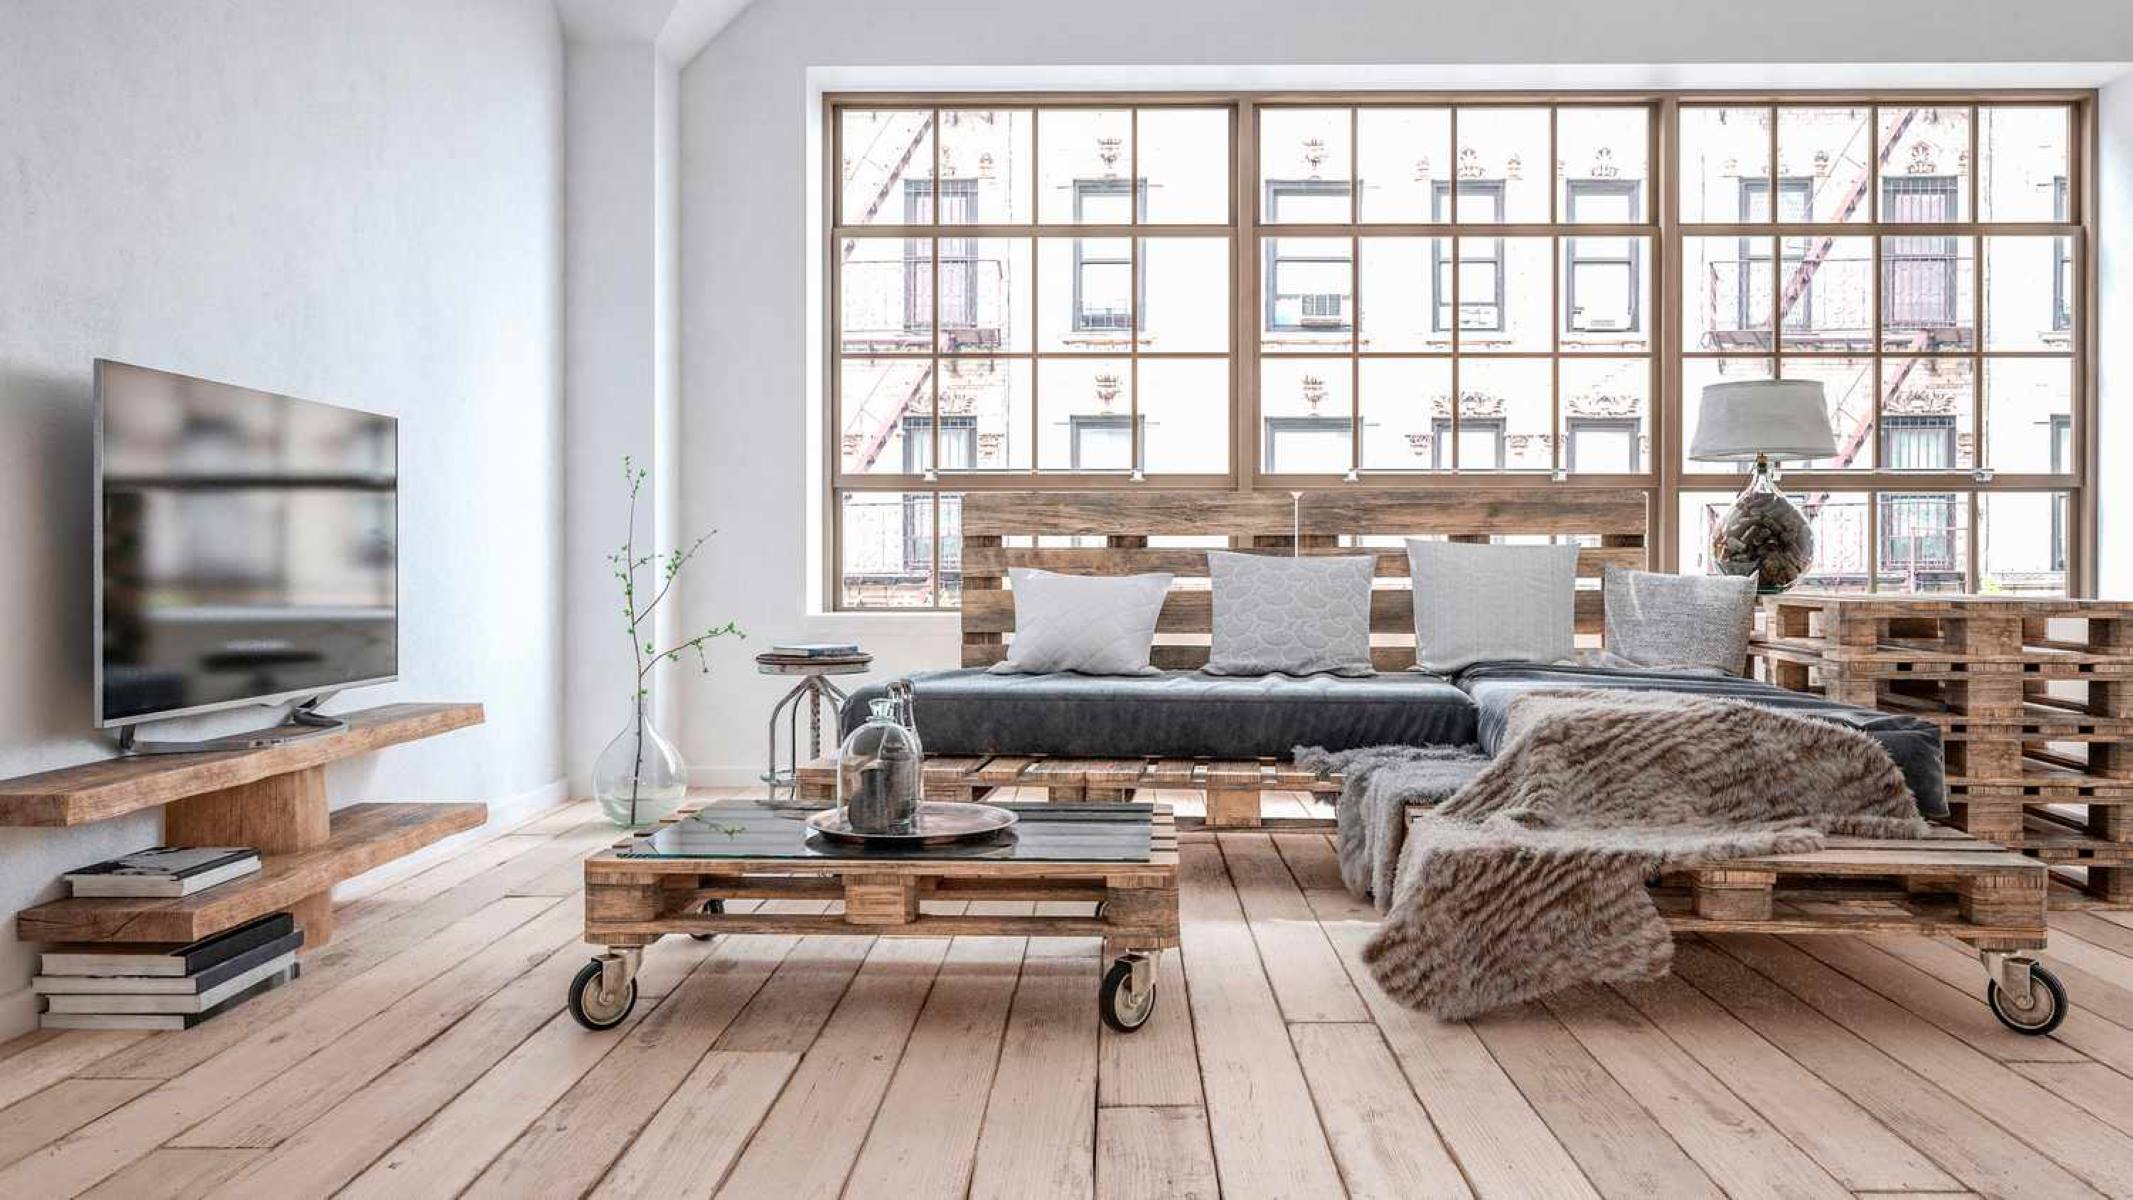
Welcome to the world of DIY furniture! If you’re looking to add a unique touch to your living room while also being environmentally conscious, making a TV stand out of wood pallets is a fantastic and sustainable option. Not only are wood pallets readily available and affordable, but they also offer a rustic and charming aesthetic that will elevate the overall look of your living space.
In this guide, we’ll walk you through the step-by-step process of creating your very own TV stand from wood pallets. Whether you’re a seasoned DIY enthusiast or a beginner looking to take on a new project, this article aims to provide you with all the information you need to get started.
Before we dive into the construction process, let’s first gather the tools and materials you’ll need to complete this project.
Key Takeaways:
- Repurpose wood pallets to create a unique TV stand with rustic charm. Follow the step-by-step guide to build, customize, and finish your DIY furniture while being environmentally conscious.
- Enhance your TV stand with optional wheels or legs for added mobility and style. Enjoy the satisfaction of crafting a personalized piece of furniture and contributing to environmental sustainability.
Read more: How To Make A Patio Out Of Pallets
Tools and Materials Needed
Before embarking on your wood pallet TV stand project, it’s important to ensure that you have all the necessary tools and materials. Here’s a handy list to help you get prepared:
Tools:
- Measuring tape
- Saw (circular saw or hand saw)
- Screwdriver or power drill
- Sandpaper (various grits)
- Paintbrush or foam roller
- Pencil or marker
Materials:
- Wood pallets (at least three)
- 1×4 or 2×4 lumber boards (depending on the design)
- Wood screws
- Wood glue
- Wood stain or paint
- Polyurethane or sealant (optional)
Keep in mind that the quantity of materials will vary depending on the size and design of the TV stand you’d like to create. It’s always a good idea to have some extra materials on hand in case of any mishaps or adjustments that need to be made during the construction process.
Additionally, consider having safety gear such as gloves, goggles, and ear protection, especially when working with power tools.
Now that you have all the necessary tools and materials, it’s time to select the right wood pallets for your project.
Choosing the Right Wood Pallets
When it comes to choosing the right wood pallets for your TV stand project, there are a few factors to consider. Here are some tips to help you make the best selection:
Read more: How To Make A Wood Pallet Coffee Table
1. Condition:
Inspect the pallets for any damage, such as cracks, broken boards, or excessive wear and tear. Choose pallets that are in relatively good condition and sturdy enough to support the weight of your TV.
2. Size and Dimensions:
Determine the size and dimensions of the TV stand you plan to build. Look for pallets that will allow you to achieve the desired height, width, and depth of the stand. Keep in mind that you may need to dismantle and cut the pallets to fit your design.
3. Type of Wood:
Consider the type of wood used for the pallets. Hardwoods such as oak or maple are more durable and have a higher weight capacity. Softwoods like pine or spruce are lighter and easier to work with but may not be as strong.
4. Pallet Markings:
Check if the pallets have any markings such as stamps or labels. Avoid pallets that have been treated with chemicals or have “MB” markings, as these may contain harmful substances. Look for pallets marked with “HT,” which indicates heat-treated and safe for repurposing.
Read also: 8 Best Wood TV Stand For 2025
5. Aesthetic Appeal:
Consider the overall look and style you want to achieve. Some pallets may have a more rustic or weathered appearance, while others may be cleaner and smoother. Choose pallets that align with your desired aesthetic.
Once you’ve chosen the right wood pallets, the next step is to prepare them for construction. Let’s dive into the process of preparing the pallets.
Preparing the Pallets for Construction
Now that you have selected the perfect wood pallets for your TV stand project, it’s time to prepare them for construction. Follow these steps to ensure your pallets are ready:
1. Inspect and Clean:
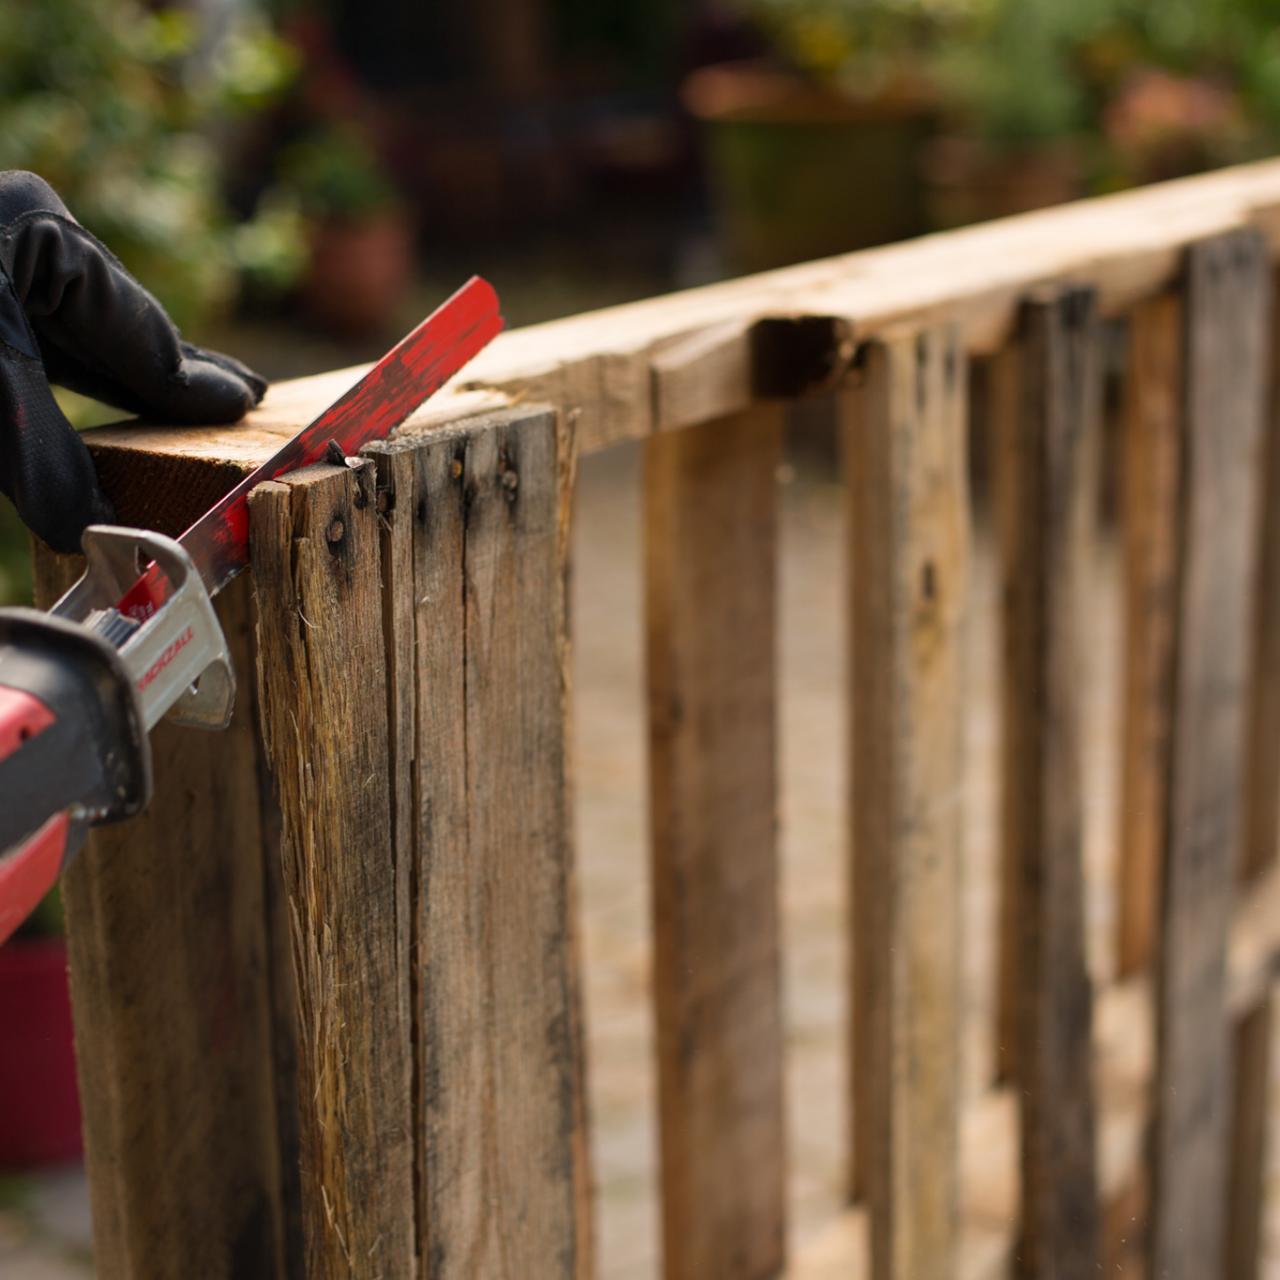
Thoroughly inspect each pallet for any protruding nails, splinters, or loose boards. Use a hammer and pry bar to remove any nails or staples that may pose a hazard during construction. Give the pallets a good cleaning by removing any dirt, dust, or debris using a brush or compressed air.
2. Dismantle if Necessary:
If you need to modify the size or shape of the pallets, you’ll need to dismantle them. Carefully use a saw or pry bar to remove the nails holding the boards together. Take note of how the pallets were assembled, as you’ll need to reassemble them later.
Read more: How To Make A TV Stand Higher
3. Cut and Trim:
If you need to resize the pallets, use a saw to cut the boards to the desired length. Measure and mark your cuts carefully to ensure a clean and precise finish. Use sandpaper to smooth any rough edges or corners.
4. Plan the Layout:
Once you have prepared the individual pallets, lay them out on the floor in the desired configuration for your TV stand. This will give you a visual representation of how the stand will look and help you make any necessary adjustments before assembly.
5. Apply Wood Stain or Paint (Optional):
If you want to enhance the aesthetic appeal of your TV stand, you can choose to apply a wood stain or paint. This step is optional and can be done before or after assembly, depending on your preference. Make sure to follow the manufacturer’s instructions and allow sufficient drying time.
With the pallets prepared, you are now ready to start building the frame of the TV stand. Stay tuned for the next section where we’ll guide you through the construction process.
Building the Frame of the TV Stand
Now that you have prepared the wood pallets, it’s time to start building the frame of your TV stand. The frame will provide stability and support for the shelves and dividers. Follow these steps to construct the frame:
Read more: How To Make Stained Wood Pallet Wall Art
1. Measure and Mark:
Begin by measuring and marking the desired height and width of your TV stand frame on the pallets. Use a pencil or marker to make these measurements visible.
2. Cut the Support Boards:
Next, measure and cut the 1×4 or 2×4 lumber boards to the same length as the marked width of the TV stand frame. These boards will serve as the vertical supports for the frame.
3. Attach the Support Boards:
Position one of the cut support boards against the side of the pallet, lining it up with the marked height. Use screws to attach the support board to the pallet, ensuring a secure connection. Repeat this step for the other side of the pallet.
4. Add Crossbeams (Optional):
If you want to strengthen the frame further, you can add crossbeams between the two vertical support boards. Measure and cut additional 1×4 or 2×4 lumber boards to span the width of the frame and attach them using screws.
Read more: How To Make A TV Stand Without Legs
5. Repeat for Additional Pallets:
If you plan to use multiple pallets to create a larger TV stand, repeat the above steps for each pallet, ensuring that the support boards are aligned and attached securely.
6. Secure Pallets Together:
If you are using more than one pallet, join them together by securing the vertical support boards of adjacent pallets using screws. This will ensure that the pallets remain stable and aligned.
Once you have completed building the frame, it’s time to move on to the next step – adding shelves and dividers to your TV stand. Stay tuned for the upcoming section where we’ll guide you through this process.
Adding Shelves and Dividers
Now that you have built the frame of your TV stand, it’s time to add shelves and dividers to create storage and organization options. Follow these steps to incorporate shelves and dividers into your stand:
Read more: How To Make Stained Wood Pallet Wall Art
1. Measure and Mark:
Measure the width and depth of the inside of the frame to determine the size of the shelves and dividers. Mark these measurements on the 1×4 or 2×4 lumber boards.
Read more: How To Mount A TV On A TV Stand
2. Cut the Shelves:
Using a saw, carefully cut the lumber boards to the desired length for the shelves. Make sure the shelves are slightly narrower than the width of the frame, allowing room for easy insertion and removal.
3. Attach the Shelves:
Place the cut shelves inside the frame at the desired height, resting them on the support boards. Secure the shelves in place by attaching them to the support boards with screws from the sides or underneath.
4. Add Dividers:
If you want to create compartments within your TV stand, cut additional pieces of lumber to serve as dividers. Measure the desired height and length of each compartment, and carefully attach the dividers to the shelves using screws.
5. Secure and Stabilize:
Ensure that the shelves and dividers are securely fastened and level inside the frame. Use additional screws or wood glue to reinforce the connections if needed. This will help provide stability and prevent any shifting of the shelves.
Read more: How To Build A Dresser Out Of Pallets
6. Test the Fit:
Once the shelves and dividers are in place, test the fit of your electronic devices or other items that you plan to store on the shelves. Make any necessary adjustments to the height or spacing of the shelves to accommodate your needs.
Congratulations! You have successfully added shelves and dividers to your TV stand. The next step is to sand and finish the stand to ensure a smooth and polished look. Keep reading to learn more.
Sanding and Finishing the TV Stand
With the structure of your TV stand in place and the shelves and dividers securely attached, it’s time to give it a smooth and finished look through sanding and finishing. Follow these steps to complete this important process:
1. Sand the Surface:
Begin by sanding the entire surface of the TV stand, including the frame, shelves, and dividers. Start with a coarse-grit sandpaper to remove any rough edges or splinters, and then gradually move to a finer-grit sandpaper for a smooth finish. Sand in the direction of the wood grain to avoid scratching the surface.
2. Smooth the Edges:
Pay special attention to the edges of the TV stand and the corners of the shelves and dividers. Use sandpaper or a sanding block to round off any sharp edges or corners, giving them a softer and safer appearance. Be sure to sand evenly to maintain a consistent look.
Read more: How To Make Furniture With Pallets
3. Remove Dust:
After sanding, wipe down the entire TV stand with a clean, damp cloth or use compressed air to remove any dust particles. It’s important to have a clean surface before moving on to the finishing step.
4. Apply Wood Stain or Paint:
If you haven’t already done so, now is the time to apply the wood stain or paint of your choice. Follow the manufacturer’s instructions for proper application. Use a paintbrush or foam roller to evenly coat the surface, allowing sufficient drying time between coats if necessary.
5. Apply Sealant (Optional):
If you want to protect the wood and enhance its durability, consider applying a clear polyurethane sealant or another type of wood sealer. This step is optional but can help prolong the longevity of your TV stand and provide added resistance to stains and scratches.
6. Final Touches:
Inspect the TV stand for any missed spots or areas that may need touch-ups. Once you are satisfied with the finish, allow the stand to dry completely before moving it into place.
Congratulations! Your TV stand is now complete and ready to be showcased in your living room. If desired, you can add optional features such as wheels or legs to make it easier to move around. Enjoy your DIY masterpiece and the sense of accomplishment that comes with creating a unique and personalized piece of furniture!
Read more: How To Repurpose Wood Pallets As Home Decor
Optional: Adding Wheels or Legs
If you want to add mobility or elevate the height of your TV stand, adding wheels or legs is a great option. Not only will this make it easier to move the stand when needed, but it can also enhance the overall aesthetic. Here’s how you can incorporate wheels or legs into your TV stand:
Adding Wheels:
To add wheels to your TV stand, follow these steps:
1. Measure and Mark:
Determine the desired placement of the wheels on the bottom of the TV stand frame. Use a measuring tape and marker to mark the positioning for each wheel.
2. Pre-drill Holes:
Using a power drill, carefully pre-drill holes at each marked location. Ensure that the holes are slightly smaller in diameter than the screws that come with the wheels.
3. Attach the Wheels:
Align the holes in the wheels’ brackets with the pre-drilled holes on the TV stand frame. Secure the wheels in place by inserting the screws through the brackets and into the pre-drilled holes. Use a screwdriver or power drill to tighten the screws, ensuring a secure attachment.
4. Test and Adjust:
Once the wheels are attached, test the mobility of your TV stand by gently pushing or rolling it. If any adjustments are needed, make sure the wheels are aligned and tightened properly.
Adding Legs:
To add legs to your TV stand, follow these steps:
1. Measure and Mark:
Determine the desired height of your TV stand and the positioning for each leg. Use a measuring tape and marker to mark the locations where the legs will be attached.
2. Pre-drill Holes:
Using a power drill, carefully pre-drill holes at each marked location. Ensure that the holes are slightly smaller in diameter than the screws or bolts that will be used to attach the legs.
3. Attach the Legs:
Align the holes on the legs with the pre-drilled holes on the TV stand frame. Attach the legs by inserting screws or bolts through the leg brackets and into the pre-drilled holes. Use a screwdriver or power drill to tighten the screws or bolts, ensuring a secure attachment.
4. Test and Adjust:
Once the legs are attached, test the stability and levelness of your TV stand. If any adjustments are needed, make sure the legs are aligned and tightened properly.
Adding wheels or legs to your TV stand is a simple yet effective way to customize its functionality and appearance. Whether you choose wheels for easy portability or legs to elevate the stand, these optional additions will enhance both the practicality and style of your DIY creation.
Now that your TV stand is complete, you can proudly showcase it in your living room and enjoy the convenience and charm it brings to your space.
Conclusion
Congratulations on completing your DIY wood pallet TV stand! By embarking on this project, you have not only created a unique and personalized piece of furniture, but you have also contributed to environmental sustainability by repurposing wood pallets. Your new TV stand adds a touch of rustic charm to your living room while providing a functional and stylish storage solution for your entertainment devices.
Throughout this guide, you learned how to choose the right wood pallets, prepare them for construction, build the frame, add shelves and dividers, and sand and finish the stand. Additionally, we explored the optional features of adding wheels or legs to enhance mobility and height.
Remember, as you undertake any DIY project, always prioritize safety. Wear appropriate protective gear and use tools responsibly. Take the time to plan, measure, and prepare all materials before starting construction, and ensure that your TV stand is secure and stable before placing any electronics or decorative items on it.
Now that you have completed your TV stand, take a moment to admire your craftsmanship and enjoy the satisfaction of creating something with your own hands. You’ve not only gained a functional piece of furniture but also acquired valuable DIY skills and knowledge that can be applied to future projects.
Thank you for joining us on this DIY journey to create a TV stand out of wood pallets. We hope this guide has inspired you to continue exploring the world of DIY furniture and unleash your creativity. Happy crafting!
Frequently Asked Questions about How To Make A TV Stand Out Of Wood Pallets
Was this page helpful?
At Storables.com, we guarantee accurate and reliable information. Our content, validated by Expert Board Contributors, is crafted following stringent Editorial Policies. We're committed to providing you with well-researched, expert-backed insights for all your informational needs.
0 thoughts on “How To Make A TV Stand Out Of Wood Pallets”