Home>Furniture>Living Room Furniture>How To Make An Ottoman From A Coffee Table
Living Room Furniture
How To Make An Ottoman From A Coffee Table
Modified: August 22, 2024
Learn how to transform a simple coffee table into a chic ottoman for your living room. Elevate your living room furniture with this easy DIY project.
(Many of the links in this article redirect to a specific reviewed product. Your purchase of these products through affiliate links helps to generate commission for Storables.com, at no extra cost. Learn more)
Introduction
Welcome to our step-by-step guide on how to transform a coffee table into a stylish and functional ottoman. If you have an old coffee table lying around or have been eyeing a thrift store find, this DIY project is perfect for you. An ottoman not only adds a touch of elegance to your living room, but it also provides additional seating or a place to kick up your feet and relax.
Before we dive into the process, let’s quickly go over the materials you will need for this project.
Key Takeaways:
- Transform a coffee table into a stylish ottoman by following simple steps. Add foam, fabric, and optional button tufts or legs for a personalized touch.
- Enjoy the DIY process and get creative with fabric choices and optional add-ons to make your ottoman truly unique and functional.
Read more: How To Style An Ottoman Coffee Table
Materials Needed
Before getting started, gather the following materials:
- A coffee table
- Medium-density foam
- Fabric of your choice
- Batting
- Scissors
- Spray adhesive
- Staple gun
- Staples
- Buttons (optional, for button tufts)
- Tufting needle (optional, for button tufts)
- Thread (optional, for button tufts)
- Drill (optional, for adding legs)
- Legs (optional)
- Screwdriver (optional, for adding legs)
Once you have gathered all the necessary materials, let’s move on to the step-by-step process of creating your ottoman.
Step 1: Prepare the Coffee Table
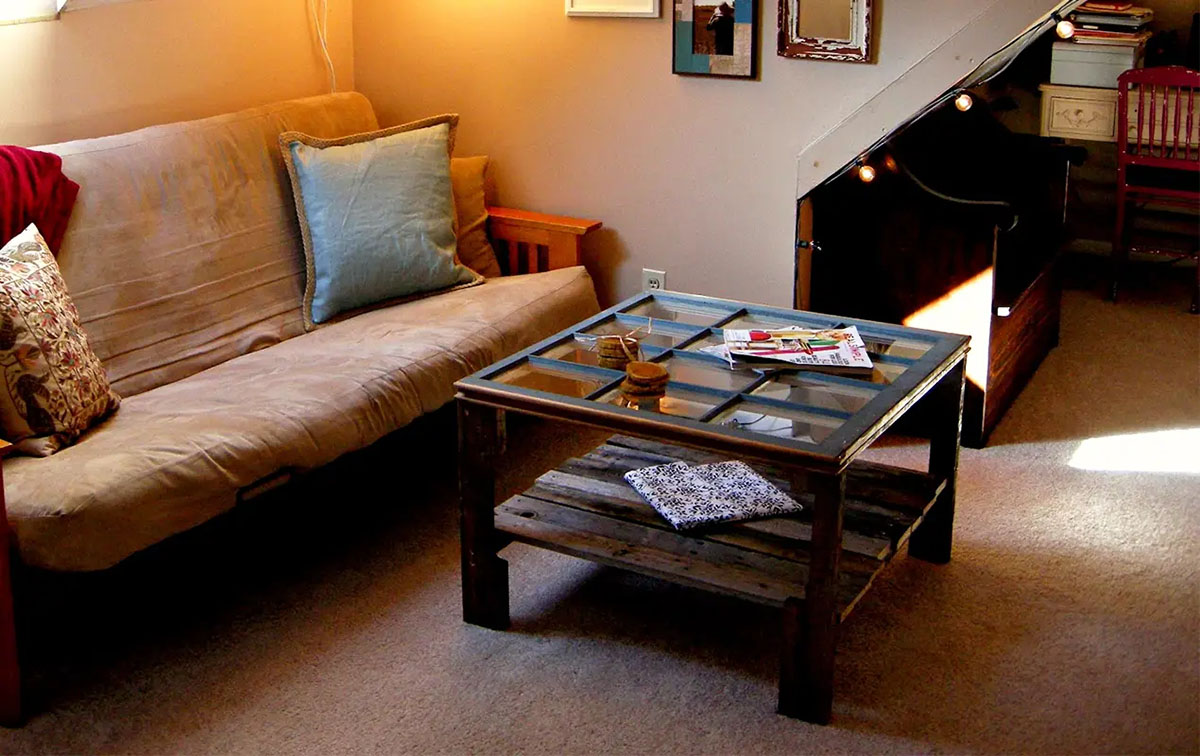
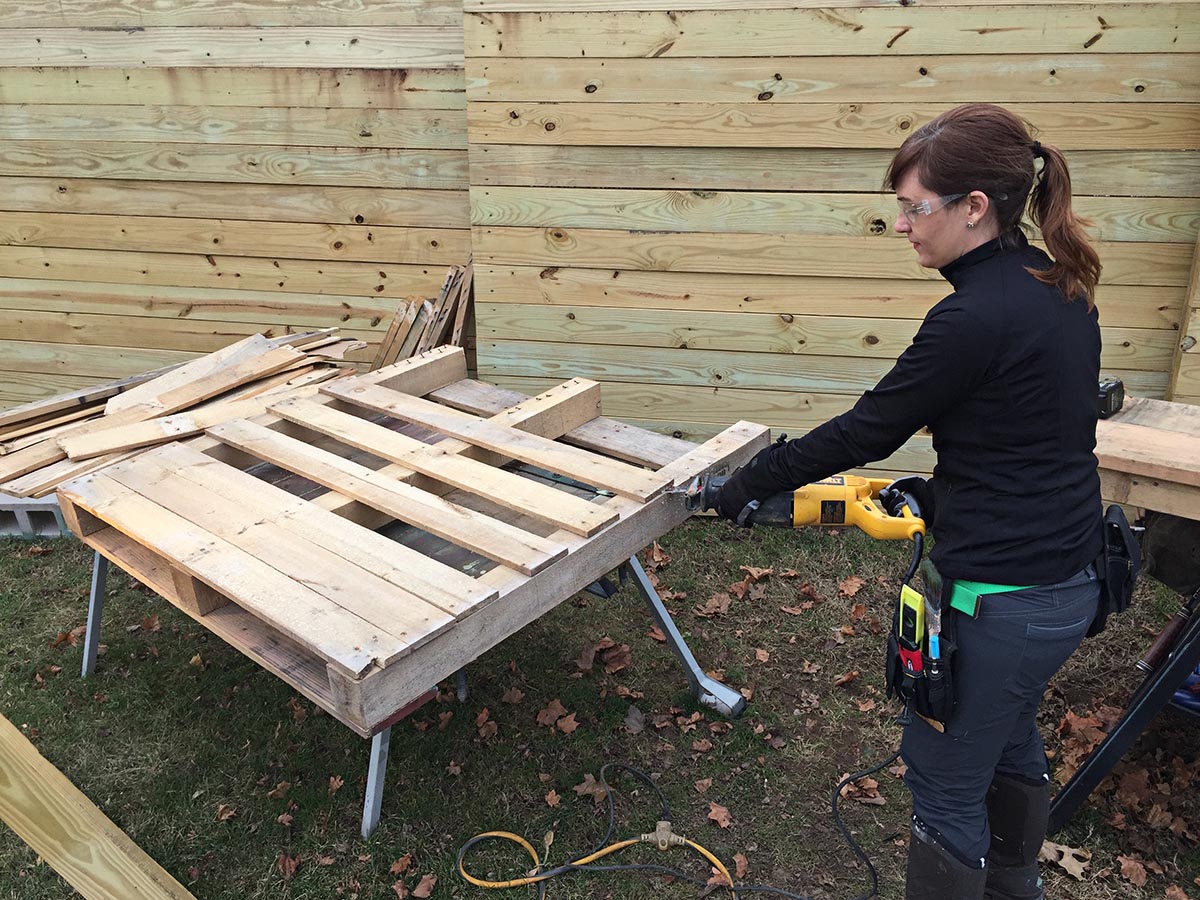
The first step to turning your coffee table into an ottoman is to prepare the table itself. Start by removing any existing hardware or decorative elements that may be attached.
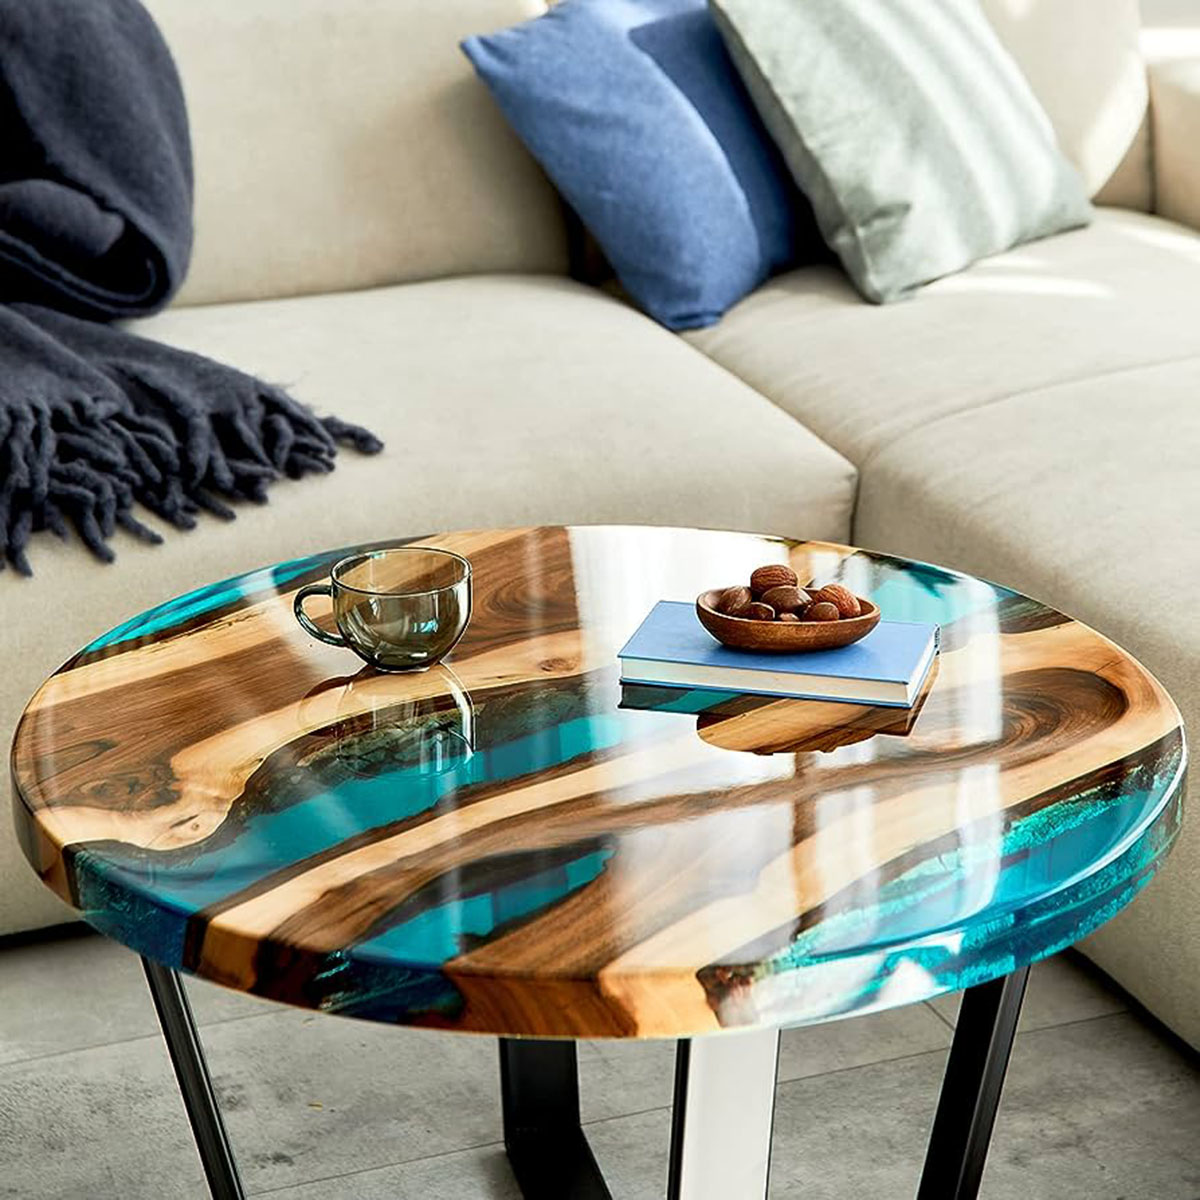
If the coffee table has a glass or wooden top, you will need to remove it. Carefully lift the top off and set it aside for future use or storage.
Once the table is clear of any unnecessary elements, give it a thorough cleaning to remove any dirt or dust. This will ensure that the adhesive and fabric adhere properly.
If your coffee table has sharp edges or corners, consider sanding them down to create a safer and more comfortable ottoman.
Now that your coffee table is clean and ready to go, it’s time to move on to the next step.
Step 2: Measure and Cut Foam
Once your coffee table is prepared, it’s time to measure and cut the foam that will provide cushioning for your ottoman.
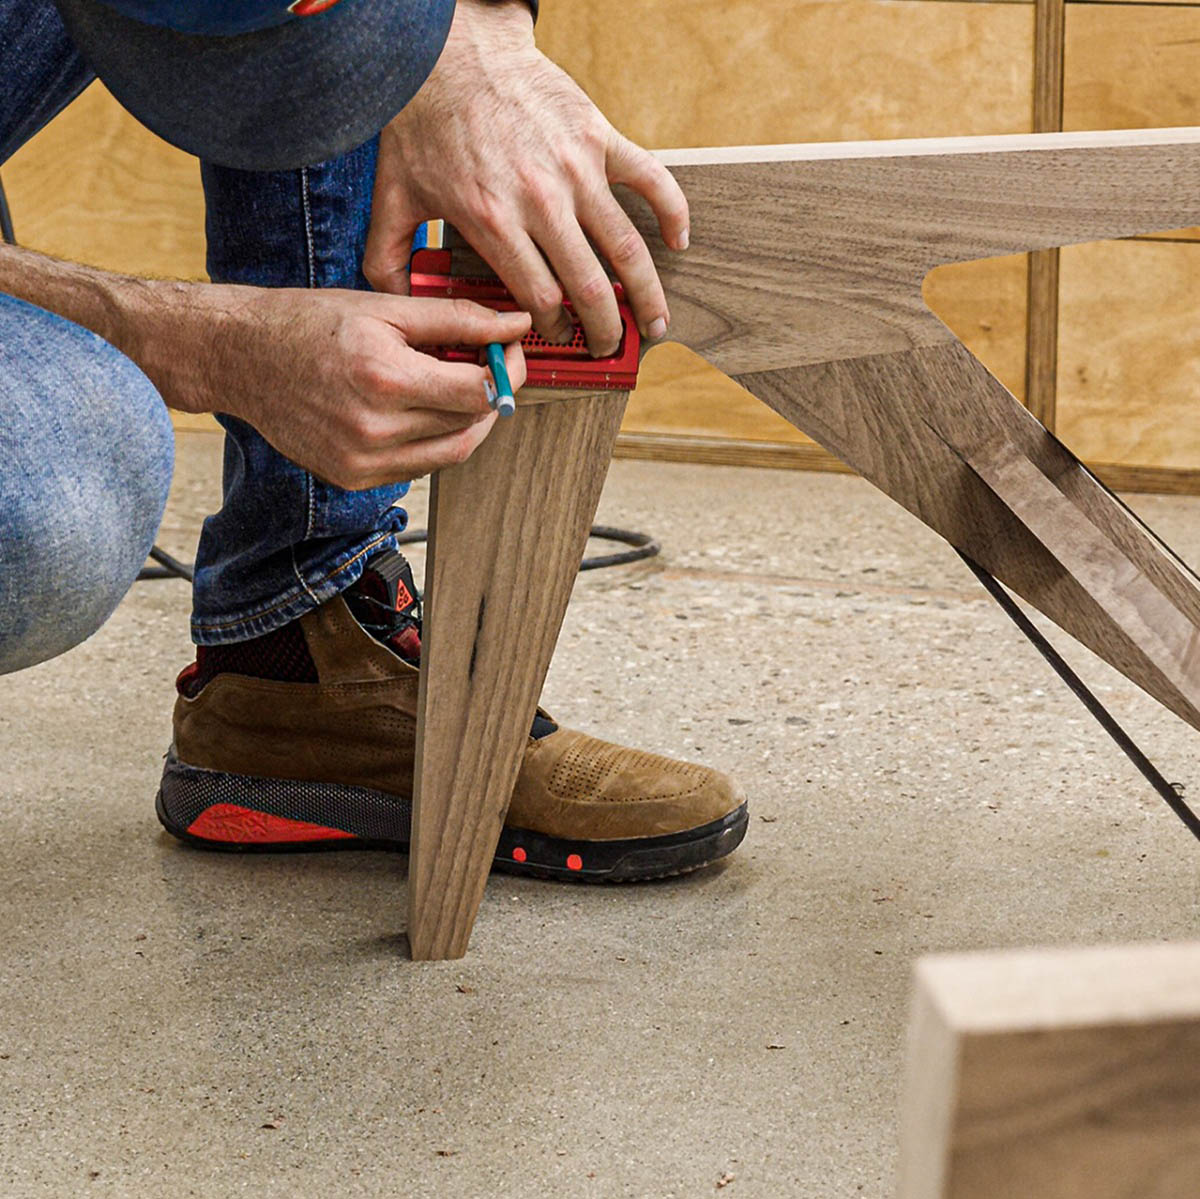
Begin by measuring the top surface of your coffee table. Use a tape measure to determine the length and width of the table’s surface.
Next, using those measurements as a guide, mark the measurements on the foam. You can use a pencil or fabric marker to make the marks on the foam.
Now, carefully cut the foam along the marked lines using a sharp pair of scissors or an electric knife. Take your time and ensure that your cuts are straight and precise.
Once you have cut the foam to the proper size, place it on top of the coffee table to make sure it fits properly. Trim any excess foam if necessary to ensure a snug fit.
With the foam cut and fitted, you are ready to move on to the next step – attaching it to the coffee table.
Step 3: Attach Foam to the Coffee Table
Now that you have your foam cut to size, it’s time to attach it to the coffee table to create a comfortable and plush ottoman seat.
Start by applying a layer of spray adhesive to the top surface of the coffee table. Be sure to follow the manufacturer’s instructions on the adhesive can for the best results. Let the adhesive sit for a few moments to become tacky.
Carefully place the foam on top of the coffee table, aligning it properly. Press down firmly to ensure that the foam adheres well to the table’s surface. Smooth out any wrinkles or bumps that may appear.
Allow the adhesive to dry completely before moving on to the next step. This will ensure a secure bond between the foam and the table.
With the foam securely attached, it’s time to move on to the next step – choosing and cutting the fabric for your ottoman.
Read more: How To Make A Coffee Table Aquarium
Step 4: Choose and Cut Fabric
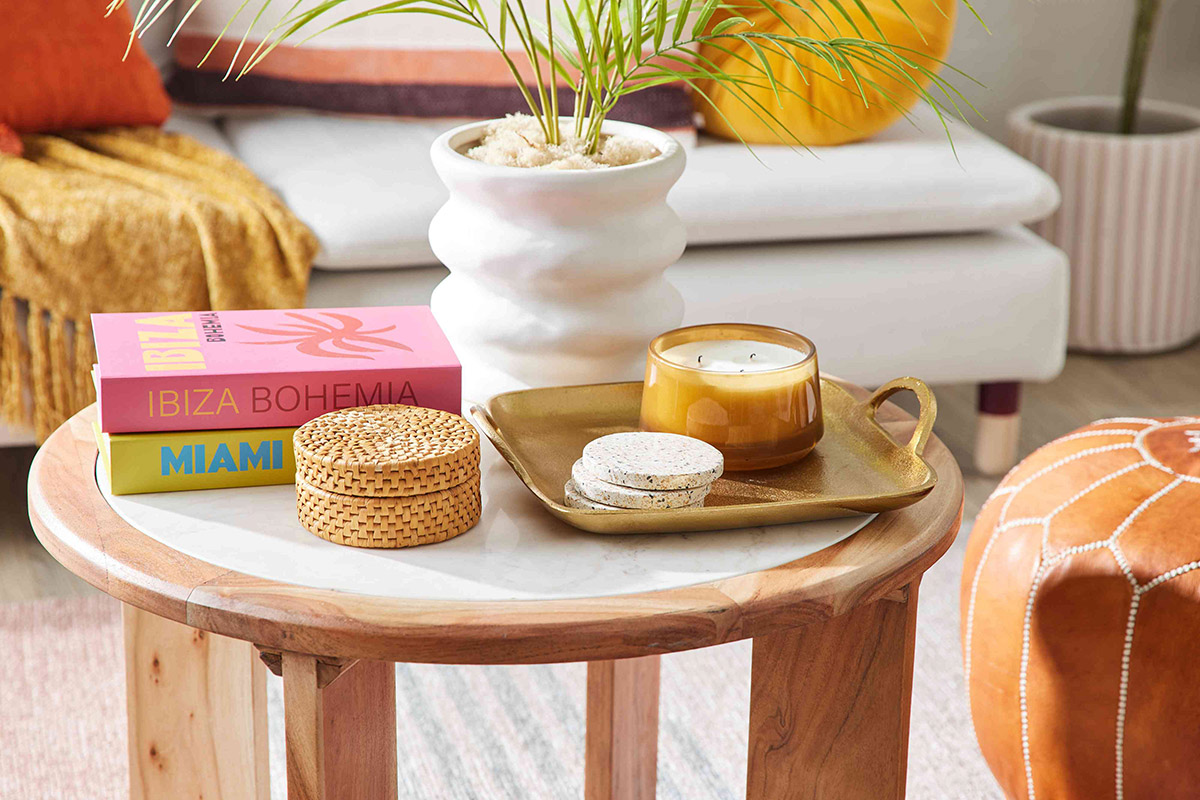
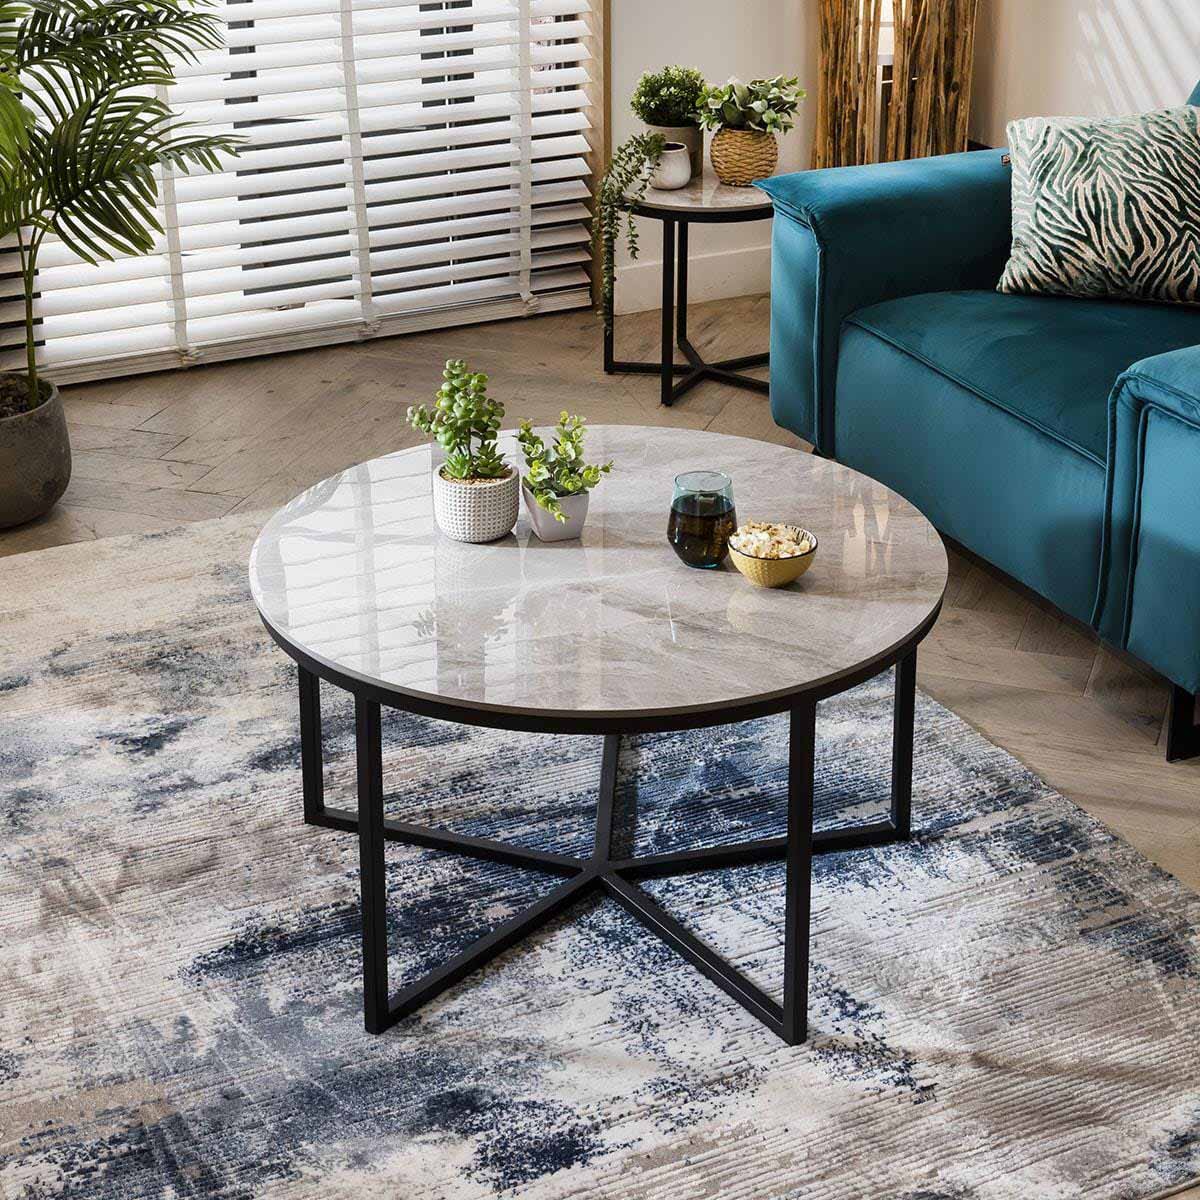
Choosing the right fabric for your ottoman is essential to achieving the desired look and style. Consider the overall aesthetic of your living room and select a fabric that complements your existing décor.
Measure the dimensions of the coffee table, including the sides and the top surface. Add a few extra inches to each measurement to allow for folding and stapling.
Once you have the measurements, it’s time to cut the fabric. Lay the fabric on a flat surface and use a straight edge and fabric scissors to cut it to the desired size. Take your time and make precise cuts to ensure a professional-looking finish.
If you are using patterned fabric, make sure to align the pattern correctly to maintain consistency across the ottoman’s surface.
With the fabric cut, it’s time to move on to the next step – upholstering the ottoman.
When repurposing a coffee table into an ottoman, make sure to add padding and fabric to the top for comfort and style. Use a staple gun to secure the fabric tightly for a professional finish.
Step 5: Upholster the Ottoman
Upholstering the ottoman is where you bring your vision to life and transform it into a stylish and comfortable piece of furniture.
Start by placing the cut fabric over the foam-covered coffee table, ensuring it is centered and draped evenly on all sides. Smooth out any wrinkles or creases in the fabric.
Begin attaching the fabric to the underside of the coffee table using a staple gun. Start in the center of each side, pulling the fabric taut as you go, and place a staple every few inches.
Continue stapling along each side, moving outward from the center towards the corners. Be mindful of maintaining an even tension on the fabric to ensure a smooth, wrinkle-free surface.
For the corners, fold the fabric neatly and create a clean, folded edge. Secure the fabric with a staple, making sure the fold is tight and the corner is neatly upholstered.
Once all sides are stapled, trim any excess fabric, leaving a small margin beyond the staples for a neat and clean finish.
Congratulations! You’ve successfully upholstered your ottoman. But wait, there’s more you can do to customize and add extra flair to your ottoman.
Let’s move on to the next optional step – adding button tufts to your ottoman.
Step 6: Attach Button Tufts (Optional)
If you want to add a touch of elegance and sophistication to your ottoman, you can choose to add button tufts. Button tufting provides a classic and luxurious look to your furniture.
To attach button tufts, you will need buttons, a tufting needle, and thread that matches your fabric.
Start by marking the desired locations for the tufts on the top surface of your ottoman. Use a ruler or measuring tape to ensure they are evenly spaced.
Thread the tufting needle with a double strand of thread, making sure it is long enough to pass through the foam and reach the underside of the ottoman.
Insert the needle through the marked spot on the ottoman, pushing it through the fabric and foam until it comes out on the underside.
Next, thread the button onto the needle and bring it back up through the foam and fabric, making sure it lines up with the marked spot.
Pull the thread tight, creating a deep tuft, and secure the thread with a few knots on the underside of the ottoman.
Repeat this process for each tuft, making sure they are evenly spaced and aligned.
Once all the tufts are attached, trim any excess thread and adjust the fabric around each tuft to ensure a smooth and professional finish.
Adding button tufts is an optional step, but it can take your ottoman to the next level of sophistication and refinement.
Now, let’s move on to the next optional step – adding legs to your ottoman.
Step 7: Add Legs (Optional)
If you want to elevate your ottoman and give it a more polished and elevated look, you can choose to add legs. Adding legs not only adds height but also allows for easy mobility and cleaning underneath the ottoman.
Start by determining the desired height of your ottoman. Consider the overall height of your seating arrangement and choose legs accordingly.
Next, flip your ottoman upside down and position the legs in the desired locations. Mark the spots where the screws or bolts will go.
Using a drill, create pilot holes at the marked spots. Be sure to use a drill bit that is slightly smaller than the screws or bolts you will be using.
Once the pilot holes are ready, attach the legs to the ottoman using screws or bolts. Use a screwdriver or wrench to tighten them securely.
Ensure that the legs are evenly attached and level. If necessary, adjust them to achieve a balanced and stable ottoman.
Once the legs are securely attached, flip the ottoman back over and place it in its desired location. You now have a beautifully upholstered ottoman with stylish legs.
With the legs added, your ottoman is complete and ready to be enjoyed in your living room.
Now, let’s move on to the final step – the finishing touches.
Read more: How To Make A Coffee Table Taller
Step 8: Finishing Touches
In this final step, you have the opportunity to add some finishing touches to your ottoman to truly make it a statement piece in your living room.
One option is to add decorative elements such as nailhead trim or piping to the edges of your ottoman. This adds a touch of elegance and creates a more refined look.
Another option is to apply a fabric protector or stain-resistant coating to the fabric to preserve its beauty and make it easier to clean. Be sure to follow the manufacturer’s instructions when applying any protective products.
Additionally, you can add a layer of batting or foam underneath the fabric for extra cushioning and comfort. This will enhance the overall plushness of your ottoman.
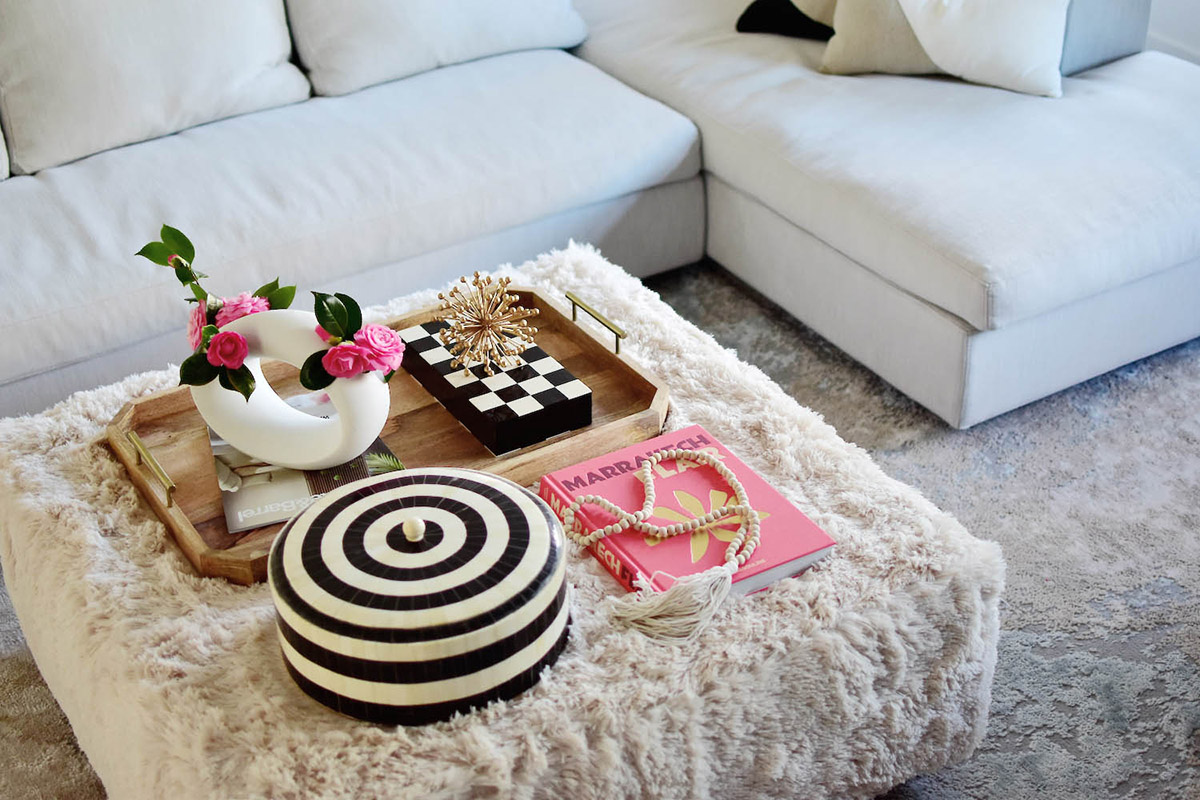
Lastly, consider adding a tray on top of your ottoman to provide a stable surface for drinks or decor items. This adds functionality to your ottoman while still maintaining its stylish appearance.
By adding these finishing touches, your ottoman will be complete and ready to be proudly displayed in your living room.
Now that you have completed all the steps, take a moment to admire your handmade ottoman. You have successfully transformed a simple coffee table into a stunning and functional piece of furniture.
Remember to enjoy your ottoman and make the most of its versatility. Whether you are using it as a footrest, extra seating, or a place to set a tray of snacks, your ottoman is sure to become a favorite spot in your living room.
Thank you for following this guide on how to make an ottoman from a coffee table. We hope you have found it informative and inspiring. Happy DIY-ing!
For more helpful home improvement tips and ideas, be sure to check out our other articles.
Conclusion
Congratulations on successfully transforming a coffee table into a beautiful and functional ottoman! By following the step-by-step guide in this article, you have learned how to repurpose furniture and create a personalized piece that adds both style and comfort to your living room.
Throughout the process, you prepared the coffee table, measured and cut foam to provide cushioning, upholstered the ottoman with carefully chosen fabric, and even had the option of adding button tufts and legs to further customize your creation.
Remember, the possibilities are endless when it comes to making your ottoman truly unique. You can choose different fabric patterns or colors to match your interior design, experiment with different foam thicknesses for various levels of comfort, or even incorporate other creative elements like storage compartments or hidden compartments.
Now that your ottoman is complete, take some time to sit back, relax, and enjoy your new piece of furniture. Whether you use it as a footrest, a seat for extra guests, or simply a stylish statement piece, your ottoman will undoubtedly enhance the overall ambiance of your living room.
We hope you found this guide helpful and that it inspired you to explore your creativity and DIY skills. Remember to share your success and show off your ottoman to friends and family – they might even be inspired to try their own furniture transformations.
Thank you for taking the time to follow this comprehensive guide on how to make an ottoman from a coffee table. We hope you had a fun and rewarding DIY experience. Stay tuned for more exciting home improvement tips and ideas!
Frequently Asked Questions about How To Make An Ottoman From A Coffee Table
Was this page helpful?
At Storables.com, we guarantee accurate and reliable information. Our content, validated by Expert Board Contributors, is crafted following stringent Editorial Policies. We're committed to providing you with well-researched, expert-backed insights for all your informational needs.


0 thoughts on “How To Make An Ottoman From A Coffee Table”