Home>Furniture>Living Room Furniture>How To Make A Window Coffee Table
Living Room Furniture
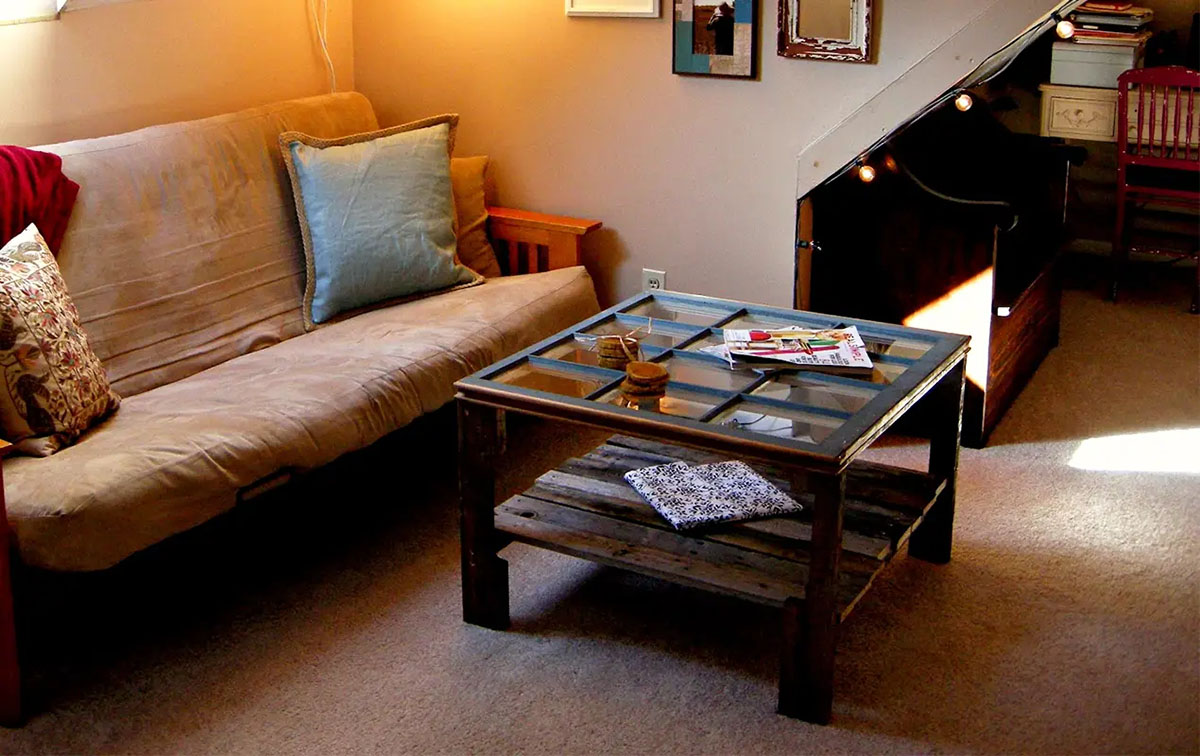
How To Make A Window Coffee Table
Modified: August 28, 2024
Learn how to make a stunning window coffee table for your living room. Discover creative DIY ideas for unique living room furniture.
(Many of the links in this article redirect to a specific reviewed product. Your purchase of these products through affiliate links helps to generate commission for Storables.com, at no extra cost. Learn more)
Introduction
Welcome to the world of DIY furniture making! If you’re looking to add a unique and eye-catching piece to your living room, why not try making your own window coffee table? This creative and functional furniture project combines the charm of a vintage window with the practicality of a coffee table, making it a perfect centerpiece for your living space.
Not only will building a window coffee table give you a sense of accomplishment, but it will also allow you to customize the design and size to perfectly fit your personal style and space. Plus, it’s a great way to repurpose an old window that might otherwise end up in the landfill.
In this step-by-step guide, we will walk you through the process of building a window coffee table from scratch. From gathering the necessary materials to adding the finishing touches, we’ll cover all the essential steps to help you create a stunning and functional piece of furniture.
Before we get started, let’s go over the basic materials you’ll need for this project:
Key Takeaways:
- Transform an old window into a unique coffee table by gathering materials, preparing the window, building a sturdy base, attaching the window securely, and adding personal finishing touches.
- Building a window coffee table not only showcases creativity but also contributes to sustainability by repurposing old materials, creating a functional piece of furniture, and reducing waste.
Read more: How To Make A Coffee Table Aquarium
Materials Needed
- Old window
- Wood for the base
- Screws
- Wood glue
- Paint or stain
- Sandpaper
- Drill
- Screwdriver
Now that you have an idea of what you need, let’s dive into the step-by-step process of making your very own window coffee table!
Key Takeaways:
- Transform an old window into a unique coffee table by gathering materials, preparing the window, building a sturdy base, attaching the window securely, and adding personal finishing touches.
- Building a window coffee table not only showcases creativity but also contributes to sustainability by repurposing old materials, creating a functional piece of furniture, and reducing waste.
Read more: How To Make A Coffee Table Aquarium
Materials Needed
If you’re ready to embark on the journey of building your own window coffee table, it’s important to gather all the necessary materials before getting started. Here’s a list of what you’ll need:
- Old window: Look for a window with an interesting design and suitable dimensions for a coffee table. You can often find vintage windows at salvage yards, thrift stores, or online marketplaces.
- Wood for the base: Choose a sturdy and visually appealing wood, such as oak or pine, that will serve as the foundation for your table. The quantity of wood will depend on the size of your window and personal design preferences.
- Screws: Opt for screws that are long enough to securely attach the window to the base. Make sure they are appropriate for the type of wood you’re using.
- Wood glue: This adhesive will help strengthen the joints of your table. Choose a high-quality wood glue that bonds well and dries clear.
- Paint or stain: Decide on the finish you want for your table. Paint can add a pop of color or a sleek modern look, while stain allows the natural beauty of the wood to shine through. Choose a paint or stain that is suitable for the type of wood you’re using.
- Sandpaper: To achieve a smooth and polished surface, you’ll need sandpaper with different grits. Start with a coarse grit to remove any rough spots or imperfections, and gradually work your way up to a finer grit for a silky finish.
- Drill: A drill will be essential for making holes and attaching the window to the base. Make sure you have the appropriate bits for your screws.
- Screwdriver: Depending on the type of screws you’re using, you may need a screwdriver to tighten them securely.
Before you start gathering your materials, take some time to plan out the design and dimensions of your window coffee table. Consider the size of the window, the height you want for the table, and any additional features you may want to incorporate, such as a lower shelf or drawer. This will help you determine the amount of wood and other supplies you’ll need.
Once you have all the materials on hand, you’ll be ready to move on to the next step: preparing the window for the table construction.
Step 1: Gather Your Supplies
Before you dive into building your window coffee table, it’s crucial to gather all the necessary supplies. This will ensure a smooth and efficient construction process. Here’s a breakdown of what you’ll need:
- Old window: Look for a window that suits your style and desired table dimensions. Consider the frame’s material, size, and design. It’s best to choose a window with intact panes and a sturdy frame to ensure long-lasting durability.
- Wood for the base: Select a wood species that complements the window and fits your desired aesthetics. Common options include oak, pine, or maple. Additionally, you’ll need enough wood to create the top surface as well as the support structure for the table.
- Screws: Choose screws that are appropriate for the thickness of your wood and the weight of the window. Make sure they are long enough to securely attach the window to the base without going through the top surface.
- Wood glue: Invest in high-quality wood glue to reinforce the joints and ensure the stability of your coffee table. Look for a glue that dries clear and bonds well with the type of wood you’re using.
- Paint or stain: Decide whether you want to paint or stain the wood for your base. Consider the color scheme of your living room and choose a finish that complements it. Don’t forget to select a paint or stain that is suitable for the type of wood you’ve chosen.
- Sandpaper: To achieve a smooth and polished surface, you’ll need sandpaper in various grits. Start with a coarse grit to remove any roughness and imperfections, and gradually move toward finer grits for a silky finish.
- Drill: A drill is essential for making pilot holes and securing the screws. Ensure you have the appropriate drill bits for the size of your screws.
- Screwdriver: Depending on the type of screws you’ve chosen, you’ll need a screwdriver to tighten them securely. Opt for a screwdriver that provides a good grip and allows for easy maneuvering in tight spaces.
Once you’ve gathered all the necessary supplies, it’s time to move on to the exciting process of preparing the window for its transformation into a stunning coffee table.
Step 2: Prepare the Window
Now that you have all your supplies ready, it’s time to prepare the window for its new life as a coffee table. This step involves cleaning the window, removing any loose or damaged parts, and ensuring it’s ready for installation onto the base.
Here’s how you can go about preparing the window:
- Clean the window: Start by giving the window a thorough cleaning. Remove any dirt, dust, or grime using a glass cleaner and a soft cloth. If the window has been stored for a while or is particularly dirty, you may need to use a mild detergent solution. Take care not to damage the glass or the frame during the cleaning process.
- Inspect the frame: Carefully examine the window frame for any loose or damaged parts. Check the corners, joints, and glass panes for any signs of weakness or cracks. If you notice any structural issues, it’s crucial to address them before proceeding with the construction.
- Repair or replace: Depending on the condition of the window frame, you may need to repair or replace certain components. If you encounter loose joints or damaged sections, apply an appropriate wood glue or adhesive to reattach and reinforce them. In cases where the damage is beyond repair, consider replacing the affected parts or seeking professional assistance.
- Measure and mark: Once the window is clean and repaired, it’s time to measure the dimensions that will guide the construction of the base. Measure the width and length of the window frame to determine the size of the base you’ll need to build. Transfer these measurements onto your chosen wood for precise cutting.
- Protect the glass: To prevent any damage to the glass during the construction process, consider using masking tape or adhesive film to cover the surface. This will protect the glass from accidental scratches, paint splatters, or glue residue. Ensure the tape or film is securely attached but is easily removable once the construction is complete.
By following these steps, you’ll ensure that your window is in optimal condition and ready to be transformed into a beautiful coffee table. Once you have prepared the window, you can move on to building the base, which will provide the stability and support for your new centerpiece.
When making a window coffee table, be sure to use safety goggles and gloves when handling glass. Measure the window carefully before cutting to ensure a perfect fit.
Read more: How To Make A Coffee Table Taller
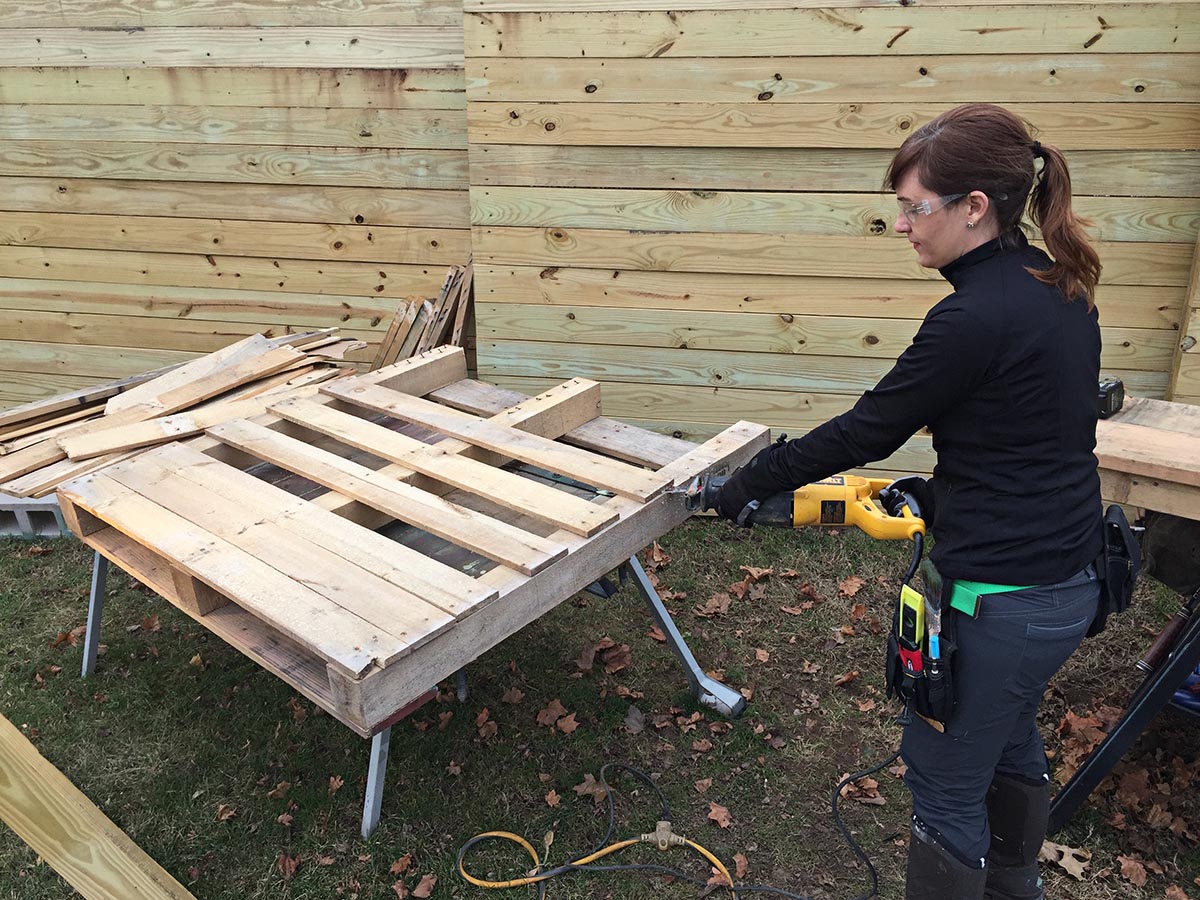
Step 3: Build the Base
With the window prepared, it’s time to shift our focus to building the base of your window coffee table. The base will provide stability and support for the window, ensuring a sturdy and functional piece of furniture that will grace your living room.
Follow these steps to construct the base:
- Select and prepare the wood: Choose the wood for your base, keeping in mind the desired dimensions and the overall aesthetic you want to achieve. Measure and mark the dimensions based on the window’s size and your personal preferences. Use a saw or a suitable cutting tool to carefully cut the wood pieces according to your measurements.
- Create the top surface: Assemble the wood pieces to create the top surface of the base. Depending on the design, you may opt for a simple rectangular shape or experiment with different shapes or patterns. Use wood glue and screws to secure the joints, ensuring a strong and stable connection. Allow sufficient drying time for the glue before proceeding to the next step.
- Construct the support structure: To ensure the durability of your coffee table, you’ll need to build a support structure for the window to rest on. This will typically involve creating a frame using additional pieces of wood. Measure and cut the necessary components based on the dimensions of your top surface. Assemble the frame using wood glue and screws, reinforcing it at the corners for added stability.
- Attach the top surface and the support structure: Once the support structure is complete, position it under the top surface, aligning the corners and edges. Use wood glue and screws to securely attach the top surface to the support structure, ensuring a tight and stable connection. Take extra care not to damage the window or glass during this step.
- Check for stability: After assembling the base, check for stability by gently shaking the structure. If you notice any wobbling or instability, reinforce the joints or make necessary adjustments to ensure a solid foundation.
Remember to follow proper safety precautions throughout the construction process, such as wearing protective goggles and gloves when handling tools or using adhesives. Take your time to ensure precise measurements and quality craftsmanship to achieve the best results.
Now that you’ve successfully built the base, it’s time to move on to the exciting step of attaching the window to the base, transforming it into a unique and functional window coffee table.
Step 4: Attach the Window to the Base
Now that you have built a sturdy and solid base for your window coffee table, it’s time to attach the window to the base. This step is essential, as it will bring together the different components and transform them into a cohesive and functional piece of furniture.
Follow these steps to properly attach the window to the base:
- Position the window: Carefully lift the window and place it on the prepared base. Align the corners and edges of the window frame with the top surface of the base. Take your time to ensure that the window is centered and positioned correctly.
- Mark the attachment points: Once the window is positioned correctly, use a pencil or marker to mark the attachment points on the base. Make small dots or lines on the wood where the screws will be inserted. This will guide you during the attachment process and ensure that the window is secured in place.
- Pre-drill pilot holes: Before attaching the window, it’s essential to pre-drill pilot holes in the marked attachment points. This will help prevent the wood from splitting when inserting the screws and ensure a secure and long-lasting connection. Use a drill with an appropriate bit size for the screws you’re using.
- Attach the window: With the pilot holes drilled, it’s time to attach the window to the base. Align the window frame with the pre-drilled holes and use screws to secure it in place. Start by inserting the screws partially, and then tighten them gradually, making sure not to over-tighten and risk damaging the wood or the window frame.
- Check for stability: Once the window is attached, carefully check for stability by gently shaking the table. Ensure that the window is securely fastened and that there is no wobbling or movement. If you notice any instability, double-check the attachment points and tighten the screws as needed.
Remember to handle the window with care during this step to avoid any damage or breakage. Take your time to ensure that the attachment is secure and stable, as this will determine the overall quality and longevity of your window coffee table.
With the window now securely attached to the base, it’s time to move on to the next step: sanding and finishing, which will add a touch of refinement and elegance to your creation.
Step 5: Sand and Finish
After attaching the window to the base of your coffee table, it’s time to give the entire piece a smooth and finished look. This step involves sanding the wood surfaces and adding the desired finish to enhance its visual appeal and protect it from everyday wear and tear.
Here’s how you can go about sanding and finishing your window coffee table:
- Sanding: Start by carefully sanding all the exposed wood surfaces, including the top surface and the base. Use sandpaper with a coarse grit to remove any roughness, scratches, or imperfections. Gently sand in the direction of the wood grain to achieve a smooth and even surface. Gradually move to finer grit sandpaper to create a polished finish.
- Remove dust: After sanding, use a soft cloth or a brush to remove any dust or debris from the wood surfaces. This step is important to ensure a clean and smooth canvas for the application of a finish.
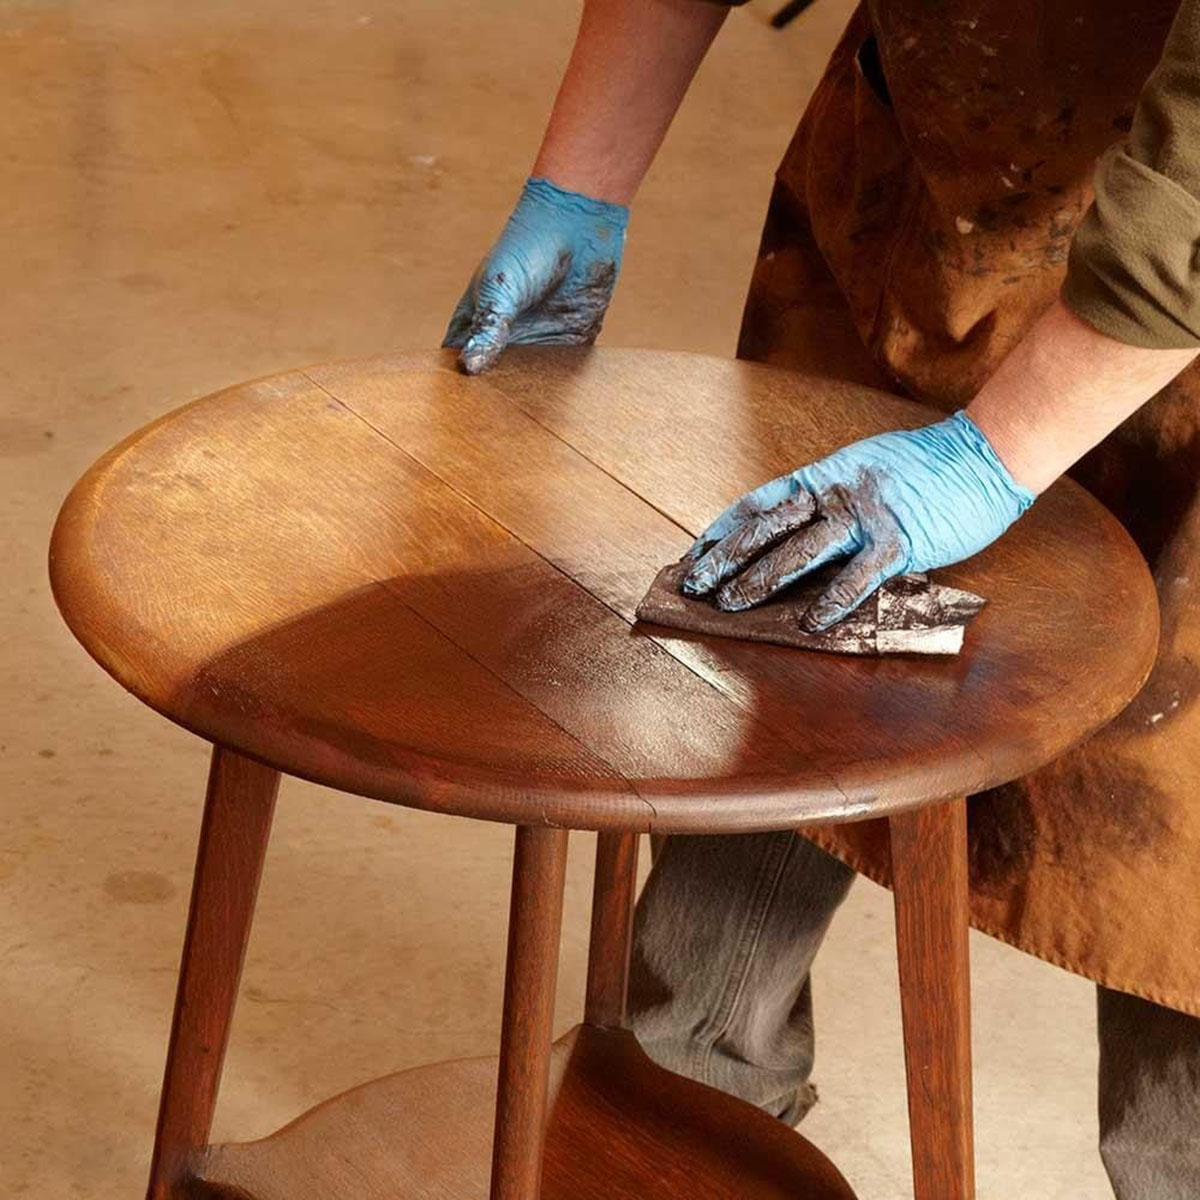
- Choose a finish: Decide on the finish you want for your coffee table. Options include paint, stain, or a combination of both, depending on your preferred aesthetic. If you opt for paint, choose one that is compatible with wood and offers the desired color and finish. If you choose stain, select one that enhances the natural grain of the wood while providing the desired shade.
- Apply the finish: Follow the instructions on the chosen paint or stain to apply the finish evenly to the wood surfaces. Use a brush or a cloth to apply the paint or stain in smooth, even strokes, following the wood grain. Allow the first coat to dry completely before applying additional coats for deeper color or increased protection. Apply as many coats as needed to achieve the desired look and durability.
- Protective topcoat (optional): For added protection and durability, consider applying a clear protective topcoat over the painted or stained surface. This will help seal the finish and guard against scratches and moisture. Choose a topcoat that is compatible with the chosen finish and follow the application instructions provided.
- Allow for proper drying: Once you have applied the finish and any optional topcoat, allow the table to dry completely. Follow the manufacturer’s instructions for drying time. Avoid placing any objects on the table or using it until the finish is fully cured to prevent any damage.
By carefully sanding and applying the desired finish, you’ll transform your window coffee table into a beautiful and polished piece of furniture that will take pride of place in your living room. Remember to work in a well-ventilated area and follow any safety precautions mentioned on the paint/stain labels.
With the sanding and finishing done, it’s time for the final step: adding the finishing touches to your unique and custom-made window coffee table.
Step 6: Add Finishing Touches
Congratulations! You’re on the final step of completing your window coffee table. Adding the finishing touches will not only enhance the overall appearance of your creation but also allow you to personalize it and make it truly your own. Here are some ideas to consider:
- Hardware: Consider adding decorative hardware to further enhance the aesthetics of your coffee table. You can choose ornate drawer pulls, knobs, or hinges that match your desired style and complement the overall look of the table.
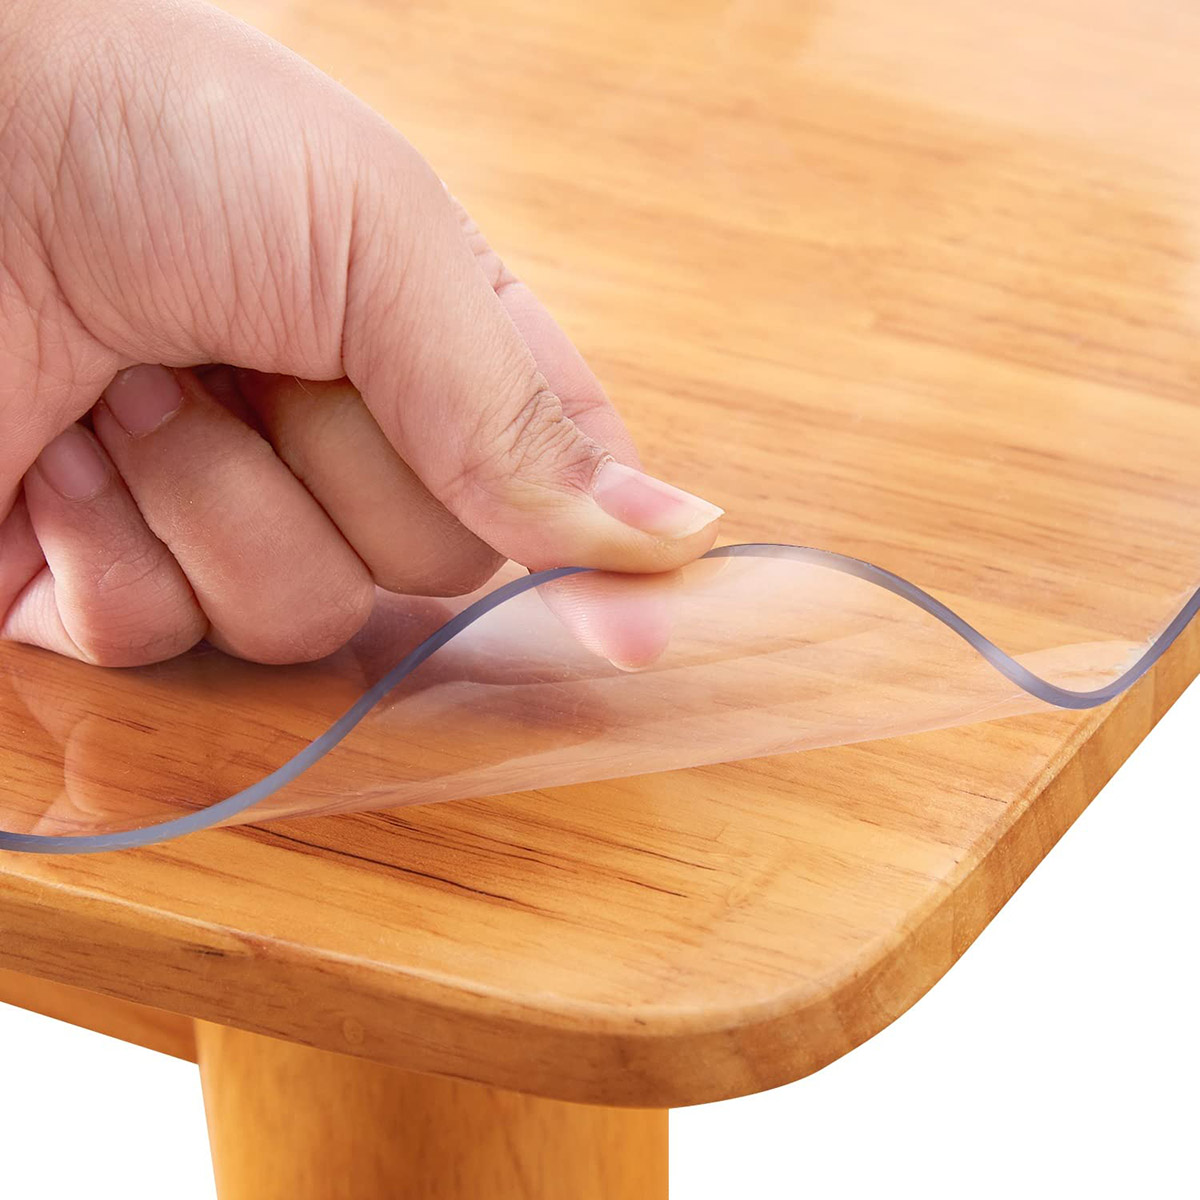
- Glass protection: If you want to protect the glass panes of your window coffee table, you may consider adding glass protectors or clear adhesive films. This will help prevent scratches, stains, or fingerprints on the glass surface and ensure its longevity and visual appeal.
- Chalkboard or corkboard: Want to add a functional element to your coffee table? Consider attaching a chalkboard or corkboard panel to one of the window panes. This will allow you to write messages, jot down reminders, or display photos and notes, adding a unique and practical touch to your table.
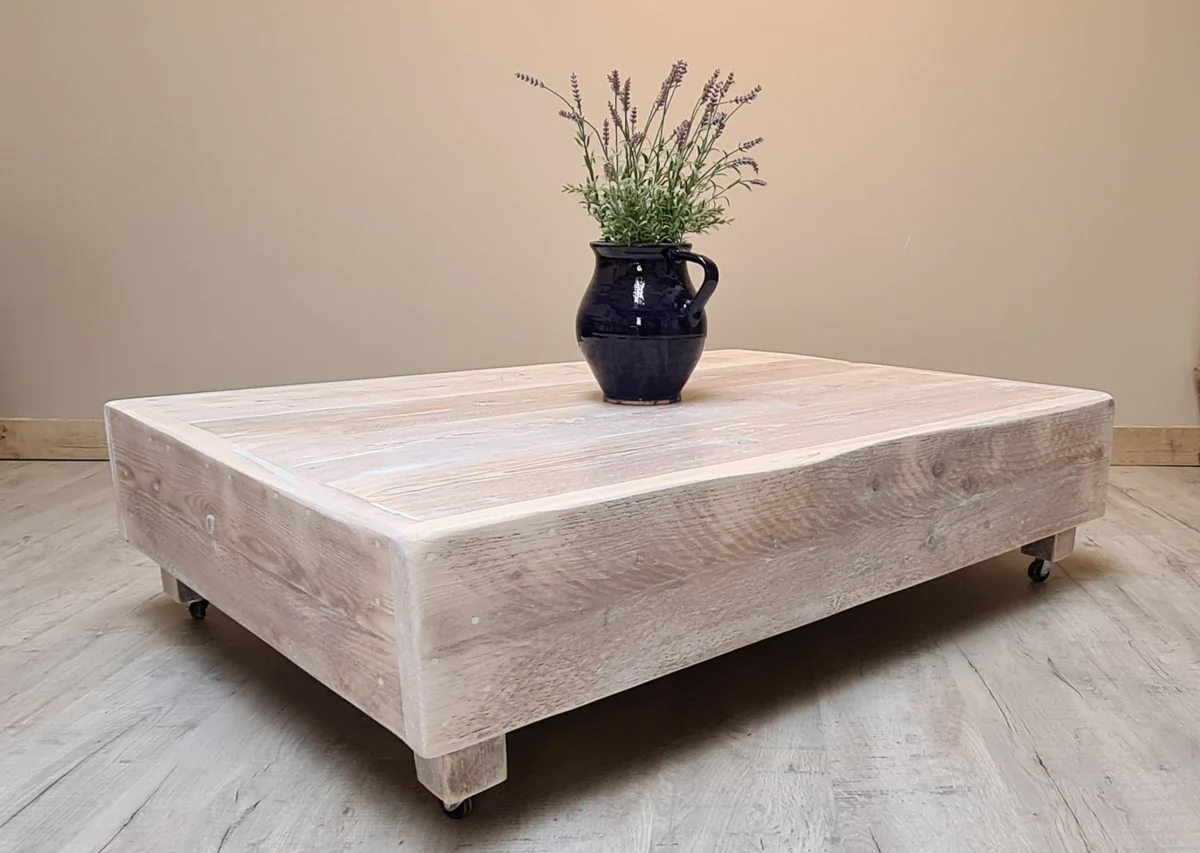
- Lower shelf: If you have extra wood or want to maximize storage space, you can add a lower shelf to your coffee table. This will provide a convenient spot to store books, magazines, or decorative items while keeping them within reach.
- Decorative accents: Add a personal touch by incorporating decorative accents such as vases, candles, or small sculptures on the table. Choose items that reflect your style and complement the overall aesthetic of your living room.
- Coasters: To protect the surface of your coffee table, consider placing coasters or mats. This will help prevent any heat or water damage caused by mugs, glasses, or hot plates.
Take your time to explore different options and experiment with various finishing touches until you achieve the desired look for your window coffee table. Remember, these final details will make your creation truly unique and reflect your personal style and taste.
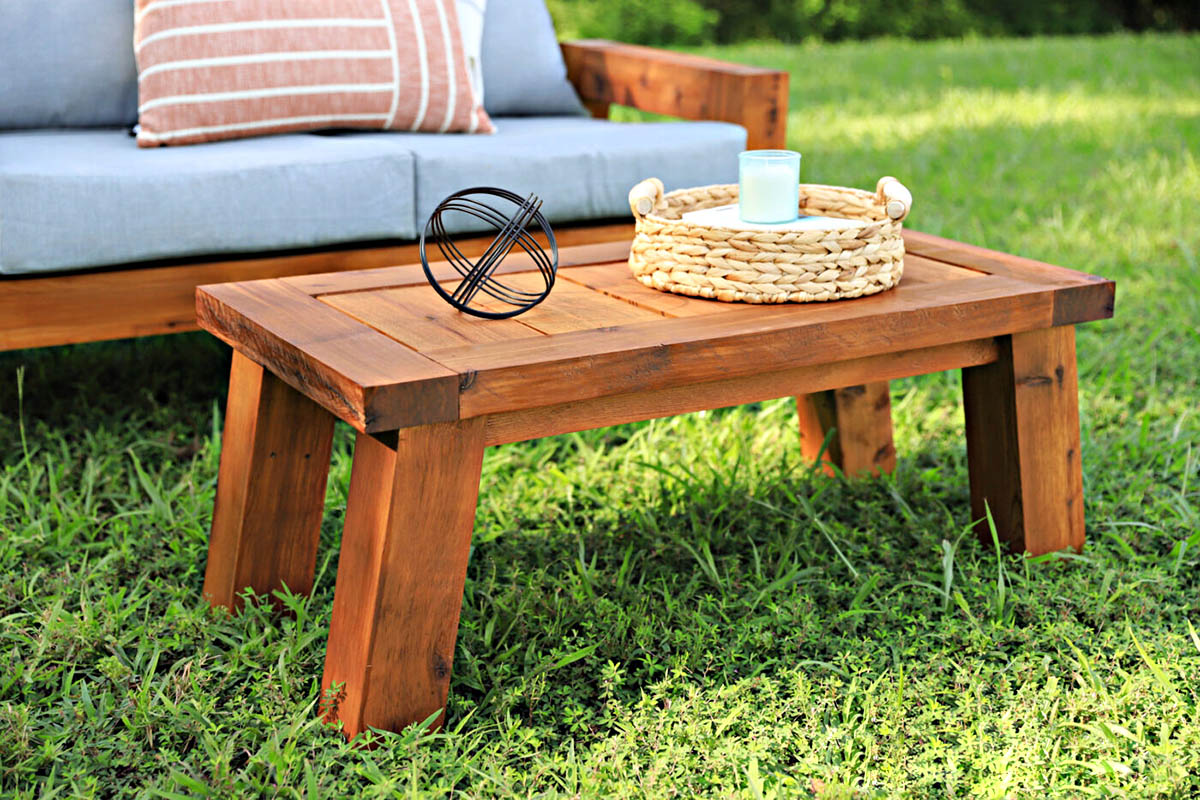
Once you’ve added the finishing touches, step back and admire your handcrafted window coffee table. It’s now ready to become the focal point of your living room, serving as a conversation starter and a functional piece of furniture that brings character and charm to your space.
Congratulations on successfully completing your window coffee table! Enjoy the satisfaction of your DIY project and the joy it will bring to your home for years to come.
Read more: How To Make A Coffee Table Book
Conclusion
Congratulations on completing your DIY window coffee table! By following the step-by-step guide, you have transformed an old window into a stunning and functional piece of furniture that adds character to your living room. Building your own window coffee table not only allows you to showcase your creativity and craftsmanship but also gives you a sense of pride and accomplishment.
Throughout the construction process, you learned how to gather the necessary materials, prepare the window, build a sturdy base, attach the window securely, and add the finishing touches that make the table uniquely yours. By incorporating your personal style and preferences, you’ve created a one-of-a-kind centerpiece that showcases your creativity and adds a unique charm to your living space.
Remember to take care of your coffee table by regularly cleaning and maintaining it. Wipe the surface with a soft cloth, avoid placing heavy objects or applying excessive force on the glass, and use coasters to protect the wood from water rings or heat damage.
Building your own furniture not only saves you money but also gives you the opportunity to repurpose old materials and contribute to sustainability. By transforming an old window into a coffee table, you’ve given new life to something that might have otherwise been discarded. So not only do you have a beautiful and functional piece of furniture, but you’ve also made an eco-friendly choice.
Now, sit back, relax, and enjoy your handcrafted window coffee table. Whether you’re entertaining guests, enjoying a cup of coffee, or curling up with a good book, your unique creation will surely be a conversation starter and a beloved piece in your home.
Thank you for taking this DIY journey with us. We hope you had fun, learned new skills, and gained a deeper appreciation for the beauty of handmade furniture. Happy crafting!
Frequently Asked Questions about How To Make A Window Coffee Table
Was this page helpful?
At Storables.com, we guarantee accurate and reliable information. Our content, validated by Expert Board Contributors, is crafted following stringent Editorial Policies. We're committed to providing you with well-researched, expert-backed insights for all your informational needs.


0 thoughts on “How To Make A Window Coffee Table”