Tableware
How To Make A Handbag From A Placemat
Modified: January 4, 2024
Learn how to transform a simple placemat into a stylish handbag using tableware techniques. Step-by-step guide for creating your own unique accessory.
(Many of the links in this article redirect to a specific reviewed product. Your purchase of these products through affiliate links helps to generate commission for Storables.com, at no extra cost. Learn more)
Introduction
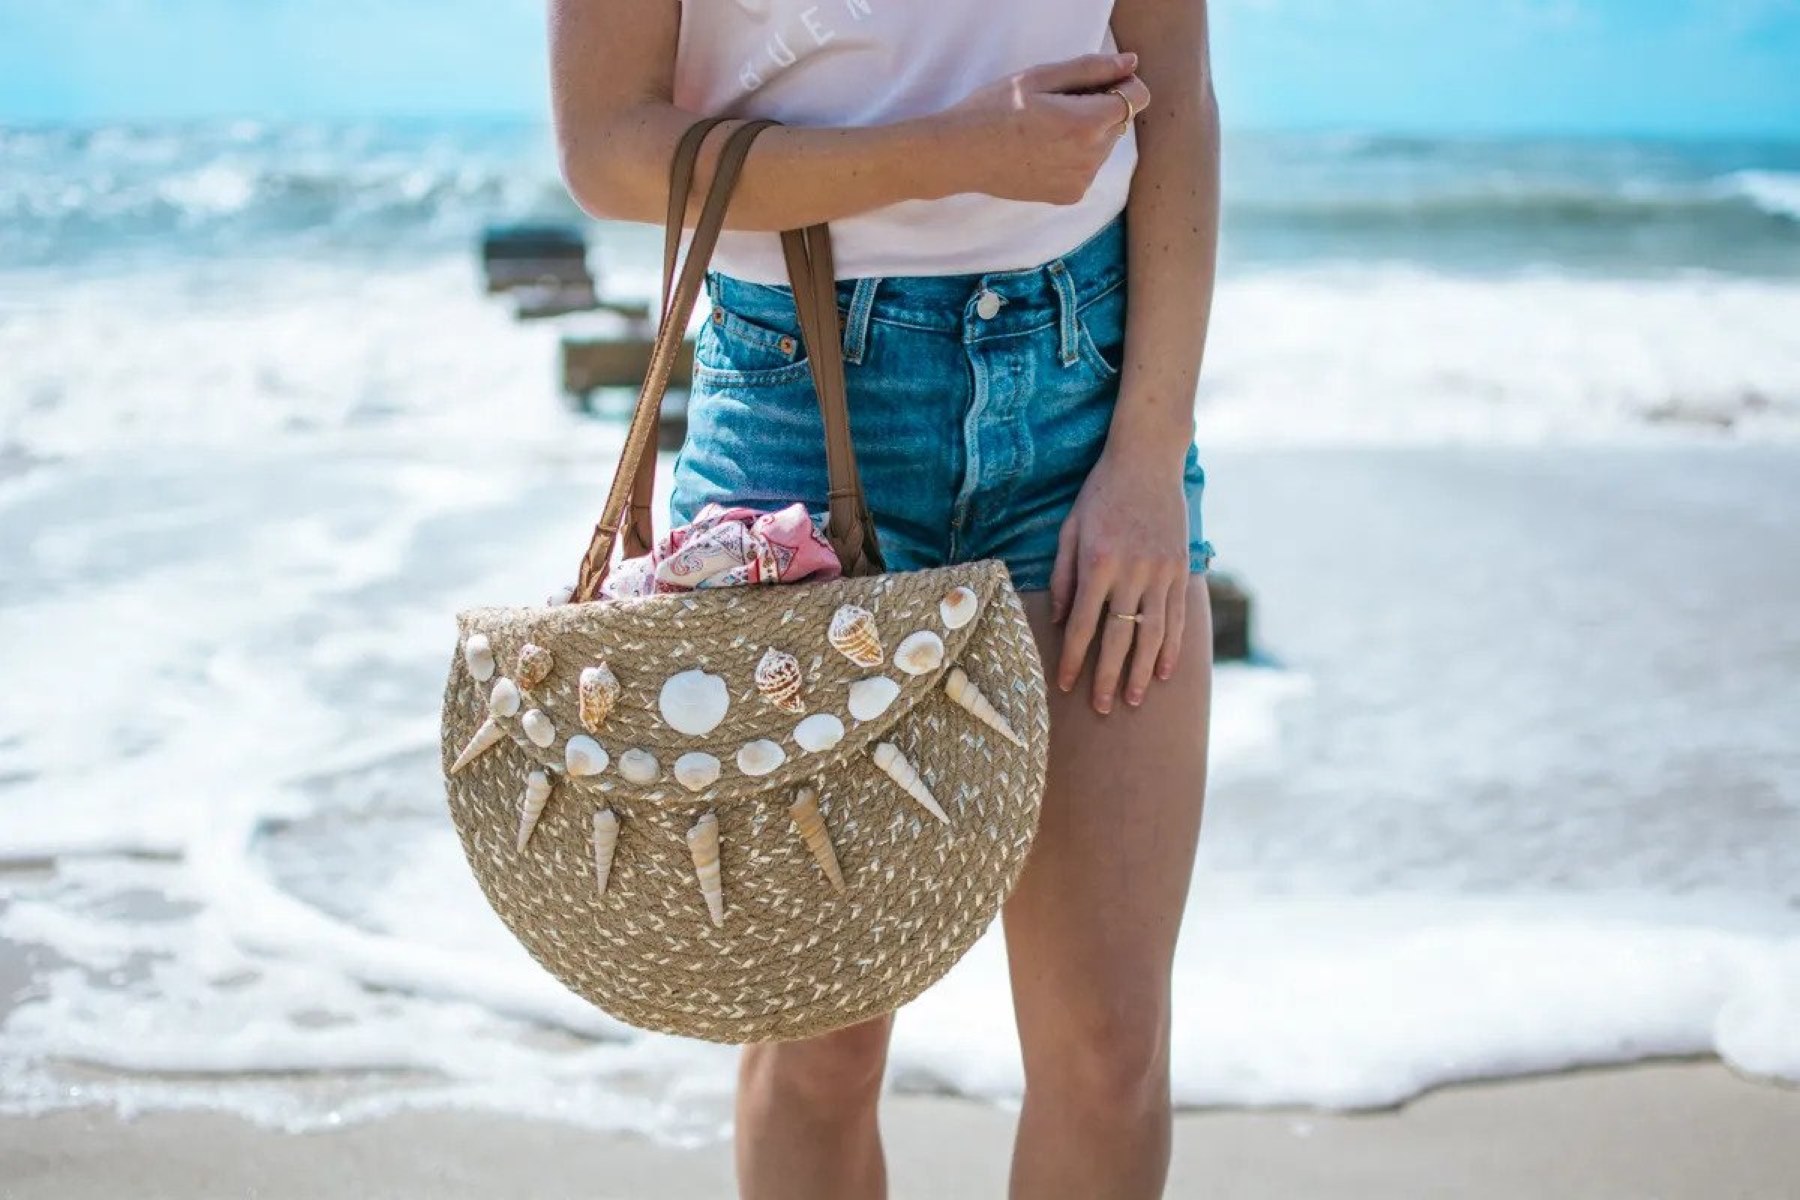
Welcome to the world of DIY handbags! Have you ever wanted to create a stylish and unique handbag that is also eco-friendly? Look no further, because in this article, we will show you how to make a handbag from a placemat. Not only is this an excellent way to repurpose unused placemats, but it also allows you to showcase your creativity and personal style.
Creating a handbag from a placemat is not only affordable but also a fun and rewarding project. You can choose from a wide variety of placemats available in different colors, patterns, and textures, enabling you to craft a bag that perfectly matches your taste and wardrobe.
Before we jump into the step-by-step guide, let’s take a look at the materials you will need for this project.
Key Takeaways:
- Transform a placemat into a stylish handbag by choosing the right design, preparing, folding, sewing, and adding handles and embellishments. Enjoy the satisfaction of carrying a unique, eco-friendly accessory that reflects your personal style.
- Repurpose unused placemats into fashionable handbags, showcasing your creativity and contributing to sustainable fashion. With endless customization options, create a one-of-a-kind accessory that complements your wardrobe and reflects your individuality.
Read more: How To Make Placemats From Photos
Materials Needed
To make a handbag from a placemat, you will need the following materials:
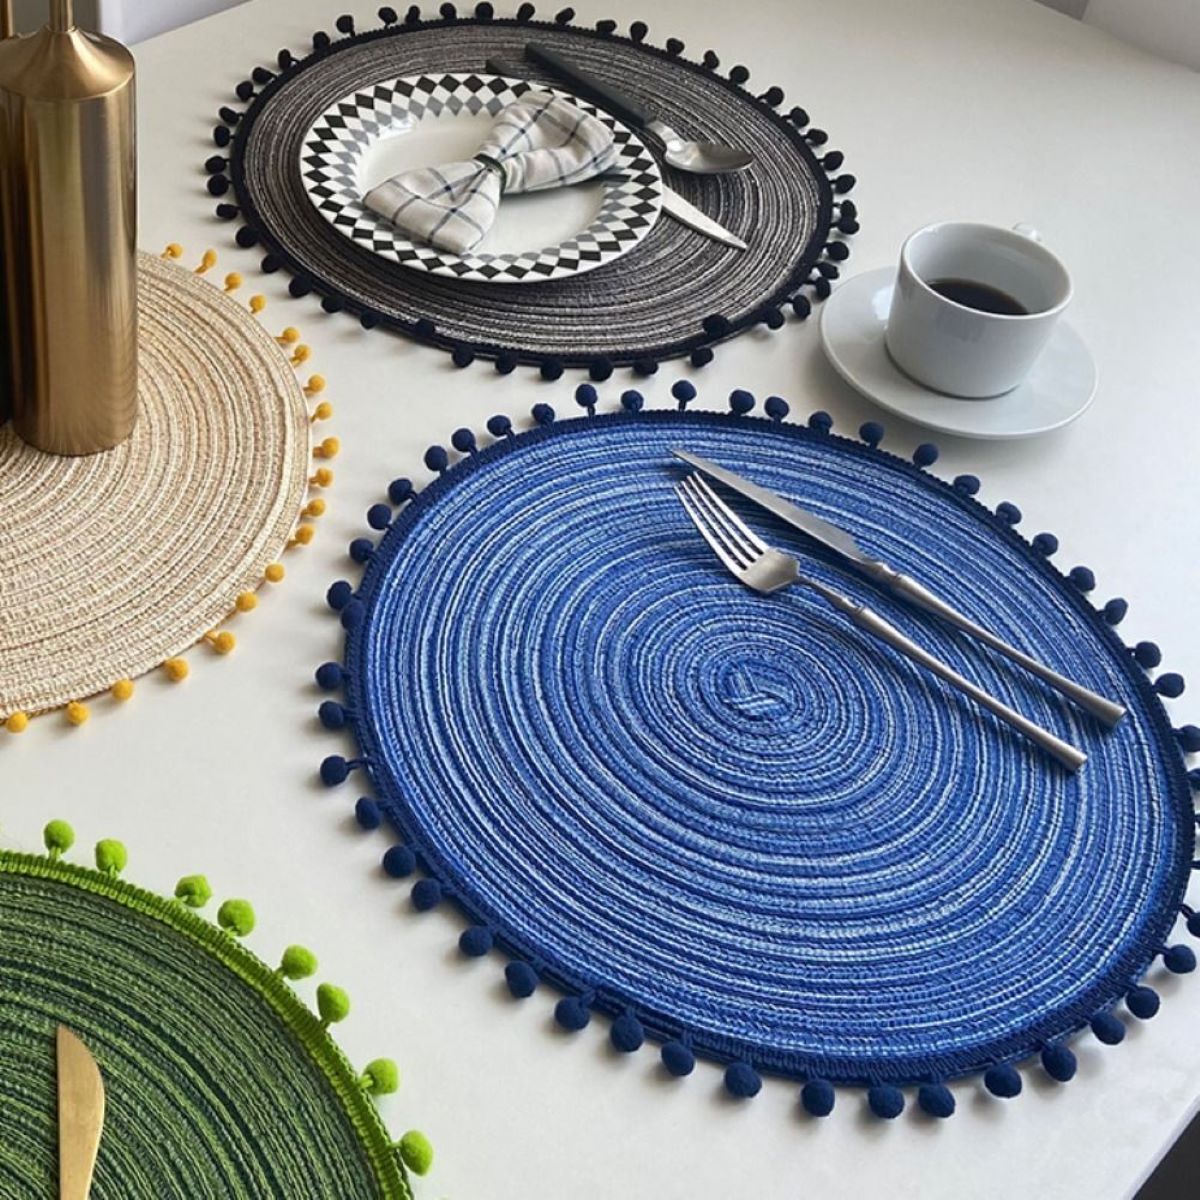
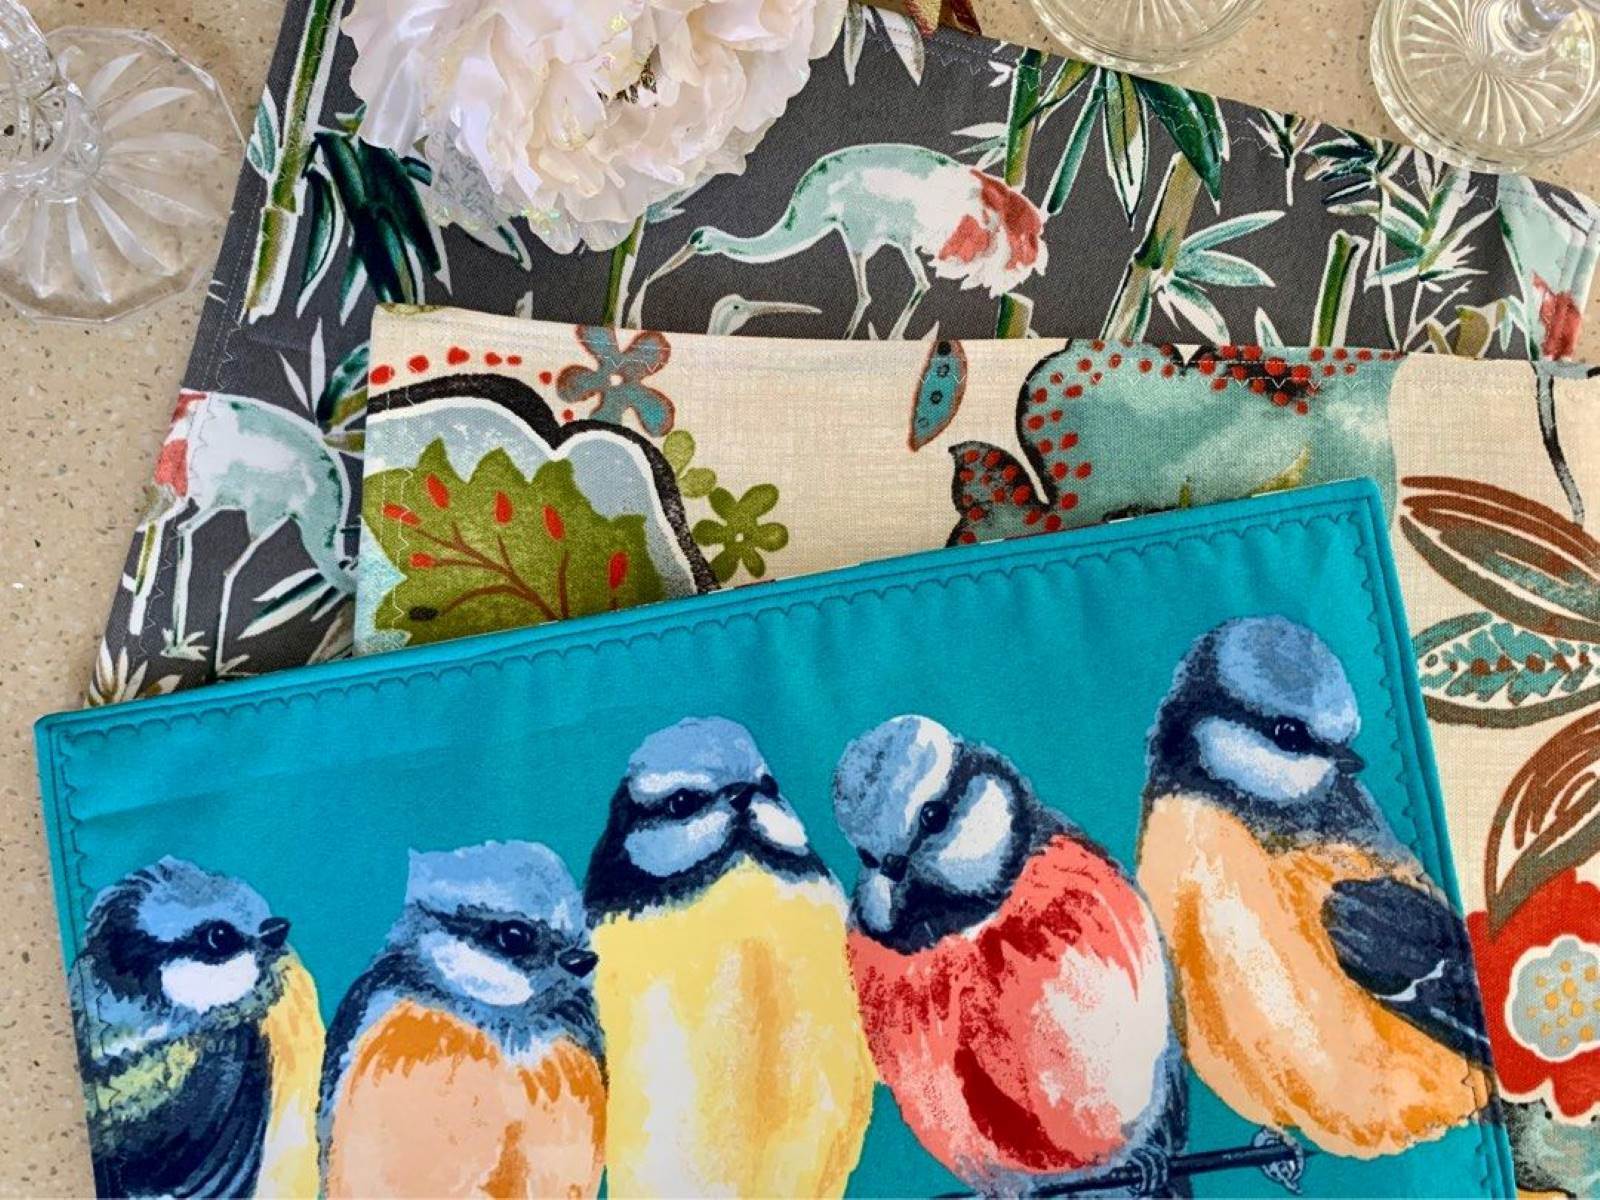
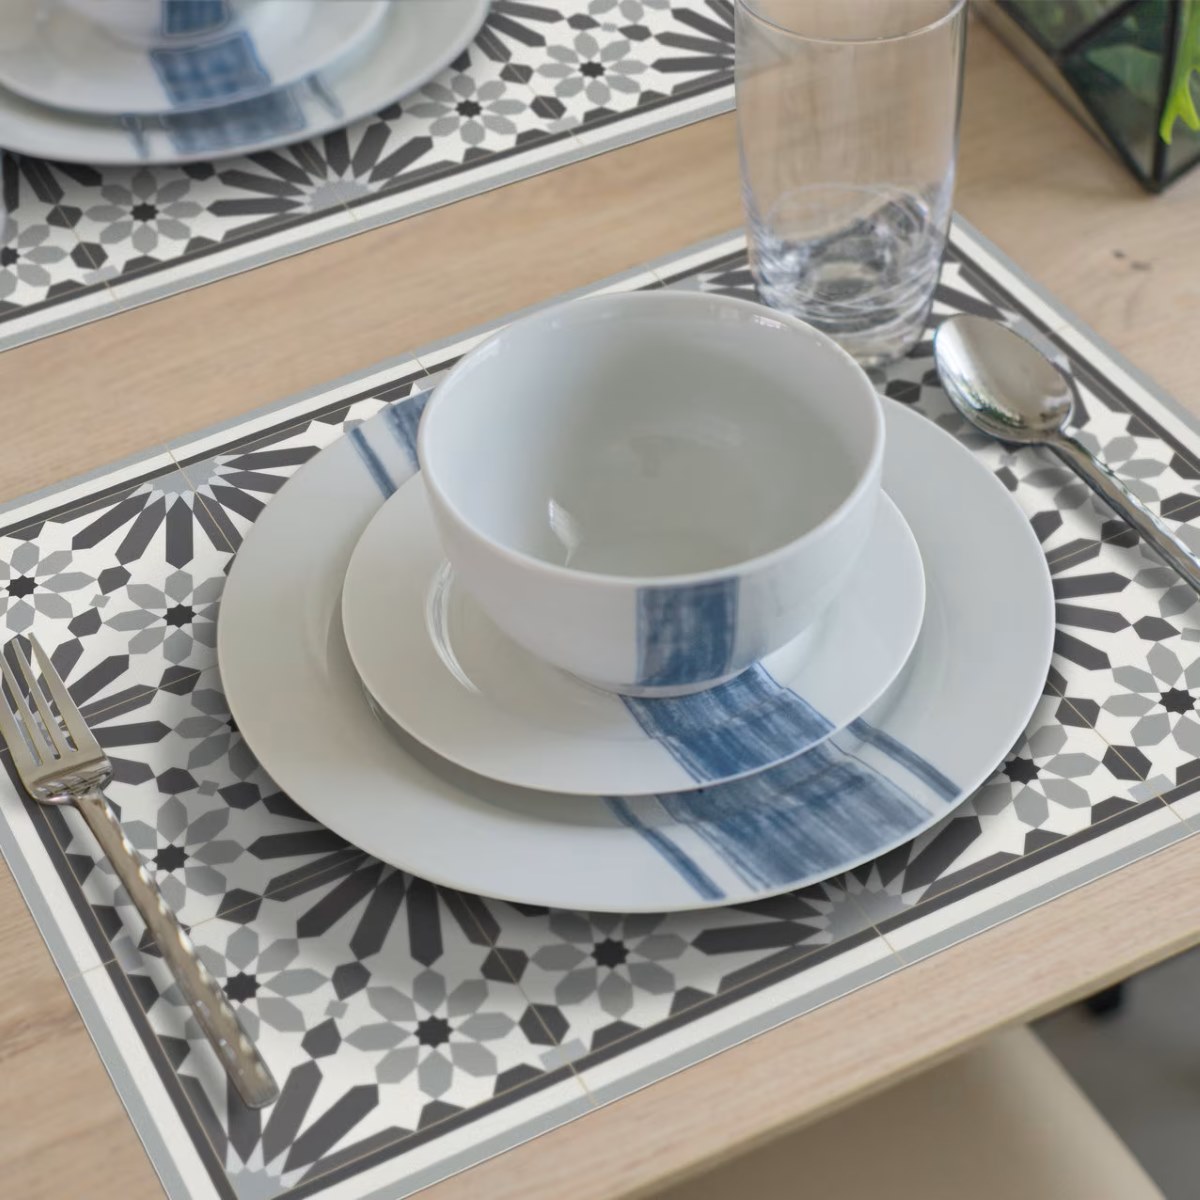
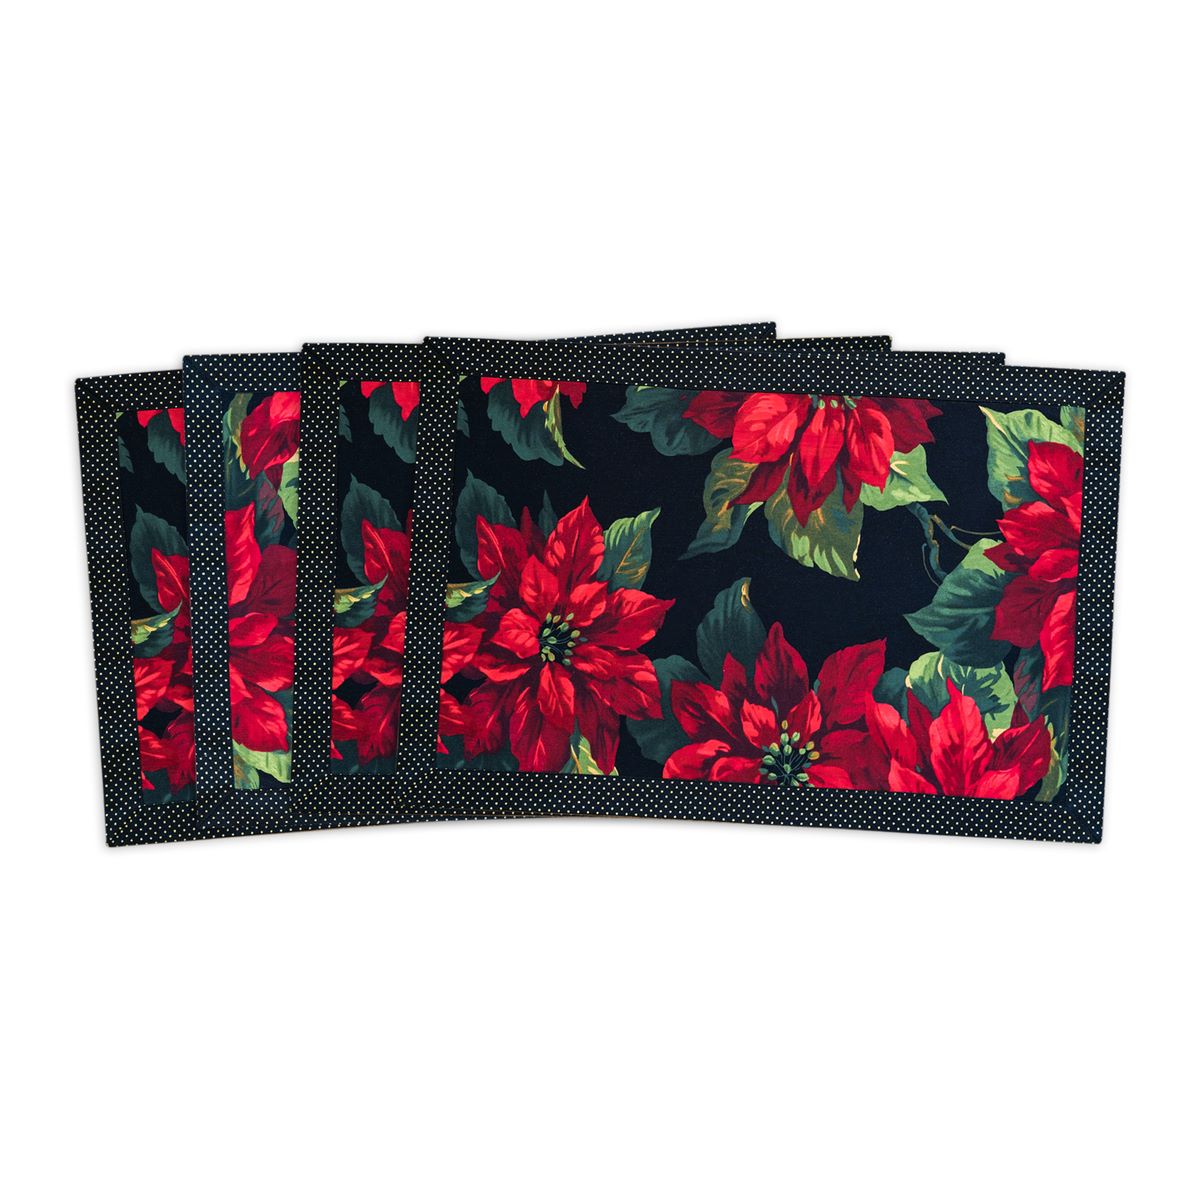
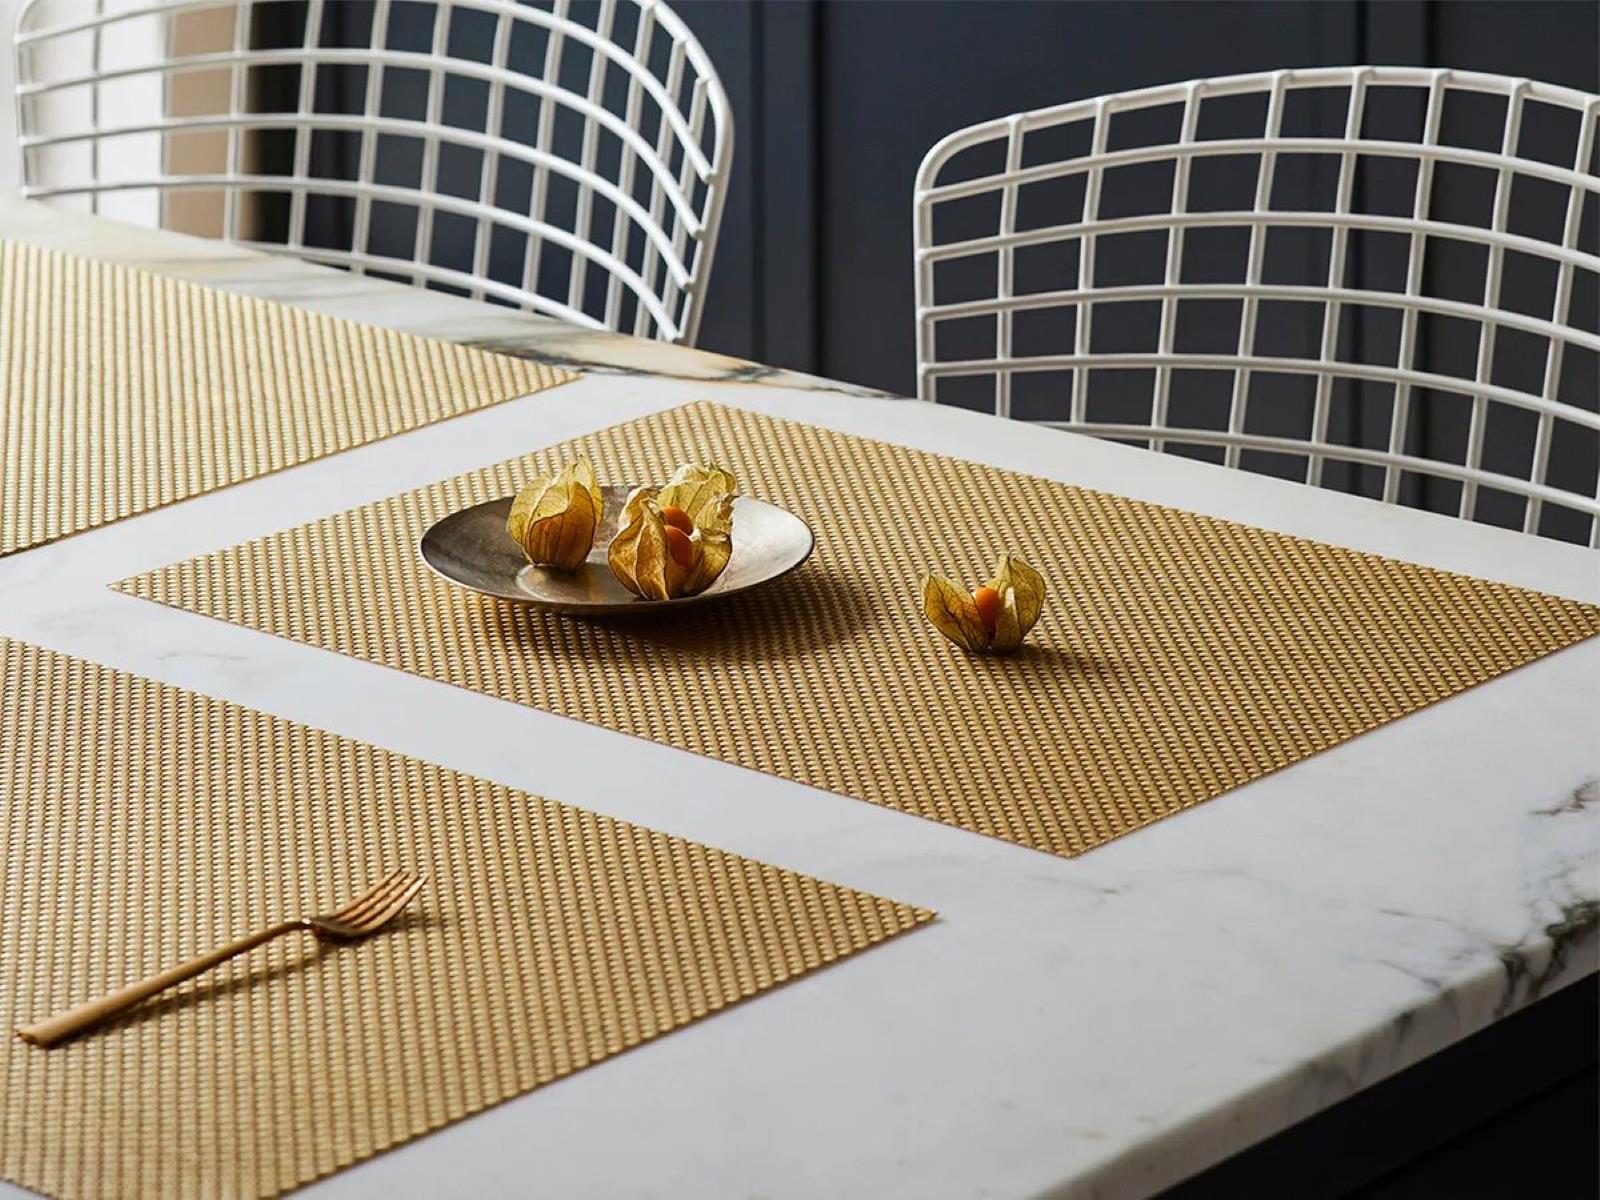
- Placemat: Choose a placemat that is sturdy and has the desired color or pattern for your handbag. Be sure to choose one made from a material that can withstand sewing and everyday use.
- Thread: Select thread that matches the color of your placemat or opt for a complementary or contrasting color to add visual interest.
- Needle: Make sure you have a needle suitable for hand sewing or a sewing machine if you prefer to use one.
- Scissors: A pair of sharp fabric scissors will be essential for cutting the placemat and thread.
- Measuring Tape: This will help you ensure accurate measurements when folding and sewing the placemat.
- Handles: You can use premade handles or repurpose handles from an old handbag, or even make your own using fabric or leather strips.
- Embellishments (optional): If you want to add a personal touch to your handbag, gather some embellishments such as buttons, beads, ribbons, or fabric flowers.
- Sewing Pins: These will help you secure the placemat and handles in place before sewing.
- Thimble (optional): If you find hand sewing to be strenuous, a thimble can protect your fingers and make the process more comfortable.
Once you have gathered all the necessary materials, you can proceed to the next steps and turn your placemat into a stylish handbag.
Step 1: Choosing the Right Placemat
The first step in making a handbag from a placemat is choosing the right placemat for your project. When selecting a placemat, consider both its design and durability.
Design is important because it will determine the overall look and style of your handbag. Look for a placemat with a pattern or color that suits your taste and matches your existing wardrobe. You can choose from a wide range of options, including floral, geometric, striped, or solid color placemats.
Durability is equally important, as you want your handbag to withstand everyday use. Consider the material of the placemat and make sure it is sturdy enough to hold up to the weight of your belongings. Fabrics like cotton and linen are generally good options, as they are durable and easy to work with.
Additionally, consider the size of the placemat. The dimensions of the placemat will dictate the size of your handbag. If you prefer a smaller bag, choose a smaller placemat. If you want a roomier bag, opt for a larger placemat.
Once you have chosen the ideal placemat, you can move on to the next step: preparing the placemat for the handbag-making process.
Step 2: Preparing the Placemat
After selecting the perfect placemat for your handbag, the next step is to prepare it for the construction process. This step involves ensuring that the placemat is clean, properly ironed, and free from any creases or wrinkles that might affect the final result.
To begin, gently shake the placemat to remove any loose dirt or debris. If the placemat is machine washable, you can give it a gentle wash according to the manufacturer’s instructions. Allow it to air dry completely or use a dryer on a low heat setting.
Once the placemat is clean and dry, it’s time to iron out any wrinkles. Ironing will help ensure a smooth and professional-looking finish for your handbag. Set your iron to the appropriate heat setting for the material of your placemat, and carefully iron both sides, paying extra attention to the edges.
As you iron, take this opportunity to check for any damages or weak spots in the placemat’s fabric. If you notice any tears or frayed edges, it’s advisable to repair them before proceeding with the rest of the steps.
By ensuring that your placemat is clean, wrinkle-free, and in good condition, you’ll be ready to move on to the exciting part – transforming the placemat into a stylish handbag!
Step 3: Folding the Placemat
Once you have prepared the placemat, it’s time to start shaping it into the form of a handbag. This step involves folding the placemat strategically to create the main body of the bag.
Begin by laying the placemat flat on a clean work surface, with the wrong side facing up. Take one short end of the placemat and fold it towards the center, about a third of the way across the width. Then, fold the opposite short end towards the center, overlapping the first fold. These folds create the bottom and sides of the bag.
Next, fold both long edges of the placemat towards the center, overlapping them slightly to form the bag’s shape. You can use pins to temporarily secure the folds in place, ensuring they don’t shift while you sew.
Take a moment to adjust the folds, ensuring that the edges align neatly. Use your measuring tape to check that both sides of the bag are symmetrical. Once you are satisfied with the placement, remove the pins and proceed to the next step.
The folding technique you choose may depend on the specific design and dimensions of your placemat. Don’t hesitate to experiment with different folding patterns to achieve the desired shape and size for your handbag.
Now that the placemat is folded and ready, it’s time to bring out your sewing skills in the next step – sewing the sides of the bag together.
When making a handbag from a placemat, choose a sturdy placemat with a fabric lining for durability. Consider adding a lining and pockets for functionality. Use strong thread and a heavy-duty needle for sewing.
Read more: How To Make A Quilted Placemat
Step 4: Sewing the Sides
With the placemat neatly folded into the shape of a handbag, it’s time to stitch the sides together to create a secure and functional bag. Sewing the sides will ensure that your handbag stays durable and holds its shape over time.
First, thread your needle with a thread that matches the color of your placemat or a complementary color if you want to add a contrasting touch. Tie a knot at the end of the thread to secure it.
Starting at one bottom corner of the folded placemat, carefully sew along the side edge, using a straight stitch. Maintain a seam allowance of around ¼ to ½ inch (0.6 to 1.3 cm) to ensure a clean and professional finish.
Continue stitching along the side edge until you reach the opposite bottom corner. Make sure to sew through both layers of fabric to secure them together. If you’re using a sewing machine, guide the placemat through the machine, keeping the stitch straight and even.
Once you reach the opposite end, tie a secure knot to secure the thread. Trim any excess thread, and inspect the seam to ensure there are no gaps or loose stitches. If necessary, go over any weak areas and reinforce the stitching for added strength.
Repeat the same sewing process on the other side of the placemat, ensuring that both seams are consistent in size and appearance. By sewing the sides, you have created the structure of your handbag, bringing it closer to completion.
With the sides sewn, it’s time to move on to the next step – attaching the handles to your handbag.
Step 5: Attaching the Handles
Now that your handbag has taken shape with the sides securely sewn, it’s time to add handles. The handles not only provide functionality but also add a touch of style to your handmade bag.
There are various options for handles, including repurposing handles from an old handbag, using pre-made handles from a craft store, or creating your own handles using fabric or leather strips. Choose the option that best suits your aesthetic preference and the size of your handbag.
If you decide to use premade handles, position them on the top edge of each side of the bag, ensuring they are centered and evenly spaced. Use sewing pins to temporarily secure the handles in place.
If you prefer to make your own handles, cut two equal-length strips of fabric or leather. The length will depend on how long you want your handles to be. Fold each strip in half to create a loop, and position them on the top edge of each side of the bag, again ensuring they are centered and evenly spaced. Pin them in place.
Once the handles are pinned, thread your needle with a sturdy thread and begin sewing. Start at one end of the handle, sewing through the placemat and the handle loop. Use a backstitch or a durable stitch that will secure the handle firmly in place.
Sew along the length of the handle, making sure to go through several layers of fabric to ensure strength. When you reach the other end, sew a few backstitches to secure the thread, and trim any excess.
Repeat this process for the other handle, ensuring that both handles are securely attached and evenly positioned. Double-check their stability by giving them a gentle tug.
With the handles attached, your handbag is nearly complete. For an extra touch of personalization, you can choose to add embellishments in the next step.
Step 6: Adding Embellishments (Optional)
Step 6 is all about adding your personal touch to the handbag by incorporating embellishments. This step is entirely optional, but it can elevate the overall look of your handbag and make it truly unique.
There are countless embellishment options you can consider, depending on your style preference and the materials you have on hand. Here are some ideas to get you started:
- Buttons: Sew on decorative buttons along the edges of the bag or in a pattern to add a pop of color and texture.
- Beads: Thread beads onto a thin string or embroidery floss and stitch them onto the bag for a glamorous touch.
- Ribbons: Attach ribbons in various colors and widths to create bows, loops, or braids for a whimsical look.
- Fabric Flowers: Craft fabric flowers using scraps of fabric and attach them to the bag for a feminine and playful vibe.
- Embroidery: Add your own embroidery design or monogram to the bag using colorful threads to create a personalized statement.
- Patches: Sew on iron-on or sew-on patches depicting your favorite designs, patterns, or logos for a trendy and expressive touch.
Before attaching any embellishments, lay them out on the bag to determine the desired placement. Once you are satisfied with the arrangement, use a needle and thread to secure the embellishments in place. Be mindful of the weight and size of the embellishments to ensure they do not overpower the bag or impact its functionality.
Remember, the goal is to enhance your handbag with subtle embellishments that reflect your personal style and taste. Have fun experimenting with different ideas, and don’t be afraid to get creative!
With the embellishments added, your handbag is now complete. Take a moment to admire your craftsmanship and enjoy your one-of-a-kind creation!
Conclusion
Congratulations! You have successfully transformed a simple placemat into a stylish and functional handbag. By repurposing materials and utilizing your creativity, you have not only created a unique accessory but also contributed to sustainable fashion.
Throughout this step-by-step guide, we’ve explored the process of choosing the right placemat, preparing it, folding it into the shape of a bag, sewing the sides, attaching handles, and adding embellishments if desired. Each step brings you closer to creating a handbag that reflects your personal style and showcases your craftsmanship.
Remember, making a handbag from a placemat is not only an eco-friendly project but also a fun and rewarding experience. With countless placemat designs, materials, and embellishment options available, the possibilities for customization are endless.
Whether you’re looking to make a statement with bold colors and patterns or prefer a more minimalistic look, you now have the skills to create a handbag that perfectly complements your wardrobe.
So go ahead, unleash your creativity, and enjoy the satisfaction of carrying a handmade handbag that is both fashionable and sustainable.
Happy crafting!
Frequently Asked Questions about How To Make A Handbag From A Placemat
Was this page helpful?
At Storables.com, we guarantee accurate and reliable information. Our content, validated by Expert Board Contributors, is crafted following stringent Editorial Policies. We're committed to providing you with well-researched, expert-backed insights for all your informational needs.


0 thoughts on “How To Make A Handbag From A Placemat”