Home>Furniture>Living Room Furniture>How To Make A Resin Coffee Table
Living Room Furniture
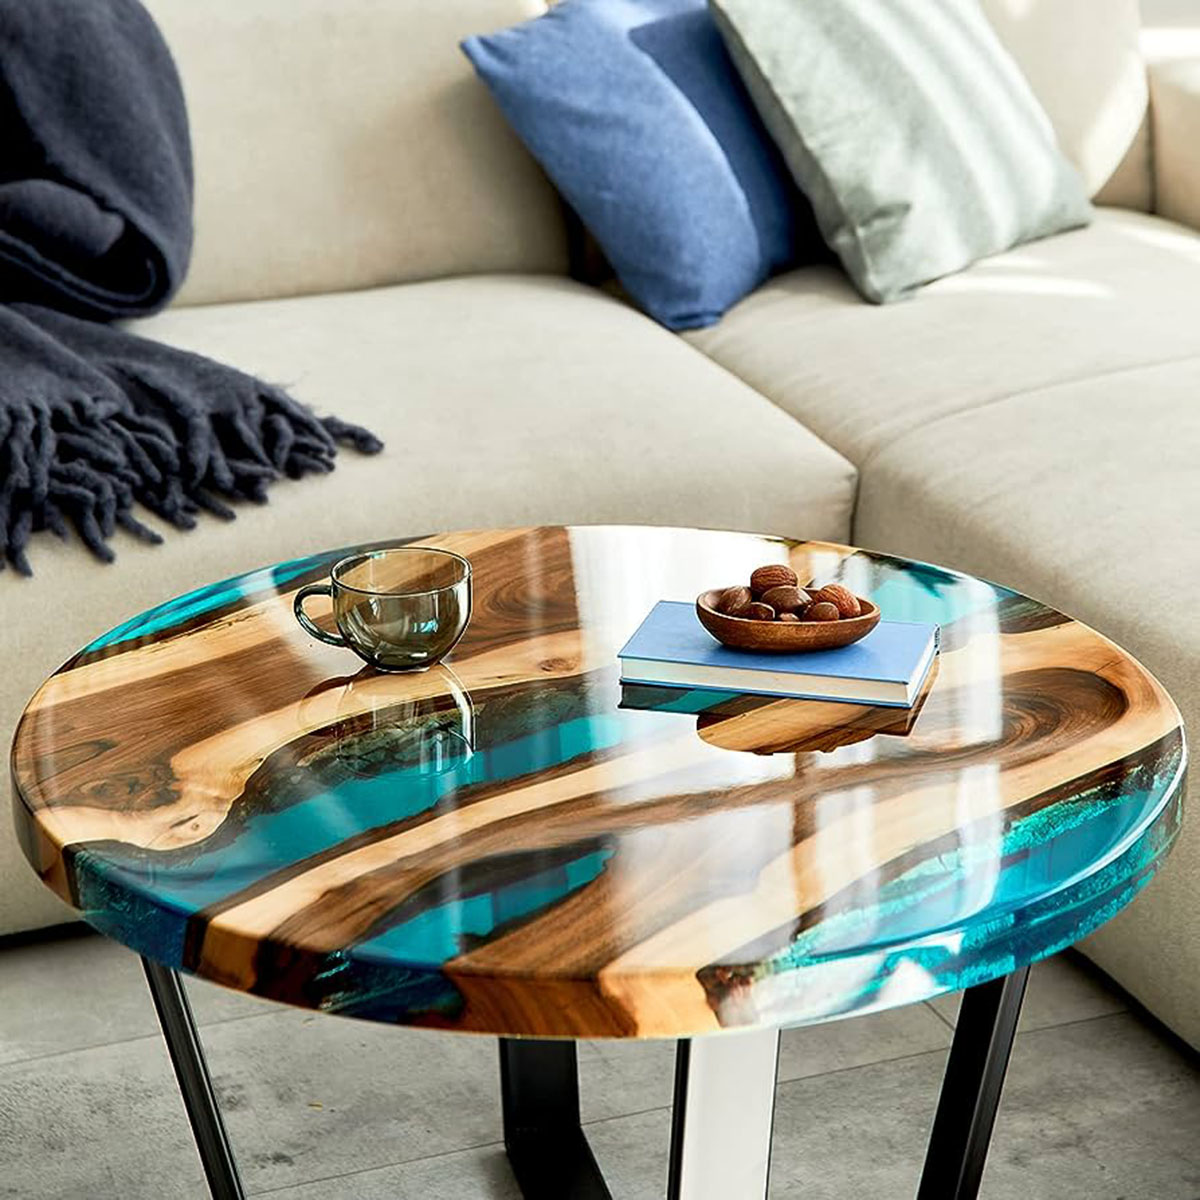
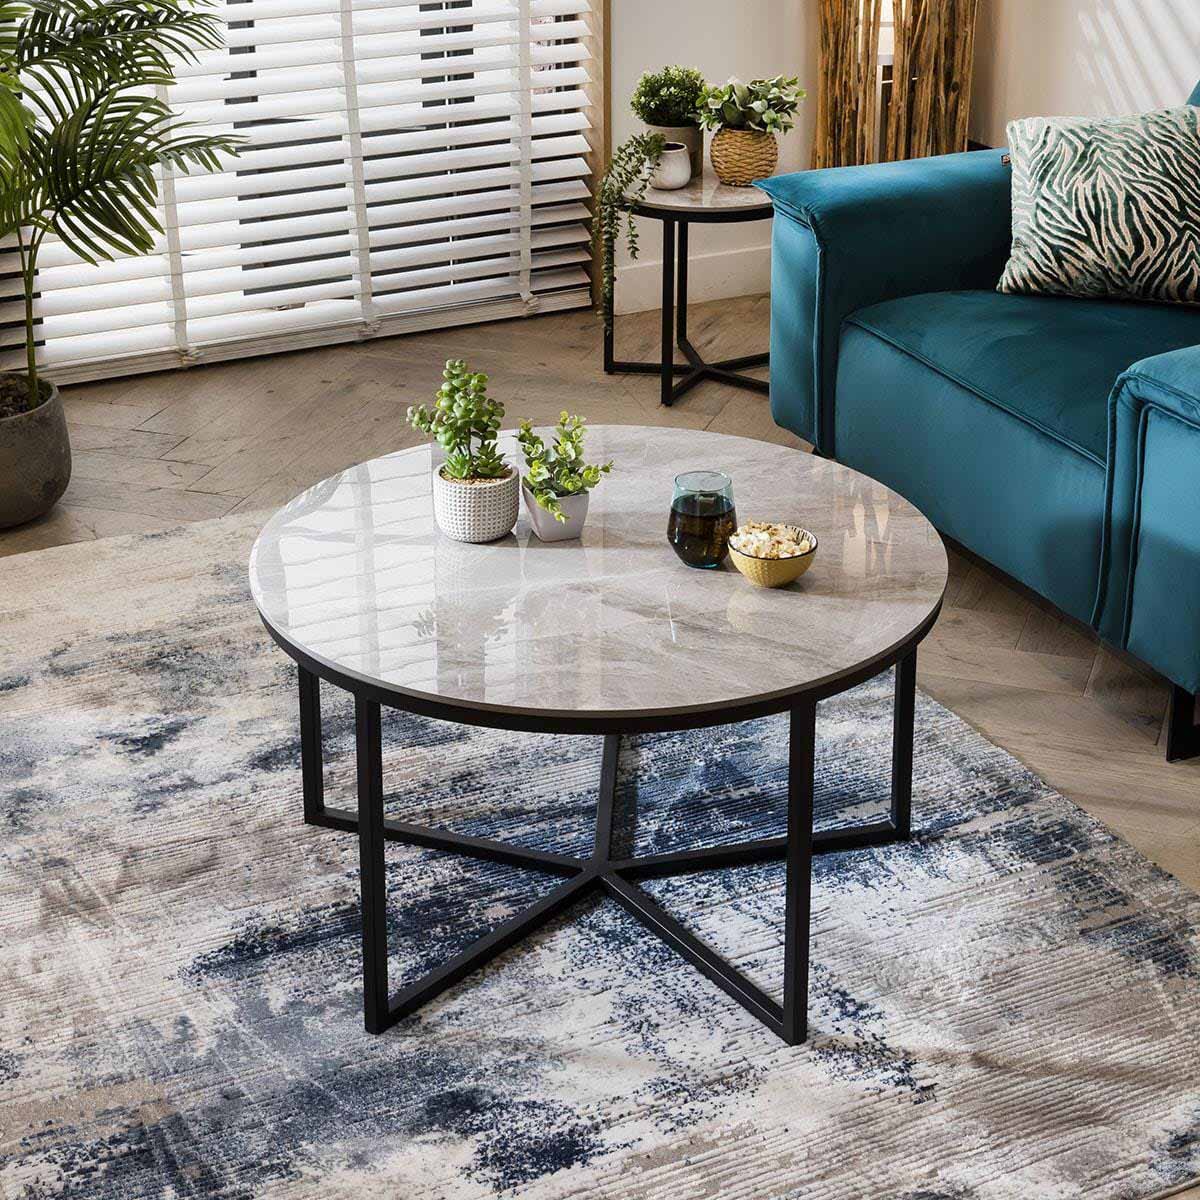
How To Make A Resin Coffee Table
Modified: August 28, 2024
Learn how to make a stunning resin coffee table for your living room with our step-by-step guide. Create a unique piece of living room furniture that will impress your guests.
(Many of the links in this article redirect to a specific reviewed product. Your purchase of these products through affiliate links helps to generate commission for Storables.com, at no extra cost. Learn more)
Introduction
Welcome to the world of DIY furniture making! If you’re looking to add a unique and stunning piece to your living room, a resin coffee table is a perfect choice. Resin has become increasingly popular in the world of furniture design due to its versatility and ability to create beautiful, glossy surfaces.
In this article, we will guide you through the process of making your very own resin coffee table. Whether you’re a seasoned DIY enthusiast or a beginner looking to try something new, this project is both fun and rewarding. So roll up your sleeves and let’s get started.
Before diving into the process, let’s go over the materials and tools you’ll need for this project. Having everything ready beforehand will ensure a smooth and uninterrupted workflow.
Key Takeaways:
- Creating a resin coffee table is a fun and rewarding DIY project that allows you to showcase your creativity. From choosing the right resin to adding vibrant colors, the process is a perfect blend of art and craftsmanship.
- By following the step-by-step guide, you can transform a simple table into a stunning piece of functional art. With patience and attention to detail, you’ll achieve a glossy and professional finish that reflects your personal style.
Read more: How To Make Flower Resin Coasters
Materials and Tools Needed
Before you begin the resin coffee table project, gather the following materials and tools:
- Coffee table base: You can either use an existing coffee table that you want to update or create a new one from scratch using wood or any other sturdy material.
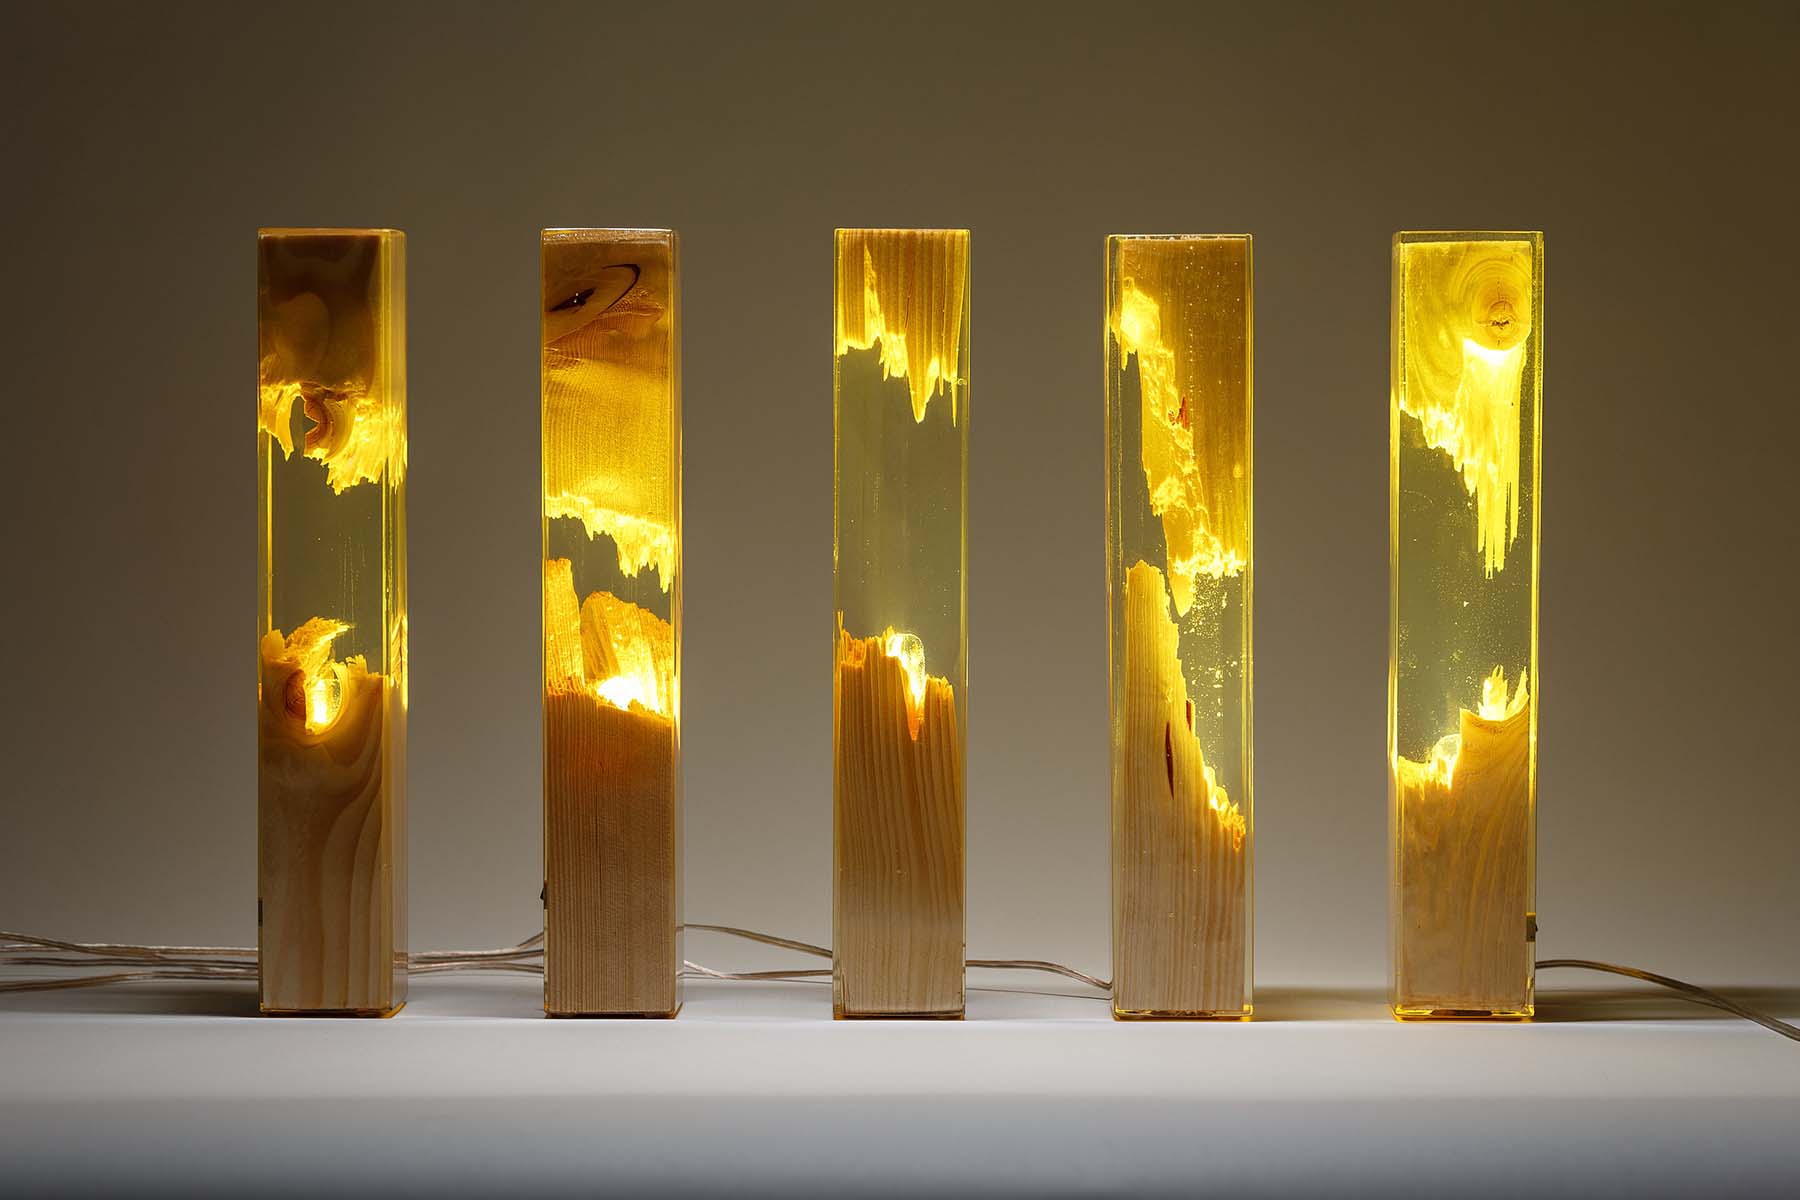
- Resin: Choose a high-quality epoxy resin specifically designed for furniture applications. Make sure to buy enough to cover the tabletop area.
- Pigments or dyes (optional): If you want to add color to your resin table, consider purchasing resin pigments or alcohol-based dyes. These will give your table a vibrant and personalized look.
- Resin mold release spray: This spray will help prevent the resin from sticking to the mold and facilitate the demolding process.
- Mixing containers: Use disposable cups or containers for measuring and mixing resin. Make sure they are clean and free of any debris or moisture.
- Stir sticks: Use wooden or plastic stir sticks to mix the resin. Avoid using metal, as it may introduce contaminants.
- Heat gun or torch: These tools are used to remove air bubbles from the resin surface during the curing process.
- Sanding materials: Sandpaper (in various grits) and a sanding block will be needed for sanding and smoothing the tabletop surface.
- Protective finish: Choose a clear, protective finish such as polyurethane or a resin topcoat to seal and enhance the beauty of your resin tabletop.
- Safety equipment: Wear safety goggles, gloves, and a mask to protect yourself from any potential fumes or chemical hazards.
Now that you have your materials and tools ready, let’s move on to the step-by-step process of creating your resin coffee table.
Step 1: Choosing the Right Resin
The first step in creating a resin coffee table is selecting the right type of resin for your project. The type and quality of resin you choose will greatly affect the final outcome and durability of your table.
When choosing a resin, consider the following factors:
- Type of resin: Epoxy resin is a popular choice for furniture projects because it provides a strong, clear, and glossy finish. It is also resistant to yellowing over time. Make sure to choose a resin specifically formulated for furniture applications.
- Viscosity: Resins come in different viscosities, ranging from thin to thick. Thicker resins are easier to work with and less likely to run off the edges of the table. However, they may require more effort to remove air bubbles and may take longer to cure. Choose a viscosity that suits your level of experience and preference.
- Curing time: Consider the curing time of the resin, which is the time it takes for the resin to fully harden and become durable. Faster curing resins allow for quicker completion of the project, but they may have a shorter working time. Balance your needs between efficient progress and the time available for the pouring and manipulation of the resin.
- UV resistance: If your coffee table will be exposed to direct sunlight, choose a resin that has UV resistance properties. UV-resistant resins are less likely to yellow or become brittle over time when exposed to sunlight.
- Safety considerations: Read the manufacturer’s instructions and safety precautions before selecting a resin. Ensure that it is low in volatile organic compounds (VOCs) and has minimal odor. This will help create a safe working environment during the project.
Take your time to research and compare different resin brands and products. Read customer reviews and check for any specific instructions or recommendations provided by the manufacturer. Choosing the right resin will greatly contribute to the success of your resin coffee table project.
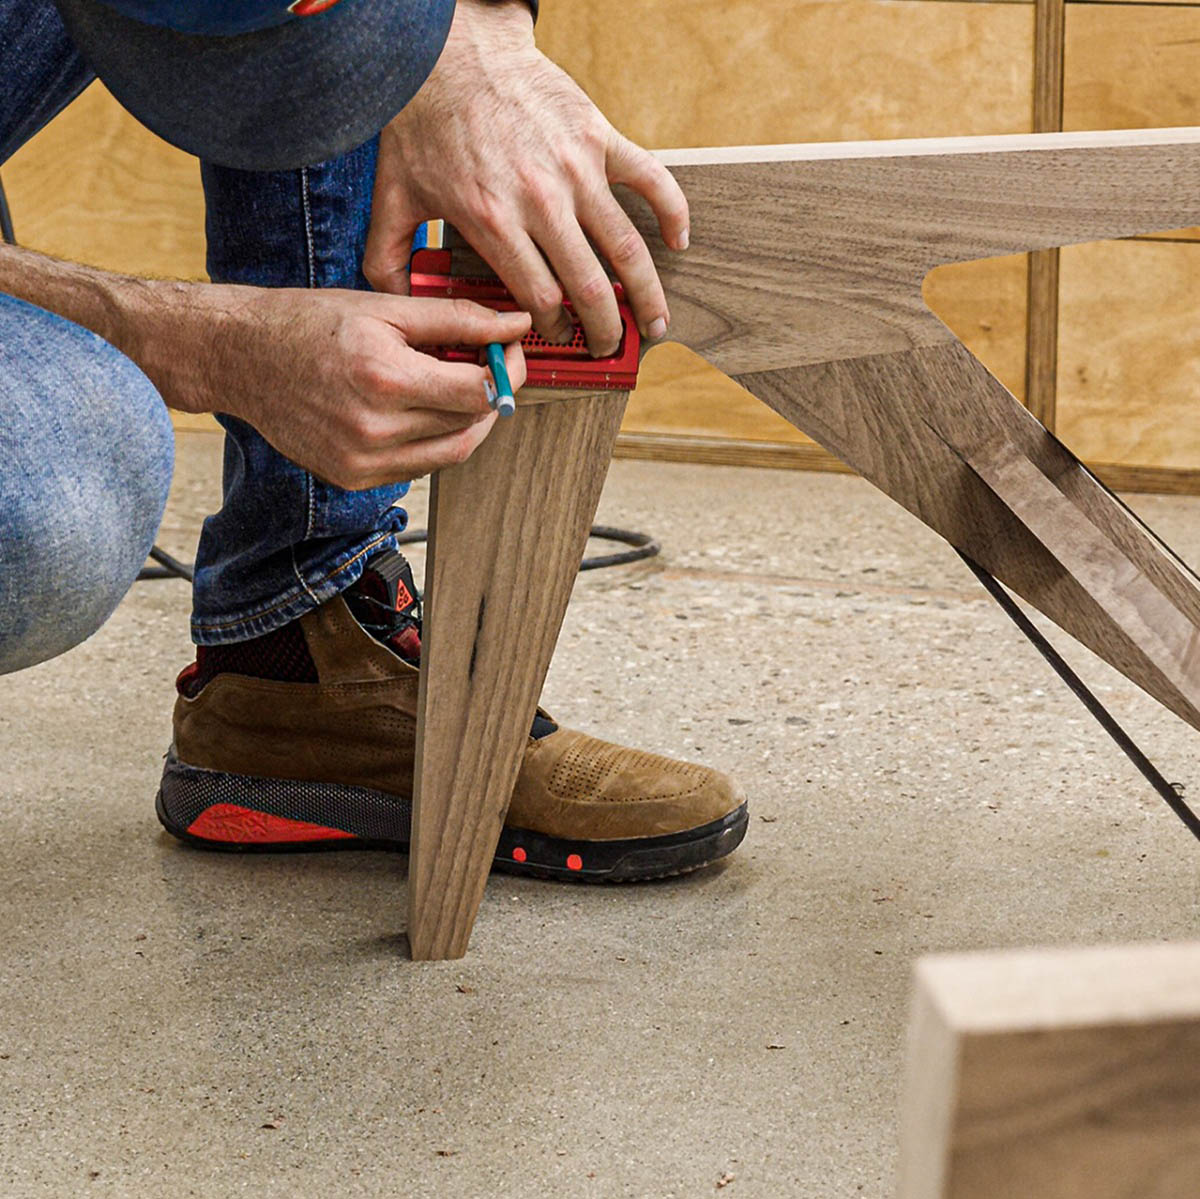
Step 2: Preparing the Coffee Table Base
Now that you have chosen the ideal resin for your coffee table, it’s time to prepare the base that will hold the resin. If you’re working with an existing coffee table, make sure it is clean and free from any dust or debris. If you’re building a new table, follow these steps:
- Select your tabletop material: Choose a sturdy material for your tabletop, such as wood or acrylic. Cut it to the desired size and shape using a saw or have it custom-cut at a local hardware store if needed.
- Sand the edges: Use sandpaper to smooth out any rough edges or imperfections on the tabletop. Start with a coarse grit sandpaper and gradually work your way to a finer grit for a smoother finish.
- Apply a sealant (optional): If you’re working with wood, consider applying a sealant or primer to protect it from moisture and potential warping. Follow the manufacturer’s instructions for application and drying time.
- Level the base: Ensure that the coffee table base is level and stable. Use a level tool to check and make any necessary adjustments by adding shims or adjusting the table legs.
- Protect the edges: To prevent resin from dripping over the sides of the table, apply a mold release tape or petroleum jelly along the edges. This will help the resin release easily once it’s cured.
By properly preparing the coffee table base, you’ll create a solid foundation for your resin coffee table project. This step will help ensure that the resin adheres securely and provides a smooth and even surface once cured.
Step 3: Preparing the Resin
With the coffee table base ready, it’s time to prepare the resin. Follow these steps to ensure a successful and smooth pour:
- Read the instructions: Carefully read the manufacturer’s instructions that accompany your chosen resin. Each brand may have specific mixing ratios and curing times, so it’s important to follow them precisely.
- Work in a well-ventilated area: Resin can emit fumes during the mixing process, so make sure you’re working in a well-ventilated space. If possible, open windows or use fans to improve air circulation.
- Protect your workspace: Cover your working surface with a plastic drop cloth or newspapers to protect it from any resin spills or drips.
- Measuring and mixing: Use separate measuring cups for the resin and the hardener, following the recommended ratio provided by the manufacturer. Pour the required amounts into clean mixing containers.
- Mix thoroughly: Use a stir stick to mix the resin and hardener together. Stir in a slow and steady motion, making sure to scrape the sides and bottom of the container to ensure a thorough mix. Avoid introducing air bubbles during the mixing process.
- Avoid over-mixing: Be careful not to over-mix the resin, as this can lead to additional air bubbles. Mix until the resin and hardener are fully blended and have achieved a consistent color and texture.
- Follow the working time: Resin has a limited working time, typically ranging from 20 to 40 minutes. Pour the resin onto the table within this time frame to ensure proper flowability and adhesion.
Remember, different resins have different pot lives and curing times, so pay close attention to the instructions specific to your chosen resin. Properly preparing and mixing the resin will ensure optimal results and a flawless finish for your resin coffee table.
Read more: How To Make A Resin Dining Table
Step 4: Adding Pigments or Dyes (Optional)
If you want to add a pop of color or create a unique design on your resin coffee table, this is where you can get creative by adding pigments or dyes. Follow these steps to incorporate color into your resin:
- Select your pigments or dyes: Choose resin pigments or alcohol-based dyes that are compatible with epoxy resin. These are specifically formulated to mix well with resin and provide vibrant colors.
- Start with a small amount: Begin by adding a small amount of pigment or dye to a separate mixing cup containing the already mixed resin. Mix it thoroughly to achieve an even color distribution.
- Adjust the color: Gradually add more pigment or dye until you achieve the desired color intensity. Mix well after each addition to ensure a uniform color throughout the resin.
- Experiment with different colors: If you want to create a marbled effect or incorporate multiple colors, pour small amounts of different colored resin onto the table and swirl them together using a stir stick or a toothpick. This will create unique patterns and designs.
- Work quickly: Remember that resin has a limited working time, so you need to work efficiently and swiftly when adding pigments or dyes. Once the resin starts to cure, it becomes thicker and less malleable.
- Keep track of your color proportions: If you plan to replicate the same colors for future projects, make note of the proportions and amounts of pigment or dye used. This will help you achieve consistent colors in the future.
Adding pigments or dyes to your resin coffee table is entirely optional, but it provides a fantastic opportunity to infuse your personal style and creativity into the design. Experiment with different colors and techniques to create a one-of-a-kind piece of furniture that truly reflects your individuality.
When working with resin, make sure to wear protective gloves and work in a well-ventilated area to avoid skin irritation and fumes.
Step 5: Pouring the Resin onto the Tabletop
Now comes the exciting part – pouring the resin onto the tabletop to create the glossy and captivating surface of your resin coffee table. Follow these steps for a successful pour:
- Prepare the tabletop: Ensure that the coffee table base is level and free from any dust or debris. Double-check that the edges are protected with mold release tape or petroleum jelly to prevent the resin from running over.
- Start pouring: Carefully pour the mixed resin onto the center of the tabletop. Start with a small amount and gradually work your way outward. Allow the resin to spread naturally and cover the entire surface.
- Spread the resin: Use a spreader tool or a gloved hand to gently spread the resin evenly across the tabletop. Make sure it reaches all edges and corners. Avoid excessive spreading, as it can introduce air bubbles or create uneven thickness.
- Use a heat gun or torch: Pass a heat gun or a handheld torch lightly over the surface of the resin to help remove any trapped air bubbles. Keep the heat source moving continuously to avoid overheating or scorching the resin.
- Pop any visible bubbles: If you notice any larger air bubbles on the surface, use a toothpick or a bubble popper tool to carefully pop them. This will help achieve a smooth and flawless finish.
- Cover and let it cure: Once you’re satisfied with the resin distribution and bubble removal, cover the tabletop to protect it from dust and debris. Allow the resin to cure according to the manufacturer’s instructions. This typically takes 24 to 48 hours, but curing time may vary depending on the resin type and environmental conditions.
Remember to work efficiently during the pouring process to ensure a uniform coating and minimize the risk of the resin curing before you’re done. Take your time to achieve a picture-perfect finish with a glossy and lustrous surface.
Step 6: Removing Air Bubbles
During the pouring process, it is common for air bubbles to become trapped in the resin. Removing these air bubbles will ensure a smooth and flawless finish for your resin coffee table. Follow these steps to eliminate air bubbles effectively:
- Use a heat gun or torch: Pass a heat gun or a handheld torch over the surface of the resin in a sweeping motion. The heat will help to burst and remove small air bubbles. Be careful not to overheat or scorch the resin, as this can potentially damage the surface.
- Apply hot air: If you don’t have a heat gun or torch, you can use a hairdryer on the low or medium heat setting. Hold it a few inches away from the resin surface and direct the hot air over the bubbles to make them rise and pop.
- Pop larger bubbles: If you notice larger bubbles that didn’t dissipate with the heat, gently pop them using a toothpick or a bubble popper tool. Insert the tool into the center of the bubble and apply slight pressure until it bursts. Be careful not to cause any damage to the resin or the table surface.
- Use a needle or pin: For very tiny bubbles, you can use a clean needle or pin to delicately prick and release the trapped air. Insert the needle at an angle into the bubble and carefully lift it up to allow the air to escape.
- Repeat as necessary: Continue applying heat and popping the bubbles until the surface appears smooth and free of visible air pockets. It may take several passes to remove all the bubbles, so be patient and thorough in your approach.
- Allow the resin to self-level: After treating the air bubbles, let the resin self-level. As it continues to cure, it will naturally even out and create a flat and glossy surface.
Removing air bubbles from your resin coffee table requires a delicate touch and patience. Take your time to ensure a bubble-free finish, as this will greatly enhance the overall appearance of your table.
Step 7: Letting the Resin Cure
After pouring the resin and addressing air bubbles, it’s important to allow the resin to cure properly. Curing time is crucial to ensure a sturdy and durable surface for your resin coffee table. Follow these steps to ensure the resin cures effectively:
- Cover and protect the table: Once you’re satisfied with the resin pour, cover the tabletop with a clean and dust-free cover. This will protect it from any debris or dust particles that could potentially mar the surface while it’s curing.
- Keep the environment stable: Place the table in a clean, dry, and temperature-controlled environment. Avoid exposing it to direct sunlight, as this can affect the curing process and lead to discoloration or unevenness of the resin.
- Follow the manufacturer’s instructions: Each resin brand has its own curing time recommendations. Refer to the manufacturer’s instructions or product label to determine the specific curing time required for your chosen resin.
- Be patient: Resin typically takes around 24 to 48 hours to cure, but it may take longer depending on the resin type, the thickness of the pour, and the ambient temperature. It’s important to be patient and allow adequate time for the resin to harden and reach its maximum strength.
- Avoid touching or moving the table: During the curing process, avoid touching or moving the table as it can disturb the resin and cause uneven drying. Patience is key to achieving a smooth and flawless resin surface.
- Perform a touch test: To ensure the resin is fully cured, perform a touch test on a small, inconspicuous area of the tabletop. Gently press your finger against the resin surface. If it feels firm and does not leave any fingerprints, it is likely cured and ready for the next steps.
Remember, allowing the resin to cure properly is essential for achieving a strong and durable finish. Following the recommended curing time and providing the right environment will ensure the longevity and beauty of your resin coffee table.
Read more: How To Make Beach Resin Coasters
Step 8: Sanding and Polishing
Once the resin is fully cured, it’s time to sand and polish the surface of your resin coffee table. This step will help achieve a smooth and glossy finish that highlights the beauty of the resin. Follow these steps to sand and polish your table:
- Gather your sanding materials: You’ll need sandpaper in various grits, starting from a coarse grit (such as 80 or 120) and gradually working your way up to a finer grit (up to 1000 or higher).
- Start with the coarsest grit: Begin sanding the surface of the resin with the coarsest grit sandpaper. Use a sanding block or a sanding pad to ensure even pressure and avoid creating uneven surfaces.
- Sand in a circular motion: Move the sandpaper in a circular motion, applying gentle and consistent pressure. This will help remove any imperfections, unevenness, or rough spots on the resin surface.
- Progress to finer grits: Gradually switch to finer grit sandpaper, repeating the sanding process with each grit. This will further smoothen the surface and eliminate any visible scratches left behind by the previous grit.
- Clean the surface: After sanding with each grit, wipe the tabletop clean with a damp cloth to remove any dust or debris. This will allow you to assess the progress and ensure a smooth and even surface.
- Polish the surface: Once you’ve completed the sanding process, it’s time to polish the resin surface. Apply a polishing compound or a resin-specific polishing agent to a soft cloth. Gently buff the surface in circular motions to enhance the shine and luster of the resin.
- Inspect and repeat if necessary: After polishing, inspect the tabletop closely for any remaining imperfections or dull areas. If needed, repeat the sanding and polishing process with finer grit or a higher-grade polishing compound to achieve the desired result.
Sanding and polishing are crucial steps in creating a professional and visually appealing resin coffee table. Take your time, use proper sanding techniques, and pay attention to detail to achieve a flawless and glossy finish that will make your table truly stand out.
Step 9: Adding a Protective Finish
Adding a protective finish to your resin coffee table is the final step in the process. This step will not only enhance the appearance of the table but also provide long-lasting protection against wear and tear. Follow these steps to add a protective finish:
- Choose the right finish: Select a clear, protective finish that is compatible with your resin tabletop. Options include polyurethane, epoxy topcoats, or a specialized resin sealant. Consider factors such as durability, UV resistance, and ease of application when making your choice.
- Prepare the workspace: Ensure that your workspace is clean and free from dust. Place the table on a protected surface, such as a drop cloth or cardboard, to prevent any accidental spills or stains on surrounding areas.
- Stir the protective finish: Carefully stir the protective finish according to the manufacturer’s instructions. Stirring ensures that any settled particles or components are thoroughly mixed for a consistent application.
- Apply the finish: Using a clean brush or a lint-free cloth, apply a thin and even layer of the protective finish onto the resin surface. Start from the center and work your way out, following the natural grain or pattern of the tabletop. Avoid over-applying to prevent drips and ensure a smooth finish.
- Allow the finish to dry: Follow the drying time recommended by the manufacturer. Keep the table in a clean and dust-free area during the drying process to prevent any particles from getting stuck in the finish.
- Lightly sand (optional): If necessary, lightly sand the first coat of the protective finish with a fine-grit sandpaper to smooth out any imperfections. Wipe away any sanding dust before applying additional coats.
- Apply additional coats (optional): Depending on the desired level of protection, you may choose to apply multiple coats of the protective finish. Follow the manufacturer’s instructions for the recommended number of coats, allowing sufficient drying time between each application.
- Inspect and enjoy: Once the protective finish has fully dried, inspect the tabletop for any unevenness or imperfections. If needed, sand lightly and apply a final coat to achieve the desired level of smoothness and protection. Now, sit back, relax, and enjoy your beautifully finished resin coffee table!
Adding a protective finish not only safeguards the resin tabletop but also enhances its beauty and longevity. By following these steps, you’ll ensure that your resin coffee table remains a stunning centerpiece in your living room for years to come.
Conclusion
Congratulations! You’ve successfully completed the journey of creating your own resin coffee table. Through careful preparation, pouring the resin, removing air bubbles, and adding the finishing touches, you’ve transformed a simple table into a stunning piece of functional art.
By following the steps outlined in this guide, you have learned how to choose the right resin, prepare the coffee table base, pour and manipulate the resin, and achieve a glossy and professional finish through sanding, polishing, and applying a protective coating.
Not only does a resin coffee table add a touch of modern elegance to any living room, but it also allows you to showcase your creativity and individual style. Whether you chose to incorporate vibrant colors, experiment with unique designs, or simply let the natural beauty of the resin shine, your table is now a true reflection of your personal taste and craftsmanship.
Remember, as with any DIY project, practice makes perfect. Don’t be afraid to experiment, try different techniques, and explore new possibilities to further refine your resin furniture-making skills. With each project, you’ll gain more experience and develop your own signature style.
Now, invite friends and family over, serve your favorite beverages, and admire the captivating beauty of your resin coffee table. Let it be a conversation starter and a source of pride as you showcase your handiwork to those around you.
Enjoy your one-of-a-kind resin coffee table and the joy it brings to your living space. Cheers to your creativity and the wonderful world of DIY furniture making!
Now that you've mastered making a resin coffee table, why not expand your crafting skills with woodworking? Our upcoming guide, "14 Best Woodworking for 2024," is packed with innovative ideas and techniques to enhance your woodworking projects. From simple carvings to intricate furniture designs, this resource has everything needed to inspire and improve your craftsmanship. Don't miss out on this chance to discover new skills and make your creative visions come to life!
Frequently Asked Questions about How To Make A Resin Coffee Table
Was this page helpful?
At Storables.com, we guarantee accurate and reliable information. Our content, validated by Expert Board Contributors, is crafted following stringent Editorial Policies. We're committed to providing you with well-researched, expert-backed insights for all your informational needs.


0 thoughts on “How To Make A Resin Coffee Table”