Home>Furniture>Living Room Furniture>How To Make A Marble Top Coffee Table
Living Room Furniture
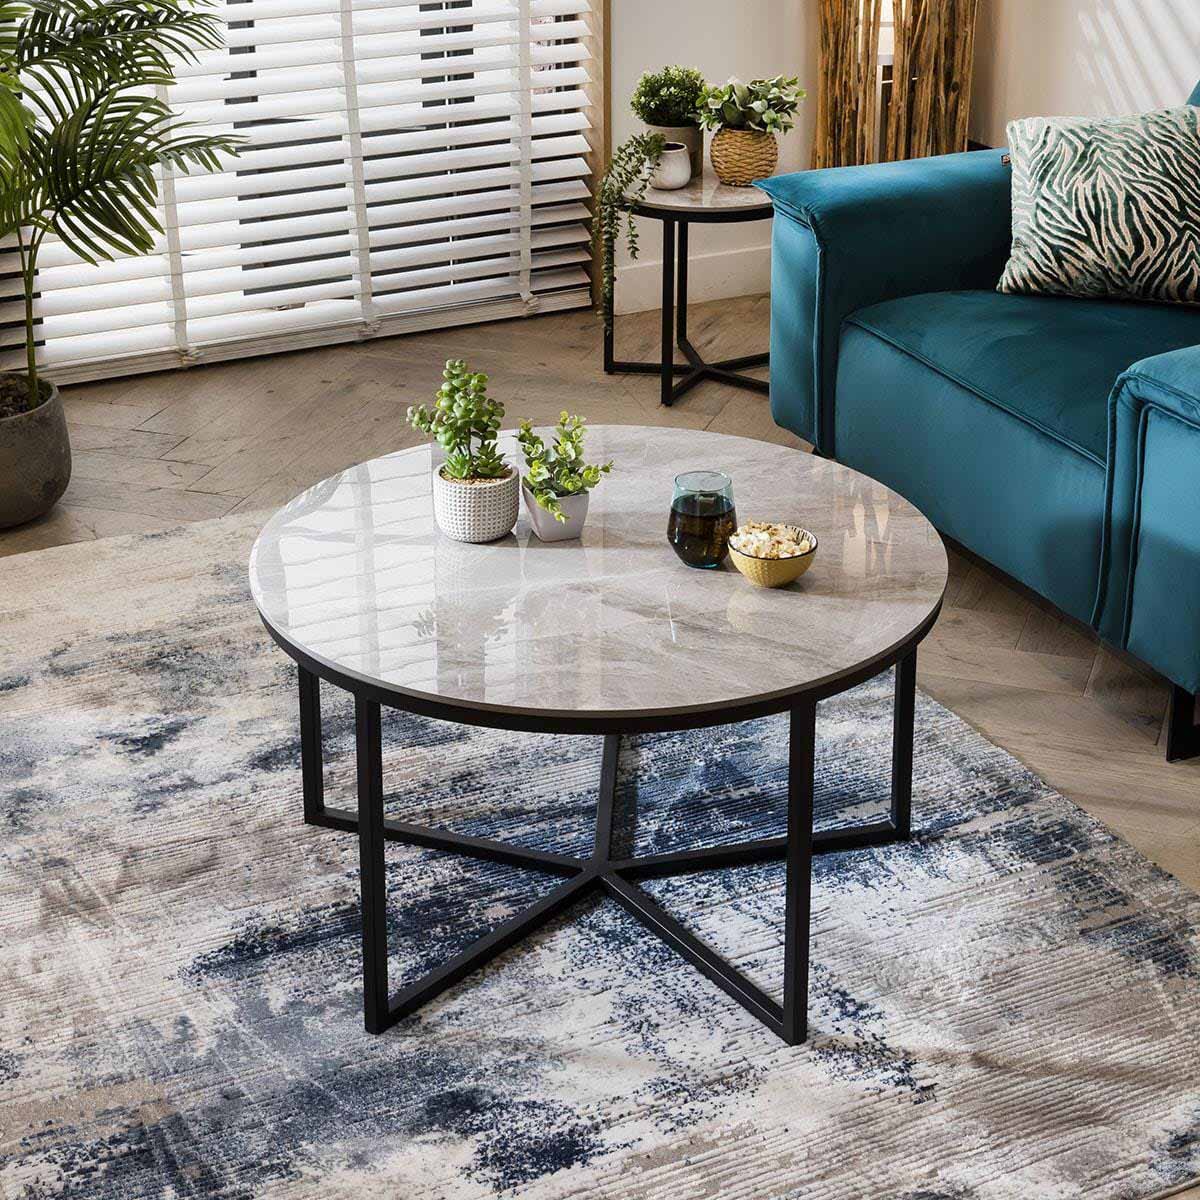
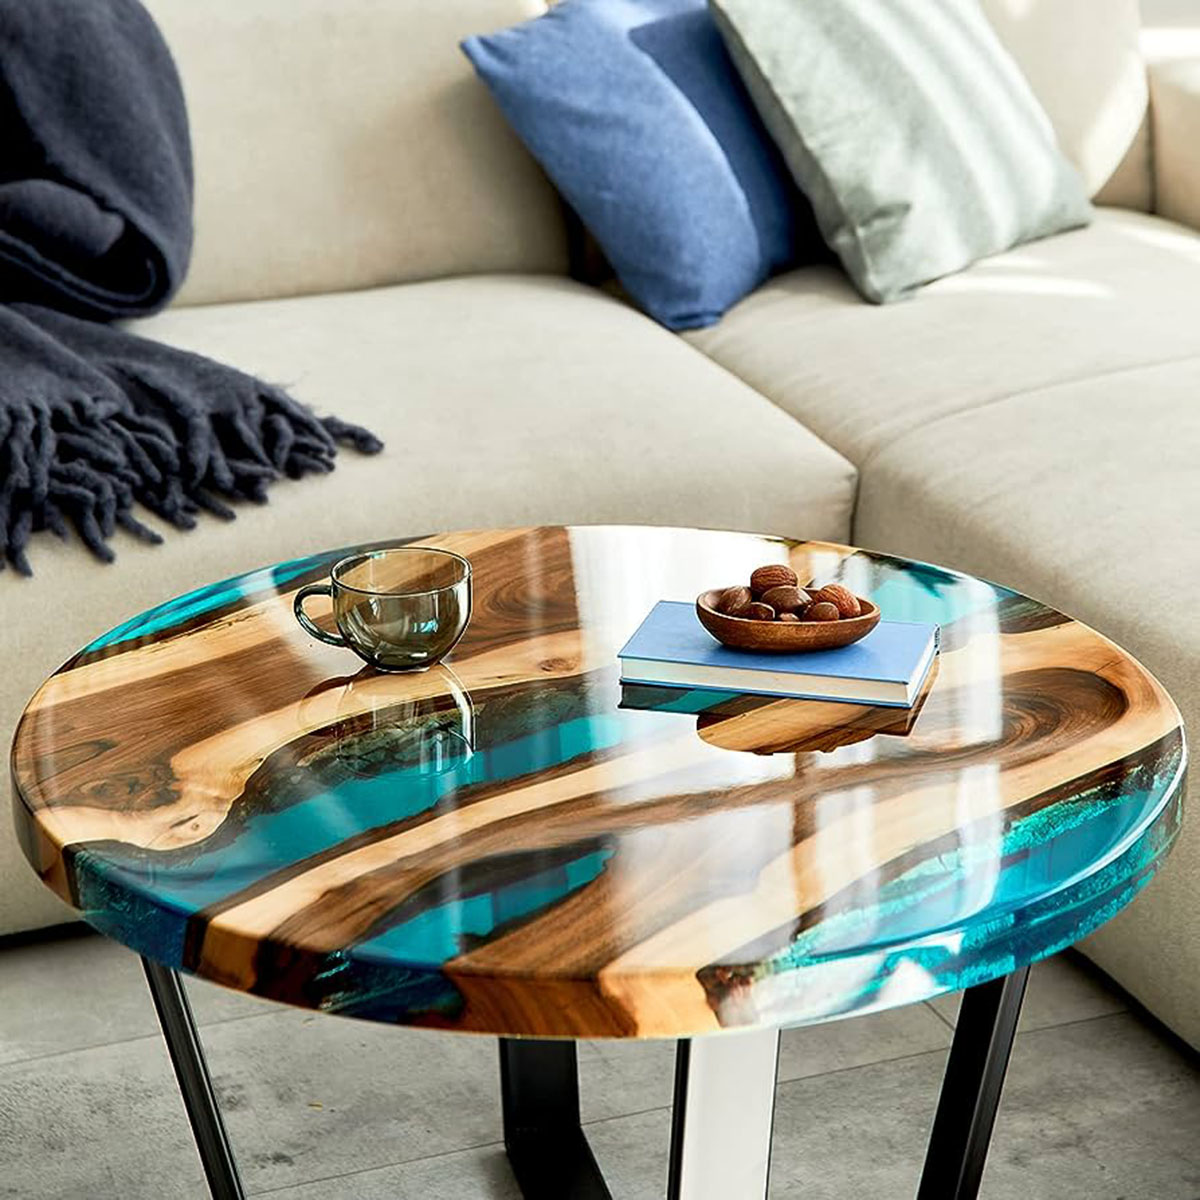
How To Make A Marble Top Coffee Table
Modified: August 22, 2024
Learn how to create your own stunning marble top coffee table for your living room with our step-by-step guide. Upgrade your living room furniture today!
(Many of the links in this article redirect to a specific reviewed product. Your purchase of these products through affiliate links helps to generate commission for Storables.com, at no extra cost. Learn more)
Introduction
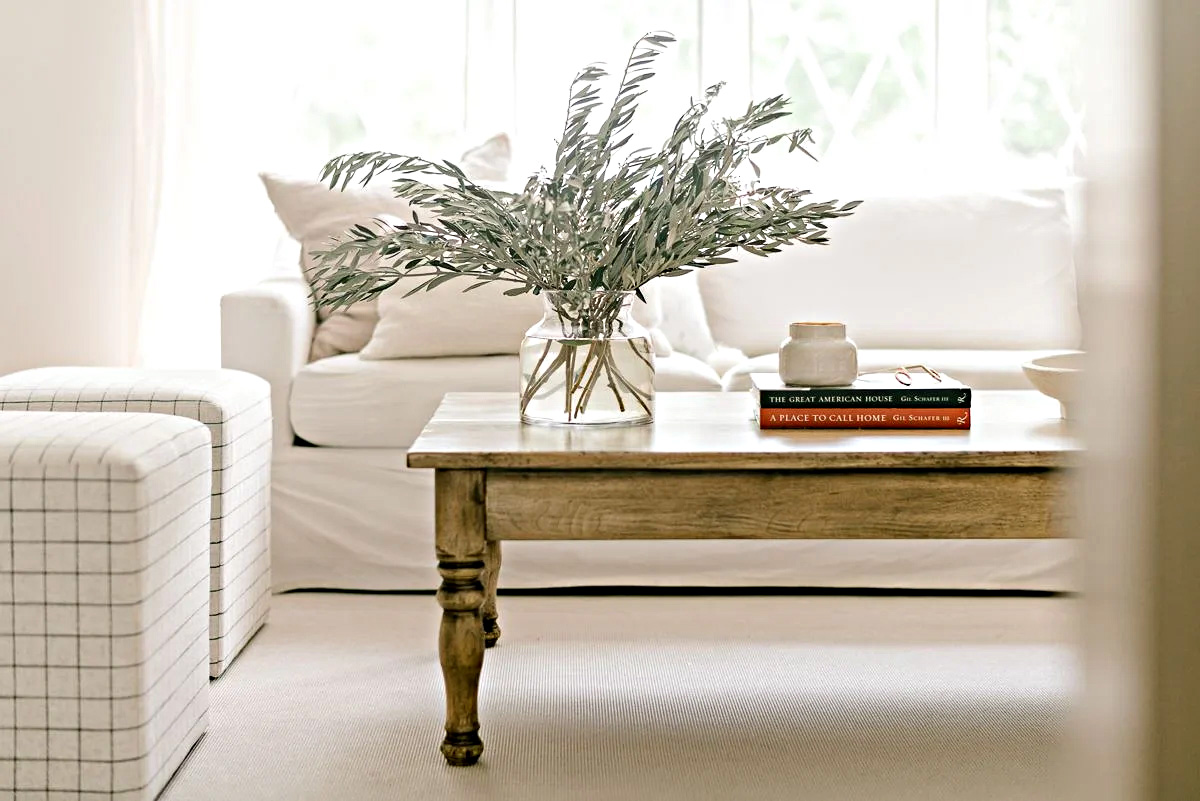
Welcome to the exciting world of living room furniture! One of the key pieces that can elevate the style and functionality of your living room is a coffee table. While there are countless options available in furniture stores, nothing beats the satisfaction of creating your own unique piece. In this article, we will guide you through the process of making a marble top coffee table, which will not only add beauty to your space but also become a conversation piece.
Before we dive into the steps involved, let’s take a look at the materials and tools you will need to complete this project:
- Marble slab
- Wood for the base
- Saw
- Drill
- Screws
- Sandpaper
- Wood stain or paint
- Protective finish
- Measuring tape
- Clamps
Now that you have gathered everything, let’s get started on making your very own marble top coffee table!
Key Takeaways:
- Crafting your own marble top coffee table is a rewarding DIY project that adds beauty and functionality to your living room. With the right materials and tools, you can create a stunning centerpiece that reflects your personal style.
- Attention to detail and careful execution are key in creating a sturdy and visually appealing marble top coffee table. From measuring and cutting the marble slab to assembling and finishing the table, each step contributes to a unique and satisfying furniture piece.
Read more: How To Clean A Marble Coffee Table
Materials and Tools Needed
Before you begin crafting your marble top coffee table, it’s important to gather all the necessary materials and tools. Here is a comprehensive list:
Materials:
- Marble slab: Choose a high-quality marble slab that matches your style and desired dimensions for the tabletop.
- Wood for the base: Select hardwood or plywood to create a sturdy and durable base for your table.
- Screws: Use appropriate screws to secure the base components together.
- Wood stain or paint: Opt for a stain or paint color that complements your interior decor.
- Protective finish: Apply a clear protective finish, such as polyurethane, to protect the wood and marble from scratches and stains.
- Measuring tape: Accurate measurements are crucial for a successful project.
- Clamps: These will help hold the pieces together while you assemble the table.
Tools:
- Saw: A circular saw or miter saw will be necessary for cutting the wood to the desired dimensions.
- Drill: You will need a power drill to create holes for screws and other attachments.
- Sandpaper: Use sandpaper or a sanding block to smooth any rough edges or imperfections.
- Paintbrush or roller: Depending on your chosen finish, you’ll need a brush or roller to apply the stain or paint.
Make sure you have all these materials and tools readily available before you begin the construction process. It’s also a good idea to wear appropriate safety gear, such as safety glasses and gloves, throughout the project to protect yourself.
Now that you have everything you need, let’s move on to the step-by-step process of creating your marble top coffee table.
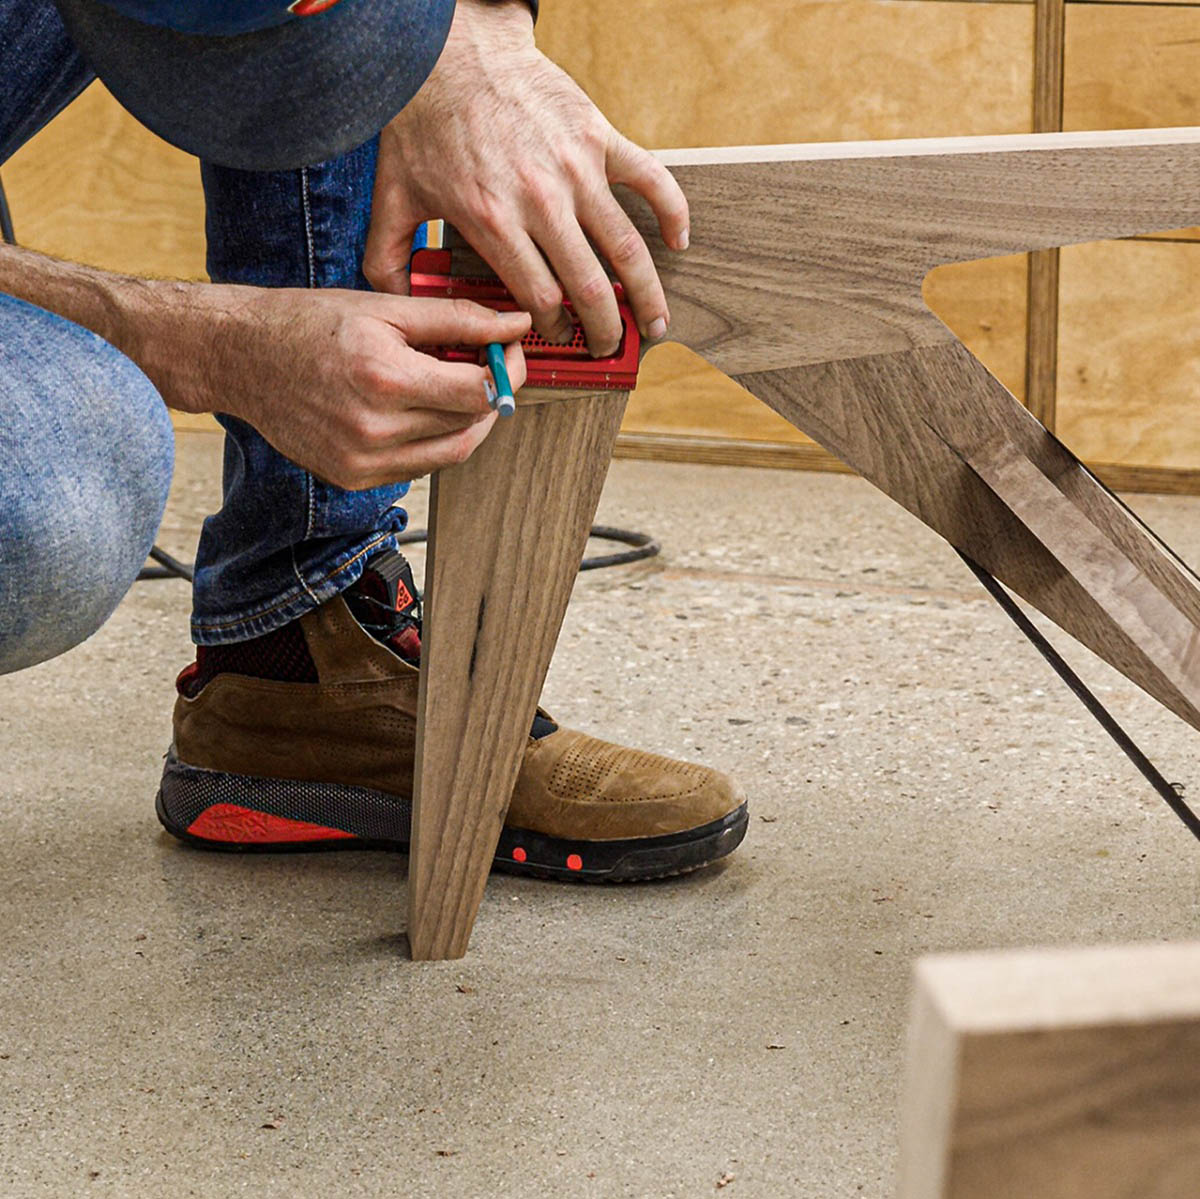
Step 1: Preparing the Base
The first step in making your marble top coffee table is to prepare the base. This involves measuring and cutting the wood into the desired dimensions for the table.
Start by determining the size of the base you want for your coffee table. Consider the dimensions of your marble slab and the space available in your living room. Using a measuring tape, mark the measurements on the wood and use a saw to cut the pieces accordingly.
Once you have cut the pieces, use sandpaper or a sanding block to smooth any rough edges or surfaces. This will ensure a clean and professional finish for your coffee table.
Next, decide on the design of your base. You can go for a simple rectangular shape or get creative with unique designs or patterns. If you are working with multiple pieces of wood, ensure they fit together snugly and securely.
Now it’s time to assemble the base. Use clamps to hold the pieces together and then use a drill to create pilot holes. This will prevent the wood from splitting when you insert the screws.
Apply wood glue to the joints for added strength and stability. Then, using the screws, attach the pieces together. Make sure the screws are flush with the wood surface to prevent any interference with the marble slab.
Once the base is securely assembled, give it a final sanding to ensure a smooth surface. You can also apply a wood stain or paint of your choice to enhance the appearance. Allow the stain or paint to dry completely before proceeding to the next step.
With the base prepared and ready, you are now one step closer to having your very own marble top coffee table. In the next step, we will guide you through the process of cutting the marble slab.
Read more: How To Style A Marble Coffee Table
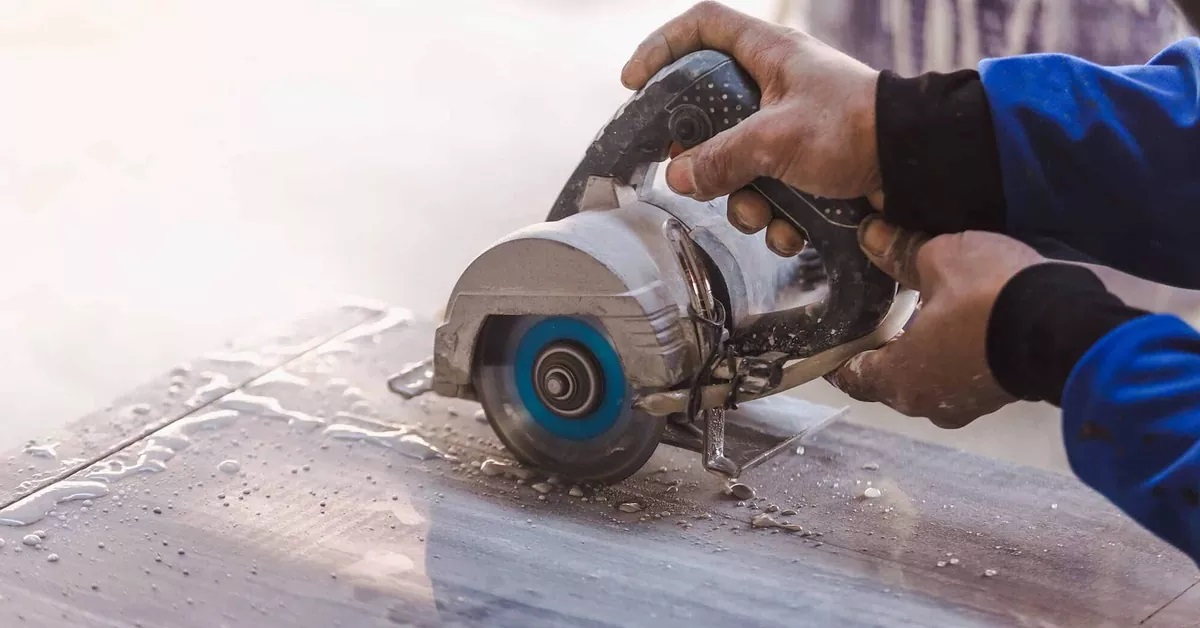
Step 2: Cutting the Marble
Now that your base is ready, it’s time to move on to cutting the marble slab for your coffee table. This step requires precision and care to ensure a clean and accurate cut.
Begin by measuring the dimensions of your base to determine the size of the marble slab needed. Add a few inches of overhang on each side for a balanced and aesthetically pleasing look. Use a measuring tape and a pencil to mark the cutting lines on the marble slab.
Next, secure the marble slab in place using clamps or a sturdy workbench. This will prevent it from shifting or moving during the cutting process.
When cutting the marble, it’s essential to use a diamond-tipped blade specifically designed for cutting stone materials. These blades provide the cleanest and smoothest cuts. Ensure that the blade is securely attached to the saw.
Before making the cut, wear safety goggles and a dust mask to protect yourself from flying debris. Keep in mind that cutting marble produces fine particles that can be harmful if inhaled.
Now, carefully guide the saw along the marked lines, applying even pressure to ensure a smooth and straight cut. Take your time and let the saw do the work without rushing. Remember to keep your fingers clear of the blade and maintain a steady hand throughout the process.
Once the cut is complete, remove any dust or debris from the marble slab. Inspect the cut edge to ensure it is smooth and straight. If needed, use sandpaper or a polishing pad to refine the edge for a professional finish.
Once you’re satisfied with the cut, carefully lift and place the marble slab onto the prepared base. Ensure that it sits evenly and aligns with the edges of the base. If necessary, you can use adhesive or silicone caulk to secure the marble slab to the base.
Cutting the marble can be a challenging task, but with patience and proper technique, you can achieve a precise and beautiful result. In the next step, we’ll guide you through the process of assembling the tabletop.
Step 3: Assembling the Tabletop
Now that you have your marble slab cut and ready, it’s time to assemble the tabletop of your coffee table. This step involves attaching any additional supporting pieces and ensuring a secure and stable surface for your marble.
First, take a closer look at the edges of the marble slab. If there are any sharp or uneven edges, use sandpaper or a polishing pad to smooth them out. This will not only ensure safety but also enhance the overall appearance of your tabletop.
Next, measure and cut any additional support pieces that you may need to reinforce the marble slab. These pieces can be made of wood or metal, depending on your preference and design. Ensure that they align properly with the edges of the marble slab and fit securely within the base.
Using a drill, create pilot holes in the support pieces and carefully attach them to the underside of the marble slab. Be sure to use screws or other fasteners that are appropriate for the material you’re working with.
As you assemble the tabletop, periodically check for stability and balance. Make any necessary adjustments to ensure that the marble slab sits flat and securely. Additionally, ensure that the support pieces are evenly distributed to prevent any sagging or imbalances.
Once the tabletop is fully assembled, take a moment to step back and admire your progress. The base and marble slab should seamlessly come together to create a solid and visually stunning coffee table.
Before moving on to the next step, ensure that the tabletop is properly aligned with the base and securely attached. Test its stability by gently applying pressure in different areas. If there is any wobbling or movement, reinforce the attachment points or make necessary adjustments as needed.
With the tabletop assembled and securely in place, we can now move on to the next step: attaching the top to the base of your coffee table.
When making a marble top coffee table, be sure to use a sturdy and level base to support the heavy marble. Consider using a metal or wooden frame for stability and durability.
Step 4: Attaching the Top to the Base
Now that the tabletop is assembled, it’s time to attach it to the base of your coffee table. This step is crucial to ensuring the stability and longevity of your furniture piece.
Start by positioning the tabletop onto the base, making sure it is centered and aligned properly. Take measurements and use a pencil to mark the areas where you will need to attach the top to the base.
Using a drill with an appropriate bit, create pilot holes at the marked spots on the base. These holes will allow for easier screw insertion and minimize the risk of splitting the wood.
Once the pilot holes are drilled, place the tabletop back onto the base. Align the holes in the support pieces with the pilot holes in the base.
Using screws that are long enough to penetrate through the support pieces and into the base, begin attaching the tabletop. Start by securing one corner and gradually work your way around, ensuring that the top is held securely in place.
As you attach the top, periodically check for any wobbling or unevenness. If necessary, adjust the screws or add additional support in areas that require more stability.
Once all the screws are in place and the tabletop is firmly attached to the base, double-check the stability of the coffee table. Test it by gently shaking or applying pressure to different areas. If there is any movement or instability, reinforce the attachment points or add extra support as needed.
With the top securely attached to the base, step back and admire your handiwork. You have successfully completed the major construction of your marble top coffee table.
However, there is still one more step remaining to enhance the overall appearance and durability of your table – adding the finishing touches. Let’s move on to the final step.
Step 5: Finishing Touches
Congratulations on reaching the final step of creating your marble top coffee table! In this step, we will add the finishing touches that will enhance the aesthetics and protect the durability of your masterpiece.
Start by giving the entire coffee table a thorough inspection. Look for any rough spots or imperfections on the wood base. Use sandpaper to smooth out any uneven surfaces, ensuring a refined and polished look.
If you opted to stain or paint the wood base, now is the time to do so. Apply the stain or paint evenly, following the manufacturer’s instructions. Use a brush or roller to achieve the desired finish, making sure to cover all visible surfaces. Allow the stain or paint to dry completely before proceeding to the next step.
Once the stain or paint has dried, it’s time to protect the wood and marble surfaces. Apply a clear protective finish, such as polyurethane, to seal and shield the wood from moisture, scratches, and stains. Follow the instructions on the product carefully, ensuring even coverage on all sides of the coffee table.
When applying the protective finish to the marble slab, be cautious not to get any on the wood surface. Use painter’s tape or a protective barrier to prevent the finish from coming into contact with the wood. This will help maintain the natural beauty and integrity of both materials.
Allow the protective finish to dry according to the manufacturer’s instructions. Do not rush this step, as it is essential for ensuring the longevity and resilience of your coffee table.
Once the protective finish has fully dried, remove any painter’s tape or protective barriers that were used. Double-check the coffee table for any remaining imperfections or areas that may need touch-ups, and address them accordingly.
Finally, give the entire coffee table a good cleaning. Use a soft, microfiber cloth to gently wipe away any dust or marks from the wood and marble surfaces.
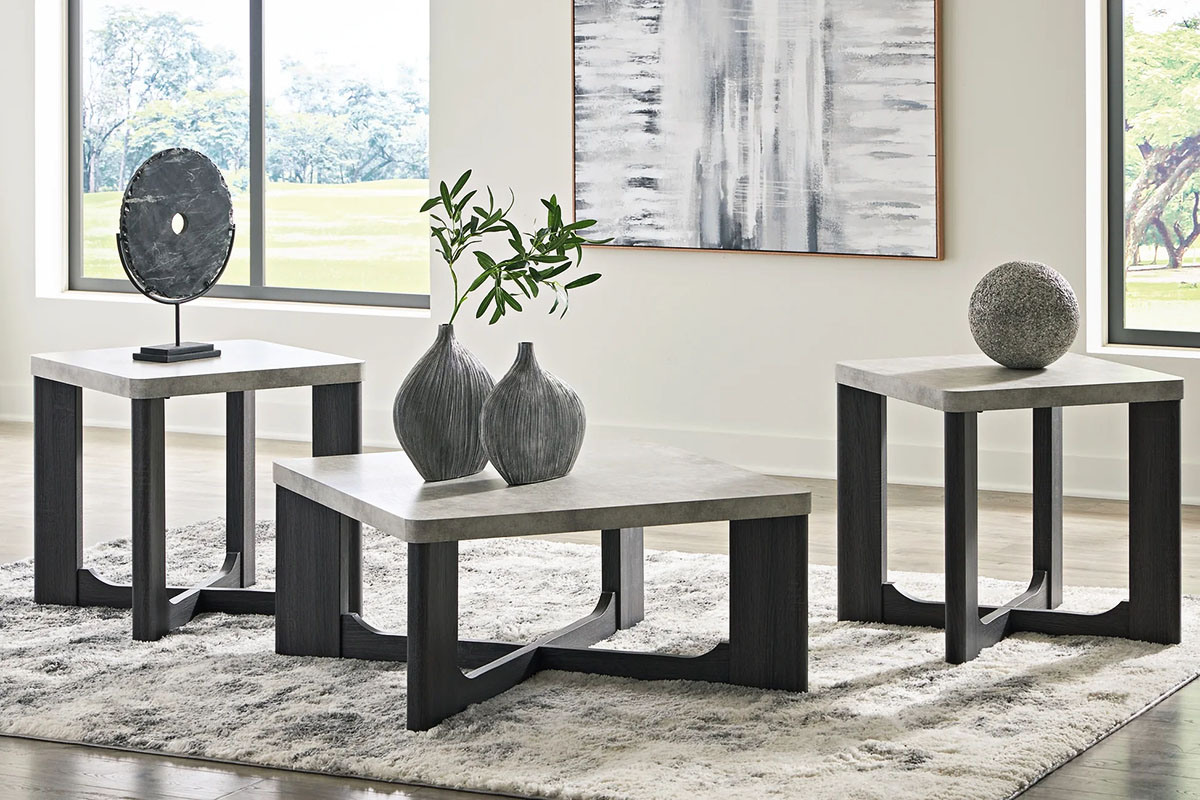
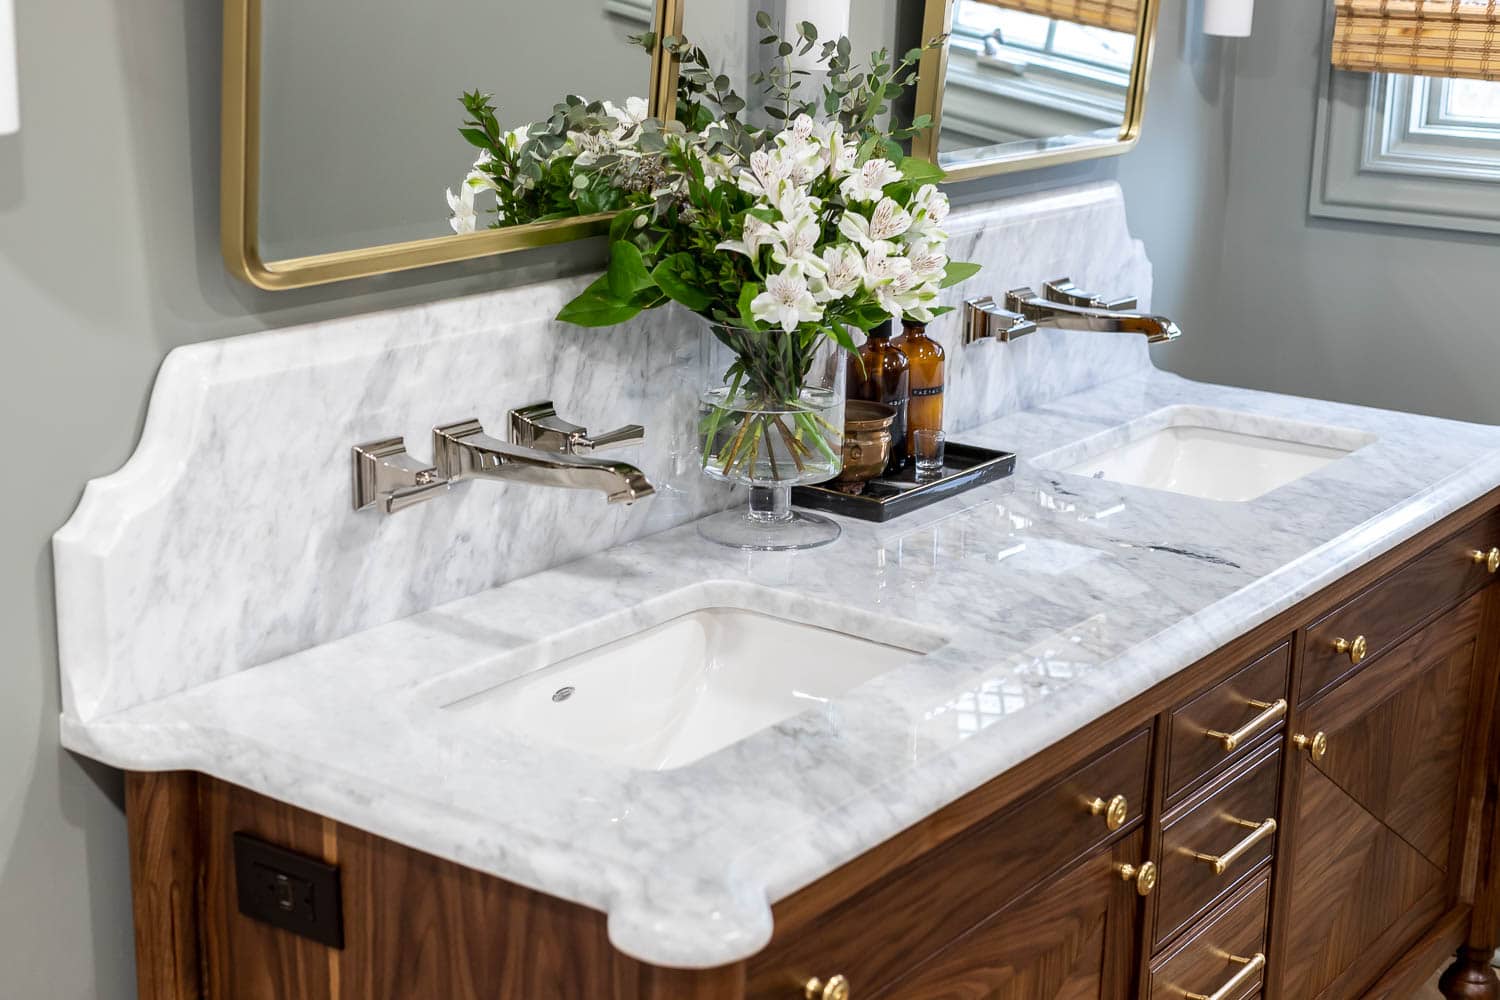
With the finishing touches complete, step back and admire your stunning marble top coffee table. It is now ready to become the focal point of your living room, providing an elegant and functional surface for drinks, books, and conversation.
Remember to regularly clean and maintain your coffee table to preserve its beauty and functionality over time. With proper care, your handmade masterpiece will continue to bring joy and aesthetic appeal to your living space for years to come.
Thank you for following this step-by-step guide, and we hope you enjoy your new marble top coffee table!
Read more: How To Make A Marble Dining Table
Conclusion
Congratulations on successfully completing your journey of creating a marble top coffee table! By crafting this elegant piece of furniture yourself, you have not only added a beautiful and functional item to your living room but also gained a sense of accomplishment and satisfaction.
Throughout the process, you have learned how to select the right materials, measure and cut the marble slab, assemble the table, and add the finishing touches. Each step required attention to detail and careful execution to ensure a sturdy and visually appealing result.
Your handmade coffee table is a testament to your creativity, craftsmanship, and dedication. It serves as both a functional addition to your living space and a conversation starter when guests visit your home.
Remember, your coffee table is a reflection of your personal style and taste. Feel free to experiment with different wood finishes, base designs, and marble patterns to create a custom piece that truly represents you.
As you enjoy your new coffee table, be mindful of its maintenance. Regularly dusting the tabletop, using coasters for beverages, and promptly cleaning up any spills will help preserve its pristine condition for years to come.
Lastly, don’t hesitate to showcase your beautiful creation to friends and family. Share your experience with them, inspire others to embark on their own DIY projects, and take pride in your ability to transform raw materials into a functional work of art.
Thank you for joining us on this creative journey, and we hope your marble top coffee table brings you joy and serves as a cherished centerpiece in your living room for many years.
Frequently Asked Questions about How To Make A Marble Top Coffee Table
Was this page helpful?
At Storables.com, we guarantee accurate and reliable information. Our content, validated by Expert Board Contributors, is crafted following stringent Editorial Policies. We're committed to providing you with well-researched, expert-backed insights for all your informational needs.


0 thoughts on “How To Make A Marble Top Coffee Table”