Home>Furniture>Living Room Furniture>How To Restain A Coffee Table

Living Room Furniture
How To Restain A Coffee Table
Modified: March 16, 2024
Learn how to restain your living room furniture with this easy-to-follow guide on restaining a coffee table. Transform your space with a fresh new look!
(Many of the links in this article redirect to a specific reviewed product. Your purchase of these products through affiliate links helps to generate commission for Storables.com, at no extra cost. Learn more)
Introduction
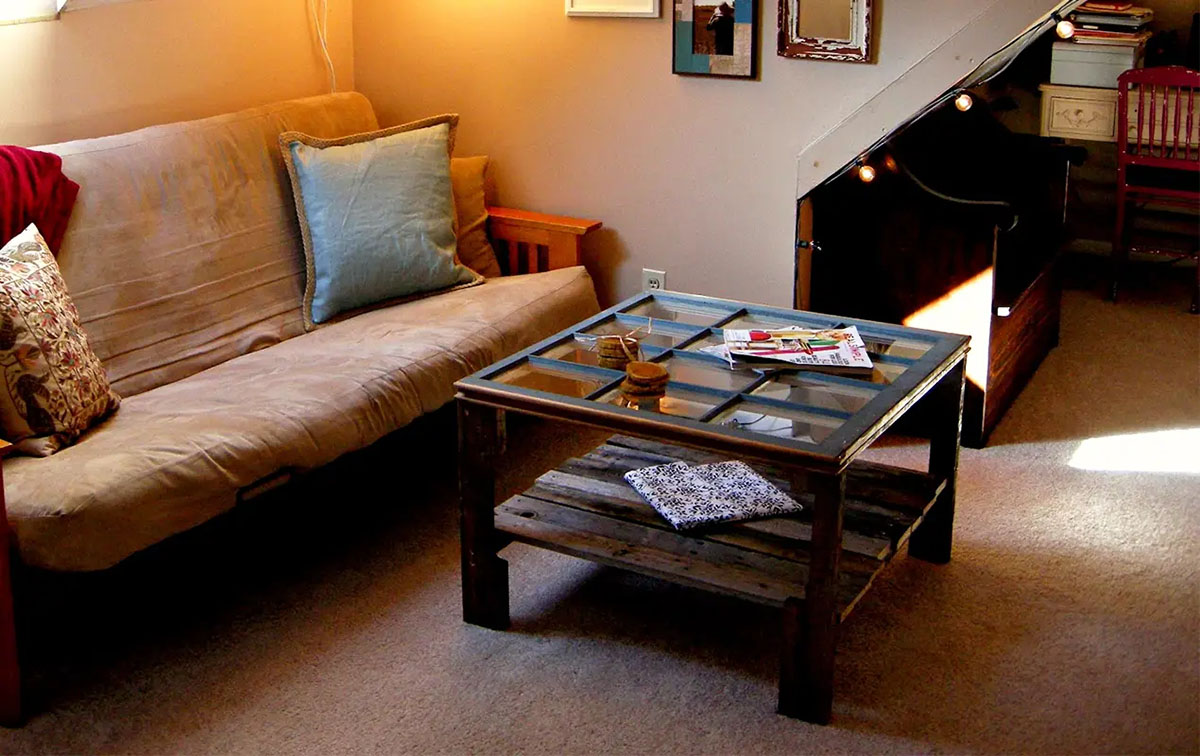
Welcome to the world of DIY furniture restoration! If you have an old or worn-out coffee table that could use a fresh look, restaining it can be a fantastic way to revitalize its appearance. Restaining not only gives you the opportunity to change the color or finish of your coffee table, but it also allows you to protect the wood and extend its lifespan.
In this article, we will take you through a step-by-step guide on how to restain a coffee table to achieve professional and long-lasting results. Whether you’re an experienced DIY enthusiast or a newbie looking to embark on your first furniture restoration project, we’ve got you covered.
Before we dive into the restaining process, it’s important to note that choosing the right stain for your coffee table is crucial. Consider the color and finish you desire, as well as the type of wood your coffee table is made of. This will help determine the appropriate stain and ensure a cohesive and aesthetically pleasing result.
Now, let’s gather our materials, roll up our sleeves, and bring new life to your coffee table!
Key Takeaways:
- Revitalize your old coffee table by restaining it with the right materials and techniques. Enjoy the satisfaction of DIY furniture restoration and create a stunning centerpiece for your living room.
- Prioritize safety, patience, and attention to detail when restaining your coffee table. Choose the perfect stain, follow each step carefully, and enjoy the beauty and functionality of your refreshed furniture piece.
Read more: How To Restain Wood Furniture
Step 1: Gather the necessary materials
Before you begin the restaining process, it’s important to ensure you have all the necessary materials on hand. Having everything prepared ahead of time will help streamline the project and prevent any unnecessary delays. Here are the essential materials you’ll need:
- Protective gear: Start by assembling your safety equipment. This includes gloves, safety goggles, and a face mask to protect yourself from any potential harm or fumes.
- Sanding materials: Depending on the condition of your coffee table, you may need sandpaper or a power sander to remove the existing finish or prepare the surface for the new stain. It’s recommended to have a variety of sandpaper grits, such as coarse, medium, and fine, to achieve the desired smoothness.
- Stain stripper (if necessary): If your coffee table has multiple layers of old stain or finish, a stain stripper may be required to effectively remove them. Look for a stripping product suitable for the type of finish you’re dealing with.
- Stain: Choose a stain that fits your desired color and finish. There are various options available, such as oil-based, water-based, gel, or penetrating stains. Consider the wood type and the level of protection you want for your coffee table.
- Applicators: You’ll need brushes or rags to apply the stain evenly. Foam brushes or lint-free cloths work well for this purpose. Make sure to have enough to complete the entire project.
- Protective finish: To seal and protect the restained coffee table, you’ll need a protective finish such as polyurethane, varnish, or lacquer. Select the appropriate finish based on the level of durability and sheen you desire.
- Cleaners and rags: Before restaining, you’ll need to clean the coffee table thoroughly to remove any dirt, grease, or residue that may interfere with the staining process. Use a gentle wood cleaner and lint-free rags for this task.
- Drop cloths or plastic sheets: Protect your surrounding area from potential spills or drips by laying down drop cloths or plastic sheets. This will make the cleanup process much easier.
- Painter’s tape: If you wish to protect certain areas of the coffee table, like the edges or hardware, painter’s tape will come in handy. Apply it carefully to ensure clean lines and prevent the stain from reaching undesired areas.
- Optional: Wood filler and putty knife. If your coffee table has any scratches, dents, or holes, consider using wood filler to repair the imperfections. A putty knife will help you smoothly apply the filler.
Gather these materials in one place, ensuring that you have enough of each item to complete the restaining process. Now that we’re prepared, let’s move on to the next step: preparing the coffee table for restaining.
Step 2: Prepare the coffee table for restaining
Before jumping into the restaining process, it’s crucial to properly prepare your coffee table. This step ensures that the surface is clean and smooth, allowing for a flawless application of the new stain. Here’s how to get your coffee table ready for restaining:
- Clear the area: Start by removing any items from the coffee table and clear the surrounding area. This will give you ample workspace and prevent any accidental damage to other objects.
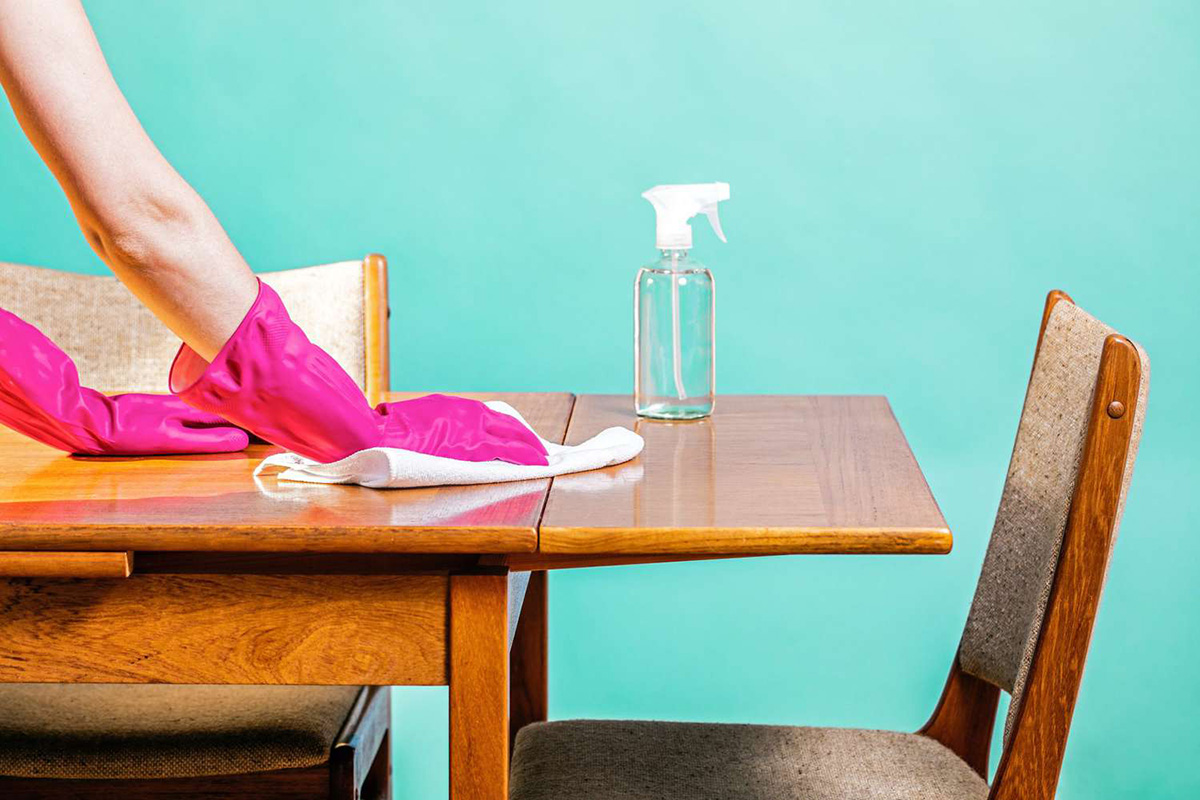
- Clean the coffee table: Use a gentle wood cleaner or a mixture of mild dish soap and water to clean the coffee table. Remove any dirt, dust, or grime that may have accumulated over time. This step is important as it ensures proper adhesion of the new stain.
- Repair any damages: Inspect the coffee table for any scratches, dents, or holes. If you find any imperfections, use a wood filler to repair them. Apply the filler with a putty knife, following the manufacturer’s instructions. Allow it to dry completely and then sand it smooth.
- Remove hardware (if necessary): If your coffee table has any hardware, such as drawer handles or knobs, remove them before proceeding. This allows for a more even and thorough restaining process.
- Tape off edges (optional): If you wish to protect certain areas, such as the edges or corners of the coffee table, apply painter’s tape. This will create clean lines and prevent the stain from bleeding onto undesired areas.
- Wipe down the coffee table: After completing these steps, use a clean, lint-free cloth to wipe down the entire surface of the coffee table. Make sure there is no leftover residue or moisture that could affect the staining process.
- Protect the floor: Lay down drop cloths or plastic sheets beneath the coffee table to protect your floor or carpet from potential spills or drips.
By properly preparing the coffee table before restaining, you will create a smooth and clean surface that allows the new stain to adhere evenly. Take your time with this step to ensure excellent results in the end.
Now that your coffee table is prepped and ready, let’s move on to the next step: removing the existing stain or finish.
Step 3: Remove the existing stain or finish
Before applying a new stain to your coffee table, it’s important to remove any existing stain or finish that may be present. This step ensures a clean surface for the new stain to adhere to and prevents unwanted color variations or inconsistencies. Here’s how to remove the existing stain or finish:
- Assess the condition of the existing finish: Examine the coffee table to determine whether it has a stain or a clear finish, like varnish or lacquer. Knowing the type of finish will help you choose the appropriate method for removal.
- Stain stripper for multiple layers: If your coffee table has multiple layers of old stain or finish, you may need to use a stain stripper to effectively remove them. Follow the instructions on the stain stripper product, applying it generously to the surface and allowing it to sit for the recommended time.
- Scraping or sanding for light finishes: If your coffee table only has a light finish or a single layer of stain, you may be able to remove it by scraping or sanding. Use a scraper or sandpaper to gently scrape or sand away the old finish, working with the grain of the wood. Be careful not to gouge or damage the surface.
- Remove the residue: After stripping or scraping, use a clean cloth or sponge to wipe away any residue left on the coffee table. Ensure that the surface is clean and free from any old stain or finish.
- Sand the surface: Regardless of whether you used a stain stripper or scraping/sanding method, it’s important to sand the coffee table after removing the existing finish. Start with a coarse-grit sandpaper and gradually move to finer-grit sandpaper. This process smooths out any imperfections and prepares the surface for the new stain.
- Remove dust: After sanding, wipe down the coffee table with a clean cloth or use a vacuum with a brush attachment to remove any dust particles. A clean surface will ensure a smooth and even application of the new stain.
Remember to wear your protective gear, such as gloves and a face mask, during the removal process to protect yourself from any potential fumes or debris. Taking the time and care to properly remove the existing stain or finish will help achieve a beautiful and long-lasting result for your coffee table.
Now that your coffee table is stripped and sanded, it’s time to move on to the next step: sanding the coffee table.
Step 4: Sand the coffee table
After removing the existing stain or finish from your coffee table, it’s essential to sand the surface. Sanding helps to smooth out any imperfections, evens out the wood grain, and prepares the coffee table for the new stain. Follow these steps to sand your coffee table:
- Choose the appropriate sandpaper: Depending on the condition of your coffee table and the desired smoothness, select the appropriate grit of sandpaper. For initial sanding to remove roughness or unevenness, start with a coarse-grit sandpaper (60 or 80 grit). Then, progress to a medium-grit sandpaper (120 or 150 grit) for smoothing, followed by a fine-grit sandpaper (220 or 240 grit) for a polished finish.
- Sand with the grain: Always sand in the direction of the wood grain to achieve a smooth and even surface. Sanding against the grain can result in scratches that will be visible after staining.
- Start with coarse-grit sandpaper: Begin by sanding the coffee table with the coarse-grit sandpaper. Apply firm but gentle pressure as you move the sandpaper back and forth across the surface in long, even strokes. Focus on rough areas or imperfections, working systematically across the entire table.
- Progress to medium-grit sandpaper: Once you’ve sanded with the coarse-grit sandpaper, switch to the medium-grit sandpaper. Continue sanding in the direction of the wood grain, using smooth and even strokes. This step helps to further smooth the surface and remove any visible scratches or blemishes from the coarse-grit sanding.
- Finish with fine-grit sandpaper: Lastly, use the fine-grit sandpaper to achieve a polished and smooth finish. Sand gently and lightly to remove any remaining roughness and leave the surface ready for the new stain.
- Remove sanding dust: After sanding, wipe down the coffee table with a clean, lint-free cloth or use a vacuum with a brush attachment to remove any sanding dust. It’s crucial to have a clean surface before proceeding to the next step.
Remember to take breaks during the sanding process to assess your progress and ensure that you’re achieving the desired smoothness. As you sand, you should see the wood’s natural beauty emerging, preparing it for the new stain.
Now that your coffee table is sanded to perfection, it’s time to move on to the next step: applying the new stain.
Read more: How To Redo A Coffee Table
Step 5: Apply the new stain
Now that your coffee table is sanded and smooth, it’s time to bring it to life with a fresh new stain. Applying the new stain will not only enhance the beauty of the wood but also provide protection and durability. Follow these steps to ensure a successful application of the new stain:
- Prepare the stain: If you’re using a can of stain, stir it thoroughly to mix the pigment that may have settled at the bottom. If you’re using a gel stain, follow the manufacturer’s instructions for preparation.
- Test on a small area: Before applying the stain to the entire coffee table, it’s a good idea to test it on a small, inconspicuous area. This will allow you to gauge the color and coverage and make any necessary adjustments before proceeding.
- Apply the stain: Use a brush or a lint-free cloth to apply the stain to the coffee table. Start with the tabletop and work your way down, ensuring even coverage. Apply the stain in the direction of the wood grain, working with long, smooth strokes.
- Work in small sections: To prevent the stain from drying or creating uneven patches, work in small sections at a time. Apply the stain evenly and thoroughly to each section before moving on to the next, blending the edges to create a seamless appearance.
- Wipe off excess stain: After applying the stain to each section, use a clean cloth to wipe off any excess stain. This step helps to create an even finish, remove any pooling of the stain, and prevent blotching or streaking.
- Check for consistency: As you progress, periodically step back and observe the coffee table from different angles to ensure a consistent color and coverage. Adjust your technique if needed to achieve the desired result.
- Allow the stain to dry: Follow the manufacturer’s instructions for the recommended drying time. Make sure the coffee table is in a well-ventilated area during this process. Keep in mind that drying times can vary depending on the type of stain and environmental conditions.
- Assess the color: Once the stain has dried, assess the color. If you desire a deeper or more intense color, you may need to apply another coat of stain. Repeat the process of applying and wiping off excess stain as before.
Remember, the final color of the stain may appear slightly different once it has fully dried. It’s always a good idea to test the stain on a small area of the coffee table or a similar piece of wood to ensure it meets your expectations before applying it to the entire surface.
Now that the new stain is applied, it’s time to move on to the next step: allowing the stain to dry.
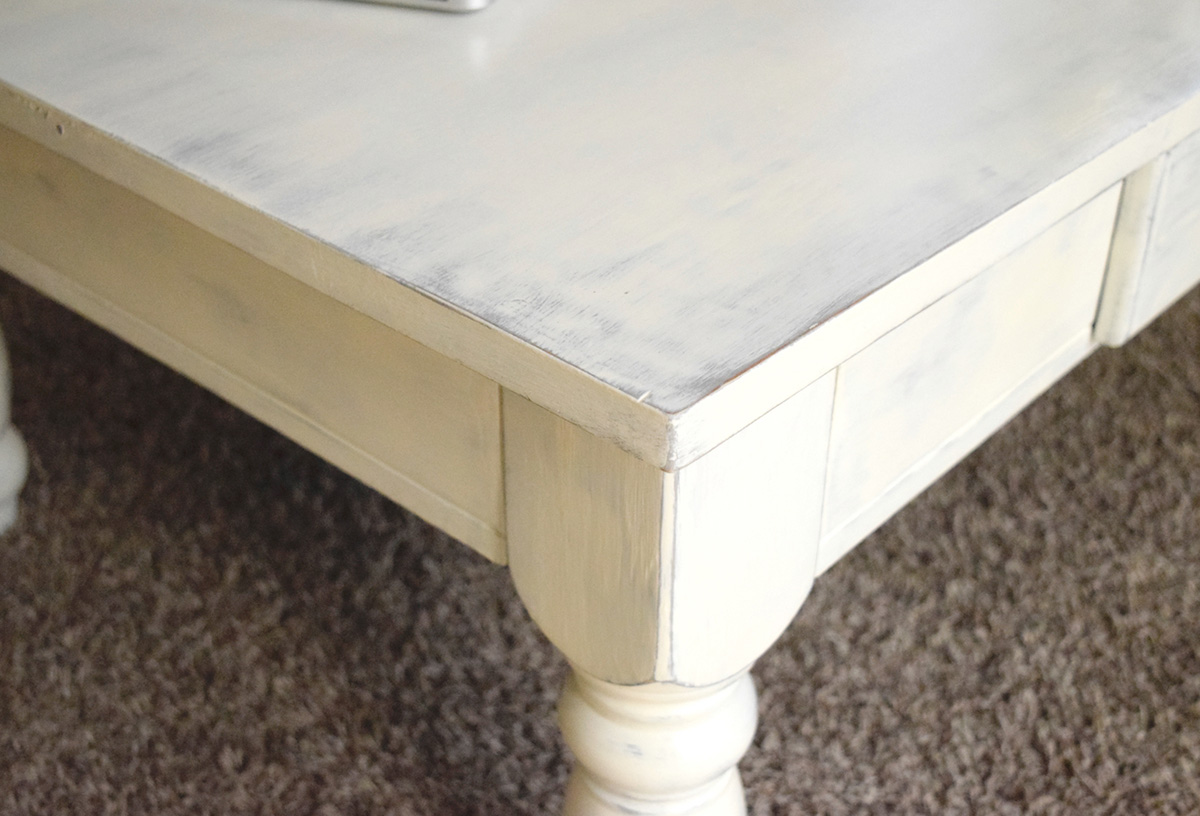
Before restaining a coffee table, make sure to sand it down to remove the old finish. Apply the new stain in the direction of the wood grain for an even finish. Let it dry completely before adding a protective top coat.
Step 6: Allow the stain to dry
After applying the new stain to your coffee table, it’s essential to give it sufficient time to dry. Allowing the stain to dry thoroughly ensures a beautiful and long-lasting finish. Here’s what you need to know about drying your newly stained coffee table:
- Follow the manufacturer’s instructions: Different types of stains may have varying drying times. It’s important to refer to the manufacturer’s instructions on the stain can or packaging for specific guidelines.
- Provide proper ventilation: Ensure that the area where your coffee table is placed has adequate ventilation. Good air circulation will help the stain dry more efficiently and prevent any lingering odors.
- Avoid touching or placing objects on the surface: While the stain is drying, it’s crucial to refrain from touching the surface or placing any objects on it. Doing so may leave marks or disrupt the drying process, affecting the final result.
- Monitor the drying process: Keep an eye on the coffee table as it dries. If you notice any areas that seem to be taking longer to dry or appear dull, gently touch them to determine if they are still tacky. If so, allow more time for the stain to dry in those areas.
- Consider environmental factors: Factors such as humidity and temperature can impact the drying time of the stain. Warmer temperatures and lower humidity generally promote faster drying, while cooler temperatures and high humidity may extend the drying process.
- Perform the touch test: Once you believe the stain is dry, perform a touch test on a hidden or inconspicuous area. Lightly press your finger against the surface. If it feels dry and leaves no residue or color transfer, it is likely fully dried.
- Be patient: Remember that patience is key during this step. Rushing the drying process may lead to smudges, unevenness, or other imperfections. It’s better to wait a little longer to ensure the best possible outcome.
The recommended drying time for most stains is usually around 24-48 hours. However, it’s important to verify the specific drying time specified by the stain manufacturer to guarantee optimal results.
Now that the stain is drying beautifully, let’s move on to the next step: applying a protective finish to your coffee table.
Step 7: Apply a protective finish
Applying a protective finish to your newly stained coffee table is crucial for preserving its beauty and durability over time. The protective finish acts as a barrier, shielding the wood from daily wear and tear. Here’s how to apply a protective finish to your coffee table:
- Choose the appropriate protective finish: There are several types of protective finishes available, such as polyurethane, varnish, lacquer, or wax. Consider the level of protection, sheen, and maintenance requirements when selecting the finish for your coffee table.
- Prepare the protective finish: Read the manufacturer’s instructions for the specific protective finish you’ve chosen. Often, you will need to stir the finish gently to mix it thoroughly but avoid creating air bubbles.
- Apply the protective finish: Using a brush or a clean, lint-free cloth, apply a thin and even coat of the protective finish onto the stained coffee table. Start with the tabletop and work your way down, ensuring complete coverage.
- Follow the wood grain: Similar to applying the stain, always follow the direction of the wood grain when applying the protective finish. This ensures a smooth and even application and minimizes the chances of visible brush or cloth strokes.
- Work in small sections: As with the staining process, it’s best to work in small sections at a time to prevent the finish from drying too quickly. Focus on one area, ensuring thorough coverage, before moving on to the next.
- Remove excess finish: After applying the protective finish to each section, use a clean cloth to gently wipe away any excess finish. This step helps achieve a smooth and even finish, free from drips or pooling.
- Allow the finish to dry: Check the manufacturer’s instructions for the recommended drying time for the protective finish. It’s essential to allow sufficient drying time between coats and before handling or using the coffee table.
- Apply additional coats (optional): Depending on the type of protective finish and the level of durability desired, you may opt to apply additional coats. Follow the same process of applying, wiping off excess, and allowing each coat to dry before applying the next one.
Applying a protective finish not only preserves the appearance of your coffee table but also makes it easier to clean and maintain. The protective finish acts as a shield against spills, scratches, and UV damage, ensuring the longevity of your furniture piece.
Now that your coffee table is coated with a protective finish, it’s time to move on to the next step: allowing the finish to cure.
Step 8: Allow the finish to cure
After applying a protective finish to your coffee table, it’s important to allow it sufficient time to cure. Curing refers to the process of the protective finish fully hardening and reaching its maximum durability. Properly curing the finish ensures its longevity and enhances its resistance to daily use and exposure. Here are the key steps to follow for allowing the finish to cure:
- Refer to the manufacturer’s instructions: Different types of protective finishes have varying curing times. It’s essential to refer to the manufacturer’s guidelines for the specific finish you used on your coffee table.
- Allow adequate curing time: Generally, protective finishes require a curing time of at least 24-48 hours before you can fully use and handle the coffee table. However, some finishes might have longer curing periods, especially for optimal hardness.
- Provide proper ventilation: During the curing process, ensure that the coffee table is placed in a well-ventilated area. Fresh air circulation helps the finish to cure more effectively and minimizes the chances of any unpleasant odors lingering.
- Avoid placing objects on the coffee table: While the finish is curing, it’s crucial to refrain from placing any objects or applying excessive pressure on the surface. Doing so may dent or mar the finish and hinder the curing process.
- Minimize exposure to moisture: To ensure the best results, it’s important to avoid exposing the coffee table to excessive moisture or humidity during the curing period. Moisture can interfere with the curing process and compromise the finish’s quality.
- Be patient: Curing is a time-consuming process, but it’s crucial to exercise patience and allow the finish to cure fully before subjecting the coffee table to regular use. Rushing the process may result in a less durable or damaged finish.
While the finish may feel dry to the touch after the recommended curing period, keep in mind that it may take several more days or even weeks for the protective finish to reach its maximum hardness and resistance.
Now that you’ve allowed the protective finish to cure, it’s time to move on to the final step: reassembling and enjoying your beautifully restained coffee table!
Read more: How To Whitewash A Coffee Table
Step 9: Reassemble and enjoy your restained coffee table
Congratulations! You’ve reached the final step of the restaining process: reassembling and enjoying your newly transformed coffee table. Follow these steps to complete the project and admire the results of your hard work:
- Check the condition of the hardware: If you removed any hardware from your coffee table during the restaining process, ensure they are clean and in good condition. If necessary, clean or replace them before reassembling.
- Reattach the hardware: Carefully reattach the handles, knobs, or other hardware to their original positions on the coffee table. Use the appropriate tools if needed, and tighten the screws or bolts securely.
- Inspect the restained surface: Take a moment to inspect the restained surface of your coffee table. Admire the smoothness, even color, and beautiful transformation that the new stain has brought to the wood.
- Place the coffee table in its designated spot: Once you’re satisfied with the restained coffee table, carefully move it to its designated spot in your living room or wherever you intend to display it. Take care to avoid dragging the table to prevent scratching the floor.
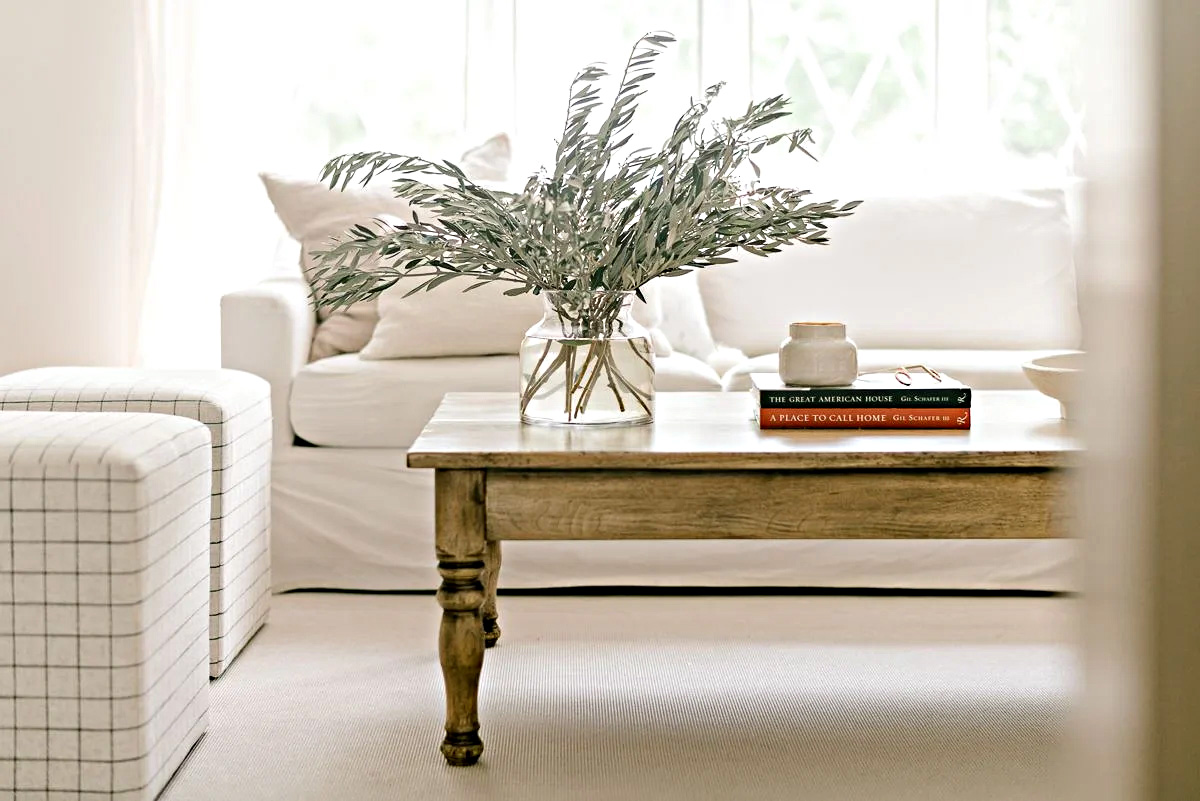
- Add decorative elements: Enhance the aesthetic appeal of your restained coffee table by adding decorative elements. Consider placing a vase of fresh flowers, a tray with scented candles, or a stack of your favorite books to personalize the space.
- Enjoy your transformed coffee table: Now is the time to sit back, relax, and enjoy your restained coffee table. Admire your handiwork and take pride in the fact that you’ve given new life to a piece of furniture that holds sentimental or functional value in your home.
Remember to maintain the beauty and longevity of your restained coffee table by regularly dusting it and using coasters or placemats to protect the surface from spills and stains. Follow the care instructions specific to the protective finish you applied to ensure its continued durability.
By following these steps, you’ve successfully restained your coffee table, transforming it into a stunning centerpiece for your living room. Embrace the satisfaction of completing a DIY furniture restoration project and enjoy the beauty and functionality of your refreshed coffee table for years to come.
Thank you for joining us on this restaining journey. We hope you found this guide helpful and inspiring. Happy decorating!
Conclusion
Restaining a coffee table is a rewarding DIY project that allows you to breathe new life into a beloved piece of furniture. With the right materials, preparation, and technique, you can transform a tired-looking coffee table into a stunning centerpiece that enhances the aesthetics of your living room.
In this comprehensive guide, we’ve taken you through the step-by-step process of restaining a coffee table, from gathering the necessary materials to reassembling and enjoying the final result. By following these steps and paying attention to detail, you can achieve professional-quality results while ensuring the longevity and durability of your restained coffee table.
Remember to choose a stain that complements your style and the wood type of your coffee table. Take your time with each step, from preparing the surface to applying the stain and protective finish. Properly removing the existing stain or finish, sanding the coffee table, and allowing each layer to dry and cure are crucial for a flawless and long-lasting outcome.
Throughout the process, don’t forget to prioritize safety by wearing appropriate protective gear and working in a well-ventilated area. Test the stain and protective finish on a small area and make any necessary adjustments before proceeding to the entire coffee table. Patience and attention to detail will yield the best results.
Once you have completed the restaining process and allowed the finish to cure, it’s time to reassemble and enjoy your transformed coffee table. Admire the beauty of the wood grain and the rich color of the stain as you place it in your living room. Add decorative elements to personalize the space and create a welcoming ambiance.
Maintaining your restained coffee table is essential for its longevity. Regularly dusting the surface and using protective measures, such as coasters or placemats, will help preserve the beauty and protect it from damage. Follow the care instructions specific to the protective finish to ensure continued durability and enjoyment.
We hope this guide has provided you with the knowledge and inspiration to embark on your own coffee table restaining project. Embrace the satisfaction of bringing new life to an old piece of furniture and enjoy the sense of accomplishment that comes with DIY furniture restoration. Let your restained coffee table be a reflection of your personal style and a focal point in your living room for years to come.
Thank you for joining us on this restaining journey. Happy restaining!
Frequently Asked Questions about How To Restain A Coffee Table
Was this page helpful?
At Storables.com, we guarantee accurate and reliable information. Our content, validated by Expert Board Contributors, is crafted following stringent Editorial Policies. We're committed to providing you with well-researched, expert-backed insights for all your informational needs.


0 thoughts on “How To Restain A Coffee Table”