Home>Furniture>Outdoor Furniture>How To Build Hampton Bay Patio Furniture
Outdoor Furniture
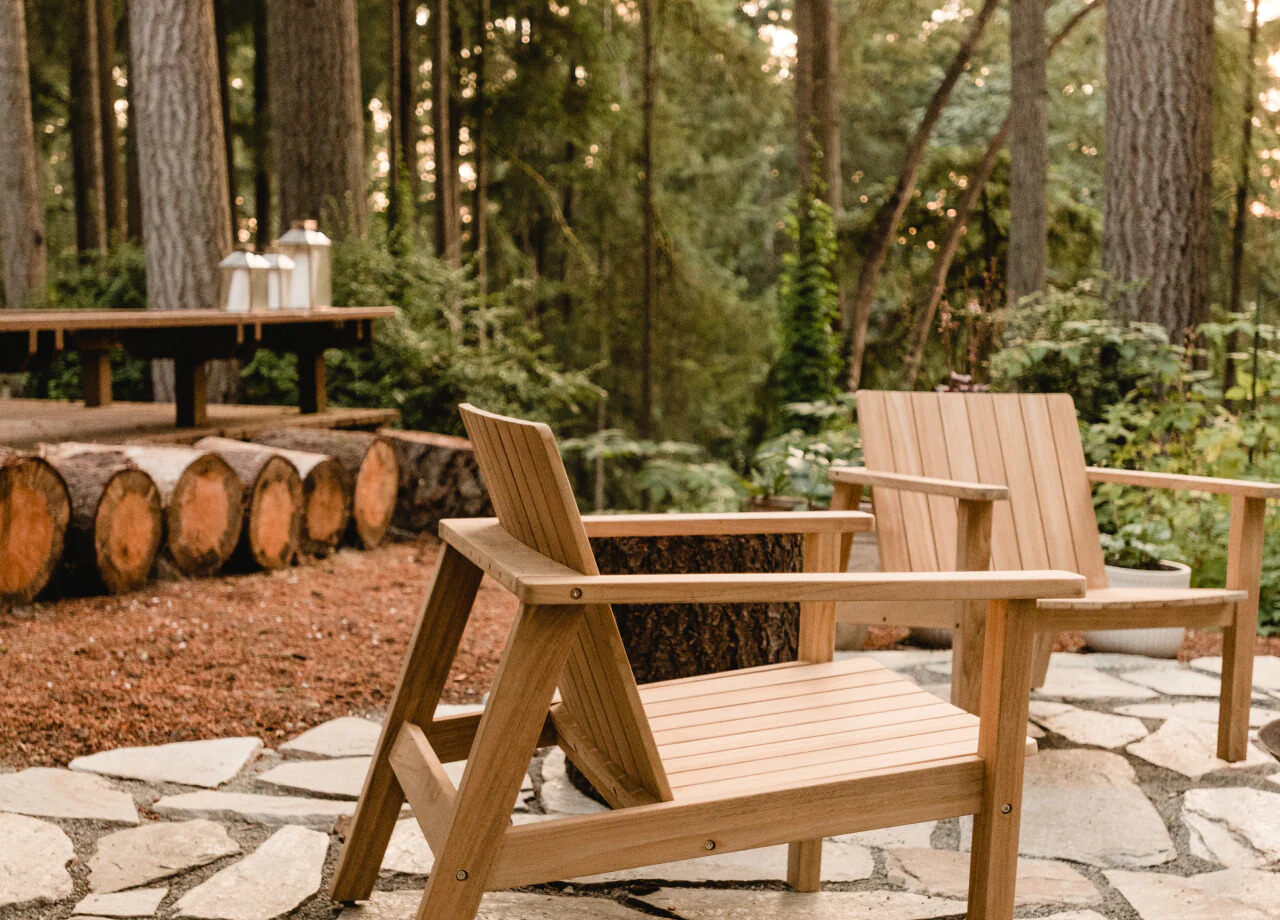
How To Build Hampton Bay Patio Furniture
Modified: March 7, 2024
Discover the best guide on how to build Hampton Bay outdoor furniture. Learn step-by-step instructions and expert tips to create your perfect outdoor oasis.
(Many of the links in this article redirect to a specific reviewed product. Your purchase of these products through affiliate links helps to generate commission for Storables.com, at no extra cost. Learn more)
Introduction
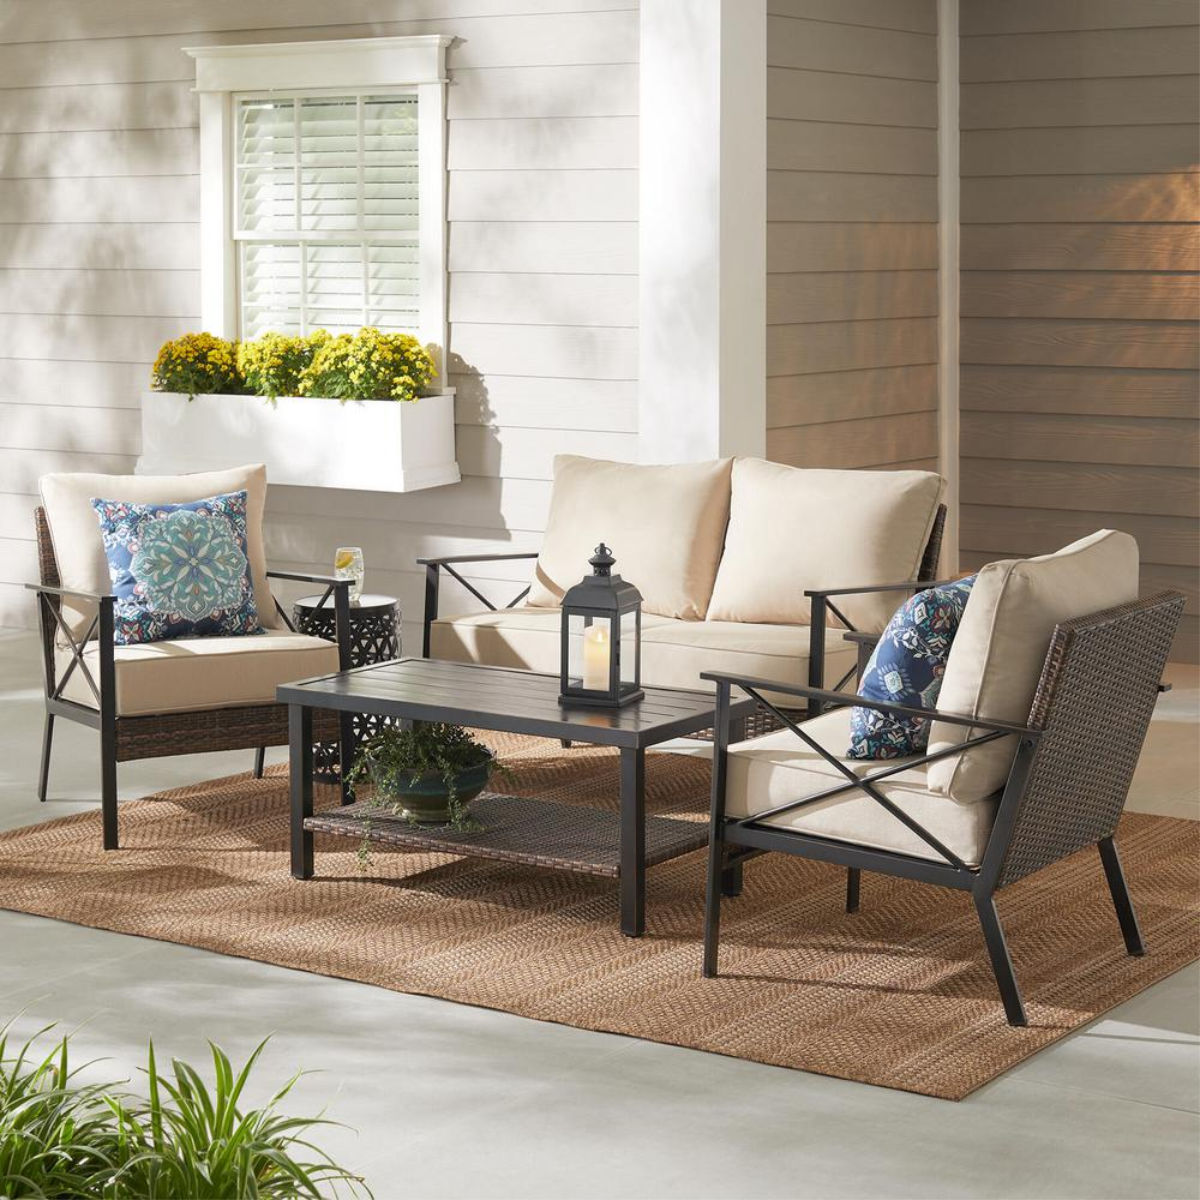
Welcome to our comprehensive guide on how to build Hampton Bay patio furniture. Hampton Bay is a well-known and trusted brand in the outdoor furniture industry, offering a wide range of stylish and durable pieces for your outdoor living space. Building your own Hampton Bay patio furniture allows you to have a custom-made piece that perfectly suits your specific needs and preferences.
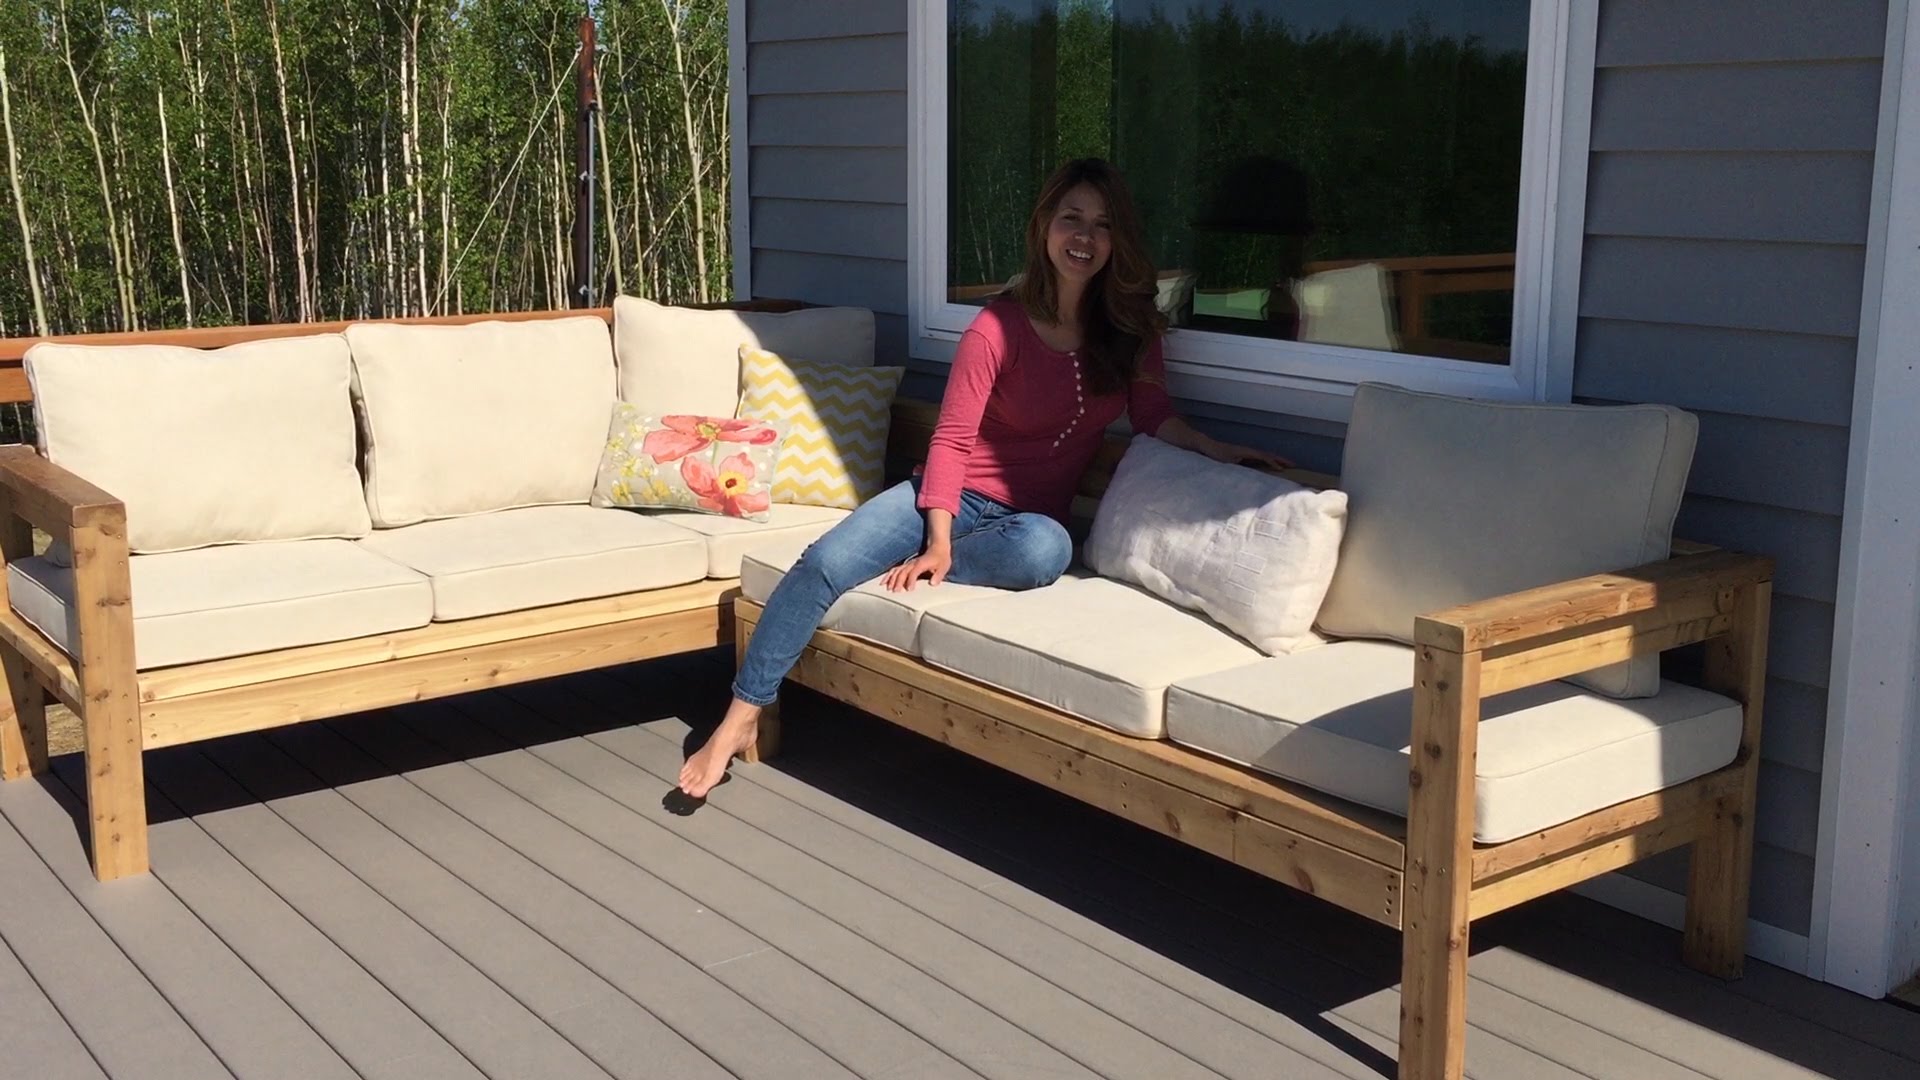
Building your own furniture can be a rewarding and enjoyable experience that not only saves you money but also gives you a sense of pride and accomplishment. Whether you are a skilled DIY enthusiast or a beginner looking to embark on your first furniture project, this guide will provide you with step-by-step instructions and valuable tips to help you successfully build your own Hampton Bay patio furniture.
Before we dive into the building process, let’s take a look at the materials you will need to gather for this project.
Key Takeaways:
- Building your own Hampton Bay patio furniture allows for a custom-made piece that perfectly suits your outdoor space, providing a rewarding and enjoyable experience for DIY enthusiasts of all skill levels.
- By following step-by-step instructions and using high-quality materials, you can create a durable and stylish Hampton Bay patio furniture that enhances your outdoor living space, bringing a sense of pride and accomplishment.
Read more: Who Sells Hampton Bay Patio Furniture
Materials Needed
Before you begin building your Hampton Bay patio furniture, it’s essential to gather all the necessary materials. Having everything on hand will ensure a smooth and efficient building process. Here is a list of the materials you will need:
- Hampton Bay patio furniture kit or individual pieces, such as chairs, tables, or benches
- Screws or nails (check the instructions provided with your furniture kit for the specific type and size)
- Hammer or screwdriver
- Drill (if necessary for pre-drilling holes)
- Sandpaper or sanding block
- Wood glue (optional, but can provide extra stability)
- Paint or stain (optional, for a personalized touch)
- Paintbrush or roller
- Protective finish or sealant (optional, to protect the wood from weather and wear)
It’s important to choose high-quality materials that are suitable for outdoor use. This will ensure the longevity and durability of your Hampton Bay patio furniture. Additionally, consider the size and layout of your outdoor space when selecting your furniture pieces. Measure the area where you plan to place your furniture to ensure a proper fit.
Once you have gathered all the necessary materials, you are ready to begin the building process. Follow the step-by-step instructions below to assemble your Hampton Bay patio furniture.
Step 1: Gathering the Pieces
The first step in building your Hampton Bay patio furniture is to gather all the necessary pieces. This will depend on the specific furniture kit or individual pieces you have chosen to build. Ensure that you have all the components required for the furniture you want to assemble.
Begin by laying out all the pieces on a clean and flat surface. Take a moment to familiarize yourself with each part and identify any hardware, such as screws or nails, that may be included in the kit.
Read the instructions provided with your Hampton Bay furniture kit, as they may contain specific guidelines for assembly. If you are using individual pieces instead of a kit, make note of any specific measurements or guidelines that will help you during the building process.
Organize the pieces and hardware in a way that makes the assembly process more efficient. Group similar pieces together or separate them by furniture components, such as legs, armrests, or slats. This will make it easier to locate the necessary parts as you progress through the steps.
Once you have gathered all the pieces and familiarized yourself with the instructions, you are now ready to move on to step 2: assembling the frame of your Hampton Bay patio furniture.
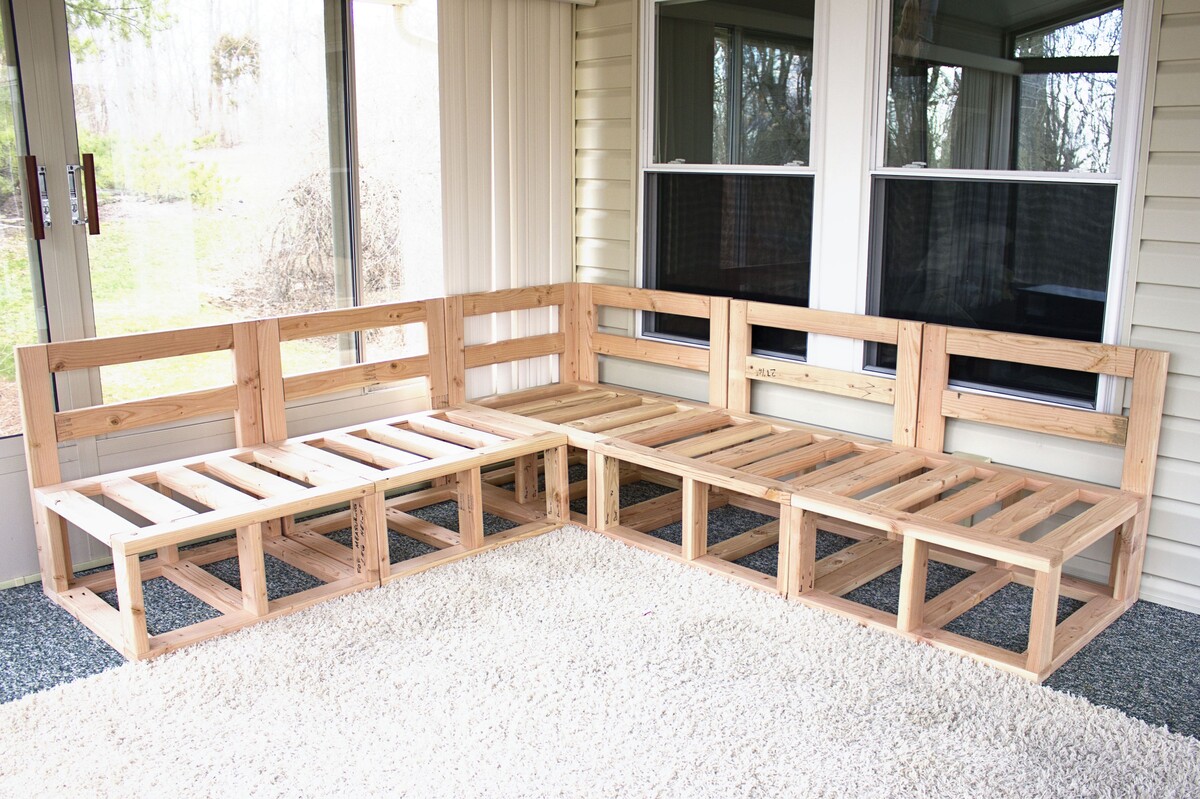
Step 2: Assembling the Frame
Now that you have gathered all the necessary pieces, it’s time to start building the frame of your Hampton Bay patio furniture. The frame provides the structure and stability for the rest of the furniture components to be attached to. Follow these steps to assemble the frame:
- Identify the main frame pieces, including the sides, back, and front supports. Lay them out in the correct position according to the instructions or your specific design.
- Using screws or nails, attach the sides to the front and back supports. Make sure to align the pieces properly and tighten the screws or nails securely to ensure a sturdy frame.
- If required, pre-drill holes in the frame pieces to prevent splitting. This step may be necessary, especially if you are working with hardwood or other dense materials.
- Check the frame for any wobbling or unevenness. Adjust the connections as needed to ensure a stable and level frame.
It’s important to follow the instructions provided with your Hampton Bay furniture kit, as they may include specific guidelines or variations in the assembly process. Take your time during this step to ensure the frame is properly constructed, as it forms the foundation for the rest of the furniture.
Once you have successfully assembled the frame, you can proceed to step 3: attaching the legs.
Step 3: Attaching the Legs
With the frame of your Hampton Bay patio furniture now assembled, it’s time to move on to attaching the legs. The legs provide stability and support for your furniture piece. Follow these steps to properly attach the legs:
- Identify the leg pieces provided with your furniture kit or the legs you have chosen for your custom-built furniture.
- Position each leg at the designated location on the frame. Ensure that the legs are aligned properly and perpendicular to the ground.
- Using screws or nails, securely attach each leg to the frame. Make sure to check for any wobbling or instability and adjust the connections as needed.
- If recommended by the instructions or desired for extra sturdiness, consider reinforcing the leg connections with wood glue. Apply a thin layer of wood glue to the joint before securing the legs with screws or nails.
As you attach each leg, double-check for levelness and adjust as necessary. It’s crucial to have all legs firmly attached and equal in length to ensure stability and balance.
Remember to refer to the instructions provided with your Hampton Bay furniture kit for any specific guidelines or variations in attaching the legs. Take your time to ensure that the legs are securely attached and aligned properly with the frame.
Once you have successfully attached the legs, you can now proceed to step 4: installing the slats for the seating or tabletop.
When assembling Hampton Bay patio furniture, make sure to carefully follow the instructions provided in the manual to ensure proper and secure construction. Double-check all connections and fastenings to ensure stability and safety.
Read more: How To Install Hampton Bay Blinds
Step 4: Installing the Slats
With the frame and legs of your Hampton Bay patio furniture securely in place, it’s now time to install the slats. The slats are the horizontal pieces that provide the seating or tabletop surface. Follow these steps to properly install the slats:
- Gather the slats provided with your furniture kit or the slats you have chosen for your custom-built furniture.
- Position the slats evenly across the frame. Ensure they are aligned properly and spaced evenly for a comfortable seating or a level tabletop.
- Using screws or nails, attach each slat to the frame. Make sure to pre-drill holes if necessary, to prevent splitting of the wood.
- If desired, consider adding cross-supports underneath the slats for extra stability. These supports can be attached perpendicular to the slats using screws or nails.
Take your time during this step to ensure that each slat is securely attached and level with the frame. It’s important to maintain consistent spacing between the slats for both aesthetic appeal and comfort.
Refer to the instructions provided with your Hampton Bay furniture kit for any specific guidelines or variations in installing the slats. Depending on the design of your furniture, you may have different slat configurations for seating or tabletop.
Once you have successfully installed the slats, you can now proceed to step 5: adding armrests and backrests, if applicable to your furniture design.
Step 5: Adding Armrests and Backrests
If your Hampton Bay patio furniture design includes armrests and backrests, this step will guide you through the process of adding these components. Armrests provide added comfort and support, while backrests offer a place to lean back and relax. Follow these steps to properly add armrests and backrests:
- Gather the armrest and backrest pieces provided with your furniture kit or the ones you have chosen for your custom-built furniture.
- Position the armrests at the desired location on either side of the seating area. Align them properly with the frame and ensure they are stable.
- Using screws or nails, attach the armrests securely to the frame. If recommended by the instructions or desired for extra stability, consider reinforcing the connections with wood glue.
- If your furniture design includes a backrest, position it at the back of the seating area. Align it properly and attach it securely to the frame using screws or nails.
Ensure that the armrests and backrests are level, comfortable, and securely attached. Double-check for any wobbling or instability and make adjustments as necessary.
Refer to the instructions provided with your Hampton Bay furniture kit for any specific guidelines or variations in adding armrests and backrests. Some designs may require additional hardware or steps for proper attachment.
Once you have successfully added the armrests and backrests, you can now proceed to step 6: applying finishing touches to your Hampton Bay patio furniture.
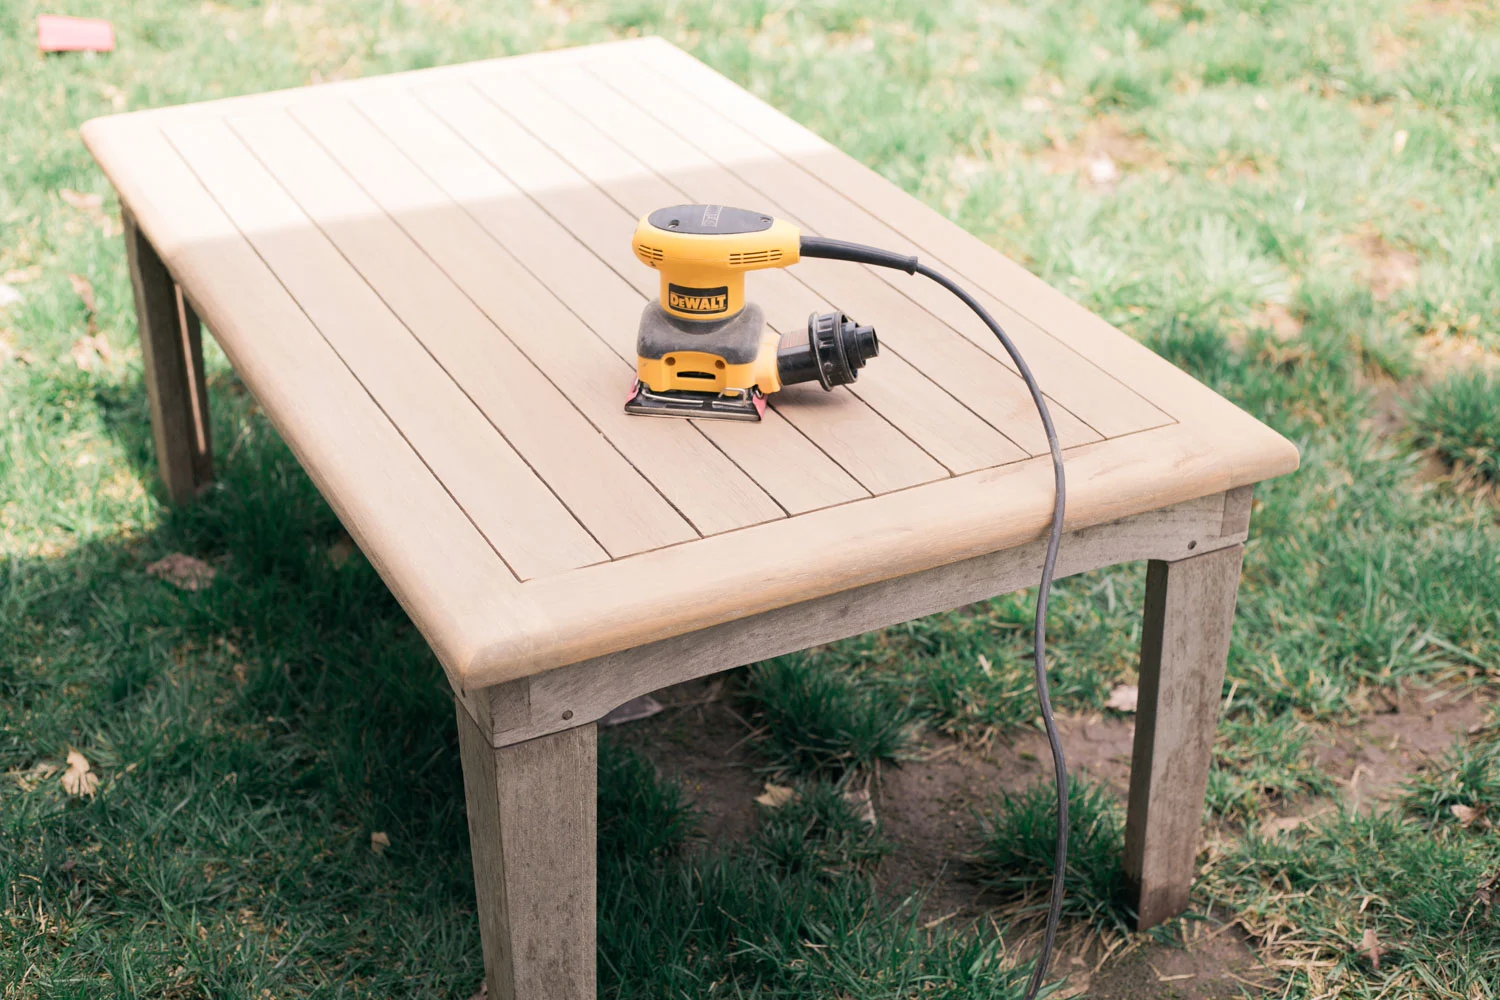
Step 6: Applying Finishing Touches
The final step in building your Hampton Bay patio furniture is to apply the finishing touches. This step involves adding any desired paint or stain, applying a protective finish or sealant, and completing any other customization or personalization options. Follow these steps to add the finishing touches:
- If you wish to paint or stain your furniture, sand the surfaces lightly with sandpaper or a sanding block to create a smooth and even surface for better paint adhesion.
- Clean the surfaces of any dust or debris before applying the paint or stain.
- Using a paintbrush or roller, apply the paint or stain evenly to all visible surfaces of the furniture. Ensure that you cover all areas and achieve the desired color or finish.
- Allow the paint or stain to dry completely according to the manufacturer’s instructions before proceeding.
- If desired, apply a protective finish or sealant suitable for outdoor use. This will help protect the wood from weather and wear, extending the life of your furniture.
- Once the protective finish is dry, inspect the furniture for any touch-ups or additional customization you may want to add.
Take your time during this step to ensure a high-quality finish that matches your outdoor decor and personal style. Follow the manufacturer’s instructions for the specific paint, stain, or finish you choose to ensure the best results.
With the finishing touches applied, your Hampton Bay patio furniture is now complete and ready to enhance your outdoor living space. Enjoy the fruits of your labor and relax in comfort and style.
Congratulations on successfully building your very own Hampton Bay patio furniture!
Note: Before using your patio furniture, be sure to read and follow any safety guidelines provided by Hampton Bay or the furniture manufacturer to ensure a safe and enjoyable experience.
Thank you for using our guide. We hope you found it helpful in creating the outdoor oasis of your dreams.
Conclusion
Building your own Hampton Bay patio furniture can be a rewarding and fulfilling project that allows you to personalize your outdoor living space. By following the steps outlined in this guide, you have learned how to assemble a sturdy frame, attach legs, install slats, add armrests and backrests, and apply finishing touches. The process may have required some time and effort, but the end result is a custom-made piece that perfectly suits your needs and style.
Throughout the building process, it is important to refer to the instructions provided with your Hampton Bay furniture kit or adapt the steps to suit your chosen design. By doing so, you ensure that each component is properly assembled and securely attached, creating a furniture piece that is not only aesthetically pleasing but also durable and functional.
Your choice of high-quality materials and careful attention to detail during the building process will contribute to the longevity of your Hampton Bay patio furniture. Regular maintenance and proper care, such as cleaning, applying protective finishes, and storing the furniture during harsh weather conditions, will further extend its lifespan.
As you enjoy your newly built Hampton Bay patio furniture, take the time to appreciate the satisfaction that comes with creating something with your own hands. Whether you are lounging on a comfortable chair, sharing a meal at a stylish table, or simply admiring the beauty of your customized furniture, you can take pride in knowing that you have made a unique addition to your outdoor oasis.
We hope that this comprehensive guide has provided you with the knowledge and inspiration to embark on your Hampton Bay patio furniture building journey. Remember to always prioritize safety and follow any guidelines provided by Hampton Bay or the furniture manufacturer. Now, go ahead and enjoy the fruits of your labor in your beautifully furnished outdoor space!
Frequently Asked Questions about How To Build Hampton Bay Patio Furniture
Was this page helpful?
At Storables.com, we guarantee accurate and reliable information. Our content, validated by Expert Board Contributors, is crafted following stringent Editorial Policies. We're committed to providing you with well-researched, expert-backed insights for all your informational needs.


0 thoughts on “How To Build Hampton Bay Patio Furniture”