Home>Articles>How To Change A Hampton Bay Ceiling Fan Light Bulb

Articles
How To Change A Hampton Bay Ceiling Fan Light Bulb
Modified: May 6, 2024
Learn how to change the light bulb in your Hampton Bay ceiling fan with these informative articles. Transform your space with ease and style.
(Many of the links in this article redirect to a specific reviewed product. Your purchase of these products through affiliate links helps to generate commission for Storables.com, at no extra cost. Learn more)
Introduction
Changing a light bulb in a Hampton Bay ceiling fan is a simple task that anyone can do. Whether you want to replace a burnt-out bulb or upgrade to a brighter and more energy-efficient option, this article will guide you through the process.
Hampton Bay ceiling fans are known for their sleek design, functionality, and ease of installation. They add style and comfort to any room, and the lighting feature is an essential element. However, over time, the bulb may need to be replaced due to natural wear and tear.
In this article, we will provide step-by-step instructions on how to change the light bulb in your Hampton Bay ceiling fan. We will also include safety precautions to ensure that you perform the task with care. So, let’s get started!
Key Takeaways:
- Changing the light bulb in your Hampton Bay ceiling fan is a simple task that requires gathering the right materials, prioritizing safety, and following the manufacturer’s guidelines. By doing so, you can enjoy a well-lit and comfortable space with ease.
- Prioritizing safety, selecting the appropriate replacement bulb, and ensuring proper installation are crucial steps in successfully changing the light bulb in your Hampton Bay ceiling fan. By following these steps, you can maintain optimal performance and enhance the ambiance of your room.
Read more: How To Remove Hampton Bay Ceiling Fan
Step 1: Gather necessary materials
Before you begin the process of changing the light bulb in your Hampton Bay ceiling fan, it’s important to gather all the necessary materials. This will ensure that you have everything you need within reach, saving you time and effort. Here are the materials you’ll need:
1. Replacement light bulb: Check the user manual or consult the manufacturer’s website to determine the appropriate bulb type for your specific Hampton Bay ceiling fan model. Make sure to choose a bulb with the correct wattage and base type.
2. Step ladder: A sturdy step ladder will enable you to safely access the light bulb and perform the necessary steps. Ensure that the ladder is secure and placed on a flat, stable surface.
3. Safety gloves: It’s always a good idea to wear safety gloves when handling any electrical components. This will protect your hands from any potential injury and help prevent the bulb from slipping out of your grasp.
4. Safety glasses: Eye protection is crucial, especially when working with glass components such as light bulbs. Wear safety glasses to shield your eyes from any shattered glass or debris that may occur during the process.
5. Screwdriver: Depending on your Hampton Bay ceiling fan model, you may need a screwdriver to remove the light bulb cover. Check the instructions or visually inspect the fan to determine if a screwdriver is necessary.
6. Clean cloth or paper towel: It’s always a good idea to have a clean cloth or paper towel nearby to wipe away any dust or debris that may have accumulated in the vicinity of the light bulb.
By gathering these materials beforehand, you’ll be well-prepared to tackle the task at hand. Having everything within reach will make the process smoother and more efficient. Now that you’re equipped with the necessary materials, let’s move on to the next step: safety precautions.
Step 2: Safety precautions
Before you start changing the light bulb in your Hampton Bay ceiling fan, it’s crucial to prioritize safety. Working with electrical components requires caution to prevent accidents and injuries. Here are some important safety precautions to keep in mind:
1. Turn off the power supply: Locate the circuit breaker or switch that controls the power supply to your ceiling fan and turn it off. This will ensure that there is no electricity running through the fan while you are changing the light bulb. It’s essential to double-check that the power is off by testing the fan and light switches.
2. Allow the bulb to cool down: If the light has been recently turned on, give the bulb enough time to cool down before attempting to remove it. Touching a hot bulb can cause burns or injuries.
3. Wear safety gloves and glasses: Protect your hands by wearing gloves, preferably insulated ones, as they will provide an extra layer of protection against potential electric shocks. Additionally, wear safety glasses to shield your eyes from any debris or shattered glass that may occur during the process.
4. Use a stable step ladder: Ensure that the step ladder you are using is in good condition and placed on a stable surface. If necessary, have someone assist you by holding the ladder steady while you work. Never stand on chairs or unstable objects to reach the fan.
5. Avoid water and moisture: Remember that you are working with electricity, so it’s vital to keep the area around the ceiling fan dry. Working in damp or wet conditions increases the risk of electrical shocks.
6. Follow manufacturer’s instructions: Familiarize yourself with the user manual or instructions provided by Hampton Bay. Each model may have specific guidelines for changing the light bulb, so it’s important to follow them carefully.
By following these safety precautions, you can minimize the risk of accidents and ensure a safe working environment. Once you have taken these measures, you are ready to proceed to the next step: turning off the power supply.
Step 3: Turn off power supply
Before you begin working on your Hampton Bay ceiling fan, it is crucial to ensure that the power supply is completely turned off. This step is essential to prevent any potential electrical shocks or accidents. Here’s how to turn off the power supply to your ceiling fan:
1. Locate the circuit breaker panel: In your home, locate the circuit breaker panel or electrical service panel. It is usually located in a basement, utility room, garage, or outside of your home. If you are unsure of its location, consult your home’s blueprint or contact a professional electrician.
2. Identify the correct breaker: Look for the breaker that controls the power supply to your ceiling fan. You may need to refer to the circuit breaker panel diagram or labels to find the correct one. In some cases, the breaker may be labeled as “ceiling fan” or “master bedroom”, depending on the location of your fan.
3. Turn off the breaker: Use caution and care to switch off the breaker that controls the power supply to your ceiling fan. This will ensure that there is no electricity flowing to the fan while you work on it. You can typically turn breakers off by toggling the switch to the “off” position or by pushing it downwards, depending on your specific breaker panel.
4. Test the power supply: Once you have turned off the breaker, double-check that the power supply is indeed turned off. Test the fan and light switches in the room where the fan is located to verify that the electricity is no longer flowing to the fan. Ensure that the fan blades do not spin and that the lights do not turn on.
5. Proceed with caution: Even though the power supply is turned off, always exercise caution and treat the fan as if it were live until you have completed the entire process. Remember, safety should always be your top priority.
By following these steps to turn off the power supply, you ensure a safe working environment while changing the light bulb in your Hampton Bay ceiling fan. Now that you have taken this important precaution, we can move on to the next step: locating the light bulb cover.
Step 4: Locate light bulb cover
In order to change the light bulb in your Hampton Bay ceiling fan, you first need to locate the light bulb cover. The location of the cover may vary depending on the specific model of your fan, but it is usually located on the bottom of the fan or on the side near the lighting fixture. Here’s how to locate the light bulb cover:
1. Turn on a light source: To make it easier to locate the light bulb cover, turn on a nearby light source or use a flashlight. This will provide better visibility as you search for the cover.
2. Inspect the fan: Take a close look at the fan, paying attention to the different parts and components. Look for any visible screws or clips that may be securing the light bulb cover in place. These screws or clips may be on the bottom of the fan or on the sides.
3. Check the manual: If you are having trouble locating the light bulb cover, refer to the user manual or instructions provided by Hampton Bay. The manual may offer specific guidance on where to find the cover for your particular fan model.
4. Consult Hampton Bay’s website: If you cannot find the manual or need further assistance, visit Hampton Bay’s official website. They often provide helpful resources, such as diagrams or videos, that can guide you in locating the light bulb cover.
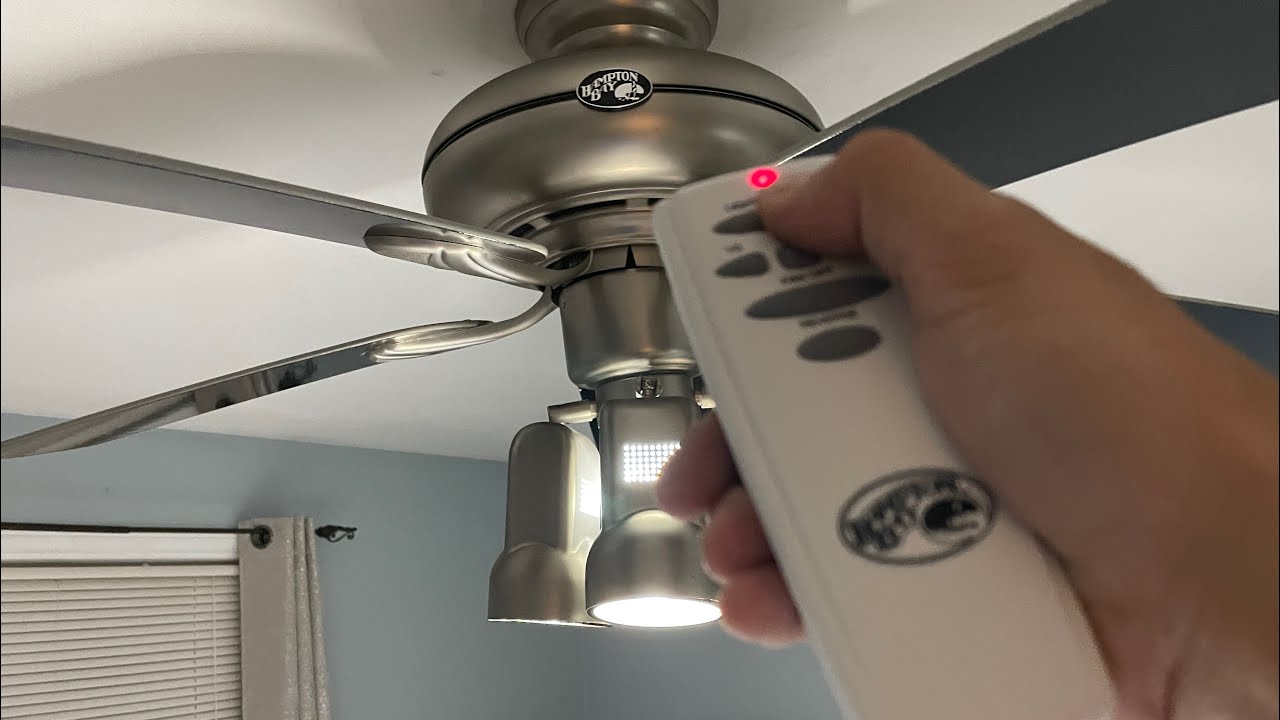
5. Look for brand markings: Keep an eye out for any brand markings or labels on the fan itself. Hampton Bay fans sometimes have their logo or name imprinted on the light bulb cover, making it easier to identify.
Once you have located the light bulb cover, you are ready to proceed to the next step: removing the light bulb cover. By carefully following these steps, you will be able to find the cover with ease and continue the process of changing the light bulb in your Hampton Bay ceiling fan.
Read more: How To Install Hampton Bay Ceiling Fan
Step 5: Remove light bulb cover
With the light bulb cover located, it’s time to remove it to gain access to the old light bulb. Removing the light bulb cover in your Hampton Bay ceiling fan is a relatively straightforward process, but it may vary slightly depending on the model. Here’s how to remove the light bulb cover:
1. Ensure the power supply is off: Double-check that the power supply to the ceiling fan is turned off at the circuit breaker. This precautionary measure ensures your safety while working on the fan.
2. Examine the cover: Take a closer look at the light bulb cover. Depending on your Hampton Bay ceiling fan model, it may be held in place by screws, clips, or a twist-off mechanism. Identify the method of attachment before proceeding further.
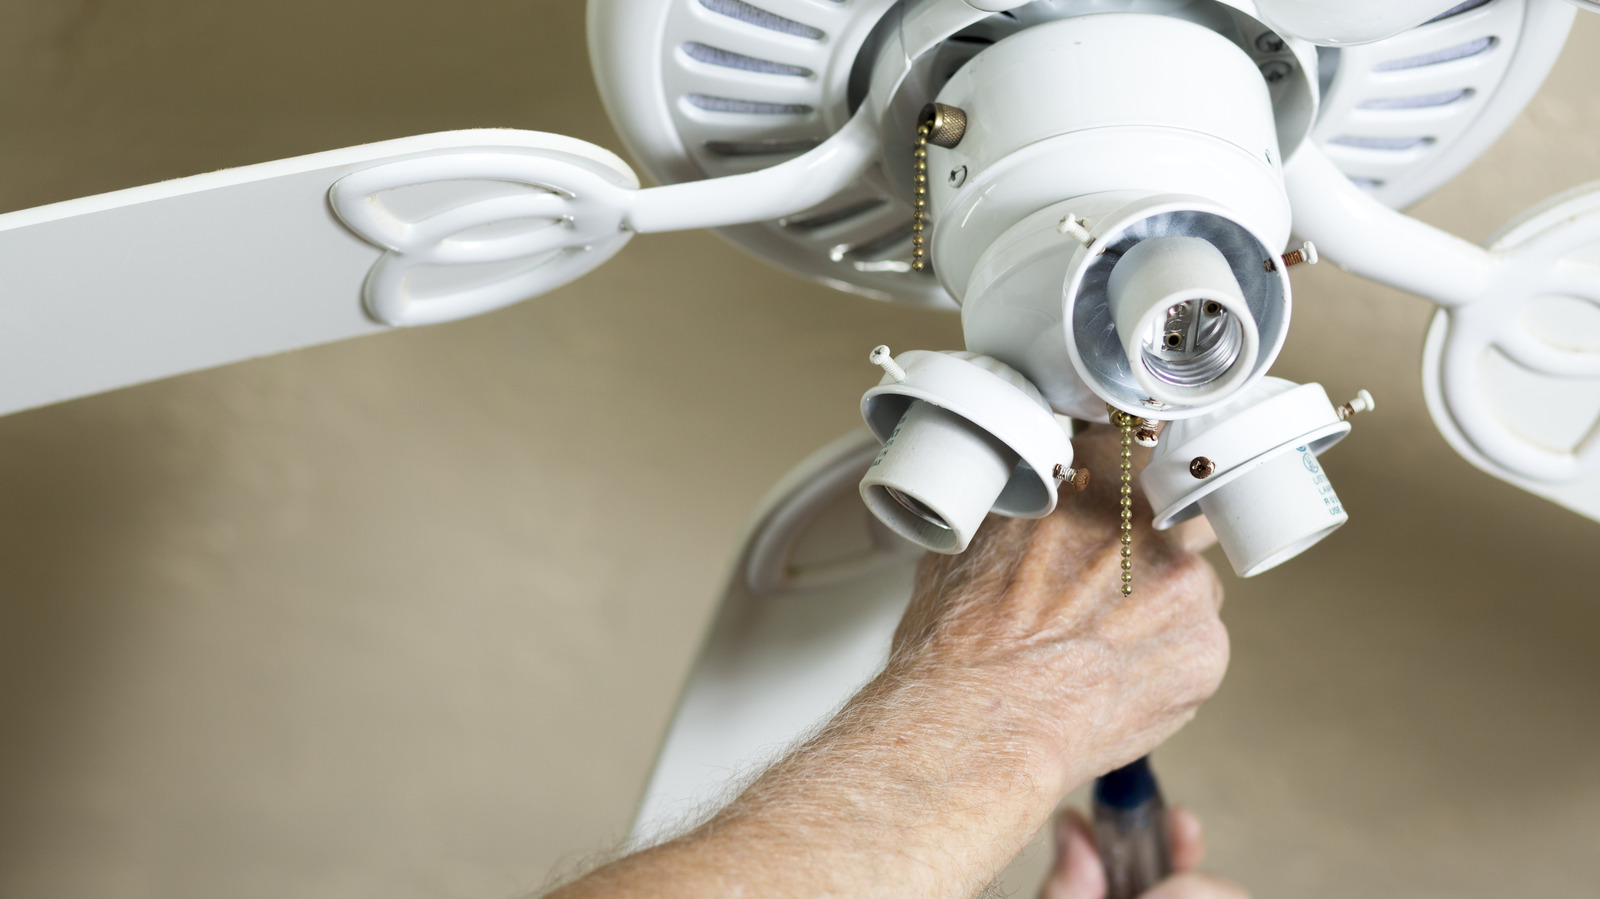
3. Unscrew the screws: If your light bulb cover is secured with screws, use a screwdriver that fits the screw heads. Turn the screws counterclockwise to loosen and remove them. Place the screws in a safe spot to prevent misplacing them during the process.
4. Release the clips: In some models, the light bulb cover may have clips instead of screws. Gently press or squeeze the clips to release them from their holding position. Be cautious not to apply excessive force to avoid damaging the cover or clips.
5. Twist-off mechanism: If your light bulb cover is designed with a twist-off mechanism, hold the cover firmly and rotate it counterclockwise to loosen and remove it. This type of cover usually has a threaded connection, so twisting it releases it from the base.
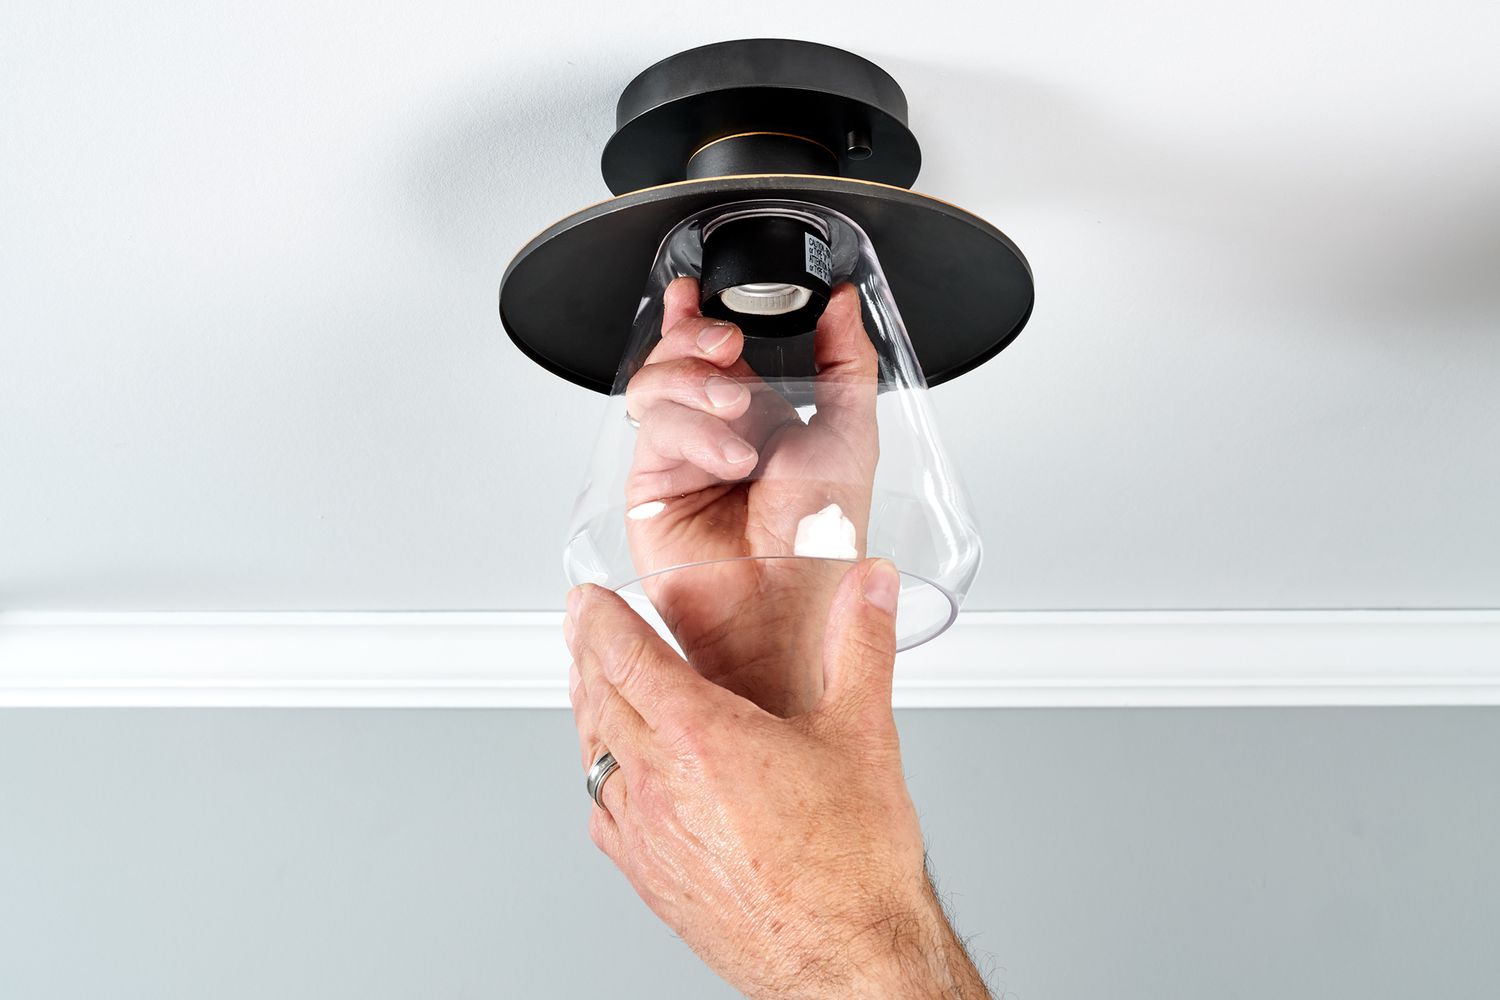
6. Carefully remove the cover: Once the screws are unscrewed, clips are released, or the cover is twisted off, carefully remove the light bulb cover from the ceiling fan. Make sure to handle it with care to avoid any breakage or damage.
With the light bulb cover removed, you now have clear access to the old light bulb. It’s important to handle the cover and screws (if applicable) safely to prevent any accidents. In the next step, we will guide you through removing the old light bulb from your Hampton Bay ceiling fan.
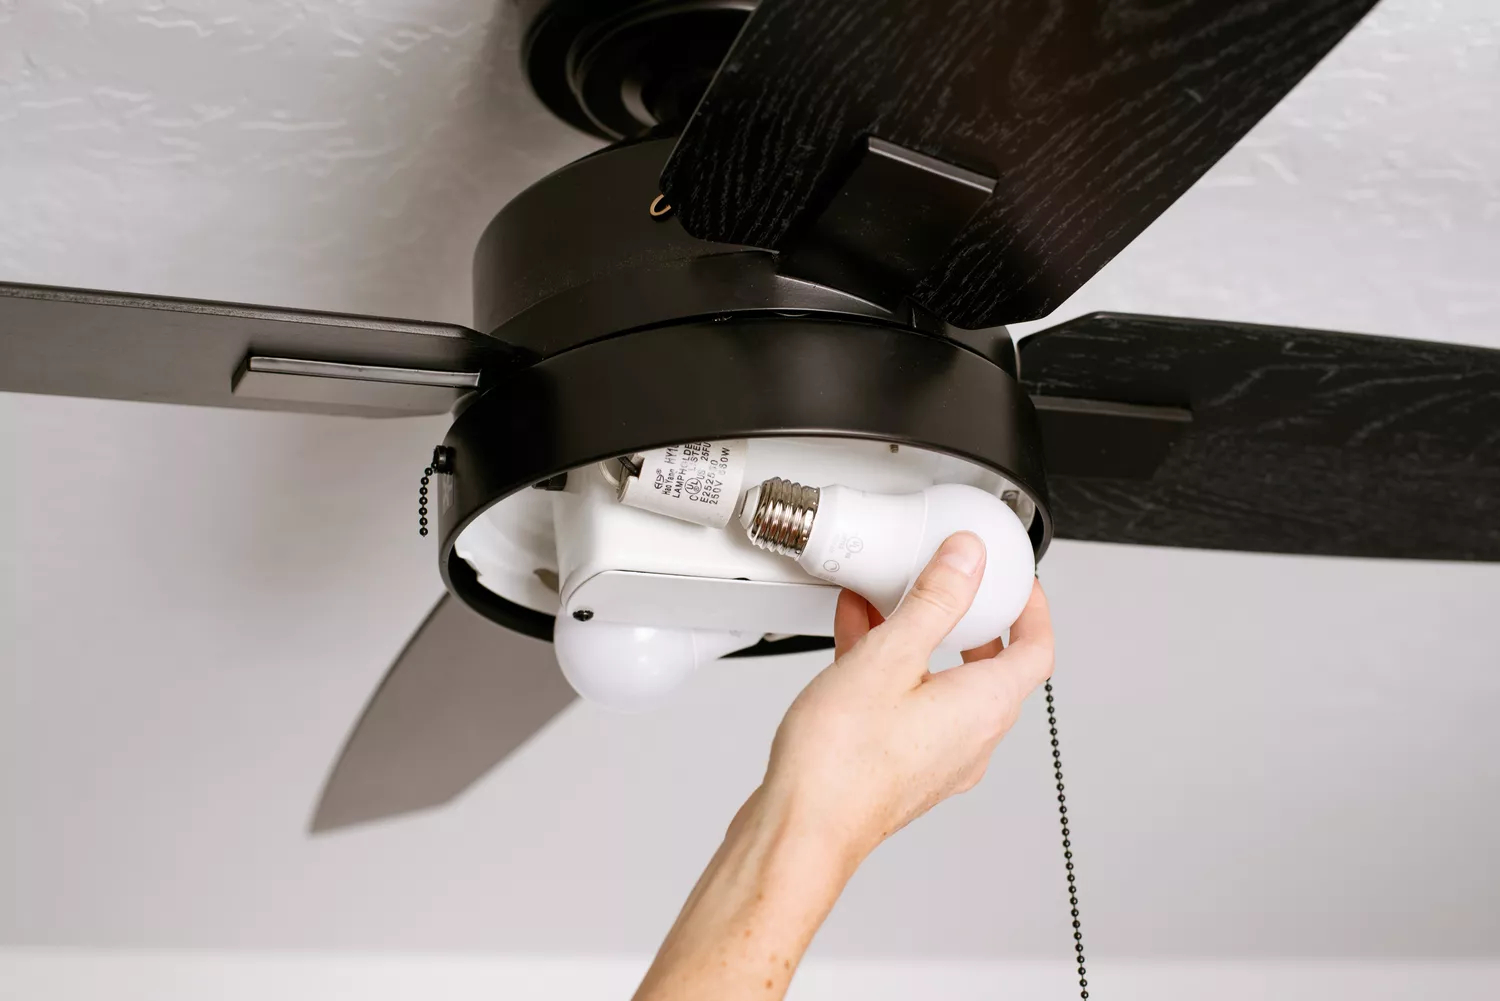
Make sure to turn off the power to the fan before attempting to change the light bulb. Use a stable ladder or step stool to reach the light fixture, and carefully unscrew the old bulb and replace it with a new one of the same wattage.
Step 6: Remove old light bulb
Now that the light bulb cover has been removed, it’s time to remove the old light bulb from your Hampton Bay ceiling fan. It’s important to proceed with caution during this step to avoid any potential injuries or damage. Here’s how to remove the old light bulb:
1. Ensure the power supply is off: Before handling the old light bulb, double-check that the power supply to the ceiling fan is turned off at the circuit breaker. This step ensures your safety while working on the fan.
2. Allow the bulb to cool (if necessary): If the light has been recently turned on, give the bulb enough time to cool down before attempting to remove it. Touching a hot bulb can cause burns or injuries.
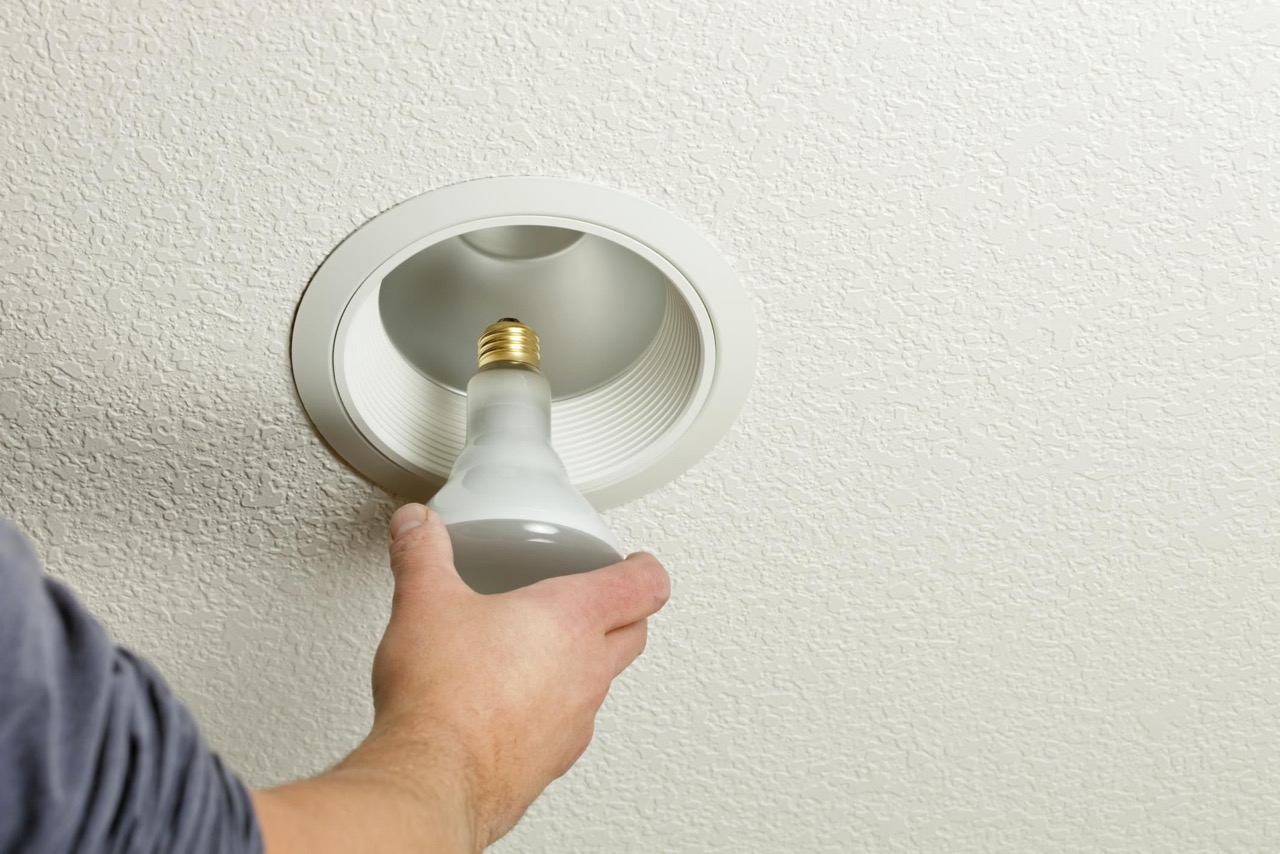
3. Grip the bulb securely: Hold the old light bulb near its base with a firm grip. Twist it gently in a counterclockwise direction to loosen it from the socket. Most light bulbs are designed to unscrew easily, but be cautious not to apply excessive force to avoid breakage.
4. Remove the old bulb: Once the old bulb is loosened, carefully pull it straight out from the socket. Place it in a safe location, away from children and pets, to prevent any accidents or injuries.
5. Dispose of the old bulb properly: It’s important to dispose of the old light bulb correctly. If the bulb is not broken or damaged, you can recycle it according to local recycling guidelines. If the bulb is broken, follow appropriate disposal methods to ensure safety.
6. Inspect the socket: Take a moment to inspect the socket where the old light bulb was removed. Look for any signs of damage or debris that may interfere with installing the new bulb. If needed, carefully clean the socket using a clean, dry cloth.
By following these steps, you can safely and effectively remove the old light bulb from your Hampton Bay ceiling fan. With the old bulb out of the way, you’re now ready to proceed to the next step: choosing and installing a new light bulb.
Step 7: Choose and install new light bulb
With the old light bulb removed, it’s time to choose a new light bulb for your Hampton Bay ceiling fan and install it. Selecting the right bulb is essential for achieving the desired lighting and ambiance in your space. Here’s how to choose and install a new light bulb:
1. Refer to the user manual: Consult the user manual or the manufacturer’s website for your specific Hampton Bay ceiling fan model. The manual typically provides recommendations for the compatible bulb types, wattage, and base size. Ensure that you choose a bulb that meets these specifications to prevent any damage to the fan or potential hazards.
2. Consider the brightness and color temperature: Determine the desired brightness level and color temperature for your space. Light bulbs come in various options, including incandescent, halogen, CFL (compact fluorescent lamp), and LED (light-emitting diode). Consider energy efficiency and longevity when selecting between these options.
3. Choose the appropriate base type: Check the base type of the old bulb or refer to the user manual to ensure you select a new bulb with the correct base size. Common base types include medium (E26 or E27), candelabra (E12), and intermediate (E17).
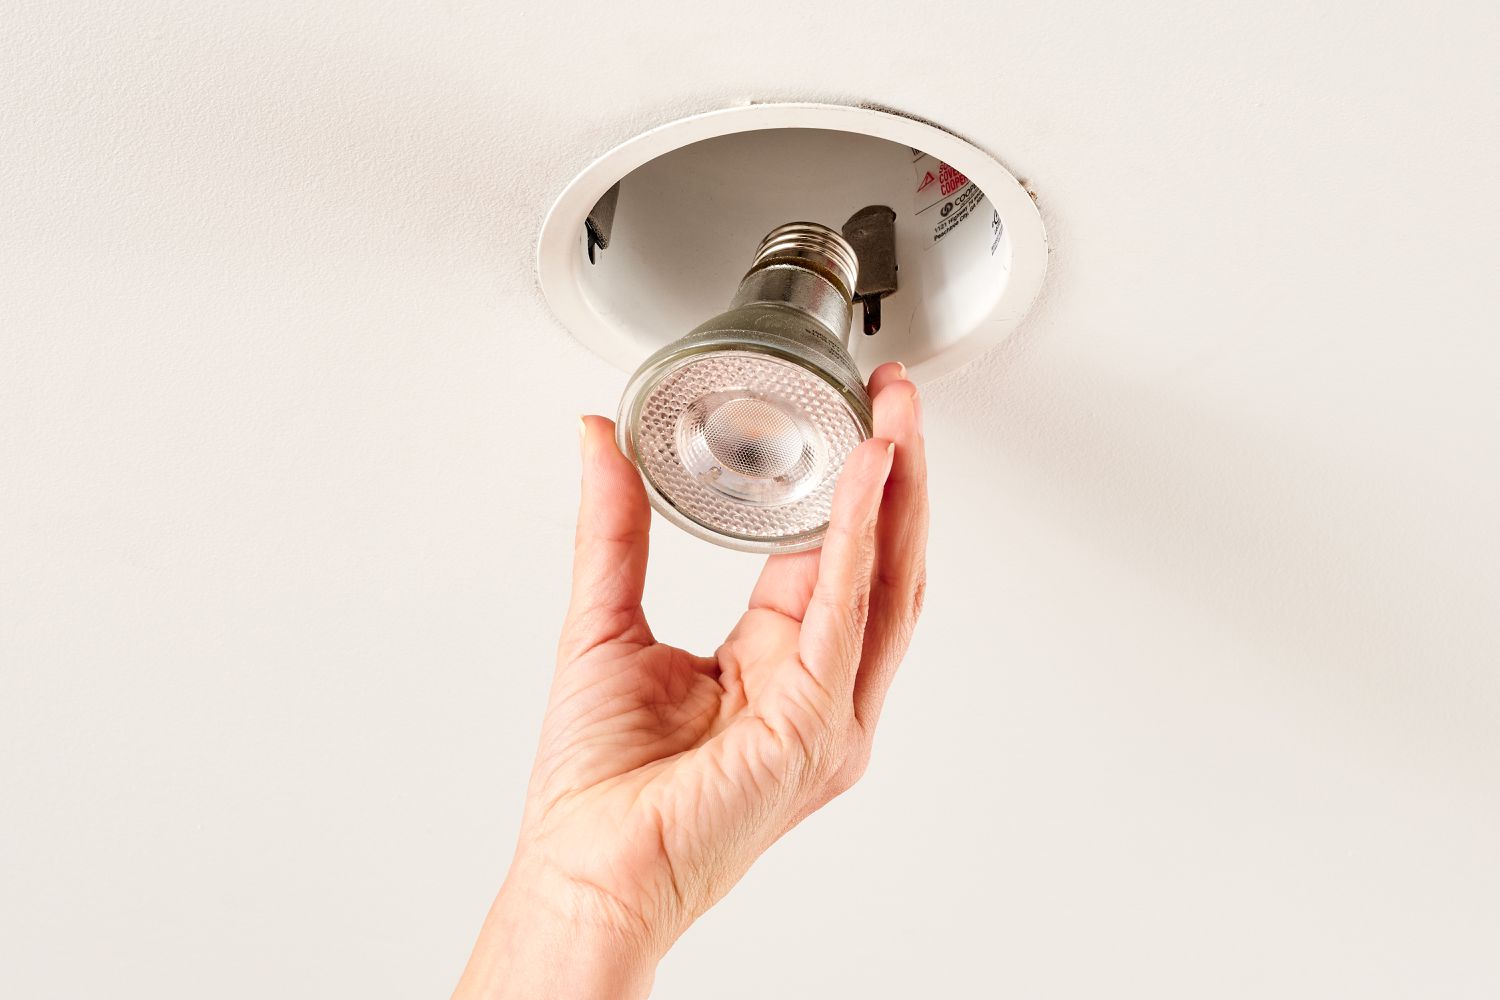
4. Install the new light bulb: Hold the new light bulb gently and align it with the socket in the ceiling fan. Insert the bulb into the socket and twist it clockwise until it is securely in place. Make sure not to overtighten it, as this can cause damage to the bulb or socket.
5. Verify the bulb is properly installed: Give the bulb a gentle tug to ensure it is securely attached to the socket. If it wiggles or feels loose, remove and reinstall it, ensuring a firm connection.
6. Optional: Dimmable bulbs or special features: If your Hampton Bay ceiling fan is equipped with a dimmer switch or has additional features like color changing capabilities, ensure to choose a bulb that is compatible with these functions.
Remember, always follow the manufacturer’s recommendations and guidelines when selecting and installing a new light bulb for your Hampton Bay ceiling fan. By doing so, you can enjoy the right lighting and maximize the functionality of your fan. In the upcoming step, we will guide you on replacing the light bulb cover.
Step 8: Replace light bulb cover
Now that you have successfully installed the new light bulb in your Hampton Bay ceiling fan, it’s time to replace the light bulb cover. The light bulb cover not only helps protect the bulb but also adds a finishing touch to the fan’s overall aesthetic. Here’s how to replace the light bulb cover:
1. Align the cover: Take the light bulb cover and hold it in the correct orientation to align it properly with the fan. Verify that any screw holes or clips on the cover align with their corresponding slots or openings on the fan.
2. Insert the cover: Carefully position the cover over the light bulb and align any screw holes or clips with their corresponding slots or openings. Press the cover gently against the fan to ensure it is firmly in place.
3. Secure with screws or clips: If your light bulb cover is secured with screws, insert and tighten them using a screwdriver. Turn the screws clockwise until they are securely fastened, taking care not to overtighten. If the cover is secured with clips, ensure that they snap into place and hold the cover securely.
4. Check for proper fit: After securing the light bulb cover, do a quick visual inspection to ensure that it is aligned properly and fully covering the bulb. Verify that there are no gaps or loose areas that could allow dust or debris to enter.
5. Test the light: Once the cover is in place, turn on the power supply at the circuit breaker and test the light. Flip the fan and light switches to confirm that the new light bulb is functioning correctly.
By following these steps, you can successfully replace the light bulb cover and restore the finished look of your Hampton Bay ceiling fan. Ensure that the cover is securely fastened to prevent it from falling off or causing any hazards. With the light bulb cover replaced, you can now proceed to the final step of this process: turning on the power supply.
Read more: Who Sells Hampton Bay Ceiling Fans
Step 9: Turn on power supply
After you have successfully replaced the light bulb cover in your Hampton Bay ceiling fan, it’s time to turn on the power supply. Restoring power to the fan will allow you to enjoy the newly installed light bulb. Here’s how to turn on the power supply:
1. Verify all connections: Before turning on the power supply, double-check all the connections you have made during the process. Ensure that the light bulb is securely installed, the light bulb cover is properly in place, and any screws or clips are tightened.
2. Locate the circuit breaker panel: Go to the circuit breaker panel or electrical service panel in your home. This is where the breaker for your ceiling fan is located.
3. Find the correct breaker: Locate the breaker that controls the power supply to your ceiling fan. Refer to the panel diagram or labels to identify it. Make sure the breaker is in the off position before proceeding.
4. Switch on the breaker: Carefully flip the breaker switch that controls the power to your ceiling fan back to the on position. This will restore power to the fan and the newly installed light bulb.
5. Test the fan and light: Move to the room where the fan is installed and use the fan and light switches to test if they are functioning properly. Turn on the light switch and observe if the new light bulb illuminates. Also, check if the fan is operating smoothly without any issues.
6. Make any necessary adjustments: If you encounter any issues or the light bulb does not turn on, double-check the connections and ensure that the power supply is fully restored. If there are still problems, consult the troubleshooting guide in the user manual or contact Hampton Bay’s customer support for assistance.
By following these steps, you can safely and effectively turn on the power supply to your Hampton Bay ceiling fan. Enjoy the renewed illumination and functionality of your newly installed light bulb. Remember, if you ever need to replace the light bulb again in the future, you can refer back to this article as a guide.
Conclusion
Congratulations! You have successfully learned how to change the light bulb in your Hampton Bay ceiling fan. By following the step-by-step instructions and safety precautions outlined in this article, you can confidently and safely replace the light bulb whenever needed.
Remember, gathering the necessary materials, including a replacement bulb, safety gloves, and a step ladder, is essential before starting the process. Always prioritize safety by turning off the power supply and allowing the bulb to cool down before removal. Take care when locating and removing the light bulb cover, ensuring you handle it gently and keep track of any screws or clips.
Choosing the right light bulb for your Hampton Bay ceiling fan is crucial; refer to the user manual or manufacturer’s recommendations for the appropriate bulb type, wattage, and base size. Installing the new bulb securely and aligning the light bulb cover properly are also key steps in completing the task.
Lastly, in the conclusion step, turning on the power supply and testing the fan and light function ensures that everything is working correctly. If you encounter any issues, refer to the troubleshooting guide in the user manual or seek assistance from Hampton Bay’s customer support.
By successfully changing the light bulb in your Hampton Bay ceiling fan, you can enjoy a well-lit and comfortable space. Regular maintenance and care for your fan’s lighting components will help ensure optimal performance and enhance the overall ambiance of your room.
Remember, always prioritize safety, follow the manufacturer’s instructions, and exercise caution when working with electrical components. Now, go ahead and enjoy the improved lighting in your Hampton Bay ceiling fan!
Now that you've mastered changing light bulbs, why not brighten up your home even more? Check out our guide on stylish LED mirrors that offer both illumination and elegance. Next, keep your living space in top shape with essential home maintenance tips. Tackling these tasks ensures your home not only looks great but functions smoothly too.
Frequently Asked Questions about How To Change A Hampton Bay Ceiling Fan Light Bulb
Was this page helpful?
At Storables.com, we guarantee accurate and reliable information. Our content, validated by Expert Board Contributors, is crafted following stringent Editorial Policies. We're committed to providing you with well-researched, expert-backed insights for all your informational needs.




0 thoughts on “How To Change A Hampton Bay Ceiling Fan Light Bulb”