Articles
How To Install Hampton Bay Ceiling Fan
Modified: August 31, 2024
Learn how to install a Hampton Bay ceiling fan with our helpful articles.
(Many of the links in this article redirect to a specific reviewed product. Your purchase of these products through affiliate links helps to generate commission for Storables.com, at no extra cost. Learn more)
Introduction
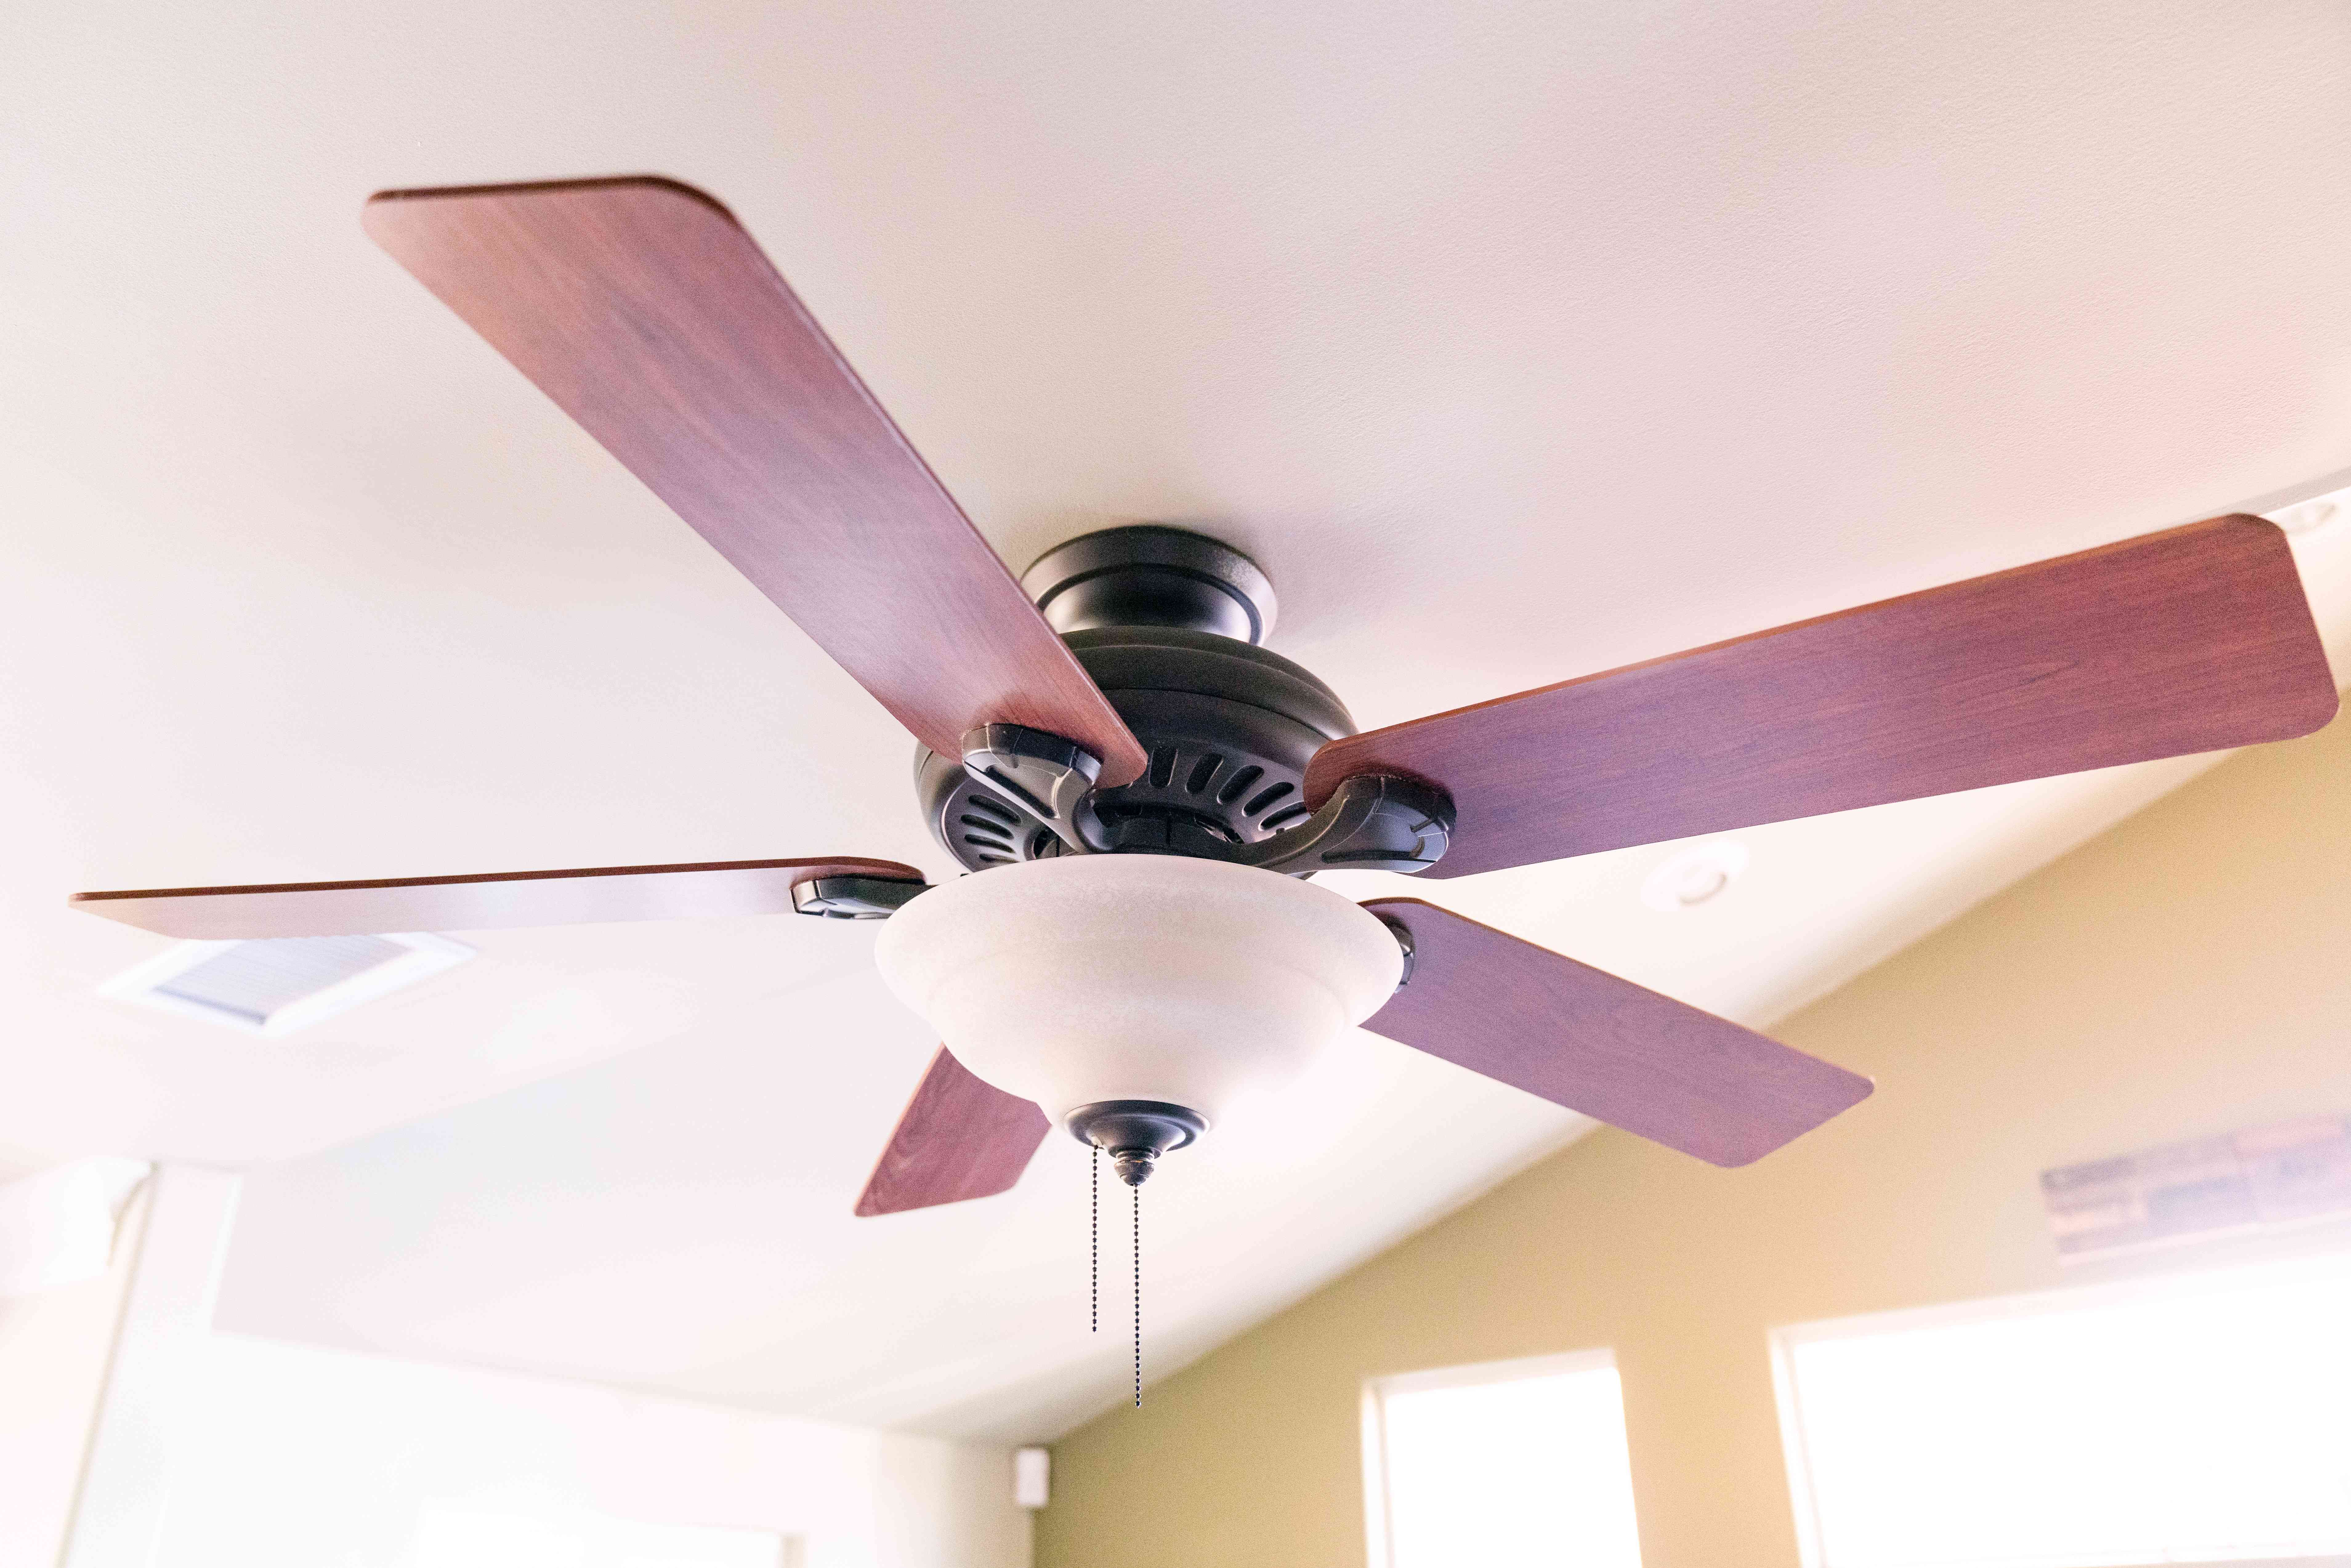
Welcome to our step-by-step guide on how to install a Hampton Bay ceiling fan! Installing a ceiling fan is a great way to improve air circulation and create a comfortable environment in any room. Hampton Bay is a reputable brand known for its high-quality ceiling fans that are stylish, efficient, and easy to install.
In this article, we will take you through each stage of the installation process, from gathering the necessary tools and materials to testing the fan once it’s installed. Whether you are a seasoned DIY enthusiast or a beginner, our detailed instructions will ensure that you can successfully install your Hampton Bay ceiling fan in no time.
Please note that this guide is intended for general informational purposes only, and it is crucial to follow the specific instructions provided by the manufacturer for your particular Hampton Bay ceiling fan model. Additionally, always prioritize safety when working with electrical components and make sure to turn off the power supply before starting any installation procedures.
Now, let’s get started on installing your Hampton Bay ceiling fan!
Key Takeaways:
- Prioritize safety by turning off the power supply and following manufacturer’s instructions for a smooth Hampton Bay ceiling fan installation. Enjoy improved air circulation and comfort in your space with this stylish addition.
- From gathering tools to testing the fan, each step plays a vital role in ensuring stability, functionality, and aesthetics. Don’t hesitate to seek professional help if needed and enjoy the benefits of your new Hampton Bay ceiling fan.
Read more: How To Remove Hampton Bay Ceiling Fan
Step 1: Gather the necessary tools and materials
Before you begin the installation process, it’s important to gather all the tools and materials you will need. This will ensure a smooth and efficient installation process. Here’s a list of the tools and materials you will need to install your Hampton Bay ceiling fan:
- Hampton Bay ceiling fan kit (including fan blades, motor, light kit, and necessary hardware)
- Ladder or step stool
- Screwdriver (flathead and Phillips head)
- Pliers
- Wire cutters
- Voltage tester
- Electrical tape
- Circuit tester
- Wire nuts
- Hammer
- Electrical box
- Wire stripper
- Safety glasses
Make sure that you have all the necessary tools and materials ready before you begin the installation process. This will help prevent any delays or interruptions during the installation.
It’s worth mentioning that some Hampton Bay ceiling fan models come with additional features, such as a remote control or a wall switch. If your ceiling fan includes these features, you may need additional tools or materials specific to those functionalities, so be sure to check the instruction manual provided with your ceiling fan kit.
Once you have gathered all the necessary tools and materials, you are ready to move on to the next step: turning off the power supply.
Step 2: Turn off the power supply
Before you start any electrical work, it is essential to turn off the power supply to the area where you will be installing the Hampton Bay ceiling fan. Safety should always be your top priority when working with electricity.
To turn off the power supply, follow these steps:
- Locate your circuit breaker panel. This is usually found in a basement, garage, or utility room.
- Identify the breaker that controls the electrical circuit for the room where you will be installing the ceiling fan. If you are unsure which breaker to turn off, you can test different switches by turning them off one at a time and checking if the lights or power outlets in the room are affected.
- Once you have identified the correct breaker, switch it to the “off” position. You can usually do this by pushing the switch firmly in the opposite direction of the “on” position.
- For added safety, use a circuit tester to verify that the power is indeed off. This device will indicate whether there is still electrical voltage present in the circuit.
Once you have confirmed that the power is off, it is safe to proceed with the installation. Remember to keep the power supply turned off until the installation is complete.
Turning off the power supply ensures that there is no risk of electric shock or damage to the wiring during the installation process. It is a critical step that should never be skipped.
In the next step, we will guide you through assembling the different components of your Hampton Bay ceiling fan.
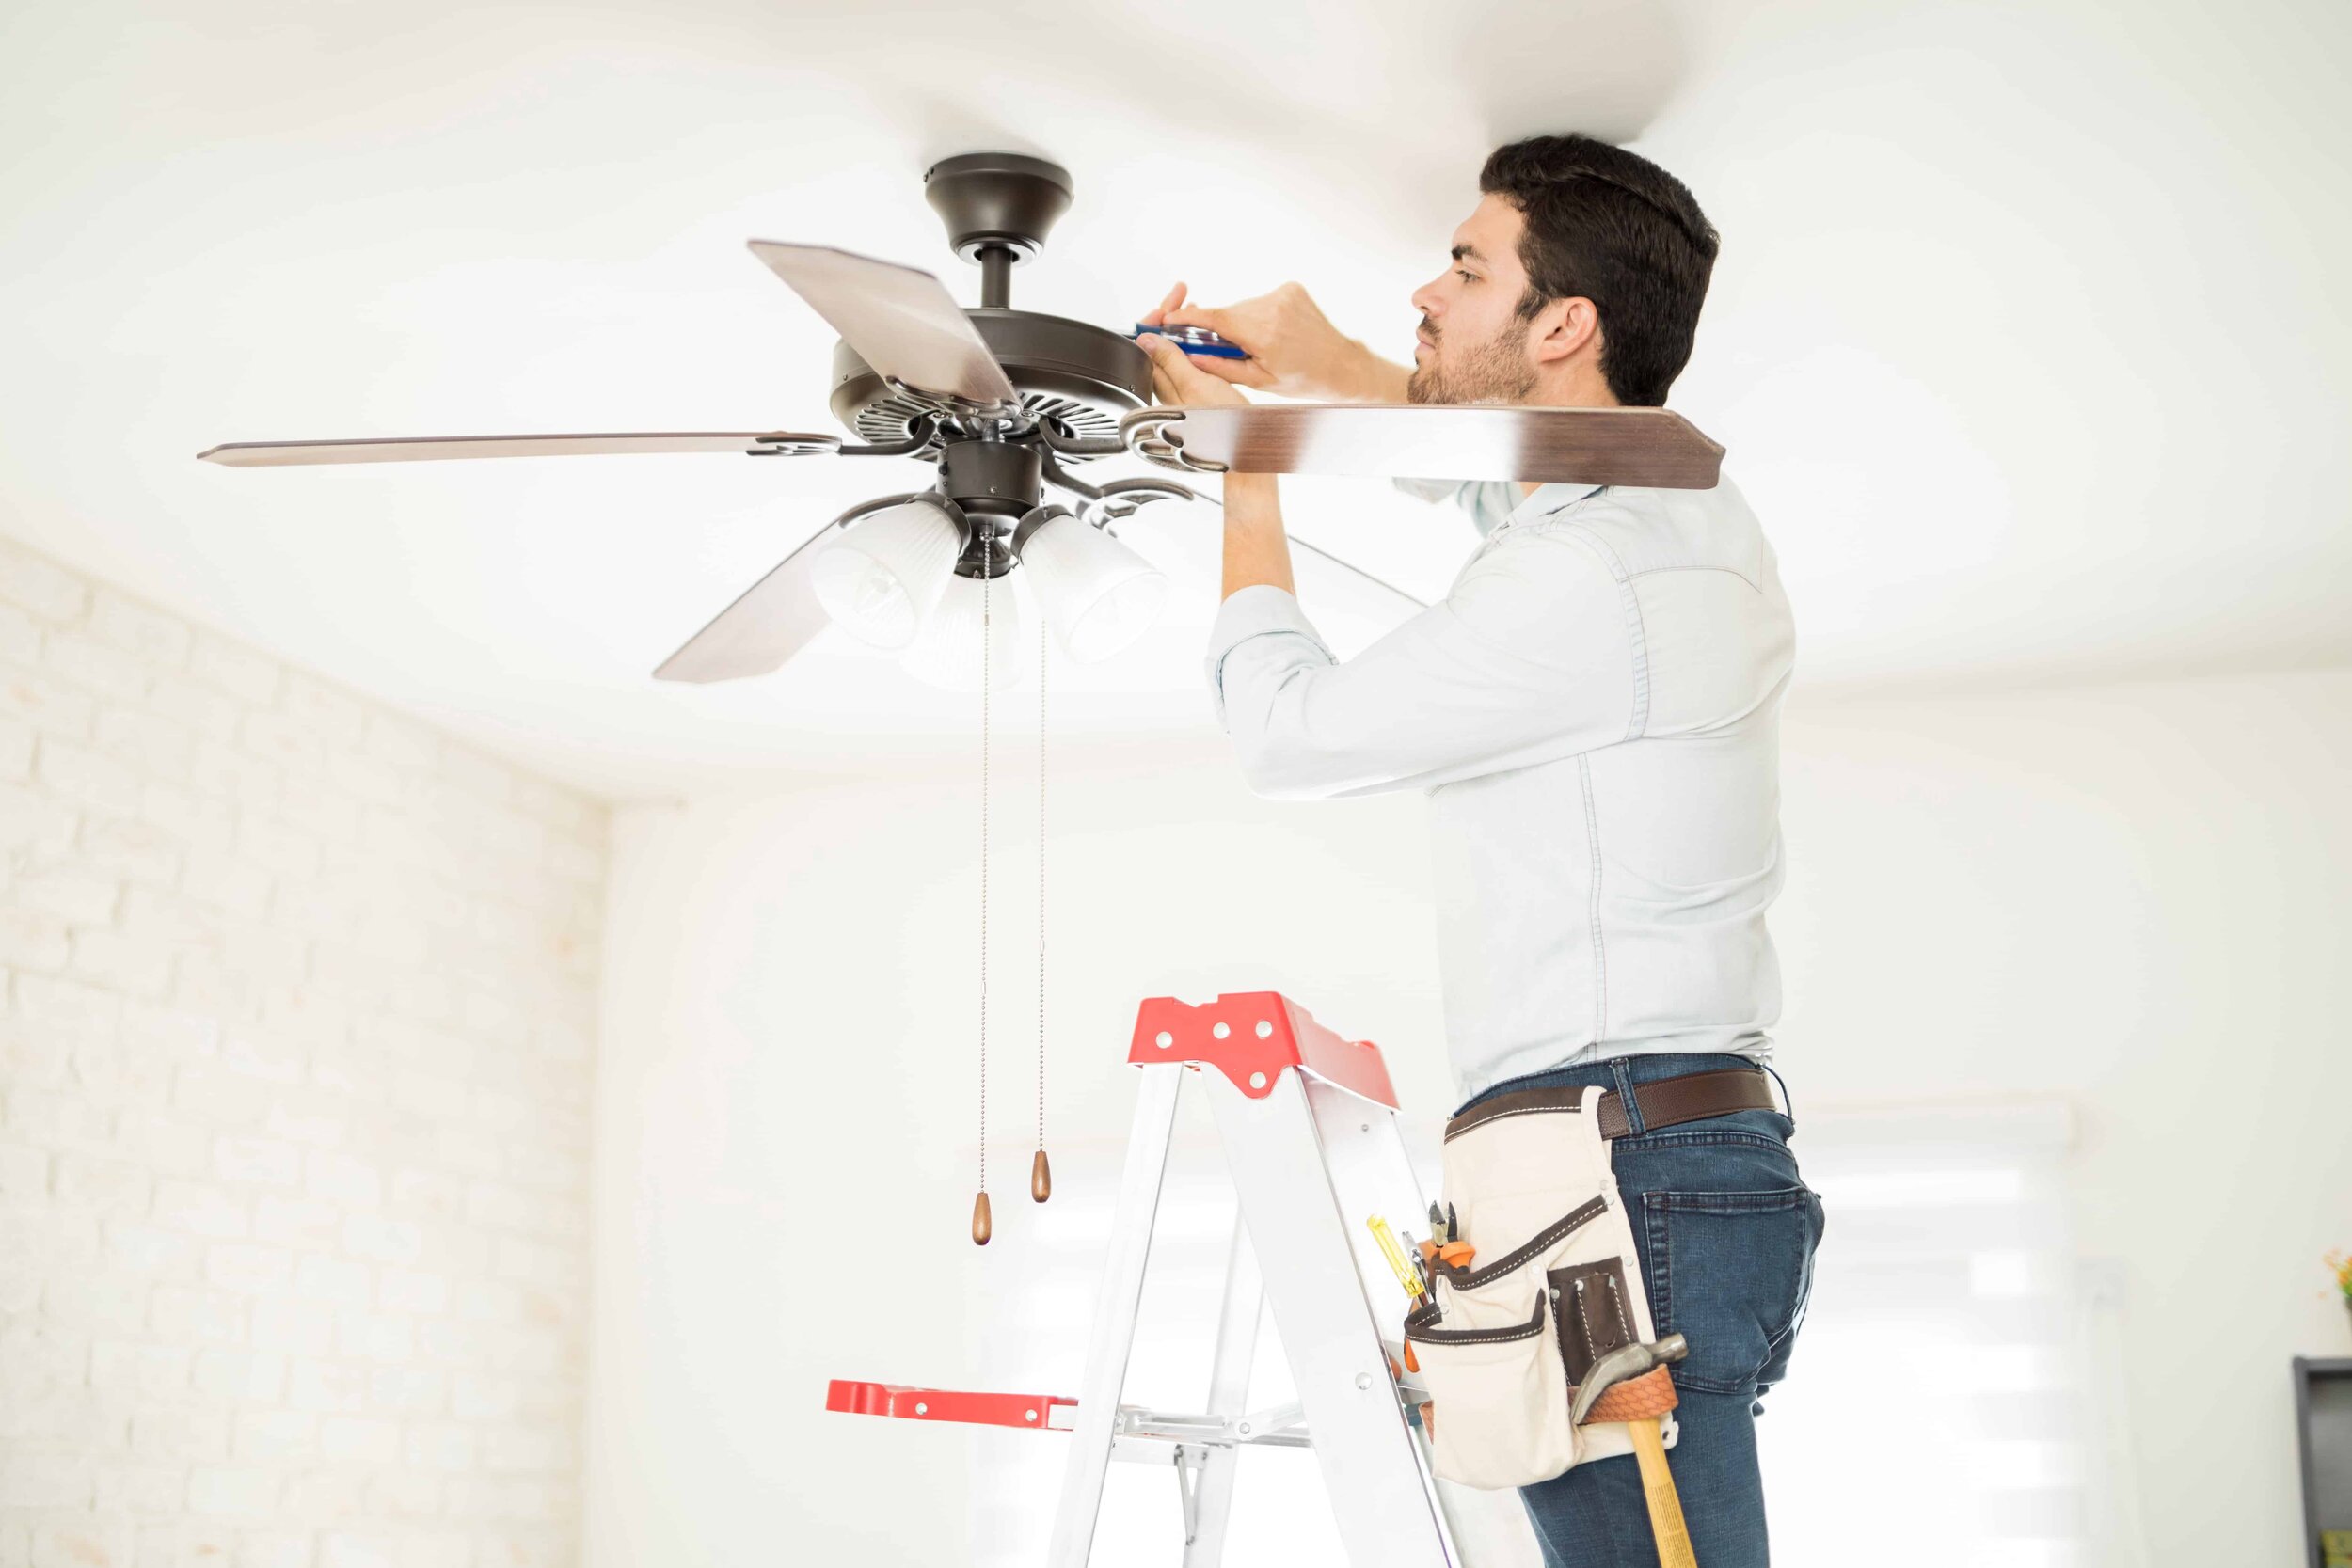
Step 3: Assemble the ceiling fan components
Now that you have turned off the power supply, it’s time to start assembling the different components of your Hampton Bay ceiling fan. This step involves attaching the fan blades, motor, and any other included parts.
Follow these steps to assemble your ceiling fan components:
- Open the box containing the ceiling fan kit and lay out all the components on a clean, flat surface.
- If your ceiling fan has reversible blades, determine which side you want to face down. Most ceiling fans have a different finish on each side, allowing you to choose the look that best matches your room. Attach the blades to the motor using the provided screws and a screwdriver.
- If your ceiling fan includes a light kit, follow the manufacturer’s instructions to assemble and attach it to the motor housing. Typically, this involves connecting the wires and using screws or clips provided with the kit.
- Attach any additional components, such as a remote control receiver or a pull chain, according to the manufacturer’s instructions.
- Double-check that all screws and connections are tightened securely to ensure proper stability and function.
During the assembly process, it’s crucial to refer to the instruction manual provided with your specific Hampton Bay ceiling fan model. This will ensure that you correctly attach and align all the components.
Once you have completed the assembly, you can proceed to the next step: mounting the ceiling fan bracket.
Note: If you are unsure about any aspect of the assembly process or if you encounter any difficulties, it’s recommended to consult the instruction manual or contact Hampton Bay customer support for assistance.
Step 4: Mount the ceiling fan bracket
Now that you have assembled the components of your Hampton Bay ceiling fan, it’s time to mount the ceiling fan bracket. The bracket is what holds the fan securely to the ceiling and ensures proper stability.
Follow these steps to mount the ceiling fan bracket:
- Select a suitable location on the ceiling where you want to install the fan. Ensure that the area is clear of any obstructions and is strong enough to support the weight of the fan.
- Hold the bracket against the ceiling and mark the locations of the mounting holes with a pencil or marker.
- Use a drill to create pilot holes at the marked locations. Be sure to use a drill bit that matches the size of the mounting screws provided with the ceiling fan kit.
- Align the bracket with the pilot holes and secure it to the ceiling using the provided mounting screws. Use a screwdriver to tighten the screws, ensuring that the bracket is firmly attached.
- Double-check the bracket’s stability by giving it a gentle tug. It should feel secure and not wobble or move.
Mounting the ceiling fan bracket is a crucial step in ensuring the safety and stability of the fan. It’s essential to follow the manufacturer’s instructions and use the provided materials for this step.
If you are unsure about any aspect of mounting the ceiling fan bracket or encounter difficulties, it’s recommended to consult the instruction manual or seek professional assistance.
Once the bracket is securely mounted, you can proceed to the next step: installing the fan blades.
Read more: Who Sells Hampton Bay Ceiling Fans
Step 5: Install the fan blades
With the ceiling fan bracket securely mounted, it’s time to install the fan blades. The fan blades are what create the airflow and circulate the air in the room.
Follow these steps to install the fan blades on your Hampton Bay ceiling fan:
- Start by attaching each fan blade to the blade iron, using the screws provided with the ceiling fan kit. Make sure to align the holes on the blade with the holes on the blade iron.
- Once all the blades are attached to the blade irons, align the holes on the blade irons with the holes on the fan motor.
- Secure the blade irons to the fan motor using the screws provided. Use a screwdriver to tighten the screws, ensuring that the blades are firmly attached.
- Double-check that all fan blades are evenly spaced and aligned properly. They should have equal distance from each other and be parallel to the floor.
During the installation process, it’s essential to refer to the instruction manual provided with your specific Hampton Bay ceiling fan model. This will ensure that you correctly attach and align the fan blades.
Once you have installed the fan blades, you can proceed to the next step: connecting the wiring.
Note: If you are unsure about any aspect of installing the fan blades or if you encounter any difficulties, it’s recommended to consult the instruction manual or contact Hampton Bay customer support for assistance.
Step 6: Connect the wiring
Now that the fan blades are securely installed, it’s time to connect the wiring for your Hampton Bay ceiling fan. Properly connecting the wiring is crucial for the fan to function correctly and safely.
Follow these steps to connect the wiring:
- Identify the house wiring in the ceiling and the corresponding wires on the fan motor. Typically, there will be a black (hot) wire, a white (neutral) wire, and a green or copper (ground) wire.
- Strip the ends of the wires to expose about 1/2 inch to 3/4 inch of bare wire using wire strippers. Be careful not to damage or nick the wire insulation.
- Connect the black (hot) wire from the ceiling to the black wire from the fan. Use a wire nut to securely join the wires together by twisting them clockwise. Repeat this process with the white (neutral) wire and the green or copper (ground) wire, ensuring a solid connection for each.
- If your ceiling fan has a separate light kit, connect the wires from the ceiling fan motor to the wires from the light kit according to the manufacturer’s instructions. Again, use wire nuts to secure the connections.
- Place the connected wires carefully into the electrical box. Make sure that the wires are not pinched or damaged when installing the fan motor.
- Tighten any screws or clamps on the electrical box to secure the fan motor in place.
It’s crucial to follow the manufacturer’s instructions and any additional guidelines provided with your specific Hampton Bay ceiling fan model. If you are unsure about any aspect of connecting the wiring or encounter difficulties, it’s recommended to consult the instruction manual or seek professional assistance. Safety is of utmost importance when working with electricity.
Once the wiring is properly connected, you can proceed to the next step: attaching the fan motor to the bracket.
Step 7: Attach the fan motor to the bracket
With the wiring properly connected, the next step is to attach the fan motor to the bracket. This step ensures that the fan is securely fixed in place and allows for proper operation and stability.
Follow these steps to attach the fan motor to the bracket:
- Align the mounting holes on the fan motor with the corresponding holes on the ceiling fan bracket.
- Insert the provided screws through the mounting holes and into the bracket.
- Use a screwdriver to tighten the screws, ensuring that the fan motor is securely attached to the bracket.
- Gently try to move the fan motor to ensure that it is firmly fixed and does not wobble or move excessively.
Properly attaching the fan motor to the bracket is crucial for the stability and safe operation of the ceiling fan. It’s important to follow the manufacturer’s instructions and use the provided screws and hardware specific to your Hampton Bay ceiling fan model.
If you encounter any difficulties or are unsure about any aspect of attaching the fan motor to the bracket, consult the instruction manual or contact Hampton Bay customer support for assistance.
Once the fan motor is securely attached to the bracket, you can proceed to the next step: installing the light kit (if applicable).
Make sure to turn off the power to the ceiling fan at the circuit breaker before starting the installation process. This will ensure your safety while working with electrical components.
Step 8: Install the light kit (if applicable)
If your Hampton Bay ceiling fan includes a light kit, this step will guide you through the process of installing it. The light kit adds functionality and illumination to the fan, enhancing the overall aesthetic of your room.
Follow these steps to install the light kit:
- Check the manufacturer’s instructions to determine the specific installation method for your specific light kit model.
- Remove any covers or caps that may be covering the wiring and electrical connectors on the fan motor.
- Attach the light kit to the designated connection point on the fan motor. This may involve aligning the electrical connectors and twisting them together.
- Secure the light kit in place using the screws provided with the kit. Tighten the screws using a screwdriver, ensuring that the light kit is securely attached.
- If your light kit includes a light bulb, insert the bulb into the socket. Be sure to use the appropriate wattage and type of bulb recommended by the manufacturer.
- If there is a cover or glass shade for the light kit, carefully attach it to the light kit and tighten any screws or fasteners to secure it in place.
It’s important to follow the specific instructions provided by the manufacturer for your particular Hampton Bay ceiling fan model when installing the light kit. This will ensure that the installation is done correctly and safely.
If you have any difficulties or are unsure about any aspect of installing the light kit, consult the instruction manual or contact Hampton Bay customer support for guidance.
Once the light kit is successfully installed, you can proceed to the next step: attaching the pull chain or remote control receiver.
Read also: 15 Amazing Hampton Bay Ceiling Fan for 2025
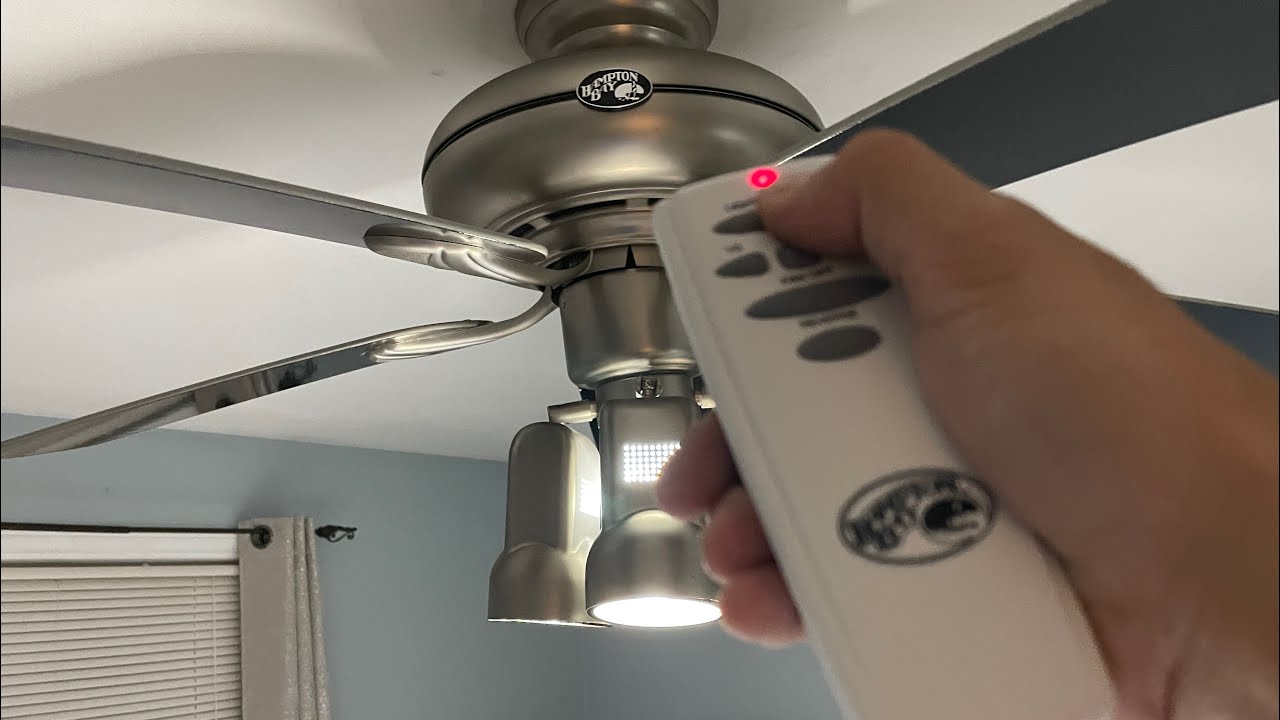
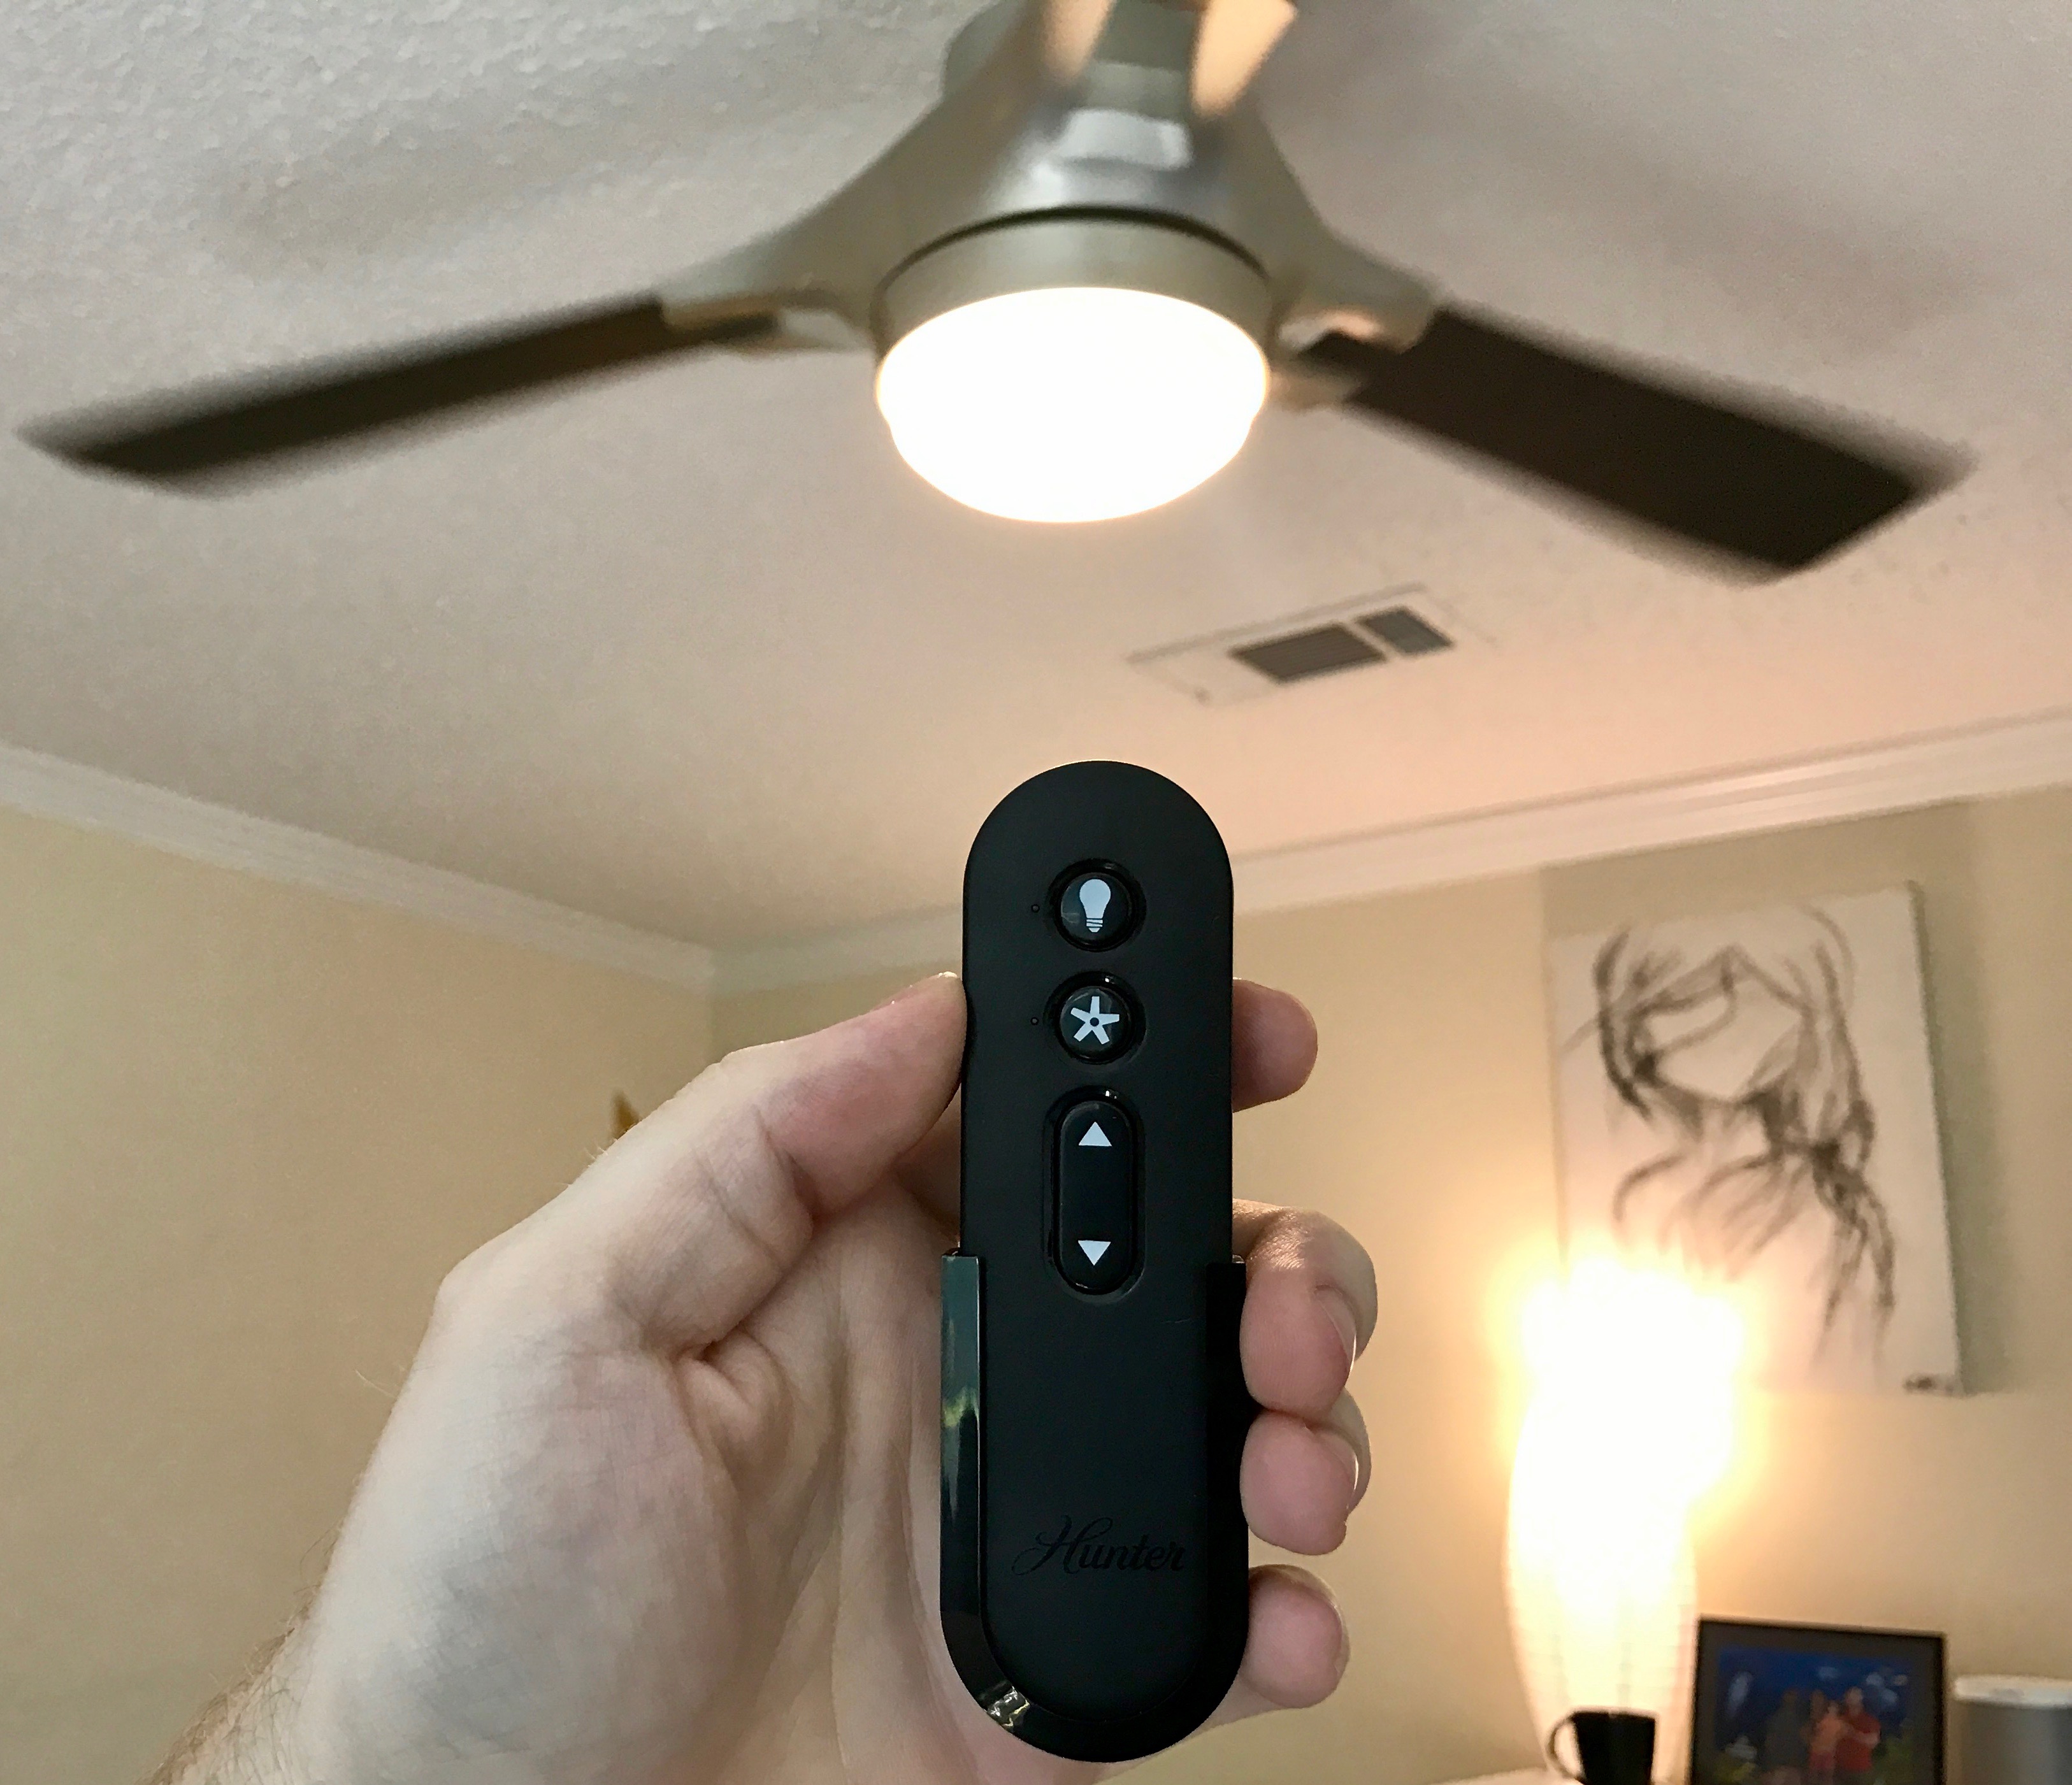
Step 9: Attach the pull chain or remote control receiver
Depending on your Hampton Bay ceiling fan model, you may have the option to control the fan and light functions using a pull chain or a remote control. This step will guide you through attaching the pull chain or remote control receiver.
Follow these steps based on your chosen control method:
If using a pull chain:
- Locate the pull chain switch on the fan motor housing.
- Attach the pull chain to the switch by threading it through the designated hole.
- If the fan has a separate chain for the light, attach it to the appropriate switch on the housing.
- Make sure the pull chains are properly secured and hang freely for easy access.
If using a remote control:
- Locate the remote control receiver within the fan housing.
- Follow the manufacturer’s instructions to attach the remote control receiver to the wiring within the fan housing.
- Position the receiver in a suitable location within the fan housing for optimal signal reception.
- Attach the battery to the remote control and follow the instructions for synchronization between the remote and the receiver.
Ensure that the pull chain or remote control receiver is properly attached and functioning before proceeding to the next step.
It’s important to refer to the instruction manual provided with your specific Hampton Bay ceiling fan model for precise instructions on attaching the pull chain or remote control receiver. If you have any difficulties, contact Hampton Bay customer support for assistance.
Once the pull chain or remote control receiver is successfully attached, you can proceed to the next step: securing the canopy and motor cover.
Step 10: Secure the canopy and motor cover
Securing the canopy and motor cover is the final step in the installation process for your Hampton Bay ceiling fan. This step ensures that all the components are properly enclosed and enhances the overall appearance of the fan.
Follow these steps to secure the canopy and motor cover:
- Position the canopy over the mounting bracket on the ceiling.
- Rotate the canopy clockwise to secure it in place. Some models may require a twist-and-lock motion, while others may have screws or clips to fasten the canopy.
- Ensure that the canopy is snug and does not wobble or move once it is properly secured.
- Attach the motor cover to the fan motor using the provided screws or clips. Make sure the cover is aligned correctly and sits flush against the motor.
- Tighten the screws or fasteners to secure the motor cover in place.
Properly securing the canopy and motor cover ensures the stability and aesthetics of your Hampton Bay ceiling fan. It’s crucial to follow the manufacturer’s instructions and use the provided hardware specific to your fan model.
If you encounter any difficulties or are unsure about any aspect of securing the canopy and motor cover, consult the instruction manual or contact Hampton Bay customer support for assistance.
Once the canopy and motor cover are securely in place, you’re ready for the final step: turning on the power supply and testing the fan.
Read more: How To Install Hampton Bay Blinds
Step 11: Turn on the power supply and test the fan
Congratulations! You’re almost done with the installation of your Hampton Bay ceiling fan. The final step is to turn on the power supply and test the fan to ensure it’s functioning properly.
Follow these steps to turn on the power supply and test the fan:
- Ensure that all the switches on the wall for the fan and light are in the “off” position.
- Go to the circuit breaker panel and locate the breaker that controls the power to the room where the fan is installed.
- Flip the breaker to the “on” position to restore power to the room.
- Return to the fan and flip the switches or use the remote control to turn on the fan and the light (if applicable).
- Observe the fan blades as they begin to rotate. Ensure that they are spinning smoothly and not hitting any obstructions.
- Test the various speed settings on the fan to ensure they are functioning correctly.
- If your fan has a light, check that it illuminates properly and adjust the brightness if necessary.
- Listen for any unusual noises or vibrations that may indicate an issue, such as loose components.
If everything is working as expected and there are no issues, congratulations! You have successfully installed and tested your Hampton Bay ceiling fan. Enjoy the comfort and functionality it brings to your space.
If you encounter any difficulties, such as fan wobbling or unusual noises, consult the troubleshooting section of the instruction manual or contact Hampton Bay customer support for assistance.
Always remember to prioritize safety throughout the testing process and never hesitate to seek professional help if needed.
With the fan successfully tested, your installation is complete. Sit back, relax, and enjoy the comfort and style of your new Hampton Bay ceiling fan!
Conclusion
Installing a Hampton Bay ceiling fan can be a rewarding DIY project that not only enhances the aesthetic appeal of a room but also improves air circulation and comfort. By following the step-by-step guide provided in this article, you should have successfully installed your Hampton Bay ceiling fan with ease.
Throughout the installation process, it’s crucial to prioritize safety by turning off the power supply, following manufacturer’s instructions, and using the proper tools and materials. Additionally, referring to the specific instruction manual for your Hampton Bay ceiling fan model will ensure accurate installation and optimal performance.
From gathering the necessary tools and materials to securing the canopy and motor cover, each step in the installation process plays a vital role in ensuring the stability, functionality, and aesthetics of your ceiling fan. Taking the time to assemble the components correctly, connect the wiring accurately, and properly mount the fan ensures a smooth installation and a fan that operates flawlessly.
Once the installation is complete, don’t forget to test the fan and make any necessary adjustments to ensure it is running smoothly and providing the desired airflow. Enjoy the comfort and benefits that your Hampton Bay ceiling fan brings to your space as it circulates air and adds a stylish touch to your room.
If you encounter any difficulties during the installation process or have lingering questions, don’t hesitate to consult the instruction manual or reach out to Hampton Bay customer support for assistance. Their team of experts is readily available to provide guidance and ensure your installation experience is positive.
Now that you have successfully installed your Hampton Bay ceiling fan, sit back, relax, and enjoy the cool breeze and improved air circulation in your home or office space.
Now that you've mastered installing your Hampton Bay ceiling fan, why stop there? Many homes have outdated light fixtures that could benefit from an upgrade. If you're eager to enhance your living space further, consider replacing a simple light fixture with a more functional and stylish ceiling fan. Our comprehensive guide on ceiling fan installation where a light fixture once was will provide you with all the necessary steps and tips to make this transition smooth and efficient. Give your room a fresh look and improved air circulation today!
Frequently Asked Questions about How To Install Hampton Bay Ceiling Fan
Was this page helpful?
At Storables.com, we guarantee accurate and reliable information. Our content, validated by Expert Board Contributors, is crafted following stringent Editorial Policies. We're committed to providing you with well-researched, expert-backed insights for all your informational needs.


0 thoughts on “How To Install Hampton Bay Ceiling Fan”