Home>Furniture>Outdoor Furniture>How To Grout Patio Stones
Outdoor Furniture
How To Grout Patio Stones
Modified: March 7, 2024
Learn how to properly grout your patio stones with our step-by-step guide. Enhance the longevity and beauty of your outdoor furniture with our expert tips.
(Many of the links in this article redirect to a specific reviewed product. Your purchase of these products through affiliate links helps to generate commission for Storables.com, at no extra cost. Learn more)
Introduction
Welcome to your comprehensive guide on how to grout patio stones! Whether you are looking to spruce up your outdoor living space or embark on a DIY patio project, grouting patio stones is an essential step to ensure their stability and aesthetic appeal. Grout not only fills the gaps between the stones but also helps to prevent weeds from growing in those spaces. In this article, we will walk you through the process of choosing the right grout, preparing the patio stones, mixing and applying the grout, and finally, cleaning and sealing the grout for long-lasting results.
Before we dive into the details, it’s important to note that patience and attention to detail are key in achieving professional-looking results. Take your time and follow the steps carefully to ensure a successful outcome.
Now, let’s get started on transforming your patio into a beautiful and functional outdoor oasis!
Key Takeaways:
- Choose the right grout based on patio stone size, stain resistance, and color for a durable and visually appealing finish. Consider sanded grout for large gaps and unsanded grout for smaller spaces.
- Properly prepare, mix, apply, and maintain grout for patio stones to ensure stability, longevity, and a beautiful outdoor living space. Regular maintenance, cleaning, and sealing are essential for preserving the patio’s appearance.
Read more: How To Grout Stone Backsplash
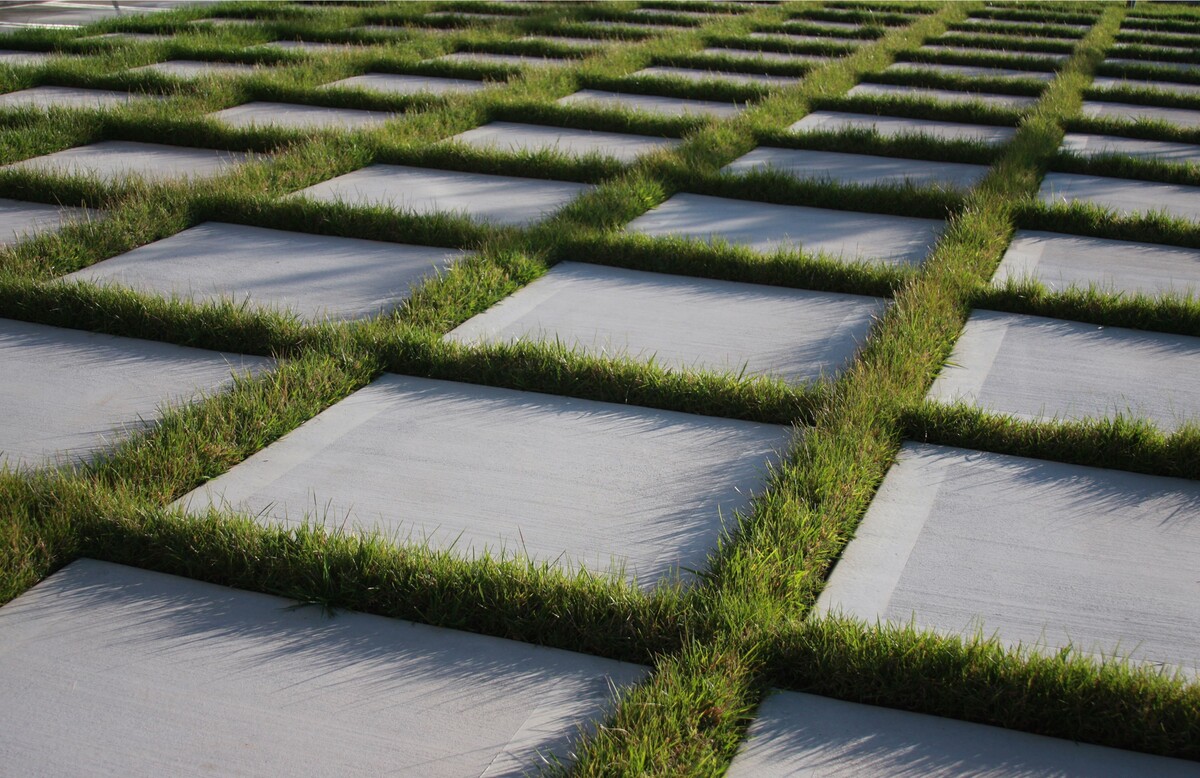
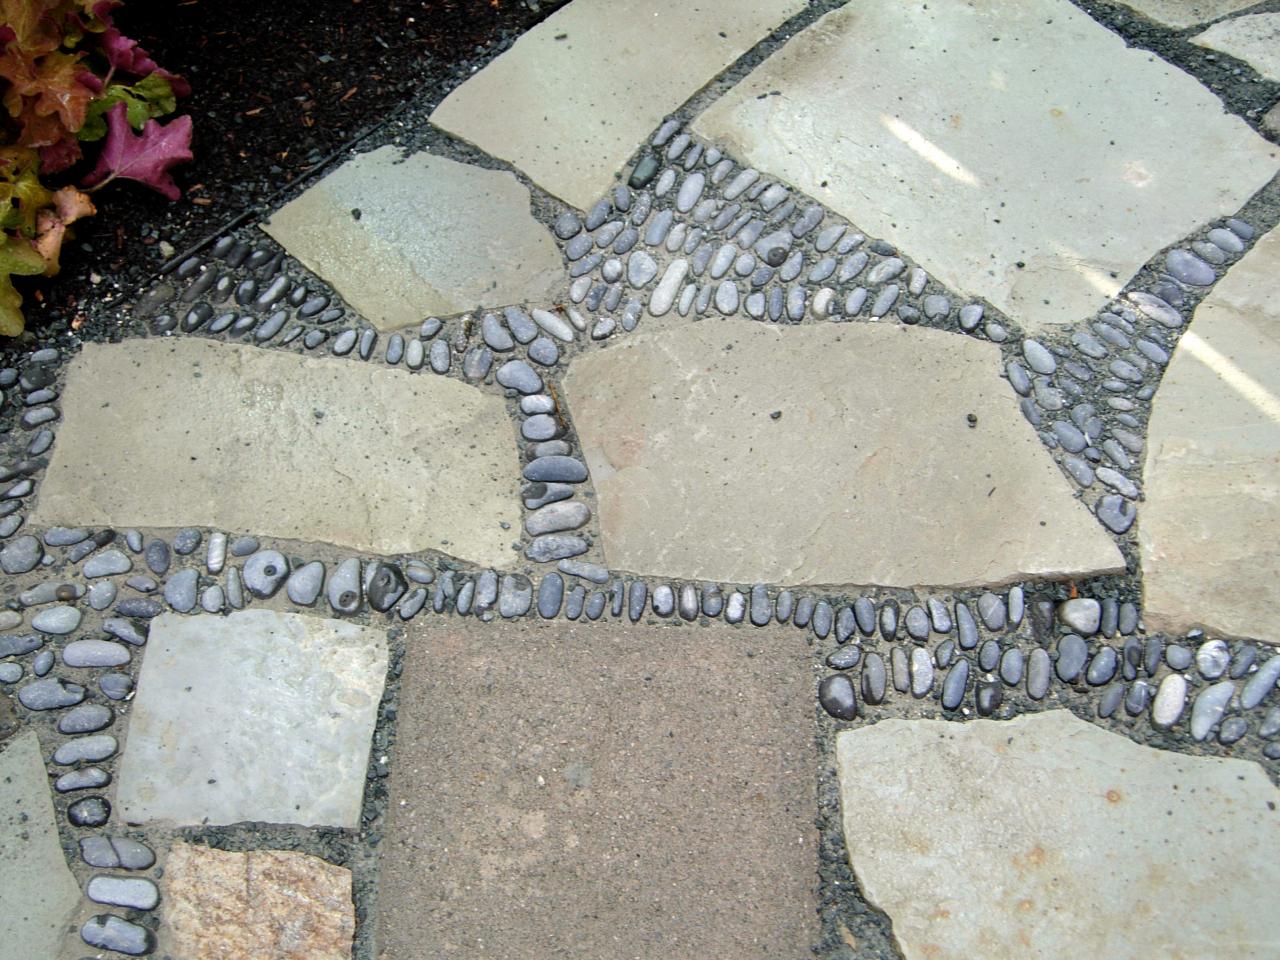
Choosing the Right Grout
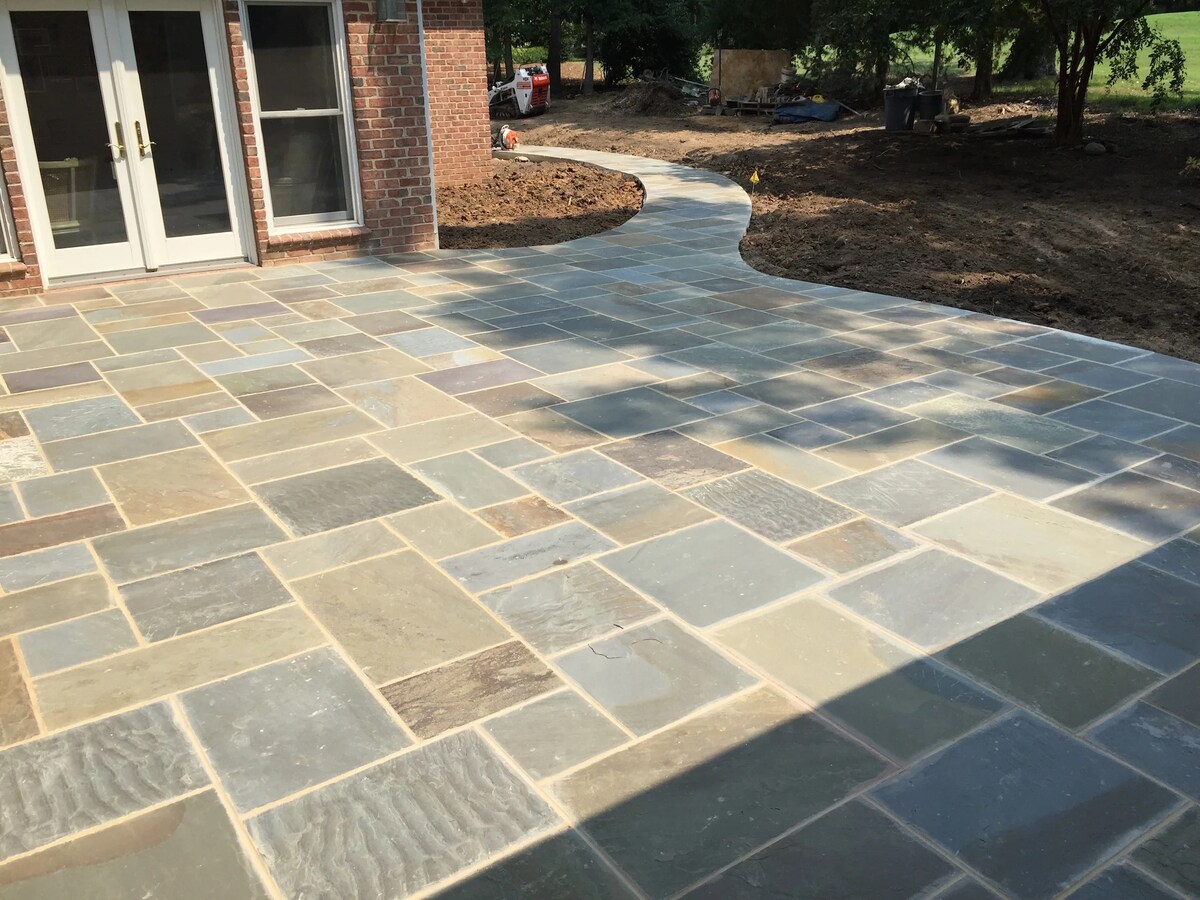
When it comes to choosing the right grout for your patio stones, there are a few factors to consider. The type of grout you select will depend on the size and spacing of your patio stones, as well as the overall design and aesthetic you are trying to achieve.
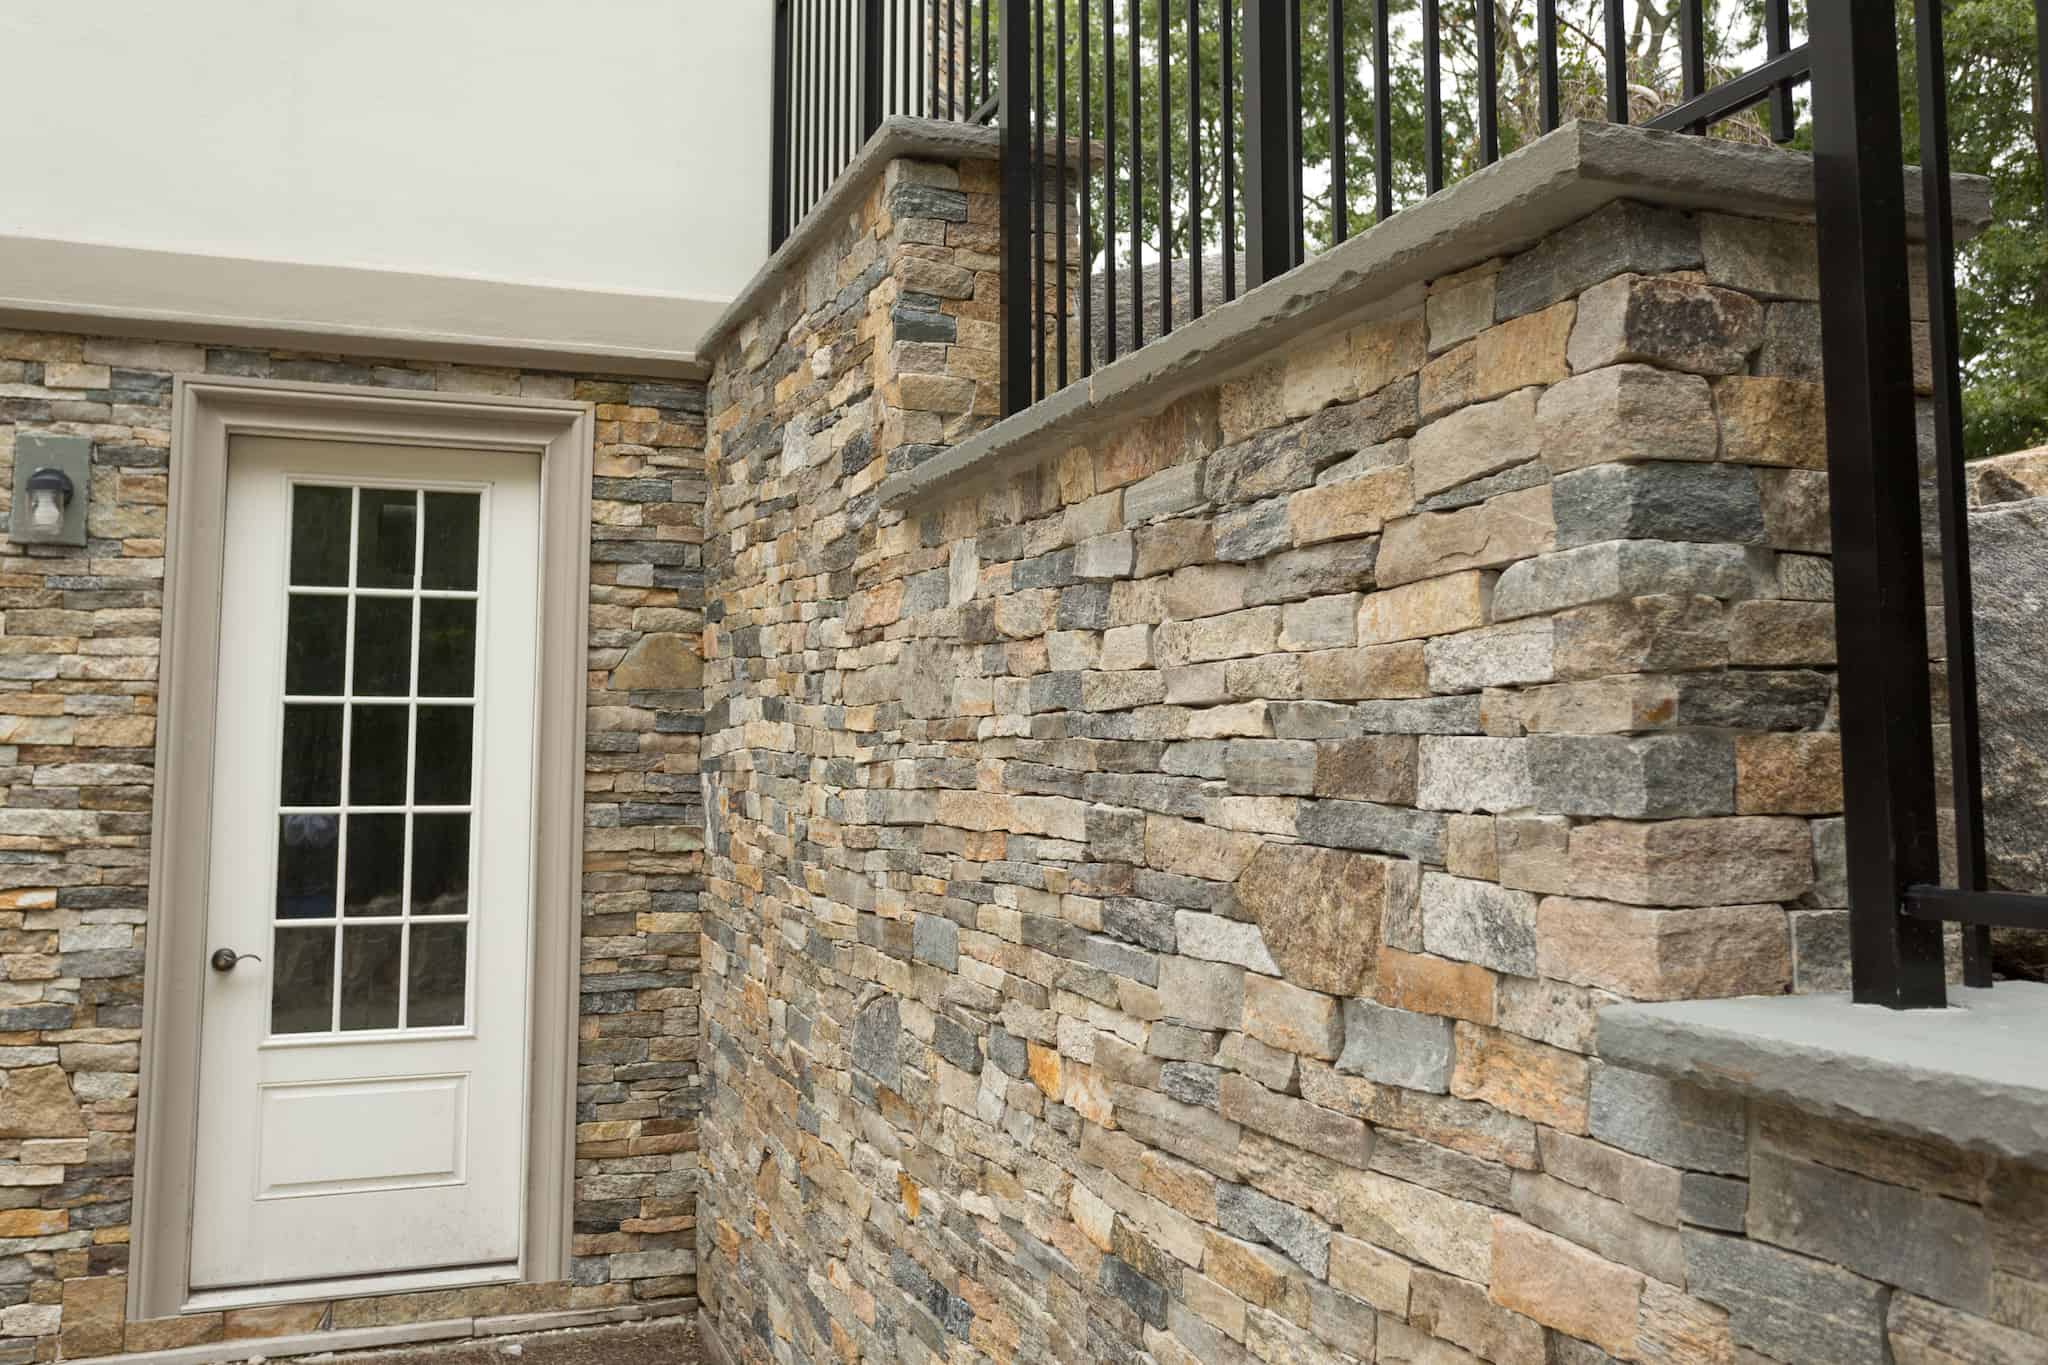
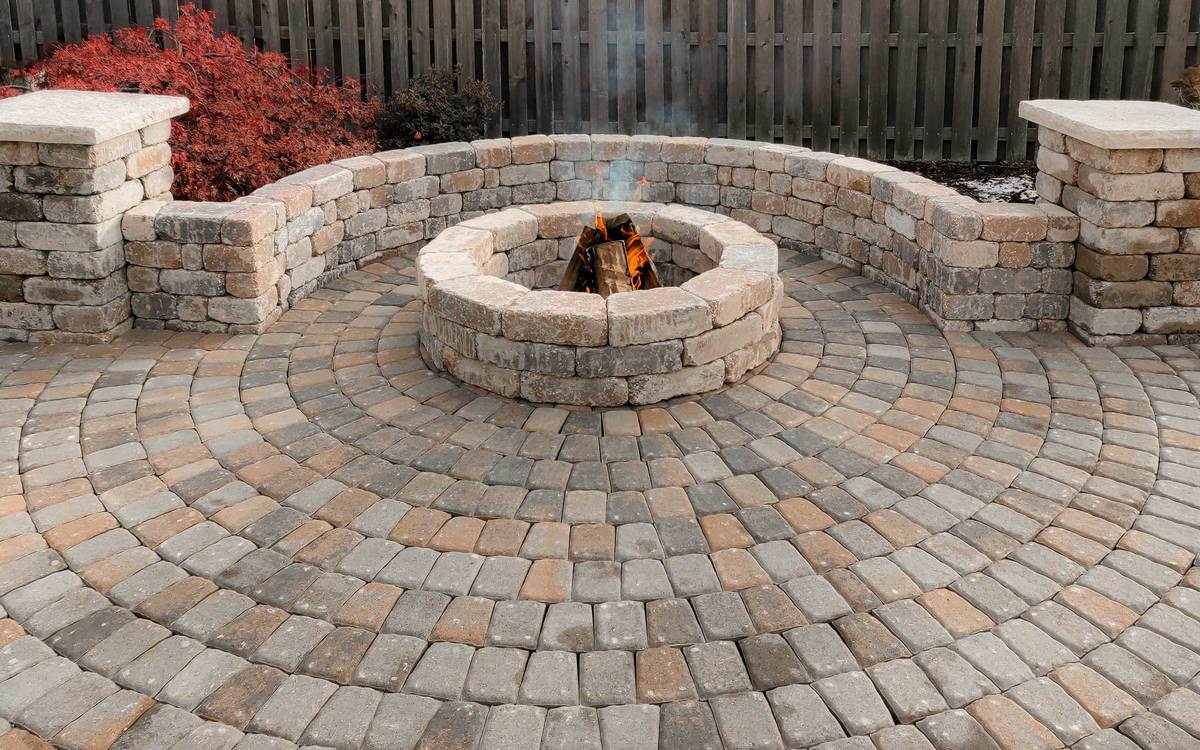
One of the most common types of grout used for patio stones is cement-based grout. This type of grout is durable, easy to work with, and suitable for most outdoor applications. It comes in a variety of colors, allowing you to match or contrast with the color of your patio stones.
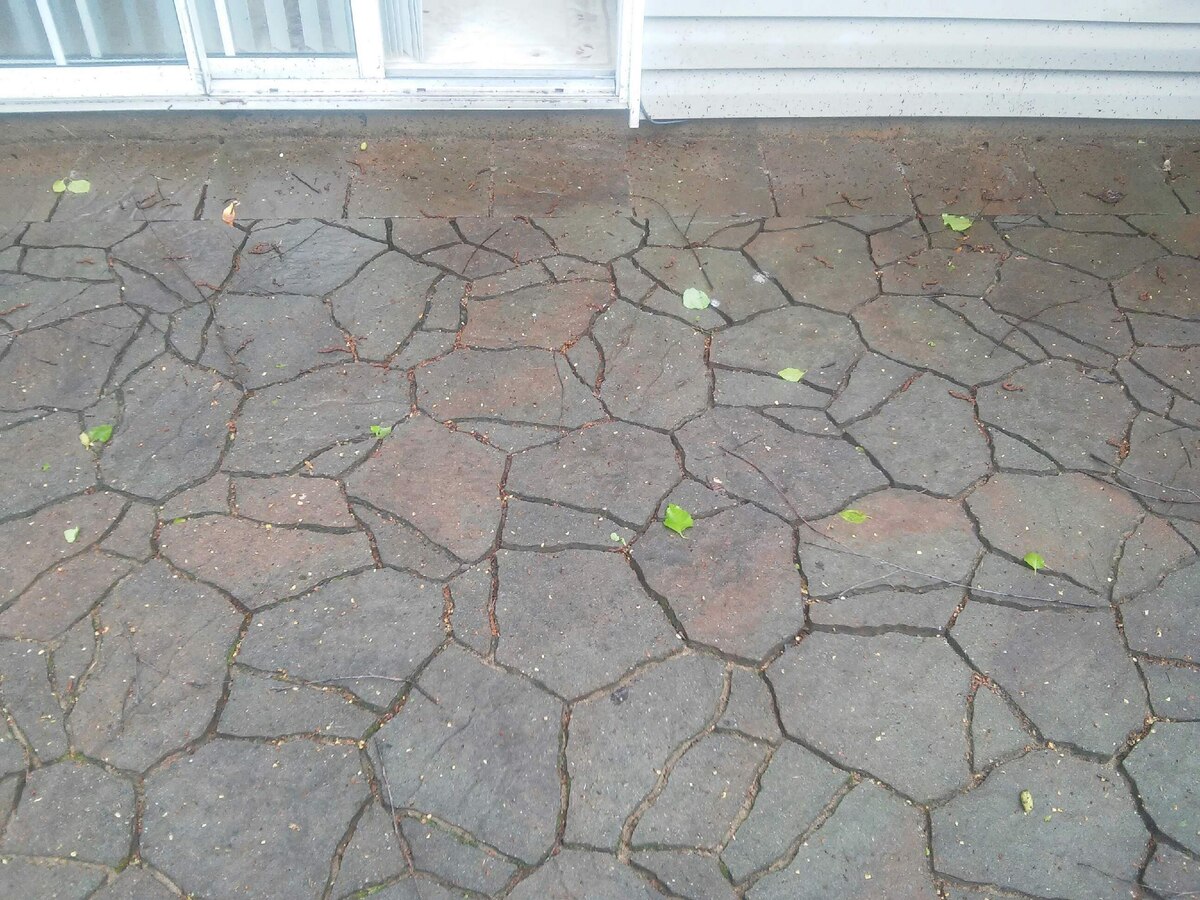
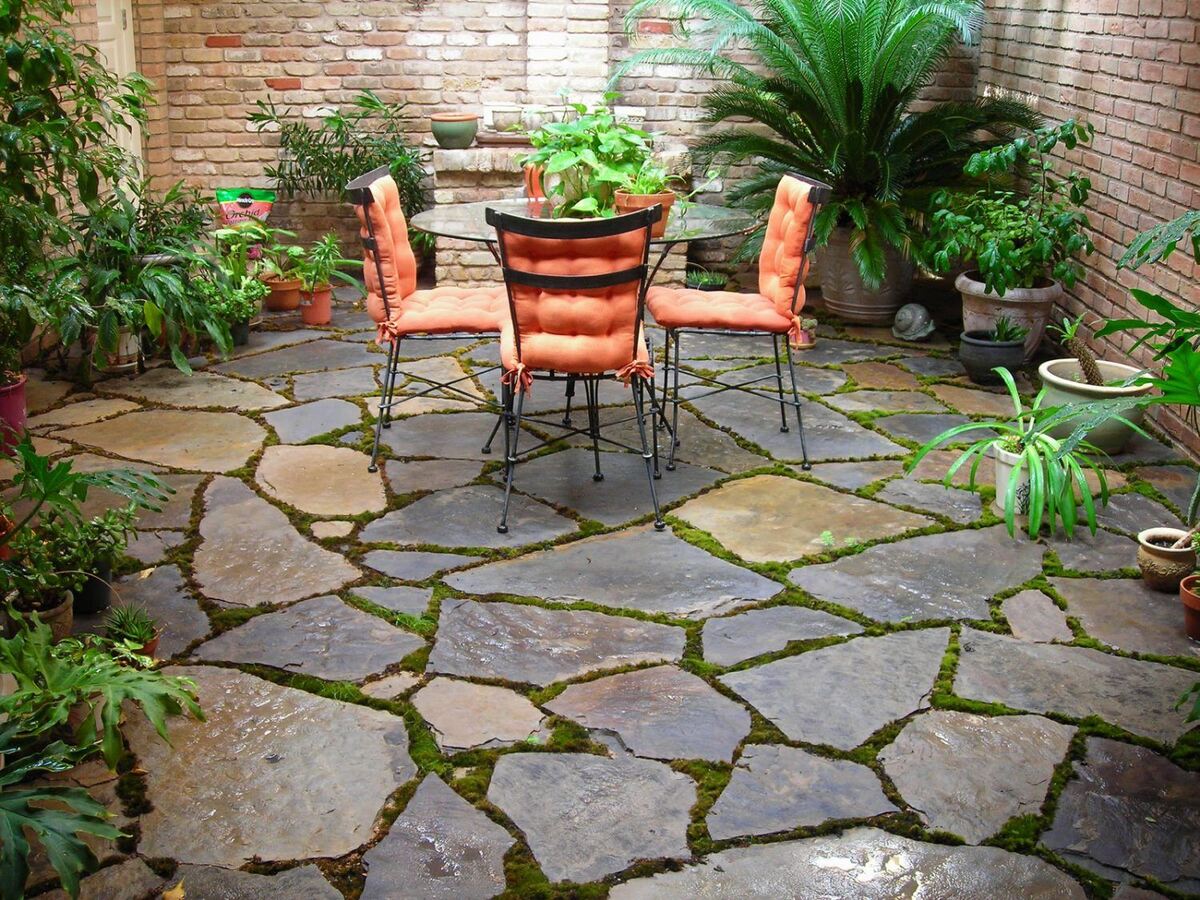
If you have large gaps between your patio stones, you may want to consider using sanded grout. The sand particles in the grout help to fill in and bond the larger gaps, providing added stability and preventing moisture from seeping through.
On the other hand, if you have smaller gaps or irregularly shaped stones, unsanded grout is a better option. This type of grout is smoother and easier to work into tight spaces, ensuring a clean and professional finish.
Another consideration when choosing grout is the level of stain resistance and water repellency. Look for grout products that are specifically designed for outdoor use and offer high resistance to stains and water. This will help to protect your patio stones and extend the lifespan of the grout.
Lastly, don’t forget to take into account the color of the grout. You can either choose a grout color that closely matches the color of your patio stones for a seamless look, or opt for contrast to make the stones and grout stand out. It’s a personal preference and depends on the overall design aesthetic you are aiming for.
By considering the size of the gaps, the type of stones, the level of stain resistance, and the desired color, you can choose the right grout that will not only enhance the appearance of your patio but also provide long-lasting durability.
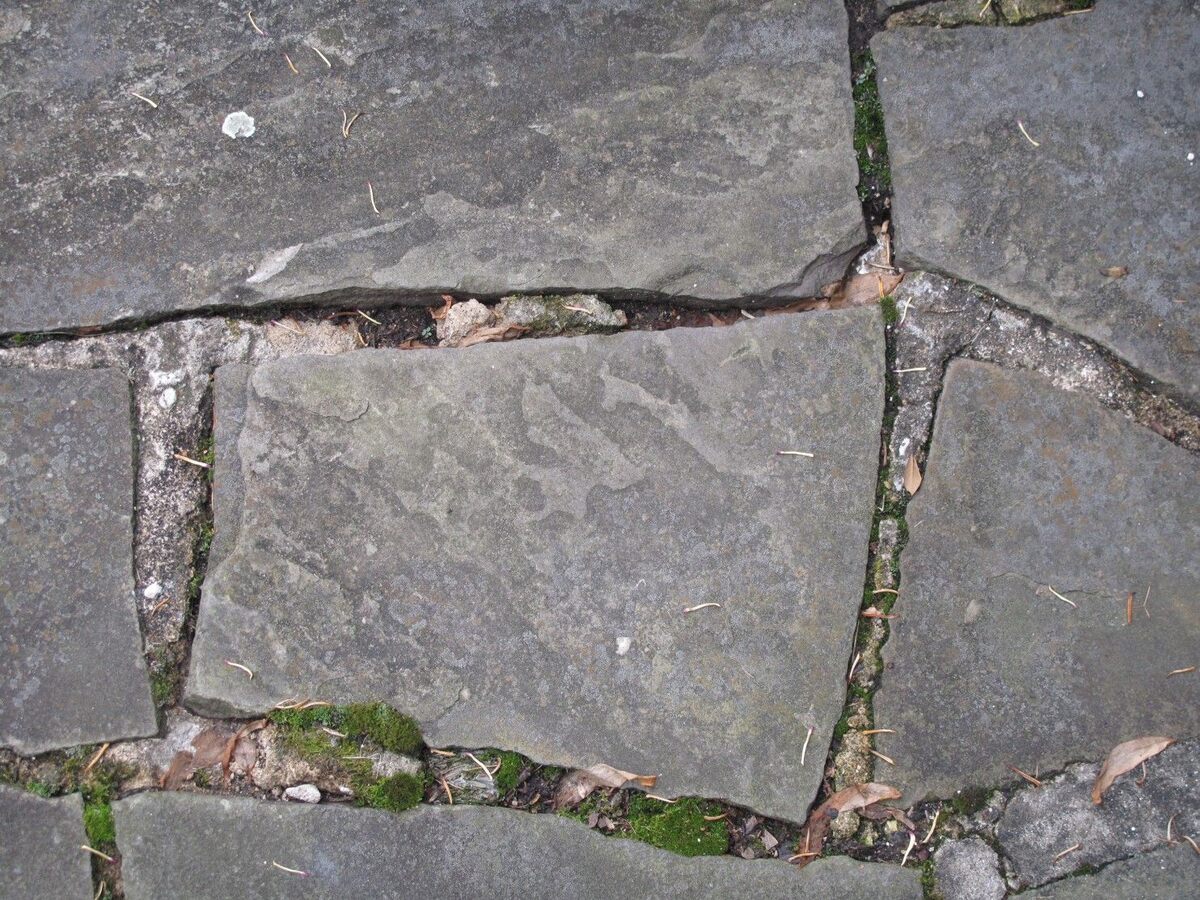
Preparing the Patio Stones
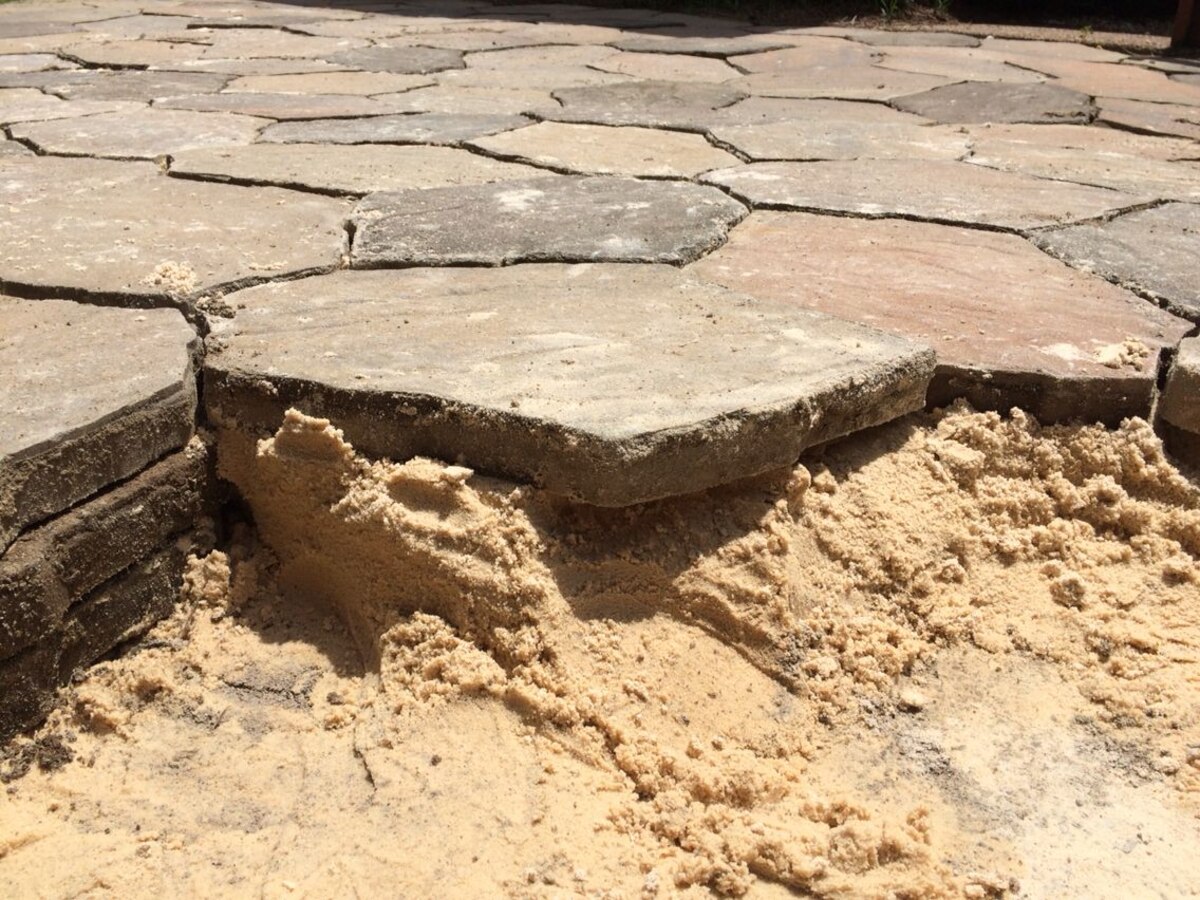
Before starting the grouting process, it’s essential to ensure that your patio stones are clean and free from any debris or dirt. This will help the grout adhere properly and result in a professional finish. Here’s how to prepare your patio stones:
- Clean the patio stones: Begin by sweeping the surface of the patio stones to remove any loose dirt or debris. Use a broom or a leaf blower to clear the area effectively. For stubborn stains or moss growth, you may need to use a pressure washer or a cleaning solution specifically designed for outdoor stone surfaces. Follow the instructions provided by the manufacturer for the best results.
- Inspect for any damage: Carefully examine each patio stone to check for cracks, chips, or any other damage. If you find any, it’s important to address them before proceeding with the grouting process. Repair or replace any damaged stones to ensure a smooth and sturdy surface.
- Allow for proper drainage: Ensure that your patio has proper drainage to prevent water from pooling or causing damage to the stones and grout over time. If necessary, make adjustments to the slope of the patio or install a drainage system to redirect excess water away from the area.
- Verify the stability of the stones: Give each patio stone a gentle push to check if they are securely in place. If any stones feel loose or wobbly, it’s crucial to reset them. Use a rubber mallet or a wooden block to carefully tap the stones into position.
- Apply a bonding agent (if necessary): Some patio stones may require the application of a bonding agent to improve the adhesion between the stones and the grout. Follow the manufacturer’s instructions to apply the bonding agent evenly onto the surface of the stones. Allow it to dry completely before moving on to the grouting process.
By preparing your patio stones adequately, you create a solid foundation for the grout to adhere to, ensuring a long-lasting and visually appealing result. Take your time during this step to ensure that the surface is clean, stable, and ready for grouting.
Mixing the Grout
Once your patio stones are prepared, it’s time to mix the grout. This step is crucial as it determines the consistency and workability of the grout. Follow the instructions provided by the manufacturer for the best results. Here’s how to mix the grout:
- Measure the grout: Use a measuring cup or a scale to measure the appropriate amount of grout powder according to the package instructions. It’s important to follow the recommended ratio of water to grout powder to achieve the desired consistency.
- Pour the grout powder into a mixing container: Select a clean bucket or a mixing tray large enough to accommodate the grout mixture. Pour the measured grout powder into the container, ensuring there are no lumps or clumps.
- Add water gradually: Slowly add water to the grout powder, starting with a small amount to prevent the mixture from becoming too runny. Use a margin trowel or a mixing paddle to combine the water and grout powder. Continue adding water and mixing until you achieve a smooth and creamy consistency. Avoid adding too much water as it can weaken the grout.
- Allow the grout to slake: Once the grout is mixed, allow it to sit for around 5 to 10 minutes. This resting period, known as slaking, allows the moisture to penetrate the grout particles, improving its workability and strength.
- Stir the grout again: After the slaking period, give the grout mixture a final stir to ensure it is well-mixed. Take note of the consistency – it should be thick enough to hold its shape but still spreadable.
During the mixing process, be cautious not to overmix the grout or introduce too much air into the mixture. Overmixing can lead to a weaker grout, while excess air can cause voids and inconsistency in the grout lines.
Remember to work efficiently and mix only the amount of grout you can use within the recommended working time specified by the manufacturer. This ensures that the grout remains pliable and easy to work with during the application process.
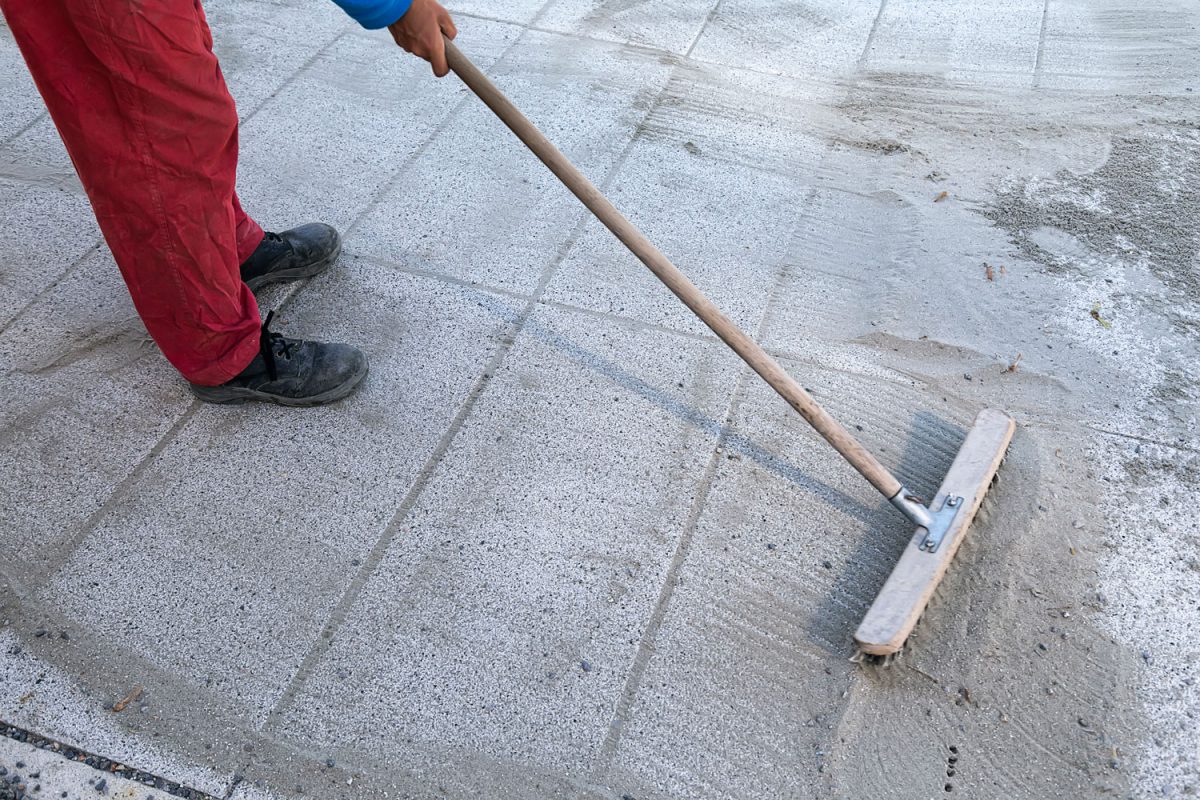
Make sure to mix the grout to the right consistency – it should be thick enough to stay in place but still spreadable. Use a grout float to press the grout into the spaces between the patio stones, then wipe off excess with a damp sponge.
Applying the Grout
With the grout mixed to the proper consistency, it’s time to start applying it to the gaps between your patio stones. This step requires precision and attention to detail to ensure a clean and professional-looking finish. Here’s how to apply the grout:
- Dampen the patio stones: Before applying the grout, lightly dampen the surface of the patio stones with a sponge or a misting spray bottle. This helps to prevent the stones from absorbing moisture from the grout, which can result in a weaker bond.
- Scoop the grout onto the stones: Use a grout float or a trowel to scoop a generous amount of grout onto the surface of the patio stones. Hold the float at a 45-degree angle and press the grout into the gaps, ensuring it fills them completely. Work in small sections to prevent the grout from drying out before you can finish applying and smoothing it.
- Spread and pack the grout: Use the grout float to spread the grout across the gaps, making sure it is evenly distributed. Press the grout firmly into the gaps using a sweeping motion to ensure full coverage. This helps to minimize the risk of air pockets or voids in the grout lines.
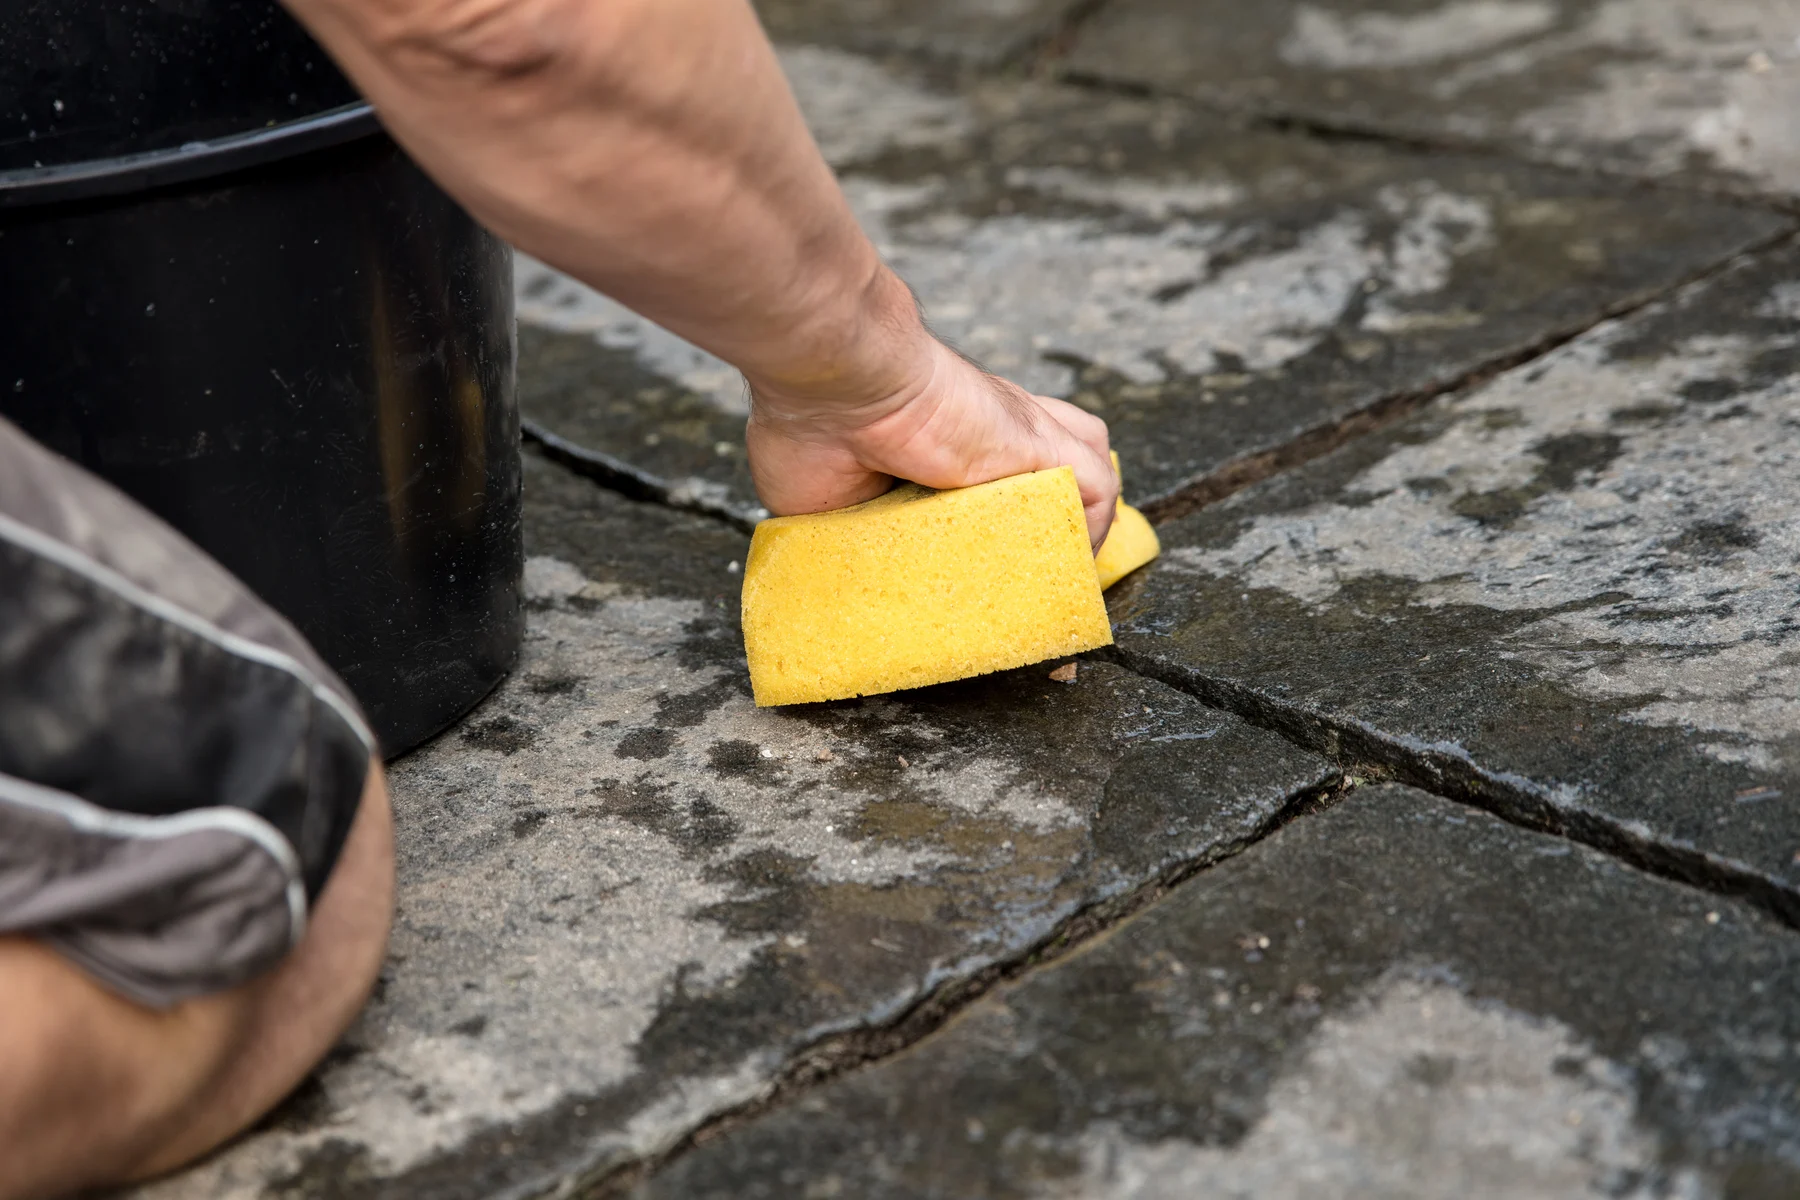
- Clean off excess grout: After the grout is packed into the gaps, use the edge of the grout float or a straight-edged trowel to scrape off the excess grout from the surface of the stones. Hold the tool at a 90-degree angle and work diagonally across the gaps, removing any excess grout without disturbing the newly applied grout.
- Smooth the grout lines: Once the excess grout is removed, use a grout jointing tool or a rounded stick to smooth and shape the grout lines. Run the tool along the grout lines, applying gentle pressure to create a neat and consistent finish. Wipe away any excess grout residue with a damp sponge or cloth.
Keep in mind that grout is a perishable material, so work efficiently to complete the grouting process within the recommended timeframe specified by the manufacturer. This ensures that the grout remains workable and easier to shape.
It’s also important to allow the grout to cure according to the manufacturer’s instructions before subjecting it to heavy foot traffic or exposing it to water. This ensures that the grout sets properly and reaches its maximum strength.
Read more: How To Grout Flagstone Patio
Cleaning and Sealing the Grout
Once the grout is applied and has had time to cure, it’s important to clean and seal it to protect it from stains, moisture, and general wear and tear. Cleaning and sealing the grout will help to prolong its lifespan and maintain its appearance over time. Follow these steps to clean and seal the grout:
- Clean the grout lines: Start by wiping down the surface of the patio stones with a damp sponge or cloth to remove any dust or debris. Then, focus on the grout lines, using a grout brush or an old toothbrush to scrub away any remaining residue or stains. You can use a mild detergent or a grout cleaner specifically formulated for outdoor use. Avoid using harsh chemicals or abrasive cleaners that may damage the grout or patio stones. Rinse the area thoroughly with clean water.
- Allow the grout to dry completely: After cleaning, give the grout enough time to dry completely before applying the sealer. Follow the manufacturer’s instructions for the recommended drying time. It’s important to ensure that the grout is fully dry to prevent moisture from getting trapped, which could lead to mold or mildew growth.
- Apply the grout sealer: Select a grout sealer suitable for outdoor use and follow the instructions on the packaging. Use a small paintbrush or a foam brush to apply an even layer of sealer to the grout lines. Be careful not to let the sealer come into contact with the patio stones, as it may affect their appearance. Allow the sealer to penetrate the grout for the recommended amount of time, typically around 10 to 15 minutes.
- Wipe away excess sealer: After the sealer has penetrated the grout, use a clean cloth or sponge to wipe away any excess sealer from the surface of the stones. Pay extra attention to ensure that no sealer residue is left behind, as it may create a hazy or dull appearance. Allow the sealer to dry according to the manufacturer’s instructions.
- Apply a second coat (optional): Depending on the type of grout sealer you are using, you may need to apply a second coat for enhanced protection. Follow the manufacturer’s instructions regarding the application process and drying time. It’s important to let the sealer cure completely before subjecting the patio to heavy foot traffic or exposing it to water.
Regular maintenance and periodic resealing of the grout will help to keep it looking its best and protect it from stains and moisture over time. Be sure to follow the manufacturer’s recommendations regarding the frequency of resealing based on the specific product you have used.
By cleaning and sealing the grout, you can enjoy your patio stones for years to come without worrying about unsightly stains or deteriorating grout lines.
Maintaining the Patio Stones
Proper maintenance is essential to keep your patio stones looking beautiful and in good condition. By following these maintenance tips, you can extend the lifespan of the stones and ensure they remain a focal point of your outdoor living space:
- Sweep regularly: Regularly sweep the surface of the patio stones to remove leaves, dirt, and debris. This helps to prevent them from getting lodged between the stones or causing stains.
- Remove stains promptly: If you notice any stains on the patio stones, address them promptly. Use a mild detergent or a cleaning solution specifically formulated for outdoor stone surfaces. Follow the manufacturer’s instructions and scrub gently with a soft brush or sponge. Rinse thoroughly with clean water.
- Avoid harsh chemicals: When cleaning your patio stones, avoid using harsh chemicals, bleach, or abrasive cleaners. These can damage the stones and the surrounding vegetation. Stick to gentle cleaning solutions that are safe for outdoor use.
- Protect from heavy objects: When moving or placing heavy objects on your patio, use caution to avoid dragging or dropping them, as this can cause scratches or chips in the stones. Consider using furniture pads or protective covers to prevent damage.
- Address weed growth: Regularly inspect the gaps between the patio stones for any weed growth. Use a weed killer or manually remove the weeds by pulling them out from the roots. Taking proactive measures will help prevent weeds from damaging the grout and compromising the stability of the patio stones.
- Seal the patio stones (if necessary): Depending on the type of stones you have, it may be beneficial to apply a sealer to protect against stains, fading, and weathering. Consult with a professional or the manufacturer of the stones to determine if sealing is recommended and the appropriate sealing schedule.
- Monitor for damage: Keep an eye out for any signs of damage, such as cracks, chips, or shift in the stones. Promptly address any issues to prevent further damage and maintain the stability and safety of the patio.
- Regularly inspect the grout: Periodically check the condition of the grout between the patio stones. Look for any signs of cracking, crumbling, or deterioration. If necessary, repair or reapply the grout to ensure the stability and aesthetic appeal of the patio.
By following these maintenance steps, you can enjoy a beautiful and well-maintained patio for years to come. Take pride in your outdoor living space and keep it looking its best with regular care and attention.
Frequently Asked Questions about How To Grout Patio Stones
Was this page helpful?
At Storables.com, we guarantee accurate and reliable information. Our content, validated by Expert Board Contributors, is crafted following stringent Editorial Policies. We're committed to providing you with well-researched, expert-backed insights for all your informational needs.


0 thoughts on “How To Grout Patio Stones”