Home>Furniture>Outdoor Furniture>How To Hang Patio Lights Without Nails
Outdoor Furniture
How To Hang Patio Lights Without Nails
Modified: March 7, 2024
Discover how to hang patio lights without nails and create a magical outdoor ambience. Get creative with your outdoor furniture and illuminate your space with ease.
(Many of the links in this article redirect to a specific reviewed product. Your purchase of these products through affiliate links helps to generate commission for Storables.com, at no extra cost. Learn more)
Introduction
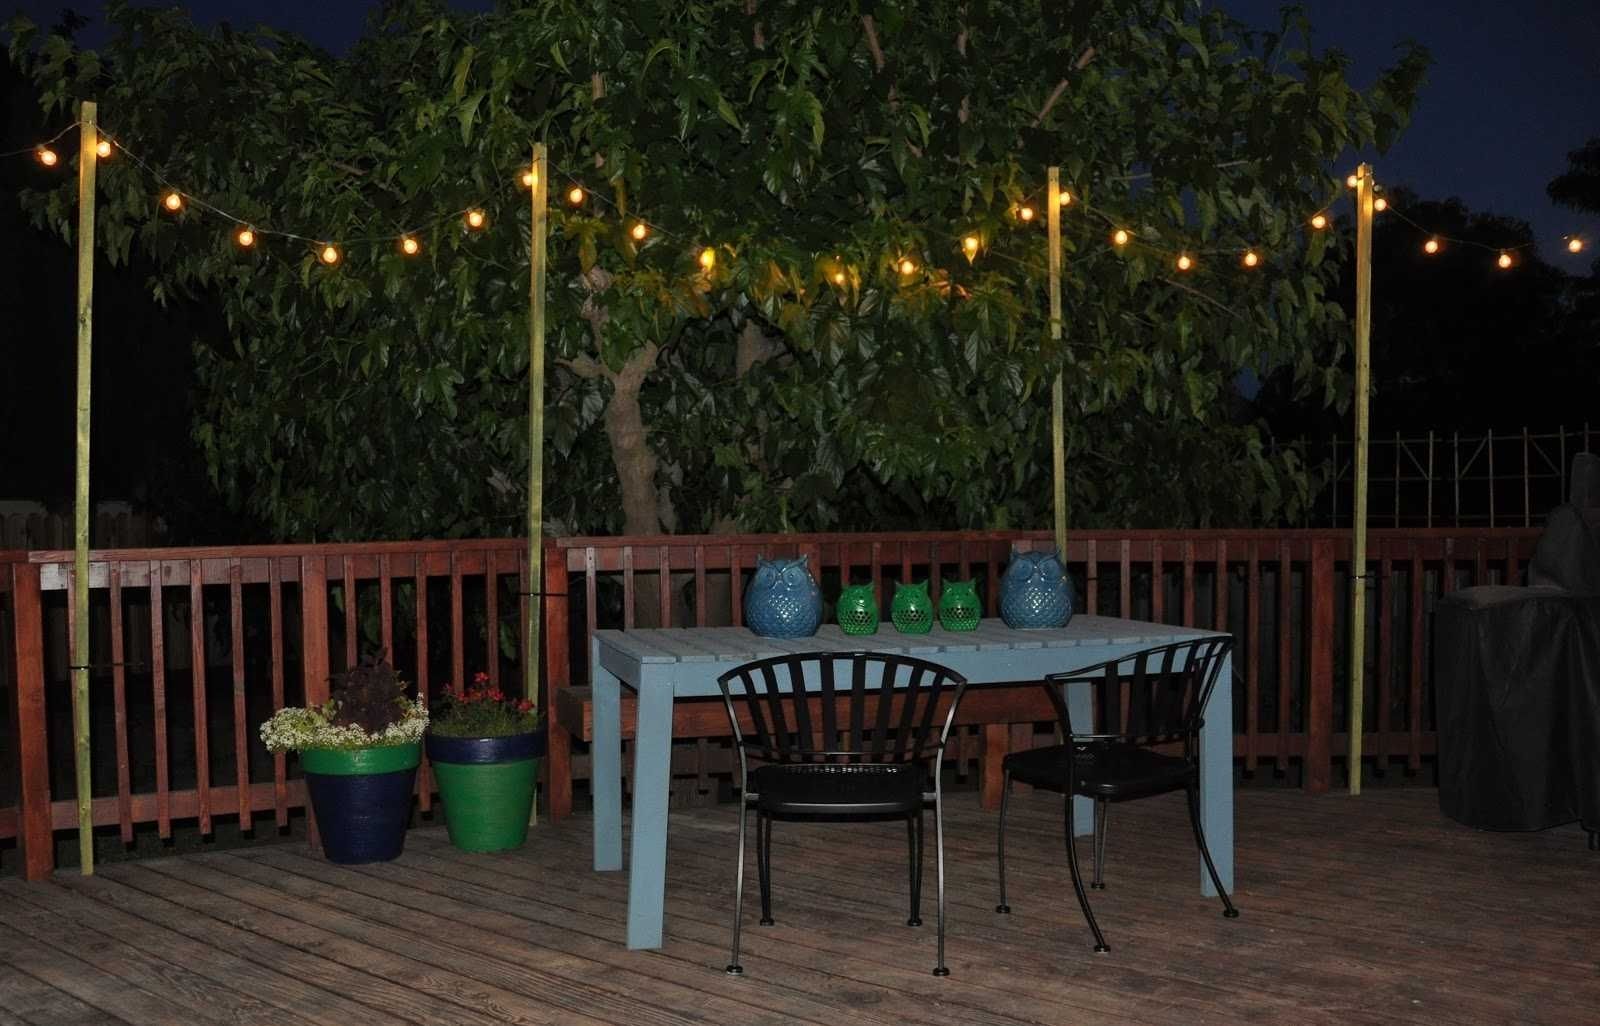
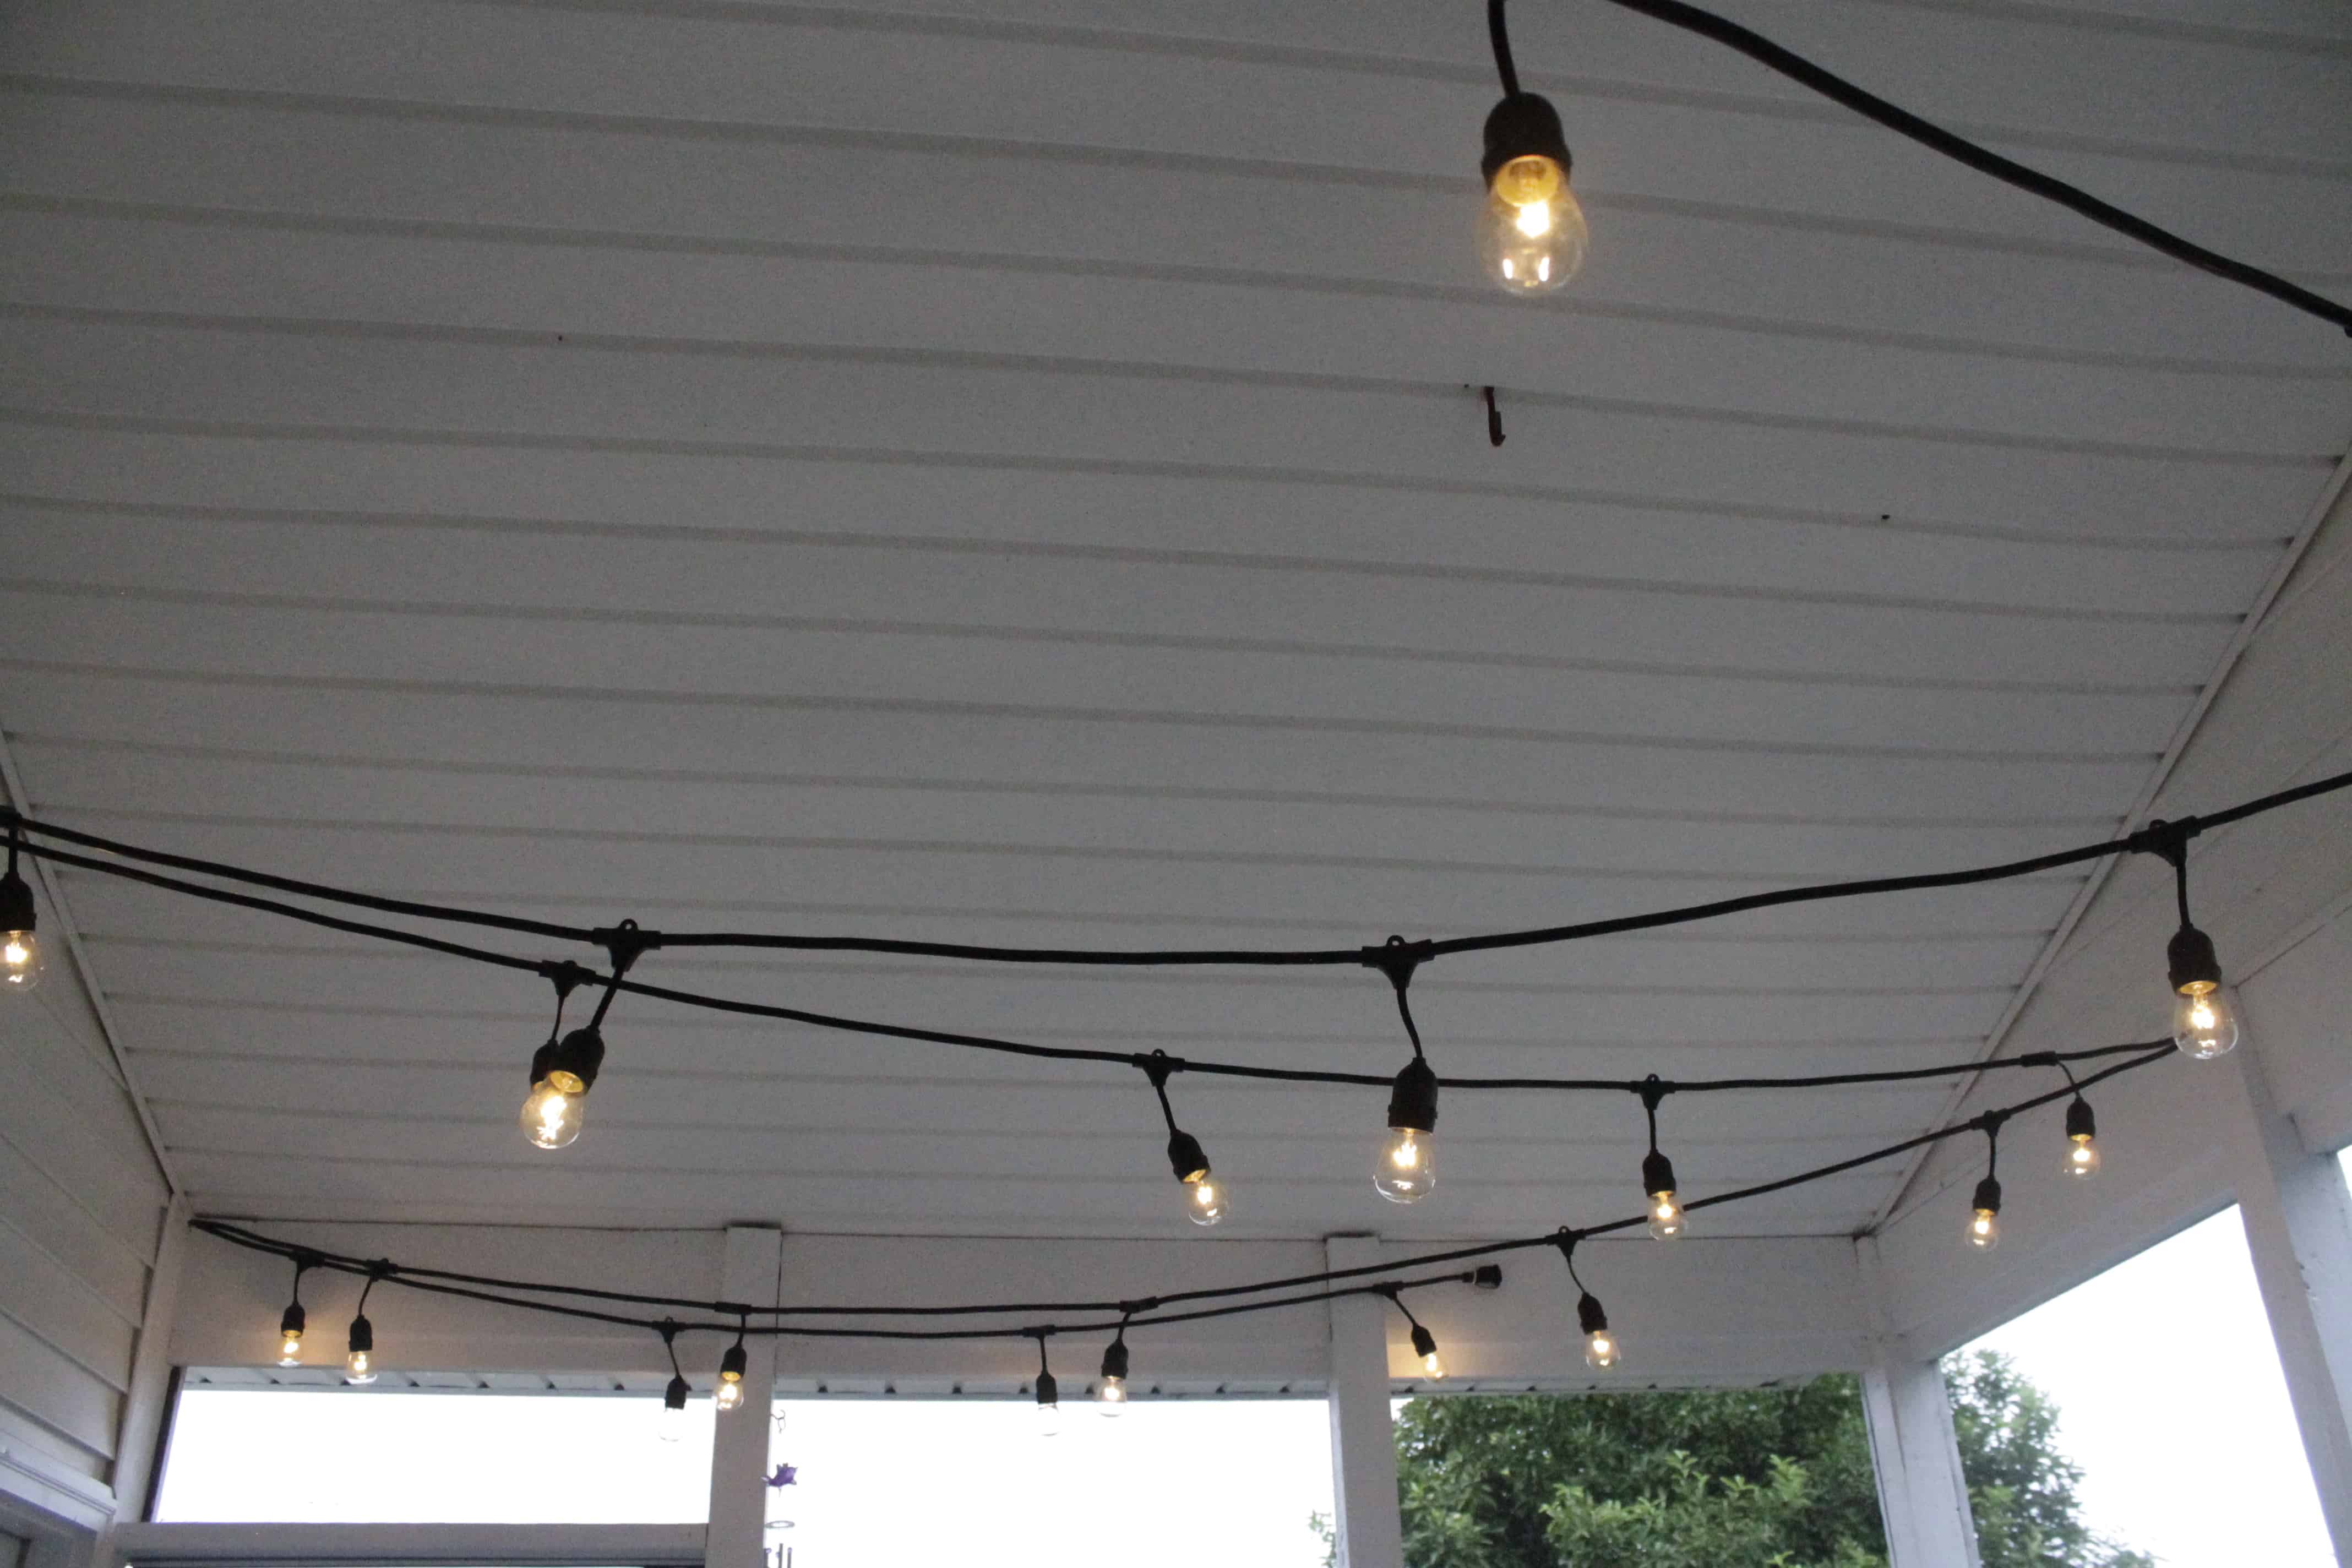
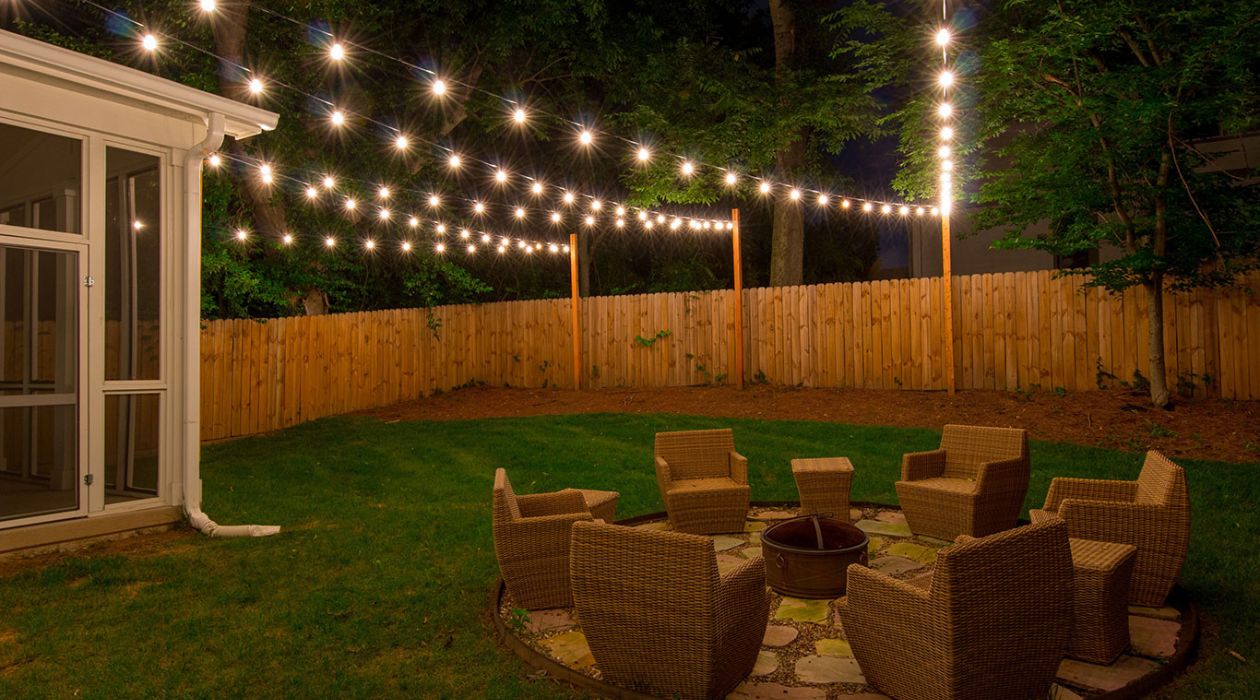
When it comes to creating a cozy and inviting outdoor space, one of the most popular and enjoyable additions is patio lights. These twinkling lights can instantly transform a dull backyard into a magical oasis, providing the perfect ambiance for outdoor gatherings or simply relaxing under the stars. However, many homeowners are hesitant to hang patio lights due to concerns about damaging their outdoor spaces or lack of proper tools.
The good news is that there are several easy and creative ways to hang patio lights without the need for nails or extensive construction. In this article, we will explore five different options that will allow you to safely hang your patio lights while adding flair to your outdoor area. Whether you have a pergola, a deck, or a simple patio, these methods are versatile and can be adapted to suit your specific needs.
Now, let’s dive into the different options and discover how you can create a beautiful outdoor lighting display without damaging your outdoor space!
Key Takeaways:
- Easily hang patio lights without nails using adhesive hooks, zip ties, tension rods, screw hooks, or PVC pipes. Each method offers unique advantages for creating a beautiful outdoor lighting display.
- Consider factors like weight, length of light strings, and outdoor area requirements when choosing the best method. Prioritize safety and let your creativity shine in illuminating your outdoor space.
Option 1: Using Adhesive Hooks
One of the simplest and most hassle-free ways to hang patio lights without nails is by using adhesive hooks. These hooks are easily available at home improvement stores or online, and they come in a variety of sizes and weight capacities to suit your needs.
To hang patio lights with adhesive hooks, follow these steps:
1. Clean the Surface: Before sticking the adhesive hooks onto your outdoor surface, make sure to clean it thoroughly. Use a mild detergent and warm water to remove any dirt, dust, or grease that may prevent the adhesive from sticking properly.
2. Measure and Mark: Determine where you want to hang your patio lights and mark the spots on the surface. This will help you ensure an even distribution of the lights and create a visually appealing display.
3. Attach the Hooks: Remove the backing from the adhesive hooks and firmly press them onto the marked spots on the surface. Make sure to apply pressure for a few seconds to ensure a secure bond. Allow the adhesive to set according to the manufacturer’s instructions before proceeding.
4. Hang the Lights: Once the adhesive hooks are in place, you can begin hanging your patio lights. Start by attaching one end of the light string to the first hook and then gently stretch the lights across to the next hook, securing it in place. Continue this process until all the lights are hung.
Adhesive hooks are ideal for lighter string lights and provide a convenient and temporary solution. However, keep in mind that they may not be suitable for heavier or longer light strings, as they may not have sufficient holding capacity. Additionally, extreme weather conditions may affect the adhesive’s durability, so it’s a good idea to take down the lights during harsh weather or when not in use for an extended period.
By using adhesive hooks, you can easily hang patio lights without the need for nails or drilling, making it a popular choice for renters or those who don’t want to make permanent changes to their outdoor space. Plus, when it’s time to remove the lights, simply peel off the adhesive hooks, leaving no marks or damage behind.
Now that you know how to hang patio lights using adhesive hooks, let’s explore another creative option: using zip ties!
Option 2: Using Zip Ties
If you’re looking for a versatile and inexpensive method to hang patio lights without nails, zip ties are an excellent choice. These small but mighty fasteners can securely hold your lights in place and are readily available at hardware stores or online. Here’s how you can use zip ties to create a stunning outdoor lighting setup:
1. Plan and Measure: Before you start attaching zip ties, it’s crucial to plan out your lighting design and measure the areas where you want to hang the lights. This will help you determine the number of zip ties you’ll need and ensure an even distribution of the lights.
2. Attach Zip Ties: Securely fasten a zip tie around the base or top of each patio light, leaving a loop or excess length to attach it to your desired hanging points. Alternatively, you can also thread the zip tie directly through the hooks or holes on your light string, creating a stable connection.
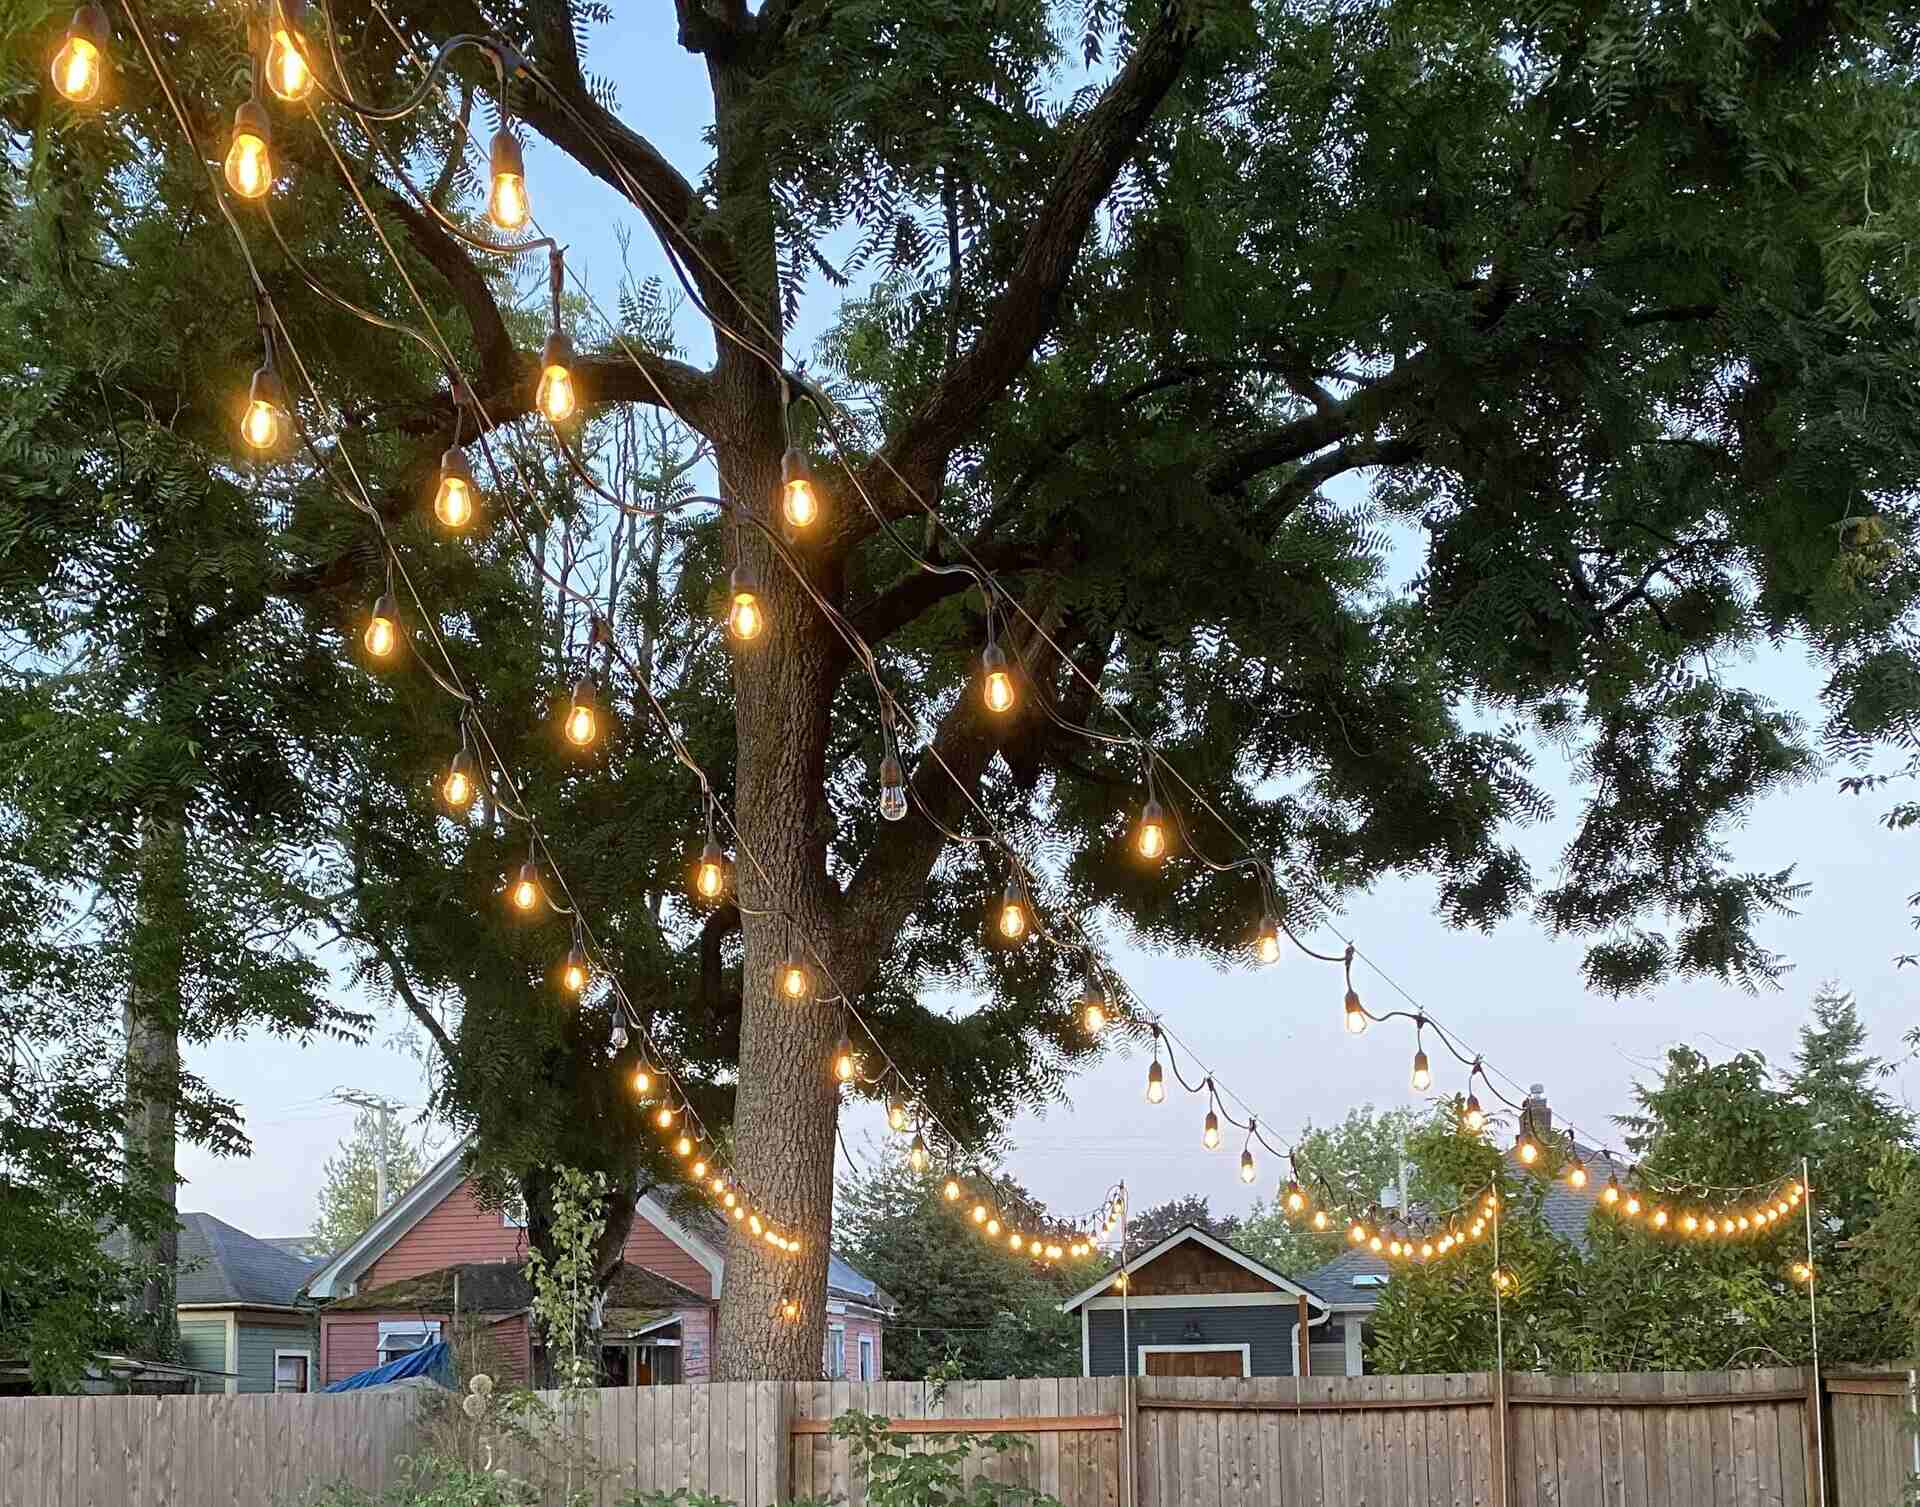
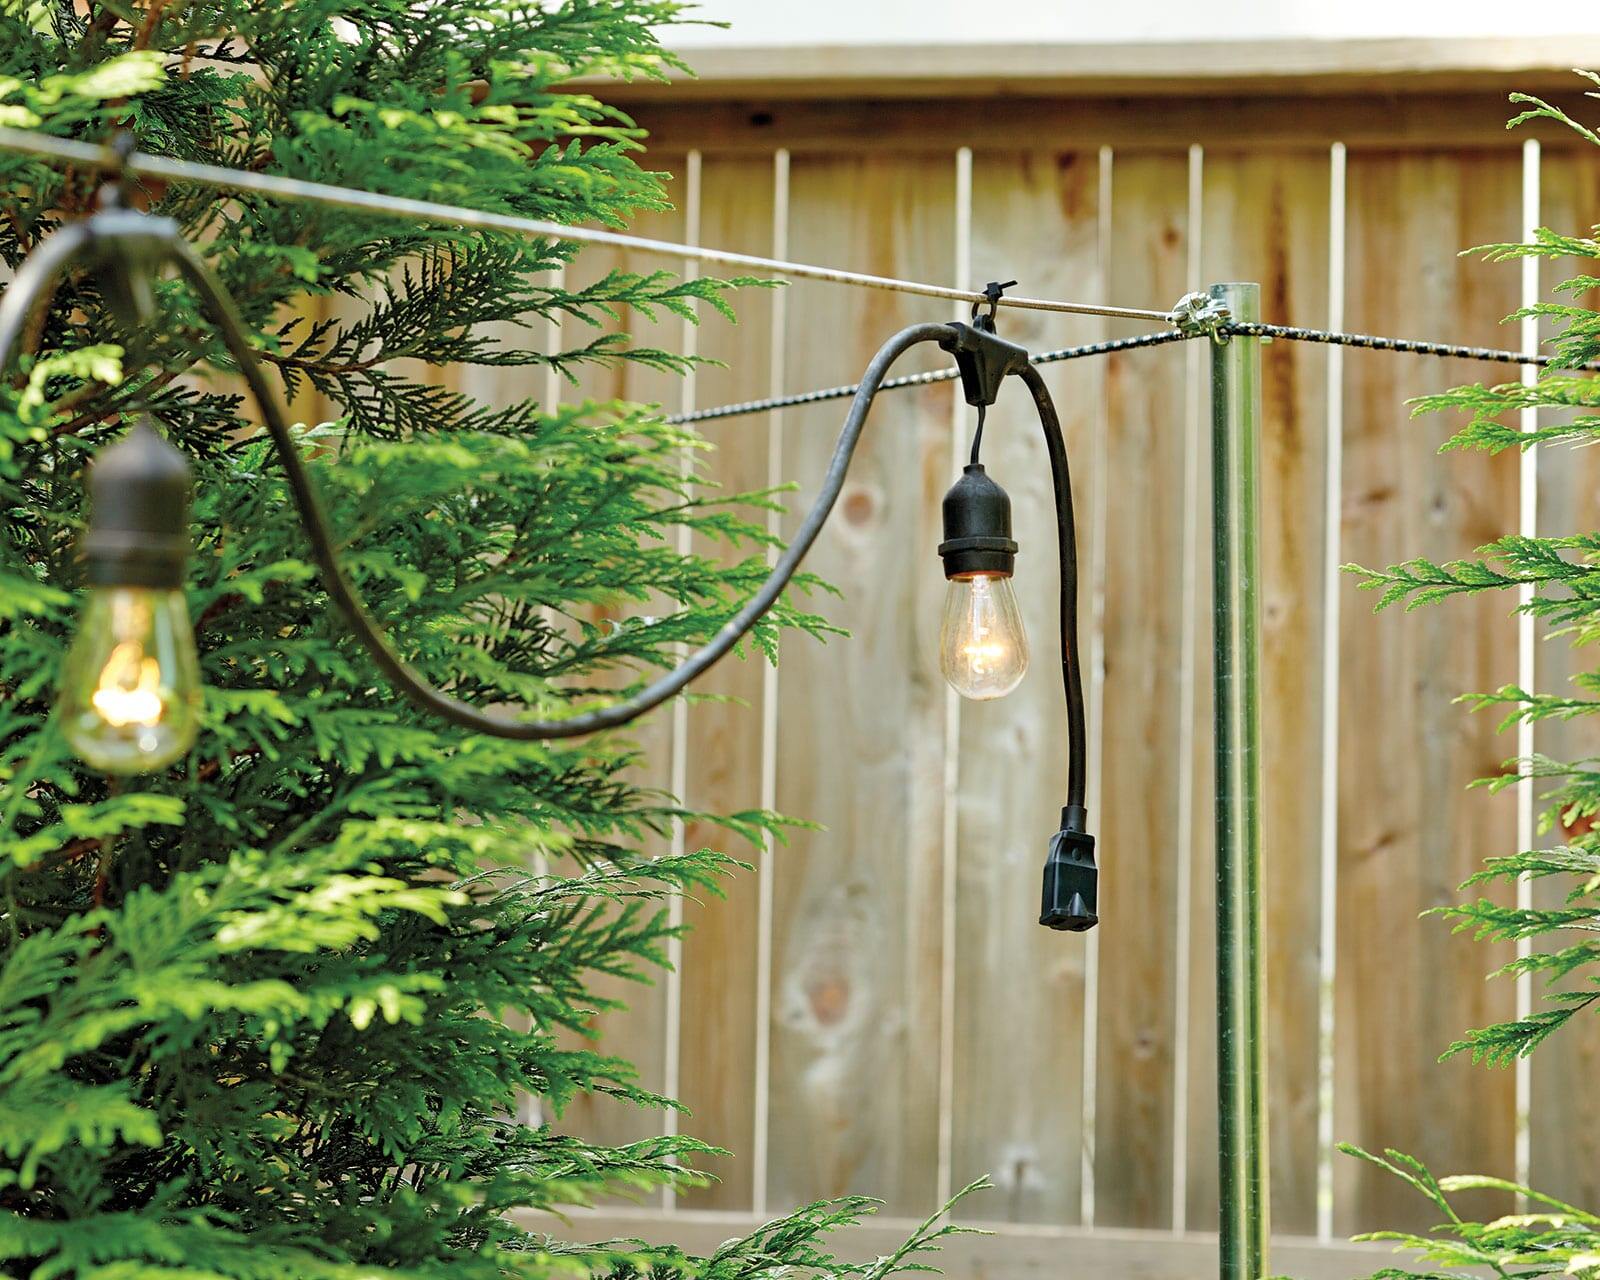
3. Find Attachment Points: Identify suitable attachment points for your patio lights. These can include fence posts, tree branches, pergolas, or any other sturdy structures in your outdoor space. Make sure the attachment points are strong enough to support the weight of the lights.
4. Secure the Lights: Once you have located your attachment points, slip the zip tie loops or excess length through them and pull them tight. Ensure that the lights are hanging securely without sagging or twisting.
5. Trim Excess Zip Tie: After securing the lights, use a pair of scissors or wire cutters to trim off any excess length from the zip ties. Be careful not to damage the lights or the surrounding area while cutting.
Using zip ties offers flexibility when hanging patio lights, as they can be easily adjusted or moved as desired. You can experiment with different heights and configurations, creating a unique and personalized outdoor lighting display.
It’s important to note that zip ties may not be the most visually appealing option, especially if you want a more seamless and discreet look. However, they are highly practical, cost-effective, and provide a strong hold for your patio lights. If aesthetics are a concern, you can opt for zip ties in a color that blends with your light string or choose a shorter length that is less visible.
With zip ties, you can enjoy the convenience of easily hanging and removing your patio lights whenever needed, making them a great temporary solution for outdoor lighting. Now that you’re familiar with using zip ties let’s move on to another option: using tension rods.
Option 3: Using Tension Rods
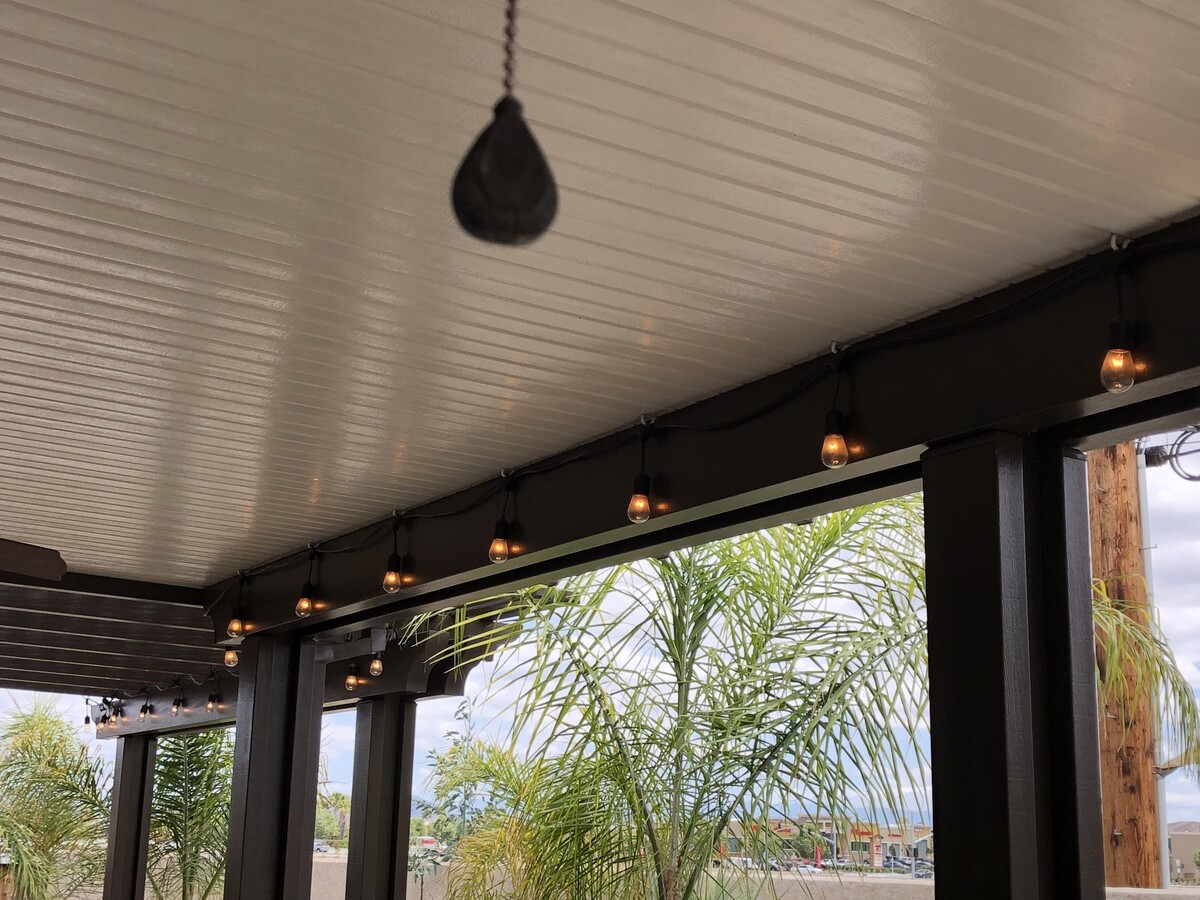
If you have a porch or an outdoor space with walls or columns, using tension rods can be a clever and practical way to hang patio lights without the need for nails. Tension rods are adjustable rods that can be easily installed and removed without causing any damage to your outdoor area. Follow these steps to hang patio lights using tension rods:
1. Measure and Select Rods: Start by measuring the width or height of the area where you want to hang the lights. Choose tension rods that are slightly longer than the measured distance to ensure a secure fit.
2. Install the Rods: Twist the tension rods to adjust their length and insert them into the desired location. For example, if you have a porch with walls, position the rods horizontally at the top of the walls. If you have columns, position the rods vertically between them.
3. Test the Stability: Once the rods are in place, test their stability by applying gentle pressure to ensure they are securely held in position. If the rods feel wobbly or unstable, adjust their length or position until they provide a secure fit.
4. Hang the Lights: After ensuring the tension rods are installed properly, it’s time to hang your patio lights. Use the built-in hooks or loops on the lights to hang them directly on the tension rods.
5. Adjust and Arrange: Once the lights are hung, take some time to adjust and arrange them to achieve the desired look. You can create patterns or drape them in a specific way to enhance the overall ambiance of your outdoor space.
Using tension rods to hang patio lights offers versatility and flexibility. You can easily adjust the position or height of the rods to accommodate different lighting designs or change the arrangement as needed. Additionally, tension rods can support both string lights and heavier light fixtures, depending on their weight capacity.
One advantage of using tension rods is that they are relatively inconspicuous, blending seamlessly into the surrounding area. This gives your outdoor space a clean and tidy appearance while still providing a beautiful lighting effect.
However, keep in mind that tension rods may not be suitable for all outdoor setups. Ensure that you have suitable attachment points or structures to insert the rods securely. In addition, be mindful of any weight limitations specified by the manufacturer and avoid overloading the rods to prevent accidents or damage.
With tension rods, you can easily hang patio lights and create a stunning and inviting outdoor area. Now that you’ve learned how to use tension rods, let’s explore another option: using screw hooks.
Use adhesive hooks or clips to hang patio lights without nails. Make sure to clean the surface before applying the adhesive and follow the weight limit of the hooks or clips.
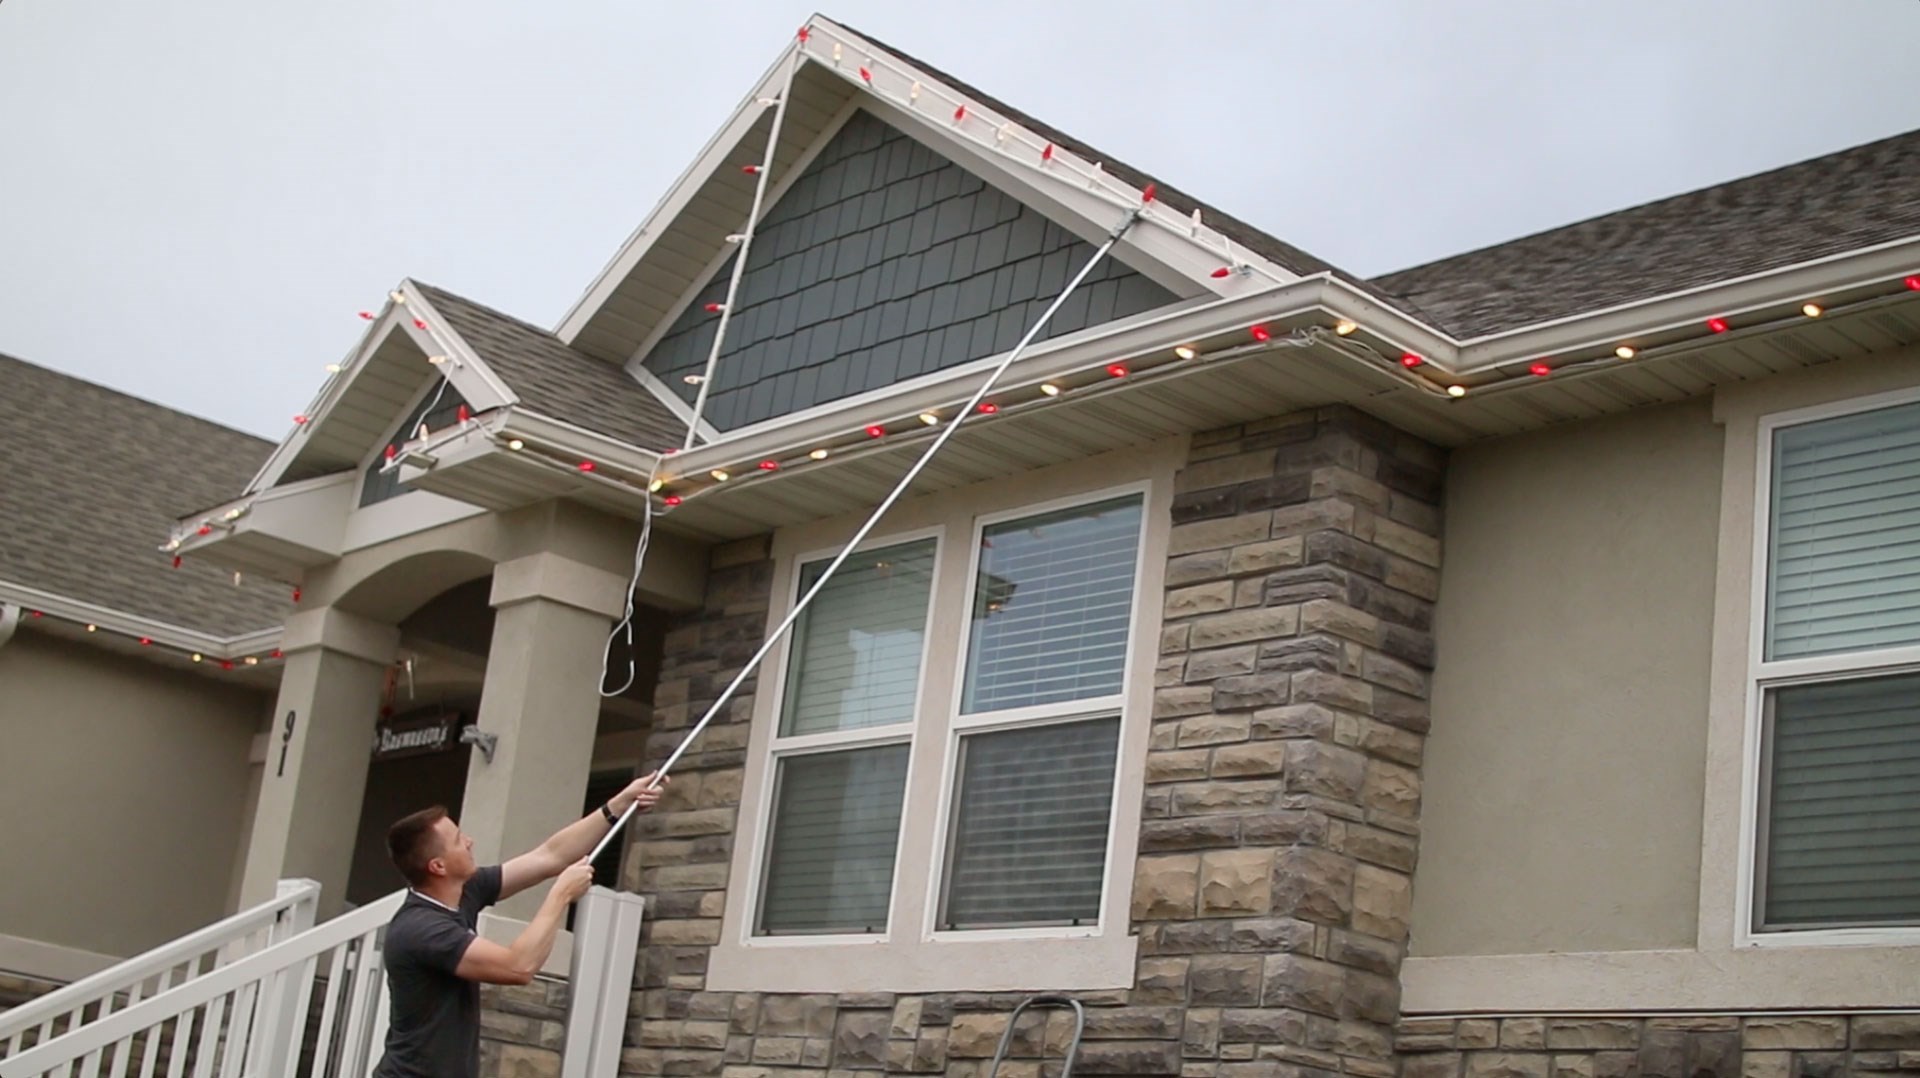
Option 4: Using Screw Hooks
If you have a solid structure, such as a pergola or a deck, using screw hooks can provide a sturdy and reliable solution for hanging patio lights. Screw hooks are small hooks with threaded ends that can be easily screwed into wood, making them ideal for outdoor areas with wooden structures. Here’s how you can use screw hooks to hang your patio lights:
1. Plan and Measure: Before you start installing the screw hooks, plan out the layout of your patio lights and determine where you want to hang them. Measure the distances between the attachment points to ensure an even distribution of the lights.
2. Choose the Right Hooks: Select screw hooks that are appropriate for your outdoor space. Consider the weight and length of the patio lights, as well as the durability of the wood you’ll be screwing into. Opt for hooks with a strong and corrosion-resistant material to withstand the outdoor elements.
3. Mark the Attachment Points: Use a pencil or marker to mark the attachment points on the wooden structure, ensuring they align with your planned layout. Take into account the length and position of the lights to achieve the desired look.
4. Pre-drill Pilot Holes: To make screwing the hooks into the wood easier, pre-drill pilot holes at each marked attachment point. The diameter of the pilot holes should be slightly smaller than the screw hooks to provide a secure fit.
5. Screw in the Hooks: Starting at one attachment point, screw the hook into the pre-drilled hole using a screwdriver or drill. Make sure to apply firm and steady pressure to ensure the hook is securely fastened. Repeat this process for each attachment point.
6. Hang the Lights: Once all the screw hooks are in place, you can start hanging your patio lights. Attach one end of the light string to the first hook and then stretch the lights across to the next hook, securing it in place. Continue this process until all the lights are hung.
Using screw hooks provides a durable and long-lasting solution for hanging patio lights. They can support heavier light strings and withstand varying weather conditions, making them an ideal option for permanent outdoor lighting installations.
It’s important to note that using screw hooks may require some basic tools and DIY skills. If you’re uncomfortable with drilling or screwing into wood, you may want to seek the assistance of a professional or someone experienced in carpentry.
Another consideration when using screw hooks is the potential for damage to the wooden structure. Be mindful of the location and distribution of the hooks to prevent weakening or compromising the integrity of the wood.
By utilizing screw hooks, you can confidently and securely hang your patio lights, creating a beautiful illuminated space for your outdoor gatherings. Now, let’s explore our final option: using PVC pipes.
Read more: How To Hang Patio Lights On A Covered Patio
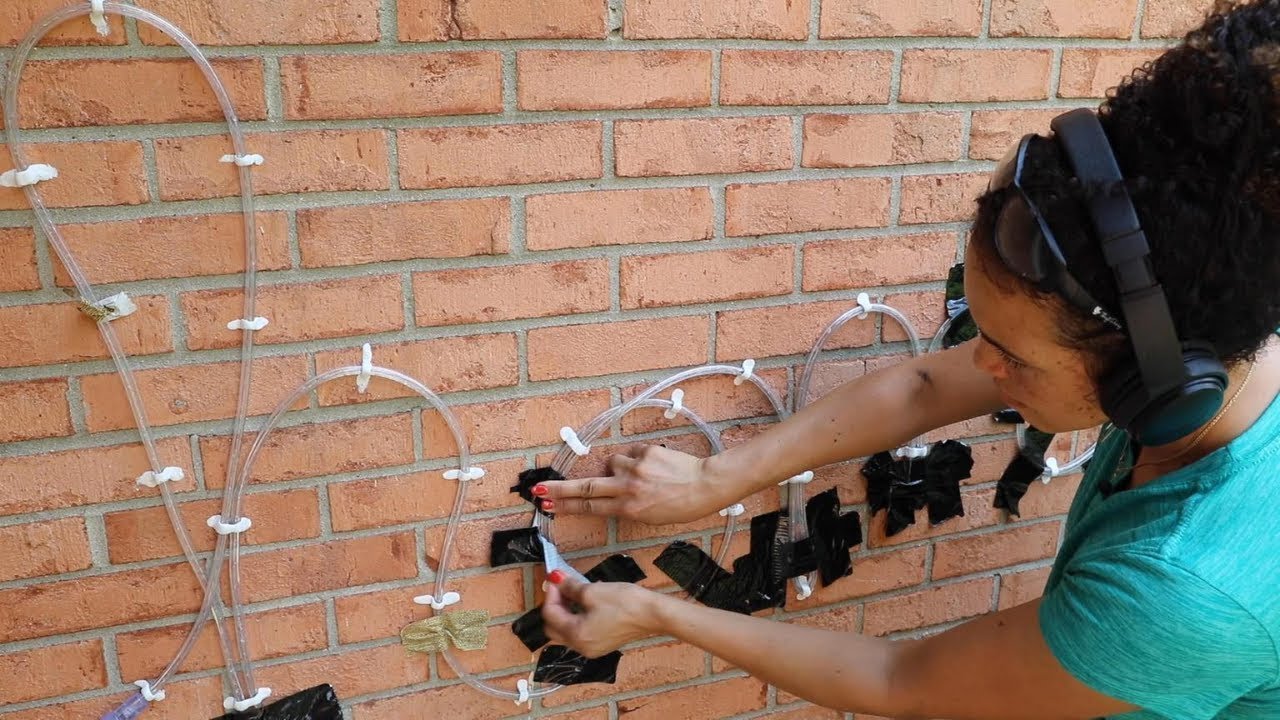
Option 5: Using PVC Pipe
If you’re looking for a unique and customizable option to hang patio lights, using PVC pipe can be a creative solution. PVC pipes are versatile and can be easily modified to create a framework for your lights. Follow these steps to create a stunning lighting display using PVC pipe:
1. Gather Supplies: Start by collecting the necessary supplies, including PVC pipes, connectors, and PVC adhesive. You can find these materials at your local hardware store or online. Make sure to choose PVC pipes with a diameter suitable for your lighting needs.
2. Measure and Cut: Measure the desired length of your PVC pipe sections, considering the area where you’ll be installing them. Use a PVC pipe cutter or a saw to cut the pipes to the appropriate size. You may want to create multiple sections to form a framework or structure for your lights.
3. Assemble the Pipes: Connect the PVC pipe sections using the appropriate connectors. PVC connectors come in various shapes, such as elbows, T-joints, and cross-joints, allowing you to design and assemble your desired framework or structure.
4. Glue the Joints: Apply PVC adhesive to the inside of each joint before connecting the PVC pipes. This will provide additional stability and ensure that the joints remain securely connected.
5. Attach the Lights: Once your PVC framework is assembled, you can begin attaching your patio lights. Use zip ties or adhesive clips to secure the lights to the PVC pipe, ensuring they are evenly spaced and hang according to your desired design.
6. Install the PVC Structure: Depending on your outdoor space and preference, you can position the PVC structure on the ground, hang it from an overhead structure, or secure it to existing structures such as fences or walls. Use screws or zip ties to secure the PVC structure in place.
Using PVC pipe to hang patio lights allows for endless design possibilities. You can create straight lines, curves, or even intricate shapes by connecting and manipulating the pipes. Additionally, PVC is a durable material that can withstand different weather conditions, ensuring that your lighting display remains intact throughout the seasons.
One advantage of using PVC pipe is the ability to easily modify or expand your lighting setup. You can add more sections or connectors to accommodate longer light strings or change the design as desired. PVC pipe also provides a neat and organized look, keeping your patio lights securely in place.
Remember to consider the weight and length of your light strings when designing your PVC structure. Ensure that the PVC pipes and connectors can support the weight without bending or breaking. If you plan to hang heavier light fixtures, opt for thicker and more robust PVC pipes.
By utilizing PVC pipe, you can showcase your creativity while hanging patio lights in a unique and visually striking manner. Now that you’ve explored various options for hanging patio lights without nails, it’s time to choose the method that best suits your needs and start creating a beautiful outdoor lighting display.
Conclusion
In conclusion, hanging patio lights without nails is easily achievable with a variety of creative solutions. Whether you opt for adhesive hooks, zip ties, tension rods, screw hooks, or PVC pipes, each method offers its own advantages and can help transform your outdoor space into a captivating oasis.
Adhesive hooks provide a convenient and temporary solution for lightweight string lights. They are ideal for renters or those who prefer a damage-free installation. Zip ties offer versatility and adjustability, allowing you to securely fasten patio lights to various attachment points. Tension rods are perfect for porch or column setups, providing a stable and movable option. Screw hooks offer durability and strength, suitable for permanent installations on solid structures like pergolas or decks. PVC pipes provide a customizable framework for hanging lights, allowing you to create unique designs with ease.
When choosing the method that best suits your needs, consider factors such as the weight and length of your light strings, the specific requirements of your outdoor area, and your desired aesthetic. It’s also essential to prioritize safety and ensure that any attachment points or structures you use can support the weight of the lights.
By following the steps outlined for each option, you can confidently and securely hang your patio lights while avoiding damage to your outdoor space. Whether you’re looking to create a cozy ambiance for intimate gatherings or a festive atmosphere for outdoor parties, these methods allow you to effortlessly achieve the perfect lighting arrangement.
Remember, outdoor lighting not only enhances the visual appeal of your outdoor area but also extends the usability of your space well into the evening hours. So, unleash your creativity and let your patio lights illuminate your outdoor space with warmth and charm.
Now that you have a range of options at your disposal, have fun exploring and discovering the method that best suits your needs and personal style. Embrace the magic of patio lights and transform your outdoor space into a captivating haven for relaxation and entertainment.
Frequently Asked Questions about How To Hang Patio Lights Without Nails
Was this page helpful?
At Storables.com, we guarantee accurate and reliable information. Our content, validated by Expert Board Contributors, is crafted following stringent Editorial Policies. We're committed to providing you with well-researched, expert-backed insights for all your informational needs.


0 thoughts on “How To Hang Patio Lights Without Nails”