Home>Furniture>Outdoor Furniture>How To Install Patio Shade Sails
Outdoor Furniture
How To Install Patio Shade Sails
Modified: March 24, 2024
Learn how to properly install patio shade sails for your outdoor furniture. Create a stylish and comfortable outdoor space with our step-by-step guide.
(Many of the links in this article redirect to a specific reviewed product. Your purchase of these products through affiliate links helps to generate commission for Storables.com, at no extra cost. Learn more)
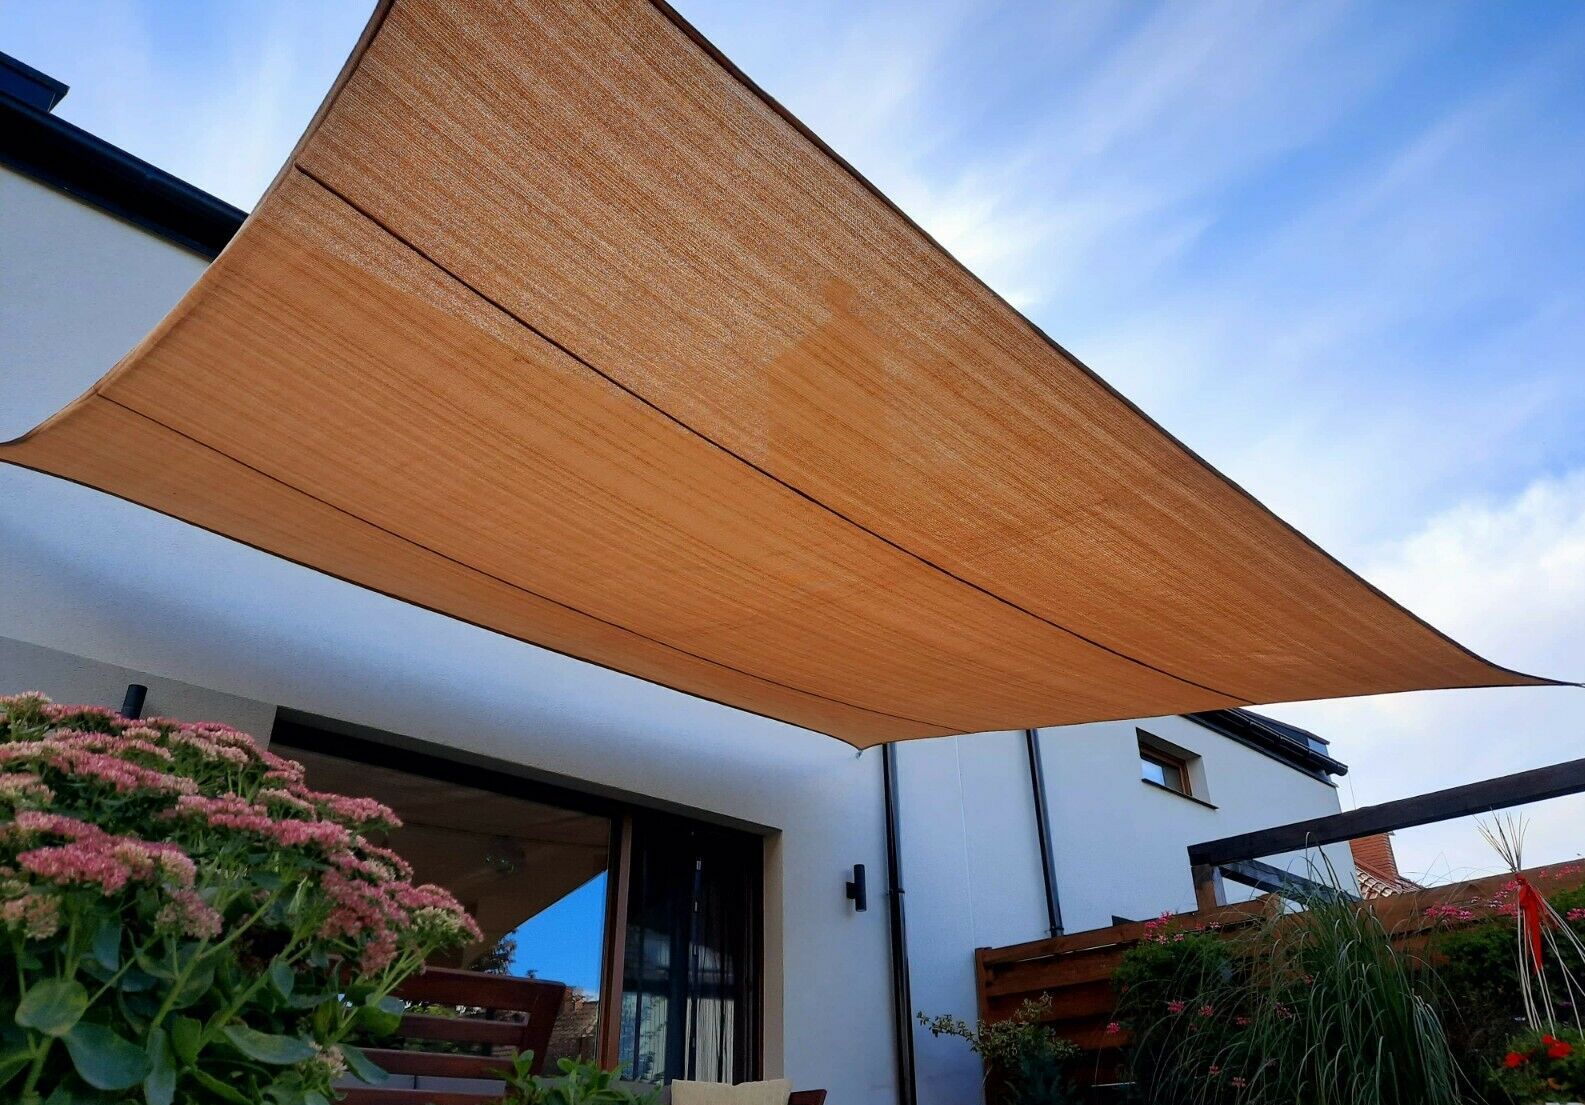
Introduction
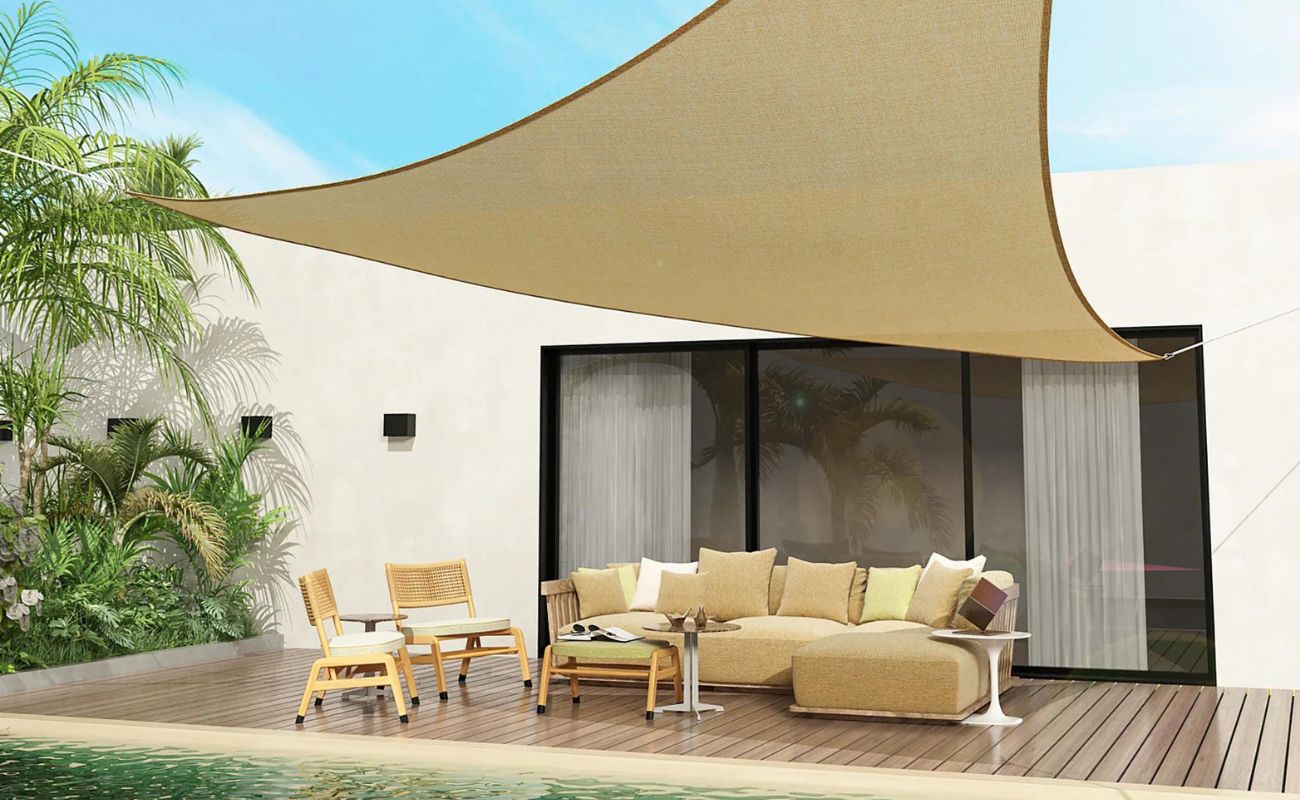
Welcome to our comprehensive guide on how to install patio shade sails. If you have a patio or outdoor space that gets too much sun, installing shade sails can provide the perfect solution. Not only do they offer protection from the sun’s rays, but they also add a stylish and functional element to your outdoor area.
Shade sails are versatile and can be installed in a variety of locations, including over patios, decks, pools, and even playgrounds. They come in different shapes, sizes, and colors, allowing you to create a custom look that matches your outdoor aesthetic.
In this guide, we’ll take you through the step-by-step process of installing patio shade sails. We’ll cover everything from assessing your space and selecting the right shade sail to measuring and marking the installation points, attaching the mounting hardware, and adjusting and tightening the sail.
Whether you’re a seasoned DIY enthusiast or a first-time installer, this guide will provide you with the knowledge and confidence to tackle your shade sail installation project. So, let’s dive in and create a cool and comfortable outdoor oasis!
Key Takeaways:
- Choose the right shade sail by considering size, material, color, hardware, UV protection, and warranty. Proper installation and tensioning are crucial for functionality and longevity.
- Regularly inspect and maintain your shade sail to ensure optimal performance. Test sun coverage, check tension, inspect mounting points, clean fabric, and monitor outdoor conditions for long-lasting enjoyment.
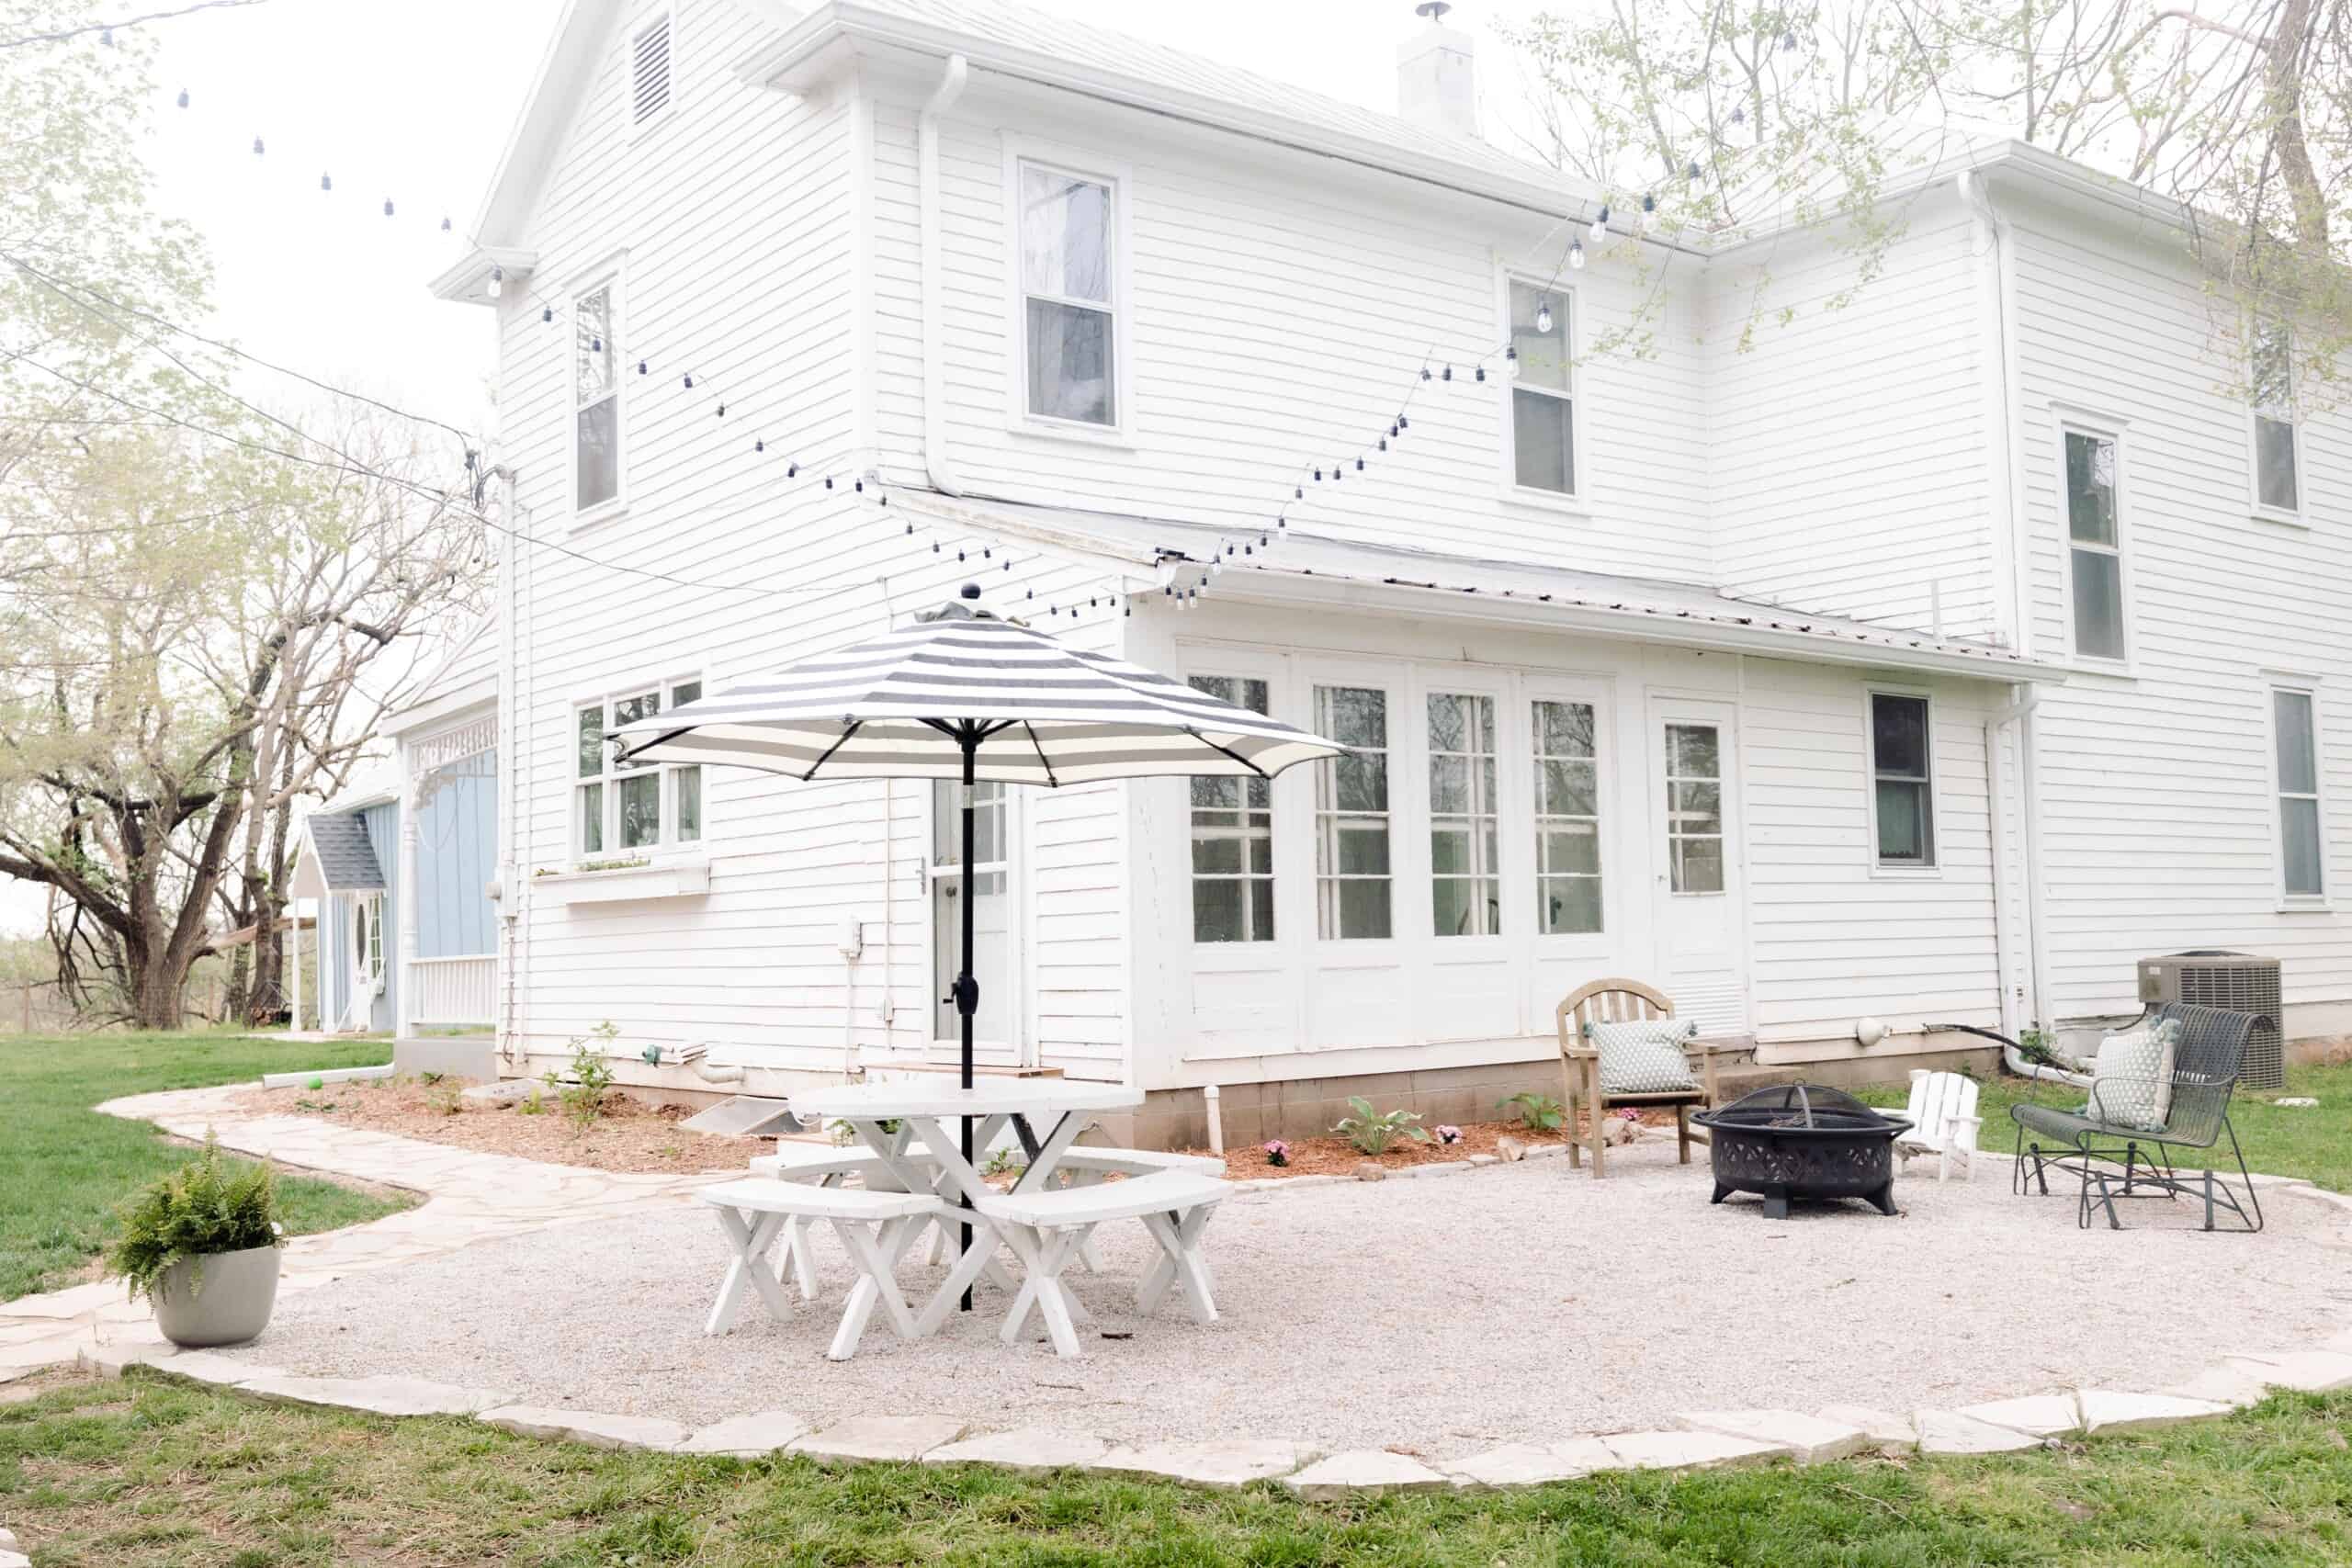
Step 1: Assessing Your Space
Before you start installing a shade sail, it’s essential to assess your space to determine the best location and size for your sail. Here are a few factors to consider:
- Orientation: Take note of the direction your space is facing, as it will affect the sun’s angle and the amount of shade needed. East and west-facing spaces typically get more direct sunlight, while spaces facing north or south may have different sun exposure patterns throughout the day.
- Size and Shape: Measure your outdoor area to determine the appropriate size and shape of the shade sail. Consider the coverage you desire and any obstructions like trees or structures that may affect the sail’s placement.
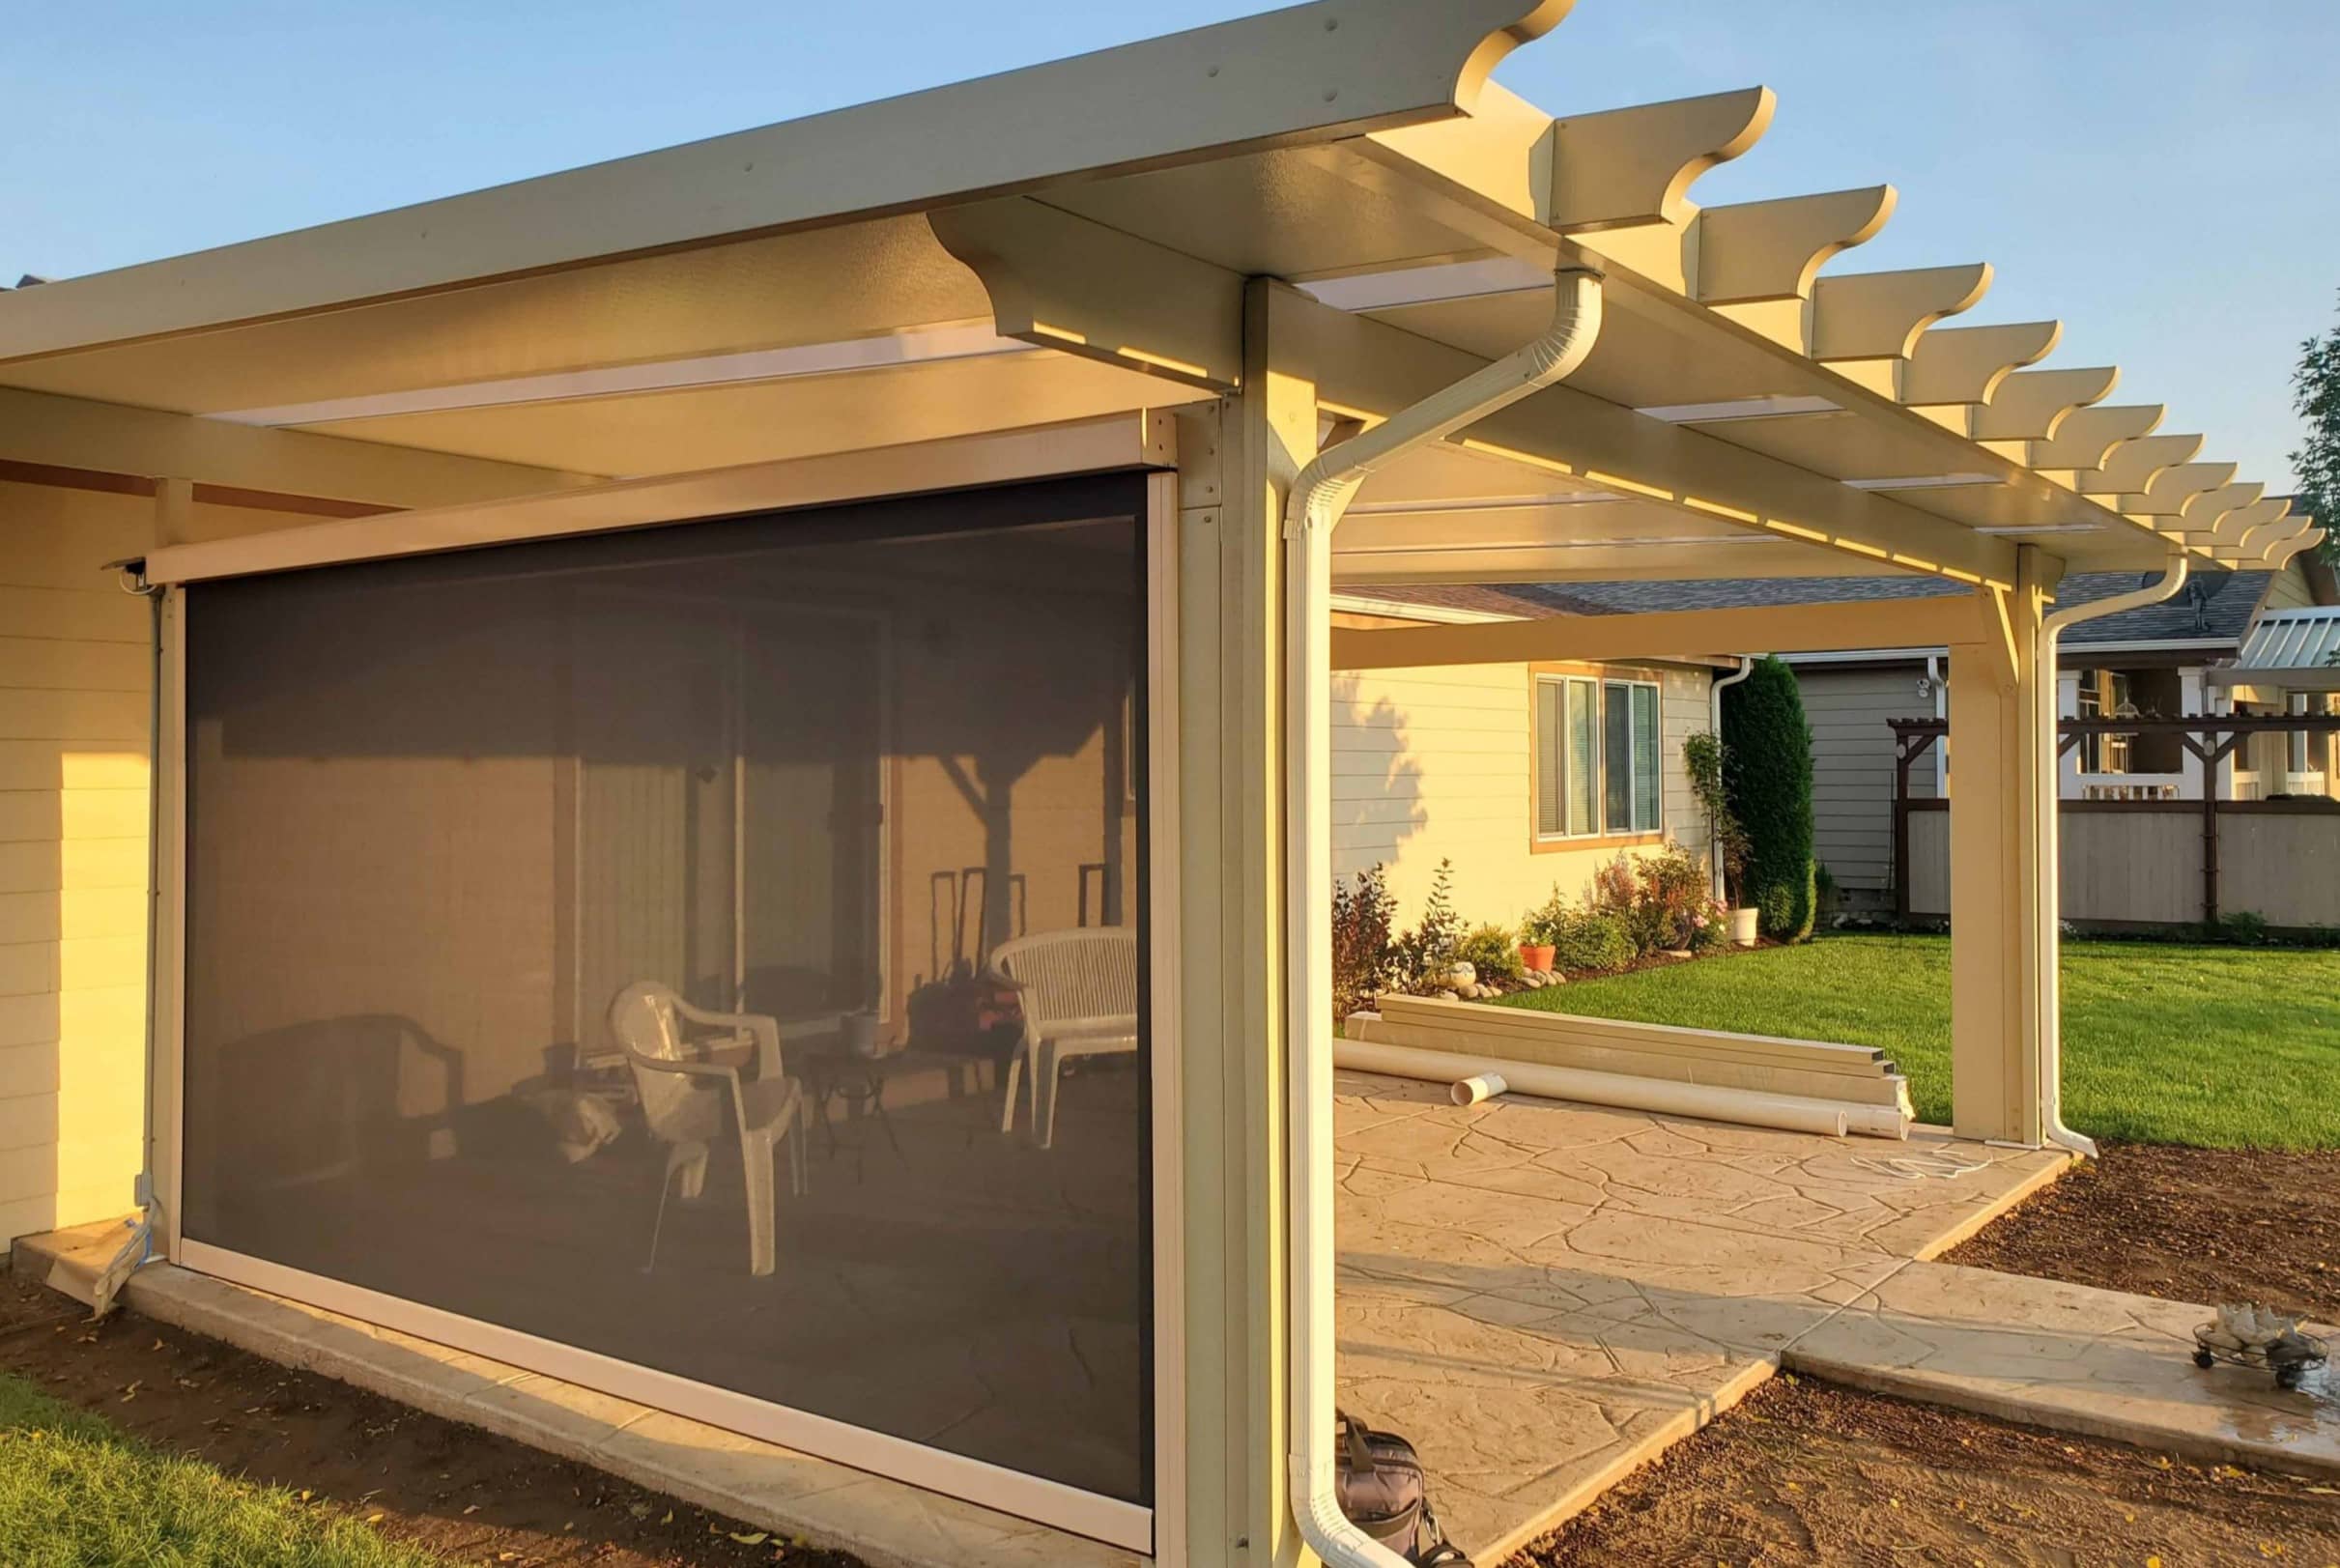
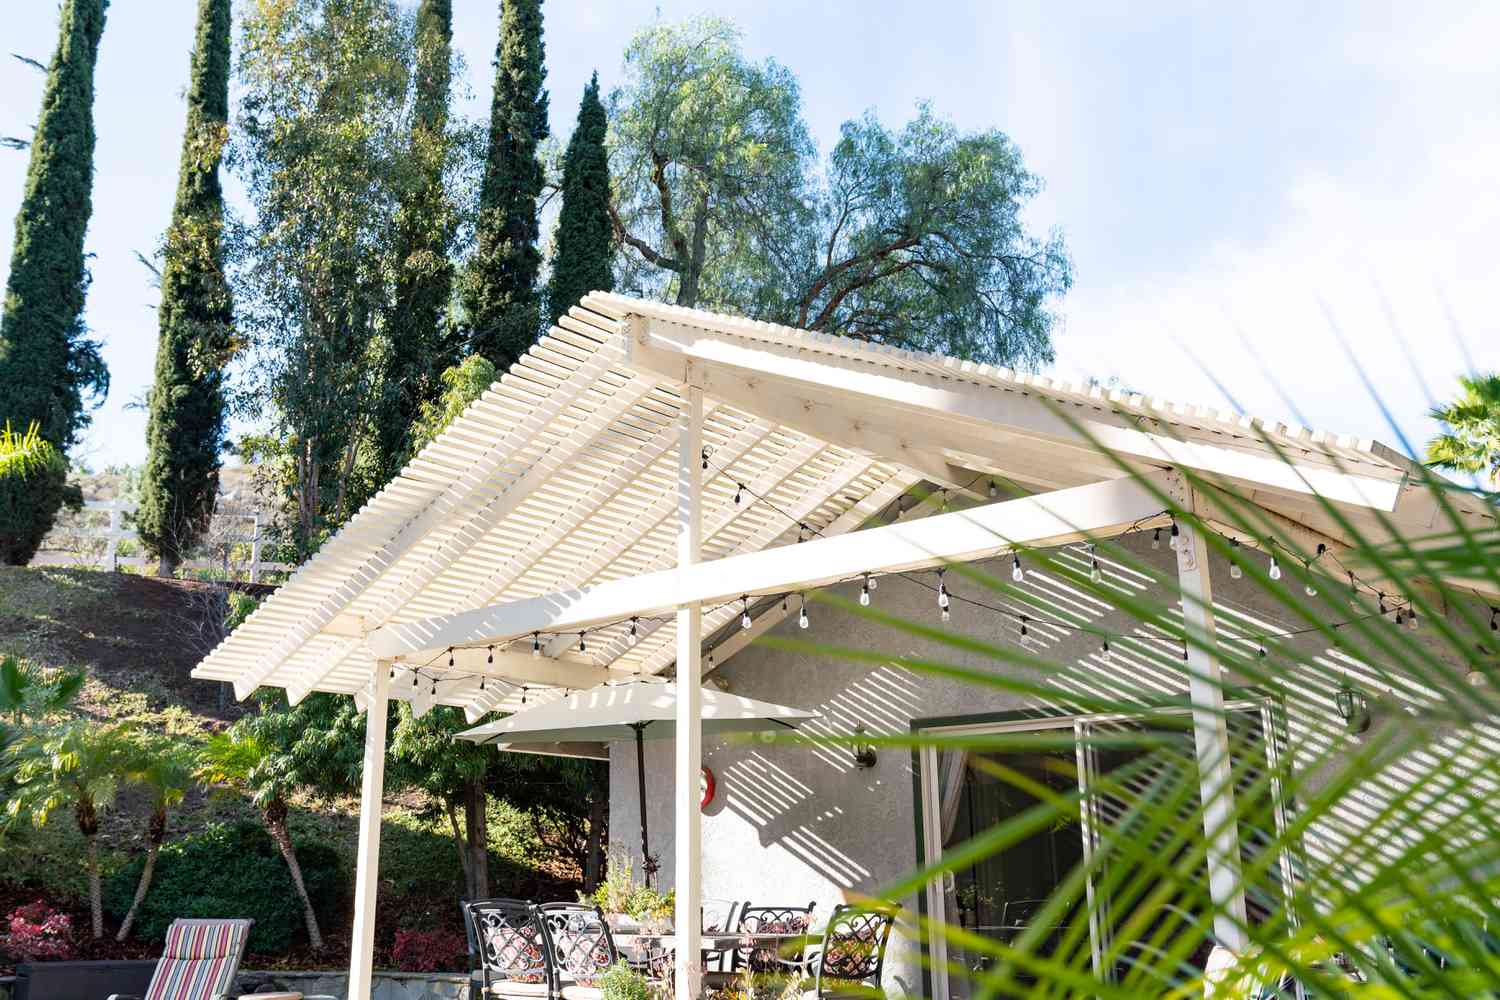
- Mounting Points: Inspect your space for suitable mounting points. This could include existing structures such as walls, pergolas, or posts that can support the shade sail. It’s important to ensure these mounting points are structurally sound and can withstand the tension created by the sail.
- Obstructions: Identify any potential obstacles like trees, power lines, or overhead structures that could interfere with the installation of the shade sail or compromise its effectiveness. Make sure to choose a location that provides unobstructed coverage.
- Wind Considerations: Take into account the wind patterns in your area. Shade sails need to be tensioned properly to withstand wind, so it’s important to choose a location with minimal exposure to strong gusts.
By carefully assessing your space, you can ensure that your shade sail installation is not only aesthetically pleasing but also functional and durable. Once you have a clear understanding of your space’s specific requirements, you can move on to the next step of selecting the right shade sail.
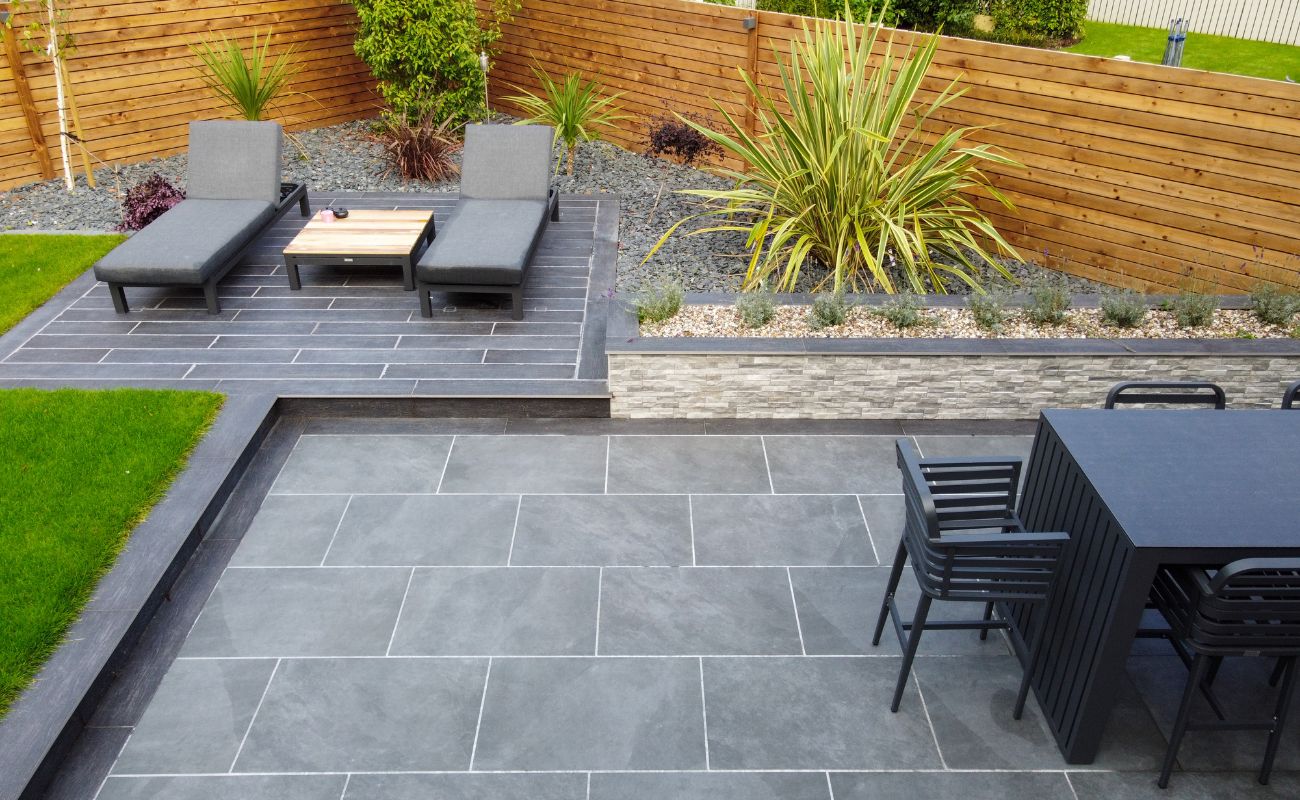
Step 2: Selecting the Right Shade Sail
Choosing the right shade sail for your outdoor space is crucial to ensure both functionality and aesthetics. Here are some factors to consider when selecting a shade sail:
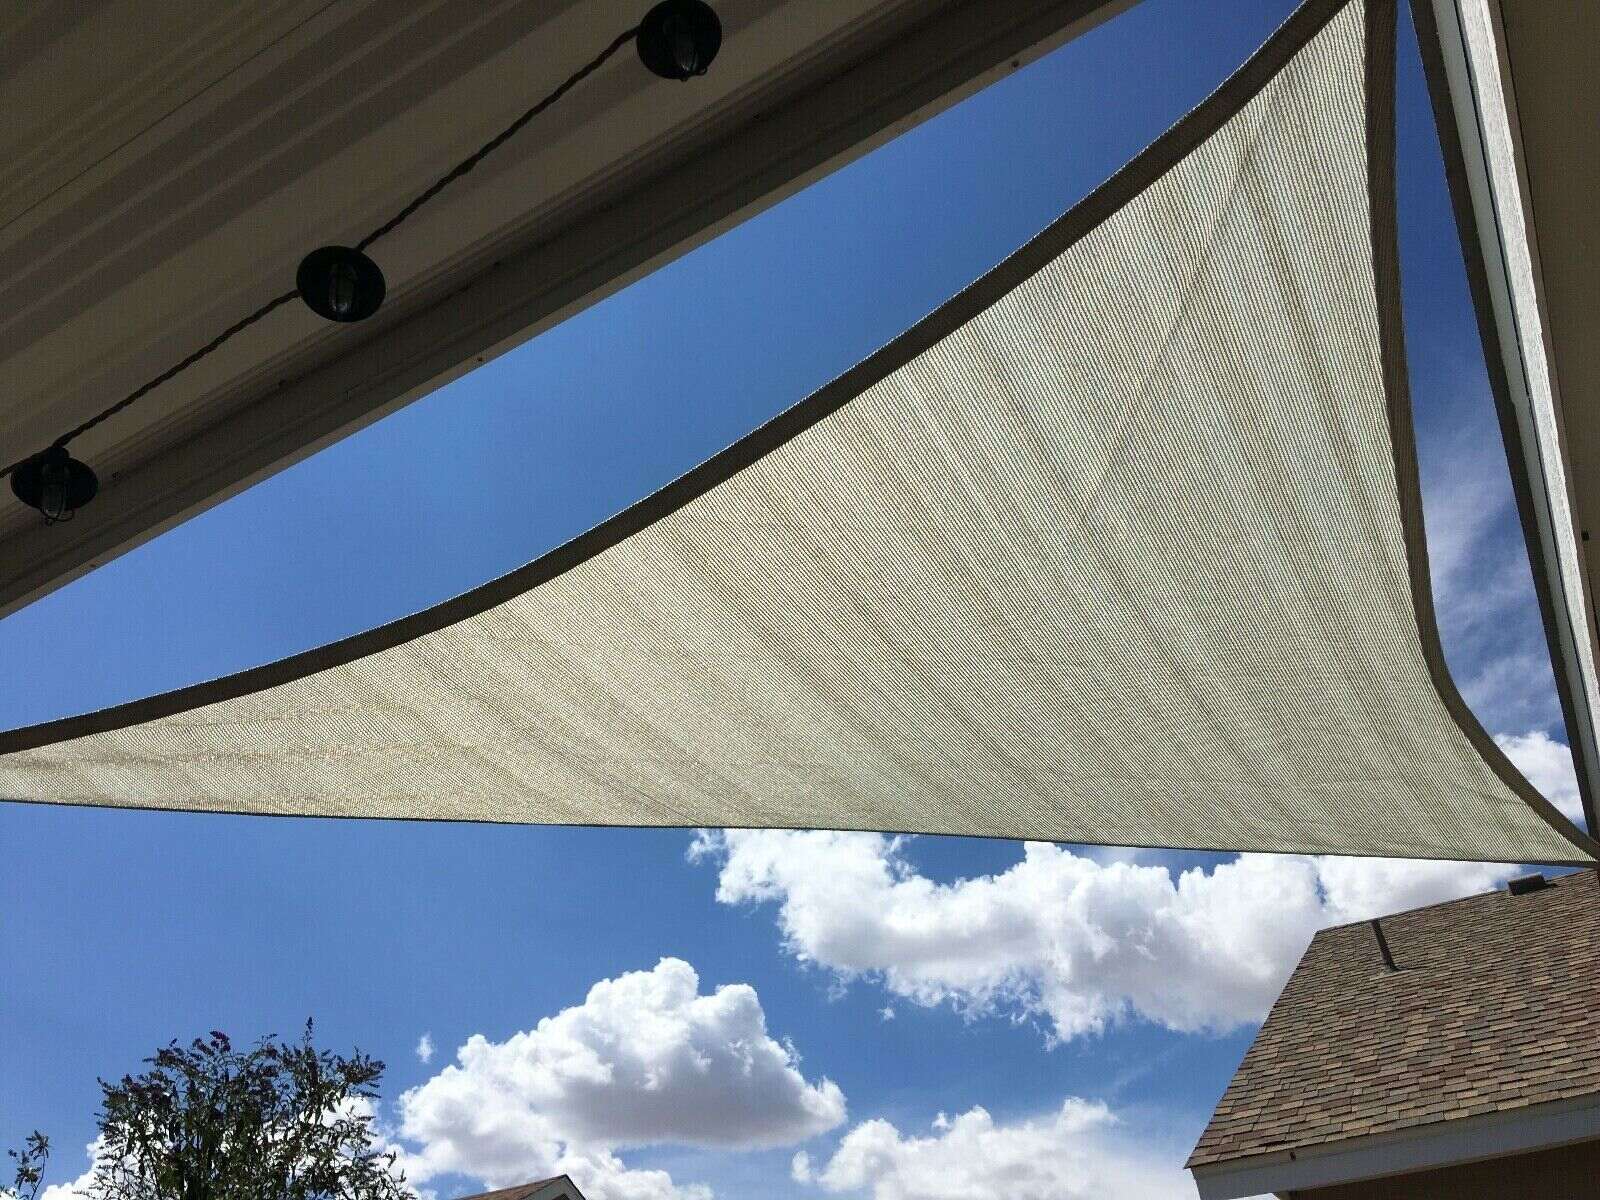
- Size and Shape: Consider the dimensions and shape of your outdoor area when selecting a shade sail. Measure the space accurately to determine the appropriate size. Shade sails come in various shapes, such as triangle, square, and rectangle, so choose one that fits your space and desired coverage.
- Material: Shade sails are typically made from high-density polyethylene (HDPE) fabric, which is durable and provides excellent UV protection. Look for shade sails that are made from UV-stabilized fabric to ensure longevity and protection from the sun’s harmful rays.
- Color: Shade sails come in a range of colors, so consider the overall aesthetic of your outdoor space when choosing a shade sail color. Lighter colors reflect more heat and provide a brighter and airier feel, while darker colors create a more intimate and cozy ambiance.
- Hardware: Pay attention to the hardware that comes with the shade sail. Quality mounting hardware, such as stainless steel turnbuckles, D-rings, and carabiners, are essential for a secure installation. Ensure that the hardware is corrosion-resistant and durable to withstand outdoor conditions.
- UV Protection: Check the UV protection rating of the shade sail. Look for a shade sail with a UV blockage of at least 90% to provide optimal protection from the sun’s rays.
- Warranty: Consider the warranty offered by the manufacturer. A longer warranty period indicates the confidence of the manufacturer in the quality and durability of their shade sail.
By considering these factors, you can select a shade sail that not only fits your outdoor space but also meets your specific needs. Once you have chosen the right shade sail, you can proceed to the next step of measuring and marking the installation points.
Step 3: Measuring and Marking the Installation Points
Now that you have selected the perfect shade sail for your outdoor space, it’s time to measure and mark the installation points. Here’s how to do it:
- Measure the Space: Use a tape measure to determine the length and width of the area where you want to install the shade sail. Take precise measurements to ensure a proper fit.
- Determine the Sail Shape: Consider the shape of your shade sail and visualize the desired placement. Triangular sails require three mounting points, while square or rectangular sails need four.
- Select Mounting Points: Identify the suitable mounting points on existing structures, such as walls, posts, or pergolas. Ensure that the chosen points are strong enough to support the tension of the shade sail.
- Mark the Spots: Use a pencil or a marker to mark the selected mounting points on the structures. Make sure the marks are visible and easy to reference during the installation process.
- Measure for Tension: For proper tensioning of the shade sail, measure the distance between each marked mounting point. It’s crucial to maintain equal tension on all sides to ensure stability and prevent sagging.
- Prepare Anchorage Points: If you don’t have suitable existing structures, you may need to install additional posts or anchor points. Measure and mark the spots where these anchorage points should be placed to provide proper support for the shade sail.
By accurately measuring and marking the installation points, you will ensure a smooth and secure installation process. Take your time with this step to double-check all measurements and markings before moving on to the next step.
Next, we’ll cover the process of attaching the mounting hardware, which is essential for properly securing the shade sail.
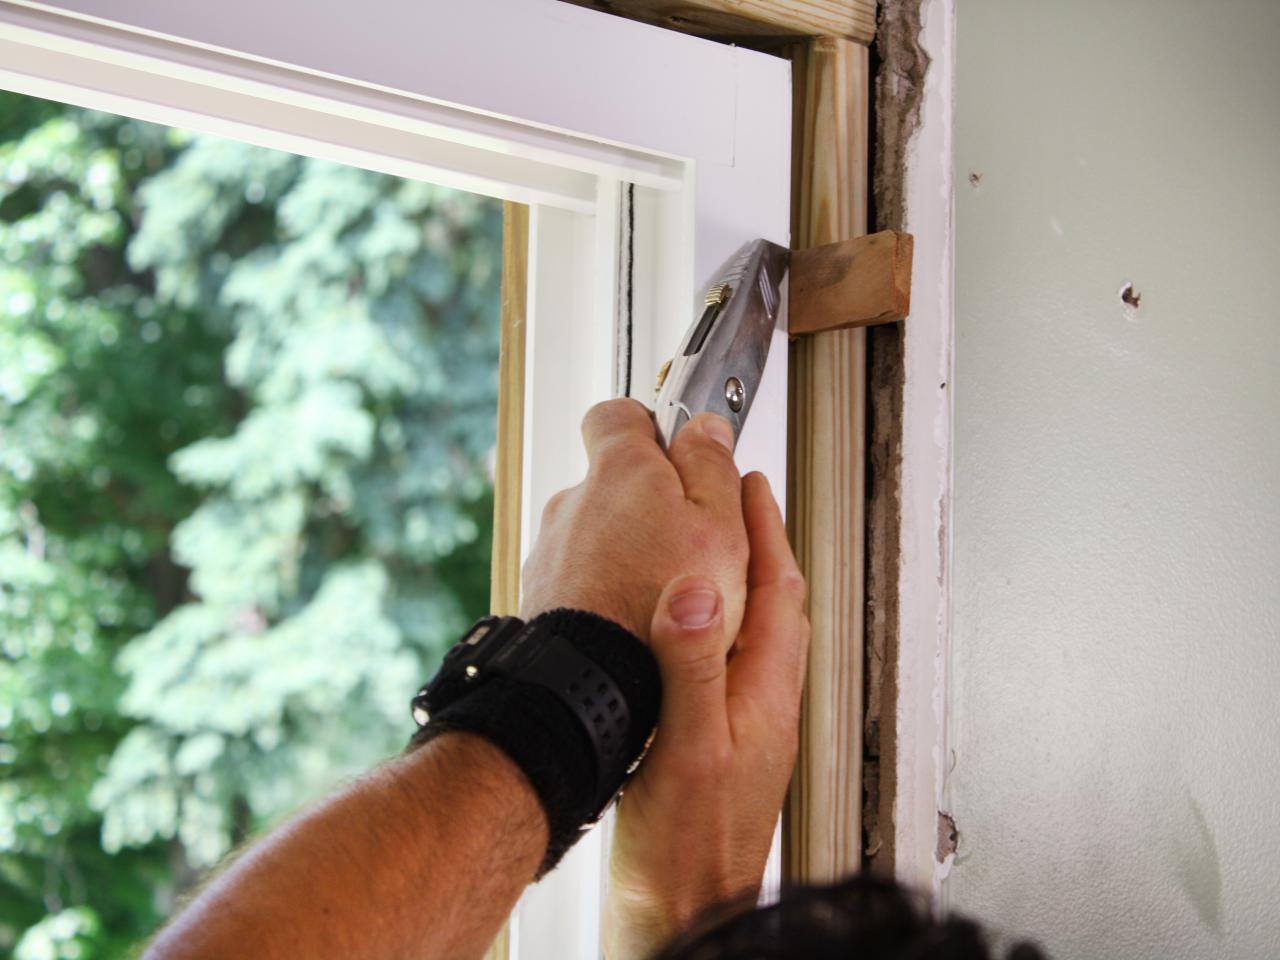
Step 4: Attaching the Mounting Hardware
Now that you have measured and marked the installation points for your shade sail, it’s time to attach the mounting hardware. The mounting hardware will secure the shade sail to the designated mounting points. Here’s how to do it:
- Gather the Hardware: Collect all the necessary mounting hardware, including turnbuckles, D-rings, carabiners, and screws. Ensure that the hardware is compatible with the type of mounting points and the material of the structures you are attaching it to.
- Prep the Mounting Points: If you are attaching the shade sail to existing structures, clean and inspect the surfaces where the hardware will be installed. Ensure that the surfaces are solid, clean, and free from any debris or obstacles.
- Attach the Turnbuckles: Starting with one corner, attach a turnbuckle to the mounting point on the structure. Use a screwdriver or drill to secure the turnbuckle tightly. Repeat this step for each corner or as required for the shape of your shade sail.
- Secure the D-rings: Thread the D-rings onto the turnbuckles. Ensure that the D-rings are facing in the correct direction to align with the shade sail’s attachment points.
- Connect the Carabiners: Attach a carabiner to each D-ring. These carabiners will link the shade sail to the turnbuckles and provide a secure connection.
- Double-Check the Connections: Before proceeding to the installation of the shade sail, double-check that all the mounting hardware connections are secure and properly tightened.
Proper installation of the mounting hardware is essential for the stability and functionality of your shade sail. Ensure that the hardware is securely attached and that all connections are tightened to prevent any movement or slippage once the shade sail is installed.
Now that the mounting hardware is in place, we can move on to the exciting part – installing the first corner of your shade sail!
Read also: 14 Amazing Patio Sail For 2025
Step 5: Installing the First Corner
With the mounting hardware securely attached, it’s time to start installing your shade sail. We’ll begin with the first corner, which will serve as a starting point for the rest of the installation. Follow these steps:
- Start at the First Mounting Point: Begin at the corner where you attached the turnbuckle and D-ring. Hook the carabiner of the shade sail onto the D-ring.
- Tension the Shade Sail: Slowly begin to tension the shade sail by tightening the turnbuckle. Use a wrench or a turnbuckle tool to gradually increase the tension. Be careful not to overtighten, as this can put unnecessary strain on the hardware and the shade sail fabric.
- Check for Proper Alignment: As you tension the shade sail, ensure that it is aligned and level. Use a level tool to check that the shade sail is not tilted or unevenly aligned. Adjust the tension and alignment as needed.
- Inspect the Fabric and Hardware: Examine the shade sail fabric and hardware for any signs of damage or wear. Check that the fabric is taut and free from any wrinkles, and ensure that all the connections are still secure and tightened properly.
By installing the first corner, you establish the foundation for your shade sail setup. Once the first corner is securely in place and properly tensioned, you can move on to installing the second and third corners.
Let’s proceed to the next step, where we will install the remaining corners to complete the installation of your shade sail.
When installing patio shade sails, make sure to properly tension the fabric to prevent sagging and ensure stability. Use strong, durable hardware and follow manufacturer’s instructions for best results.
Step 6: Installing the Second and Third Corners
Now that the first corner of your shade sail is securely installed and tensioned, it’s time to move on to installing the second and third corners. Follow these steps to complete the installation:
- Attach the Shade Sail: Begin by attaching the second corner of the shade sail to its corresponding hardware. Hook the carabiner onto the D-ring at the second mounting point.
- Tension the Shade Sail: Gradually increase the tension on the shade sail by tightening the turnbuckle attached to the second corner. As you tension the sail, make sure it remains aligned and level with the first corner.
- Adjust the Fabric: While tensioning the shade sail, adjust the fabric to ensure it is evenly spread and free from any wrinkles or sagging. Smooth out any folds or creases in the fabric for a neat and clean appearance.
- Repeat for the Third Corner: Once the second corner is properly tensioned and aligned, move on to the third corner. Attach the shade sail to the third mounting point using the carabiner. Gradually tension the sail by tightening the turnbuckle attached to the third corner.
- Check for Proper Tension and Alignment: As you tension and align the shade sail, keep a close eye on the fabric and hardware. Ensure that the tension is balanced across all three corners and that the fabric is taut and level.
By installing the second and third corners of your shade sail, you are nearing the completion of the installation. The shade sail should now be taking shape and providing the desired coverage and protection in your outdoor space.
Next, let’s move on to the final step of installing the fourth corner to complete the installation of your shade sail.
Step 7: Installing the Fourth Corner
With the first three corners of your shade sail securely installed and tensioned, it’s time to complete the installation by installing the fourth corner. Follow these steps to finish the installation:
- Attach the Shade Sail: Begin by attaching the fourth corner of the shade sail to its corresponding mounting point. Hook the carabiner onto the D-ring at the fourth corner.
- Tension the Shade Sail: Gradually increase the tension on the shade sail by tightening the turnbuckle attached to the fourth corner. As you tension the sail, ensure that it remains aligned and level with the other corners.
- Adjust the Fabric: While tensioning the shade sail, make any necessary adjustments to the fabric to ensure it is evenly spread and free from wrinkles or sagging. Smooth out any folds or creases for a clean and professional appearance.
- Check Overall Alignment and Tension: Once the fourth corner is properly tensioned and aligned, step back and assess the overall appearance and tension of your shade sail. Verify that all corners are evenly tensioned and that the fabric is stretched taut without any slack.
- Ensure Secure Connections: Check all the mounting hardware connections to ensure they are secure and tightened properly. Verify that the carabiners are fully closed, and the D-rings are securely attached to the turnbuckles.
With the installation of the fourth corner, your shade sail is now fully installed and properly tensioned. Take a moment to admire your work and appreciate the transformation it has brought to your outdoor space!
However, before you start enjoying your newly shaded area, there are a few final steps to complete the installation.
Let’s move on to the next step to learn how to adjust and tighten the shade sail for optimal performance and appearance.
Step 8: Adjusting and Tightening the Shade Sail
After installing all four corners of your shade sail, it’s important to make final adjustments and tighten the sail for optimal performance and appearance. Follow these steps to ensure your shade sail is properly adjusted:
- Inspect the Tension: Look at each corner of the shade sail to check for any signs of sagging or uneven tension. Adjust the turnbuckles as needed to achieve even tension across all corners.
- Observe the Fabric: Examine the shade sail fabric to ensure it is uniformly taut and smooth. Smooth out any wrinkles or folds by adjusting the tension and position of the shade sail, if necessary.
- Check for Proper Slope: Ensure that your shade sail has a slight slope to allow rainwater to drain off. Aim for a minimum 10% slope for effective water runoff and to prevent water pooling on the fabric.
- Consider Sun Angles: Take note of the sun’s angles throughout the day to adjust the position of the sail accordingly. The shade sail can be repositioned or partially angled to provide optimal shade coverage as the sun moves.
- Test for Stability: Gently pull and tug on each corner of the shade sail to ensure that it is securely and sturdily anchored. Check that the mounting points and hardware are holding up well under the tension.
By adjusting and tightening your shade sail, you can maximize its effectiveness in providing shade and protection while maintaining an aesthetically pleasing appearance. Proper tensioning will also ensure the longevity and durability of your shade sail.
Now that your shade sail is properly adjusted and tightened, let’s proceed to the final step of testing and finalizing the installation.
Read more: How Much Do Patio Shades Cost
Step 9: Testing and Finalizing the Installation
The final step of installing your shade sail is to test its functionality and make any necessary final adjustments. This step ensures that your shade sail is properly installed and ready to provide the desired shade and comfort to your outdoor area. Follow these steps to complete the installation:
- Test Sun Coverage: Observe the shade provided by your sail throughout the day, especially during peak sun hours. Make sure that the shade sail is effectively blocking the desired amount of sunlight and providing the level of shade you desire.
- Check for Proper Tension: Monitor the shade sail over a few days to ensure that it remains properly tensioned. Pay attention to any signs of sagging or loosening of the fabric and adjust the tension as needed using the turnbuckles.
- Inspect Mounting Points: Regularly inspect the mounting points and hardware to ensure their integrity. Check for any signs of wear, corrosion, or loosening. Tighten any loose connections or replace damaged hardware as necessary.
- Maintain the Fabric: Schedule periodic cleaning of the shade sail fabric to remove dirt, dust, and debris. Follow the manufacturer’s instructions on how to clean and maintain the fabric to ensure its longevity and performance.
- Monitor Outdoor Conditions: Be mindful of changes in weather conditions, such as high winds or heavy rain. If extreme weather is forecasted, consider temporarily removing the shade sail to prevent any potential damage.
Testing and finalizing the installation of your shade sail ensures that it is functioning optimally and provides the desired shade and protection in your outdoor space. By regularly monitoring and maintaining your shade sail, you can enjoy its benefits for years to come.
Congratulations on successfully installing your shade sail! Sit back, relax, and enjoy the comfortable and shaded outdoor oasis you have created!
If you have any further questions or concerns, consult the manufacturer’s guidelines or seek assistance from a professional installer.
Conclusion
Installing a shade sail can transform your outdoor space into a comfortable and shaded retreat. By following the step-by-step process outlined in this guide, you can successfully install a shade sail that not only provides protection from the sun’s rays but also enhances the aesthetics of your patio or outdoor area.
Throughout this guide, we covered important steps such as assessing your space, selecting the right shade sail, measuring and marking the installation points, attaching the mounting hardware, and installing each corner of the shade sail. We also discussed the importance of adjusting and tightening the shade sail for optimal performance and made suggestions on testing and finalizing the installation.
Remember to regularly inspect and maintain your shade sail to ensure its longevity and functionality. Regular cleaning, checking the tension, and monitoring the mounting points will help keep your shade sail in top condition and provide you with years of enjoyment.
Installing a shade sail is a DIY project that can be accomplished by confident homeowners. However, if you have any doubts or concerns, it’s always a good idea to consult the manufacturer’s guidelines or seek assistance from a professional installer. They can provide expert advice and ensure a safe and secure installation.
Now that you have the knowledge and confidence to install a shade sail, go ahead and create a cool and comfortable outdoor oasis where you can relax, entertain, and enjoy the beauty of your outdoor space!
Now that you've mastered installing patio shade sails, why not brighten your deck with some vibrant decor and clever add-ons? Our guide on sprucing up your outdoor area offers fantastic ideas that blend style with function. For those who love tackling projects hands-on, our DIY home improvement tips provide all you need to enhance your living spaces yourself. And if the sun's still too harsh, check out our clever strategies for more shade solutions that keep you cool and comfortable all summer long.
Frequently Asked Questions about How To Install Patio Shade Sails
Was this page helpful?
At Storables.com, we guarantee accurate and reliable information. Our content, validated by Expert Board Contributors, is crafted following stringent Editorial Policies. We're committed to providing you with well-researched, expert-backed insights for all your informational needs.
0 thoughts on “How To Install Patio Shade Sails”